
Ciabatta as the Perfect Sandwich Bread: Baking Tips

Welcome to BakeWithEase!
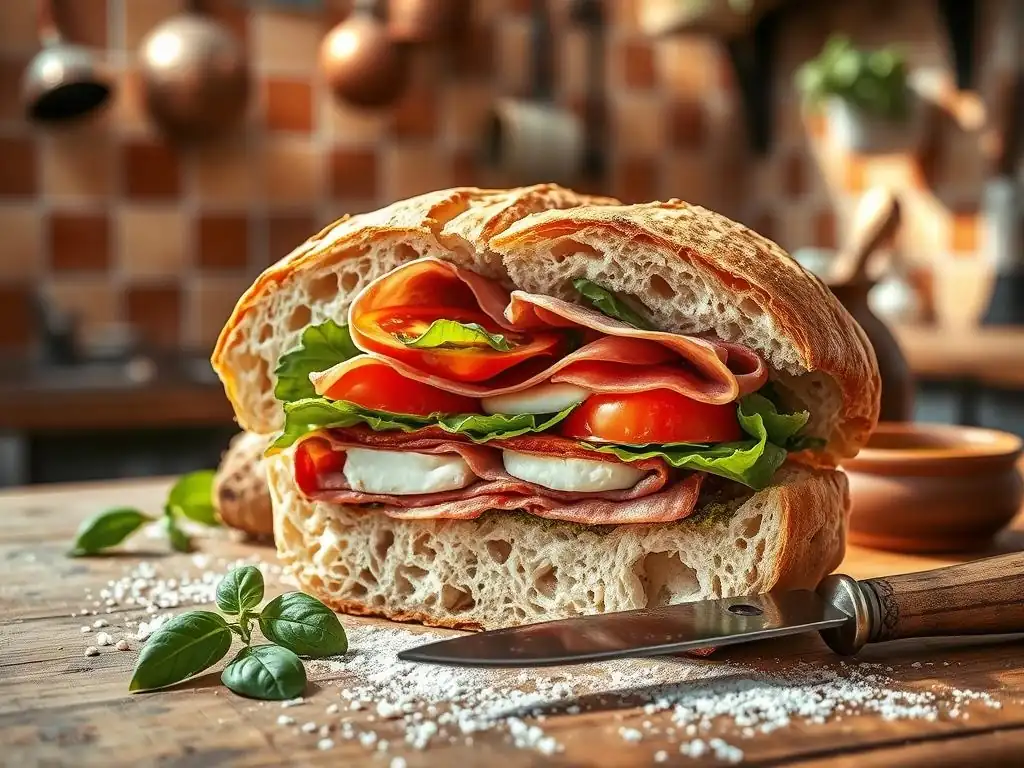
Unlock the secrets to baking incredible, crusty bread at home. Ever dream of crafting the perfect sandwich bread? Our easy ciabatta sandwich bread recipe is your starting point. Discover simple techniques and baking tips that will transform your kitchen into a haven for fresh, homemade loaves. Ready to elevate your sandwich game? Let's bake!
- Ciabatta as the Perfect Sandwich Bread: Baking Tips from BakeWithEase
- Why Ciabatta Makes the Ultimate Sandwich Bread
-
Easy Ciabatta Sandwich Bread Recipe: A Step-by-Step Guide
- Ingredients for the Best Ciabatta Sandwich Bread
- Step 1: Preparing the Poolish for Flavor and Texture
- Step 2: Mixing the Dough for a Light and Airy Ciabatta
- Step 3: The Importance of Folding the Ciabatta Dough
- Step 4: Shaping the Ciabatta Loaves for Sandwiches
- Step 5: Baking Your Ciabatta to Golden Perfection
- Pro Baking Tips for Ciabatta Sandwich Bread
- Making Delicious Sandwiches with Your Homemade Ciabatta
- Variations on the Easy Ciabatta Sandwich Bread Recipe
- Enjoy Your Homemade Ciabatta Sandwich Bread!
-
Frequently Asked Questions
- What makes ciabatta a good choice for sandwich bread?
- Is the Easy Ciabatta Sandwich Bread Recipe suitable for beginner bakers?
- Can I customize the Easy Ciabatta Sandwich Bread Recipe with different flours?
- How should I store leftover ciabatta bread to keep it fresh?
- What kind of fillings work best with ciabatta sandwich bread?
- Final Reflection: The Humble Ciabatta, A Bread for All Seasons
- Unleash Your Inner Baker: Craft the Perfect Ciabatta Sandwich!
Ciabatta as the Perfect Sandwich Bread: Baking Tips from BakeWithEase
Why Ciabatta Makes the Ultimate Sandwich Bread
Ciabatta, the beloved Italian slipper bread, has earned its place as a top choice for sandwiches, and for good reason. Its unique characteristics make it exceptionally well-suited to hold a variety of fillings, from moist roasted vegetables to hearty cured meats, without becoming soggy or falling apart. The structure of the bread itself plays a crucial role in this durability and overall sandwich experience.
One of the key features that sets ciabatta apart is its wonderfully open, airy crumb structure. This isn't a dense, tight bread; instead, it boasts irregular, large holes (known as alveoli) surrounded by a network of tender dough. This open crumb provides pockets for sandwich fillings, allowing flavors to mingle while the bread maintains its structural integrity. Furthermore, the chewy texture, a result of high hydration dough and proper gluten development, gives the bread a satisfying bite that complements the textures of the fillings within the sandwich.
The Unique Qualities of Ciabatta for Sandwiches
Ciabatta's high hydration dough, often containing 70% water or more relative to the flour weight, is fundamental to its signature texture and structure. This high water content, combined with a slow fermentation process, encourages the development of the characteristic large air pockets. Unlike softer sandwich loaves, ciabatta's robust nature means it can absorb some moisture from ingredients like tomatoes or sauces without turning mushy immediately, making it ideal for juicy fillings.
Beyond its structural benefits, ciabatta offers a delightful balance of flavors and textures. The crust, when baked correctly, is thin and delightfully crispy, providing a pleasant contrast to the soft, airy interior. The flavor profile is typically subtle with a slight tang from fermentation, which doesn't overpower the sandwich fillings but rather acts as a complementary base. This combination of structural resilience, textural contrast, and understated flavor makes ciabatta a truly versatile and perfect vehicle for almost any sandwich creation.
BakeWithEase' Secret to the Perfect Ciabatta Sandwich
At BakeWithEase, our approach to achieving perfect ciabatta for sandwiches hinges on patience and gentle handling, particularly concerning the high-hydration dough. We emphasize the importance of a long, slow fermentation, often starting with a pre-ferment like a poolish, which develops complex flavors and contributes significantly to the open crumb structure. This initial step, allowing a portion of the flour, water, and yeast to ferment for 12-16 hours, is critical and adds a depth of flavor you simply cannot achieve with a quick dough.
Our secret also lies in mastering the folding technique rather than traditional kneading. Because ciabatta dough is very wet and sticky, aggressive kneading isn't practical. Instead, we use a series of gentle stretch-and-folds over a couple of hours during the bulk fermentation.
This process builds gluten strength without degassing the dough, preserving those precious air bubbles that will become the signature holes. By handling the dough minimally and gently during shaping, we ensure the airy structure developed during fermentation is carried through to the final bake, resulting in that ideal, holey interior perfect for an easy ciabatta sandwich bread recipe.
Easy Ciabatta Sandwich Bread Recipe: A Step-by-Step Guide
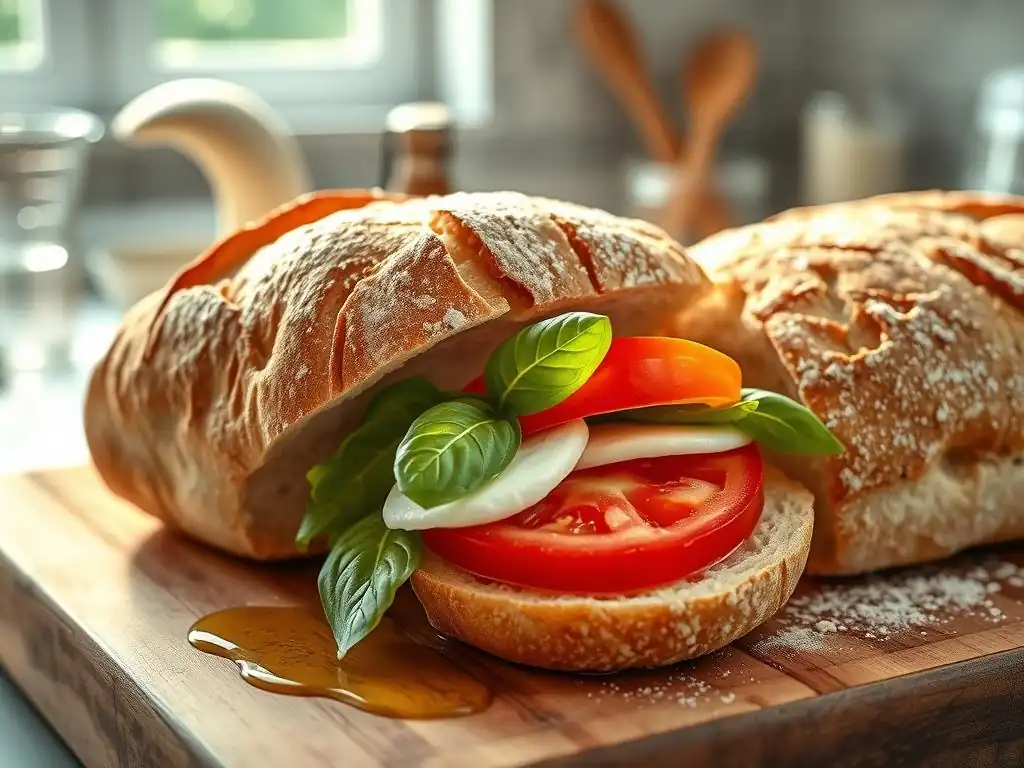
Creating delicious, homemade ciabatta for your sandwiches doesn't have to be intimidating. This easy ciabatta sandwich bread recipe simplifies the process while still delivering authentic results: a bread with a crispy crust and a beautifully open, airy crumb. It requires minimal hands-on time, relying instead on the magic of time and fermentation to do the heavy lifting.
This guide breaks down the process into manageable steps, perfect for bakers looking to master baking easy ciabatta sandwich bread at home. We'll walk you through preparing the pre-ferment, mixing the dough, developing strength through gentle folding, shaping the loaves, and finally, achieving a perfect bake. By following these steps, you'll be well on your way to enjoying warm, fresh ciabatta, ready to be transformed into your favorite sandwiches.
Ingredients for the Best Ciabatta Sandwich Bread
To bake this easy ciabatta sandwich bread recipe, you'll need just a few basic ingredients, but the quality of these ingredients does make a difference. Using good quality bread flour with a protein content around 12-13% will help develop the strong gluten structure needed to support the high hydration. Filtered water is often preferred to avoid potential chlorine interference with yeast activity.
Here are the ingredients you'll need:
For the Poolish:
- 100g Bread Flour
- 100g Water (room temperature)
- 0.5g Instant Dry Yeast (or 1g Active Dry Yeast)

For the Main Dough:
- 400g Bread Flour
- 300g Water (around 25°C or 77°F)
- 10g Salt
- 2g Instant Dry Yeast (or 4g Active Dry Yeast)
- All of the Poolish
These quantities are designed for an easy ciabatta sandwich bread recipe that yields two medium loaves, perfect for several delicious sandwiches. Ensure your yeast is fresh for optimal rise.
Step 1: Preparing the Poolish for Flavor and Texture
The poolish is a simple liquid pre-ferment that significantly enhances the flavor and texture of your ciabatta. It involves mixing equal parts flour and water with a small amount of yeast and letting it ferment for a long period. This slow fermentation develops organic acids and complex sugars, contributing to a more nuanced flavor profile and aiding in the development of that signature open crumb.
To prepare the poolish, simply whisk together the flour, water, and yeast in a medium bowl until no dry spots remain and the mixture is smooth. It will be quite liquid, like a thick batter. Cover the bowl loosely with plastic wrap and let it sit at room temperature for 12 to 16 hours, or until it is bubbly, has roughly doubled in size, and smells slightly alcoholic or fruity. This extended fermentation time is crucial for developing the depth of flavor characteristic of great ciabatta.
Step 2: Mixing the Dough for a Light and Airy Ciabatta
Once your poolish is mature and ready, it's time to mix the main dough. This dough will be very wet, which is essential for achieving the airy texture, so don't be alarmed by its stickiness. The high hydration is key to developing the large, irregular holes.
Combine the main dough water and yeast in a large mixing bowl. Add the main dough flour and salt, then scrape in all of the prepared poolish. Mix everything together with a wooden spoon or a stand mixer fitted with a dough hook on low speed for just 1-2 minutes, until a shaggy, wet dough forms and there are no dry pockets of flour.
The dough will be very sticky and won't look smooth yet; that's perfectly normal. Cover the bowl and let the dough rest for 20-30 minutes. This resting period, known as autolyse (when mixing only flour and water, or in this case, most of the ingredients before adding salt/yeast fully), allows the flour to fully hydrate and gluten development to begin, making the subsequent folding steps easier and more effective for this easy ciabatta sandwich bread recipe.
Step 3: The Importance of Folding the Ciabatta Dough
Because this easy ciabatta sandwich bread recipe uses a high-hydration dough, we rely on folding rather than intensive kneading to develop gluten strength. Folding helps build the dough's structure and traps air, which is essential for creating the characteristic open crumb. This process is gentle and preserves the gas produced by the yeast.
After the initial rest, perform a series of stretch-and-folds. Wet your hands lightly to prevent sticking. Grab one side of the dough, stretch it up gently, and fold it over the center. Rotate the bowl a quarter turn and repeat. Do this 3-4 times until you've folded all sides.
Cover the bowl and let the dough rest for 30-45 minutes. Repeat this stretch-and-fold process 2-3 more times over the next 1.5 to 2 hours. By the final fold, the dough should feel stronger, more elastic, and less sticky, though still very soft and bubbly. This development is vital for achieving a great texture in your easy ciabatta sandwich bread.
Step 4: Shaping the Ciabatta Loaves for Sandwiches
Shaping ciabatta is about preserving the air bubbles you've worked hard to create, not degassing the dough. The goal is to create rough rectangles or squares that can be easily sliced into sandwich portions. This stage requires a generous amount of flour on your work surface.
Gently turn the dough out onto a well-floured surface. Be careful not to punch it down. Use a dough scraper or your hands (floured) to gently coax the dough into a rough rectangle. Avoid excessive handling. Cut the rectangle into 2-3 pieces using the scraper, depending on how large you want your sandwich loaves.
Dust the tops of the pieces lightly with flour. Carefully transfer the shaped loaves to a well-floured couche (linen cloth) or baking parchment set on a baking sheet, ensuring they are separated by folds of the cloth or parchment to prevent sticking. Let them proof for 45-60 minutes, or until they look visibly puffy but haven't spread excessively. They should still have some structure but feel airy.
Step 5: Baking Your Ciabatta to Golden Perfection
Baking is the final step to transforming your proofed dough into beautiful, edible ciabatta. Achieving a crispy crust and a well-risen loaf often requires high heat and steam in the oven. Preheat your oven with a baking stone or steel inside to a high temperature, typically 230-240°C (450-475°F), for at least 30-45 minutes to ensure it's fully heated. If using a baking sheet, ensure it's also preheated.
Carefully transfer the proofed ciabatta loaves onto the hot baking surface. To create steam, which helps the crust stay pliable initially allowing for better oven spring and results in a crispier crust, you can place a tray of water on the bottom rack of the oven when you preheat it, or quickly pour about half a cup of hot water into a hot pan placed on the bottom rack right after putting the bread in (be cautious of the steam). Bake for 20-30 minutes, or until the loaves are deeply golden brown and sound hollow when tapped on the bottom.
The internal temperature should reach around 93-99°C (200-210°F). Allow the bread to cool completely on a wire rack before slicing for your easy ciabatta sandwich bread creations.
Pro Baking Tips for Ciabatta Sandwich Bread
Baking ciabatta, while following an easy ciabatta sandwich bread recipe, can still present challenges. Understanding the nuances of this high-hydration dough and oven environment is key to consistently achieving excellent results. These pro tips delve into specific techniques to help you refine your ciabatta baking skills and produce loaves worthy of the best sandwiches.
These tips cover aspects like developing the internal structure, perfecting the crust, and troubleshooting common issues you might encounter. By paying attention to these details, you can elevate your homemade ciabatta from good to truly exceptional, ensuring every loaf is perfect for slicing and filling. Mastering these points will make your easy ciabatta sandwich bread recipe even more reliable.
Achieving the Perfect Crumb Structure in Your Ciabatta
The hallmark of great ciabatta is its open, irregular crumb with varying sizes of air pockets. This structure is primarily developed during the long fermentation and the gentle handling of the dough. Sufficient hydration is fundamental; a dough that is too stiff will never develop large holes. Aim for a hydration level of at least 70%, and often up to 80% or more, relative to the flour weight.
Proper gluten development through stretch-and-folds is also crucial. These folds build the dough's strength, allowing it to trap and hold the gas produced by the yeast. Performing 3-4 sets of folds over a couple of hours ensures the dough has enough structure to support the airy network. Finally, minimal and gentle handling during shaping and proofing is paramount. Aggressive degassing will expel the precious air bubbles, resulting in a dense crumb. Think of it as guiding the dough into shape rather than forcing it.
Mastering the Crust: Crispy on the Outside, Soft on the Inside
A perfect ciabatta crust is thin, crispy, and provides a wonderful textural contrast to the soft, airy interior. Achieving this requires high oven temperature and sufficient steam during the initial phase of baking. Preheat your oven and baking surface (stone or steel) thoroughly to a high temperature, typically 230-240°C (450-475°F). This high heat provides the necessary oven spring and rapid crust development.
Steam plays a vital role in keeping the crust pliable during the initial expansion phase, allowing the loaf to rise fully. It also gelatinizes the starch on the surface, contributing to a crispier, more attractive crust. Using a steam method, such as placing a tray of water in the oven or using a Dutch oven, is highly recommended. Bake with steam for the first 10-15 minutes, then remove the steam source or vent the oven to allow the crust to dry out and crisp up for the remainder of the baking time.
Troubleshooting Common Ciabatta Baking Problems
Even with an easy ciabatta sandwich bread recipe, things can occasionally go wrong. Understanding common issues and their causes can help you adjust your technique.
My Ciabatta is Too Dense: Potential Causes and Solutions
A dense ciabatta crumb, lacking those signature large holes, is a common issue. This can result from several factors. Insufficient hydration is a primary cause; if the dough is too stiff, it simply cannot develop an open structure. Ensure you're using the correct water-to-flour ratio (aiming for 70%+ hydration). Another cause is insufficient gluten development; if the dough hasn't been folded enough or the fermentation time was too short, it won't have the strength to hold the air. Ensure you perform the recommended sets of folds and allow adequate bulk fermentation time.
Over-handling or degassing the dough during shaping and proofing is also a major culprit for density. Be extremely gentle when turning out and shaping the dough, and avoid pressing or punching it down. Finally, under-proofing can also lead to a dense loaf; if the dough hasn't had enough time to ferment and produce gas, it won't rise properly in the oven. Ensure your proofing environment is warm enough and allow the dough sufficient time to become visibly puffy.
My Ciabatta is Too Flat: Tips for Achieving Height
Ciabatta is naturally a flat bread, but it shouldn't be pancake-flat. If your loaves spread excessively and lack any significant height, several factors could be at play. Over-proofing is a common cause; if the dough proofs for too long, the gluten structure can weaken and collapse, leaving it unable to hold its shape. Watch the dough during proofing – it should be puffy but still have some tension.
Insufficient gluten development is another major factor. If the dough didn't gain enough strength during the folding process, it won't have the structure to support itself and will spread outwards rather than upwards. Ensure you perform the recommended sets of stretch-and-folds until the dough shows signs of strength. Also, be gentle during shaping; rough handling can damage the fragile gluten network. Finally, insufficient oven spring due to lack of high heat or steam can contribute to flatness. Ensure your oven is fully preheated and use a steam method.
My Ciabatta Tastes Bland: Enhancing the Flavor Profile
A bland ciabatta loaf often indicates a lack of proper fermentation or insufficient salt. Salt is a crucial flavor enhancer in bread, and omitting or reducing it too much will result in a flat taste. Ensure you measure your salt accurately according to the recipe (typically around 1.8-2% of the total flour weight).
More significantly, the depth of flavor in ciabatta comes from a long, slow fermentation, particularly through the use of a pre-ferment like a poolish. If you skipped the poolish or shortened the fermentation times (both for the poolish and the bulk fermentation), the yeast hasn't had enough time to develop those complex flavors from the flour.
Ensure you allow the poolish to ferment for the recommended 12-16 hours and give the main dough ample time for bulk fermentation with folds (typically 2-3 hours). The longer, slower process allows enzymatic activity to break down starches into sugars and produces flavorful organic acids.
Making Delicious Sandwiches with Your Homemade Ciabatta
Once you've successfully baked your easy ciabatta sandwich bread, the fun truly begins: assembling incredible sandwiches! The unique texture and flavor of homemade ciabatta provide a fantastic base for a wide array of fillings. Its sturdy yet airy structure holds up well to various ingredients, making it a versatile choice for everything from simple vegetarian options to elaborate meaty creations.
Thinking about how the bread interacts with the fillings is key to a great sandwich. The open crumb allows sauces and juices to lightly penetrate without making the bread soggy, while the chewy crust provides a satisfying bite. Whether you're packing it for a picnic or enjoying it fresh at home, your homemade ciabatta is ready to be the star.
Complementary Flavors: Sandwich Filling Ideas for Ciabatta
Ciabatta pairs beautifully with flavors common in Italian and Mediterranean cuisine, but its versatility extends far beyond. Here are some ideas to get you started:
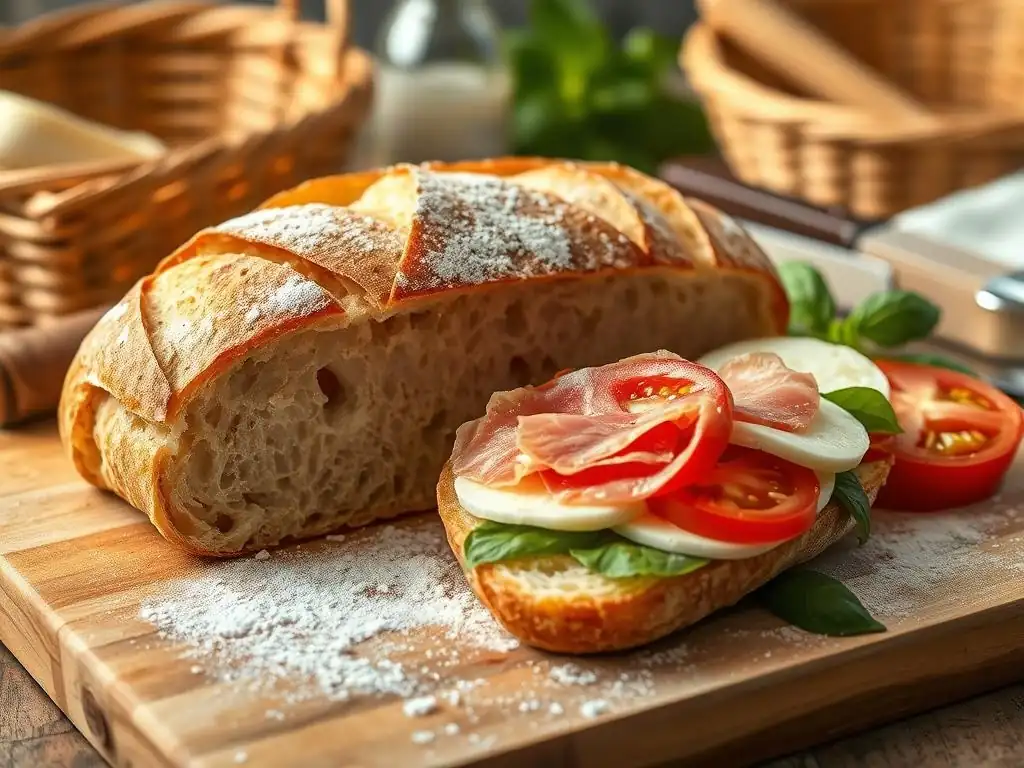
- Classic Italian: Slices of prosciutto, fresh mozzarella, ripe tomatoes, basil leaves, and a drizzle of balsamic glaze. The saltiness of the prosciutto, the creaminess of the mozzarella, and the acidity of the tomato are perfectly balanced by the bread's texture.
- Grilled Vegetable: Marinated and grilled zucchini, bell peppers, eggplant, red onion, and portobello mushrooms with a spread of pesto or roasted red pepper spread. The char and sweetness of the vegetables are enhanced by the bread's subtle tang.
- Caprese: Layers of fresh mozzarella, ripe tomato slices, and fresh basil, seasoned with salt, pepper, and a drizzle of extra virgin olive oil. The simplicity allows the quality of the ingredients, including your easy ciabatta sandwich bread, to shine.
- Roast Turkey & Provolone: Slices of roast turkey, provolone cheese, roasted red peppers, and a smear of sun-dried tomato aioli. The bread's chewiness stands up well to the layers of meat and cheese.
Consider the moisture content of your fillings and choose complementary spreads or sauces that won't immediately soak through the bread's crumb.
Slicing Techniques for Optimal Sandwich Construction
How you slice your ciabatta can impact the sandwich experience. For most sandwiches, slicing the loaf horizontally down the middle is the standard approach. This creates two large halves that can be filled generously. Use a serrated bread knife and a gentle sawing motion to avoid crushing the airy structure of the bread.
For smaller sandwiches or appetizers, you might slice a longer loaf diagonally into several portions. This creates smaller, elongated pieces of bread perfect for individual servings or tapas-style presentations. Ensure your knife is sharp to get clean cuts without compressing the crumb. Whichever method you choose, aim for even slices that provide a stable base for your fillings.
Storing Your Ciabatta Bread to Maintain Freshness
Proper storage is essential to keep your homemade ciabatta fresh and its crust crispy. Ciabatta is best enjoyed the day it's baked, especially for that peak crispy crust. However, it can be stored for a couple of days.
To maintain the crust's crispness, store the cooled loaf at room temperature in a paper bag. Avoid plastic bags or airtight containers, as these will trap moisture and cause the crust to soften quickly. If the crust does soften after a day, you can often refresh it by placing the bread in a hot oven (around 180-200°C or 350-400°F) for 5-10 minutes. For longer storage, ciabatta freezes exceptionally well.
Let the loaf cool completely, then wrap it tightly in plastic wrap and then in foil or a freezer bag. It can be frozen for up to 2-3 months. Thaw at room temperature and refresh in the oven if desired.
Variations on the Easy Ciabatta Sandwich Bread Recipe
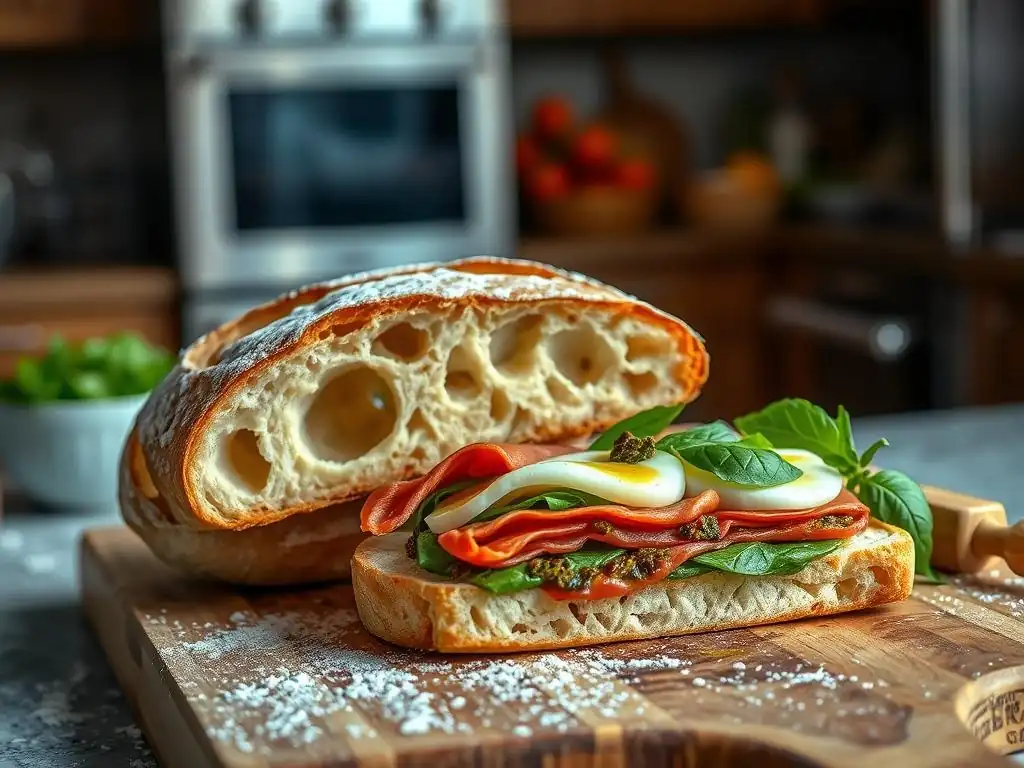
While the classic easy ciabatta sandwich bread recipe is fantastic on its own, it also serves as a wonderful base for experimentation. Adding different flavors or adjusting the flour type can create exciting variations that offer new dimensions to your homemade sandwich bread. These simple modifications can tailor your ciabatta to specific sandwich fillings or dietary preferences.
Exploring variations allows you to customize your baking and keep things interesting. From infusing the dough with aromatic herbs to incorporating whole grains for added nutrition and flavor, these tweaks can make your easy ciabatta sandwich bread even more versatile and enjoyable.
Adding Herbs and Spices for Flavor Infusion
Infusing your ciabatta dough with herbs and spices is a simple way to add an extra layer of flavor that complements certain sandwich fillings. Dried herbs like rosemary, oregano, or thyme are excellent choices. You can mix 1-2 tablespoons of dried herbs into the main dough along with the flour and salt. The flavors will distribute throughout the bread during fermentation and baking.
Alternatively, you can add spices like garlic powder, onion powder, or even a pinch of red pepper flakes for a bit of heat. Consider adding black olives, sun-dried tomatoes (drained and chopped), or roasted garlic cloves to the dough during the final set of folds for bursts of intense flavor within the crumb. For example, a rosemary and sea salt ciabatta is perfect for pairing with roast lamb or grilled vegetables, while an olive ciabatta is a natural fit for Mediterranean-style sandwiches.
Making Whole Wheat Ciabatta for a Healthier Option
You can easily adapt this easy ciabatta sandwich bread recipe to include whole wheat flour for a heartier, more nutritious loaf. Whole wheat flour absorbs more water than white bread flour, so you may need to slightly increase the hydration level. A good starting point is to substitute 20-30% of the bread flour with whole wheat flour.
When incorporating whole wheat, you might find the dough feels slightly less extensible. The fermentation times might remain similar, but pay attention to the dough's feel – it should still become bubbly and gain strength with folding. The resulting whole wheat ciabatta will have a slightly denser crumb, a nuttier flavor, and increased fiber content, making it a fantastic base for sandwiches with robust fillings like grilled steak or hearty vegetarian spreads. Adjust the water gradually during mixing if needed, as different whole wheat flours absorb moisture differently.
Creating Mini Ciabatta Rolls for Appetizers
Scaling down the recipe to create mini ciabatta rolls is perfect for appetizers, sliders, or smaller sandwich portions. The process is identical to making larger loaves, but you'll divide the dough into smaller pieces during the shaping stage. Instead of cutting into 2-3 large loaves, divide the dough into 6-8 smaller rectangles or squares.
Proof the mini rolls on a floured surface or baking sheet. The baking time will be shorter due to their smaller size, likely 15-20 minutes, or until they are golden brown and sound hollow. These mini ciabatta rolls are excellent for serving at gatherings, filling with things like mini meatballs, antipasto ingredients, or simple cheese and tomato. This variation of the easy ciabatta sandwich bread recipe offers convenience and portion control.
Enjoy Your Homemade Ciabatta Sandwich Bread!
Frequently Asked Questions
What makes ciabatta a good choice for sandwich bread?
Ciabatta offers a delightful chewy texture and unique flavor profile that complements a variety of sandwich fillings. Its open crumb structure also allows it to absorb flavors well.
Is the Easy Ciabatta Sandwich Bread Recipe suitable for beginner bakers?
Yes, the recipe is designed with beginner bakers in mind. It features simple instructions and readily available ingredients to ensure a successful baking experience.
Can I customize the Easy Ciabatta Sandwich Bread Recipe with different flours?
While the recipe specifies a particular type of flour, you can experiment. Be mindful that different flours will change the hydration levels and overall texture of the bread.
How should I store leftover ciabatta bread to keep it fresh?
Store leftover ciabatta in an airtight bag at room temperature. For longer storage, you can freeze slices and thaw them as needed.
What kind of fillings work best with ciabatta sandwich bread?
Ciabatta's robust flavor pairs well with a wide range of fillings. Consider using Italian cold cuts, roasted vegetables, or grilled meats for a delicious and satisfying sandwich.
Final Reflection: The Humble Ciabatta, A Bread for All Seasons
The seemingly simple act of baking ciabatta bread holds a surprising power: the ability to elevate the everyday sandwich to an experience. This airy, rustic loaf, with its characteristic open crumb and chewy texture, isn't just a bread; it's a canvas for culinary creativity. Its versatility, as explored throughout this article, makes it accessible to both novice bakers and seasoned professionals alike.
The enduring appeal of ciabatta lies not only in its delicious taste but also in its ability to connect us to a simpler, more hands-on approach to food preparation. In a world increasingly dominated by convenience, the process of kneading dough, feeling its transformation, and finally, savoring the fruits of your labor, offers a powerful antidote to the frenetic pace of modern life. Bread making is a process of transformation, both of the ingredients and of the baker.
- This sentiment perfectly captures the meditative and rewarding nature of baking ciabatta.
Now, consider your own kitchen. Imagine the aroma of freshly baked ciabatta filling your home, the satisfying crust yielding to a soft, airy interior. Don't let the seemingly complex instructions intimidate you. This article has provided you with the tools and knowledge to embark on this rewarding journey. Try one of the recipes, experiment with different flours and flavors, and discover the joy of creating your own perfect ciabatta sandwich bread. The experience, I promise, will be as delicious as the bread itself.
Unleash Your Inner Baker: Craft the Perfect Ciabatta Sandwich!
Thanks for joining us on this ciabatta journey! You've now got the knowledge to bake bread that's both delicious and impressive. Ready to take your skills to the next level?
- Bake your own ciabatta today! Use the recipe and tips from the article as your guide. Don't be afraid to experiment – the perfect ciabatta is waiting to be discovered!
- Share your baking triumphs (and challenges!) with us on social media. Use #BakeWithEaseCiabatta to connect with other bread enthusiasts!
- Explore more bread recipes on BakeWithEase.com. Discover new techniques and expand your baking repertoire beyond ciabatta.
What unique ingredient will you add to your next ciabatta creation?