
Why Does My Homemade Bread Taste Sour?

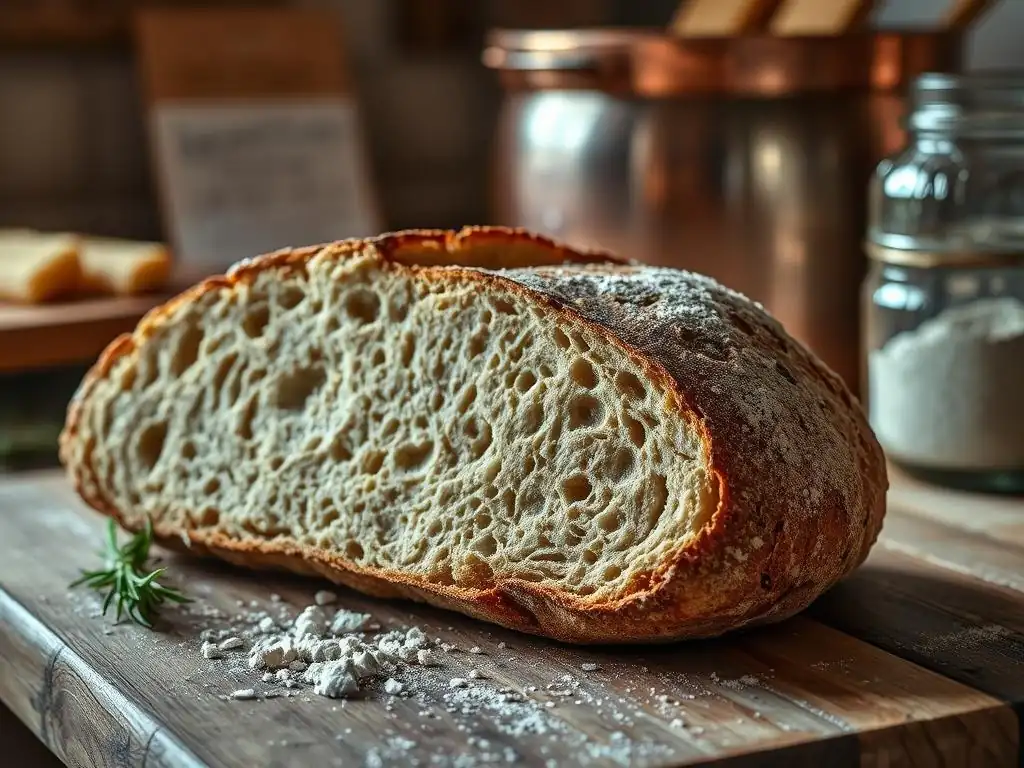
Welcome to BakeWithEase, where baking transforms from daunting to delightful! Ever wondered why your homemade bread has a distinct, sour tang? You're in the right place. This article dives deep into sour homemade bread troubleshooting, uncovering the secrets behind that flavor and how to master it (or mellow it!). Get ready to unlock the mysteries of fermentation and bake bread that's perfectly tailored to your taste. Intrigued? Let's get started!
- Why Does My Homemade Bread Taste Sour? - Sour Homemade Bread Troubleshooting
- Understanding Sourness in Homemade Bread: A BakeWithEase Guide
- The Science Behind Sour Bread: Why It Happens
- Common Causes of Sour Homemade Bread
- Troubleshooting Sour Homemade Bread: Solutions and Prevention
- Preventing Sour Bread: BakeWithEase Best Practices
- Is My Sour Bread Still Safe to Eat?
- Mastering the Art of Bread Baking: Avoiding Sourness and Achieving Perfect Flavor
-
Frequently Asked Questions
- Why does my homemade bread taste too sour?
- What role does the starter play in the sourness of homemade bread?
- How can I control the level of sourness in my homemade bread?
- Is it possible to make homemade bread that isn't sour at all?
- What are some common mistakes that lead to overly sour homemade bread?
- Final Reflection: The Sweetness of Sourdough Success
- Unlock the Secrets to Sweet Bread Baking!
Why Does My Homemade Bread Taste Sour? - Sour Homemade Bread Troubleshooting
Understanding Sourness in Homemade Bread: A BakeWithEase Guide
So, you've baked a beautiful loaf of bread at home, maybe it rose perfectly and has a lovely crust, but when you slice into it, you're met with an unexpectedly strong sour taste. This can be disappointing, especially when you were aiming for a classic, mild flavor. Understanding why your homemade bread tastes sour is the first step to preventing it from happening again.
Sourness in bread, particularly in loaves made with natural leavening agents like sourdough starter, is linked directly to the fermentation process. It's a sign that the microbes in your dough have been hard at work, perhaps a little too hard, or under conditions that favor acid production.
This guide will walk you through the science behind that tangy flavor and help you pinpoint the common culprits in your baking process. Whether you're working with commercial yeast or a lively sourdough starter, several factors influence the final taste profile of your bread. By understanding these elements – from ingredient ratios and fermentation times to temperature control – you can gain greater control over the flavor and avoid that unwanted sourness in your next batch. Let's dive into the fascinating world of fermentation and get you back to baking bread with the perfect balance of flavors.
The Science Behind Sour Bread: Why It Happens
Natural Fermentation and Acetic Acid Production
Bread fermentation is a complex biological process driven by yeast and bacteria (specifically lactic acid bacteria, or LAB). These microorganisms consume sugars present in the flour and produce various byproducts, including carbon dioxide (which makes the bread rise), alcohol, and organic acids. The primary acids produced are lactic acid and acetic acid. Lactic acid contributes a milder, yogurt-like tang, while acetic acid is the sharp, vinegar-like acid that is responsible for that distinct sour flavor many associate with sourdough.
The ratio of lactic acid to acetic acid produced significantly impacts the final taste. This ratio is heavily influenced by fermentation conditions, particularly temperature and hydration. Cooler fermentation temperatures (e.g., below 70°F or 21°C) and lower hydration doughs tend to favor the production of acetic acid. For instance, fermenting a sourdough loaf in a cool basement around 60°F (15°C) for an extended period will almost certainly result in a much more pronounced sourness than fermenting it at room temperature around 75°F (24°C). Understanding this balance is key to controlling the sourness level in your homemade bread.
The Role of Yeast in Sour Bread Flavor
Yeast, whether commercial or wild, plays a crucial role in bread fermentation, primarily by producing carbon dioxide for rise and alcohol. While yeast itself doesn't produce the acids that cause sourness, its activity influences the environment in which the lactic acid bacteria thrive. Yeast consumes simple sugars, making these available or unavailable to bacteria. The rate at which yeast ferments also affects the overall fermentation timeline.
In a commercial yeast dough, fermentation is typically faster and primarily driven by the yeast, resulting in less time for significant acid development by naturally occurring bacteria in the flour or environment. This is why bread made solely with commercial yeast is usually much milder in flavor. In sourdough, however, the yeast works in symbiosis with a diverse population of LAB.
The yeast provides some nutrients for the bacteria, and the bacteria produce acids that help control the yeast population and contribute flavor. The balance and activity of both yeast and bacteria in a sourdough starter are critical determinants of the final bread's sourness.
Wild Yeast vs. Commercial Yeast: Impact on Sourness
The difference in sourness between commercial yeast bread and sourdough bread primarily stems from the microbial populations involved. Commercial yeast (Saccharomyces cerevisiae) is a single, highly efficient strain selected for rapid and consistent CO2 production. It works quickly, and while some minor acid development might occur from background bacteria in the flour, it's usually negligible in terms of sourness.
Wild yeast, as found in a sourdough starter, is a complex ecosystem containing not just various strains of wild yeast but also a significant population of lactic acid bacteria. These bacteria are the primary producers of lactic and acetic acids. The specific types of wild yeast and LAB present in a starter, the flour used, and the environmental conditions all contribute to the unique flavor profile, including the level of sourness. A starter nurtured over time in specific conditions will develop a microbial balance that dictates how sour the resulting bread will be.
Common Causes of Sour Homemade Bread
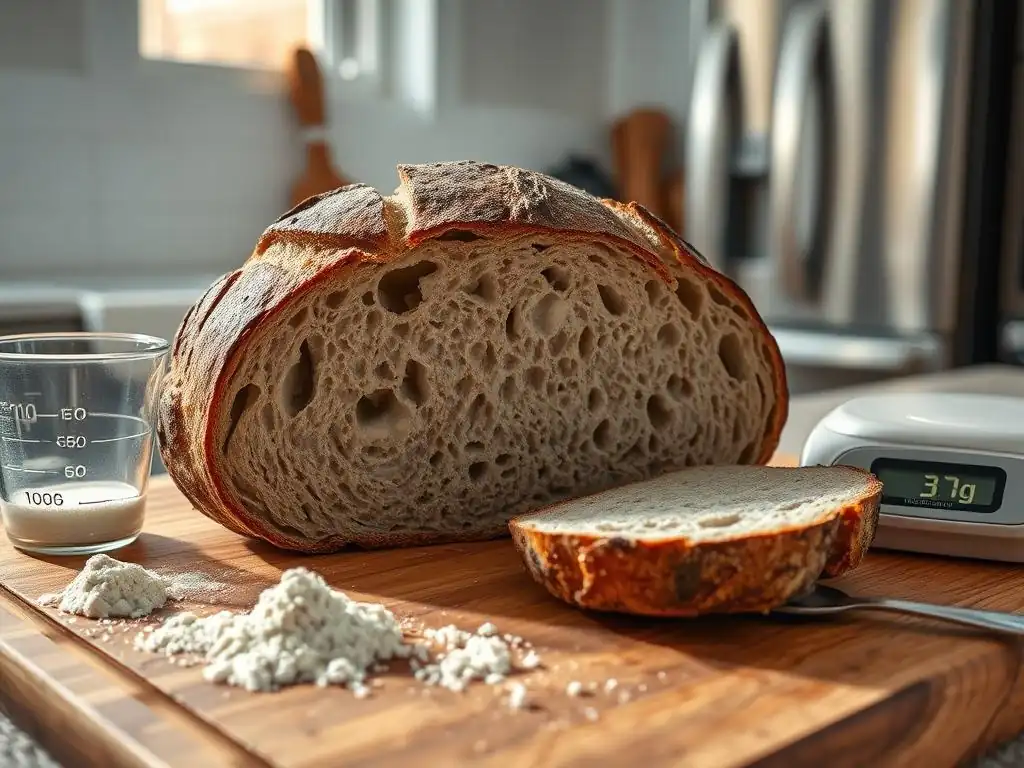
Over-Fermentation: The Primary Culprit
What is Over-Fermentation?
Over-fermentation occurs when the dough is allowed to ferment for too long or at too high a temperature, causing the yeast and bacteria to consume most of the available sugars and produce excessive amounts of metabolic byproducts, including acids. During fermentation, the dough typically doubles or triples in volume, depending on the recipe and desired outcome. Over-fermentation happens when the dough goes significantly beyond this point, often starting to collapse slightly or developing a very weak, fragile structure.
Think of it like letting fruit ripen too long – it goes from sweet and firm to mushy and overly tangy or alcoholic. In bread dough, the microbes essentially "eat" all the easily accessible food sources, leading to a buildup of acids and other compounds that can negatively impact both flavor and texture. A common visual cue is a dough that seems overly bubbly, slack, and doesn't hold its shape well when handled.
How Over-Fermentation Leads to a Sour Taste
As fermentation progresses, the lactic acid bacteria continue to produce acids. When the dough over-ferments, these bacteria have had an extended period to multiply and produce large quantities of both lactic and acetic acids. The yeast activity may slow down as sugars are depleted, but the bacteria often continue to work.
This prolonged activity, especially if the dough is also warm, results in a significant accumulation of acids throughout the dough structure. When baked, these acids contribute a strong, sometimes overwhelming, sour or vinegary flavor to the final loaf. A classic sign of over-fermented bread is not just the intense sourness but also a potentially dense or gummy texture because the gluten structure, weakened by the acids and excessive stretching from gas production, couldn't properly support the loaf during baking. This is a key area to address when troubleshooting sour homemade bread issues.
Incorrect Starter Maintenance (Especially for Sourdough)
Feeding Schedule and Starter Activity
Maintaining a healthy and balanced sourdough starter is paramount for consistent bread flavor and rise. An incorrect feeding schedule, such as infrequent feeding or using improper ratios of flour and water to starter, can lead to an overly acidic starter.
If a starter isn't fed regularly, the microbes consume all the available food and then start producing more acids relative to CO2 as they essentially starve. A starter that hasn't been fed in several days, or one that is fed with a very small amount of flour relative to the existing starter (e.g., 1:0.5:0.5 starter:flour:water), will become increasingly acidic and pungent.
Ideally, a starter used for baking should be active and recently fed, typically peaking in activity within 4-12 hours after feeding, depending on the temperature. Using a starter that is past its peak – meaning it has risen and fallen significantly – indicates that the microbes have consumed most of the food and the acidic byproducts have accumulated. This highly acidic starter will then introduce a strong sour note directly into your dough, contributing significantly to sour homemade bread.
The Impact of Starter Health on Bread Flavor
The health and microbial balance of your sourdough starter directly influence the flavor of your bread. A starter that is consistently fed with a high ratio of fresh flour and water (e.g., 1:3:3 or 1:5:5 starter:flour:water) tends to be less acidic because the microbes have abundant food, and you are diluting the acidic byproducts with each feeding. This type of feeding schedule encourages yeast activity relative to acid production, resulting in a milder starter and, subsequently, a less sour loaf.
Conversely, a starter that is kept very thick (lower hydration) or fed infrequently with low ratios will favor different microbial populations, potentially leading to a higher concentration of acetic acid producers. The health of the starter is not just about its rising power but also its aroma and taste – a healthy, well-maintained starter should smell pleasantly tangy, yeasty, and slightly sweet, not overwhelmingly acidic or like nail polish remover (which can indicate high levels of acetic acid and alcohol from stress). Addressing starter health is a critical step in sour homemade bread troubleshooting for sourdough bakers.
Using Too Much Starter
Starter Ratio and its Effect on Taste
The amount of starter used relative to the total flour weight in your dough recipe significantly impacts the fermentation speed and the final flavor. Recipes typically call for a starter percentage ranging from 15% to 30% of the total flour weight. Using a higher percentage of starter means you are introducing a larger population of active yeast and bacteria into the dough from the outset.
A higher starter percentage accelerates fermentation because there are more microbes ready to start consuming sugars immediately. While this can shorten bulk fermentation and proofing times, it also means that acid production happens more rapidly. If you use too much starter (e.g., 40% or more) without significantly reducing fermentation times, you risk over-fermenting the dough quickly and accumulating excessive acids, leading to a pronounced sour taste. It's a delicate balance between using enough starter for a good rise and using so much that it pushes the flavor profile too far towards sourness.
Long Proofing Times: Extending Fermentation
Bulk Fermentation and Sourness Development
Bread making involves two main fermentation stages: bulk fermentation (the first rise of the entire dough mass) and proofing (the final rise of the shaped loaf). Both stages contribute to flavor development, including sourness. Bulk fermentation is often considered the primary stage for building overall flavor complexity and structure. During this time, which can range from a few hours to overnight, the yeast and bacteria are actively working throughout the dough.
Extending bulk fermentation beyond the optimal point allows more time for lactic acid bacteria to produce acids. While a longer, slower bulk fermentation at a moderate temperature can enhance flavor depth, pushing it too far will inevitably increase the acidity. This is particularly true in sourdough, where the bacterial population is robust. Monitoring the dough's increase in volume and its texture is crucial during bulk fermentation to prevent it from going too long and becoming overly acidic.
Proofing Time and Temperature Considerations
The final proof, where the shaped loaf rests before baking, also contributes to acid development. Although typically shorter than bulk fermentation, proofing time and temperature are critical for the final texture and flavor. Proofing in a warm environment (e.g., 75-85°F or 24-29°C) will be faster but can also accelerate acid production. Proofing in a cooler environment (e.g., refrigerating the dough at 38-40°F or 3-4°C) slows down yeast activity dramatically but allows lactic acid bacteria to continue producing acids, potentially leading to a tangier loaf over a longer period (like an overnight proof).
However, even at cooler temperatures, there's a limit. Proofing for excessively long periods, even in the refrigerator (say, more than 24-48 hours depending on the recipe and starter), can result in a very sour loaf as acids continue to accumulate. Balancing proofing time and temperature is key to achieving the desired level of sourness and ensuring the dough isn't over-proofed, which also contributes to a dense texture and potentially a stronger sour taste.
Incorrect Temperature Control During Fermentation
Ideal Fermentation Temperatures for Bread
Temperature is one of the most influential factors in controlling fermentation speed and flavor development. For most bread doughs using commercial yeast, a room temperature range of 70-75°F (21-24°C) is common for a relatively quick fermentation. For sourdough, the ideal range for bulk fermentation to balance yeast activity and acid production is often cited as 75-80°F (24-27°C). Warmer temperatures within this range tend to encourage yeast activity and lactic acid production, which results in a milder tang.
Fermenting dough at temperatures significantly outside the optimal range can lead to issues. Too cold temperatures (e.g., below 70°F or 21°C) slow down yeast significantly but can favor acetic acid bacteria activity, resulting in a more vinegary, sour flavor over an extended fermentation period. Too hot temperatures (e.g., above 85°F or 29°C) can accelerate fermentation too much, leading to over-fermentation before desirable flavors fully develop, or can stress the yeast. Maintaining consistent temperature control is vital for predictable results and avoiding unwanted sourness.
How Temperature Affects Yeast Activity and Flavor
Yeast and bacteria have different optimal temperature ranges for activity. Commercial yeast is generally most active between 75-85°F (24-29°C). Lactic acid bacteria also thrive in various temperature ranges, but the type of acid they produce is temperature-dependent. As mentioned, cooler temperatures (below 70°F or 21°C) favor the heterofermentative LAB that produce acetic acid, contributing significant sourness. Warmer temperatures (above 75°F or 24°C) favor homofermentative LAB that primarily produce lactic acid, resulting in a milder tang.
Therefore, fermenting your dough in a cooler environment for a long time is a common reason for a very sour loaf. Conversely, fermenting too hot can lead to very rapid fermentation and potential over-proofing, which also contributes to a sour taste due to the excessive metabolic activity in a short period. Using a thermometer to check your dough's temperature and finding a consistent spot in your home are helpful steps in sour homemade bread troubleshooting related to temperature.
Using the Wrong Type of Flour
Flour Type and its Impact on Taste
The type of flour used in your bread significantly impacts its flavor, texture, and how it ferments. Different flours contain varying levels of protein, starches, and minerals, all of which serve as food for yeast and bacteria. All-purpose white flour, which is primarily the endosperm of the wheat kernel, is relatively low in minerals and contains mostly simple starches. This provides readily available food for yeast, leading to a relatively clean, neutral flavor profile.
Whole wheat flour, on the other hand, includes the bran and germ, which are rich in minerals, enzymes, and complex carbohydrates. These components can provide a more diverse food source for lactic acid bacteria, potentially encouraging more robust bacterial activity and acid production during fermentation. Using a high percentage of whole wheat flour, especially in sourdough, can naturally lead to a tangier loaf compared to one made with only white flour.
Whole Wheat Flour and Sourness
Because whole wheat flour contains more nutrients that feed lactic acid bacteria, doughs made with significant amounts of whole wheat often ferment faster and can develop sourness more quickly than those made with refined white flour. The minerals in whole wheat flour can also buffer the dough's pH to some extent, allowing bacteria to produce more acid before the environment becomes too acidic for them.
Rye flour is another example; it contains enzymes that break down starches into sugars more readily than wheat flour, providing abundant food for fermentation and often resulting in a distinctly tangy or sour flavor, even when used in smaller quantities. If you're consistently getting sour homemade bread and using a high percentage of whole or rye flour, this could be a contributing factor. Experimenting with different flour blends can help you find the balance that suits your taste preferences.
Troubleshooting Sour Homemade Bread: Solutions and Prevention
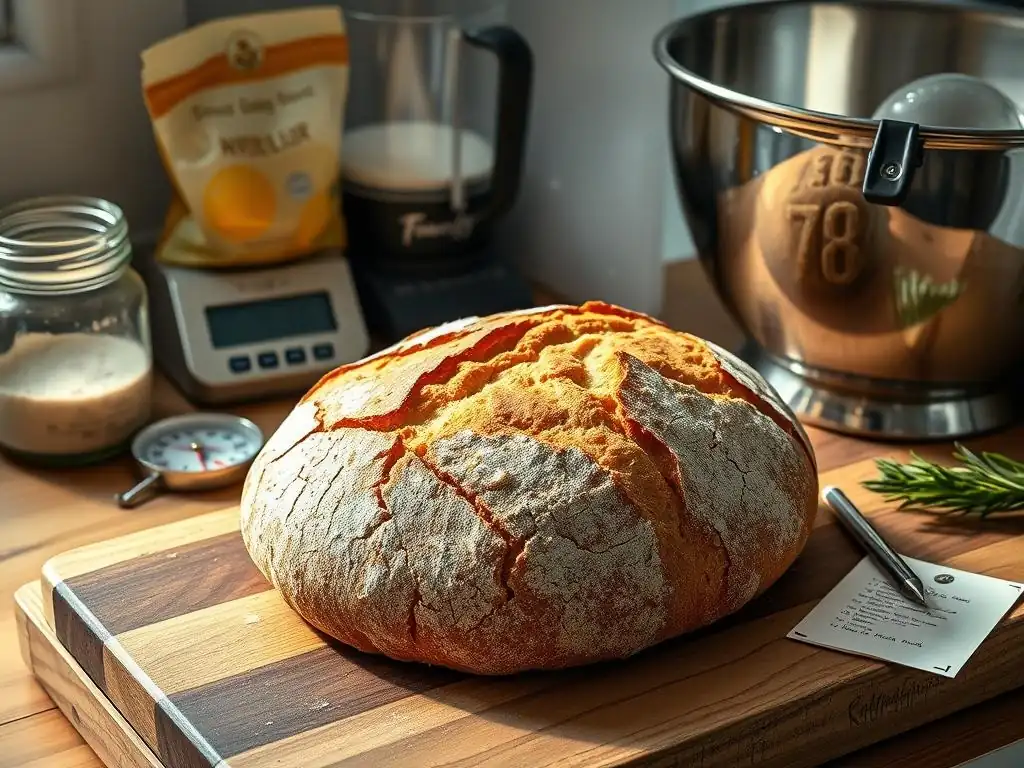
Adjusting Fermentation Time: Finding the Sweet Spot
Visual Cues for Optimal Fermentation
One of the most effective ways to prevent overly sour homemade bread is to correctly assess and adjust your fermentation time. Instead of relying solely on a clock, learn to read your dough. For bulk fermentation, visual cues are key. The dough should increase significantly in volume – often doubling or increasing by 50-75%, depending on the desired outcome and recipe. The surface should look domed and smooth, not flat or collapsing. You might see some bubbles forming on the surface.
Another indicator is the dough's texture and feel. It should feel lighter, airier, and slightly jiggly. When you gently pull a piece, it should show good extensibility and form a thin membrane (the windowpane test). If the dough looks overly puffy, flat, or starts to recede quickly after poking, it might be over-fermented. Paying close attention to these cues, rather than sticking rigidly to a time stated in a recipe (as environmental factors vary), is crucial for sour homemade bread troubleshooting.
The Poke Test: Assessing Fermentation
The poke test is a reliable method for assessing the final proof. To perform the poke test, lightly flour your finger and gently but firmly press it about half an inch (1-2 cm) into the side of the shaped loaf.
- If the indentation springs back immediately and completely, the dough is under-proofed.
- If the indentation slowly springs back about halfway, the dough is optimally proofed and ready to bake.
- If the indentation remains completely or mostly indented and doesn't spring back at all, the dough is likely over-proofed.
An over-proofed loaf often has a very fragile structure and can taste overly sour because the microbes have had too long to produce acids in their final resting place. Mastering the poke test helps ensure you bake your bread at the right moment, contributing to better flavor and texture.
Optimizing Starter Maintenance (Sourdough Specific)
Establishing a Regular Feeding Schedule
For sourdough bakers experiencing sour homemade bread, optimizing starter maintenance is a priority. Establishing a regular feeding schedule is fundamental. If you bake frequently (several times a week), keeping your starter at room temperature and feeding it 1-2 times a day with a consistent ratio (like 1:2:2 or 1:3:3 starter:flour:water) will keep it active and less acidic.
If you bake less often, storing your starter in the refrigerator is recommended. This slows down microbial activity significantly. When you want to bake, take the starter out, let it warm up, and feed it 1-3 times until it becomes consistently active and doubles or triples predictably within a few hours at room temperature. This process, often called "activating" or "refreshing" the starter, ensures you're using a vigorous starter at its peak activity, which is less likely to contribute excessive sourness compared to a dormant, overly acidic one straight from the fridge.
Observing Starter Activity and Adjusting Accordingly
Beyond a schedule, learn to read your starter. A healthy, recently fed starter should double or triple in volume within a predictable timeframe based on temperature and feeding ratio. It should have a pleasant, tangy aroma with visible bubbles throughout.
If your starter consistently peaks and falls very quickly (e.g., doubles in 2 hours and falls by hour 3 at 75°F), you might need to use it sooner after feeding or adjust your feeding ratio to a higher amount of fresh flour (e.g., 1:4:4 or 1:5:5). This higher ratio gives the microbes more food, slowing down fermentation in the starter itself and resulting in a milder flavor.
Conversely, if your starter is sluggish and takes a very long time to become active, it might not be strong enough to properly leaven your dough, leading to prolonged fermentation in the loaf and potential sourness. Ensuring your starter is vigorous and used at its peak is a key step in preventing sour homemade bread.
Reducing the Amount of Starter Used
Calculating the Ideal Starter Ratio
If your sourdough bread is consistently too sour, consider reducing the percentage of starter in your recipe. Many standard sourdough recipes use 20-25% starter relative to the total flour weight. Experimenting with a lower percentage, such as 15% or even 10%, can slow down the overall fermentation process.
For example, if a recipe uses 500g of flour and 100g of starter (20%), try reducing the starter to 75g (15%) or 50g (10%). A lower starter percentage means fewer microbes are present at the start, resulting in a longer, slower fermentation. This extended time can allow for more complex flavor development, but it also gives you more control to stop fermentation before excessive acids build up.
You will need to monitor the dough carefully, as the bulk fermentation and proofing times will be longer. This adjustment is a straightforward way to reduce the microbial load and decrease the potential for intense sourness.
Shortening Proofing Times: Controlling Sourness
Monitoring Dough Rise and Adjusting Proofing Time
Controlling the duration of both bulk fermentation and final proof is critical in managing sourness. If you suspect over-fermentation is causing your sour homemade bread, try reducing the time the dough spends rising. Pay close attention to the visual cues discussed earlier – the dough should increase in volume by the specified amount (e.g., 50-75% for bulk) but not significantly more.
If your recipe calls for a 4-hour bulk ferment and your dough looks ready after 3 hours, move on to shaping. Similarly, for the final proof, rely on the poke test rather than a fixed time. If the poke test indicates the dough is ready after 1 hour instead of the recipe's suggested 2 hours, preheat your oven and bake immediately. Being responsive to the dough's readiness rather than adhering rigidly to timeframes is a powerful tool for preventing over-acidification.
Controlling Fermentation Temperature
Using a Proofer or Warm Environment
Consistent temperature control is essential for predictable fermentation and managing sourness. If your kitchen is cool, finding a warmer spot for your dough can help. A dedicated proofing box or even your oven with the light on can provide a more consistent temperature (often around 75-80°F or 24-27°C). This warmer temperature favors lactic acid production over acetic acid, leading to a milder tang.
Alternatively, if your kitchen is very warm and fermentation is happening too quickly, finding a slightly cooler spot or using cooler water in your dough mix can help slow things down. Aiming for a target dough temperature after mixing (e.g., 75-78°F or 24-26°C) is a good practice. Using a thermometer to monitor dough temperature during bulk fermentation can provide valuable data for troubleshooting sour homemade bread.
Adjusting Oven Temperature for Proofing
While the oven is primarily for baking, some bakers use it for proofing. Using just the oven light can raise the temperature slightly, often into a good range for bulk fermentation. However, avoid using a low oven setting unless it's specifically designed as a proofing function with accurate temperature control. Temperatures that are too high (above 90°F or 32°C) can stress yeast and lead to off-flavors, potentially contributing to sourness in a negative way.
If using the refrigerator for an extended cold proof to develop flavor, understand that while it slows yeast, it allows bacterial acid production to continue. A cold proof for 12-24 hours is common and adds pleasant tang; pushing it to 48+ hours might result in significant sourness. Balancing the desire for cold-proofed flavor with the potential for increased sourness is part of mastering sour homemade bread troubleshooting.
Choosing the Right Flour for Your Bread
Experimenting with Different Flour Types
If you consistently find your homemade bread too sour, especially sourdough, consider the type of flour you're using. If you're using a high percentage of whole wheat or rye flour, try baking a loaf using a higher percentage of white bread flour (e.g., 90-100% white). White flour tends to produce a milder, less acidic loaf.
Experiment with different flour blends to find your preferred balance of flavor and texture. A blend of 80% white bread flour and 20% whole wheat, for example, might offer a good compromise, providing some of the nutritional benefits and nutty flavor of whole wheat without contributing excessive sourness. Note that switching flour types might require slight adjustments to hydration levels, as different flours absorb water differently.
Understanding Flour Protein Content
Flour protein content primarily affects gluten development and dough structure, but it can indirectly influence fermentation and flavor. Higher protein flours (like strong bread flour, typically 12-14% protein) require more water and can create a strong gluten network capable of trapping gas from fermentation. Lower protein flours (like pastry flour, 8-10% protein) require less water and develop less gluten.
While protein content doesn't directly cause sourness, the dough's ability to hold structure can influence how long you can ferment it before it collapses. A stronger flour might allow for a slightly longer bulk ferment without risking total collapse, potentially giving you a bit more flexibility in flavor development. However, the type of flour (white vs. whole grain) has a more direct impact on the source of food for acid-producing bacteria. Understanding flour properties helps in overall sour homemade bread troubleshooting.
Preventing Sour Bread: BakeWithEase Best Practices
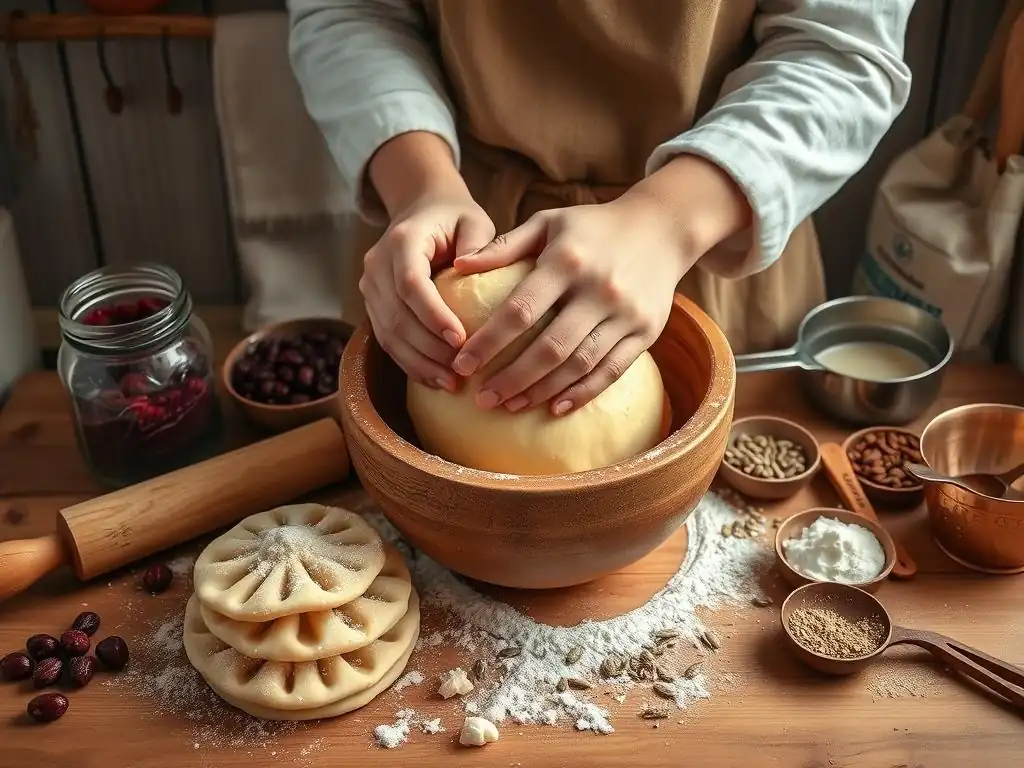
Maintaining a Balanced Starter (Sourdough)
The foundation of consistently non-sour (or mildly sour) sourdough is a well-maintained starter. This means regular feeding when kept at room temperature or proper refreshing after refrigeration. Aim for a feeding ratio that results in a starter that peaks predictably and has a pleasant, lively aroma. Using a starter at its peak activity ensures you introduce a vigorous, well-fed microbial population into your dough, promoting healthy fermentation without excessive acid buildup before the rise is achieved.
Precise Measurements and Ingredient Ratios
Accuracy in your recipe is crucial. Use a digital scale to measure ingredients, especially flour, water, and starter, as volume measurements can be imprecise. Consistent ratios ensure predictable outcomes. Pay attention to the starter percentage relative to the total flour. If your current recipe yields sour homemade bread, try reducing the starter percentage slightly in your next bake.
Careful Monitoring of Fermentation
Do not rely solely on the clock. Learn to read your dough. Observe its volume increase, surface texture, and overall feel during bulk fermentation. Use the poke test to assess the final proof. Ending fermentation when the dough has reached the desired state, rather than waiting for a fixed time, is perhaps the most important step in controlling flavor and preventing over-acidification.
Proper Temperature Control
Temperature control is paramount. Find a consistent spot for fermentation, ideally in the 75-80°F (24-27°C) range for sourdough bulk fermentation if you want a milder tang. Use a thermometer to check your dough temperature. Adjust water temperature or proofing location based on your ambient kitchen temperature. Consistent temperatures lead to consistent fermentation rates and more predictable flavor outcomes, making sour homemade bread troubleshooting less frequent.
Is My Sour Bread Still Safe to Eat?
Understanding Acceptable Levels of Sourness
Sourness in bread, particularly sourdough, is often intentional and desirable. A pleasant tang is a hallmark of naturally leavened bread. The level of acceptable sourness is subjective and varies by personal preference and regional baking traditions. The sourness caused by lactic and acetic acids from fermentation is not harmful; in fact, it's a natural byproduct of the process that also contributes to the bread's keeping qualities.
The question isn't whether any sourness is safe, but whether the type or intensity of sourness indicates something is wrong beyond just flavor preference. The sourness from fermentation is generally a clean, acidic tang, like yogurt or vinegar.
Identifying Signs of Spoilage vs. Expected Sourness
While fermentation-induced sourness is safe, it's important to distinguish it from signs of spoilage. Bread spoilage is usually caused by mold or undesirable bacteria that produce off-flavors and potentially harmful substances. Signs of spoilage include:
- Visible Mold: Any fuzzy or discolored spots (green, white, black, pink).
- Unpleasant Odors: Smells that are distinctly not the familiar tangy, yeasty aroma of fermented dough. This could include chemical smells, strong alcohol odors (beyond a mild fermentation byproduct), or simply foul smells.
- Unusual Texture: Sliminess or excessive stickiness that wasn't present before.
If your bread simply tastes more sour than you intended due to prolonged or cool fermentation, but shows none of these signs of spoilage, it is generally safe to eat. The strong sour taste is a quality issue, not a safety one in this context. However, if you see mold or detect off-putting odors, it's best to discard the loaf.
Mastering the Art of Bread Baking: Avoiding Sourness and Achieving Perfect Flavor
Baking bread is a journey of learning and adjustment. Experiencing sour homemade bread is a common step along the way, especially when working with natural leavening like sourdough. It's a clear signal that your fermentation process needs attention. By understanding the science behind acid production, monitoring your dough closely, controlling temperature, optimizing your starter, and adjusting ingredient ratios and timings, you gain the power to fine-tune your bread's flavor profile.
Troubleshooting sour homemade bread challenges allows you to become a more intuitive baker, learning to read your dough and respond to its needs rather than rigidly following instructions. Embrace the process, make small adjustments in your next bake based on what you've learned, and don't be discouraged by results that aren't exactly what you expected. With practice and attention to detail, you'll master the art of controlling fermentation and consistently bake delicious loaves with just the right balance of flavors. Happy baking!
Frequently Asked Questions
Why does my homemade bread taste too sour?
Excessive sourness usually indicates over-fermentation of the dough. This can happen if the proofing time is too long or the starter is too acidic. Adjust your recipe or process accordingly.
What role does the starter play in the sourness of homemade bread?
The starter's activity directly influences the bread's sourness. A more active starter, especially with acetic acid production, will yield a tangier loaf.
How can I control the level of sourness in my homemade bread?
Control the sourness by adjusting the fermentation time and temperature. Shorter fermentation times or cooler temperatures will generally result in a less sour flavor.
Is it possible to make homemade bread that isn't sour at all?
While difficult to eliminate all sourness in sourdough, you can minimize it by using a younger starter and shortening the bulk fermentation and proofing times.
What are some common mistakes that lead to overly sour homemade bread?
Common mistakes include over-proofing the dough, using a very mature and acidic starter, or fermenting the dough at high temperatures for extended periods.
Final Reflection: The Sweetness of Sourdough Success
The persistent tang of sourness in homemade bread is a common frustration, but understanding its causes unlocks the path to consistently delicious loaves. This isn't just about fixing a recipe gone wrong; it's about mastering the art of bread baking and appreciating the nuanced flavors possible. The journey from a disappointing, sour loaf to a perfectly risen, crusty masterpiece is a testament to patience and precision.
The quest for perfectly risen bread has shaped baking traditions for centuries, and the subtle dance between yeast, flour, and time continues to fascinate and challenge home bakers. The struggle with sourness isn't a failure; it's a learning opportunity. The best bread is made with love, patience, and a little bit of flour on your apron.
This quote, while not directly addressing sourness, encapsulates the spirit of baking, highlighting the emotional investment and the rewarding outcome. Understanding the science behind sourness – from wild yeasts to improper fermentation – allows us to appreciate the delicate balance required for truly exceptional bread.
Now, consider your own baking journey. Have you experienced the frustration of a sour loaf? What did you learn from that experience? I encourage you to embrace the challenges, to experiment with different flours, temperatures, and techniques. Don't be discouraged by a few sour loaves; instead, see them as stepping stones on your path to becoming a confident and skilled bread baker. The reward – the aroma of freshly baked bread, the satisfying crust, and the delightful taste – is well worth the effort.
Unlock the Secrets to Sweet Bread Baking!
Thanks for joining us on this bread-baking journey! We hope you gained valuable insights into why your loaves might be tasting a bit too tangy. Now it's time to put that knowledge to work!
- Master the Art of Sourdough Control: Dive deeper into the science behind sourdough starters and learn how to perfectly balance the acidity in your next bake. This will significantly impact your bread's flavour profile and texture, so let's get started.
- Share Your Baking Triumphs (and Challenges!): Connect with our community on social media and share your bread-making experiences—we'd love to see your creations (and hear about any further sour encounters! ).
- Experiment with Different Flour Types: Try substituting a portion of your usual flour with a different variety – rye, whole wheat, or even spelt – to see how it affects the final flavor.
Ready to bake the sweetest, most delicious bread you’ve ever tasted? What flour type will you experiment with first?