
Unlock the Secret to Perfectly Baked Vegan Bread

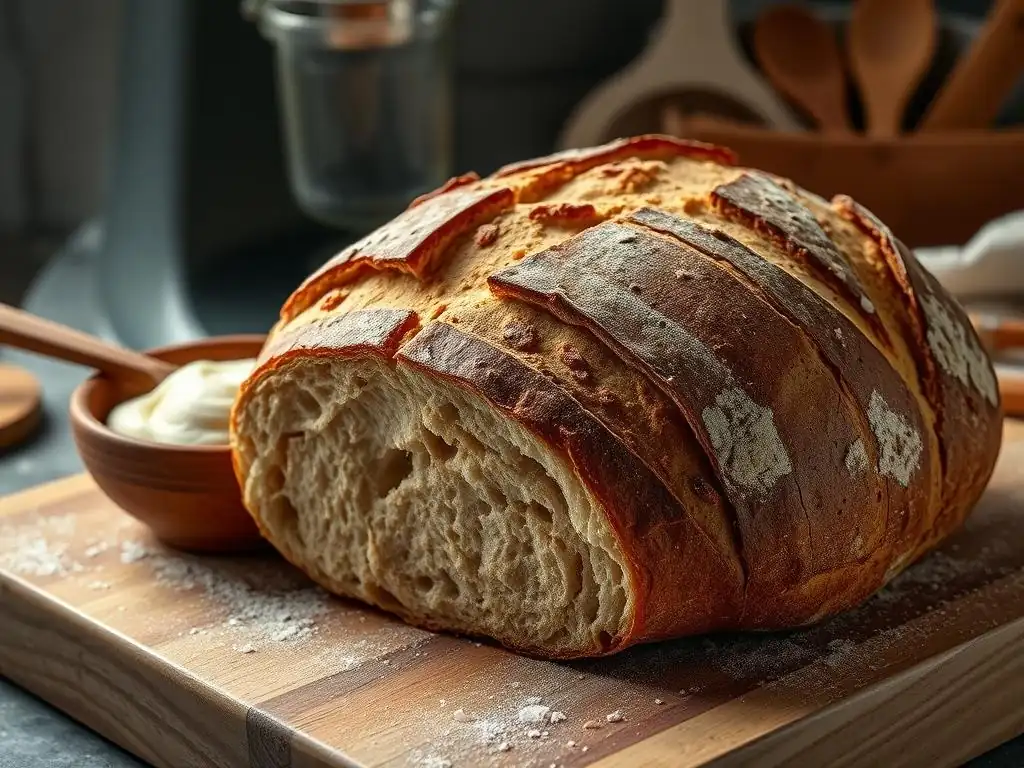
Welcome to BakeWithEase, your partner in creating delightful baked goods! Are you ready to unlock the secret to a perfectly baked vegan bread recipe? Imagine the aroma of fresh, crusty bread filling your kitchen, all without any animal products. This is more than just a recipe; it's a journey into the surprisingly simple world of vegan baking. Dive in and discover how easy it is to create incredible bread that's both delicious and ethical. Prepare to be amazed!
- Introduction: Mastering Vegan Bread Baking with Ease
- Understanding the Fundamentals of Vegan Bread
-
The Ultimate Perfectly Baked Vegan Bread Recipe: Step-by-Step
- Preparing Your Ingredients: A Vegan Bread Recipe Checklist
- Mixing the Dough: Achieving the Perfect Consistency
- First Rise: Creating Volume and Flavor
- Shaping Your Vegan Bread: Techniques for a Beautiful Loaf
- Second Rise: The Final Proof
- Baking to Perfection: Achieving a Golden Crust
- Cooling and Storing Your Vegan Bread
- Troubleshooting Common Vegan Bread Baking Problems
- Advanced Vegan Bread Baking Techniques
- Tips and Tricks for Perfectly Baked Vegan Bread Every Time
- Conclusion: Enjoying Your Homemade Vegan Bread
- Frequently Asked Questions
- Final Reflection: The Joy of Perfectly Baked Vegan Bread
- Unleash Your Inner Vegan Baker!
Introduction: Mastering Vegan Bread Baking with Ease
Welcome to Vegan Bread Baking Perfection!
Embarking on the journey of vegan bread baking can feel like stepping into a new culinary world. You might wonder how to achieve that perfect rise, that soft crumb, and that golden crust without traditional dairy or eggs. The good news is that creating a perfectly baked vegan bread recipe is not only possible but incredibly rewarding. It opens up a world of delicious possibilities for those following a plant-based lifestyle or simply looking to explore new baking horizons.
This guide is designed to demystify the process, breaking it down into simple, manageable steps. We'll cover everything from understanding the fundamental ingredients that make vegan bread work to troubleshooting common issues and exploring advanced techniques. Whether you're a complete beginner or have some baking experience, you'll find the knowledge and confidence here to bake truly exceptional vegan bread right in your own kitchen.
Why Vegan Bread Baking Can Be Easier Than You Think
Many people assume that baking without eggs and dairy is inherently more difficult, requiring complex substitutions and yielding inferior results. However, for many basic bread recipes, the core ingredients – flour, water, yeast, and salt – are already vegan! The primary difference comes in enriching ingredients like milk, butter, or eggs often used in softer or enriched doughs. Learning how to substitute these effectively is straightforward.
In fact, sometimes the predictability of plant-based ingredients can make the process more consistent. Unlike eggs, which can vary in size and composition, plant-based milks and oils offer a more uniform base. With a little understanding of how plant-based ingredients interact, mastering a perfectly baked vegan bread recipe can be surprisingly simple and yield results that rival, or even surpass, their non-vegan counterparts in texture and flavor.
BakeWithEase: Your Partner in Plant-Based Bread Mastery
At BakeWithEase, our mission is to make baking accessible and enjoyable for everyone, regardless of dietary choices or experience level. We believe that everyone should be able to experience the joy and satisfaction of pulling a warm, fragrant loaf of bread from the oven. This commitment extends fully to the world of vegan baking.
We provide clear, step-by-step instructions, helpful tips, and explanations of the 'why' behind each step. Our goal is to equip you with the knowledge and confidence to tackle any vegan bread recipe. Think of us as your friendly guide, helping you navigate the nuances of plant-based ingredients to consistently achieve a perfectly baked vegan bread recipe that you'll be proud to share.
Understanding the Fundamentals of Vegan Bread
The Science Behind Vegan Bread: Key Ingredients and Their Roles
At its heart, bread baking is a fascinating interplay of science and simple ingredients. In vegan bread, as in traditional bread, gluten development, yeast activity, and moisture balance are crucial. Gluten, formed when flour proteins (glutenin and gliadin) combine with water and are kneaded, provides the structure that traps the carbon dioxide gas produced by yeast. This trapped gas causes the dough to rise.
Yeast, a living microorganism, feeds on sugars in the dough (either added or produced by enzymes breaking down starch) and produces carbon dioxide and alcohol through fermentation. This process not only makes the bread rise but also contributes significantly to its flavor profile. Balancing these elements, along with managing moisture from liquids and fats, is key to developing a perfectly baked vegan bread recipe with a desirable texture and taste.
Essential Ingredients for a Perfectly Baked Vegan Bread Recipe
While the specific ingredients may vary depending on the type of bread, several are fundamental to most vegan bread recipes. Understanding the role of each helps ensure successful baking. These include various types of flour, active or instant yeast, a liquid base (usually water or plant-based milk), a sweetener (like sugar or maple syrup), salt, and often a fat source (oil or vegan butter).
Beyond these staples, some vegan recipes might incorporate ingredients like vital wheat gluten to enhance structure, flaxseed or chia seeds mixed with water as a binder (though less common in simple loaves), or specific starches to improve texture. Having these essential ingredients on hand and understanding their function is the first step towards mastering a perfectly baked vegan bread recipe.
Flour Power: Choosing the Right Flour for Vegan Bread
The type of flour you choose significantly impacts the texture and structure of your perfectly baked vegan bread recipe. All-purpose flour is a great starting point for many recipes, offering a moderate protein content (typically 10-12%) that allows for good gluten development and structure. Bread flour, with a higher protein content (around 12-14%), is ideal for chewier loaves with a stronger structure.
For whole wheat vegan bread, use whole wheat flour, but be aware that the bran and germ can interfere slightly with gluten development, potentially requiring slightly more water or a longer kneading time. Blending whole wheat with all-purpose or bread flour is a common technique to balance flavor, nutrition, and texture. Understanding the characteristics of different flours is vital for achieving your desired outcome.
The Importance of Yeast in Vegan Bread Baking
Yeast is the leavening agent that makes your vegan bread light and airy. Active dry yeast needs to be proofed in warm liquid before use, while instant yeast can often be mixed directly with the dry ingredients. Both work by consuming sugars and producing carbon dioxide gas.
Ensuring your yeast is active is paramount. Check the expiration date on the package. If using active dry yeast, proof it by dissolving it in warm water (around 105-115°F or 40-46°C) with a pinch of sugar; it should become foamy within 5-10 minutes. If it doesn't foam, your yeast is likely dead, and you'll need a new packet to achieve a perfectly baked vegan bread recipe.
Sweeteners and Their Impact on Texture and Flavor
While sugar isn't strictly necessary for yeast to leaven (it can feed on starch broken down by enzymes), a small amount of sweetener significantly boosts yeast activity, leading to a faster and more reliable rise. Sugar also contributes to the browning of the crust through caramelization during baking, giving your perfectly baked vegan bread recipe a beautiful golden color.
Beyond basic granulated sugar, you can use other vegan sweeteners like maple syrup, agave nectar, or brown sugar. These can impart subtle flavor notes and affect moisture slightly. Using too much sugar, however, can inhibit yeast activity and result in a dense loaf, so follow the recipe's proportions carefully.
Fats and Oils: Achieving a Soft and Moist Crumb
Fats, like vegetable oil, olive oil, or melted vegan butter, play several important roles in a perfectly baked vegan bread recipe. They coat the gluten strands, making the crumb softer and more tender. Fats also help to keep the bread moist and extend its shelf life by slowing down the staling process.
The type of fat affects the flavor and texture. Olive oil is excellent for savory breads like focaccia, while a neutral vegetable oil (like canola or sunflower) is often used in sandwich loaves where you don't want a strong flavor. Melted vegan butter can add richness similar to dairy butter. The amount of fat used varies; lean doughs (like baguettes) contain little to no fat, while enriched doughs (like challah or brioche) contain a higher percentage.
Liquid Gold: Water, Plant-Based Milks, and Their Effects
Liquid is essential for hydrating the flour, activating the yeast, and allowing gluten to develop. Water is the most common liquid used in simple, rustic bread recipes, resulting in a chewier crust. The temperature of the water is crucial for activating yeast – warm, not hot, is best.
Plant-based milks (such as soy, almond, oat, or cashew) can be used in place of water in many vegan bread recipes, particularly for softer, richer loaves. The proteins and fats in plant milks can contribute to a more tender crumb and a slightly softer crust, similar to using dairy milk. Ensure the plant milk is unsweetened and plain unless the recipe specifies otherwise, to avoid unwanted flavors.
The Ultimate Perfectly Baked Vegan Bread Recipe: Step-by-Step
Preparing Your Ingredients: A Vegan Bread Recipe Checklist
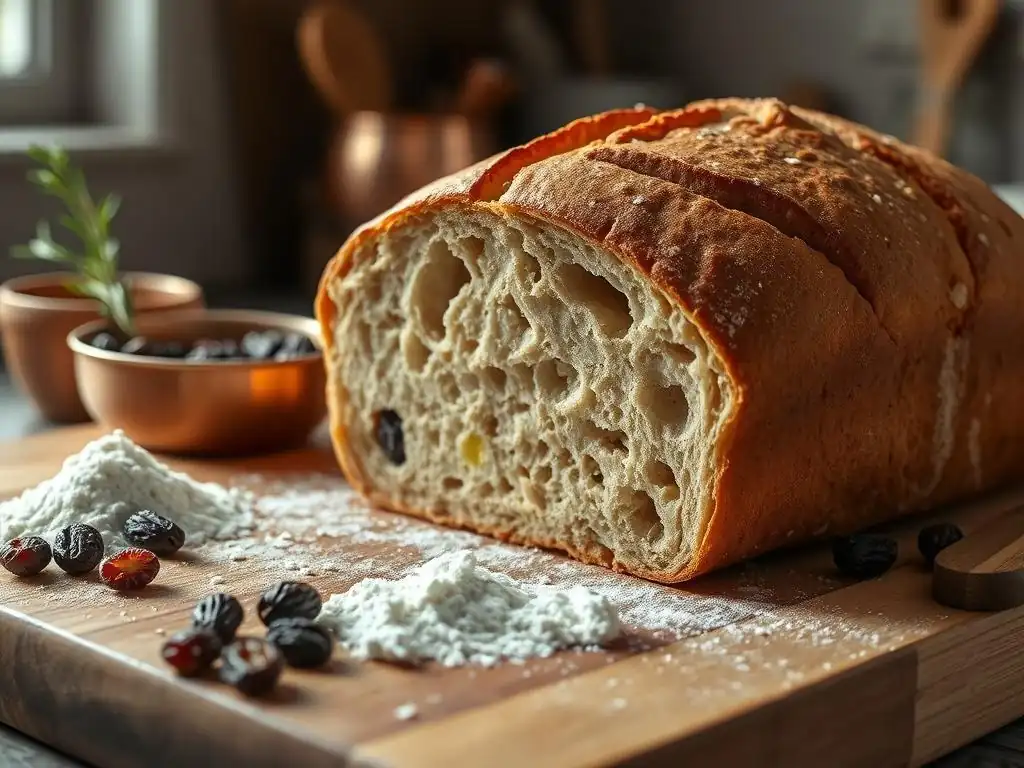
Before you begin mixing, gather all your ingredients and equipment. This ensures a smooth process and helps prevent mistakes. Measure your flour accurately, preferably by weight using a kitchen scale (e.g., 400g of all-purpose flour is a common amount for a standard loaf, roughly equivalent to 3 ¼ cups scooped and leveled). Have your yeast, salt, sweetener, and fat ready.
Warm your liquid to the correct temperature (around 105-115°F or 40-46°C for active dry yeast, or room temperature for instant yeast if mixing directly with dry ingredients). Prepare your mixing bowl, measuring cups and spoons, and any special equipment like a stand mixer if using one. A prepared workspace makes executing a perfectly baked vegan bread recipe much easier.
Mixing the Dough: Achieving the Perfect Consistency
The goal of mixing is to combine all the ingredients into a cohesive dough and begin developing gluten. Start by combining the wet ingredients (warm water or plant milk, sweetener, and yeast if proofing) in a large bowl. Let stand for a few minutes if proofing active dry yeast. Then, add the dry ingredients (flour, salt, and any other dry additions).
Mix with a spoon or in a stand mixer with a dough hook until a shaggy dough forms. If the recipe includes fat, add it now and continue mixing until it's incorporated. The dough will look rough and sticky initially. This is where kneading comes in to develop that vital gluten structure for a perfectly baked vegan bread recipe.
Tips for Kneading Vegan Bread Dough
Kneading develops the gluten, turning the shaggy mass into a smooth, elastic dough. You can knead by hand or using a stand mixer. By hand, turn the dough onto a lightly floured surface. Fold the dough towards you, press down and push away with the heel of your hand, rotate slightly, and repeat. This process stretches and aligns the gluten strands.
Knead until the dough is smooth, elastic, and no longer excessively sticky. This usually takes 8-10 minutes by hand or 6-8 minutes in a stand mixer on medium-low speed. Over-kneading is rare but possible; the dough will become very tight and difficult to work with. Proper kneading is crucial for a well-structured, perfectly baked vegan bread recipe.
The Windowpane Test: Knowing When Your Dough is Ready
The windowpane test is a classic method to check if your dough has been sufficiently kneaded and gluten is well-developed. Pinch off a small piece of dough, about the size of a golf ball. Gently stretch and pull it outwards with your fingers.
If the dough can be stretched into a thin, translucent membrane (like a windowpane) without tearing easily, the gluten is well-developed. If it tears quickly, it needs more kneading. This test is a reliable indicator that your dough is ready for the first rise, setting you up for a perfectly baked vegan bread recipe.
First Rise: Creating Volume and Flavor
The first rise, also known as bulk fermentation, is a critical stage where the yeast produces most of the gas that leavens the bread and develops significant flavor compounds. After kneading, place the dough in a lightly oiled bowl, turning to coat the surface. Cover the bowl tightly with plastic wrap or a damp kitchen towel to prevent drying.
Let the dough rise in a warm, draft-free place until it has doubled in size. This can take anywhere from 1 to 2 hours, depending on the temperature of your kitchen and the activity of your yeast. A common target is for the dough volume to increase by 80-100%. This slow fermentation is key to a flavorful and perfectly baked vegan bread recipe.
Optimizing Temperature for the First Rise
The ideal temperature for the first rise is typically between 75-85°F (24-29°C). Warmer temperatures speed up yeast activity, while cooler temperatures slow it down. If your kitchen is cool, you can create a warm environment by placing the covered bowl in a turned-off oven with the light on, or near a warm appliance.
Avoid temperatures above 95°F (35°C) as this can kill the yeast or cause off-flavors. Conversely, a slower rise at cooler temperatures (like in the refrigerator overnight) develops more complex flavors, though it requires significantly more time. Controlling the temperature helps ensure a consistent and successful first rise for your perfectly baked vegan bread recipe.
Shaping Your Vegan Bread: Techniques for a Beautiful Loaf
Once the dough has doubled, gently punch it down to release the gases. Turn the dough onto a lightly floured surface. Now it's time to shape it into your desired form. The goal of shaping is to create tension on the surface of the dough, which helps it hold its shape during the second rise and baking and contributes to a good oven spring.
For a simple loaf, gently pat the dough into a rectangle, then fold it into thirds like a letter. Turn the dough 90 degrees and roll it up tightly from one end to the other, pinching the seam closed. Place the loaf seam-side down in a greased loaf pan or on a baking sheet. Proper shaping is essential for a well-formed and perfectly baked vegan bread recipe.
Different Vegan Bread Shapes and Their Requirements
The shape you choose for your vegan bread can affect its crust-to-crumb ratio and how it bakes. A standard loaf shape (batard or boule) can be baked freeform on a baking sheet or in a proofing basket (banneton) before transferring to a baking surface. These shapes are versatile and work well for many recipes.
Rolls require dividing the dough into equal portions and shaping each into a small ball. Braids require dividing the dough into strands and weaving them. Each shape has specific techniques to create surface tension and ensure even baking. Practicing shaping will improve the final appearance and texture of your perfectly baked vegan bread recipe.
Second Rise: The Final Proof
The second rise, or proofing, is the final fermentation before baking. The shaped dough is allowed to rise again, though usually not quite doubling in size this time (it should increase by about 50-75%). This rise lightens the dough and prepares it for oven spring. Cover the shaped dough loosely with plastic wrap or a light cloth to prevent a skin from forming.
Proofing time varies depending on the recipe and temperature, typically taking 30-60 minutes. The dough is ready when it looks puffy and springs back slowly when gently poked with a finger (the "poke test"). If it springs back immediately, it needs more time. If it doesn't spring back at all and collapses slightly, it may be over-proofed. Accurate proofing is key to a light and perfectly baked vegan bread recipe.
Preventing Over-Proofing in Vegan Bread
Over-proofing is a common issue that can lead to a dense crumb and potentially collapse during baking. When dough over-proofs, the gluten structure becomes weakened from being stretched too far, and the yeast can exhaust its food supply. The dough might look very large and airy but lack the necessary structure to hold up in the oven.
To prevent over-proofing, pay close attention to the dough's appearance and the poke test rather than strictly adhering to a time given in a recipe, as kitchen temperatures vary. If you think the dough is proofing too quickly, you can place it in a slightly cooler spot. Baking the dough slightly under-proofed is often better than baking it significantly over-proofed for a perfectly baked vegan bread recipe.
Baking to Perfection: Achieving a Golden Crust
Baking is the magical step where the dough transforms into bread. The heat of the oven causes a final burst of rising (oven spring) as gases expand, kills the yeast, solidifies the gluten structure, and creates the crust through complex chemical reactions like the Maillard reaction and caramelization. Preheating your oven fully is essential for consistent results.
Many vegan bread recipes benefit from a hot oven and steam during the initial baking phase. Steam helps keep the crust soft temporarily, allowing the loaf to expand fully before the crust hardens. This contributes to better oven spring and a thinner, crispier crust on your perfectly baked vegan bread recipe.
Oven Temperature and Baking Time for Vegan Bread
Most standard vegan bread recipes bake at high temperatures, typically between 375°F and 450°F (190°C and 230°C). The exact temperature and baking time depend on the size and type of loaf. A standard 1.5 lb loaf might bake at 400°F (200°C) for 30-40 minutes.
The bread is done when it has a deep golden-brown crust and sounds hollow when tapped on the bottom. For accuracy, use an instant-read thermometer inserted into the center of the loaf; it should register an internal temperature of 200-210°F (93-99°C). Achieving the right internal temperature ensures the crumb is fully cooked in your perfectly baked vegan bread recipe.
Using a Dutch Oven for Vegan Bread
Baking vegan bread in a Dutch oven is a popular technique, especially for rustic loaves like no-knead bread. The heavy pot traps steam released by the dough as it bakes, mimicking the effect of a professional bakery oven. This trapped steam promotes excellent oven spring and results in a wonderfully crisp crust.
Preheat the Dutch oven with the lid on in a very hot oven (often 450-500°F or 230-260°C). Carefully transfer the proofed dough into the hot Dutch oven, score the top, place the lid back on, and bake for the first part of the time (e.g., 20-30 minutes). Then, remove the lid and continue baking at a slightly lower temperature (e.g., 400-425°F or 200-220°C) until the crust is golden brown, typically another 15-25 minutes. This method is a game-changer for achieving a perfectly baked vegan bread recipe with an amazing crust.
Cooling and Storing Your Vegan Bread
Once your perfectly baked vegan bread recipe comes out of the oven, it's crucial to let it cool completely on a wire rack. This allows steam to escape from the interior, preventing a gummy crumb, and the internal structure to set properly. Cutting into hot bread can result in a dense, moist texture. Allow at least 1-2 hours for a standard loaf to cool.
Store cooled vegan bread at room temperature. For short-term storage (1-2 days), simply keep it cut-side down on a cutting board or in a paper bag to maintain crust crispness. For longer storage, place the bread in a bread box or a clean plastic bag once fully cooled. For maximum freshness beyond a couple of days, slice the bread and freeze it in an airtight container or freezer bag. Thaw slices as needed.
Troubleshooting Common Vegan Bread Baking Problems
Why is My Vegan Bread Dense and Heavy?
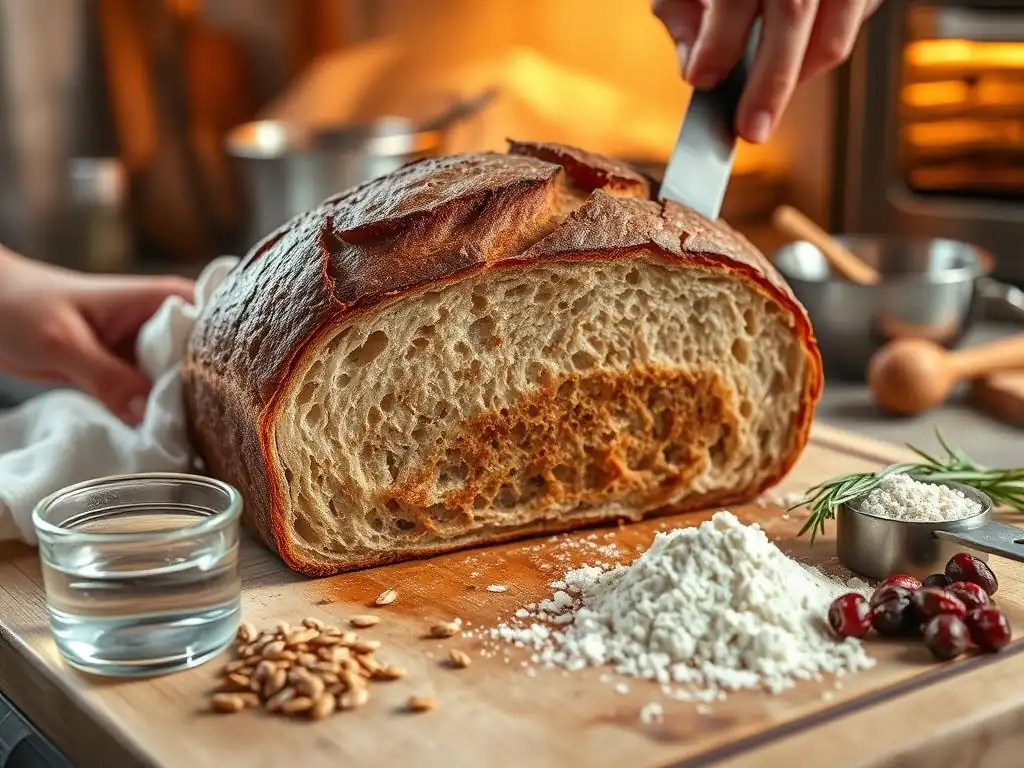
Density in vegan bread is often caused by issues with leavening or gluten development. Possible culprits include inactive yeast (check the expiration date and proofing), insufficient kneading (the gluten wasn't strong enough to trap gases), over-proofing (the gluten structure collapsed), or using too much flour relative to liquid (resulting in a stiff dough that can't rise easily).
Ensure your ingredients are fresh, measure accurately (especially flour), knead adequately using the windowpane test as a guide, and monitor the rising times carefully, adjusting based on temperature. Paying attention to these steps will significantly improve your chances of achieving a light and airy perfectly baked vegan bread recipe.
My Vegan Bread Didn't Rise: Troubleshooting Yeast Issues
If your vegan bread dough didn't rise, the most likely cause is inactive yeast. This could be due to expired yeast, using liquid that was too hot (which kills yeast), or using liquid that was too cold (which inhibits yeast activity). Make sure your liquid temperature is within the recommended range (105-115°F for active dry).
Another possibility is that the dough wasn't placed in a warm enough environment for rising, or it was exposed to a draft. Ensure your rising spot is warm and consistent. If using active dry yeast, proof it first to verify its viability before adding it to the rest of the ingredients for your perfectly baked vegan bread recipe.
Achieving a Golden-Brown Crust on Vegan Bread
A pale crust can result from insufficient baking time, too low an oven temperature, or a lack of sugars on the surface to caramelize. Ensure your oven is accurately preheated and set to the correct temperature. Baking the bread for the full recommended time, or until the internal temperature reaches 200-210°F, is key.
Brushing the surface of the dough with a liquid before baking can also help promote browning. Options include plant-based milk, melted vegan butter, or even a cornstarch wash (1 tsp cornstarch dissolved in ½ cup cold water, heated until thickened, then cooled). Using a Dutch oven method often naturally yields a darker, crisper crust on your perfectly baked vegan bread recipe.
Preventing a Soggy Bottom in Vegan Bread
A soggy bottom can occur if the bread isn't baked long enough, especially if baking on a stone or steel without sufficient preheating, or if the bread is left to cool on a flat surface rather than a wire rack. Ensure your baking surface (stone, steel, or baking sheet) is fully preheated in the oven for at least 30-60 minutes before placing the dough on it.
Make sure the bread bakes until the internal temperature is correct (200-210°F). If using a Dutch oven, removing the lid for the latter part of the bake allows the bottom crust to dry out and crisp up. Always cool your perfectly baked vegan bread recipe completely on a wire rack to allow air circulation around the entire loaf, preventing steam from condensing on the bottom.
Advanced Vegan Bread Baking Techniques
Exploring Different Vegan Bread Recipes
Once you've mastered a basic perfectly baked vegan bread recipe, you can explore a vast array of different types. From hearty whole wheat loaves and enriched challah alternatives to crusty baguettes and soft sandwich rolls, the world of vegan bread is expansive. Each type often requires slight adjustments in ingredients, hydration levels, and techniques.
Venturing into different recipes allows you to experiment with various flours, hydration percentages (the ratio of water to flour), and fermentation methods. This exploration deepens your understanding of bread science and expands your baking repertoire. Try a rustic country loaf or a soft enriched bun to see how technique influences the final perfectly baked vegan bread recipe.
Vegan Sourdough Bread: A Deeper Dive
Vegan sourdough bread relies on a natural leavening agent – a sourdough starter – rather than commercial yeast. A sourdough starter is a fermented culture of flour and water containing wild yeasts and bacteria. Creating and maintaining a healthy vegan sourdough starter is the first step, typically feeding it regularly with flour and water.
Baking vegan sourdough involves longer fermentation times, often including an overnight rise in the refrigerator to develop complex tangy flavors. The process requires patience and attention to the starter's activity and the dough's behavior. While more advanced, mastering vegan sourdough is incredibly rewarding, yielding a uniquely flavorful and perfectly baked vegan bread recipe.
Vegan Gluten-Free Bread: A Special Challenge
Baking gluten-free vegan bread presents a unique set of challenges because you lack the gluten network that provides structure in traditional bread. These recipes rely on a blend of gluten-free flours (like rice, oat, or sorghum) combined with binders such as xanthan gum, psyllium husk, or ground flaxseed to mimic the function of gluten.
Gluten-free vegan doughs often have a wetter, batter-like consistency and require different handling techniques – less kneading and more gentle shaping. Rising times can also differ. While achieving a light, airy texture can be more difficult, successful gluten-free vegan bread recipes are certainly attainable with the right ingredients and methods.
Adding Flavors and Textures to Your Vegan Bread
Plain bread is wonderful, but adding extra ingredients can elevate your perfectly baked vegan bread recipe to new levels. Seeds, nuts, herbs, spices, dried fruits, or even vegetables can be incorporated into the dough during the kneading process or added as a topping before baking.
Consider adding sunflower seeds and pumpkin seeds to a whole wheat loaf for crunch, fresh rosemary and olives to a focaccia, or cinnamon and raisins to a sweet bread. These additions not only enhance flavor but also contribute to the texture and visual appeal of your homemade vegan bread.
Seeds, Nuts, and Herbs: Enhancing Your Vegan Bread
Incorporating seeds like sesame, poppy, chia, or flax into your vegan bread dough adds nutritional value and interesting textures. Nuts such as walnuts or pecans can provide a pleasant crunch. Herbs like rosemary, thyme, or chives, either fresh or dried, infuse savory notes.
Fold these additions into the dough during the final stages of kneading to distribute them evenly. For seeds or oats on the crust, brush the shaped loaf with water or plant milk and roll it in the desired topping before the second rise. This creates a beautiful and flavorful exterior on your perfectly baked vegan bread recipe.
Sweet Vegan Breads: Cinnamon Rolls, Babka, and More
Vegan baking isn't limited to savory loaves. You can adapt many classic sweet bread recipes to be vegan. Cinnamon rolls, babka, brioche-style loaves, and even fruit-filled breads can be made using plant-based milk, vegan butter, and egg substitutes like applesauce or mashed banana (though simple enriched doughs may not require a specific egg substitute beyond the liquid and fat).
These enriched doughs typically contain more sugar and fat than lean loaves, resulting in a softer, richer crumb. They often require longer or multiple rises and specific shaping techniques for swirls, fillings, or braiding. Mastering these recipes expands the delightful possibilities for your perfectly baked vegan bread recipe creations.
Tips and Tricks for Perfectly Baked Vegan Bread Every Time
Measuring Ingredients Accurately for Consistent Results
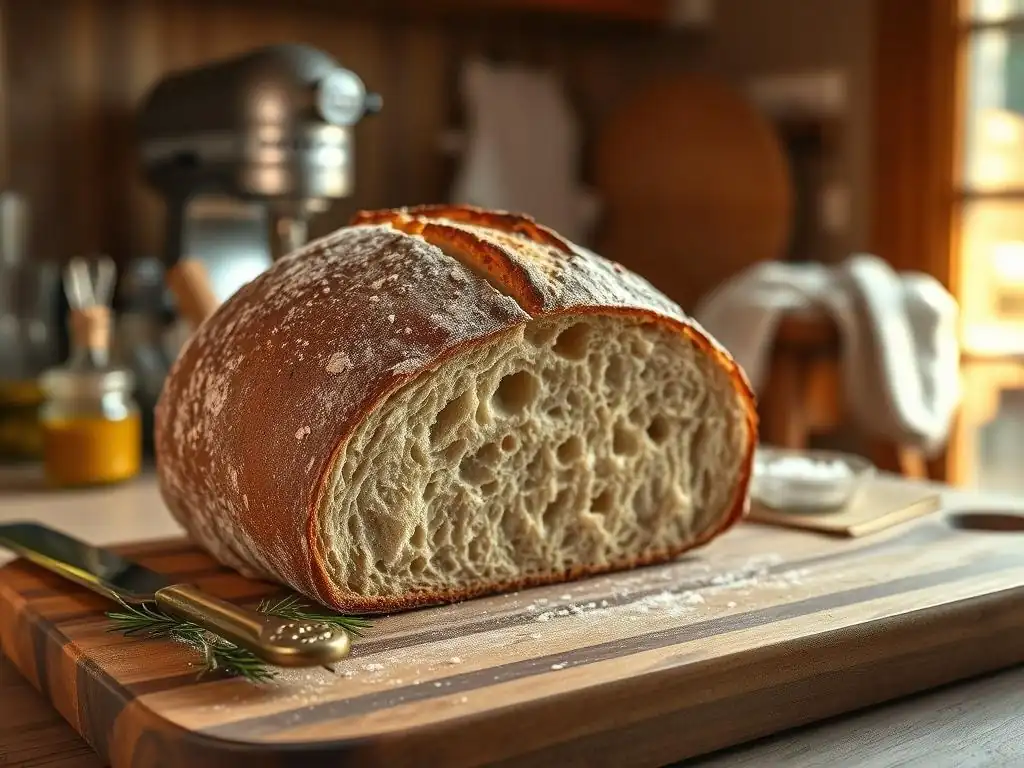
Accurate measurement is perhaps the single most important factor for consistent baking results, especially when aiming for a perfectly baked vegan bread recipe. While volume measurements (cups and spoons) are common, measuring by weight using a kitchen scale is far more precise, particularly for flour. A cup of flour can vary significantly in weight depending on how it's scooped and leveled.
For example, a recipe calling for 400g of flour will yield much more predictable results than one calling for "3 ¼ cups." Investing in a simple digital scale is highly recommended for serious bread bakers. Precise measurements ensure the correct hydration level and ingredient ratios, which are critical for dough structure and yeast activity.
Optimizing Your Baking Environment for Vegan Bread
The temperature of your kitchen impacts dough rising times. If your kitchen is cool, finding a warm spot for the dough is essential. This could be a warmed oven (turned off! ), near a sunny window (but not in direct sunlight which can overheat the dough), or even on top of a refrigerator which often emits warmth.
Conversely, if your kitchen is very warm, your dough will rise faster than the recipe indicates. You might need to shorten the rising time or even consider a cooler, slower fermentation in the refrigerator to develop better flavor and manage the proofing schedule for your perfectly baked vegan bread recipe.
The Importance of Patience in Vegan Bread Baking
Bread baking is not a process to be rushed. Each stage – kneading, rising, shaping, and proofing – requires time for the dough to develop properly. Rushing a rise or baking before the dough is fully proofed can lead to a dense, underdeveloped loaf.
Pay attention to the dough's appearance and feel rather than strictly adhering to the clock, as external factors like temperature can significantly influence timing. Allowing the dough the time it needs at each stage is crucial for developing flavor, achieving the correct texture, and ultimately creating a truly perfectly baked vegan bread recipe.
Using a Bread Machine for Vegan Bread: A Convenient Option
For those seeking convenience, a bread machine can be a great tool for making a perfectly baked vegan bread recipe. Many bread machines have specific settings for basic white bread, whole wheat bread, or even dough cycles (allowing you to shape and bake in a conventional oven).
Most standard bread machine recipes can be adapted to be vegan by substituting dairy milk with plant-based milk and dairy butter with vegan butter or oil. Follow the specific loading instructions for your machine (usually liquids first, then dry ingredients, with yeast last). While the crust may differ slightly from oven-baked bread, a bread machine produces reliable results with minimal effort.
Conclusion: Enjoying Your Homemade Vegan Bread
Celebrating Your Vegan Bread Baking Success
Congratulations! You've navigated the world of plant-based ingredients and techniques to create your very own perfectly baked vegan bread recipe. Take a moment to appreciate the result of your efforts – the aroma filling your kitchen, the beautiful golden crust, and the promise of a delicious, homemade loaf.
Whether this is your first successful loaf or you're adding another triumph to your baking repertoire, each bake is a learning experience and a cause for celebration. Enjoy the satisfaction of having created something wonderful from simple ingredients.
One of the greatest joys of baking bread is sharing it. Slice into your perfectly baked vegan bread recipe and share it warm with vegan butter, jam, or simply on its own. Offer slices to family, friends, or neighbors. Homemade bread is a gift that speaks of care and effort.
Your delicious vegan bread can be enjoyed in countless ways – for sandwiches, toast, croutons, or alongside soups and stews. Sharing your successful bakes is a wonderful way to connect with others and showcase how delicious and accessible vegan baking can be.
Keep Baking with Ease: Exploring More Vegan Recipes
Mastering one perfectly baked vegan bread recipe is just the beginning! There's a whole world of vegan baking waiting for you. Explore different types of loaves, experiment with adding seeds or herbs, or try your hand at sweet vegan rolls and pastries.
BakeWithEase is here to support your continued baking adventures. We have a wealth of other simple, reliable vegan recipes and guides to help you keep learning and growing as a baker. Keep practicing, keep experimenting, and keep enjoying the rewarding process of bringing delicious, plant-based creations to life in your kitchen.
Frequently Asked Questions
What makes a vegan bread recipe different from a regular bread recipe?
Vegan bread recipes differ primarily in the absence of animal products, like eggs and dairy. Recipes often use plant-based alternatives, such as aquafaba or plant-based milks, for moisture and binding.
What are some common pitfalls when baking vegan bread?
Common issues include bread that is too dense or crumbly. This can be due to insufficient gluten development or using the wrong type of flour. Hydration levels are also critical.
What ingredients are essential for a perfectly baked vegan bread?
Key ingredients include strong bread flour for gluten development, a good quality yeast for leavening, and a suitable vegan binder like flaxseed meal or apple sauce for moisture and structure.
How do I ensure my vegan bread has a good rise?
A proper rise relies on active yeast and a warm environment. Ensure your yeast is fresh and proof it before using. Sufficient kneading is also crucial for gluten development.
How do I know when my vegan bread is perfectly baked?
Look for a golden-brown crust and listen for a hollow sound when tapping the bottom of the loaf. An internal temperature of around 200-210°F (93-99°C) indicates it's fully baked.
Final Reflection: The Joy of Perfectly Baked Vegan Bread
The quest for perfectly baked vegan bread is more than just a recipe; it's a testament to the power of plant-based cooking and a celebration of culinary creativity. The techniques and insights shared in this article are not merely for achieving a golden-brown crust and fluffy crumb, but for unlocking a deeper understanding of baking itself, proving that delicious, satisfying bread can be created without any animal products.
This journey into the world of vegan baking has profoundly impacted my own approach to cooking. It's shown me that limitations can be creative springboards, pushing us to explore new ingredients and techniques. The best things in life are simple, and the simplest things are often the most profound.
This quote perfectly encapsulates the satisfaction of achieving a perfectly baked loaf of vegan bread – a testament to the beauty of simplicity and the rewarding nature of mastering a craft.
Now, it's your turn. Don't be intimidated by the seemingly complex world of bread baking. Take the knowledge gained from this article, experiment with different flours and techniques, and embrace the journey. The reward? The unparalleled satisfaction of slicing into a warm, perfectly baked loaf of vegan bread, knowing you created it with your own hands, and the joy of sharing it with those you love. Let the aroma fill your kitchen, and let the taste transport you. The secret to perfectly baked vegan bread is not just a recipe, but a journey of discovery waiting for you.
Unleash Your Inner Vegan Baker!
Thanks for joining us on this delicious journey into the world of vegan baking! We hope you've gained valuable insights and are ready to create some truly amazing bread. Now it's time to put your new knowledge into action!
- Bake your first perfectly risen vegan loaf: Use the techniques we discussed and experiment with different flours and ingredients. Share your results (and maybe even a picture!) with us on social media!
- Explore new vegan recipes: Dive deeper into our website for more delicious vegan baking inspiration—we've got plenty of treats waiting for you.
- Join our baking community: Connect with fellow vegan bakers in our online forum to share tips, recipes, and ask questions. Let's build a supportive network of bread enthusiasts!
Ready to transform your kitchen into a haven of delicious vegan bread?