
Baking GlutenFree Bread with Sorghum Flour

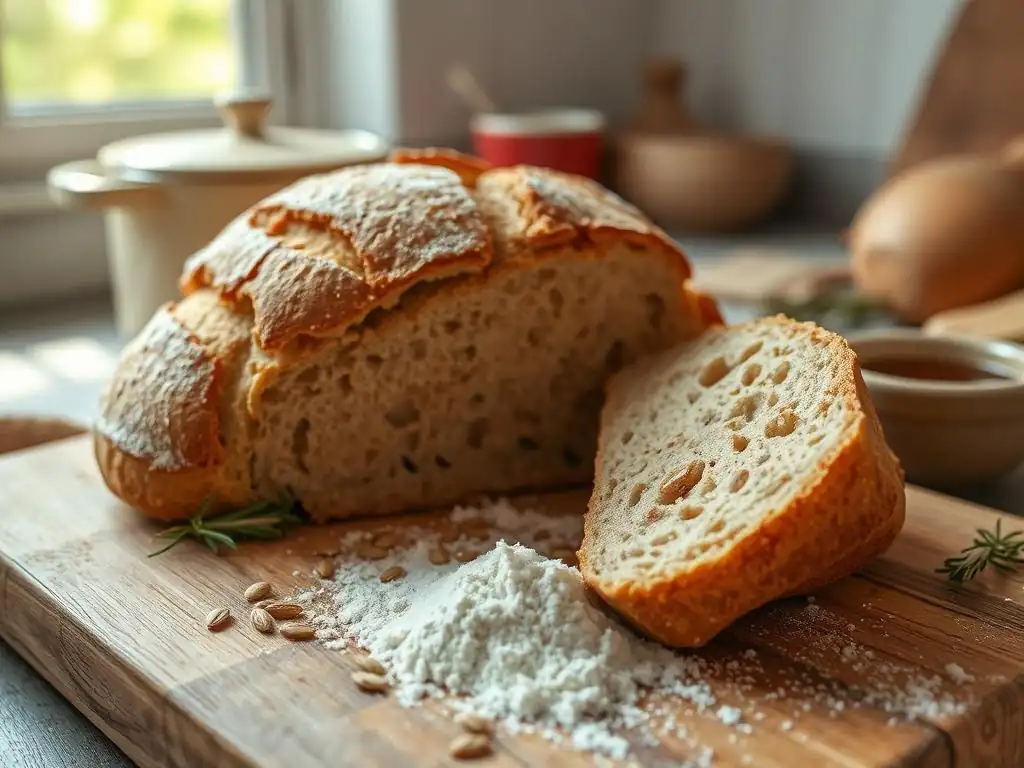
Welcome to BakeWithEase, your friendly corner of the internet dedicated to baking perfection! Ever dreamed of crafting a loaf that's both delicious and dietary-restriction friendly? Then you're in the right place. Today, we're diving into the delightful world of gluten-free baking with a special focus on our Glutenfree sorghum bread recipe. But what makes sorghum flour so special, and how can you achieve the perfect texture and taste? Read on to discover the secrets to baking incredible gluten-free bread that everyone will love.
- Bake Gluten-Free Sorghum Bread: A Complete Recipe Guide (BakeWithEase.com)
- Understanding Sorghum Flour for Gluten-Free Bread
- The Ultimate Gluten-Free Sorghum Bread Recipe
- Tips and Tricks for Perfect Gluten-Free Sorghum Bread
- Variations and Adaptations of the Gluten-Free Sorghum Bread Recipe
- Storing and Serving Your Gluten-Free Sorghum Bread
- Conclusion: Enjoying Delicious and Healthy Gluten-Free Sorghum Bread
-
Frequently Asked Questions
- What is Sorghum flour and why is it good for gluten-free baking?
- Can I substitute sorghum flour 1:1 for wheat flour in a bread recipe?
- What are some tips for achieving a good texture in gluten-free sorghum bread?
- Where can I find sorghum flour?
- What other ingredients might I need to bake a successful gluten-free sorghum bread?
- Final Reflection: The Sweetness of Sorghum, the Promise of Inclusion
- Unlock the Secrets of Sorghum Bread!
Bake Gluten-Free Sorghum Bread: A Complete Recipe Guide (BakeWithEase.com)
Introduction to Gluten-Free Baking with Sorghum Flour
Welcome to the rewarding world of gluten-free baking! For many, finding a reliable glutenfree sorghum bread recipe that yields a delicious, satisfying loaf can feel like a quest. Traditional wheat-based bread gets its structure from gluten, a protein network that provides elasticity and chewiness. Without gluten, bakers must rely on alternative flours, starches, and binders to replicate these crucial characteristics, which often presents unique challenges. Sorghum flour has emerged as a popular and effective ingredient in this space, offering a pleasant flavor and promising texture possibilities.
This guide is designed to demystify the process of baking gluten-free sorghum bread. We'll explore why sorghum flour is a fantastic choice, how it compares to other gluten-free options, and provide a comprehensive, easy-to-follow recipe. Whether you're new to gluten-free baking or looking to perfect your loaf, understanding the properties of sorghum and how to work with it is key to achieving a light, flavorful, and well-structured bread. Get ready to bake a loaf that you'll be proud to share (or keep all to yourself! ).
Understanding Sorghum Flour for Gluten-Free Bread
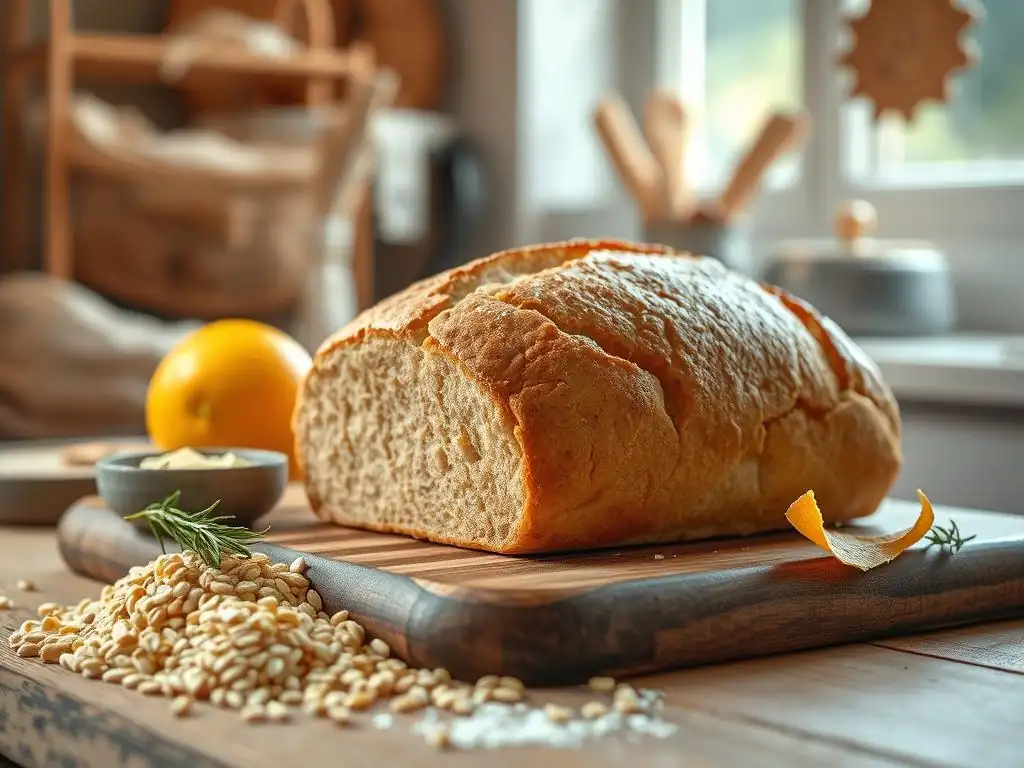
What is Sorghum Flour? Nutritional Benefits & Baking Properties
Sorghum flour is milled from the ancient grain sorghum, a cereal grain that originated in Africa thousands of years ago. It's a staple crop in many parts of the world and is naturally gluten-free, making it an excellent base for glutenfree sorghum bread recipe formulations. Nutritionally, sorghum is impressive; a typical 1/4 cup serving (about 30g) can provide around 3-4 grams of dietary fiber and a good source of B vitamins, magnesium, iron, and phosphorus. It also contains antioxidants, contributing to its overall health profile.
When it comes to baking properties, sorghum flour offers a mild, slightly sweet flavor and a fine texture. It's considered a "heavy" or "dense" flour on its own because it lacks the protein structure of gluten. Therefore, it's often best used in combination with lighter starches (like tapioca or potato starch) and binders (like xanthan gum or psyllium husk) in a gluten-free sorghum bread recipe to achieve a desirable crumb structure and prevent the bread from becoming too dense or crumbly. Its mild flavor allows it to blend well with other ingredients without overpowering them.
Why Choose Sorghum Flour for Gluten-Free Bread Recipes?
Choosing sorghum flour for your gluten-free sorghum bread recipe offers several advantages. Firstly, its nutritional density is a significant plus, providing more fiber and nutrients compared to some other common gluten-free flours like white rice flour or cornstarch. This contributes to a more wholesome and satisfying loaf. Secondly, sorghum has a relatively neutral, slightly nutty flavor that is generally well-liked and doesn't impart the strong, sometimes undesirable, taste that some other alternative flours can have.
Beyond nutrition and flavor, sorghum flour is often more readily available and can be more cost-effective than some specialty gluten-free flours. Its performance in baking, particularly when blended correctly, contributes to a softer crumb and better crust development than recipes relying solely on rice flour or nut flours. Incorporating sorghum flour into a glutenfree sorghum bread recipe helps create a balanced flour blend that mimics the structure and texture of traditional bread more effectively, leading to a more enjoyable baking and eating experience.
Sorghum Flour vs. Other Gluten-Free Flours: A Comparison
Sorghum flour stands out when compared to other gluten-free flours used in bread baking. Rice flour, both white and brown, is a common base but can sometimes result in a gritty texture or a drier loaf if used in large quantities without proper hydration and binders. Brown rice flour offers more nutrients than white but still benefits greatly from blending. Almond flour provides moisture and flavor but is higher in fat and can make bread heavy and dense, often requiring refrigeration for storage.
Compared to starches like tapioca, potato, or cornstarch, sorghum provides more protein and fiber, adding substance to the bread. While starches are essential for lightness and binding in a glutenfree sorghum bread recipe, they don't offer the same nutritional value as a whole grain flour like sorghum.
Flours like oat flour (ensure it's certified gluten-free) can add chewiness and flavor but can also absorb a lot of liquid. Ultimately, using sorghum flour as a primary component in a well-balanced blend, combined with starches and binders, is often the key to a successful gluten-free sorghum bread recipe, leveraging the strengths of each ingredient for optimal texture, flavor, and nutrition.
The Ultimate Gluten-Free Sorghum Bread Recipe
Ingredients for the Best Gluten-Free Sorghum Bread
Creating a truly great glutenfree sorghum bread recipe relies on a careful balance of ingredients. You'll need a blend of dry components that provide structure, binding, and texture, alongside wet ingredients that hydrate the dough and contribute to flavor and richness. Using precise measurements, preferably by weight for the dry ingredients, is crucial in gluten-free baking to ensure consistency and the best possible outcome for your loaf.
Remember that ingredient quality matters. Using fresh flour and active yeast will significantly impact your bread's rise and final texture. This specific glutenfree sorghum bread recipe aims for a tender crumb and a satisfying crust, achievable through the synergy of the listed ingredients. Pay attention to the types of starches and binders recommended, as they play specific roles in mimicking the function of gluten.
Dry Ingredients: Sorghum Flour, Starches, and Binders
For a standard 1.5 lb loaf, a typical blend might include approximately 1 cup (about 120-130g) of sorghum flour as the base. To provide lightness and structure, you'll need about 1/2 cup (around 60-70g) of a starch blend, such as a mix of tapioca starch and potato starch. These starches help create an open crumb structure and prevent the bread from becoming too heavy, which can be a challenge in a glutenfree sorghum bread recipe.
Crucially, you will need a binder. Xanthan gum is commonly used, typically around 1 to 1.5 teaspoons per cup of flour blend, so for this recipe, roughly 1.5 to 2 teaspoons. Alternatively, psyllium husk powder (not whole psyllium husks, which require more liquid) can be used, often at a ratio of about 1 tablespoon per cup of flour blend, providing excellent binding and structure. Don't forget baking powder (around 1 teaspoon) for added lift and salt (about 1 teaspoon) for flavor. Instant dry yeast (around 2 - 2.25 teaspoons) is essential for fermentation and rise.
Wet Ingredients: Liquids, Oils, and Sweeteners
The wet ingredients are vital for hydrating the dry flour blend and activating the yeast in your glutenfree sorghum bread recipe. You'll typically need warm liquid, such as water or dairy-free milk (almond, soy, or oat milk work well), warmed to around 105-115°F (40-46°C) to properly activate the yeast. For a loaf using the dry ingredients mentioned above, you might need about 1.5 to 1.75 cups (approximately 350-415ml) of this warm liquid. The exact amount can vary slightly depending on the specific flour blend and humidity.
Oil or softened butter (dairy or plant-based) adds richness, moisture, and contributes to a softer crust and crumb. About 2-3 tablespoons (around 30-45ml) is usually sufficient. A touch of sweetener, like sugar, honey, or maple syrup (about 1-2 tablespoons), not only adds a hint of flavor but also feeds the yeast, aiding in the fermentation process. Some recipes might also include an egg or egg replacer for added structure and richness, though many successful glutenfree sorghum bread recipe variations are egg-free.
Optional Add-ins: Seeds, Herbs, and Spices
To enhance the flavor and texture of your glutenfree sorghum bread recipe, consider adding some optional ingredients. Seeds like sunflower seeds, pumpkin seeds, or flaxseeds (whole or ground) can add a delightful crunch and nutritional boost. About 1/4 to 1/2 cup (around 30-60g) is a good starting point, mixed into the dough during the final mixing stage.
Fresh or dried herbs, such as rosemary, thyme, or chives, can transform your loaf into a savory delight. Add 1-2 tablespoons of chopped fresh herbs or 1-2 teaspoons of dried herbs. Spices like garlic powder, onion powder, or a pinch of black pepper can also be incorporated for a savory profile. For a slightly sweet bread, consider adding a teaspoon of cinnamon or cardamom. These additions should be mixed into the dry ingredients before adding the wet components.
Step-by-Step Instructions: Baking Your Gluten-Free Sorghum Loaf
Baking a glutenfree sorghum bread recipe requires attention to detail, but it's a straightforward process once you understand the steps. Unlike wheat dough, gluten-free dough is often wetter and more like a thick batter, so don't expect a traditional kneadable dough. Following these steps will guide you to a successful bake.
Remember to preheat your oven accurately and prepare your baking pan properly before you begin. A standard 9x5 inch loaf pan is ideal for the ingredient quantities listed previously. Greasing the pan or lining it with parchment paper will ensure your beautiful loaf releases easily after baking. Patience during the proofing and cooling stages is also key for the best results.
Step 1: Preparing the Dough - Mixing and Hydration
Begin by whisking together all your dry ingredients: the sorghum flour, starches, binder (xanthan gum or psyllium), salt, baking powder, and yeast in a large mixing bowl. Ensure they are well combined. In a separate bowl or jug, combine your warm liquid, sweetener, and oil/melted butter. If using an egg or egg replacer, whisk it into the wet ingredients.
Pour the wet ingredients into the bowl with the dry ingredients. Using a stand mixer with a paddle attachment or a sturdy spoon, mix on medium speed for about 5-7 minutes. This vigorous mixing is essential to develop the structure provided by the binder and hydrate the flours fully. The dough will be sticky and resemble a thick batter or soft cookie dough consistency. If adding optional seeds or herbs, gently fold them in during the last minute of mixing. Transfer the dough to your prepared loaf pan, smoothing the top with a wet spatula.
Step 2: Proofing the Dough - Achieving the Right Rise
Proofing gluten-free dough is slightly different from wheat dough. Because there's no gluten structure to trap gases in the same way, the rise is often less dramatic and relies more on the yeast and baking powder. Cover the loaf pan loosely with plastic wrap or a damp kitchen towel. Place the pan in a warm, draft-free spot. A slightly warm oven (turned off, but perhaps warmed briefly to about 75-80°F / 24-27°C) or a counter near a sunny window works well.
Allow the dough to proof for approximately 45-60 minutes, or until it has risen by about 50-75% and looks visibly puffy. Avoid over-proofing, as the structure can collapse. The top should look rounded and slightly domed. While the dough is proofing, preheat your oven to the temperature specified in the baking step (typically around 375-400°F / 190-200°C).
Step 3: Shaping the Loaf - Techniques for a Perfect Crust
Unlike traditional bread dough, gluten-free dough is too sticky to shape by hand in the conventional sense. The shaping happens primarily when you transfer the batter-like dough into the loaf pan. Once the dough is in the pan after mixing (Step 1), use a wet spatula or the back of a wet spoon to smooth the top evenly. This helps create a nice, uniform surface for the crust to form.
For an aesthetically pleasing loaf and to encourage an even rise, you can score the top of the dough just before placing it in the oven after proofing. Use a sharp knife or a lame dipped in a little oil or water to make a shallow cut (about 1/4 inch deep) down the center of the loaf, or a few diagonal cuts. This scoring allows the bread to expand predictably as it bakes and can prevent the crust from cracking haphazardly.
Step 4: Baking the Bread - Oven Temperature and Timing
Preheat your oven to 375°F (190°C) for baking your glutenfree sorghum bread recipe. Place the loaf pan in the center of the preheated oven. Baking time will typically range from 45 to 60 minutes, depending on your oven and the size of the loaf. You'll know the bread is done when the crust is deep golden brown and the internal temperature reaches 200-210°F (93-99°C) when measured with an instant-read thermometer inserted into the center of the loaf.
To prevent the top crust from getting too dark before the inside is fully baked, you can loosely tent the loaf with aluminum foil about halfway through the baking time. Some bakers like to place a shallow pan of water on the oven rack below the bread for the first 15-20 minutes of baking; this creates steam, which can help the crust develop nicely and prevent it from hardening too quickly.
Step 5: Cooling and Slicing - Preserving Texture and Flavor
This is arguably the most crucial step for glutenfree sorghum bread recipe success! Once the bread is baked, immediately remove the loaf from the oven and carefully turn it out onto a wire cooling rack. Resist the temptation to slice into it right away. Gluten-free bread continues to cook and set internally as it cools. Slicing too early will result in a gummy texture.
Allow the loaf to cool completely on the wire rack for at least 1.5 to 2 hours, or until it is fully cooled to room temperature. This slow cooling process is essential for the starches to set and the moisture to redistribute throughout the loaf, ensuring a pleasant, non-gummy crumb. Once fully cooled, use a sharp serrated knife to slice the bread.
Tips and Tricks for Perfect Gluten-Free Sorghum Bread
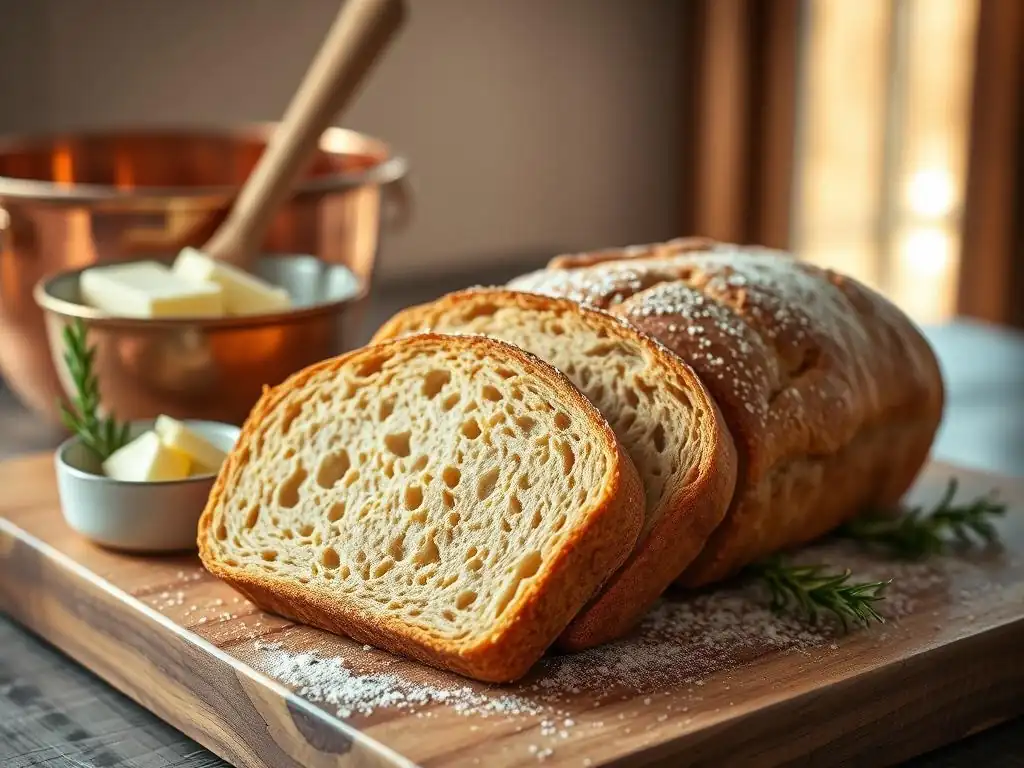
Achieving the perfect glutenfree sorghum bread recipe loaf consistently involves understanding a few key principles specific to working without gluten. The behavior of gluten-free flours and binders differs significantly from wheat, so slight adjustments in technique can make a big difference in the final outcome.
Paying attention to ingredient ratios, mixing time, proofing environment, and cooling are all critical. Don't be discouraged if your first loaf isn't perfect; gluten-free baking often involves a bit of trial and error as you get to know how your specific ingredients and oven perform. These tips are designed to help you troubleshoot common issues and elevate your baking.
Achieving the Right Texture: Moisture and Binding Agents
Texture is often the biggest challenge in a glutenfree sorghum bread recipe. A common issue is a dry, crumbly loaf or, conversely, a dense, gummy one. The key lies in the correct balance of moisture and the effective use of binding agents. Sorghum flour itself can absorb a fair amount of liquid, but without a binder, it won't hold together.
Using the right amount of xanthan gum or psyllium husk powder is critical. Too little, and the bread will be crumbly; too much, and it can become gummy or have an unpleasant texture. For psyllium husk powder, ensuring it's finely ground is important for smooth incorporation and consistent hydration. The hydration level (the ratio of liquid to flour) must also be precise.
Gluten-free dough is typically wetter than wheat dough – think thick batter rather than kneadable. Don't be afraid of a sticky dough; this moisture is needed for a tender crumb. If your dough seems dry, add a tablespoon or two more liquid during mixing.
Troubleshooting Common Issues in Gluten-Free Sorghum Bread Baking
Even with a great glutenfree sorghum bread recipe, you might encounter issues. Identifying the cause is the first step to fixing it for your next bake.
Dense Bread: Causes and Solutions
Dense bread is a frequent problem in gluten-free baking. It can be caused by several factors:
- Too much heavy flour: Using too much sorghum flour relative to lighter starches can result in a heavy loaf. Ensure your blend includes enough tapioca or potato starch.
- Insufficient leavening: Check your yeast's expiration date and ensure your baking powder is fresh. Using warm (but not hot) liquid is crucial for yeast activation.
- Under-proofing: If the dough didn't rise enough before baking, it will be dense. Ensure a warm proofing environment and adequate time (45-60 minutes is typical, but observe the dough).
- Incorrect hydration: Too little liquid makes a stiff dough that won't expand well. Ensure your batter is sticky and thick, not stiff.
- Slicing too early: This is a major cause of gumminess and perceived density. Always cool the loaf completely.
To fix density, adjust your flour blend ratio, ensure leavening agents are active, proof adequately, check hydration, and always cool completely.
Crumbly Bread: Causes and Solutions
Crumbly bread is another common challenge with a glutenfree sorghum bread recipe. This usually indicates insufficient binding or moisture.
- Not enough binder: The amount of xanthan gum or psyllium husk powder is critical. Double-check the recipe amount and ensure it was added and mixed in properly.
- Insufficient moisture: A dry dough will result in a dry, crumbly loaf. Ensure you used the correct amount of liquid, and consider if your flour blend absorbs more moisture than expected.
- Over-baking: Baking for too long at too high a temperature can dry out the bread, making it crumbly. Use a thermometer to check for doneness (200-210°F / 93-99°C).
- Incorrect flour blend: Some flour combinations are naturally more prone to crumbling. Ensure you are using a blend that includes starches and a binder.
To combat crumbliness, verify your binder amount, ensure adequate hydration, avoid over-baking, and use a balanced flour blend.
Flat Bread: Causes and Solutions
A loaf that doesn't rise sufficiently and stays flat can be disappointing.
- Inactive yeast: The most common culprit. Ensure your yeast is fresh and the liquid used to activate it is the correct temperature (105-115°F / 40-46°C). Water that is too hot will kill the yeast.
- Under-proofing: Not allowing the dough enough time to rise before baking will result in a dense, flat loaf. Proof in a warm, draft-free place until visibly risen.
- Over-proofing: While less common than under-proofing, if gluten-free dough rises too much, its delicate structure can collapse before or during baking.
- Missing or incorrect binder: Without a binder, the dough cannot trap the gases produced by the yeast, leading to a flat result.
- Too much heavy flour or not enough starch: A very heavy dough might struggle to rise effectively.
Address flat bread by checking yeast activity, ensuring proper proofing time (monitor the dough, don't just rely on the clock), confirming binder inclusion, and using a balanced flour blend.
Enhancing the Flavor of Your Gluten-Free Sorghum Bread
While a basic glutenfree sorghum bread recipe is satisfying, you can easily enhance its flavor profile. The mildness of sorghum flour makes it a great canvas for other tastes.
Consider adding a touch more sweetener (like maple syrup or honey) for a slightly sweeter crumb, or a bit of nutritional yeast for a subtle cheesy, savory note. Incorporating roasted garlic or caramelized onions into the dough adds deep, savory complexity. Using dairy or plant-based milk instead of water can add richness.
A small amount of apple cider vinegar (1-2 teaspoons) can react with baking powder to provide extra lift and a subtle tang that complements the sorghum flavor nicely. Don't forget the power of salt; ensuring enough salt is used is fundamental to bringing out all the other flavors in the bread.
Variations and Adaptations of the Gluten-Free Sorghum Bread Recipe
Once you've mastered the basic glutenfree sorghum bread recipe, feel free to experiment! Sorghum flour's versatility allows for numerous delicious adaptations, transforming a simple loaf into something special for different occasions or preferences.
These variations demonstrate how easily you can modify the base recipe by adjusting ingredients or changing the shaping method. Remember that adding significant amounts of extra ingredients (like large quantities of fruit or vegetables) might require slight adjustments to the liquid content to maintain the correct dough consistency.
Sweet Sorghum Bread: Adding Fruits and Sweeteners
To create a sweet version of your glutenfree sorghum bread recipe, you can increase the amount of sweetener slightly (e.g., up to 1/4 cup) and incorporate dried or fresh fruits. Dried cranberries, raisins, chopped dates, or blueberries work wonderfully. Add about 1/2 to 1 cup of dried fruit during the final mixing stage. If using fresh fruit like chopped apples or berries, fold them in gently, keeping in mind they add moisture.
Spices like cinnamon, nutmeg, or cardamom pair exceptionally well with sweet sorghum bread. Add 1-2 teaspoons of cinnamon and a pinch of nutmeg or cardamom to the dry ingredients. You could also add a teaspoon of vanilla extract to the wet ingredients for extra warmth. This sweet adaptation is perfect for breakfast or a snack, perhaps served with butter or cream cheese.
Savory Sorghum Bread: Incorporating Herbs and Vegetables
Transform your glutenfree sorghum bread recipe into a savory loaf by adding herbs, spices, or vegetables. As mentioned earlier, fresh or dried herbs like rosemary, thyme, oregano, or chives are excellent additions (1-2 tablespoons fresh, 1-2 teaspoons dried). You can also include roasted garlic cloves (2-3 cloves, mashed) or finely chopped caramelized onions (1/4 cup).
Cheese is another fantastic savory addition; shredded cheddar, Parmesan, or nutritional yeast (for a dairy-free cheesy flavor) can be folded into the dough (1/4 to 1/2 cup). Sun-dried tomatoes (drained and chopped, 1/4 cup) or finely diced roasted red peppers can also add moisture and intense flavor. Ensure any vegetable additions are not excessively wet, or you may need to slightly reduce the liquid in the recipe.
Sorghum Bread Rolls and Buns: Shaping and Baking Techniques
The dough from a standard glutenfree sorghum bread recipe can often be adapted to make rolls or buns, though the shaping technique differs from wheat rolls. Since the dough is more like a thick batter, you typically won't be rolling and shaping by hand. Instead, you can use a large ice cream scoop or two spoons to portion the dough onto a baking sheet lined with parchment paper.
Space the portions a few inches apart. The rolls will spread slightly as they proof and bake. Baking time will be significantly shorter than a loaf, usually around 20-30 minutes at 375°F (190°C), until golden brown and cooked through (internal temperature around 200°F / 93°C). Proofing time will also be shorter, perhaps 30-45 minutes. This is a great way to make individual servings of your glutenfree sorghum bread recipe.
Storing and Serving Your Gluten-Free Sorghum Bread
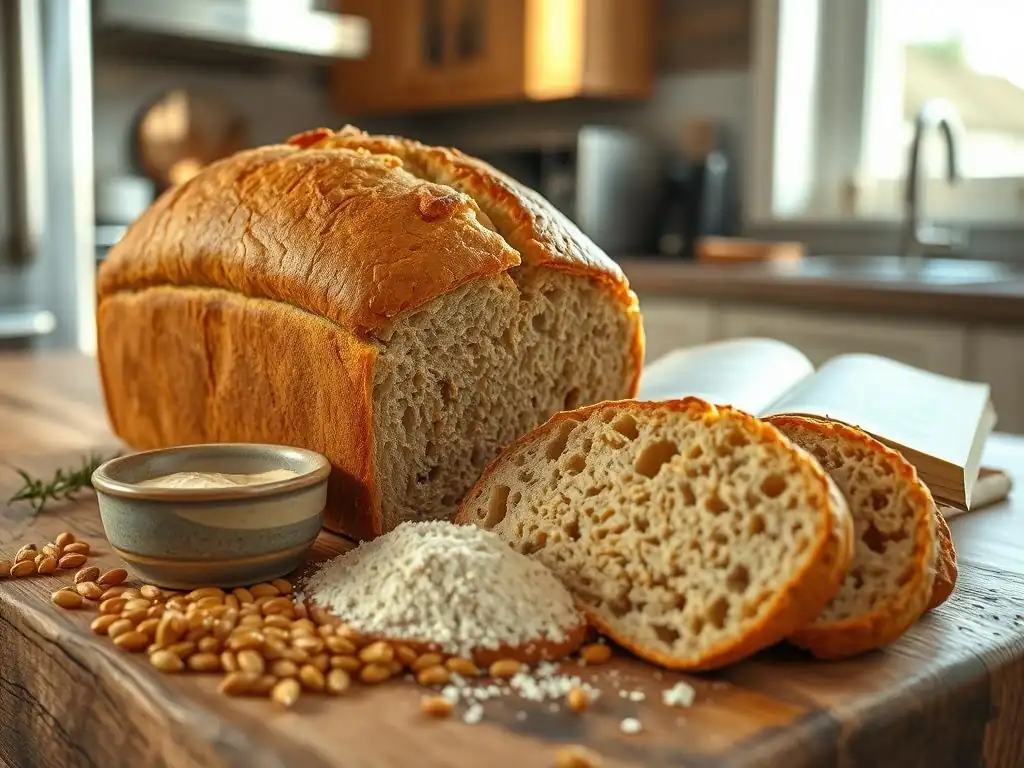
Proper storage is essential to maintain the texture and freshness of your glutenfree sorghum bread recipe loaf. Gluten-free bread tends to dry out more quickly than wheat bread because it lacks gluten's ability to retain moisture over time.
Serving the bread correctly also enhances the eating experience. Knowing the best ways to store and serve ensures you get the most enjoyment out of your delicious homemade loaf.
Best Practices for Storing Gluten-Free Sorghum Bread
Once your glutenfree sorghum bread recipe loaf is completely cooled, store it properly. The best method for short-term storage (1-2 days) is to keep the loaf whole and place it in a bread box or a sealed plastic bag at room temperature. This helps prevent it from drying out. Avoid refrigerating the bread, as this can actually accelerate staling and make it dry and crumbly.
For longer storage, freezing is your best option. Slice the cooled loaf first, then wrap individual slices or small portions tightly in plastic wrap, followed by a layer of aluminum foil or place them in a freezer-safe bag. Frozen bread can be stored for up to 2-3 months. Thaw slices as needed at room temperature or pop them directly into a toaster.
Serving Suggestions: Pairings and Uses for Sorghum Bread
Glutenfree sorghum bread recipe loaves are incredibly versatile! Enjoy slices simply toasted with butter or your favorite spread. It makes an excellent base for sandwiches, holding up well to various fillings.
Consider pairing a savory herb or garlic sorghum loaf with soups or stews. A slightly sweet version with fruit is perfect for breakfast with jam or nut butter, or used for French toast. Leftover bread can be cubed and toasted to make gluten-free croutons for salads or soups. The mild flavor of sorghum allows it to complement a wide range of toppings and dishes, making your homemade loaf a staple in your gluten-free kitchen.
Conclusion: Enjoying Delicious and Healthy Gluten-Free Sorghum Bread
Baking a glutenfree sorghum bread recipe at home is a rewarding experience that yields a nutritious and delicious alternative to store-bought options. Sorghum flour provides a wonderful base, offering valuable nutrients and a pleasant flavor that works well in a gluten-free blend. While gluten-free baking has its unique challenges, understanding the role of ingredients like binders and starches, and following careful techniques for mixing, proofing, and cooling, will set you up for success.
The Benefits of Baking Your Own Gluten-Free Bread at Home
Baking your own glutenfree sorghum bread recipe gives you complete control over the ingredients, ensuring it's free from gluten and other potential allergens or additives you wish to avoid. You can customize the recipe with your preferred seeds, herbs, or sweeteners. Plus, the satisfaction of pulling a warm, fragrant loaf from your own oven is unmatched. Homemade gluten-free bread often has a superior texture and flavor compared to many commercially available options, which can sometimes be dry or gummy. It's an empowering step towards managing your dietary needs with delicious results.
Frequently Asked Questions
What is Sorghum flour and why is it good for gluten-free baking?
Sorghum flour is a gluten-free flour milled from sorghum grain. It's good for gluten-free baking because it adds a slightly sweet and nutty flavor and provides a good source of fiber and protein.
Can I substitute sorghum flour 1:1 for wheat flour in a bread recipe?
No, sorghum flour cannot be substituted 1:1 for wheat flour. It lacks gluten, which provides structure. You'll need to use a gluten-free flour blend or add binding agents like xanthan gum.
What are some tips for achieving a good texture in gluten-free sorghum bread?
Using a high-quality sorghum flour and combining it with other gluten-free flours like rice flour or tapioca starch is crucial. Also, adding a binding agent like xanthan gum helps create a better crumb structure. Proper hydration is also key.
Where can I find sorghum flour?
Sorghum flour can often be found in the gluten-free section of most grocery stores or in specialty health food stores. You can also easily purchase it online from various retailers.
What other ingredients might I need to bake a successful gluten-free sorghum bread?
Besides sorghum flour, you'll likely need other gluten-free flours (like brown rice flour, tapioca starch, or potato starch), a binding agent (xanthan gum or psyllium husk), yeast or baking powder, and liquids like water or milk.
Final Reflection: The Sweetness of Sorghum, the Promise of Inclusion
The rising popularity of gluten-free baking reflects a growing need for dietary inclusivity, and sorghum flour offers a delicious and nutritious alternative that deserves wider recognition. This isn't just about avoiding gluten; it's about expanding culinary horizons and creating delicious, accessible bread for everyone.
The journey of discovering sorghum flour's potential in bread-making has been a personal one, highlighting the creativity and resourcefulness required to navigate dietary restrictions. It's a testament to the power of adaptation and the joy of finding unexpected solutions. The best bread is the bread that brings people together,
a sentiment that rings truer than ever in the context of inclusive baking. This recipe, and the exploration of sorghum flour, is a small step towards that goal, bridging the gap between dietary needs and culinary delight.
Now, it's your turn. Try this recipe, experiment with variations, and share your experiences. Let's build a community around gluten-free baking that celebrates both the necessity and the delicious possibilities. Don't be afraid to embrace the challenge, for the reward – a warm, wholesome loaf of sorghum bread – is well worth the effort. Let the sweet taste of sorghum inspire you to explore further, to bake with intention, and to share the joy of bread with everyone.
Unlock the Secrets of Sorghum Bread!
Thanks for joining us on this gluten-free baking adventure! You’ve now learned how to create delicious and nutritious bread using sorghum flour. Ready to take your baking skills to the next level?
- Bake your first sorghum loaf: Use the recipe from the article as your starting point, and don't be afraid to experiment with add-ins!
- Share your baking triumph: Post a picture of your creation on social media using #SorghumBreadSuccess – we'd love to see it!
- Explore other gluten-free flours: Discover new possibilities by researching alternative grains and experimenting with blends.
What unique ingredient will you add to your next sorghum bread masterpiece?