
Indulge in French Brioche: An Easy Recipe for This Buttery Delight

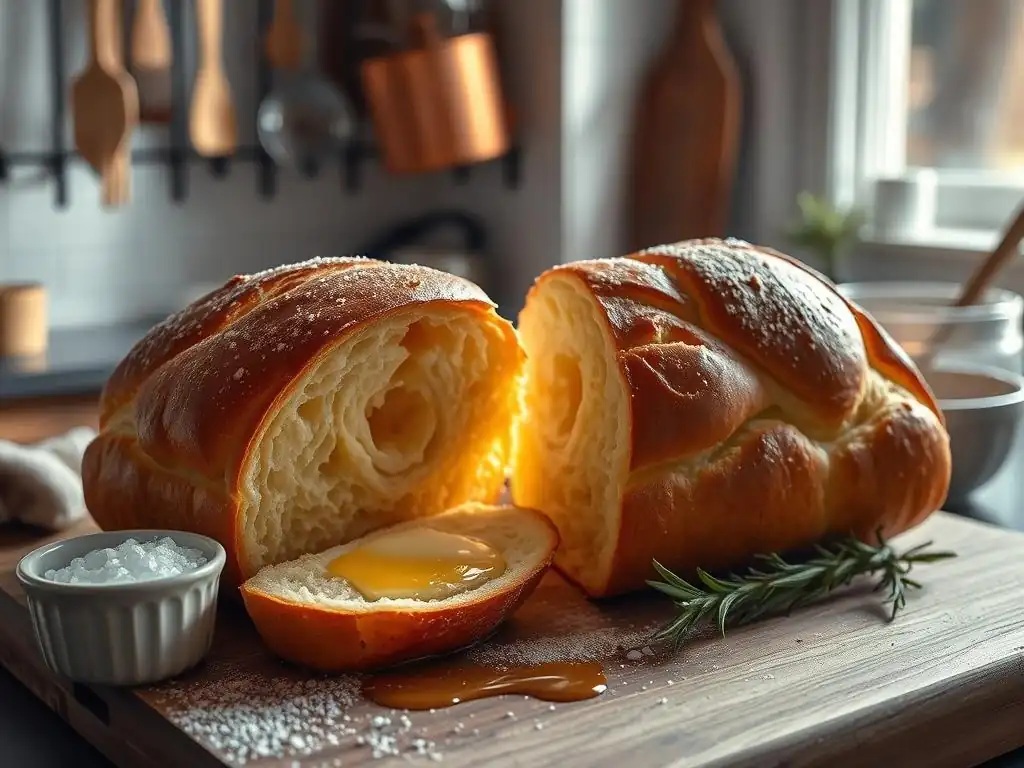
Welcome to BakeWithEase, your haven for baking brilliance! Ever dreamt of effortlessly creating that perfectly golden, melt-in-your-mouth French brioche? Then you're in the right place. Below, we'll unveil our easy French brioche recipe, demystifying the process and guiding you through each step. Prepare to impress with a loaf so delicious, you'll wonder why you haven't been baking this all along. But first, let's explore... what makes brioche so irresistible?
- Bake Authentic French Brioche at Home with Ease
- What is Brioche? Exploring the Origins of This Buttery Bread
- Easy French Brioche Recipe: A Step-by-Step Guide for Home Bakers
- Making the Brioche Dough: A Simple Method
- Shaping and Baking Your French Brioche
- Tips and Tricks for a Perfect Brioche Loaf
- Variations on the Classic French Brioche Recipe
- Enjoying Your Homemade French Brioche
- The Ultimate Easy Brioche Recipe: Conclusion and Enjoy!
-
Frequently Asked Questions
- What makes this brioche recipe "easy"?
- Can I substitute any ingredients in this French brioche recipe?
- How long does it take to make this easy French brioche recipe from start to finish?
- What is the best way to store leftover French brioche?
- What are some serving suggestions for this easy French brioche?
- Final Reflection: The Enduring Allure of Simple Pleasures
- Unlock Your Inner Boulanger: Bake Your Own Brioche Today!
Bake Authentic French Brioche at Home with Ease
There's something undeniably luxurious about French brioche. Its golden crust, incredibly soft interior, and rich, buttery flavor make it a favorite across the globe. Often perceived as complex, mastering an easy French brioche recipe is more achievable than you might think. This guide is designed for home bakers of all levels, breaking down the process into simple, manageable steps.
Imagine pulling a warm loaf of homemade brioche from your oven, filling your kitchen with that irresistible aroma. This article will walk you through everything you need to know, from understanding what makes brioche unique to providing a straightforward recipe that delivers delicious results every time. Get ready to bake a truly special bread that's perfect for breakfast, brunch, or simply as a delightful treat.
What is Brioche? Exploring the Origins of This Buttery Bread
Understanding Brioche: A Rich History of French Baking
Brioche is a classic French bread that stands apart from standard loaves due to its high content of eggs and butter. Its history dates back centuries, evolving from simpler enriched doughs. While often associated with luxury and the French aristocracy, particularly the famous, though likely misattributed, quote about cake, brioche was already a popular bread in various regions of France by the 16th century. Over time, regional variations emerged, each with slight differences in shape and richness, but all sharing the common characteristic of being much richer than everyday bread.
This buttery bread gained widespread popularity as bakeries refined techniques to incorporate significant amounts of fat and eggs into the dough, resulting in a bread that was soft, tender, and flavorful. The technique of making brioche, which involves extensive kneading to develop gluten structure despite the fat content, was a significant culinary achievement. It became a staple not just in noble houses but also in patisseries and bakeries across France, solidifying its place as an iconic element of French baking.
The Key Characteristics of Brioche: What Makes It Special? (Texture, Flavor, Appearance)
What truly sets brioche apart is its unique composition, which dictates its signature characteristics. Unlike lean breads made with just flour, water, yeast, and salt, brioche is classified as an enriched dough. This enrichment comes primarily from generous amounts of butter and eggs, sometimes incorporating milk or cream as well. The proportion of butter to flour can be quite high, often ranging from 25% to 50% or even more of the flour weight, while eggs add richness and help create a tender crumb.
The result is a bread with a distinct texture, flavor, and appearance. Texturally, brioche is incredibly soft, tender, and airy, with a fine, close crumb. The high fat content inhibits gluten development slightly but also coats the gluten strands, leading to this delicate structure.
Flavor-wise, it boasts a rich, buttery taste with a subtle sweetness from the eggs and sometimes a touch of sugar. Its appearance is typically a beautiful golden-brown crust, often achieved with an egg wash, and a slightly irregular, sometimes glossy surface. The classic Parisian brioche is shaped with a larger base and a smaller "head" on top, though many other shapes exist, including simple loaves and rolls.
Easy French Brioche Recipe: A Step-by-Step Guide for Home Bakers
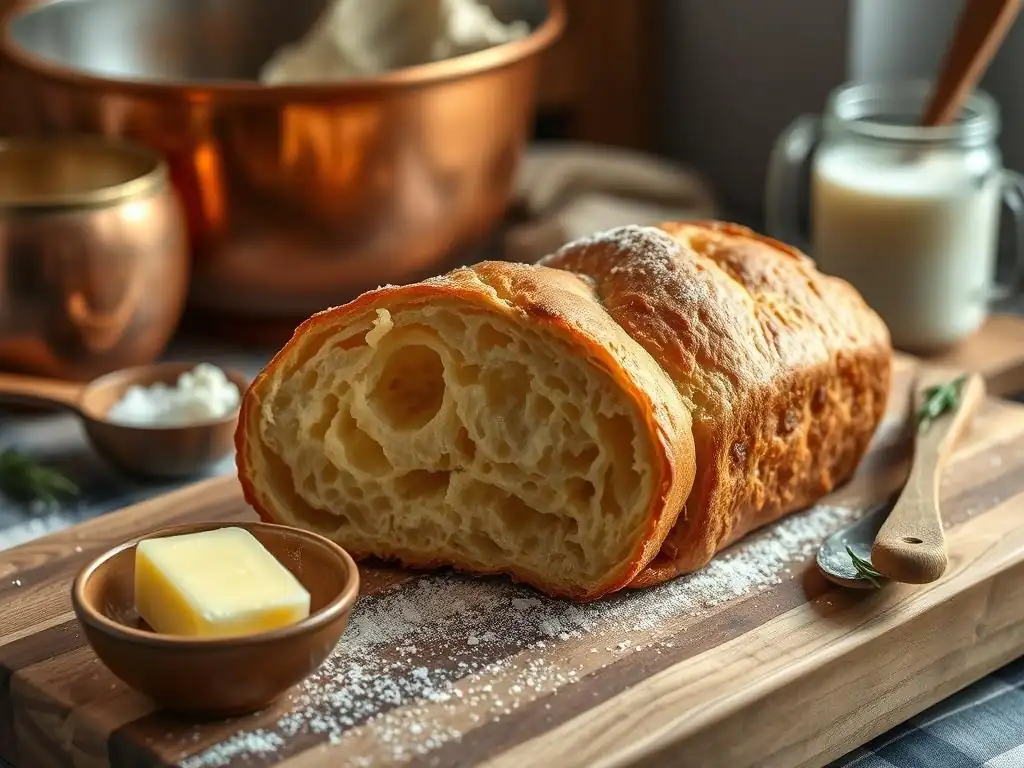
Embarking on your journey to bake an easy French brioche recipe at home is a rewarding experience. This step-by-step guide simplifies the process, ensuring you can create a delicious, buttery loaf with confidence. We'll cover everything from gathering your ingredients to the final bake, making this classic bread accessible to everyone.
Following this method focuses on clear instructions and achievable techniques, perfect for those new to enriched doughs. While brioche requires a bit more time than a standard loaf due to the chilling and rising periods, the hands-on steps are straightforward. By the end, you'll have a beautiful, golden brioche ready to enjoy.
Gather Your Ingredients: Simple Steps for Brioche Preparation
Before you begin mixing, the first crucial step for any easy French brioche recipe is to gather all your ingredients and measure them accurately. Baking is a science, and precise measurements are key to success, especially with a rich dough like brioche where the balance of fat, liquid, and flour is critical. Having everything ready on your counter before you start mixing ensures a smooth and efficient baking process, preventing last-minute rushes or forgotten elements.
Take a moment to weigh your flour, measure your liquids, and ensure your butter and eggs are at the correct temperature – typically room temperature for easier incorporation. This preparatory step, often called "mise en place" in culinary terms, is particularly helpful when working with doughs that require specific mixing techniques or timing. It sets you up for success and makes the entire baking experience much more enjoyable.
Essential Brioche Ingredients: Flour, Yeast, Butter, and More
The foundation of any great brioche lies in its core ingredients. You'll typically need high-quality bread flour, which has a higher protein content (around 12-14%) than all-purpose flour, providing the necessary structure to support the rich additions. Active dry or instant yeast is essential for leavening, giving the brioche its light texture. The star ingredients are, of course, butter and eggs. For a standard loaf using about 500g of flour, you might use anywhere from 125g to 250g of unsalted butter and 3-5 large eggs. Unsalted butter allows you to control the salt level in the dough.
Other important components include milk (often whole milk for added richness) or water, sugar (just enough to feed the yeast and add a hint of sweetness), and salt (to enhance flavor and control yeast activity). Some recipes might also include a touch of vanilla extract or orange blossom water for added aroma. Using room temperature eggs and softened (but not melted) butter is crucial for them to emulsify properly with the dough during mixing, contributing to the smooth, tender crumb characteristic of a classic French brioche.
Equipment You'll Need for Baking Brioche
Having the right tools can make baking an easy French brioche recipe even simpler. While it's possible to make brioche by hand, a stand mixer with a dough hook attachment is highly recommended. The brioche dough is very wet and sticky initially due to the high fat content and requires significant kneading to develop the gluten structure needed to hold its shape and achieve that airy texture. A stand mixer handles this demanding kneading job effortlessly, saving you considerable time and effort.
Beyond the mixer, you'll need basic baking equipment like accurate measuring cups and spoons (or preferably a digital scale for weighing ingredients), a large mixing bowl for the first rise, plastic wrap or a clean kitchen towel to cover the dough, and a baking pan. For a traditional loaf, a standard loaf pan (approximately 9x5 inches) works well. If making rolls, baking sheets lined with parchment paper are necessary. A pastry brush is also useful for applying the egg wash before baking, giving the brioche its signature golden shine.
Making the Brioche Dough: A Simple Method
Creating the dough is the heart of this easy French brioche recipe. While it involves multiple steps, each is straightforward and contributes to the final texture and flavor. Patience is key, especially during the rising times, as this is when the dough develops its structure and depth of flavor.
Follow these steps carefully, and you'll be well on your way to a perfectly kneaded, enriched dough ready for its transformation into a beautiful brioche loaf or rolls.
Step 1: Activating the Yeast for a Perfect Rise
The first step in many bread recipes, including this easy French brioche recipe, is activating the yeast. If you're using active dry yeast, you'll need to "proof" it first to ensure it's alive and active. Gently warm the milk (or water) specified in your recipe to about 105-115°F (40-46°C). This temperature range is ideal for waking up the yeast without killing it. Stir in a pinch of sugar (taken from the recipe's total amount) and then sprinkle the yeast over the liquid. Let it sit for about 5-10 minutes.
You'll know the yeast is active when the mixture becomes frothy and bubbly on the surface. This foam indicates that the yeast is consuming the sugar and producing carbon dioxide gas, which is what will make your brioche rise. If the mixture doesn't become foamy, your yeast may be old or the liquid wasn't at the correct temperature, and you should start this step over with fresh yeast. Instant yeast, on the other hand, can often be mixed directly with the dry ingredients, simplifying this step slightly, but proofing is still a good way to confirm viability.
Step 2: Combining the Dry Ingredients: Flour and Salt
While the yeast is activating (if needed), you can combine the dry ingredients. In a large mixing bowl or the bowl of your stand mixer, measure out the flour and salt. Whisk them together briefly to ensure they are evenly distributed. The salt is crucial for flavor and also helps to regulate the yeast's activity, preventing it from rising too quickly.
Using a whisk helps to aerate the flour slightly, which can contribute to a lighter texture in the final brioche. Ensure the salt is fully incorporated into the flour before adding the wet ingredients, especially if using active dry yeast that has been proofed separately, as direct contact with a high concentration of salt can inhibit yeast activity.
Step 3: Incorporating the Butter: The Key to Brioche's Richness
Adding the butter is a defining step in making a rich brioche dough. Unlike many bread recipes where fat is added early, butter is often incorporated into the brioche dough after the initial mixing and some gluten development has occurred. This is because a high amount of fat can interfere with gluten formation. The butter should be soft, but not melted or greasy. Cubing the softened butter makes it easier to add gradually.
Once the basic dough (flour, liquid, yeast, eggs, sugar) has come together and started to develop some elasticity (after about 5-7 minutes of kneading in a mixer), you begin adding the softened butter, one cube at a time, with the mixer running on a low speed. Wait until each piece of butter is fully incorporated into the dough before adding the next.
This process is slow, taking maybe 10-15 minutes, but it's essential for achieving the brioche's signature tender crumb. The dough will look very sticky and perhaps separated initially, but as the butter is absorbed, it will transform into a smooth, glossy, and elastic dough.
Step 4: Kneading the Dough: Achieving a Smooth and Elastic Texture
Kneading is a critical step for developing the gluten network in the dough, which provides the structure needed for a good rise and the desired texture. Due to the high fat and egg content, brioche dough is initially very soft and sticky. If using a stand mixer with a dough hook, knead the dough on medium speed for a substantial amount of time – typically 10-15 minutes after all the butter has been incorporated. Hand kneading brioche is possible but requires considerable effort and patience, potentially taking 20-30 minutes or more.
You'll know the dough is sufficiently kneaded when it passes the "windowpane test." To perform this test, gently pull a small piece of dough and stretch it thin. If it stretches into a thin, translucent membrane without tearing easily, the gluten is well-developed. The dough should also feel smooth, elastic, and slightly tacky but not excessively sticky. Proper kneading ensures your easy French brioche recipe yields a light and airy result.
Step 5: First Rise: Allowing the Dough to Develop Flavor
After kneading, the dough needs time to rise, also known as proofing. This first rise allows the yeast to work, producing carbon dioxide to leaven the dough and developing complex flavors through fermentation. Place the kneaded dough in a lightly greased bowl, turn it to coat, and cover it tightly with plastic wrap or a damp kitchen towel.
For an easy French brioche recipe and optimal flavor development, a slow, cold rise in the refrigerator is highly recommended. Refrigerating the dough for at least 8 hours, or preferably overnight (up to 12-18 hours), slows down the yeast activity while enzymes continue to break down starches into sugars, resulting in a more flavorful brioche. If you're short on time, you can do a warmer rise at room temperature (around 70-75°F or 21-24°C) for 1-2 hours, or until the dough has roughly doubled in size, but the cold fermentation yields superior results.
Shaping and Baking Your French Brioche
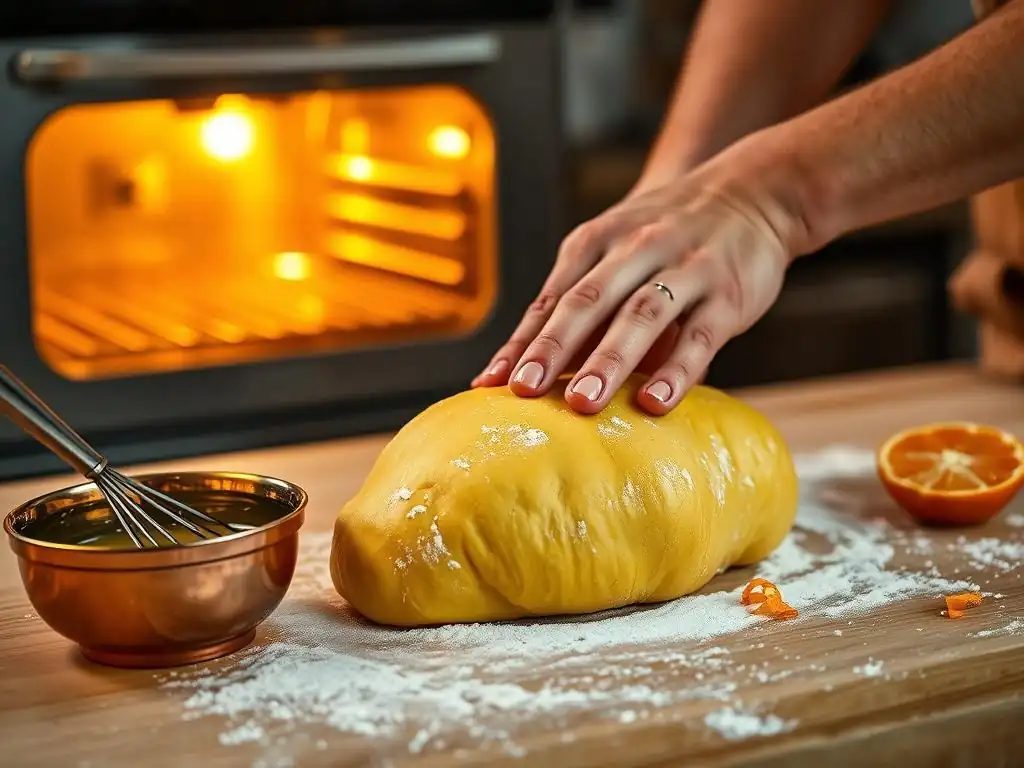
Once the dough has completed its first rise and is cold and firm (if refrigerated), it's time to shape and bake your brioche. Working with cold dough is much easier, as the butter is firm, making it less sticky and more manageable.
These steps bring you closer to enjoying your delicious homemade bread.
Step 6: Shaping the Brioche: Classic Loaf or Individual Rolls?
After the cold fermentation, gently punch down the dough to deflate it. Turn the dough out onto a lightly floured surface. Brioche dough is versatile and can be shaped in various ways. A classic option for an easy French brioche recipe is a simple loaf baked in a standard loaf pan. To shape a loaf, you might divide the dough into 3-4 equal pieces, shape each into a ball or log, and place them side-by-side in a greased loaf pan. As they rise and bake, they will merge into a single loaf with a lovely segmented top.
Alternatively, you can shape the dough into individual rolls (brioche à tête, dinner rolls, or braided rolls). For brioche à tête, you divide the dough into larger pieces for the base and smaller pieces for the "head," shaping each into a ball before assembling them in muffin tins or on a baking sheet. For simple rolls, divide the dough into equal portions (e.g., 60-80g each) and shape them into smooth balls. Place shaped dough in your prepared pan(s), ensuring some space for expansion during the second rise.
Step 7: Second Rise: Preparing the Brioche for Baking
After shaping, the brioche needs a second rise, also called the final proof. Cover the shaped dough loosely with plastic wrap or a clean kitchen towel and let it rise in a warm, draft-free place. This rise is shorter than the first, typically taking 45-90 minutes, depending on the room temperature. The dough should increase significantly in size, becoming visibly puffy and soft.
It's important not to overproof the dough during this stage, as it can lead to a collapsed structure in the oven. The dough is ready for baking when it looks significantly larger but still holds its shape and springs back slowly when gently poked. While the dough is proofing, preheat your oven and prepare an egg wash (usually one egg whisked with a tablespoon of water or milk) to brush over the surface just before baking.
Step 8: Baking to Golden Perfection: Achieving a Beautiful Crust
Preheat your oven to the temperature specified in your easy French brioche recipe, typically around 350-375°F (175-190°C). Just before placing the brioche in the oven, gently brush the top surface with the egg wash. This step is crucial for achieving the signature deep golden color and slightly glossy crust of authentic brioche.
Bake the brioche for the recommended time, which will vary depending on the size and shape (a large loaf might take 30-40 minutes, while rolls might take 20-25 minutes). The brioche is done when it is deep golden brown on top and sounds hollow when tapped on the bottom. You can also check the internal temperature with an instant-read thermometer; it should register around 190-200°F (88-93°C). Allow the brioche to cool in the pan for a few minutes before transferring it to a wire rack to cool completely. Cooling is important for the internal structure to set properly.
Tips and Tricks for a Perfect Brioche Loaf
Even with an easy French brioche recipe, a few expert tips can elevate your results from good to truly outstanding. Brioche dough is rich and requires specific handling to achieve its best texture and flavor.
Consider these pointers to help you master the art of baking this delicious bread and troubleshoot common issues.
Mastering the Brioche Dough: Avoiding Common Mistakes
One of the most common challenges when making brioche is dealing with the sticky, wet dough, especially when adding the butter. A key tip here is patience; resist the urge to add excessive amounts of flour during kneading. While a little flour on your hands or the work surface is fine, too much will result in a dense, dry brioche.
Trust the process and the kneading time; the dough will become less sticky and more manageable as the gluten develops and the butter is fully incorporated, particularly if using a stand mixer. If kneading by hand, keep your hands and the surface lightly oiled rather than floured.
Another frequent mistake is rushing the rising times. Brioche dough, especially when cold-fermented, needs ample time to develop flavor and rise properly. Cutting the resting times short will lead to a less flavorful, denser bread. Allowing the dough to chill in the refrigerator overnight is arguably the single best tip for an easy French brioche recipe that tastes amazing and is easier to handle for shaping. Ensure your yeast is fresh and your liquids are at the correct temperature to guarantee a good rise.
Achieving the Perfect Brioche Texture: Tips for a Light and Airy Loaf
The hallmark of a great brioche is its incredibly light and airy texture, coupled with a fine, tender crumb. This is achieved through a combination of proper kneading, sufficient fat and egg content, and correct proofing. Ensure you knead the dough long enough to pass the windowpane test, as a strong gluten network is necessary to support the rich ingredients and hold the air produced by the yeast. Incorporating the butter gradually is also vital for a smooth emulsion and even distribution of fat, which contributes to tenderness.
During proofing, especially the second rise, create a warm, humid environment if possible. A slightly warm oven (turned off) with a pan of hot water on the bottom rack can work wonders. However, be careful not to let the dough get too warm too quickly, as this can cause the butter to melt out.
Aim for the dough to become significantly puffy but not fragile or prone to collapsing. Baking at the correct temperature is also important; an oven that's too hot might brown the crust too quickly before the interior is fully baked, while an oven that's too cool can result in a pale, dense loaf.
Storing Your Homemade Brioche: Keeping it Fresh for Longer
Homemade brioche is best enjoyed fresh, ideally on the day it is baked. However, if you have leftovers from your easy French brioche recipe, proper storage will help maintain its quality. At room temperature, loosely wrap the cooled brioche in plastic wrap or place it in a bread box. It will typically stay fresh and soft for 2-3 days. Avoid refrigerating freshly baked brioche, as this can accelerate staling and make the crumb dense, although chilled brioche is easier to slice thinly for things like French toast.
For longer storage, freezing is an excellent option. Once the brioche has cooled completely, slice it or wrap the whole loaf tightly in plastic wrap, then wrap again in aluminum foil or place it in a freezer-safe bag. Frozen brioche can last for up to 3 months. To thaw, unwrap the brioche and let it sit at room temperature for several hours or overnight. You can gently warm slices in a toaster or the oven to refresh them. Stale brioche, while less appealing for slicing, is perfect for making bread pudding or French toast.
Variations on the Classic French Brioche Recipe
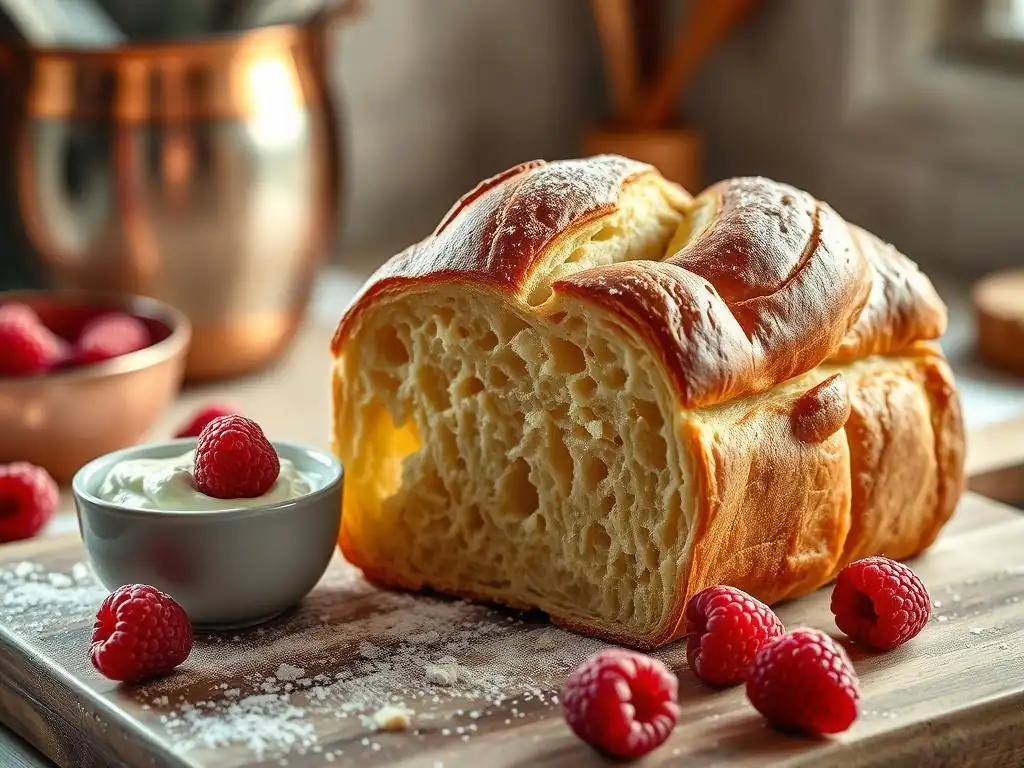
While the classic easy French brioche recipe is divine on its own, its rich, versatile dough lends itself beautifully to various delicious variations. Adding ingredients or adapting the shape can transform the basic recipe into something new and exciting, perfect for different occasions or cravings.
Exploring these variations allows you to put your own spin on this beloved French bread and discover new ways to enjoy its buttery goodness.
Chocolate Chip Brioche: Adding a Touch of Sweetness
One of the most popular variations is adding chocolate chips to the dough. This transforms the brioche into a decadent treat, perfect for breakfast or dessert. The sweetness of the chocolate complements the rich, buttery flavor of the bread beautifully.
To make chocolate chip brioche using your easy French brioche recipe, simply incorporate chocolate chips (about 100-150g for a standard loaf made with 500g flour) during the final stages of kneading, after the butter has been fully incorporated and the dough is smooth. Mix them in just until they are evenly distributed, being careful not to overmix, which could crush the chips.
Shape and bake the dough as usual. The chocolate chips will melt slightly during baking, creating pockets of warm, gooey chocolate throughout the tender crumb. This variation is particularly appealing to children and makes a wonderful addition to a brunch spread. Dark, milk, or even white chocolate chips can be used depending on your preference, or a mix for added complexity.
Savory Brioche: Exploring Cheese and Herb Infusions
Brioche doesn't have to be exclusively sweet. Its rich, soft texture provides an excellent base for savory additions, making it a fantastic accompaniment to meals or a delicious snack on its own. You can easily adapt your easy French brioche recipe to create savory versions by incorporating ingredients like grated cheese, fresh or dried herbs, minced garlic, or even chopped cooked bacon or caramelized onions.
For a cheese and herb variation, you might add about 50-75g of grated Gruyère, Parmesan, or cheddar cheese and 1-2 tablespoons of finely chopped fresh herbs like chives, rosemary, or thyme to the dough during the last few minutes of kneading. Ensure the additions are evenly distributed. This savory brioche is excellent served warm with soup, alongside a salad, or simply toasted with a little extra butter. The possibilities for savory infusions are vast, allowing for creative flavor combinations.
Brioche Bread Pudding: A Delicious Way to Use Leftover Brioche
Even if your brioche starts to go slightly stale (which rarely happens quickly with this delicious bread! ), it's not the end of its usefulness. Stale brioche is arguably the best bread to use for making bread pudding or French toast. The rich, eggy, and buttery nature of brioche makes these dishes incredibly luxurious and flavorful.
To make brioche bread pudding, simply cube the slightly stale brioche (about 4-6 cups worth), arrange it in a baking dish, and pour a rich custard mixture (made from eggs, milk or cream, sugar, and flavorings like vanilla or cinnamon) over the top. Let it soak for at least 30 minutes, or preferably longer, to allow the bread to absorb the custard completely. Bake until set and golden brown. This transforms leftover brioche into a comforting and indulgent dessert or brunch item, ensuring none of your delicious homemade bread goes to waste.
Enjoying Your Homemade French Brioche
You've successfully baked a beautiful loaf from your easy French brioche recipe! Now comes the best part: enjoying the fruits of your labor. Brioche is incredibly versatile and can be served in countless ways, from simple slices to elaborate dishes.
Savor the moment and explore the many possibilities for incorporating this delightful bread into your meals.
Serving Suggestions: Pairing Brioche with Your Favorite Foods
The rich, buttery flavor and tender texture of brioche make it a wonderful companion to a variety of foods. For a simple indulgence, slice the brioche and serve it warm with butter and jam or honey. It's also fantastic for making gourmet sandwiches, as its soft crumb holds up well and provides a delicious base that's far superior to standard sandwich bread. Consider using it for ham and cheese, chicken salad, or even a sophisticated grilled cheese.
Brioche is also commonly used for French toast, creating a particularly rich and decadent version. Its ability to soak up the egg mixture without falling apart is perfect for this application. Cubed brioche can also be used in savory applications like stuffing or croutons, adding a touch of richness. Don't forget that savory brioche variations (like cheese and herb) are perfect served alongside soups, stews, or roasted meats.
Brioche for Breakfast, Brunch, or Dessert: Versatile Baking
One of the best things about baking an easy French brioche recipe is its versatility across different meals. It is, of course, a classic breakfast bread, perfect for slicing and toasting or enjoying fresh with coffee or tea. Its richness makes it feel like a special occasion, even on a regular weekday morning.
Brioche truly shines at brunch. Whether served as is, used for French toast or egg dishes, or incorporated into savory stratas, it elevates any brunch spread. And for dessert? Sweet brioche, especially with added chocolate chips or fruit, is a delightful treat on its own. You can also use slices of plain brioche as a base for fruit and cream or make a luscious bread pudding. Its adaptability means your homemade brioche won't last long!
The Ultimate Easy Brioche Recipe: Conclusion and Enjoy!
You've now journeyed through the history, characteristics, and detailed steps of creating a delicious, easy French brioche recipe right in your own kitchen. From understanding the vital role of butter and eggs to mastering the kneading and rising processes, you have the knowledge to bake this classic French bread with confidence.
Baking brioche might take a little time and patience, especially with the recommended cold fermentation, but the reward is immense. The aroma filling your home and the taste of that first slice of warm, buttery, tender brioche is truly unforgettable. So, gather your ingredients, follow these steps, and prepare to indulge in one of the finest enriched breads in the world. Enjoy your beautiful homemade French brioche!
Frequently Asked Questions
What makes this brioche recipe "easy"?
This recipe focuses on simplified techniques and readily available ingredients, removing unnecessary complexities often found in traditional brioche recipes. We also provide clear, step-by-step instructions.
Can I substitute any ingredients in this French brioche recipe?
While we recommend following the recipe for optimal results, you can often substitute butter with a high-quality margarine for a dairy-free option. Avoid drastically changing the flour or yeast types.
How long does it take to make this easy French brioche recipe from start to finish?
The entire process, including prep time, rise time, and baking time, takes approximately 4-5 hours. Most of this time is dedicated to the dough rising and proofing.
What is the best way to store leftover French brioche?
Store your leftover brioche in an airtight container at room temperature for up to 3 days, or in the freezer for up to a month. Freezing helps maintain its buttery texture.
What are some serving suggestions for this easy French brioche?
Enjoy it plain, toasted with jam, or use it to make delicious French toast. It's also fantastic for sandwiches or as a side with savory dishes.
Final Reflection: The Enduring Allure of Simple Pleasures
The art of baking, particularly when it yields a result as magnificent as French brioche, transcends mere culinary skill; it becomes a celebration of simple pleasures. This easy recipe, designed to demystify the process and bring the joy of this buttery delight into your own kitchen, highlights the power of accessible recipes in connecting us to rich culinary traditions. The seemingly complex texture and flavor profile of brioche are, in reality, achievable with a little patience and the right guidance.
The enduring appeal of homemade bread, and specifically the luxurious texture of brioche, speaks to a deeper human need for connection – a connection to tradition, to family, and to the satisfaction of creating something beautiful with your own hands. The best things in life are simple.
This adage rings particularly true when considering the profound satisfaction derived from sharing a warm, homemade brioche with loved ones. The aroma alone, filling your kitchen with the scent of butter and yeast, is a sensory experience that fosters a sense of warmth and belonging.
Now, I invite you to consider the possibilities. Don't let the perceived complexity of French brioche intimidate you. This recipe is your gateway to unlocking a world of culinary creativity and the simple joy of sharing delicious, homemade treats. Try it. Adapt it. Make it your own. The experience, the aroma, and the taste will reward you far beyond the effort invested. Embrace the simple pleasure, and let the buttery delight of French brioche enrich your life.
Unlock Your Inner Boulanger: Bake Your Own Brioche Today!
Thanks for taking the time to explore the world of French brioche with us! We hope you've gained the confidence to tackle this seemingly complex, yet incredibly rewarding, pastry. Ready to get baking?
- Get started immediately: Print out the recipe and gather your ingredients. Let's create that buttery, golden-brown perfection!
- Share your baking journey: Tag us on social media with your brioche creations – we can't wait to see your masterpieces! Use #BakeWithEaseBrioche.
- Explore other easy bread recipes: Discover more delicious baking adventures on BakeWithEase.com – we have plenty of simple recipes to inspire you.
What unique twist will you add to your homemade brioche? Let us know in the comments!