
Quick Rye Bread: Delicious Loaf in Less Time

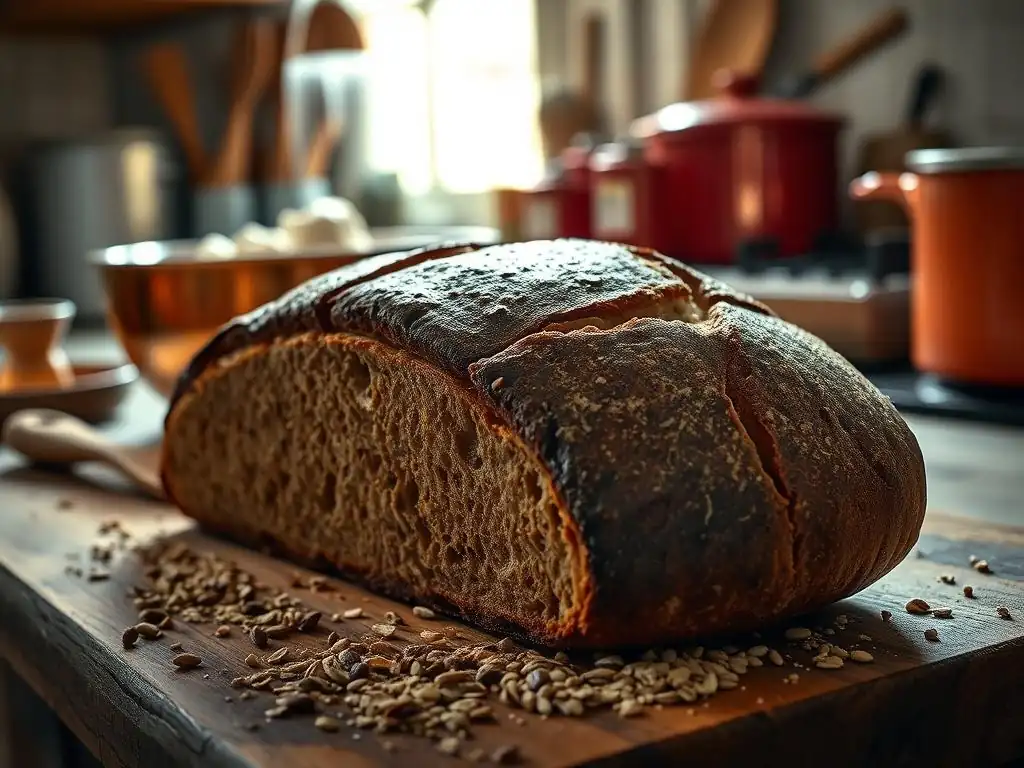
Welcome to BakeWithEase, your trusted guide to baking brilliance! Ever dreamed of crafting a flavorful, rustic loaf at home? Our easy sourdough rye bread recipe unlocks the secrets to baking a delicious loaf, even if you're short on time. Curious to discover how simple it can be to achieve that perfect tangy flavor and satisfying crust? Let's get baking!
- Quick Rye Bread: Delicious Loaf in Less Time - BakeWithEase
- Introduction to Quick Rye Bread Baking
- Understanding Rye Flour for Baking
- Easy Caraway Rye Bread Recipe: The Ingredients
- Step-by-Step Guide to Quick Caraway Rye Bread
- Tips for a Perfect Quick Rye Bread Loaf
- Variations on the Easy Caraway Rye Bread Recipe
- Enjoying Your Quick Rye Bread
- Conclusion: Mastering Quick Rye Bread Baking with Ease
-
Frequently Asked Questions
- ### What makes this sourdough rye bread recipe "easy"?
- ### Can I substitute ingredients in this "Easy sourdough rye bread recipe"?
- ### How long does it take to prepare and bake this "Quick Rye Bread"?
- ### What if I don't have a sourdough starter? Can I still make this "Easy sourdough rye bread recipe"?
- ### How should I store the baked "Delicious Loaf in Less Time" to maintain its freshness?
- Final Reflection: The Joy of Quick Rye, the Promise of Sourdough
- Unleash Your Inner Baker: Knead to Know More?
Quick Rye Bread: Delicious Loaf in Less Time - BakeWithEase
Introduction to Quick Rye Bread Baking
BakeWithEase: Your Guide to Simple Rye Bread Recipes
Welcome to BakeWithEase, where we believe that delicious, homemade bread should be accessible to everyone, regardless of their experience level or time constraints. Our mission is to demystify the baking process, offering clear, step-by-step guides and helpful tips for everything from rustic loaves to delicate pastries.
We know that many aspiring bakers are eager to try their hand at diverse bread types, and rye bread, with its distinct flavor and hearty texture, is often high on that list. While the traditional easy sourdough rye bread recipe can take a significant amount of time due to the long fermentation process, we're here to show you that achieving a wonderful rye loaf doesn't always require days of waiting.
At BakeWithEase, we focus on making baking simple and enjoyable. This article specifically targets those who love the idea of baking rye bread but need a faster approach than a typical sourdough rye bread recipe. We provide streamlined methods and reliable recipes that deliver fantastic results efficiently.
Whether you're looking for a basic easy rye bread recipe or want to explore variations like caraway or seeded rye, our resources are designed to empower you in the kitchen. We'll guide you through the unique aspects of working with rye flour and demonstrate how quick yeast-based methods can yield a flavorful, satisfying loaf perfect for sandwiches, toast, or simply enjoying with butter.
Why Choose a Quick Rye Bread Recipe?
The primary advantage of opting for a quick rye bread recipe is, as the name suggests, speed. Unlike a traditional easy sourdough rye bread recipe which relies on a natural starter that can take 12-24 hours or even longer for proofing and fermentation, a quick recipe typically uses commercial yeast (active dry or instant). This allows the dough to rise much faster, often within 1-2 hours total proofing time before baking.
For busy individuals, weeknight baking, or simply when you have a sudden craving for fresh rye bread, this accelerated timeline makes baking a homemade loaf a realistic possibility rather than a weekend project. You can mix, proof, shape, and bake a loaf in under 3-4 hours from start to finish.
Beyond the time savings, a quick rye bread recipe can also be less intimidating for beginners. Working with sourdough starters requires understanding their nuances, feeding schedules, and activity levels, which can be a steeper learning curve. A recipe utilizing commercial yeast offers more predictable results and simplifies the process of achieving a good rise.
While the complex tang of a true easy sourdough rye bread recipe is unique, a quick rye loaf still provides that characteristic earthy, slightly tangy flavor profile of rye flour, especially when enhanced with traditional additions like caraway seeds. It’s a fantastic entry point into the world of rye baking, offering delicious rewards without the extensive time commitment or the complexities of maintaining a sourdough starter.
Understanding Rye Flour for Baking
Types of Rye Flour: Light, Medium, and Dark
Rye flour is milled from the rye grain and comes in several types, primarily categorized by how much of the bran and germ is included. Light rye flour contains very little of the bran and germ, resulting in a lighter color and milder flavor. It's often used in conjunction with wheat flour in recipes. Medium rye flour contains more of the outer layers than light rye, giving it a darker color and a more pronounced, slightly tangier rye flavor. This type is a popular choice for many traditional European-style rye breads.
Dark rye flour is milled from the whole rye grain, including most of the bran and germ. This gives it a significantly darker color, a richer, more intense rye flavor, and a higher fiber content. Pumpernickel bread, for instance, is often made with dark rye flour, sometimes combined with coarse rye meal.
The different types of rye flour behave differently in baking due to their protein structure and pentosan content. Unlike wheat flour, rye flour has very little gluten-forming protein, relying more on other components like pentosans for structure. This difference is crucial to understand when adapting recipes or expecting certain textures, especially compared to working solely with wheat in an easy sourdough bread recipe using only wheat flour.
The Role of Rye Flour in Bread Texture and Flavor
Rye flour plays a unique role in bread making due to its low gluten content and high concentration of water-binding polysaccharides called pentosans. While wheat flour's gluten network provides elasticity and captures gases to create an airy structure, rye flour's pentosans absorb a large amount of water and form a viscous gel. This gel contributes to the dense, moist texture often associated with rye bread. Because there's less gluten development, rye dough tends to be stickier and less elastic than wheat dough, which is why kneading techniques differ or are sometimes minimized in rye recipes.
The flavor contribution of rye flour is equally distinctive. It imparts an earthy, slightly sour, and robust taste that is characteristic of rye bread. Darker rye flours, with their higher concentration of flavorful compounds found in the bran and germ, offer a more intense flavor experience than lighter rye flours.
The pentosans also contribute to the bread's keeping qualities, helping it retain moisture and stay fresh for longer compared to some wheat-based loaves. Understanding these properties is key to successfully baking delicious rye bread, whether you're following a quick yeast recipe or a more complex easy sourdough rye bread recipe.
Easy Caraway Rye Bread Recipe: The Ingredients
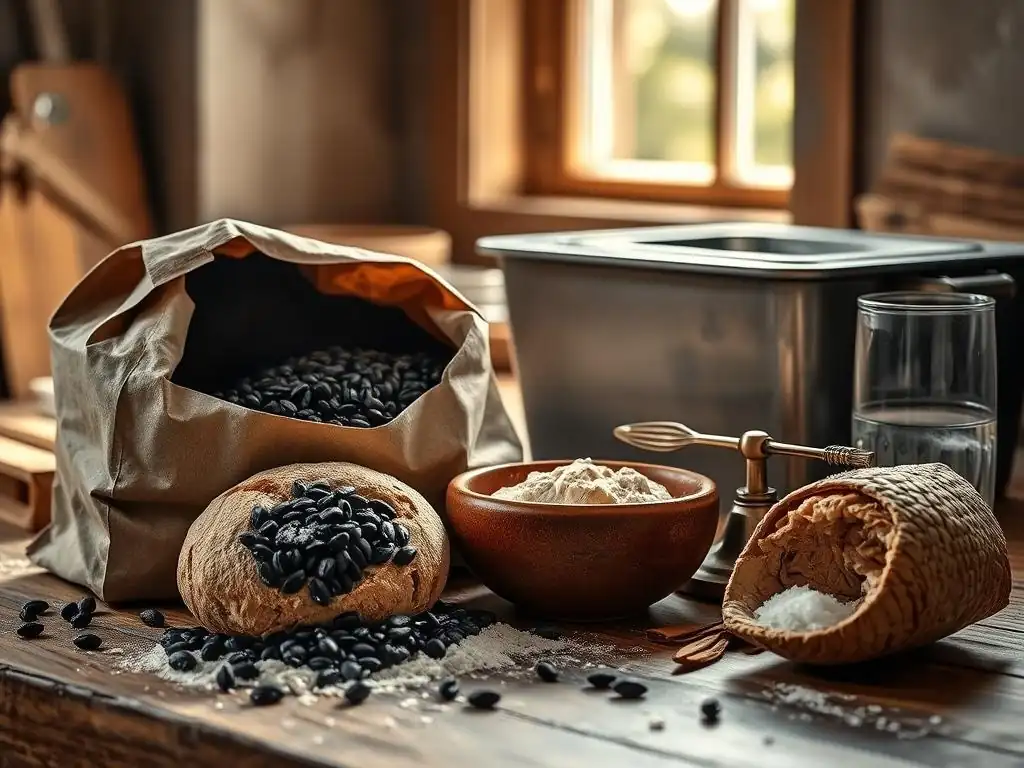
Essential Ingredients for a Faster Rye Bread
To create a delicious quick rye bread, you'll need a few key ingredients. Flour is, of course, central, typically a mix of strong white bread flour and rye flour. Using a combination helps provide structure from the wheat gluten while incorporating the distinct flavor and texture of rye.
A common starting point might be a 60% wheat to 40% rye ratio, though this can be adjusted based on desired flavor intensity and texture. You'll also need a leavening agent, and for a quick recipe, this means commercial yeast – either active dry or instant yeast. Instant yeast is often preferred for speed as it can usually be mixed directly into the dry ingredients without pre-activating.
Water is essential for hydrating the flours and activating the yeast. The amount needed can vary depending on the specific flours used and environmental humidity, but it's typically around 65-75% hydration relative to the total flour weight. Salt is crucial for flavor development and controlling yeast activity.
A small amount of sugar or honey can be added to feed the yeast and aid in crust browning, though it's not always strictly necessary. Finally, for a classic caraway rye, caraway seeds are a must, adding a pungent, slightly anise-like flavor that pairs perfectly with the rye. These ingredients come together much faster than the starter, flour, and water needed for an easy sourdough rye bread recipe.
Ingredient Substitutions and Variations
While the core ingredients provide a solid foundation, you can easily make substitutions and add variations to customize your quick rye bread. If you only have one type of rye flour, you can use it, keeping in mind it will affect the color and intensity of the flavor. For example, using only light rye will result in a milder loaf than using only dark rye.
White bread flour can often be substituted with whole wheat flour for a heartier loaf, though you might need to adjust the water slightly as whole wheat absorbs more liquid. Gluten-free flour blends are generally not direct substitutions in traditional rye recipes due to the reliance on wheat gluten for structure alongside rye's properties.
Caraway seeds are traditional, but you can omit them if you dislike the flavor or substitute them with other seeds like fennel seeds, poppy seeds, or a mix of seeds (sunflower, pumpkin, flax) for added texture and nutrition. A tablespoon or two of molasses or dark treacle can be added to the dough, particularly when using darker rye flour, to enhance the color and add a deeper, slightly bittersweet flavor, reminiscent of some pumpernickel styles.
For added richness and a softer crumb, a tablespoon of butter or oil can be incorporated into the dough. Experimenting with these variations allows you to tailor your quick rye bread to your personal taste preferences, offering flexibility not typically found in a rigid easy sourdough rye bread recipe schedule.
Step-by-Step Guide to Quick Caraway Rye Bread
Preparing the Dough: Mixing and Kneading Techniques
Mixing the dough for quick rye bread is straightforward. Begin by combining the flours (e.g., 300g strong white bread flour, 200g medium rye flour), yeast (e.g., 7g instant yeast), and salt (e.g., 10g) in a large mixing bowl. If using caraway seeds (e.g., 1-2 tablespoons), add them now.
In a separate jug, measure your warm water (e.g., 350ml, around 100-110°F or 38-43°C – warm enough to activate the yeast but not too hot to kill it). Pour most of the water into the dry ingredients and mix with a spoon or spatula until a shaggy dough forms. Gradually add the remaining water as needed until all the flour is incorporated and the dough is slightly sticky.
Due to rye flour's low gluten content, rye dough requires less intense kneading than a purely wheat loaf or even an easy sourdough rye bread recipe made with a high percentage of wheat. Over-kneading rye dough can make it gummy. Once the ingredients are just combined, you can turn the dough onto a lightly floured surface and knead gently for about 5-8 minutes. Focus on folding the dough over itself and pushing it away with the heel of your hand, then rotating.
Alternatively, you can use a stand mixer with a dough hook for 4-6 minutes on low speed. The dough will remain somewhat sticky and less elastic than a wheat dough. Aim for a dough that holds its shape loosely but isn't overly stiff.
First Proofing: Achieving Optimal Rise in Less Time
The first proofing (or bulk fermentation) is where the yeast gets to work, producing carbon dioxide gas that makes the dough rise. For a quick rye bread, this process is significantly faster than the long, slow fermentation of an easy sourdough rye bread recipe. Place the kneaded dough in a lightly oiled bowl, turning to coat the surface.
Cover the bowl tightly with plastic wrap or a damp tea towel to prevent the dough from drying out. Place the bowl in a warm spot, ideally around 75-80°F (24-27°C). A slightly warm oven (turned off, but perhaps preheated briefly and then turned off) or a sunny windowsill can work.
The duration of the first proof will depend on the temperature and yeast activity, but typically takes about 45-60 minutes for a quick rye bread. The dough should visibly increase in size, roughly doubling. You can test if it's ready by gently pressing a finger into the dough; if the indentation remains, the dough is likely sufficiently proofed.
If it springs back immediately, it needs a little more time. Unlike the subtle signs in a long sourdough proof, the increase in volume is usually quite apparent with commercial yeast. Don't let it over-proof, as this can lead to a dense texture later.
Shaping the Rye Loaf: Techniques for a Perfect Form
Once the first proof is complete, gently turn the dough out onto a lightly floured surface. Rye dough can be a bit sticky, so a dusting of flour or working with slightly damp hands can help. The goal is to shape the dough into your desired loaf form while being careful not to knock out all the air created during the first proof. For a simple freeform loaf (a boule or batard), gently degas the dough by pressing it down lightly into a rough rectangle.
Then, shape the dough. For a batard (oval), fold the top third down to the center, then fold the bottom third up over the top fold. Pinch the seam closed.
Then, gently roll the dough back and forth to create tension on the surface and elongate it. For a boule (round), gently fold the edges of the dough towards the center, then turn it over and cup your hands around the base, rotating it against the surface to create a smooth, taut skin on top. Avoid excessive handling or forceful kneading at this stage, as this can compromise the final texture of the loaf, making it dense.
Second Proofing: Ensuring a Light and Airy Texture
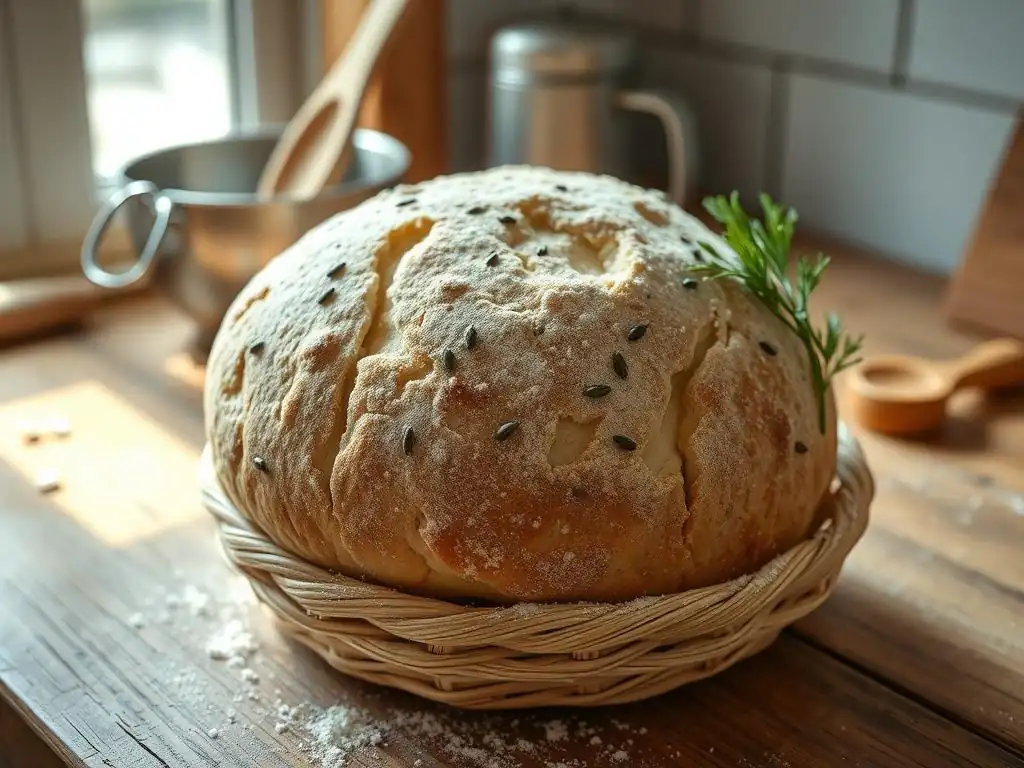
After shaping, the loaf needs a second proofing (also called the final proof or resting period). This allows the dough to relax, expand further, and develop a lighter texture before baking. Place the shaped loaf into a proofing basket (banneton) lined with a floured cloth, a loaf pan, or onto a baking sheet lined with parchment paper, depending on how you plan to bake it. If using a banneton or baking sheet, dust the bottom of the loaf generously with flour or cornmeal to prevent sticking. Cover the loaf loosely with plastic wrap or a light kitchen towel.
The second proof for a quick rye bread is typically shorter than the first, often lasting around 30-45 minutes. Again, the exact time depends on the ambient temperature. The loaf should look visibly puffier, but it won't necessarily double in size like it might during the first proof. You can use the same poke test: gently press the side of the loaf; if the indentation slowly springs back halfway, it's ready to bake.
If it springs back completely, it needs more time. If it collapses, it's over-proofed. Getting the proofing times right is crucial for a good crumb structure, whether you're making a quick loaf or an easy sourdough rye bread recipe.
Baking Your Quick Rye Bread: Temperature and Time
Preheating your oven and baking surface is essential for a good crust and rise. Preheat your oven to a relatively high temperature, typically between 400°F and 450°F (200°C and 230°C), with your baking surface (like a baking stone, steel, or cast iron Dutch oven) inside for at least 30-45 minutes. This ensures the surface is hot enough to give the loaf a good initial burst of heat, known as oven spring.
Just before baking, you can score the top of your loaf with a sharp knife or lame. This allows the bread to expand in a controlled manner and adds a decorative touch.
Carefully transfer the proofed loaf to the hot baking surface. For a freeform loaf on a stone/steel, using a peel is helpful. If using a Dutch oven, gently lower the loaf into the preheated pot.
To achieve a good crust, creating steam in the oven is beneficial. You can do this by placing a tray of hot water on the bottom rack of the oven when you load the bread, or by baking in a lidded Dutch oven for the first portion of the bake. Bake the loaf for approximately 30-40 minutes.
If using a Dutch oven, bake with the lid on for the first 20 minutes, then remove the lid and continue baking for another 15-20 minutes until the crust is deep golden brown and the internal temperature reaches around 200-210°F (93-99°C) when checked with an instant-read thermometer. A quick rye bread generally bakes faster than a denser easy sourdough rye bread recipe.
Tips for a Perfect Quick Rye Bread Loaf
Troubleshooting Common Baking Issues
Even with a straightforward quick recipe, you might encounter issues. If your loaf is dense and hasn't risen well, potential culprits include inactive yeast (check the expiry date and water temperature), insufficient proofing time (ensure a warm environment), or over-kneading which can make rye dough tough. Conversely, if your loaf spread out too much during baking, it might have been over-proofed or not shaped with enough surface tension. Using a loaf pan can help contain the dough and encourage a taller rise if spreading is a persistent problem.
Another common issue is a pale crust. This can be due to insufficient baking time or temperature. Ensure your oven is accurately calibrated and that you're baking until the internal temperature is reached and the crust is a deep golden color.
Adding a touch of sugar or molasses to the dough can also promote browning. Crumb issues, like a gummy texture, are often related to over-mixing or insufficient baking – rye bread needs to be thoroughly baked to set properly. Learning to recognize the signs of properly proofed dough and baking until done are key skills, applicable whether you're making a quick loaf or tackling an easy sourdough rye bread recipe.
Achieving a Crusty Exterior and Soft Interior
The contrast between a crisp crust and a soft, moist interior is a hallmark of great bread. For quick rye bread, achieving this balance requires attention to moisture during baking. As mentioned in the baking steps, creating steam in the oven is crucial for developing a thin, crisp crust. The steam keeps the surface of the dough moist initially, allowing it to expand fully before the crust hardens. Baking in a preheated Dutch oven is one of the most effective ways to trap steam around the loaf.
If you're baking on a stone or tray, using a steam pan (a tray of hot water placed on a lower rack) or misting the oven walls with water can help. Ensure the oven is well-preheated; a hot oven provides the initial burst of heat needed for oven spring, which contributes to a good internal structure.
Baking for the full recommended time until the internal temperature is correct ensures the inside is cooked through and the crust has time to properly brown and crisp up. Allowing the bread to cool completely on a wire rack before slicing is also vital; cutting too early traps steam inside, potentially leading to a gummy texture and a less crisp crust.
Storing Your Freshly Baked Rye Bread
Proper storage is key to keeping your quick rye bread fresh and delicious for as long as possible. Once the loaf has cooled completely on a wire rack (this can take 1-2 hours), it's best stored at room temperature. Avoid refrigerating homemade bread, as this can actually make it stale faster due to a process called starch retrogradation. For short-term storage (1-2 days), simply placing the cut side down on a cutting board can work.
For longer storage (up to 4-5 days), wrap the cooled loaf tightly in plastic wrap, beeswax wrap, or place it in a bread box or a clean paper bag inside a plastic bag. This helps retain moisture. If you won't finish the loaf within a few days, freezing is an excellent option. Slice the cooled bread and place the slices in a freezer-safe bag or container, or wrap the whole loaf tightly in plastic wrap followed by aluminum foil.
Frozen rye bread can last for several months. To use, thaw slices as needed or thaw the whole loaf at room temperature. Toasting slices, even from a previously frozen loaf, can revive the crust and texture wonderfully, providing a quick and easy way to enjoy your homemade bread anytime.
Variations on the Easy Caraway Rye Bread Recipe
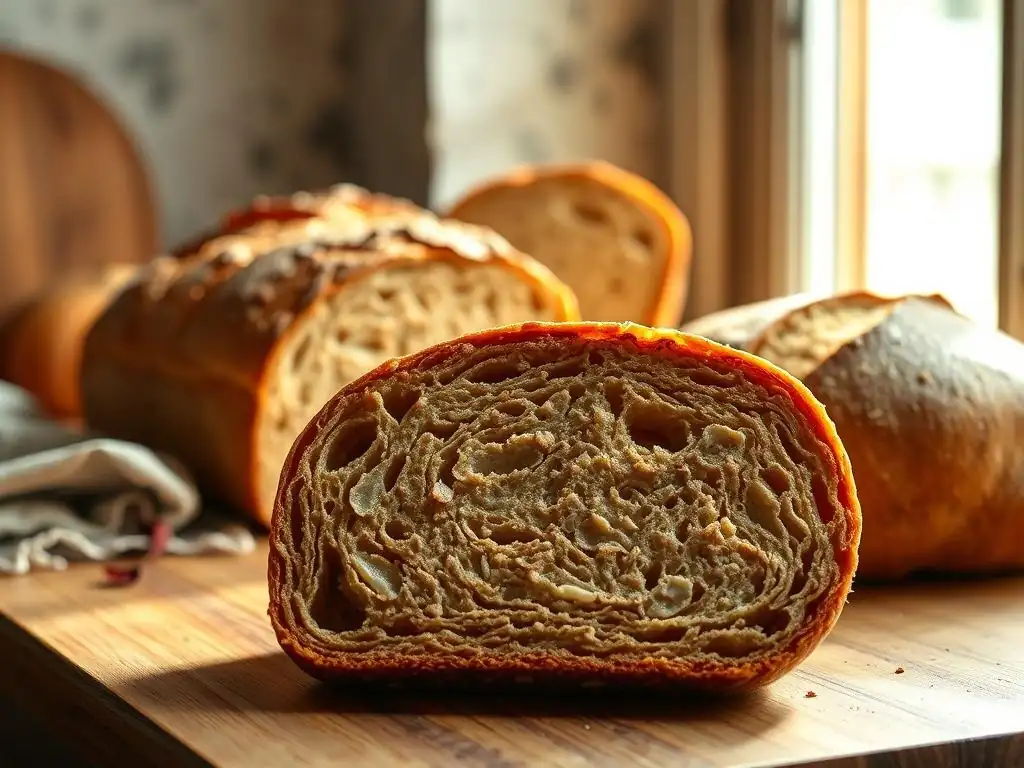
Adding Seeds and Grains for Enhanced Flavor
While caraway seeds are classic, quick rye bread is a fantastic canvas for incorporating other seeds and grains to boost flavor, texture, and nutritional value. Beyond caraway, consider adding poppy seeds, sesame seeds, or a mix of all three to the dough along with the flour. A typical addition would be 1-3 tablespoons of seeds per loaf. You can also sprinkle seeds on top of the loaf just before baking for visual appeal and extra crunch.
For a heartier texture and more complex flavor, you can include soaked grains or a small amount of rye flakes or cracked rye. For example, soaking 2-3 tablespoons of rye flakes in an equal amount of hot water for 30 minutes and letting them cool before adding them to the dough can add pleasant chewiness. You could also incorporate a small amount of sunflower seeds or pumpkin seeds directly into the dough. These additions make the bread more robust and interesting, offering a different experience than a plain loaf or a standard easy sourdough rye bread recipe.
Creating a Marble Rye Effect
Marble rye bread, with its beautiful swirl of light and dark doughs, is visually appealing and offers a subtle difference in flavor within the same slice. To achieve this effect in a quick rye bread, you'll need to divide your dough after the first proof. Set aside about one-third of the dough. To the remaining two-thirds, add a coloring agent and often some additional flavoring.
A common way to make the dark portion is to incorporate 1-2 tablespoons of unsweetened cocoa powder dissolved in a tablespoon of hot water, along with 1-2 tablespoons of molasses or dark treacle. Mix this thoroughly into the larger portion of the dough until the color is uniform and dark brown. Keep the smaller portion of dough plain (or add a little extra wheat flour if it becomes too soft).
After a short rest (about 10-15 minutes), roll out both the light and dark doughs into rough rectangles of similar size. Place the dark rectangle on top of the light one, then roll them up together like a jelly roll. Shape as usual and proceed with the second proof and baking.
The resulting swirl creates the signature marble effect, adding an extra layer of enjoyment to your quick rye loaf. This technique can also be adapted for an easy sourdough rye bread recipe if you want to try marbling with sourdough.
Exploring Different Rye Bread Styles
The quick rye bread recipe provided serves as a great starting point, but the world of rye bread is vast and includes many different styles you can explore. Pumpernickel is a very dark, often dense bread traditionally made with coarse dark rye flour and sometimes rye meal, baked for a very long time at low temperatures, which develops deep, rich flavors through a process similar to caramelization. While a true pumpernickel is a slow process, you can approximate some of its characteristics in a quick loaf by using dark rye flour and adding molasses or cocoa powder.
Another popular style is Jewish Rye bread, which often contains caraway seeds and sometimes a touch of sugar or oil for softness. It's typically made with a higher proportion of wheat flour than some European rye breads, resulting in a lighter texture. Our quick caraway rye recipe falls closely into this category, offering a familiar and versatile loaf. Exploring these different styles, from the dense, earthy pumpernickel to the lighter Jewish rye, shows the versatility of rye flour in baking and provides endless opportunities for experimentation beyond a single easy sourdough rye bread recipe.
Enjoying Your Quick Rye Bread
Serving Suggestions and Pairing Ideas
Your freshly baked quick rye bread is incredibly versatile and pairs wonderfully with a variety of foods. Its slightly tangy and earthy flavor profile makes it an excellent base for savory toppings. Consider serving slices with cream cheese and smoked salmon, a classic combination. It's also fantastic alongside hearty soups and stews, where its sturdy texture can hold up to rich broths. A simple slice toasted and buttered is a delicious snack on its own, allowing the bread's flavor to shine through.
Rye bread is a traditional accompaniment to cured meats and cheeses. Think about creating a platter with various cold cuts, pickles, and sharp cheddar or Swiss cheese. The bread's robust flavor complements the richness of the meats and cheeses. For a lighter option, serve it with a simple spread like hummus or a white bean dip. The possibilities are extensive, making your homemade quick rye bread a welcome addition to almost any meal or snack time, offering a different dimension compared to a standard white or whole wheat loaf or even an easy sourdough rye bread recipe.
Making Sandwiches and Toast with Your Homemade Rye Bread
Rye bread truly excels when used for sandwiches and toast. For sandwiches, its slightly denser crumb provides structure that holds up well to fillings, preventing sogginess. Classic deli sandwiches, like pastrami or corned beef with mustard, are iconic pairings with rye. A simple ham and cheese or turkey sandwich is elevated when made with flavorful homemade rye. For a lighter option, try a vegetable-filled sandwich with avocado, tomato, and sprouts.
Toasting slices of your quick rye bread brings out its flavors and creates a satisfying crunch. Toasted rye is perfect for serving with eggs in the morning or alongside a salad for lunch.
It's also the base for classic open-faced sandwiches, such as those popular in Scandinavian cuisine, topped with ingredients like herring, hard-boiled eggs, or liver pâté. Whether you prefer it lightly toasted or deeply browned, your homemade rye bread provides a sturdy, flavorful foundation that store-bought bread often can't match, offering a quicker route to deliciousness than waiting for an easy sourdough rye bread recipe to be ready.
Conclusion: Mastering Quick Rye Bread Baking with Ease
Recap of the Easy Caraway Rye Bread Recipe
We've journeyed through the process of making a delicious quick caraway rye bread, demonstrating that baking a flavorful rye loaf doesn't require the extensive time commitment of a traditional easy sourdough rye bread recipe. We started by understanding the unique properties of rye flour and how it differs from wheat. We then outlined the simple ingredients needed for a fast, yeast-leavened dough, emphasizing the role of commercial yeast in accelerating the process. The step-by-step guide covered mixing, the relatively short proofing times, shaping techniques, and the crucial baking process, including tips for achieving that desirable crust and crumb.
By following these steps, even beginner bakers can achieve a satisfying, homemade rye bread. The entire process, from mixing to cooling, can often be completed within a single afternoon, a stark contrast to the overnight or multi-day process required for many sourdough loaves.
We also explored how to troubleshoot common issues and store your finished bread to maintain its freshness. This quick approach provides a fantastic entry point into rye baking, offering a taste of this wonderful bread type without the complexities associated with maintaining and using a sourdough starter, making it a truly easy rye bread recipe for anyone to try.
Further Baking Adventures with BakeWithEase
Mastering this quick rye bread recipe is just the beginning of your baking journey with BakeWithEase. We encourage you to experiment with the variations discussed, such as adding different seeds or creating a marble effect, to personalize your loaves. Once you're comfortable with this quick method, you might feel inspired to explore other types of bread, perhaps trying recipes with higher percentages of rye or venturing into different flour combinations.
If you've enjoyed the process of baking with rye flour and are curious about longer fermentation methods, BakeWithEase also offers resources on working with sourdough. While a true easy sourdough rye bread recipe involves a greater time investment, the depth of flavor developed through natural fermentation is a rewarding experience.
Whether you stick to fast and easy rye bread recipes using commercial yeast or decide to delve into the world of sourdough, BakeWithEase is here to support you with clear instructions, helpful tips, and a friendly approach to baking. Keep exploring, keep baking, and enjoy the delicious rewards of your efforts!
Frequently Asked Questions
### What makes this sourdough rye bread recipe "easy"?
This recipe focuses on simplified techniques and readily available ingredients, minimizing the complexity often associated with sourdough. It uses a faster proofing process and less demanding shaping methods.
### Can I substitute ingredients in this "Easy sourdough rye bread recipe"?
While possible, substitutions can impact the texture and flavor. We recommend sticking to the recipe, especially for rye flour content, for optimal results. Small adjustments like using a different type of sweetener are generally acceptable.
### How long does it take to prepare and bake this "Quick Rye Bread"?
The total time is significantly shorter than traditional sourdough. Expect roughly 3-4 hours including mixing, proofing, and baking. The active prep time is minimal, around 30 minutes.
### What if I don't have a sourdough starter? Can I still make this "Easy sourdough rye bread recipe"?
A sourdough starter is essential for this recipe. You'll need to cultivate your own or obtain one from a friend or bakery before proceeding. Alternatives won't yield the same flavor profile.
### How should I store the baked "Delicious Loaf in Less Time" to maintain its freshness?
Once cooled completely, store the rye bread in an airtight container or bread bag at room temperature. Slicing before storing can help prevent it from drying out. It can also be frozen for longer storage, wrapped tightly.
Final Reflection: The Joy of Quick Rye, the Promise of Sourdough
The pursuit of delicious, homemade bread needn't be a marathon; it can be a satisfying sprint. This article demonstrated that crafting a flavorful rye loaf, even with the complexities of sourdough, is achievable in a fraction of the traditional time. The quick rise method, coupled with readily available ingredients, opens up the world of sourdough baking to a much wider audience.
The accessibility of this recipe, I believe, speaks to a larger cultural shift towards valuing homemade, wholesome foods. We're increasingly seeking connection with our food, understanding its origins and appreciating the simple act of creation. This resonates deeply with me, as baking has always been a source of comfort and creativity. Bread is the staff of life,
they say, and for me, it's also a staff of connection – to tradition, to family, and to the simple pleasure of nourishing oneself and others.
Now, I invite you to roll up your sleeves, gather your ingredients, and embark on your own quick rye adventure. Don't be intimidated by the sourdough starter; embrace the process, experiment with flavors, and savor the aroma of freshly baked bread filling your kitchen. The reward? Not just a delicious loaf, but a deeper appreciation for the art of baking and the satisfaction of creating something truly special with your own hands.
Unleash Your Inner Baker: Knead to Know More?
Thanks for taking the time to explore the world of quick rye bread with us! We hope you gained some valuable tips and tricks to make this delicious loaf a regular part of your baking routine. Now it's time to get baking!
- Bake your own quick rye loaf today! Grab your ingredients and try the recipe – you might be surprised how easy it is!
- Share your baking journey! Post a picture of your finished loaf on social media and tag us – we’d love to see your creations.
- Explore other quick bread recipes on our website for more inspiration. Find your new favorite!
So, what unique ingredient will you add to your next quick rye bread masterpiece? Let us know in the comments below!