
Sourdough Rustic Bread: A Beginner's Journey

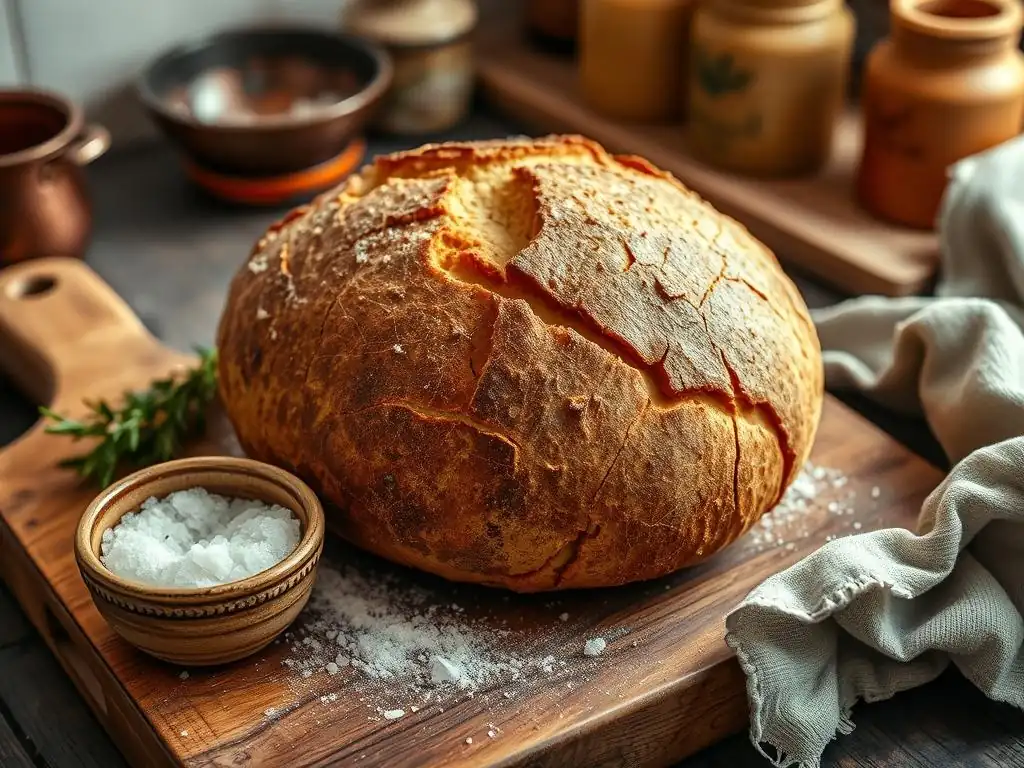
Welcome to BakeWithEase, your companion in the delicious world of baking! Ever dreamt of creating bakery-worthy bread at home? Let's unlock the secrets together. Dive into our Beginner Sourdough Bread Recipe and embark on a rewarding journey. Imagine the aroma of freshly baked, rustic sourdough filling your kitchen. Ready to bake?
- Sourdough Rustic Bread: A Beginner's Journey with BakeWithEase
- Introduction to Beginner Sourdough Bread Baking
- Understanding Sourdough for Beginners
-
Beginner Sourdough Bread Recipe: Step-by-Step
- Recipe Overview: Simple Sourdough Ingredients
- Step 1: Preparing Your Sourdough Starter for Baking
- Step 2: Mixing the Dough: A Gentle Introduction
- Step 3: Bulk Fermentation: The First Rise Explained
- Step 4: Shaping Your Rustic Sourdough Loaf
- Step 5: Proofing: The Second Rise for Flavor
- Step 6: Baking Your Beginner Sourdough Bread
- Step 7: Cooling and Enjoying Your Homemade Sourdough
- Tips & Tricks for Perfect Beginner Sourdough
- Variations on the Basic Beginner Sourdough Recipe
- Storing Your Sourdough Rustic Bread
- Conclusion: Your Sourdough Journey Begins Now
-
Frequently Asked Questions
- What exactly is sourdough bread, and why is it different from other breads?
- What are the key ingredients I'll need for this beginner sourdough bread recipe?
- How long does it actually take to make sourdough bread from start to finish?
- What is "proofing" and why is it such a crucial step in making sourdough?
- I've never baked bread before. Is this really a beginner-friendly sourdough recipe?
- Final Reflection: The Unexpected Joys of Sourdough
- Unleash Your Inner Baker: Craft Your First Rustic Loaf!
Sourdough Rustic Bread: A Beginner's Journey with BakeWithEase
Introduction to Beginner Sourdough Bread Baking
Welcome to the World of Sourdough: A Simple Start
Embarking on the journey of baking your first loaf of sourdough rustic bread is an incredibly rewarding experience. Many beginners feel intimidated by the process, often associating sourdough with complex techniques and unpredictable results. However, with the right guidance and a little patience, creating a beautiful, tangy loaf is well within your reach. This guide from BakeWithEase is designed specifically for you, the aspiring sourdough baker, simplifying each step to make your initial attempts successful and enjoyable. Forget the fear; let's dive into the satisfying craft of baking with wild yeast.
This article will walk you through the fundamentals, from understanding what makes sourdough unique to following a step-by-step beginner sourdough bread recipe. We'll demystify the process of creating and maintaining a sourdough starter, explain the science behind fermentation, and provide practical tips for shaping, proofing, and baking your loaf to perfection. By the end of this guide, you'll have the knowledge and confidence to bake a delicious rustic loaf right in your own kitchen, proving that a great beginner sourdough bread recipe is accessible to everyone.
Why Bake Sourdough Rustic Bread?
Baking sourdough rustic bread offers a unique combination of benefits and satisfaction that goes beyond simply making a loaf of bread. The natural fermentation process breaks down complex carbohydrates, potentially making the bread easier to digest for some people compared to commercially yeasted bread. Furthermore, the long fermentation develops a depth of flavor that is simply unmatched – a subtle tanginess paired with complex, earthy notes that only time and microbial activity can create.
Beyond the health aspects and incredible flavor, there's immense satisfaction in mastering a craft as ancient as bread baking. Holding your first warm, crusty loaf of beginner sourdough bread, baked entirely from scratch using your own starter, is a moment of pure accomplishment. It connects you to a tradition spanning centuries and provides a tangible reward for your effort. It's not just about baking bread; it's about engaging in a mindful process that nourishes both body and soul.
BakeWithEase: Your Guide to Easy Sourdough
At BakeWithEase, our mission is to demystify baking and make it accessible to everyone, regardless of their experience level. We understand that sourdough can seem daunting, which is why we've broken down the process into manageable, easy-to-follow steps. Our approach focuses on clear instructions, helpful visuals (even if not included directly here, imagine them! ), and practical tips to help you navigate potential challenges. We believe that anyone can bake fantastic bread, and we're here to prove it.
This beginner sourdough bread recipe is just the starting point of your sourdough adventure with BakeWithEase. We'll guide you through selecting the right ingredients, understanding the subtle signs of healthy dough, and achieving that coveted crispy crust and airy interior. Think of us as your friendly mentor in the kitchen, providing the support and knowledge you need to turn simple flour and water into a magnificent loaf of rustic sourdough bread. We're excited to be part of your baking journey!
Understanding Sourdough for Beginners
What is Sourdough Starter?
A sourdough starter is essentially a living culture of wild yeast and beneficial bacteria (primarily lactic acid bacteria) that live in a mixture of flour and water. Unlike commercial yeast, which is a single strain of Saccharomyces cerevisiae, a sourdough starter is a complex ecosystem. When you mix flour and water, the natural microorganisms present in the flour and the environment begin to ferment the starches. Over time, with regular feeding (adding more flour and water) and discarding some of the mixture, this culture strengthens, becoming active enough to leaven bread.
The wild yeast in the starter produces carbon dioxide gas, which is what makes bread rise. The lactic acid bacteria, on the other hand, produce lactic and acetic acids. These acids are responsible for the characteristic tangy flavor of sourdough bread and also help preserve the bread. The balance between the yeast and bacteria, influenced by factors like feeding schedule, hydration level, and temperature, determines the starter's activity and the final bread's flavor profile. Understanding this living culture is key to successfully using any beginner sourdough bread recipe.
Creating Your Own Sourdough Starter: The First Step
Creating your own sourdough starter from scratch is a simple process that requires just two ingredients: flour and water. It typically takes about 7 to 14 days for a new starter to become strong enough to reliably leaven bread. You start by mixing equal parts (by weight) of flour and lukewarm water in a clean jar – for example, 50 grams of flour and 50 grams of water. Mix until well combined, it should have a thick, paste-like consistency. Cover loosely and leave it at room temperature.
For the first few days, you might not see much activity, perhaps just a few small bubbles. Around day 3-5, you'll likely notice more bubbles and maybe a slightly sour smell. This is the microbial activity picking up! From day 2 onwards, you'll begin the daily feeding routine.
Discard half of the starter and feed the remainder with fresh flour and water in the same ratio (e.g., discard down to 50g, then add 50g flour and 50g water). Continue this daily feeding. Your starter is ready to use in a beginner sourdough bread recipe when it consistently doubles (or even triples) in size within 4-8 hours after feeding and smells pleasantly tangy, not like strong acetone.
Nurturing Your Starter: Feeding and Maintenance for Rustic Bread
Once your starter is active and ready to bake with, maintaining it is crucial for consistent results in your rustic bread baking. The most common way to maintain a starter is by keeping it at room temperature if you bake frequently (daily or every few days) or storing it in the refrigerator if you bake less often (once a week or less). For room temperature storage, daily feeding is recommended, usually with a 1:1:1 ratio (starter:flour:water by weight), though some bakers use 1:2:2 or higher ratios depending on their needs.
If storing your starter in the refrigerator, you typically only need to feed it once a week. Before using it for a beginner sourdough bread recipe, you'll need to "wake it up" by taking it out of the fridge and performing one or two feedings at room temperature until it becomes active and bubbly again. Always feed your starter with the type of flour you primarily use for your bread (often bread flour or a mix with whole wheat or rye). A healthy, well-maintained starter is the foundation of a successful and flavorful rustic sourdough loaf.
Beginner Sourdough Bread Recipe: Step-by-Step
Recipe Overview: Simple Sourdough Ingredients
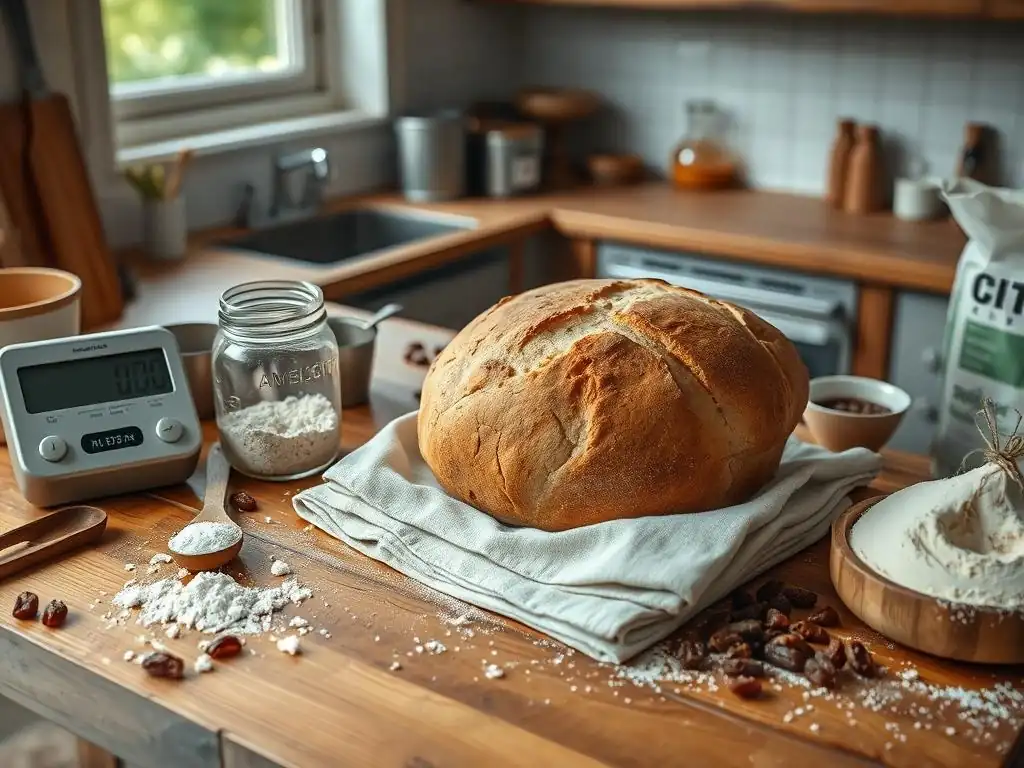
This simple beginner sourdough bread recipe focuses on minimal ingredients and straightforward steps to guide you through your first bake. The core components are just four: active sourdough starter, flour, water, and salt. For a rustic loaf, a strong bread flour or a mix including some whole wheat or rye flour works wonderfully. The hydration level (the ratio of water to flour) is typically around 70-80% for a rustic loaf, contributing to an open crumb structure.
Here's a basic breakdown of the ingredients for a single loaf:
- 100g active sourdough starter
- 350g lukewarm water (around 85-90°F or 30-32°C)
- 500g strong bread flour
- 10g fine sea salt
This recipe aims for a total hydration of approximately 70% relative to the main flour weight (350g water + ~50g water from starter / 500g flour). Adjust water slightly based on your flour's absorption. This simple list is the starting point for your delicious homemade beginner sourdough bread.
Step 1: Preparing Your Sourdough Starter for Baking
Before you can use your starter in a beginner sourdough bread recipe, it needs to be active and "ripe." This means it should have been fed recently and be at its peak activity – typically doubled or tripled in volume and showing lots of bubbles, both on the surface and throughout the culture. If your starter is stored in the fridge, take it out the day before you plan to mix your dough and give it one or two feedings at room temperature until it shows these signs of vigor.
The best time to use your starter is usually 4-8 hours after its last feeding, when it's most bubbly and smells pleasantly tangy. A simple test for readiness is the "float test": gently drop a small spoonful of starter into a glass of water. If it floats, it's generally ready to use. If it sinks, it might need another feeding or more time to become active. Using a starter that is properly active is crucial for achieving good rise in your beginner sourdough bread.
Step 2: Mixing the Dough: A Gentle Introduction
Mixing the dough for a beginner sourdough bread recipe is often done in two stages: the autolyse and the main mix. First, in a large bowl, combine the lukewarm water and your active sourdough starter. Mix gently to disperse the starter. Then, add the flour and mix with your hands or a spatula until no dry flour remains. This is the autolyse stage – covering the bowl and letting the mixture rest for 30 minutes to an hour. This allows the flour to fully hydrate and gluten development to begin naturally.
After the autolyse, add the salt to the dough. Wet your hands slightly and gently work the salt into the dough by folding it over itself. The dough will feel shaggy initially. Once the salt is incorporated, you can perform a few sets of gentle folds (like stretch and folds or coil folds) over the next hour or so to start building structure. This gentle handling is ideal for beginners learning to feel the dough's development.
Step 3: Bulk Fermentation: The First Rise Explained
Bulk fermentation, also known as the first rise, is a critical stage in the beginner sourdough bread recipe where the dough develops flavor and structure thanks to the activity of the sourdough starter. After mixing and incorporating the salt and performing initial folds, the dough is left to ferment at room temperature in a covered container. The duration of bulk fermentation depends heavily on the ambient temperature and the activity of your starter.
At a typical room temperature of 72-78°F (22-26°C), bulk fermentation can take anywhere from 4 to 8 hours. During this time, you'll perform several sets of stretch and folds or coil folds every 30-60 minutes during the first couple of hours. This helps build gluten strength and equalizes the dough's temperature. The dough is ready when it has increased significantly in volume (often by 50-80%), feels lighter and airy, and shows bubbles on the surface. Over-fermenting can lead to a sticky, difficult-to-handle dough, while under-fermenting will result in a dense crumb.
Step 4: Shaping Your Rustic Sourdough Loaf
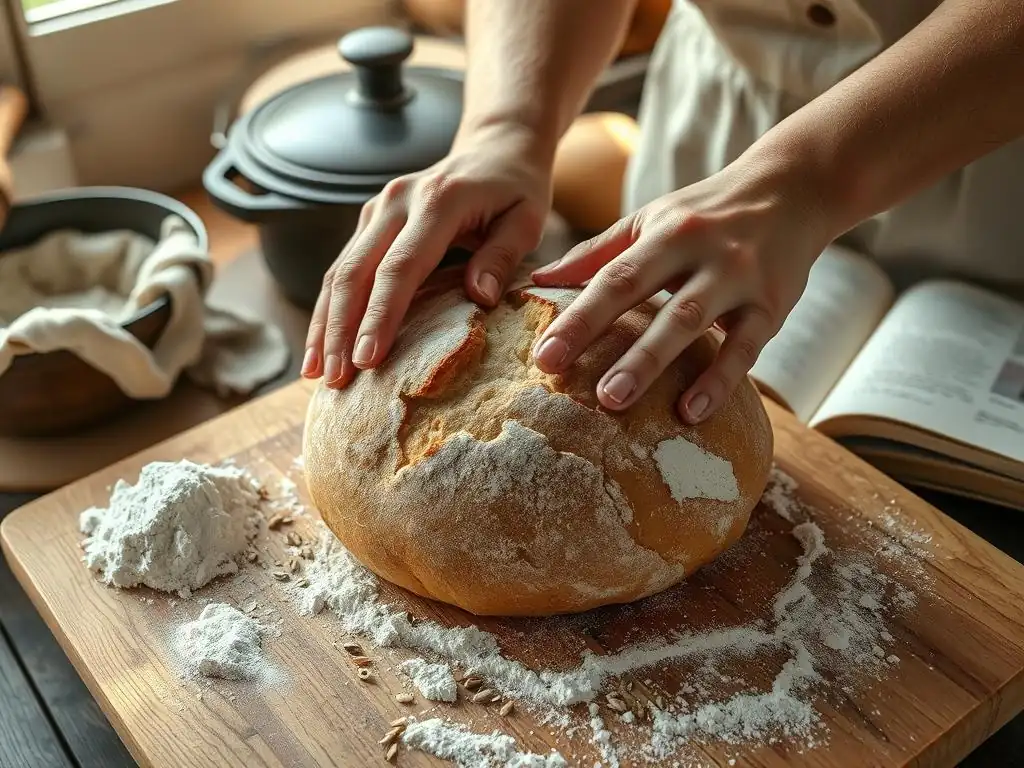
Once bulk fermentation is complete, it's time to shape your beginner sourdough bread loaf. Gently turn the dough out onto a lightly floured surface. Avoid degassing the dough too much; you want to preserve the air bubbles created during fermentation. For a rustic loaf, common shapes are a round boule or an oval batard. The goal of shaping is to create tension on the surface of the dough, which helps it hold its shape during proofing and baking and contributes to a good oven spring.
For a boule, gently pre-shape the dough into a loose round and let it rest for 20-30 minutes (this is called the bench rest). Then, perform the final shape by gently pulling the edges of the dough towards the center, flipping it over, and using your hands to create surface tension by dragging the dough towards you. For a batard, you might fold the dough like a letter before rolling it up tightly. Practice makes perfect with shaping; don't worry if your first few loaves aren't perfectly formed.
Step 5: Proofing: The Second Rise for Flavor
Proofing, or the second rise, is the final fermentation stage before baking your beginner sourdough bread. After shaping, the dough is placed into a proofing basket (often called a banneton) dusted with flour (rice flour works well to prevent sticking). The proofing basket supports the dough's shape during this final rise. The proofing temperature and duration significantly impact the final texture and flavor.
Proofing can be done at room temperature for 2-4 hours (or until the dough is slightly puffy but still holds its shape when gently poked) or, more commonly for beginners and for better flavor development, in the refrigerator for 8-16 hours (cold proofing). Cold proofing slows down fermentation, allowing more complex flavors to develop and making the dough easier to score and handle. To test if the dough is ready after cold proofing, gently press it with a finger; it should spring back slowly, leaving a slight indentation.
Step 6: Baking Your Beginner Sourdough Bread
Baking your rustic sourdough loaf typically involves using a hot environment to achieve maximum oven spring and a beautiful crust. The most common method for home bakers is using a Dutch oven or a baking stone with steam. Preheat your oven with the Dutch oven inside to a high temperature, usually 450-500°F (230-260°C), for at least 30-60 minutes. This ensures the vessel is scorching hot.
Carefully remove the hot Dutch oven from the oven. Gently turn your proofed dough out of the banneton onto a piece of parchment paper or directly into the Dutch oven. Score the top of the loaf with a sharp razor blade or knife (see tips below). Carefully lower the dough into the hot Dutch oven, cover with the lid, and place it back in the oven. Bake with the lid on for 20-25 minutes. The lid traps steam released by the dough, keeping the crust soft initially and allowing the loaf to expand fully.
After the initial covered bake, remove the lid and continue baking for another 20-30 minutes, or until the crust is a deep golden brown and the internal temperature reaches around 205-210°F (96-99°C). This second phase allows the crust to crisp up and caramelize. Baking time will vary depending on your oven and the size of your loaf, but a total bake time of 45-55 minutes is typical for a beginner sourdough bread recipe.
Step 7: Cooling and Enjoying Your Homemade Sourdough
This step requires perhaps the most patience but is absolutely essential for the best result from your beginner sourdough bread recipe. Once baked, immediately transfer the hot loaf from the Dutch oven or baking stone to a wire cooling rack. It is crucial to let the bread cool completely before slicing, which can take 1-2 hours for a standard-sized loaf.
While the bread is cooling, internal processes are still happening. Moisture is redistributing throughout the loaf, and the structure is setting. Slicing into a hot loaf will result in a gummy, dense texture. Resist the urge! Letting it cool fully allows the crumb to set properly and the flavors to fully develop. Once cooled, slice your beautiful, homemade rustic sourdough and enjoy the fruits of your labor. There's nothing quite like the taste and texture of freshly baked beginner sourdough bread.
Tips & Tricks for Perfect Beginner Sourdough
Troubleshooting Common Sourdough Problems
Even with a great beginner sourdough bread recipe, you might encounter issues. Don't be discouraged; troubleshooting is part of the learning process!
- Dense Crumb: This is often caused by an inactive starter, under-proofing (not letting the dough rise enough), or not building enough gluten strength during mixing and folding. Ensure your starter is active (passes the float test), allow sufficient bulk fermentation and proofing time, and practice your folding technique.
- Sticky Dough: High hydration, weak flour, or over-fermentation can lead to sticky dough. Try reducing the water slightly next time, use a higher protein bread flour, and monitor your bulk fermentation closely, especially in warm conditions.
- Lack of Oven Spring: This can be due to under-proofed or over-proofed dough, insufficient surface tension from shaping, or not baking in a hot enough environment with steam. Ensure your dough is properly proofed, shape with good tension, and preheat your oven and Dutch oven thoroughly.
- Tough Crust: While a rustic loaf should have a good crust, if it's excessively hard, it might be over-baked or proofed too long, drying out the surface. Ensure proper baking time and try cold proofing to keep the surface hydrated.
Keep a baking journal to track your temperatures, timings, and observations. This will help you identify patterns and adjust your process for future bakes of this beginner sourdough bread recipe.
Achieving a Crispy Crust on Your Rustic Loaf
A hallmark of excellent rustic sourdough bread is a wonderfully crispy crust. Achieving this requires a combination of high baking temperature and steam during the initial phase of baking. The high temperature helps the crust set quickly, while the steam keeps the surface moist, allowing the dough to expand fully before the crust hardens. Using a preheated Dutch oven is one of the most effective ways for home bakers to create a steamy environment.
Baking with the lid on for the first 20-25 minutes traps the moisture evaporating from the dough, creating steam. Once the lid is removed, the drier heat allows the crust to brown and crisp up beautifully. For those without a Dutch oven, you can place a tray of water or ice cubes on the bottom rack of your oven when you preheat it, creating steam throughout the oven cavity.
Baking on a preheated baking stone or steel also helps transfer heat efficiently to the bottom of the loaf, ensuring a good bottom crust. The final bake time without the lid is crucial for developing that desirable crispiness.
Mastering the Sourdough Scoring Technique
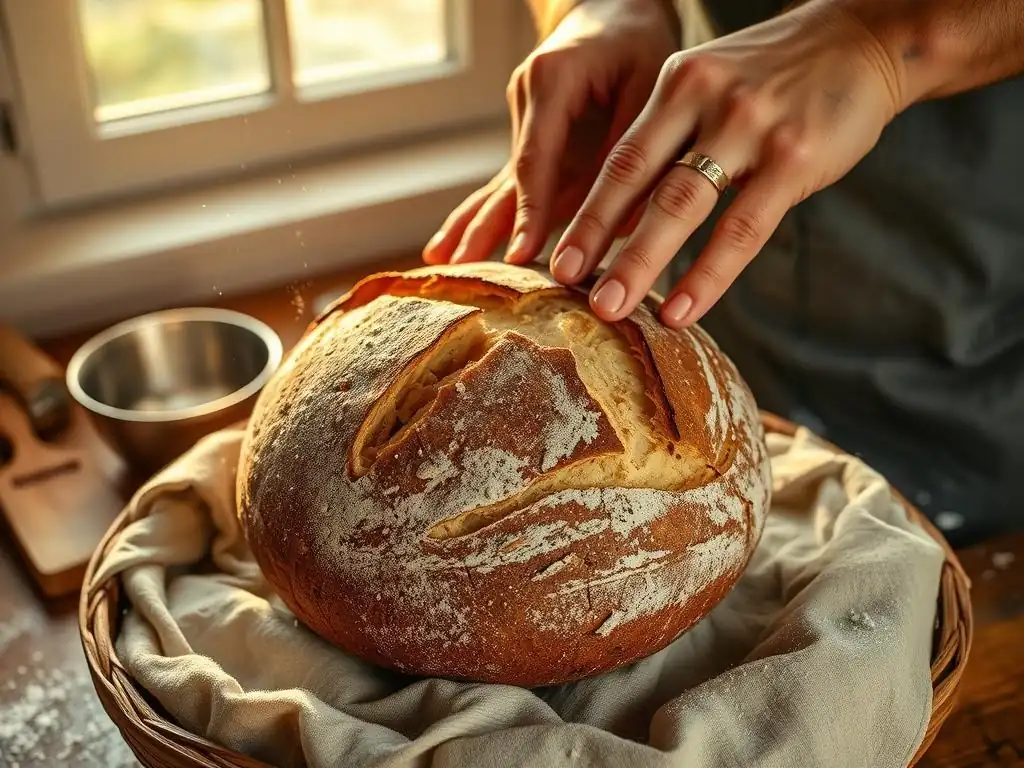
Scoring, or slashing, the top of your proofed beginner sourdough bread dough before baking isn't just for aesthetics; it serves a crucial functional purpose. As the loaf bakes and expands rapidly in the hot oven (oven spring), the scores act as controlled vents, allowing the steam and gases inside the dough to escape. Without scoring, the loaf would burst unpredictably at its weakest point, resulting in a less attractive shape and potentially hindering expansion.
Use a very sharp blade, like a bread lame (a razor blade attached to a handle) or a sharp knife. Make quick, confident cuts about ¼ to ½ inch deep. For a rustic loaf, simple cuts are often best – a single long slash down the center, a cross pattern, or a few parallel cuts.
The angle of your blade affects how the crust peels back; holding the blade at a slight angle (around 30 degrees) can create a nice 'ear' or flap of crust. Practice on less important doughs if you're nervous, but remember that even imperfect scores will help your beginner sourdough bread expand properly.
Best Flours for Rustic Sourdough Bread: A Guide
The type of flour you use significantly impacts the texture, flavor, and handling of your beginner sourdough bread dough. For a classic rustic loaf, a strong bread flour with a high protein content (typically 12-14%) is recommended. High protein means more gluten development, which is essential for trapping the gases produced by the starter and creating an open, airy crumb structure. Look for flours labeled specifically as "bread flour."
Incorporating a percentage of whole wheat or rye flour (e.g., 10-20% of the total flour weight) can add wonderful flavor, nutrition, and complexity to your rustic sourdough. These flours also contribute more wild microorganisms to your starter and dough. However, whole grain flours absorb more water and can make the dough stickier and slightly harder to handle for beginners. Start with a small percentage if you're new to using them. Using a mix of strong white bread flour and a smaller amount of whole grain flour is an excellent approach for a flavorful and manageable beginner sourdough bread recipe.
Variations on the Basic Beginner Sourdough Recipe
Adding Seeds and Grains for Texture and Flavor
Once you've successfully baked your first few basic beginner sourdough bread loaves, you might want to experiment with additions to enhance texture and flavor. Adding seeds and grains is a popular way to do this. Common additions include flax seeds, sesame seeds, sunflower seeds, pumpkin seeds, and various grains like oats or cracked wheat. These can be added directly to the dough during the mixing phase or incorporated after the first few folds.
To prevent seeds from making the dough too dry, you can soak them in an equal weight of hot water for a few hours before adding them to the dough. This is called a "soaker." For example, soak 50g of mixed seeds in 50g of hot water. This pre-hydration ensures the seeds don't steal moisture from your dough. Adding seeds not only provides a delightful crunch and nutty flavor but also boosts the nutritional profile of your rustic sourdough bread.
Experimenting with Different Hydration Levels
Hydration refers to the ratio of water to flour in your bread dough, usually expressed as a percentage (water weight / flour weight * 100). The basic beginner sourdough bread recipe often uses a hydration level around 70-75%. Higher hydration levels (75% and above) result in wetter, stickier doughs that are harder to handle but tend to produce a more open crumb structure and a crispier crust. Lower hydration levels (below 70%) result in stiffer doughs that are easier to shape but may yield a denser crumb.
As you gain confidence, you can experiment by slightly increasing or decreasing the water in the recipe by just 10-20 grams at a time. Observe how the dough feels and behaves. Wetter doughs require more gentle handling and potentially more stretch and folds to build structure. Stiffer doughs might need a bit more kneading or mixing initially. Understanding how hydration affects your dough is a key step in mastering any sourdough bread recipe, including variations of this beginner one.
Creating a Sourdough Rustic Baguette
Transforming your beginner sourdough bread recipe into rustic baguettes is a fun way to practice shaping and achieve a different crust-to-crumb ratio. The dough ingredients are essentially the same as your basic recipe, but the shaping and baking method change. After bulk fermentation, divide the dough into smaller portions (typically 250-350g each for standard baguettes). Pre-shape each portion into a rough cylinder and let rest.
Final shaping involves gently degassing each piece, then folding and rolling it into a long, slender shape with tapered ends. Proofing baguettes requires support, often using a linen couche or a floured kitchen towel folded into pleats to keep the loaves separate and maintain their shape. They typically proof for a shorter time than a boule, either at room temperature or cold proofed. Baking is usually done on a baking stone or perforated baguette pan, often with added steam in the oven, for about 20-25 minutes until golden brown and crisp.
Storing Your Sourdough Rustic Bread
Keeping Your Sourdough Fresh for Longer
Proper storage is key to enjoying your delicious beginner sourdough bread for as long as possible. Because sourdough contains natural acids, it tends to stay fresh longer than commercially yeasted bread. A whole, unsliced loaf will stay fresh for 2-3 days stored at room temperature. Avoid refrigerating sourdough bread, as this can actually cause it to stale faster due to a process called retrogradation.
The best way to store a whole loaf is simply cut-side down on a cutting board, or wrapped in a clean linen or cotton bread bag. These methods allow the crust to breathe while protecting the cut surface. Once sliced, the interior is exposed, and the bread will dry out faster. Store sliced bread in a sealed plastic bag or airtight container at room temperature, where it will typically last for 1-2 days before starting to dry out.
Freezing and Reheating Sourdough Bread
If you won't finish your beginner sourdough bread within a couple of days, freezing is an excellent way to preserve its quality. The best method is to freeze the loaf whole or sliced soon after it has cooled completely. To freeze whole, wrap the cooled loaf tightly in plastic wrap, then in aluminum foil or a freezer bag to prevent freezer burn. It can be frozen for up to 3 months.
For sliced bread, stack slices and wrap them well in plastic wrap before placing them in a freezer bag. This allows you to take out just a few slices at a time. To reheat a whole frozen loaf, remove all wrapping and place it directly into a preheated oven (around 350°F or 175°C) for 20-30 minutes, or until warmed through and the crust is revived.
To reheat sliced bread, toast slices directly from frozen or let them thaw briefly at room temperature before toasting. Freezing is a great way to ensure you always have delicious homemade beginner sourdough bread on hand.
Conclusion: Your Sourdough Journey Begins Now
Congratulations on Baking Your First Sourdough!
Congratulations! You've successfully navigated the steps of a beginner sourdough bread recipe and hopefully baked your very first loaf of rustic sourdough. Take a moment to appreciate the effort and patience you invested. From nurturing a living starter to shaping and baking, you've accomplished something truly special. Every baker remembers their first sourdough loaf, and this is just the beginning of a rewarding journey. Don't worry if it wasn't perfect; every bake is a learning experience.
Your first loaf, regardless of its appearance, represents a significant milestone. You've taken simple ingredients and, through the magic of fermentation, created something nourishing and delicious. This beginner sourdough bread recipe was designed to introduce you to the core concepts, and now you have a foundation to build upon. Celebrate your success and get ready for more baking adventures!
Keep Baking with BakeWithEase: More Sourdough Recipes Await
This beginner sourdough bread recipe is just the starting point of what you can achieve with sourdough. At BakeWithEase, we have a wealth of resources to help you continue exploring the world of sourdough baking. From variations on rustic loaves, like adding different flours or inclusions, to entirely new types of sourdough bread like enriched doughs for challah or brioche, the possibilities are vast.
We encourage you to keep practicing, experimenting, and refining your techniques. The more you bake, the more intuitive the process will become. Visit BakeWithEase.com for more detailed guides, advanced techniques, and new sourdough bread recipes to challenge and inspire you. Your sourdough journey has just begun, and we're excited to be your partner every step of the way. Happy baking!
Frequently Asked Questions
What exactly is sourdough bread, and why is it different from other breads?
Sourdough bread relies on a natural leavening agent called a sourdough starter, which is a culture of wild yeasts and bacteria. This gives it a distinct tangy flavor and chewier texture compared to bread made with commercial yeast.
What are the key ingredients I'll need for this beginner sourdough bread recipe?
You'll need just a few simple ingredients: sourdough starter, flour, water, and salt. The most important thing is having an active and healthy starter to ensure proper rise and flavor.
How long does it actually take to make sourdough bread from start to finish?
While the hands-on time is minimal, sourdough bread making requires patience. The entire process, including feeding the starter, bulk fermentation, and proofing, can take 24-48 hours. This extended fermentation contributes to its unique qualities.
What is "proofing" and why is it such a crucial step in making sourdough?
Proofing is the final rise of the dough before baking. It allows the bread to develop its full volume and create a light and airy texture. Proper proofing is essential for a successful loaf.
I've never baked bread before. Is this really a beginner-friendly sourdough recipe?
Yes! Our recipe is designed with beginners in mind. We provide step-by-step instructions and focus on simple techniques to help you succeed in your sourdough journey, even with no prior baking experience.
Final Reflection: The Unexpected Joys of Sourdough
The seemingly simple act of baking sourdough bread reveals a profound connection to the past, a testament to the enduring power of natural fermentation, and a surprisingly rewarding journey for even the most novice baker. This isn't just about a recipe; it's about embracing a process, understanding the nuances of nature, and experiencing the satisfaction of creating something truly special from simple ingredients. The rising popularity of sourdough reflects a growing desire for authenticity and a deeper connection to our food.
The journey of nurturing a sourdough starter, watching it bubble and grow, is a deeply personal experience. It's a reminder of the patience and care required to create something beautiful, a lesson that extends far beyond the kitchen. The best things in life are not things.
This quote, while seemingly simple, perfectly encapsulates the joy found not in the final loaf, but in the process of its creation. The time spent feeding the starter, the anticipation of the rise, the aroma filling the kitchen – these are the true rewards of the sourdough journey.
Now, it's your turn. Don't be intimidated by the seemingly complex process. Take the leap, nurture your own starter, and experience the magic of sourdough. You might surprise yourself with the delicious results, the newfound skills you acquire, and the profound sense of accomplishment that comes with creating something truly from scratch. Embrace the journey, and savor the taste of your own homemade sourdough bread.
Unleash Your Inner Baker: Craft Your First Rustic Loaf!
Thanks for joining us on this sourdough journey! We hope you gained valuable insights and feel inspired to create your own delicious, rustic bread. Now it's time to put your new knowledge to the test!
- Bake your first sourdough loaf: Follow the recipe outlined in the article (or find a similar one online!) and experience the magic of sourdough firsthand. This is your chance to taste the rewarding results of your effort.
- Share your baking adventure: Post a picture of your beautiful creation on social media and tag #BakeWithEase – we'd love to see your results and celebrate your success!
- Explore sourdough variations: Consider trying different flours, hydration levels, or shaping techniques to discover your perfect rustic loaf.
Ready to transform your kitchen into a sourdough haven? What unique twist will you add to your first rustic bread?