
Rescuing Dough That Refuses to Rise

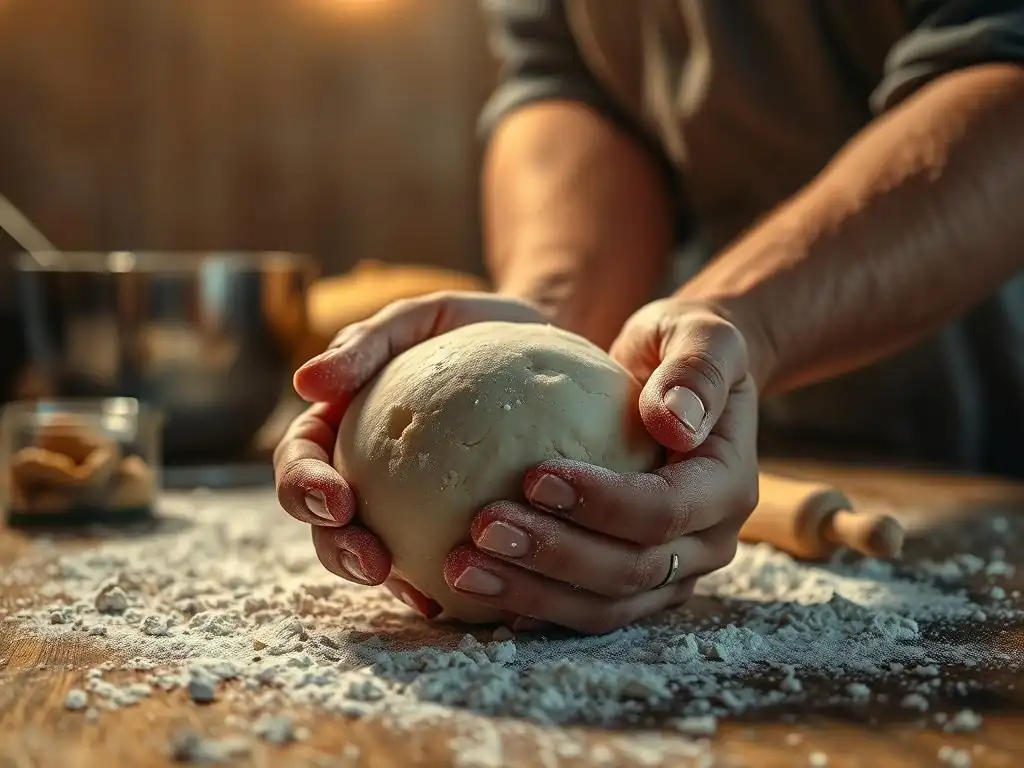
Welcome to BakeWithEase, your friendly guide to conquering the world of baking! Ever stared at a stubbornly flat dough, wondering where you went wrong? Don't despair! We're diving deep into the art of rescuing your bake with practical solutions. Discover how to fix flat dough in our comprehensive guide below, unlocking the secrets to light, airy perfection. Ready to transform your baking woes into triumphs? Let's get started!
- Rescuing Dough That Refuses to Rise: A BakeWithEase Guide
- Understanding Why Your Bread Dough Isn't Rising
- How to Fix Flat Dough: Troubleshooting Techniques
- Salvaging Flat Dough: Creative Solutions
- Preventing Future Dough Rising Issues
- Advanced Troubleshooting for Difficult Dough
-
Frequently Asked Questions
- How can I tell if my dough is truly flat and not just slow to rise?
- What is the most common reason why dough doesn't rise?
- Can I revive flat dough after it's been sitting for a while?
- What role does temperature play in the dough rising process?
- What if my dough rose slightly but is still quite dense and not as airy as it should be?
- Final Reflection: The Resilience of Dough, and of Ourselves
- Unleash Your Baking Potential: Rescue That Dough!
Rescuing Dough That Refuses to Rise: A BakeWithEase Guide
Welcome, fellow bakers! There are few things more disheartening in the kitchen than a batch of bread dough that just sits there, stubbornly flat. You've mixed, you've kneaded, you've waited, but nothing happens. It's frustrating, but don't despair!
In most cases, a flat dough isn't a lost cause. With a little understanding and some targeted techniques, you can often bring your dough back to life or, at the very least, turn it into something delicious. This guide will walk you through why your dough might be flat and, more importantly, how to fix flat dough and save your baking project.
Understanding Why Your Bread Dough Isn't Rising
Before we dive into how to fix flat dough, it's crucial to understand why it might not be rising in the first place. Bread dough relies on a delicate balance of ingredients and conditions to achieve that wonderful airy texture. When something is off, the yeast, which is the primary leavening agent, simply can't do its job effectively. Pinpointing the cause is the first step to finding the right solution.
Common Causes of Flat Bread Dough
One of the most frequent culprits behind flat dough is inactive or dead yeast. Yeast is a living organism, and if it's too old, wasn't stored properly, or was exposed to extreme temperatures (like very hot water during mixing), it won't produce the carbon dioxide gas needed to make the dough rise. For instance, yeast that's past its expiration date by several months might only have a fraction of its original leavening power. Similarly, using water above 130°F (54°C) can kill most active dry yeast instantly.
Another common issue is insufficient kneading. Kneading develops the gluten structure in the dough, which forms a network that traps the gas produced by the yeast. If the dough isn't kneaded enough, this structure is weak, and the gas escapes, leaving you with a dense, flat result. A dough that tears easily when stretched is a sign of underdeveloped gluten. Conversely, over-kneading can also sometimes lead to problems, although it's less common for beginners.
The Role of Yeast in Dough Leavening
Yeast's primary function in bread making is fermentation. When yeast is mixed with water and sugar (which it gets from the flour's starches), it begins to consume the sugars and produce two main byproducts: alcohol and carbon dioxide gas. This gas gets trapped within the elastic gluten network of the dough, causing it to expand and rise. Think of the dough as a balloon and the carbon dioxide as the air inflating it.
Different types of yeast work at different paces. Active dry yeast, for example, usually needs to be proofed in warm water before being added to the dry ingredients, indicating its activity. Instant yeast, on the other hand, can often be mixed directly with the dry ingredients because it's processed differently to be more readily active.
The amount of yeast used also matters; too little yeast will result in a very slow or minimal rise, while too much can lead to an overly yeasty flavor and potential collapse during baking. A typical recipe for a standard loaf might call for around 2.25 teaspoons (about 7 grams) of active dry or instant yeast for every 3-4 cups (approx. 360-480 grams) of flour.
Temperature's Impact on Yeast Activity
Temperature is perhaps the most critical environmental factor affecting yeast activity. Yeast thrives in warm, moist conditions. The ideal temperature range for most yeast fermentation is between 75°F and 85°F (24°C to 30°C). Within this range, yeast is most active, producing gas efficiently and promoting a good rise. Temperatures significantly below this range slow yeast activity dramatically, potentially leading to a very long or stalled rise. Dough left in a cold kitchen (e.g., 60°F / 15°C) might take several hours longer to rise compared to dough in a warm spot.
Conversely, temperatures that are too high can be detrimental. As mentioned, water or dough temperatures exceeding 130°F (54°C) can kill yeast. Even temperatures between 100°F and 120°F (38°C to 49°C), while not instantly lethal, can cause yeast to become too active initially, exhausting its food supply too quickly and potentially leading to an over-proofed dough that collapses later. Maintaining a consistent, warm environment during the rise is key to helping your yeast perform its best.
Flour Types and Their Effect on Dough Rise
The type of flour you use significantly impacts the dough's ability to rise, primarily due to its protein content and, consequently, its gluten-forming potential. Bread flour, for instance, typically has a higher protein content (around 12-14%) than all-purpose flour (around 10-12%).
This higher protein level means bread flour can develop a stronger, more elastic gluten network, which is better at trapping the carbon dioxide gas produced by the yeast, resulting in a higher, airier loaf. If a recipe calls for bread flour and you substitute all-purpose flour, you might find the rise is less vigorous and the final texture denser.
Flours with very low protein content, like cake flour (around 7-9%), are generally unsuitable for traditional yeasted bread because they cannot form a strong enough gluten structure to support a significant rise. Whole wheat flour, while high in protein, contains bran and germ particles that can interfere with gluten development, sometimes resulting in a slightly denser loaf unless techniques like autolysing (a resting period after mixing flour and water) are used to help hydrate the bran and allow gluten to form.
Understanding your flour is a key part of figuring out how to fix flat dough issues related to structure.
How to Fix Flat Dough: Troubleshooting Techniques
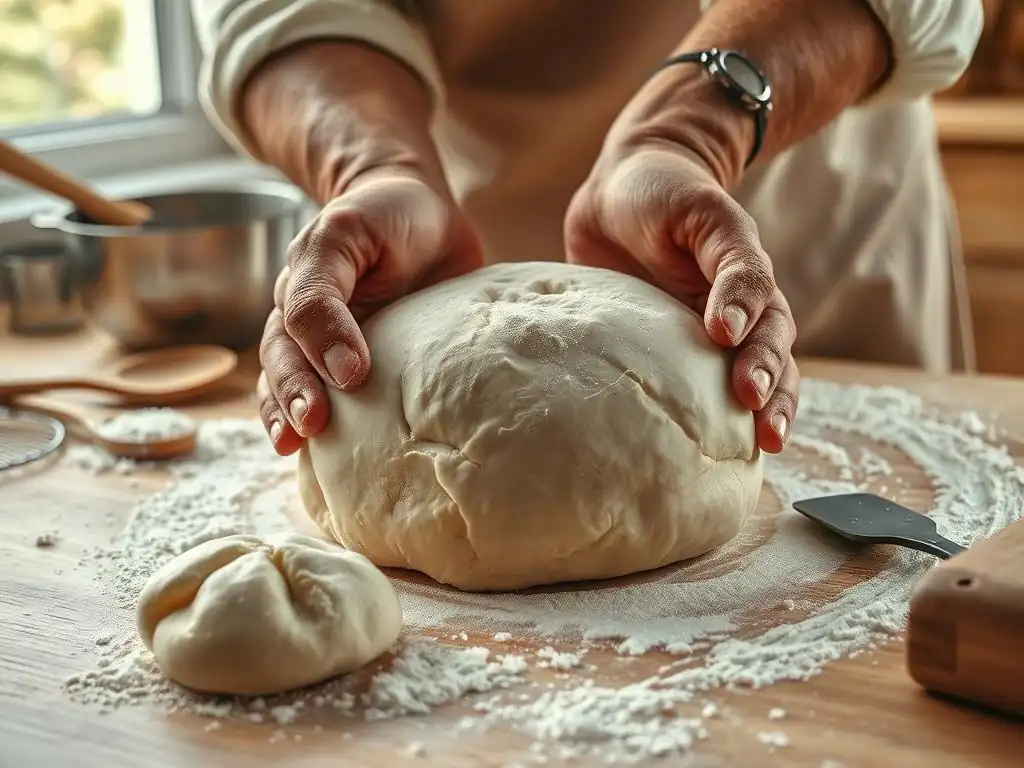
Now that we've explored the potential reasons for a flat dough, let's get practical. How to fix flat dough depends largely on identifying the root cause. Here are several techniques you can employ to try and coax your dough into rising.
Checking Yeast Activity: The Proofing Test
If you suspect your yeast might be the problem, performing a simple proofing test is the most direct way to confirm its viability before you even mix your dough. However, if your dough isn't rising, you can still get an idea of the yeast's state by observing the dough itself. Look for small bubbles forming on the surface or within the dough structure. A complete lack of any bubble formation after a reasonable amount of time (say, 1-2 hours at room temperature) suggests the yeast is likely inactive or dead.
Performing a Yeast Proofing Test
To perform a proper yeast proofing test (ideally done before mixing your dough, but useful for future batches or confirming suspicions about your yeast packet):
- Measure about 1/2 cup of warm water (around 105-115°F / 40-46°C). This is the optimal temperature range for activating yeast.
- Stir in a pinch of sugar (yeast's food).
- Sprinkle the amount of yeast called for in your recipe (or about 1 teaspoon if just testing a packet) over the water. Do not stir initially if using active dry yeast; let it dissolve for a minute.
- After a minute, stir gently.
- Wait 5-10 minutes.
Interpreting Yeast Proofing Results
- Positive Result: If the surface of the water becomes foamy, bubbly, and expands significantly, your yeast is active and healthy. You can confidently use it in your recipe. The foam indicates the yeast is consuming the sugar and producing carbon dioxide gas.
- Negative Result: If the water remains flat with few or no bubbles, or only a sparse layer of foam, the yeast is likely dead or inactive. It will not leaven your dough. This yeast should be discarded, and you'll need to use a fresh packet to make your dough rise. If you've already mixed your dough with this inactive yeast, you'll need to add new, proofed yeast (see later sections on how to incorporate it).
Adjusting Dough Temperature for Optimal Rise
Temperature is critical for yeast activity. If your kitchen is cold, your dough will rise very slowly, if at all. The first step in how to fix flat dough that's cold is to find it a warmer spot. Aim for that sweet spot of 75-85°F (24-30°C).
Warming Up Chilled Dough Safely
There are several ways to safely warm up chilled dough to encourage yeast activity:
- Oven with Light: Place the covered dough in a turned-off oven with just the oven light on. The heat from the light bulb can often raise the temperature inside the oven to a favorable level. Crucially, ensure the oven is off and not even slightly warm from previous use, as residual heat can be too high.
- Warm Water Bath: Place the dough bowl inside a larger bowl or sink filled with warm (not hot) water, ensuring no water gets into the dough.
- Proofing Drawer: If you have an oven with a proofing setting or a dedicated proofing drawer, use that.
- Sunny Spot: A warm, sunny windowsill can work, but be mindful of uneven heating and potential drying.
Cooling Down Overheated Dough
While less common as a cause for flat dough (overheating usually kills the yeast), sometimes dough can get too warm during a long, hot mix or if placed in a spot that's too hot. If your dough feels overly warm and sticky, and potentially smells strongly of alcohol (a sign of rapid, potentially stressed fermentation), you might need to cool it down slightly. Place the covered dough in a cooler spot in your kitchen or even briefly in the refrigerator for 15-20 minutes.
This will slow down the yeast activity. However, if the dough feels very warm and shows no signs of bubbling, the yeast might be dead, and cooling won't revive it.
Kneading Techniques to Improve Dough Structure
Insufficient kneading is a common reason for a poor rise. If your dough feels slack, tears easily when stretched, and lacks elasticity, it likely needs more kneading to develop gluten. This is a key part of how to fix flat dough related to structure.
The Importance of Proper Kneading
Kneading develops the gluten network in the dough. Gluten is formed when two proteins in flour, glutenin and gliadin, combine with water and are worked together. As you knead, these proteins link up to form long, elastic strands that create the structure necessary to capture the gas produced by the yeast. Think of gluten as the scaffolding that holds the bread's shape and allows it to expand upwards and outwards. Without a well-developed gluten structure, the dough will spread out rather than rise up.
How to Tell When Dough is Adequately Kneaded
There are several ways to check if your dough is adequately kneaded:
- The Windowpane Test: Take a small piece of dough and gently stretch it between your fingers. If you can stretch it thinly enough to see light through it without it tearing, the gluten is well-developed.
- Smoothness and Elasticity: Properly kneaded dough should feel smooth, elastic, and slightly tacky but not overly sticky. It should spring back slowly when gently poked.
- Surface Appearance: The surface of the dough should look smooth and uniform, not shaggy or lumpy.
If your dough is flat and doesn't pass these tests, knead it for an additional 5-10 minutes, by hand or in a stand mixer, until it becomes smooth and elastic.
Adding Gluten to Strengthen Weak Dough
If you suspect your flour has low protein content or the gluten simply isn't developing well, you can sometimes boost the dough's structure by adding vital wheat gluten. This is a concentrated form of the proteins found in wheat.
Using Vital Wheat Gluten
Vital wheat gluten can be added to dough to increase its elasticity and strength. It's particularly useful when working with lower-protein flours (like some all-purpose flours) or when adding ingredients like whole grains or nuts that can interfere with gluten development.
- How much to add: A general guideline is to add 1 to 2 tablespoons of vital wheat gluten per cup of flour in your recipe.
- How to incorporate: Mix the vital wheat gluten in with your dry ingredients before adding the liquid. It needs hydration and kneading to activate, just like the gluten naturally present in flour.
Other Gluten-Boosting Methods
While adding vital wheat gluten is the most direct method, ensuring proper hydration and sufficient kneading are also crucial for maximizing the gluten development from the flour you are using. Sometimes, simply adding a tiny bit more water during kneading can help hydrate the proteins and improve gluten formation. Using a stand mixer can also develop gluten more efficiently than hand kneading for some doughs.
Salvaging Flat Dough: Creative Solutions
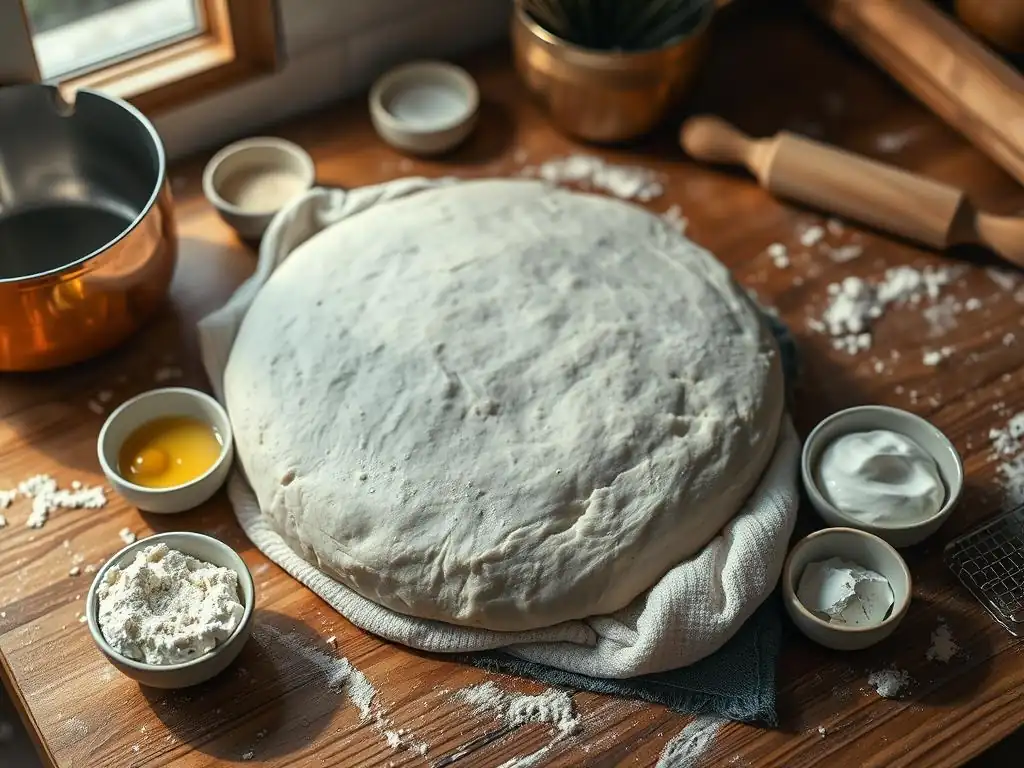
Sometimes, despite your best efforts, the dough remains stubbornly flat, or you've run out of time to troubleshoot extensively. Don't throw it away! Flat dough can be repurposed into many delicious flatbreads and snacks. This is a fantastic way to salvage your work even if you can't achieve a lofty loaf.
Turning Flat Dough into Pizza or Focaccia
Flat dough is perfectly suited for making pizza crust or focaccia. These types of bread are intentionally flatter than a standard loaf. Simply press or roll the dough out onto a baking sheet. For pizza, add your favorite toppings and bake. For focaccia, dimple the surface with your fingers, drizzle generously with olive oil, sprinkle with coarse salt and herbs (like rosemary), and bake until golden brown. A slightly dense dough works well here, providing a chewy base.
Using Flat Dough for Naan Bread
Naan is a delicious Indian flatbread often cooked in a tandoor oven, but easily replicated on a stovetop or in a very hot oven. Roll or stretch small portions of your flat dough into oval or teardrop shapes. Cook them on a hot griddle, cast iron pan, or under a broiler until puffed and browned in spots. The slight chewiness of a dough that didn't rise fully is actually quite desirable in naan.
Transforming Flat Dough into Crackers or Breadsticks
For a crispy outcome, roll your flat dough very thinly. Cut it into squares, rectangles, or strips. Brush with olive oil or melted butter, sprinkle with salt, herbs, seeds (like sesame or poppy), or cheese. Bake at a moderate temperature until golden and crisp. This is a great use for dough that is simply too dense or inactive to rise at all. You can even add spices like garlic powder or paprika to the dough before rolling for flavored crackers.
Preventing Future Dough Rising Issues
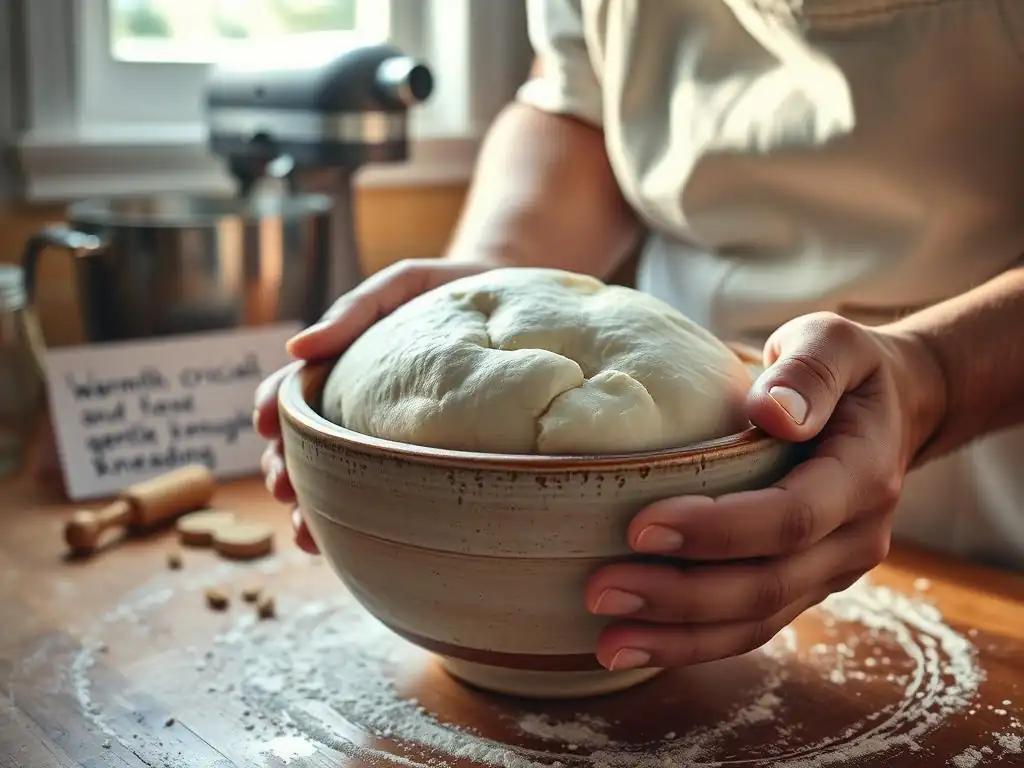
Prevention is often easier than troubleshooting. By establishing good habits and understanding the needs of your dough, you can significantly reduce the chances of encountering flat dough in the future.
Best Practices for Yeast Storage
Proper yeast storage is paramount to its longevity and activity.
- Active Dry Yeast: Once opened, store active dry yeast in an airtight container in the refrigerator or freezer. When stored in the freezer, it can remain viable for a year or more past the printed date.
- Instant Yeast: Instant yeast is less sensitive but still benefits from airtight storage in a cool, dry place. The refrigerator or freezer is also best after opening.
- Check Expiration Dates: Always check the expiration date on yeast packets or jars before purchasing and using.
Accurate Measurement of Ingredients
Baking is a science, and precise measurements are key. Using too much flour or too little water can result in a stiff dough that inhibits yeast activity and gluten development, leading to a poor rise.
- Use a Scale: Weighing your ingredients, especially flour, is far more accurate than using volume measurements (cups). A cup of flour can vary significantly in weight depending on how it's scooped and packed. Aim for the weight specified in the recipe.
- Measure Liquids at Eye Level: Ensure you are measuring liquids accurately by placing the measuring cup on a flat surface and reading the level at eye level.
Maintaining Consistent Dough Temperature
As we discussed, temperature is vital. Ensure your dough is proofing in a warm, consistent environment.
- Find a Warm Spot: Use the oven-with-light trick, a proofing box, or another reliable warm spot.
- Avoid Drafts: Cold drafts can quickly lower the temperature of the dough, slowing or stopping the rise.
- Monitor Temperature: If you're serious about bread baking, a simple thermometer can help you ensure your water and dough are within the optimal range.
Choosing the Right Flour for Your Recipe
Using the flour specified in the recipe is important. If a recipe calls for bread flour, using all-purpose might yield a different result. If you must substitute, be aware of the potential impact on the dough's structure and rise. Consider adding vital wheat gluten if substituting a lower-protein flour in a recipe designed for high-protein flour.
Advanced Troubleshooting for Difficult Dough
Sometimes, the issues are more complex. Here are a few advanced scenarios and how to fix flat dough when the problem isn't immediately obvious.
Dealing with Over-Proofed Dough (and Potential Re-Kneading)
Over-proofing happens when dough rises for too long or in too warm a spot, causing the yeast to exhaust its food supply and the gluten structure to weaken. Over-proofed dough often looks puffy but can deflate easily when touched and may smell strongly of alcohol. While often difficult to fully salvage into a perfect loaf, you can sometimes rescue it.
- Option 1 (Gentle): If only slightly over-proofed, gently deflate the dough, reshape it, and give it a very short second rise (maybe 15-30 minutes) before baking.
- Option 2 (More Drastic): If significantly over-proofed and deflated, you can try gently kneading it again for a few minutes to redevelop some gluten structure and redistribute the yeast and food. Then, let it rest for 10-15 minutes before attempting a second, short rise. This won't guarantee a perfect loaf, but it can sometimes improve the final texture.
Addressing Problems with Water Quality
Tap water quality can occasionally impact bread making. Highly chlorinated water can inhibit yeast activity.
- Let Water Sit: If you suspect your tap water has high chlorine levels, measure out the water needed for your recipe and let it sit uncovered at room temperature for an hour or two. The chlorine will dissipate into the air.
- Use Filtered or Bottled Water: Using filtered or bottled water is another way to avoid potential issues with chlorine or other water impurities.
Understanding the Impact of Humidity on Dough Rise
Humidity levels in your kitchen can affect how your dough behaves. In high humidity, dough may feel stickier and might rise slightly faster because the surface stays moist, preventing a crust from forming too early. In low humidity, the dough's surface can dry out, forming a skin that restricts rising.
- High Humidity: You might need slightly more flour during kneading or handle the dough more gently.
- Low Humidity: Ensure your dough is well-covered during rising to prevent the surface from drying out. Lightly oiling the surface of the dough or the plastic wrap can also help. If a skin has already formed, you can try gently misting the dough with water before covering it again, though this is a temporary fix.
Don't let a flat dough discourage you. With a little patience and these troubleshooting tips, you'll be better equipped to understand what went wrong and how to fix flat dough in the future. Happy baking!
Frequently Asked Questions
How can I tell if my dough is truly flat and not just slow to rise?
Check for lack of volume increase after the recommended proofing time. It should have at least doubled. Also, a dense, tight texture is a giveaway.
What is the most common reason why dough doesn't rise?
Often, it's due to inactive yeast. Make sure your yeast is fresh and properly activated.
Can I revive flat dough after it's been sitting for a while?
Sometimes! Try adding a small amount of fresh yeast mixed with warm water and a pinch of sugar. Knead it into the dough.
What role does temperature play in the dough rising process?
Temperature is crucial. Dough rises best in a warm (75-85°F) environment. Too cold, and the yeast will be sluggish; too hot, and it could kill the yeast.
What if my dough rose slightly but is still quite dense and not as airy as it should be?
This can be due to over-kneading or not enough gluten development. Adjust your kneading technique next time, or add vital wheat gluten.
Final Reflection: The Resilience of Dough, and of Ourselves
The struggle with flat dough is more than just a baking mishap; it's a potent metaphor for the challenges we face in life. We all encounter moments where our plans fall flat, our efforts seem fruitless, and our hopes deflate like an under-proofed loaf. This article explored the various reasons why dough refuses to rise, offering solutions that mirror the strategies we can employ to overcome our own setbacks.
The journey of baking, much like the journey of life, is filled with unexpected leavening and deflating moments. It's in the process of troubleshooting, of understanding the nuances of ingredients and techniques, that we truly learn and grow. As the renowned baker, Paul Hollywood, once said, Baking is about precision, but it's also about feeling. You have to understand your ingredients.
This sentiment applies equally to the challenges we face outside the kitchen; understanding the "ingredients" of our situations—our resources, our limitations, our own emotional state—is crucial to finding solutions and achieving our goals.
Now, consider your own "flat dough" moments. What projects, relationships, or personal aspirations have felt stubbornly resistant to progress? What adjustments can you make, what new ingredients can you add, to help them rise? Don't be discouraged by initial failures; instead, embrace the opportunity to learn, adapt, and ultimately, to create something beautiful and fulfilling, even from the most unpromising beginnings. The resilience of dough, and the lessons it teaches, are a testament to the power of perseverance and the sweetness of success earned through effort and understanding.
Unleash Your Baking Potential: Rescue That Dough!
Thanks for taking the time to explore the world of dough resuscitation with us! We hope you now feel more confident tackling even the trickiest of baking challenges. Ready to put your newfound knowledge to the test?
- Try the "Rescue Recipe": We've highlighted a specific recipe for revitalizing stubborn dough – give it a shot and see the magic happen! This is your chance to practice your new skills and avoid wasted ingredients.
- Share Your Success (or Story!): Did your dough bounce back? Or did you encounter an unexpected challenge? Let's hear about your experience in the comments below! Sharing your insights helps others, too.
- Explore More Troubleshooting Tips: Check out our other baking guides to discover solutions for common baking problems and elevate your baking game even further.
What’s one baking challenge you'd love to overcome next? Let's discuss in the comments!