
The Secret to a Perfectly Chewy Whole Wheat Crust


Welcome to BakeWithEase, your partner in creating delicious, homemade treats! Ever dream of achieving that perfectly chewy whole wheat crust? You're in the right place. Discover the secrets behind this delightful bread, along with our step-by-step guide to unlock its exceptional flavor and texture. But that's just the beginning – explore our treasure trove of bread baking tips and techniques to elevate your skills and create bakery-worthy loaves from the comfort of your own kitchen. Intrigued? Let's get baking!
- The Secret to a Perfectly Chewy Whole Wheat Crust: BakeWithEase
- Introduction: Achieving the Ideal Whole Wheat Crust
- Understanding Whole Wheat Flour for Crusts
- Key Ingredients for a Chewy Whole Wheat Crust
- The Dough-Making Process: Step-by-Step for Chewiness
- Baking Techniques for a Chewy Crust
- Tips and Tricks for a Consistently Chewy Crust
- Troubleshooting Common Whole Wheat Crust Problems
- Recipe: BakeWithEase's Chewy Whole Wheat Crust
- Conclusion: Mastering the Art of the Chewy Whole Wheat Crust
-
Frequently Asked Questions
- What makes a whole wheat crust chewy instead of tough?
- Can I substitute all-purpose flour for whole wheat flour in this recipe?
- How long should I knead the dough to achieve the ideal chewiness?
- What temperature is best for baking a whole wheat crust?
- What if my crust still turns out dry even after following the recipe?
- Final Reflection: The Enduring Allure of the Perfect Bite
- Unlock Your Inner Baker: Craft the Perfect Crust!
The Secret to a Perfectly Chewy Whole Wheat Crust: BakeWithEase
Introduction: Achieving the Ideal Whole Wheat Crust
Why Whole Wheat Crusts Can Be Tricky
Creating a perfectly chewy whole wheat crust can feel like a culinary puzzle. Unlike refined white flour, whole wheat flour contains the bran and germ of the wheat kernel, which can interfere with gluten development. This interference often leads to denser, sometimes crumbly, or even hard crusts rather than the desired chewy texture. The sharp edges of bran particles can cut the delicate gluten strands as they form, inhibiting the network that provides structure and chewiness.
Furthermore, whole wheat flour absorbs water differently and often requires higher hydration than white flour to achieve a workable dough. However, too much water can make the dough difficult to handle, while too little results in a dry, dense loaf with a tough crust. Balancing these factors – managing bran interference, optimizing hydration, and ensuring sufficient gluten development – is key to unlocking the potential for a truly wonderful, perfectly chewy whole wheat crust.
BakeWithEase's Guide to a Chewy Whole Wheat Crust
At BakeWithEase, we believe that mastering whole wheat bread, including its crust, is entirely achievable with the right knowledge and techniques. This guide breaks down the process, focusing on the specific properties of whole wheat flour and how to work with them to encourage that sought-after chewiness. We'll explore everything from selecting the best ingredients to precise mixing, kneading, and baking methods.
Our approach emphasizes understanding the science behind baking, particularly how ingredients interact and how techniques influence the final texture. By following our detailed steps and tips, you'll learn how to overcome the common challenges associated with whole wheat flour and consistently produce bread with a perfectly chewy whole wheat crust that rivals your favorite bakery. Let's unlock the secrets together!
Understanding Whole Wheat Flour for Crusts
The Unique Properties of Whole Wheat Flour
Whole wheat flour includes all parts of the wheat kernel: the endosperm, bran, and germ. The endosperm is primarily starch and protein (including gluten-forming proteins). The bran is the outer layer, rich in fiber and minerals, while the germ is the embryo, containing fats, vitamins, and antioxidants. The presence of bran and germ significantly impacts dough behavior compared to white flour, which contains only the endosperm.
The bran particles, being sharp and fibrous, can disrupt the gluten network. Think of gluten as a ballooning structure that traps gases produced by yeast; the bran particles act like tiny needles, potentially puncturing this structure. The germ contains fats, which can also coat gluten strands, hindering their ability to link and form a strong network. This is why whole wheat dough often feels less elastic and requires specific handling to develop sufficient strength for a chewy whole wheat crust.
How Gluten Development Differs in Whole Wheat Dough
Gluten development is the process where glutenin and gliadin proteins in flour combine with water and are worked (through mixing or kneading) to form an elastic network. In white flour dough, this network forms relatively easily, creating a strong, pliable structure that traps gas and allows the bread to rise, contributing to a light, airy crumb and a well-structured crust.
In whole wheat dough, the bran and germ impede this process. The bran physically cuts the developing gluten strands, and the fat in the germ can weaken them. This means whole wheat dough requires more careful and often longer kneading or alternative techniques like autolyse (pre-soaking) to encourage sufficient gluten development. The goal is to build a strong enough network to support the dough's structure and create a chewy texture without overworking it to the point of tearing or producing a tough result. Achieving a perfectly chewy whole wheat crust hinges on effectively managing this gluten development.
Key Ingredients for a Chewy Whole Wheat Crust
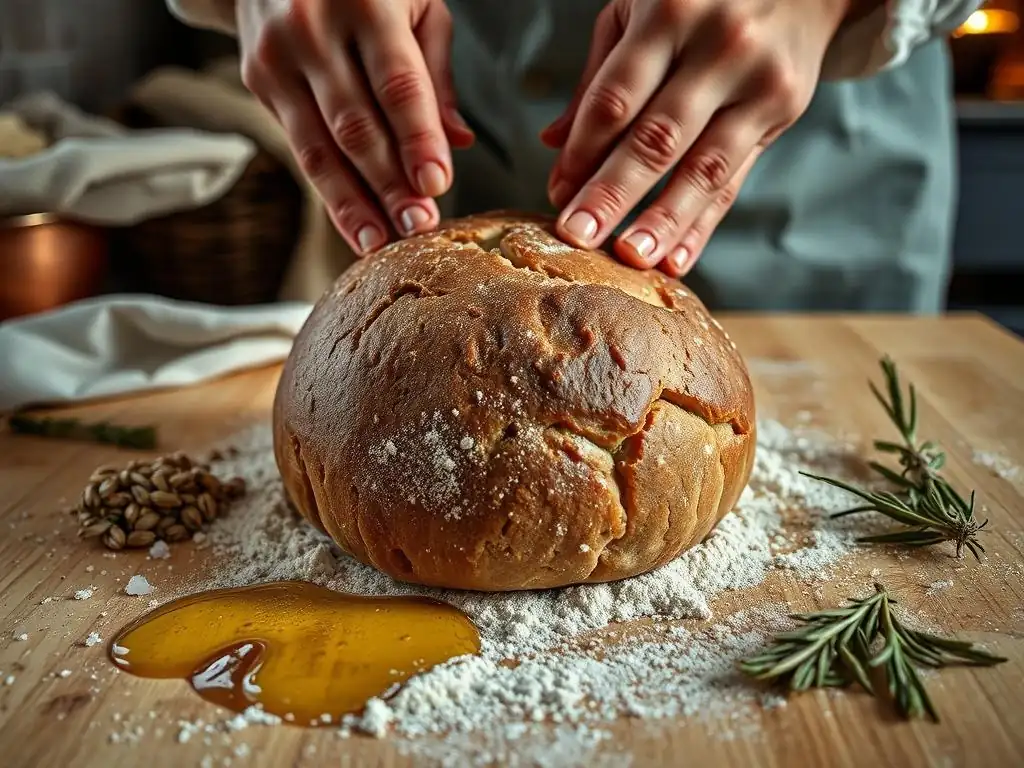
High-Protein Whole Wheat Flour: The Foundation
Choosing the right flour is the first critical step toward a perfectly chewy whole wheat crust. Look for whole wheat flour labeled as "hard" wheat, such as hard red spring or hard red winter wheat. These varieties typically have a higher protein content, often ranging from 13% to 16%, compared to softer wheat flours. A higher protein content means more potential for gluten formation, which is essential for developing the strong, elastic network needed for chewiness.
Using a high-protein whole wheat flour provides the necessary building blocks for gluten. While the bran and germ will still interfere, starting with flour rich in gluten-forming proteins gives you a significant advantage. Some bakers even blend a small percentage of vital wheat gluten (a concentrated form of dried gluten protein) into their whole wheat flour to further boost the protein content and improve dough structure and chewiness, though quality whole wheat flour often suffices.
The Role of Water: Hydration is Key
Water is not just about mixing ingredients; it's crucial for activating gluten development. Glutenin and gliadin proteins only form gluten when hydrated. Whole wheat flour, with its bran and germ, tends to absorb more water than white flour. Therefore, achieving sufficient hydration is paramount for a chewy whole wheat crust. Dough hydration levels for whole wheat bread often range from 70% to 85% (by weight of flour), significantly higher than typical white bread doughs which might be 60-70%.
Higher hydration allows the gluten network to develop more fully and flexibly. It also contributes to a more open crumb structure and promotes better oven spring, which can positively impact the crust's texture. However, working with high-hydration dough can be challenging as it's stickier. Techniques like stretch and folds during fermentation can help manage wet dough and build strength without extensive kneading, contributing to that desirable chewy whole wheat crust.
Adding Fat for Tenderness and Chewiness: Olive Oil and Butter
While it might seem counterintuitive, a small amount of added fat, such as olive oil or melted butter, can actually contribute to a more tender and chewy whole wheat crust. Fats coat gluten strands, which in large amounts can inhibit gluten development and lead to a tender, cake-like texture (like in pastry). However, in moderate amounts in bread dough, fats can lubricate the gluten network, allowing it to stretch more easily during proofing and baking.
This lubrication helps the dough expand without tearing, contributing to better volume and a more even structure. For a chewy whole wheat crust, about 2-5% fat (relative to flour weight) is often sufficient. Olive oil is a popular choice in rustic loaves, contributing flavor and helping achieve a slightly crisp exterior with a chewy interior. Butter can add richness and tenderness. The fat helps prevent the crust from becoming excessively hard or brittle, promoting that pleasant chew.
Salt's Importance in Flavor and Gluten Development
Salt is more than just a flavor enhancer in bread baking; it plays a significant role in dough structure and fermentation control, both of which influence the final chewy whole wheat crust. Salt strengthens the gluten network by tightening it, making the dough more elastic and easier to handle. Without salt, dough can be slack and sticky, leading to poor structure. This strengthening effect is particularly beneficial in whole wheat dough where gluten development is already challenged by bran and germ.
Typically, salt is used at a concentration of 1.8% to 2.2% of the flour weight in bread recipes. Adding salt too early in the mixing process, however, can sometimes slow down yeast activity slightly, though its impact on overall fermentation is usually manageable. Ensure the salt is evenly distributed throughout the dough for consistent gluten development and flavor. Proper salt inclusion is a small but vital step towards achieving a well-structured, flavorful, and perfectly chewy whole wheat crust.
The Dough-Making Process: Step-by-Step for Chewiness
Mixing Techniques for Optimal Gluten Formation
The way you mix whole wheat dough significantly impacts gluten development. Unlike white flour which can tolerate aggressive kneading from the start, whole wheat benefits from a gentler initial mix. Often, simply combining the flour, water, and yeast until no dry spots remain (sometimes called a shaggy dough) and letting it rest – known as autolyse or a brief rest period – is beneficial. This rest allows the flour to fully hydrate and gluten development to begin passively before kneading starts.
After the initial mix and rest (if used), kneading begins. For whole wheat, aim for moderate rather than overly aggressive kneading. Overworking can tear the weaker gluten network. Techniques like the stand mixer method (mixing on medium speed for 8-12 minutes) or manual kneading (10-15 minutes) are effective. Alternatively, for higher hydration doughs, using a series of stretch and folds over 1-2 hours during the bulk fermentation phase can develop gluten gently and effectively, resulting in a strong, elastic dough perfect for a chewy whole wheat crust.
The Importance of Kneading: Developing Strength and Elasticity
Kneading is the physical process that aligns the gluten proteins, transforming a shaggy mass into a smooth, elastic dough. This development of strength and elasticity is fundamental for a chewy whole wheat crust. As you knead, the gluten strands link together, forming a mesh that can trap the carbon dioxide produced by the yeast, allowing the dough to rise and create an open crumb structure.
Properly kneaded whole wheat dough should feel smooth and pliable, passing the "windowpane test" (where a small piece can be stretched thinly enough to see light through it without tearing, though this can be harder to achieve perfectly with whole wheat due to bran). Insufficient kneading results in a dense loaf with a crumbly texture and a hard crust, lacking the desired chewiness. Finding the right balance – kneading enough to develop strength but not so much as to tear the delicate whole wheat gluten structure – is key.
Bulk Fermentation: Allowing Flavor to Develop
Bulk fermentation, or the first rise, is a crucial period where yeast produces gases that make the dough rise, and enzymatic activity develops complex flavors. For a chewy whole wheat crust and a flavorful crumb, this stage is vital. During bulk fermentation, the gluten network continues to relax and strengthen, becoming more extensible. A typical bulk fermentation for whole wheat dough might last anywhere from 1.5 to 4 hours at room temperature (around 70-78°F or 21-26°C), or longer if retarded in the refrigerator.
During this time, performing a few sets of stretch and folds every 30-45 minutes can significantly improve dough strength and structure without intensive kneading. This technique gently aligns the gluten and builds tension. Proper fermentation ensures the dough has sufficient strength and gas development for good oven spring, which contributes to a well-formed, chewy whole wheat crust upon baking. Under-fermented dough will be dense, while over-fermented dough may collapse.
Shaping the Dough for a Perfect Crust
Shaping the dough after bulk fermentation gives the loaf its final form and builds surface tension, which is critical for a good rise and a well-structured, chewy whole wheat crust. The goal is to create a smooth, taut surface while trapping gases inside. Common shapes for whole wheat loaves include boules (rounds) and batards (ovals).
Techniques vary by shape, but generally involve gently degassing the dough (removing some large air bubbles), folding the edges towards the center, and then creating tension by pulling the dough against the work surface. For a boule, this might involve cupping your hands around the dough and rotating it to tighten the skin. For a batard, it involves folding and rolling. A well-shaped loaf with good surface tension will hold its shape during proofing and baking, allowing for maximum oven spring and contributing directly to the texture and appearance of your perfectly chewy whole wheat crust.
Baking Techniques for a Chewy Crust
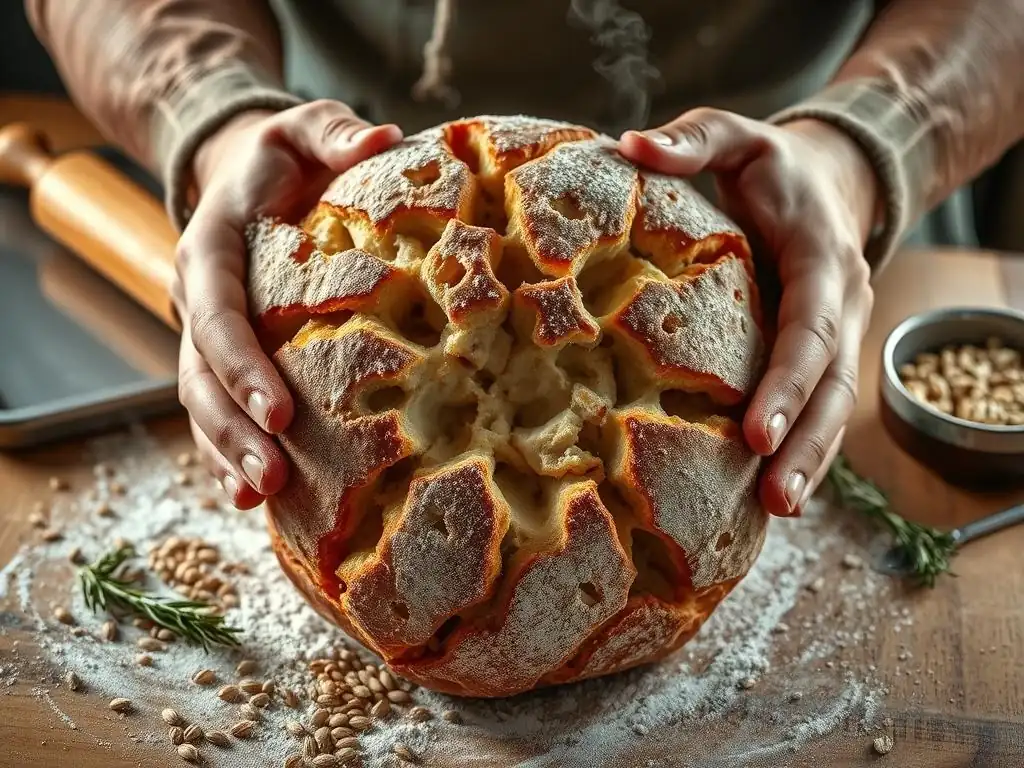
Oven Temperature: Finding the Sweet Spot
Baking temperature is a critical factor in developing a chewy whole wheat crust. High initial temperatures are often used to promote rapid oven spring and quickly set the crust. For many rustic whole wheat loaves, preheating the oven to a high temperature, such as 450°F to 500°F (230°C to 260°C), is recommended. This intense heat causes the water in the dough to rapidly turn to steam, expanding the loaf.
After the initial rapid rise (usually the first 15-20 minutes), the temperature is often reduced to 400°F to 450°F (200°C to 230°C) to allow the interior of the bread to cook through without the crust burning. The high initial heat creates a strong, early crust layer, which helps trap steam inside the loaf (if steam is present), contributing to both a crisp exterior and a chewy interior crumb and crust. Experimenting with your oven to find its true temperature and adjusting accordingly is key to consistent results for a chewy whole wheat crust.
Steam: Creating a Crispy-Chewy Exterior
Steam in the oven during the initial phase of baking is arguably one of the most important factors for developing a desirable chewy whole wheat crust. Steam keeps the surface of the dough moist and elastic for longer at the beginning of baking. This allows the loaf to expand more fully before the crust sets. If the crust sets too early in a dry oven, it restricts oven spring and results in a denser loaf with a thinner, potentially harder crust.
Common methods for creating steam include baking in a preheated Dutch oven or lidded pot (which traps the dough's own steam), placing a tray of hot water on the bottom rack of the oven, or using lava rocks or a cast iron pan with water poured onto it just as the bread goes in (use caution with this method). The steam allows the crust to gelatinize and expand, leading to a thinner, crispier outer layer that transitions beautifully into a chewy whole wheat crust beneath. Steam is typically applied for the first 15-20 minutes of baking.
Baking Time: Ensuring a Fully Baked Crust
Baking time is essential not only for cooking the interior of the bread but also for developing the crust's color, flavor, and texture, contributing significantly to a chewy whole wheat crust. The total baking time for a whole wheat loaf typically ranges from 30 to 50 minutes, depending on the size and shape of the loaf and the oven temperature.
A fully baked loaf will have a deep golden to dark brown crust and, when tapped on the bottom, should sound hollow. The internal temperature of the bread should reach at least 200°F to 210°F (93°C to 99°C). Baking for sufficient time ensures that enough moisture evaporates from the crust to create that desired chewy texture, while also developing complex flavors through the Maillard reaction and caramelization on the surface. Underbaking can result in a pale, soft crust and a gummy interior, while overbaking can lead to a very hard or dry crust.
Tips and Tricks for a Consistently Chewy Crust
Autolyse: Pre-Hydrating the Flour
The autolyse technique is a simple yet powerful method for improving whole wheat dough and achieving a perfectly chewy whole wheat crust. It involves mixing just the flour and water from the recipe and letting it rest for 20 minutes to several hours before adding yeast and salt. This resting period allows the flour to fully hydrate and gives enzymes naturally present in the flour time to start breaking down starches into sugars and, more importantly, allows gluten development to begin passively without any kneading.
For whole wheat flour, autolyse is particularly beneficial because it gives the bran time to soften as it absorbs water. Softened bran is less likely to cut the developing gluten strands during subsequent mixing and kneading. A typical autolyse for whole wheat might involve mixing all the flour and water and letting it rest for 30-60 minutes. This leads to a dough that is easier to knead, more extensible, and ultimately results in a better crumb structure and a more chewy whole wheat crust.
Dough Hydration: Mastering the Water Ratio
Mastering dough hydration – the ratio of water to flour by weight – is fundamental to achieving a chewy whole wheat crust. As mentioned, whole wheat flour requires more water than white flour. While a typical white loaf might use 65% hydration, a whole wheat loaf often benefits from 75% hydration or even higher. Higher hydration allows for better gluten development, a more open crumb, and contributes to a thinner, crispier crust that yields to a chewy interior.
Finding the right hydration level for your flour and environment might require some experimentation. Start with a recipe specifying a hydration level (like the one below) and adjust slightly in future bakes based on how the dough feels. If the dough seems too stiff and dense, increase hydration by a few percentage points next time. If it's too slack and difficult to handle, reduce it slightly. Practice with different hydration levels will help you understand how they impact the feel of the dough and the final chewy whole wheat crust.
Scoring the Crust: Controlling Expansion
Scoring, or slashing, the surface of the dough just before baking is a critical step for controlling how the loaf expands in the oven and contributes to the final appearance and texture of the chewy whole wheat crust. As the bread bakes, the rapid production of steam and gas causes the dough to expand rapidly (oven spring). If the surface crust has already started to set and hasn't been scored, the loaf will burst unpredictably at its weakest points, potentially creating a less attractive shape and an uneven crust.
Scoring provides planned weak points that allow the dough to expand in a controlled manner. This directed expansion helps achieve maximum volume and creates visually appealing patterns on the crust. For a chewy whole wheat crust, proper scoring ensures the loaf rises fully, leading to a better internal structure and a well-formed crust that develops its characteristic texture. Using a sharp razor blade (lame) and making quick, confident cuts about 1/2 inch deep is recommended.
Cooling Properly: Maintaining Crust Integrity
Once your beautiful whole wheat loaf emerges from the oven with its promising chewy whole wheat crust, the process isn't quite finished. Allowing the bread to cool completely on a wire rack is absolutely essential. While it's tempting to slice into a warm loaf, cooling allows internal moisture to redistribute evenly throughout the crumb. This process is crucial for the texture of both the crumb and the crust.
Slicing hot bread can result in a gummy interior because the starches haven't fully set. It also traps steam, which can soften that lovely, developing chewy whole wheat crust you worked so hard for. Cooling on a wire rack allows air circulation around the entire loaf, permitting excess moisture from the crust to evaporate and the internal moisture to stabilize. For a standard-sized loaf, this usually takes at least 1-2 hours. Patience during this final step is rewarded with the best possible texture for your perfectly chewy whole wheat crust and crumb.
Troubleshooting Common Whole Wheat Crust Problems
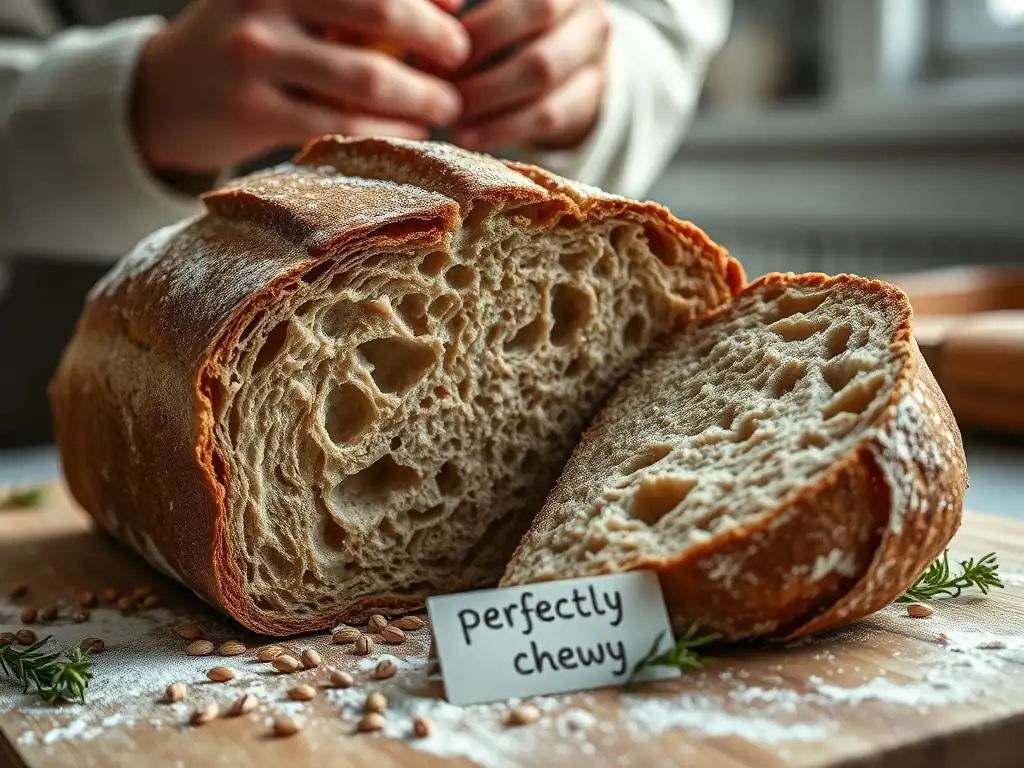
Crust Too Hard: Overbaking, Low Hydration, Insufficient Fat
If your whole wheat crust turns out hard instead of chewy, several factors could be at play. Overbaking is a common culprit; spending too long in the oven can dry out the crust excessively. Ensure you are baking until the internal temperature is reached, not just relying on visual cues. Low dough hydration is another frequent cause. Whole wheat needs sufficient water; a dough that is too stiff will produce a dense loaf with a hard crust. Try increasing hydration by 2-3% in your next bake.
Insufficient fat in the recipe can also contribute to a hard crust. While we only add a small amount, fat helps tenderize the crust slightly, preventing it from becoming brittle. Ensure you included the specified amount of oil or butter. Lastly, inadequate gluten development or shaping that results in a very tight surface can restrict expansion, leading to a thick, hard crust. Review your kneading and shaping techniques.
Crust Too Soft: Underbaking, High Hydration, Insufficient Gluten Development
A crust that is too soft and lacks chewiness might indicate underbaking. The crust needs sufficient time and heat to dry out slightly and develop structure. Ensure the loaf reaches the target internal temperature (200-210°F) and has a good, dark color. While high hydration is good for chewiness, excessively high hydration without proper gluten development and shaping can lead to a slack dough that doesn't hold its shape or develop a strong crust structure, resulting in a soft, pale crust.
Insufficient gluten development is another major factor. If the dough wasn't kneaded or folded enough, it lacks the structure needed for good oven spring and crust development. The crust remains thin and soft. Review your mixing and kneading/folding process to ensure adequate dough strength. Also, ensure the loaf was cooled completely on a wire rack; cooling on a solid surface can trap steam and soften the crust.
Uneven Baking: Inconsistent Oven Temperature, Improper Shaping
Uneven baking results in a crust that is darker on one side than the other, or parts that are hard while others are soft. The most common cause is inconsistent oven temperature or hot spots within the oven. Using an oven thermometer to verify your oven's temperature and identify hot spots is highly recommended. Rotating the loaf halfway through the baking time can help ensure even browning and development of the chewy whole wheat crust on all sides.
Improper shaping can also lead to uneven baking. If the loaf is shaped unevenly, with thick and thin sections, the thinner parts will bake faster and potentially burn or become hard while the thicker parts are still cooking. Ensure your shaping techniques create a loaf with relatively uniform thickness. Baking on a preheated baking stone or steel can also help provide consistent heat from the bottom, contributing to more even baking and a better chewy whole wheat crust.
Recipe: BakeWithEase's Chewy Whole Wheat Crust
Ingredients List
- 400g High-Protein Whole Wheat Flour
- 100g Bread Flour (for added structure and chewiness)
- 375g Water (75% hydration relative to total flour)
- 10g Salt (2% relative to total flour)
- 4g Instant Dry Yeast (or 5g Active Dry Yeast)
- 15g Olive Oil (3% relative to total flour)
Step-by-Step Instructions
- Autolyse (Optional but recommended): In a large bowl, combine the whole wheat flour, bread flour, and water. Mix until just combined into a shaggy dough with no dry spots. Cover and let rest for 30-60 minutes.
- Add Remaining Ingredients: Add the salt, yeast, and olive oil to the dough.
- Mixing/Kneading:
- By Hand: Incorporate the new ingredients by squeezing and folding the dough. Once incorporated, knead the dough on a lightly floured surface for 10-15 minutes until it becomes smoother and more elastic.
- Stand Mixer: Mix on low speed for 2-3 minutes to incorporate, then increase to medium speed and knead for 8-10 minutes until the dough pulls away from the sides and is reasonably smooth and elastic.
- Bulk Fermentation: Place the dough in a lightly oiled bowl, cover, and let rise at room temperature (approx. 75°F / 24°C) for 2-3 hours, or until about doubled in size. Perform 2-3 sets of stretch and folds during this time, every 45-60 minutes.
- Preheating: About 30-45 minutes before baking, place your Dutch oven, baking stone, or baking steel in the oven and preheat to 475°F (245°C). Prepare your steam setup if not using a Dutch oven.
- Shaping: Gently turn the dough out onto a lightly floured surface. Gently degas slightly if needed. Shape the dough into a boule or batard, building good surface tension.
- Proofing: Place the shaped dough seam-side up in a floured proofing basket (banneton) or seam-side down on parchment paper. Cover and proof for 30-60 minutes at room temperature, or until slightly puffy but not fully doubled (the 'poke test' should show a slow rebound).
- Scoring & Baking: Carefully invert the dough onto parchment paper (if using a banneton) or directly onto your hot baking surface. Score the top of the loaf with a sharp blade.
- Dutch Oven: Carefully lower the loaf into the hot Dutch oven, cover with the lid, and bake for 20 minutes.
- Open Oven with Steam: Place the loaf on the hot stone/steel, add your steam source, and bake for 20 minutes.
- Finish Baking: Reduce oven temperature to 425°F (220°C). Remove the Dutch oven lid or steam source. Continue baking for another 25-30 minutes, or until the crust is deep golden brown and the internal temperature is 200-210°F (93-99°C).
- Cooling: Transfer the loaf to a wire rack immediately after baking. Let cool completely for at least 1.5 - 2 hours before slicing. This is essential for a perfectly chewy whole wheat crust.
Conclusion: Mastering the Art of the Chewy Whole Wheat Crust
Enjoying Your Homemade Whole Wheat Bread
Congratulations! By understanding the unique nature of whole wheat flour, focusing on hydration, gluten development, and employing specific techniques during mixing, kneading, fermentation, shaping, and baking, you are well on your way to consistently achieving a perfectly chewy whole wheat crust. The journey might involve a few experiments, but each bake brings you closer to understanding how these factors interact.
There's immense satisfaction in slicing into a loaf you've made yourself, especially one with that desirable chewy texture and rich flavor only whole wheat can provide. Enjoy your delicious, homemade whole wheat bread with its wonderful chewy crust – whether it's for sandwiches, toast, or simply savored on its own. Share it with friends and family, showcasing your newfound baking skills.
Further Exploration: Sourdough and Sprouted Wheat Breads
Mastering a standard yeasted chewy whole wheat crust is a fantastic achievement and opens the door to further exploration in the world of whole grain baking. If you've enjoyed this process, consider delving into sourdough whole wheat bread. Sourdough starters can bring a different level of flavor complexity and can also aid in breaking down some of the components in whole wheat that hinder gluten development, potentially leading to even more tender crumbs and varied crust textures.
Another avenue is working with sprouted whole wheat flour. Sprouting grains can alter their nutrient profile and enzyme activity, sometimes resulting in flour that behaves differently in dough and may offer unique textural qualities in the crust and crumb. Continue experimenting with hydration, fermentation times, and different baking vessels. Each variation offers a new opportunity to refine your skills and deepen your understanding of how to create the ultimate chewy whole wheat crust and explore the full potential of whole grain baking with BakeWithEase.
Frequently Asked Questions
What makes a whole wheat crust chewy instead of tough?
The secret lies in developing the gluten properly through adequate kneading and using the right amount of hydration. Using a high-quality whole wheat flour is also critical.
Can I substitute all-purpose flour for whole wheat flour in this recipe?
While you can, it will significantly affect the texture and flavor. The recipe is specifically designed for the unique properties of whole wheat.
How long should I knead the dough to achieve the ideal chewiness?
Kneading for approximately 8-10 minutes is usually sufficient. Look for a smooth and elastic dough that springs back slightly when poked.
What temperature is best for baking a whole wheat crust?
A high temperature, typically around 450°F (232°C), is recommended. This helps to create a crisp exterior while maintaining a chewy interior.
What if my crust still turns out dry even after following the recipe?
Ensure your oven is properly calibrated. Also, try adding a touch more water to the dough next time, but do it gradually to avoid stickiness.
Final Reflection: The Enduring Allure of the Perfect Bite
The quest for the perfectly chewy whole wheat crust transcends mere culinary technique; it's a journey into the heart of satisfying texture and wholesome goodness. This article has explored the nuanced science behind achieving that ideal chew, from the careful selection of flour to the precise control of hydration and fermentation. But more than just a recipe, it represents a deeper appreciation for the simple pleasures found in handcrafted food.
The pursuit of the perfect whole wheat crust reflects a broader cultural shift towards mindful eating and a renewed interest in traditional baking methods. We are increasingly seeking out authentic flavors and textures, rejecting mass-produced uniformity in favor of artisanal quality. This resonates deeply with me, as I've found immense satisfaction in the process of perfecting this recipe, a process that mirrors the slow, deliberate pace of life that many of us crave. The best things in life are worth waiting for,
and a perfectly chewy whole wheat crust is a testament to that truth.
Now, I invite you to embark on your own culinary adventure. Don't be afraid to experiment, to tweak the recipe to your liking, and to savor the journey as much as the destination. The perfectly chewy whole wheat crust is not just a goal; it's a gateway to a deeper connection with food, with yourself, and with the simple act of creating something delicious and nourishing. The next time you bite into a loaf, remember the power of intention and the satisfying reward of a perfectly crafted crust.
Unlock Your Inner Baker: Craft the Perfect Crust!
Thanks for taking the time to explore the secrets to a perfectly chewy whole wheat crust! You've gained valuable insights into achieving that amazing texture – now it's time to put your new knowledge into action.
- Bake your masterpiece! Try out the recipe today and experience the difference firsthand. Note down any adjustments you make for future bakes.
- Share your success! Post a picture of your delicious creation on social media and tag us – we'd love to see your results!
- Challenge yourself: Experiment with different flours or add-ins to discover your unique perfect crust.
What unexpected ingredient will you add to your next whole wheat crust?