
Bake Your First Sourdough Rye Loaf: A Beginner's Guide

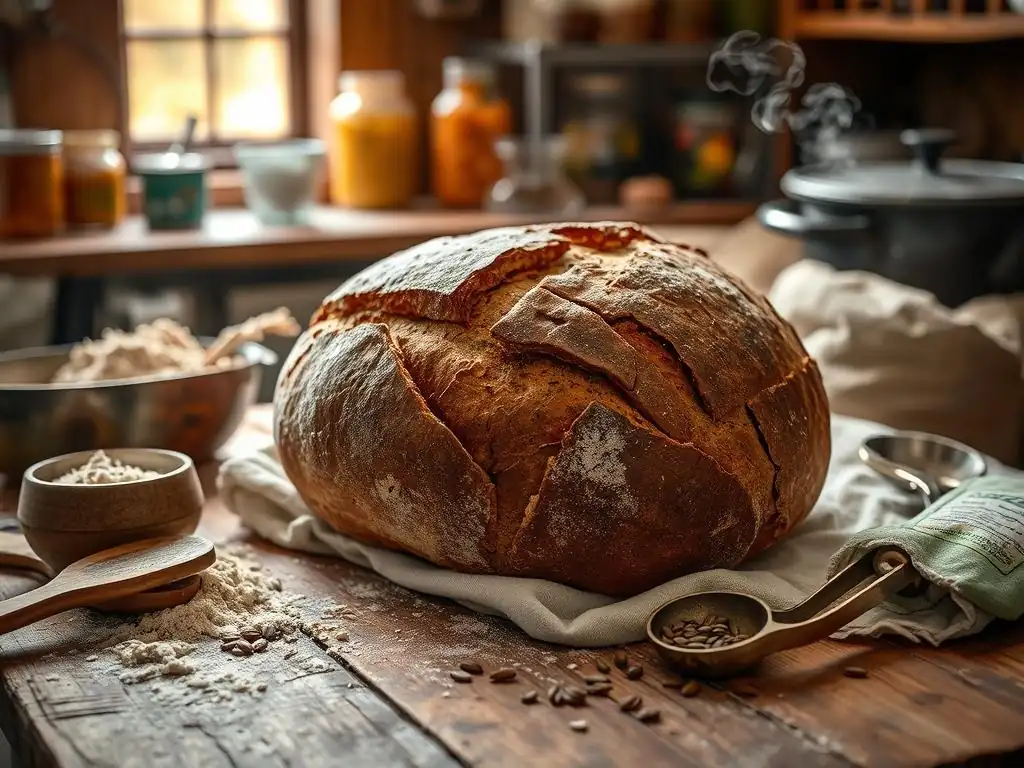
Welcome to BakeWithEase, your haven for baking brilliance! Ever dreamt of that tangy, robust flavor only a perfect sourdough rye can deliver? You're in the right place. This guide unlocks the secrets to crafting your very own beginner sourdough rye recipe, demystifying the process so you can bake a masterpiece, even if you're just starting your sourdough journey. Curious about how to build your starter and achieve that signature rye crumb? Let's get baking!
- Introduction to Sourdough Rye Bread Baking for Beginners
- Essential Equipment & Ingredients for Your Beginner Sourdough Rye Recipe
- Preparing Your Sourdough Rye Starter: A Crucial First Step
- Beginner Sourdough Rye Recipe: Step-by-Step Instructions
- Tips and Tricks for Baking the Perfect Beginner Sourdough Rye
- Cooling, Slicing, and Enjoying Your Homemade Sourdough Rye
- Frequently Asked Questions
- Final Reflection: The Unexpected Joys of Sourdough Rye
- Unleash Your Inner Baker: Craft Your Perfect Rye Loaf!
Introduction to Sourdough Rye Bread Baking for Beginners
Why Sourdough Rye? A Flavorful and Nutritious Choice
Embarking on your baking journey with a beginner sourdough rye recipe offers a uniquely rewarding experience. Rye bread, especially when fermented with sourdough, boasts a deep, earthy flavor profile that is distinct from wheat-based loaves. This complexity develops during the long fermentation process, creating nuanced sweet and tangy notes that are truly captivating.
Beyond taste, rye is celebrated for its nutritional benefits. It's generally higher in fiber compared to wheat, containing around 15% total dietary fiber, which contributes to digestive health and can help regulate blood sugar levels. This makes a homemade sourdough rye loaf not just delicious, but a wholesome addition to your diet.
Furthermore, the sourdough process itself enhances the digestibility and nutrient availability of the grains. The wild yeasts and bacteria in the starter break down complex carbohydrates and phytic acid, a compound found in grains that can inhibit mineral absorption. This means that minerals like iron, zinc, and magnesium present in the rye flour are more readily available for your body to absorb.
Choosing a beginner sourdough rye recipe allows you to tap into these ancient health benefits while creating a rustic, satisfying bread that is far superior in flavor and texture to many commercially produced loaves. It's a fantastic way to start exploring the world of sourdough baking with a grain that offers both robust flavor and significant nutritional value.
Understanding the Unique Qualities of Rye Flour in Sourdough
Working with rye flour for a beginner sourdough rye recipe presents some unique characteristics compared to baking with wheat. Rye flour has a significantly lower gluten content than wheat flour. Gluten is the protein network that develops when wheat flour is mixed with water and kneaded, providing structure and elasticity to the dough, allowing it to trap gases and rise.
In rye flour, this gluten network is much weaker and less extensible. Instead, the structure is primarily provided by non-starch polysaccharides, particularly pentosans. These compounds absorb a lot of water and become quite sticky, which is why rye dough often feels more like a thick paste or batter than the elastic dough you might be used to with wheat.
The high pentosan content also means rye flour absorbs more water than wheat flour, and it retains that moisture effectively during baking. This contributes to the dense, moist crumb characteristic of many rye breads. However, it also means rye dough can be stickier and trickier to handle for beginners.
Unlike wheat dough, extensive kneading isn't necessary or even beneficial for rye; over-kneading can actually break down the limited gluten structure. The long, slow fermentation typical of sourdough helps to develop flavor and structure in rye dough without relying heavily on mechanical kneading. Understanding these fundamental differences in how rye flour behaves is crucial for success when tackling your very first beginner sourdough rye recipe.
Essential Equipment & Ingredients for Your Beginner Sourdough Rye Recipe
Must-Have Baking Tools for Sourdough Rye Success
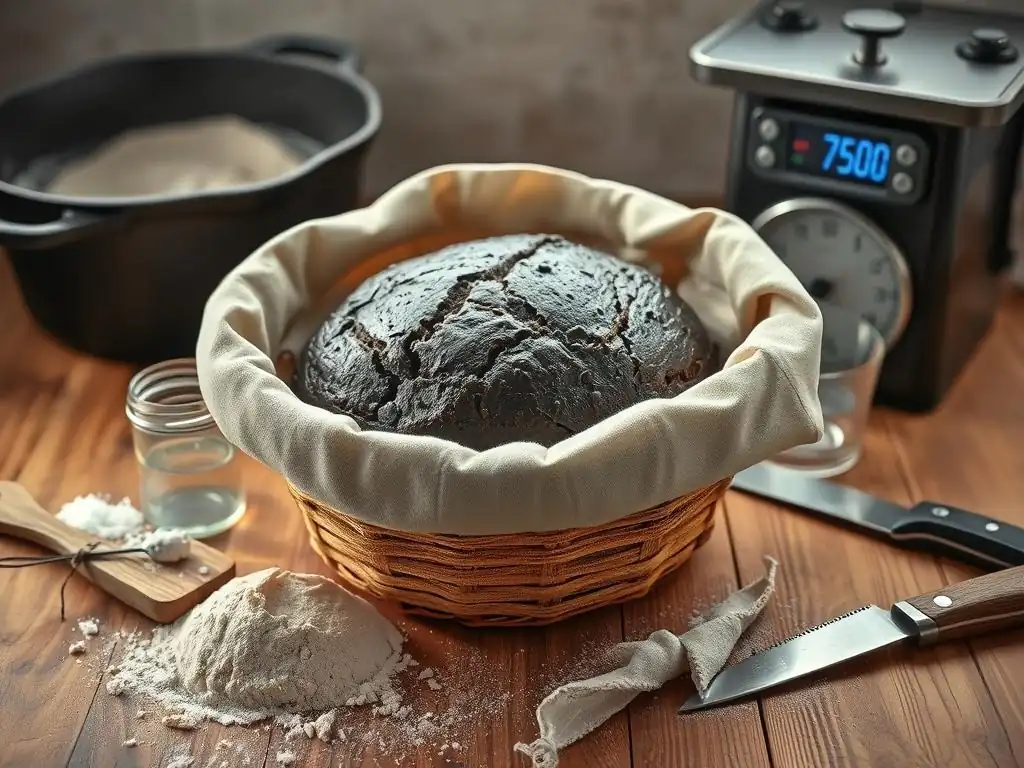
Having the right tools can make a significant difference when you're trying a beginner sourdough rye recipe. While you don't need a professional kitchen, a few essential items will simplify the process and improve your results. A sturdy mixing bowl, preferably glass or plastic, is necessary for combining your ingredients.
For measuring, digital scales are highly recommended, as accuracy in weighing flour, water, and starter is paramount in sourdough baking, especially with variable rye flour absorption. Using volume measurements (cups) can lead to inconsistent results due to differences in how flour packs. A good quality bench scraper is invaluable for handling sticky rye dough and for dividing portions.
For baking, a Dutch oven is arguably the most beneficial tool for achieving a great crust in a home oven. The Dutch oven traps steam released from the dough, creating a humid environment that keeps the crust soft initially, allowing the loaf to expand fully before the crust hardens. This leads to better oven spring and a crispier crust.
If you don't have a Dutch oven, a baking stone or steel can work, but you'll need to create steam by placing a tray of hot water at the bottom of your oven. Other useful items include proofing baskets (bannetons) to help your loaf hold its shape during the final rise, parchment paper for easy transfer, and a lame or sharp razor blade for scoring the dough.
Gathering Your Ingredients: Rye Flour, Sourdough Starter, Water, and Salt
The beauty of a beginner sourdough rye recipe lies in its simplicity: it typically requires only four core ingredients. The star is, of course, rye flour. For your first loaf, a medium or light rye flour is often recommended as it's easier to handle than dark or whole rye, though any type can be used once you gain confidence. Ensure your flour is fresh and of good quality; the type and freshness significantly impact flavor and dough performance.
Your active sourdough starter is the leavening agent. It should be bubbly, active, and ideally fed within the last 4-12 hours, depending on its vigor and the temperature. A starter that reliably doubles in size within 4-6 hours after feeding at room temperature (around 70-75°F or 21-24°C) is a good indicator of readiness.
Water is the third crucial ingredient, activating the flour and starter and allowing the gluten (or in rye's case, pentosans) to hydrate. Filtered or non-chlorinated water is often preferred, as chlorine can potentially inhibit microbial activity in the starter, though many bakers successfully use tap water. The temperature of the water can also influence fermentation speed; warmer water (around 80-90°F or 27-32°C) can speed things up, while cooler water will slow it down.
Finally, non-iodized salt is essential. Salt not only enhances the flavor of the rye bread but also helps to control the fermentation rate and strengthens the dough structure. Use fine sea salt or kosher salt, avoiding iodized table salt which can have a metallic taste and potentially impact fermentation.
Understanding Hydration in Rye Sourdough
Hydration refers to the ratio of water to flour by weight in a bread recipe, typically expressed as a percentage (water weight / flour weight * 100%). For a beginner sourdough rye recipe, understanding hydration is key because rye flour absorbs water differently than wheat. Rye flour is much thirstier due to its high pentosan content. A typical beginner wheat sourdough might have a hydration of 70-80%, meaning 700-800g of water per 1000g of flour. However, a rye sourdough dough might feel incredibly wet and sticky at 80% hydration compared to a wheat dough at the same percentage.
Rye doughs often appear much wetter than their wheat counterparts even at similar hydration levels. This is because the pentosans create a viscous, gel-like structure rather than the elastic network of gluten. For a beginner sourdough rye recipe, starting with a moderate hydration level, perhaps around 75-85%, is often advisable. While higher hydration can contribute to a more open crumb, it also makes the dough more difficult to handle.
For example, a recipe might call for 400g of rye flour and 320g of water, resulting in 80% hydration (320/400 * 100 = 80). As you gain experience, you can experiment with increasing the hydration slightly to see how it affects the crumb structure and handling characteristics. The high water absorption also means rye bread stays moist longer after baking compared to many wheat loaves.
Preparing Your Sourdough Rye Starter: A Crucial First Step
Ensuring an Active and Healthy Sourdough Starter
The heart of any beginner sourdough rye recipe is a vibrant, active sourdough starter. A healthy starter is teeming with wild yeast and lactic acid bacteria, the microorganisms responsible for leavening your bread and developing its complex flavor. Before you even think about mixing your dough, you need to ensure your starter is ready for action.
A good indication of an active starter is its behavior after feeding. It should show significant activity, such as developing bubbles throughout the jar and visibly increasing in volume, ideally doubling or even tripling within 4-8 hours at a warm room temperature (around 70-78°F or 21-26°C).
To confirm your starter's readiness, you can perform the float test, although this is more reliable for wheat-based starters. Take a small spoonful of starter and gently drop it into a glass of water. If it floats, it's generally considered ready to use as it's full of trapped gas.
However, some active rye starters might not float as readily due to the density of the flour. A more reliable indicator for rye is simply observing its activity: look for abundant bubbles, a domed or peaked surface before it starts to recede, and a pleasant, tangy aroma. If your starter seems sluggish, feed it a couple of times over 24 hours, keeping it in a warm spot, until it shows robust activity.
Feeding Your Starter for Optimal Rye Baking
Feeding your sourdough starter correctly is vital for ensuring it's strong enough to leaven your beginner sourdough rye recipe. The standard feeding ratio is typically 1:1:1 by weight (starter:water:flour). For example, you might discard all but 50g of your starter, then mix in 50g of fresh water and 50g of fresh flour.
For rye baking, you can feed your starter with rye flour, or a mix of rye and bread flour. Feeding with a portion of rye can help acclimate the starter to the specific flour you'll be using in your bread, potentially leading to better results in your beginner sourdough rye loaf.
The frequency of feeding depends on how you store your starter. If kept at room temperature, it typically needs daily feeding. If stored in the refrigerator, it can be fed less often, perhaps once a week.
However, before using a refrigerated starter for a bake, it's best to take it out and feed it 1-3 times over 12-24 hours at room temperature until it becomes consistently active and predictable. This process, known as "waking up" or "building a levain," ensures you're using the starter at its peak activity for maximum leavening power in your beginner sourdough rye recipe. Always use non-chlorinated water and flour appropriate for your starter's diet.
Maintaining Your Sourdough Starter
Maintaining a healthy sourdough starter is an ongoing process, but it doesn't have to be complicated. Consistency in feeding is key, whether that's daily at room temperature or weekly from the fridge. When feeding, always discard a portion of the old starter before adding fresh flour and water.
This helps maintain a manageable volume and ensures the starter has enough fresh "food" to thrive. The discarded starter doesn't have to go to waste; it can be used in other recipes like pancakes, crackers, or even composted. Keep your starter in a clean jar with a loose-fitting lid or cover it with plastic wrap or a damp cloth secured with a rubber band.
Monitoring your starter's behavior is also important for maintenance. Pay attention to its rise and fall pattern after feeding, the size and distribution of bubbles, and its aroma. A healthy starter should smell pleasantly tangy, perhaps slightly yeasty or alcoholic, but not overwhelmingly sour or like nail polish remover (which can indicate it's hungry or has unwanted bacteria).
If you notice mold, unusual colors, or a truly foul smell, it's safer to discard and start fresh. Storing your starter in a consistent temperature environment, away from direct sunlight or drafts, also contributes to its stability and health, ensuring it's always ready for your next beginner sourdough rye recipe adventure.
Beginner Sourdough Rye Recipe: Step-by-Step Instructions
Mixing the Dough: Achieving the Right Consistency
Mixing the dough for your beginner sourdough rye recipe is quite different from mixing a wheat dough. Rye dough is inherently sticky and doesn't develop a strong, elastic gluten structure. The process typically involves combining the active sourdough starter, water, rye flour, and salt. Start by mixing the starter and water in a bowl until the starter is dispersed. Then, add the rye flour and salt. Use a spoon, spatula, or your hands to mix everything together until there are no dry pockets of flour remaining. The mixture will resemble a thick batter or a very wet, sticky dough.
Unlike wheat dough which benefits from kneading to develop gluten, rye dough requires minimal mixing. Overmixing can actually harm the limited structure provided by the pentosans. Once the ingredients are just combined into a cohesive mass, you are essentially done with the initial mixing phase.
The "development" of the dough structure in rye bread relies more on time and fermentation than on mechanical action. Expect the dough to be sticky and challenging to handle – this is normal for a beginner sourdough rye recipe. Resist the urge to add excessive amounts of extra flour, as this will alter the hydration and can result in a dry loaf.
Bulk Fermentation: The Key to Flavor Development
Bulk fermentation, also known as the first rise, is a critical stage in any sourdough recipe, and especially important for developing the characteristic flavor and structure in your beginner sourdough rye loaf. This is the period after mixing the dough and before shaping it, during which the wild yeast and bacteria in your starter work to ferment the sugars in the flour, producing carbon dioxide gas (which leavens the bread) and organic acids (which contribute to the sour flavor). For rye dough, which lacks a strong gluten network to trap gas effectively, controlling fermentation is vital.
Place your mixed rye dough in a lightly oiled bowl, cover it, and let it ferment at room temperature. The duration of bulk fermentation can vary significantly based on the temperature of your kitchen and the activity of your starter, typically ranging from 3 to 6 hours or even longer.
Instead of looking for the dough to double in size (which it may not do significantly due to the rye), look for signs of fermentation: the dough should appear slightly puffy, have some bubbles on the surface and along the sides of the bowl, and feel lighter. A common target is around a 30-50% increase in volume.
Over-fermenting rye dough can lead to a dense, gummy texture, so pay close attention to the visual cues rather than strictly following a time guideline. Gentle folding during this stage (perhaps 1-2 times in the first hour or two) can help build some structure, but avoid aggressive handling.
Shaping Your Rye Loaf: Techniques for Beginners
Shaping rye dough for a beginner sourdough rye recipe requires a different approach than shaping wheat dough due to its stickiness and lack of strong gluten structure. Rye dough is less elastic and doesn't hold tension as well.
The goal of shaping is primarily to create some surface tension and give the loaf a relatively uniform shape for proofing and baking, while being as gentle as possible to avoid degassing the dough too much. Lightly flour your work surface and your hands with rye flour or a mix of rye and rice flour (rice flour is less likely to be absorbed).
Gently coax the dough out of its bulk fermentation container. For a freeform loaf, you might perform a simple preshape by gently folding the edges towards the center to create a rough ball or oval, then letting it rest for 10-20 minutes. For the final shape, gently tighten the ball or shape it into a batard (oval) by folding and stitching the dough, using your bench scraper to help guide and tension the dough. Because rye dough is sticky, some bakers find it easier to shape directly in the proofing basket.
Dust your proofing basket generously with rye flour or a mix of rye and rice flour to prevent sticking. Gently lift the shaped dough and place it seam-side up in the basket. The basket will provide the necessary support during proofing.
Proofing Your Sourdough Rye: Knowing When It's Ready
Proofing, or the final rise, is the period after shaping the dough and before baking, where the yeast continues to produce gas and the dough expands further. This is a crucial step for achieving a good texture and volume in your beginner sourdough rye loaf. Rye dough proofs differently than wheat dough; it may not expand as dramatically, and it's prone to overproofing, which can lead to a dense or collapsed loaf.
The proofing time will vary based on temperature. A common approach is to proof at room temperature for 1-2 hours, followed by a longer cold proof in the refrigerator for 8-12 hours or even up to 24 hours. Cold proofing slows down fermentation, allowing flavors to develop further and making the sticky rye dough easier to handle for scoring and transferring.
To tell if your rye dough is ready after proofing, use the "poke test" with caution, as rye dough doesn't spring back like wheat. Gently poke the dough with a lightly floured finger. If the indentation springs back immediately, it needs more time. If it stays indented completely, it might be overproofed.
Ideally, the indentation should slowly spring back only partially, leaving a slight mark. The dough should look visibly puffy and feel light. If cold proofing, the dough will be firm and easier to score. Baking a slightly underproofed rye loaf is often better than baking an overproofed one, as underproofing can still yield a decent crumb, while overproofing can result in a gummy or flat loaf.
Baking Your First Sourdough Rye Loaf: Temperature and Time
Baking is the final step in transforming your proofed dough into a beautiful beginner sourdough rye loaf. High heat is essential for achieving good oven spring and a flavorful crust. Preheat your oven with your Dutch oven or baking stone inside to a high temperature, typically 450-500°F (230-260°C), for at least 30-60 minutes to ensure it's thoroughly heated.
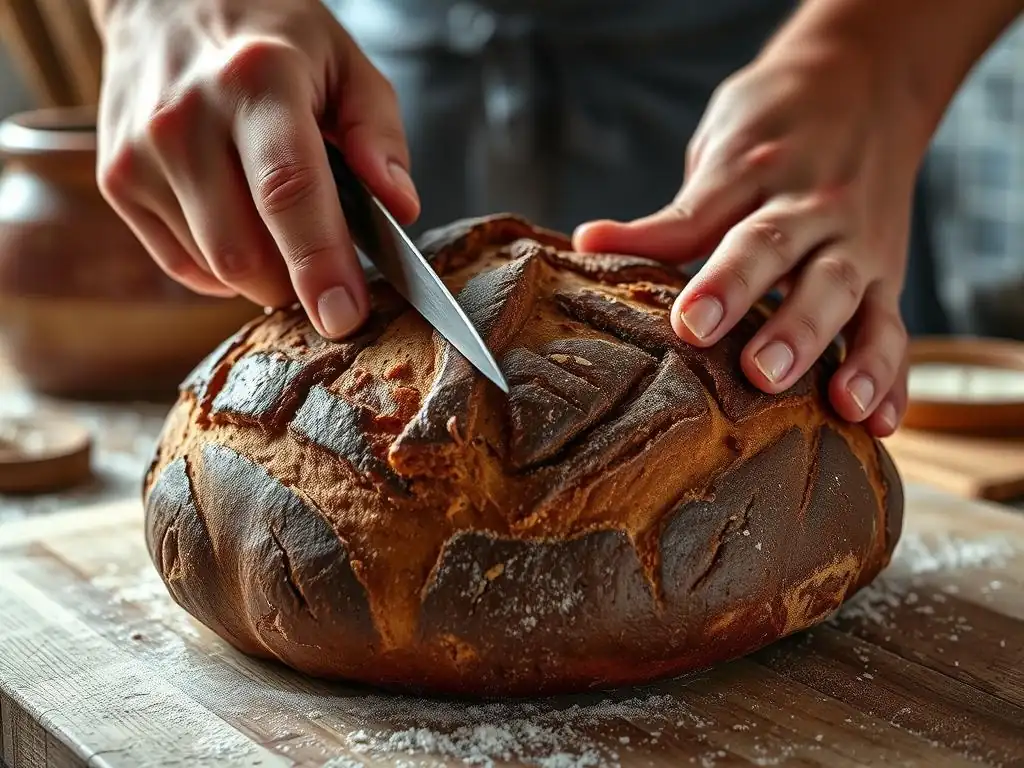
Carefully transfer the proofed dough from the proofing basket onto parchment paper (if using a Dutch oven) or directly onto the hot baking surface (if using a stone/steel with steam). Score the top of the loaf with a sharp blade; scoring allows the dough to expand in a controlled manner during baking.
If using a Dutch oven, lower the dough on the parchment paper into the hot pot, cover it, and place it in the oven. Bake covered for the first 20-25 minutes. The lid traps the steam released from the dough, creating a moist environment that promotes maximum expansion before the crust hardens.
After this initial phase, carefully remove the lid and continue baking for another 20-30 minutes, or until the crust is a deep golden brown and the internal temperature of the loaf reaches around 200-210°F (93-99°C). If baking on a stone, introduce steam into the oven when you load the loaf (e.g., by pouring water into a hot tray). The total baking time for a beginner sourdough rye loaf of around 800-1000g is typically 40-55 minutes.
Tips and Tricks for Baking the Perfect Beginner Sourdough Rye
Troubleshooting Common Sourdough Rye Baking Problems
Embarking on a beginner sourdough rye recipe can sometimes present challenges, but understanding common issues can help you troubleshoot. One frequent problem is a dense or gummy crumb. This is often caused by underproofing, overproofing, or insufficient fermentation during bulk rise. Ensure your starter is active, allow adequate bulk fermentation time based on dough activity (not just time), and be mindful of proofing signs.
Another issue is a loaf that doesn't rise well in the oven (poor oven spring). This can stem from a weak starter, underproofed or overproofed dough, insufficient oven temperature, or lack of steam during the initial bake. Confirm your starter is vigorous, check proofing readiness carefully, and ensure your oven and baking vessel are properly preheated and steam is present.
Cracking on the sides of the loaf, rather than expanding through the scores, can indicate that the scoring wasn't deep enough or that the surface of the dough dried out before baking. Ensure your lame is sharp and score confidently to a depth of about 1/2 inch. Keeping the dough covered during final proofing can prevent a skin from forming. Finally, a loaf that sticks to the proofing basket is common with sticky rye dough.
Generously flouring your basket with rye flour or rice flour is key. If it still sticks, gently loosen the edges with your fingers before inverting, or line the basket with a floured linen cloth. Persistence and observation are your best tools when troubleshooting your beginner sourdough rye recipe.
Achieving a Crispy Crust and Open Crumb
While rye bread is known for its moist, dense crumb compared to airy wheat loaves, you can still strive for a pleasant texture and a good crust in your beginner sourdough rye recipe. A crispy crust is primarily achieved through high baking temperatures and the presence of steam during the initial phase of baking. Baking in a preheated Dutch oven is highly effective as it traps steam, allowing the crust to remain pliable while the loaf expands, then crisping up once the lid is removed.
If not using a Dutch oven, creating a steamy environment in your oven by using a baking stone and a tray of hot water is crucial. Baking at temperatures around 450-500°F (230-260°C) ensures rapid heat transfer and crust development.
Achieving an "open" crumb in rye bread is different than in wheat bread; rye typically has a more uniform, closed crumb structure. However, you can aim for a lighter, less dense texture. This relies heavily on proper fermentation.
Ensuring your starter is active, allowing sufficient bulk fermentation time for gas production, and carefully managing the proofing stage without overproofing are vital. Gentle handling during shaping and transferring is also important to avoid degassing the dough. While you won't get large, irregular holes like in a country wheat loaf, successful fermentation will result in a well-aerated, moist, and uniform crumb that is characteristic of delicious rye bread.
Flavor Variations: Adding Caraway Seeds or Other Herbs to Your Rye Loaf
Once you've successfully baked your first beginner sourdough rye recipe, you might want to explore flavor variations. One of the most classic additions to rye bread is caraway seeds. These small seeds have a distinctive warm, slightly peppery, anise-like flavor that pairs beautifully with the tang and earthiness of sourdough rye. You can add caraway seeds directly to the dough during the mixing stage. A common ratio is 1-2 tablespoons of caraway seeds per 500g of flour, but adjust to your personal preference. Simply mix them in along with the flour and salt.
Other herbs and spices can also complement a beginner sourdough rye loaf. Dill is another popular choice, offering a fresh, slightly tangy note that works well. You could add 1-2 tablespoons of dried dill or a handful of fresh chopped dill. Some bakers also experiment with fennel seeds, coriander seeds, or even a touch of ground cumin for different aromatic profiles.
For a richer flavor, consider incorporating ingredients like molasses or honey into the dough water (adjusting the total water amount slightly if needed). Adding chopped onion or garlic (sautéed first to reduce moisture) can also provide savory depth. These simple additions can transform your basic beginner sourdough rye recipe into a loaf with a unique and personal twist.
Cooling, Slicing, and Enjoying Your Homemade Sourdough Rye
The Importance of Cooling Before Slicing
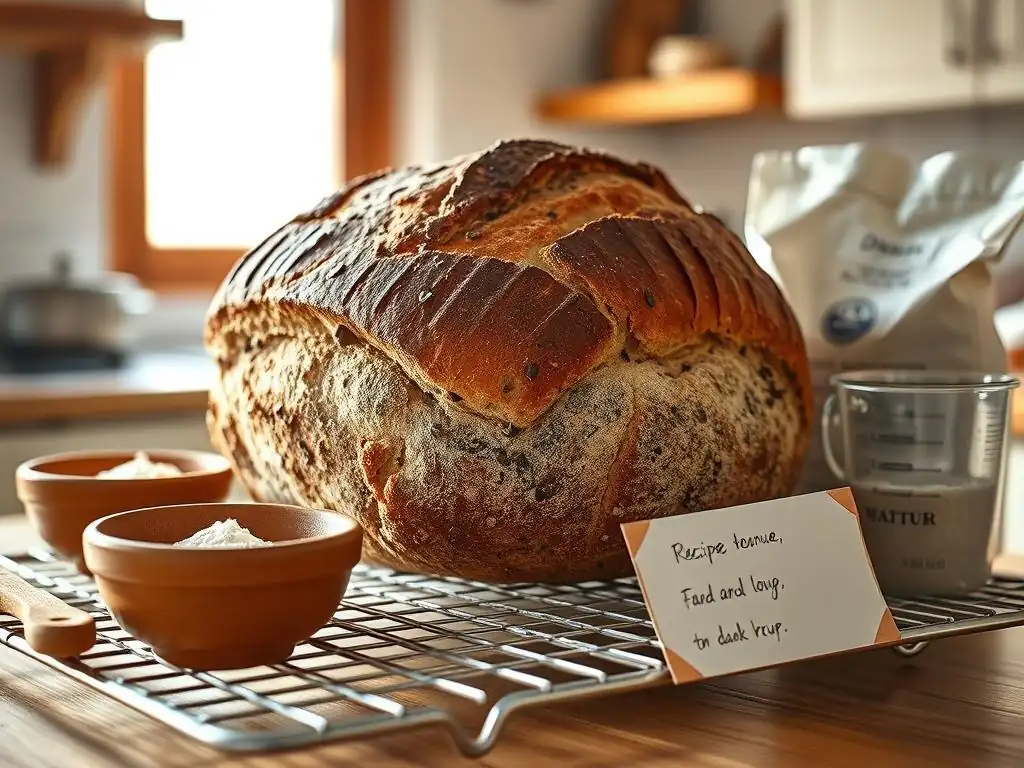
Patience is a virtue, especially after pulling a hot, fragrant beginner sourdough rye loaf from the oven. It might be tempting to slice into it immediately, but allowing the bread to cool completely on a wire rack is absolutely essential. While the bread is cooling, several internal processes are still occurring. Moisture is redistributing evenly throughout the loaf, moving from the hotter, drier crust towards the cooler, moister interior. The starches within the crumb are also setting.
Slicing hot rye bread, which is naturally moist and dense, can result in a gummy, sticky crumb. The structure hasn't fully stabilized, and the internal moisture hasn't had a chance to settle. Allowing it to cool for at least 2-4 hours, depending on the size of the loaf, ensures that the texture is correct and that the flavor is fully developed.
A wire rack allows air to circulate around the entire loaf, preventing the bottom crust from becoming soggy. Resisting the urge to slice too soon is crucial for experiencing the best possible texture and flavor from your beginner sourdough rye recipe.
Pairing Suggestions: What to Eat with Your Sourdough Rye
Your freshly baked beginner sourdough rye loaf is incredibly versatile and pairs wonderfully with a variety of foods. Its robust flavor stands up well to strong accompaniments. It's a classic choice for open-faced sandwiches. Think layers of smoked salmon, cream cheese, and dill, or thinly sliced pastrami or corned beef with mustard and pickles. The tangy notes of the sourdough rye cut through the richness of cured meats and cheeses beautifully.
Beyond sandwiches, sourdough rye makes an excellent base for toasts. Top a slice with mashed avocado and a sprinkle of everything bagel seasoning, or spread with butter and jam for a simpler treat. It's also fantastic served alongside soups and stews, perfect for soaking up hearty broths. Consider pairing it with a traditional borscht or a creamy mushroom soup.
For a simple snack, enjoy a slice with a good quality butter or a strong, aged cheddar cheese. The dense texture of rye bread also makes it a great vehicle for spreads like pâté or hummus. Experimenting with different toppings and pairings is part of the joy of baking and enjoying your own beginner sourdough rye.
Storing Your Sourdough Rye Loaf for Freshness
Proper storage is key to keeping your beginner sourdough rye loaf fresh and delicious for as long as possible. Once the loaf has cooled completely, your primary goal is to protect the crust while preventing the interior from drying out too quickly. Storing the loaf at room temperature is generally recommended for the first few days, as refrigeration can actually stale bread faster due to a process called starch retrogradation.
For short-term storage (1-2 days), simply placing the cut side down on a clean cutting board can work. For slightly longer storage (up to 3-4 days), wrap the cooled loaf in a linen bread bag or a clean tea towel. This allows the crust to breathe somewhat, helping to maintain its texture better than plastic. Avoid airtight plastic bags or containers immediately after baking, as this can trap moisture and make the crust soggy.
If you won't finish the loaf within a few days, freezing is an excellent option. Slice the cooled loaf first, then wrap the slices tightly in plastic wrap and place them in a freezer bag or airtight container. Frozen sourdough rye can last for several months and slices can be easily thawed or toasted directly from frozen.
Frequently Asked Questions
What makes this sourdough rye recipe suitable for beginners?
This recipe focuses on simple ingredients and a straightforward process, avoiding complex techniques that can overwhelm new bakers. It provides clear, step-by-step instructions for a successful first loaf.
What kind of flour should I use besides rye flour?
For this beginner recipe, we recommend using unbleached all-purpose flour or bread flour in addition to the rye flour. This helps create a more manageable dough.
How long does it take to make this sourdough rye loaf from start to finish?
The entire process, including starter feeding, mixing, bulk fermentation, shaping, proofing, and baking, typically takes around 24-36 hours. Most of this time is hands-off.
What if my sourdough starter isn't very active?
Ensure your starter is fed regularly and doubling in size before using it in the recipe. You can also try feeding it rye flour for a few days to boost its activity.
Can I substitute ingredients in this recipe?
While some substitutions are possible, we advise sticking to the recipe for your first attempt. Once you're comfortable, you can experiment with different flours or additions like caraway seeds.
Final Reflection: The Unexpected Joys of Sourdough Rye
The humble sourdough rye loaf, once a culinary enigma, is now within reach of even the most novice baker. The journey from starter creation to the satisfying thud of a perfectly risen loaf is a testament to patience, precision, and the surprising rewards of embracing the unpredictable nature of fermentation. This guide aimed to demystify the process, proving that baking a delicious rye loaf is achievable, even for complete beginners.
The impact of sourdough baking extends far beyond the kitchen. It's a connection to a centuries-old tradition, a mindful practice that encourages observation and adaptation. The subtle nuances of each loaf – the tangy aroma, the complex flavor profile, the satisfying chew – are a reflection of the unique environment and the baker's own touch. Bread is the staff of life,
they say, and in the case of sourdough, it's also a staff of connection, patience, and self-discovery. The process itself becomes a meditative practice, a quiet counterpoint to the frenetic pace of modern life.
Now, it's your turn. Don't be intimidated by the seemingly complex process. Embrace the challenge, savor the journey, and allow yourself to be surprised by the delicious results. The satisfaction of creating something beautiful and nourishing from simple ingredients is a reward in itself. Take the leap, start your starter, and experience the magic of baking your own sourdough rye loaf. You might just discover a new passion, a new connection to food, and a new appreciation for the simple act of baking.
Unleash Your Inner Baker: Craft Your Perfect Rye Loaf!
Thanks for joining us on this sourdough rye adventure! You've just unlocked the secrets to baking a truly delicious and satisfying loaf. Now it's time to put your newfound knowledge to the test.
- Bake your own sourdough rye loaf! Follow the recipe again, tweaking it to your taste. Don't be afraid to experiment!
- Share your baking journey! Post a picture of your creation on social media using #BakeWithEaseRye. We’d love to see it!
- Explore other sourdough recipes on our website to further expand your baking skills.
What unique ingredient will you add to your next sourdough rye masterpiece?