
The Joy of Baking Your First Whole Wheat Loaf from Scratch

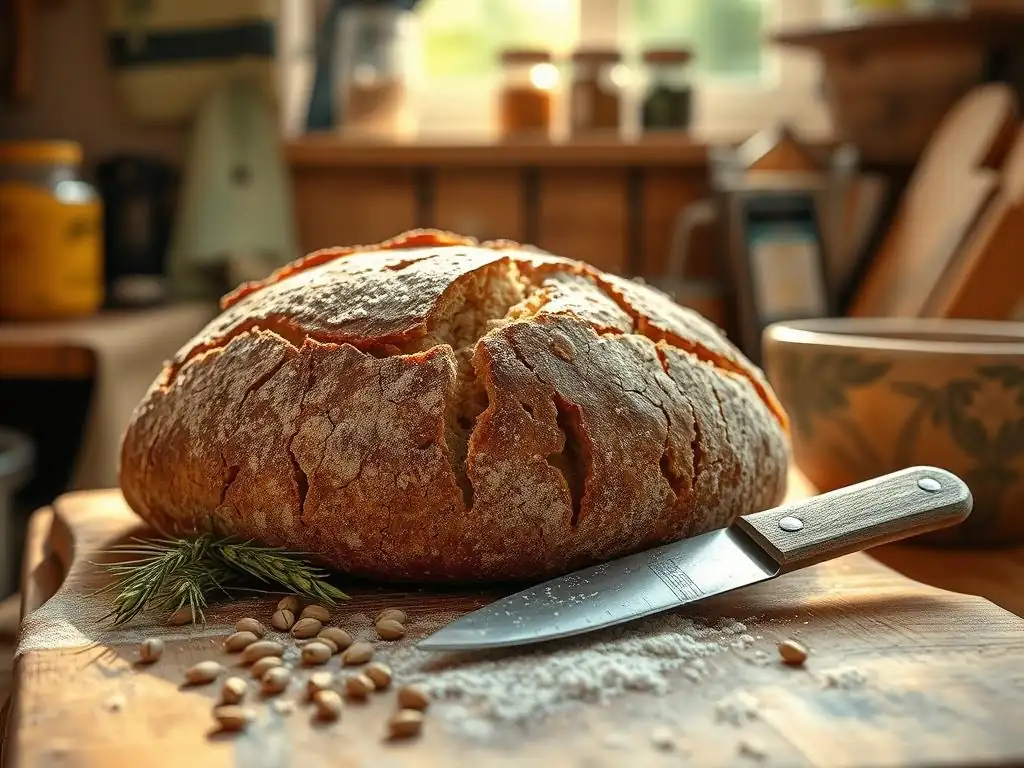
Welcome to BakeWithEase, where baking dreams become delicious realities! Ever imagined the satisfying aroma of a freshly baked loaf filling your home? This week, we're diving deep into whole wheat loaf baking, demystifying the process and revealing the secrets to a perfect, wholesome loaf from scratch. Curious to know how simple ingredients can transform into a culinary masterpiece? Let's unlock the joy of homemade bread together.
- Baking Sourdough Bread: A Beginner’s Guide
- Introduction to Sourdough Bread Baking
- Essential Equipment and Ingredients for Sourdough
- Step-by-Step Guide: Baking Your First Sourdough Loaf
- Troubleshooting Common Sourdough Problems
- Tips and Tricks for Enhancing Your Sourdough
- Conclusion: The Art of Sourdough Baking
-
Frequently Asked Questions
- What are the benefits of baking a whole wheat loaf from scratch?
- What are the key differences between baking with whole wheat flour versus white flour?
- What are some common challenges faced when baking a whole wheat loaf, and how can I overcome them?
- What type of yeast is best to use for whole wheat loaf baking?
- How do I store a whole wheat loaf to keep it fresh for longer?
- Final Reflection: The Enduring Magic of a Homemade Loaf
- Unleash Your Inner Baker: Craft Your Perfect Loaf!
Baking Sourdough Bread: A Beginner’s Guide
Introduction to Sourdough Bread Baking
Why Bake Sourdough? Flavor, Health, and Tradition
Sourdough offers a depth of flavor unmatched by commercial yeast breads. Thanks to wild yeast and lactic acid bacteria, a well-fermented loaf boasts tangy, earthy notes that evolve over time—especially when you incorporate whole wheat flour into your mix. In San Francisco, bakers have perfected this craft for over 150 years, demonstrating how simple ingredients can transform into complex tastes.
Beyond taste, sourdough is prized for its health benefits. The natural fermentation process breaks down phytic acid in whole wheat, improving mineral absorption and lowering the bread’s glycemic index by up to 20%. Regular sourdough eaters often report fewer digestive issues and a more sustained energy release compared to standard white bread.
Understanding Sourdough Starter: The Heart of the Bread
Your starter is a living culture of flour and water, teeming with wild yeast and lactic acid bacteria (LAB). In a 100% hydration starter, equal parts flour and water (e.g., 50 g flour + 50 g water) are fed twice daily at around 75 °F (24 °C). This environment encourages microbial growth, producing carbon dioxide for rise and organic acids for flavor.
Maintaining a vibrant starter requires consistency. A common feeding ratio is 1:1:1 (starter : flour : water). After feeding, allow the mixture to rest 6–8 hours until it doubles in volume. A healthy starter will exhibit a web-like structure when poked and release a mild, yogurt-like aroma.
Essential Equipment and Ingredients for Sourdough
Must-Have Baking Equipment
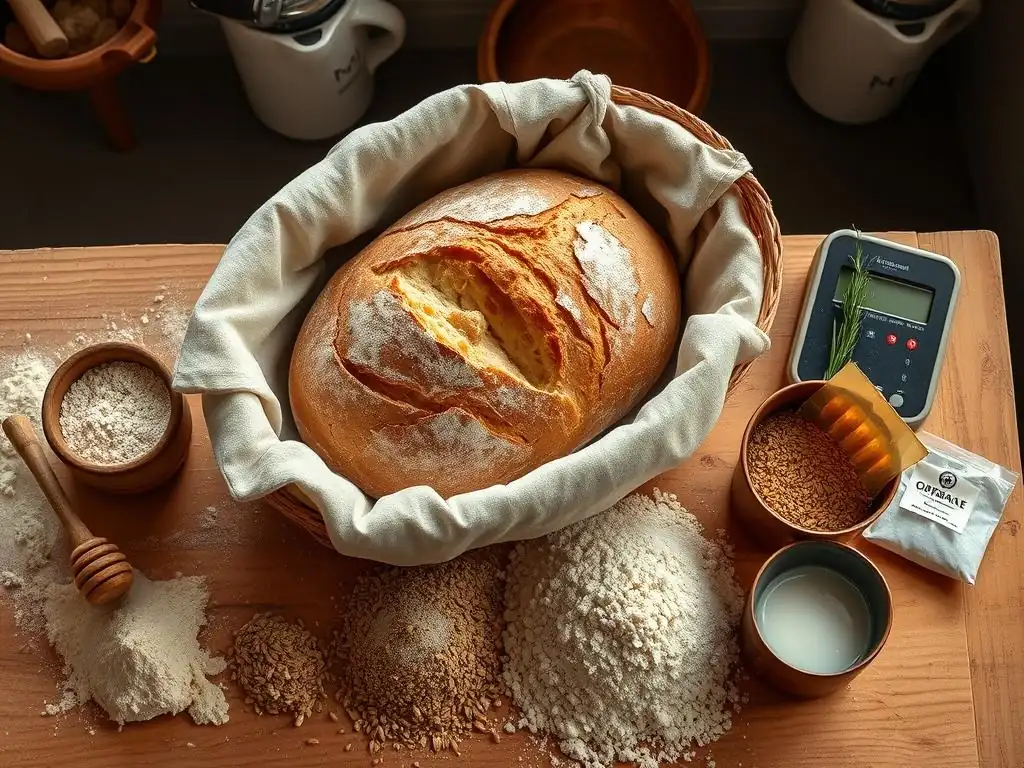
To embark on your sourdough journey, ensure you have:
- Digital kitchen scale (accurate to 1 g)
- Banneton or proofing basket (linen-lined)
- Dutch oven or covered clay baker
- Bench scraper and dough whisk
- Lame (scoring tool) or sharp razor blade
- Instant-read thermometer
“A reliable scale and Dutch oven are the two pillars of consistent sourdough success.”
In lieu of a Dutch oven, a heavy baking stone and a metal pan for steam will suffice, though heat retention won’t match cast iron.
Key Ingredients for Artisan Sourdough
High-quality ingredients yield superior results. Your dough comprises:
- Flour (a blend of bread and whole wheat)
- Water (filtered, lukewarm)
- Salt (non-iodized sea or kosher)
- Active starter
Adjust hydration based on flour type: whole wheat absorbs more water. Typical hydration for a mixed loaf is 75–80%.
Flour Selection: Bread Flour, Whole Wheat, and Rye
- Bread flour (12–14% protein) builds strong gluten networks for lofty rise.
- Whole wheat (13% protein) adds nuttiness, fiber, and micronutrients—aim for 20–30% of total flour weight to avoid overly dense crumb.
- Rye (7–8% protein) contributes extra acidity and moisture retention; limit to 10% for beginner recipes.
A classic mix:
70% bread flour
25% whole wheat
5% rye
Water Quality: Impact on Fermentation
Chlorine and chloramine inhibit yeast and LAB. Use filtered or bottled water with a neutral pH (~7.0–7.5). Hard water (high in calcium/magnesium) can strengthen gluten, while very soft water yields slack dough—adjust hydration ±2% accordingly.
Salt’s Role: Flavor and Dough Control
Salt (2–2.5% of flour weight)
- Enhances flavor
- Regulates yeast activity for controlled fermentation
- Tightens gluten structure, improving crumb
Example: in 800 g total flour, add 16–20 g salt.
Step-by-Step Guide: Baking Your First Sourdough Loaf
Step 1: Preparing the Levain
Refreshing Your Sourdough Starter
- Discard all but 20 g of starter.
- Feed with 100 g water + 100 g flour (50 g bread, 50 g whole wheat).
- Mix until no dry bits remain; rest at 24 °C for 6–8 hours.
An active starter should double in volume and show bubbles throughout.
Building a Levain for Optimal Rise
Combine:
50 g mature starter
150 g bread flour
50 g whole wheat flour
180 g water (≈27 °C)
Stir until homogenous. Cover and ferment 4–6 hours at 22–24 °C, or until volume doubles. This levain ratio (1:4:4) reliably primes your dough.
Step 2: Mixing the Dough
Autolyse: Hydrating the Flour
- Mix 600 g bread flour + 200 g whole wheat + 600 g water (75% hydration).
- Rest 45–60 minutes (bran in whole wheat requires longer).
Autolyse promotes enzyme activity, improving extensibility and flavor.
Incorporating the Levain and Salt
- Add prepared levain and 20 g salt to the autolysed dough.
- Mix by hand (pinch-and-fold) or with mixer at low speed for 4–6 minutes until smooth.
- Target dough temperature: 24–26 °C.
Step 3: Bulk Fermentation
Folding the Dough: Developing Strength
Perform 4 sets of stretch-and-fold at 30-minute intervals.
- Wet hands, lift dough edge, fold onto itself.
- Turn bowl 90°, repeat 4–6 times per set.
This builds gluten strength without intensive kneading.
Monitoring Dough Rise and Temperature
Bulk ferment at 22–24 °C for ~4 hours, aiming for a 30–50% volume increase. Use an instant-read thermometer to ensure dough stays between 24–26 °C; colder slows fermentation, warmer accelerates.
Step 4: Shaping the Loaf
Pre-Shaping: Building Tension
- Gently turn dough onto lightly floured surface.
- Shape into a loose round by folding edges toward center.
- Rest 20 minutes (bench rest), uncovered.
Final Shaping: Creating a Tight Round or Batard
- For a boule: cup dough under itself, rotating to build surface tension.
- For a batard: flatten into a rectangle, fold top third down, bottom third up, then seal edges.
- Place seam-side up in floured banneton.
Step 5: Proofing
Cold Proofing vs. Room Temperature Proofing
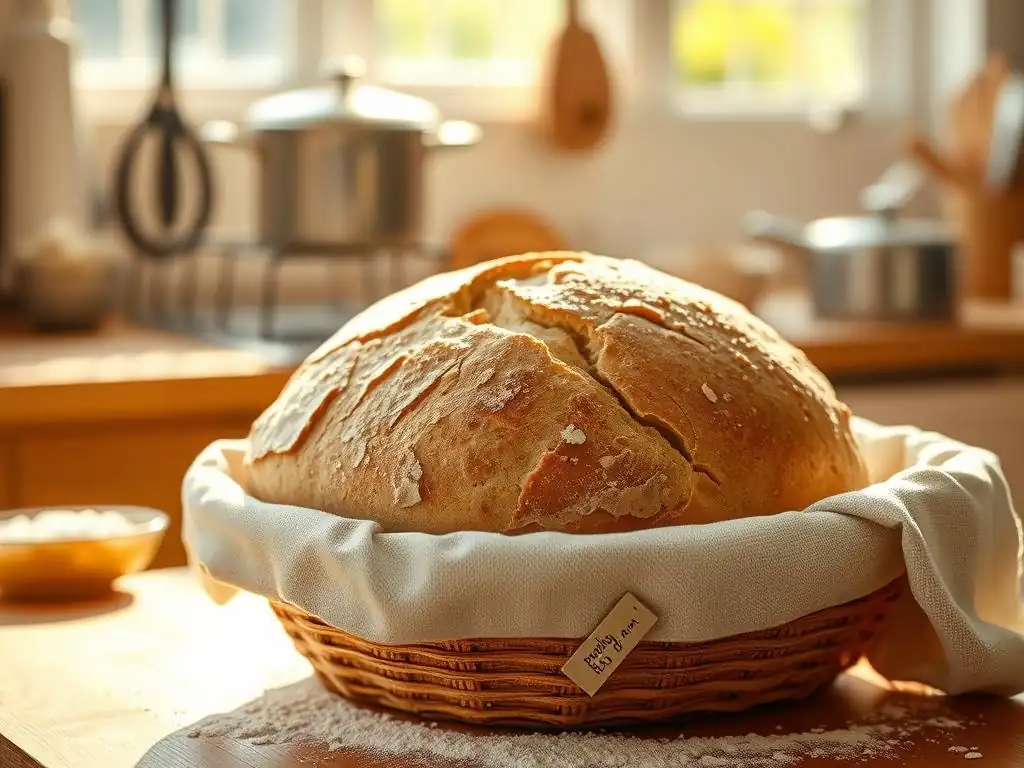
- Cold proof: 12–18 hours at 4 °C for deeper flavor complexity and milder sour.
- Room proof: 3–4 hours at 22–24 °C for a quicker turnaround and brighter acidity.
Determining Readiness for Baking
Perform the poke test: a gentle press leaves an indentation that slowly springs back. If it rebounds immediately, under-proofed; if it collapses, over-proofed.
Step 6: Baking
Preheating Your Oven and Dutch Oven
- Place Dutch oven (with lid) inside your oven.
- Preheat to 250 °C (482 °F) for 45 minutes to ensure optimal thermal mass.
Scoring the Loaf: Controlled Expansion
Use a lame or razor blade to slash the surface:
- Depth: ~3–4 mm
- Angle: 30–45° for ear formation
- Pattern: single 1–2 cm slash or multiple designs
Achieving a Dark, Caramelized Crust
- Transfer dough seam-side down into hot Dutch oven.
- Cover and bake 20 minutes at 250 °C.
- Remove lid, reduce temp to 230 °C, bake 15–20 minutes until crust is rich mahogany.
Step 7: Cooling and Slicing
Resting the Loaf: Developing Flavor and Texture
Cool loaf on a wire rack for at least 2 hours. During this time, internal steam redistributes, setting crumb structure and enhancing aroma.
Slicing and Enjoying Your Sourdough
Use a serrated bread knife for even slices. Store at room temperature, wrapped in a clean linen cloth—consuming within 3–4 days ensures peak freshness.
Troubleshooting Common Sourdough Problems
Dense or Gummy Crumb: Under-Fermentation
Under-fermented dough lacks internal gas, leading to tight crumb.
- Solution: Extend bulk fermentation by 1 hour or increase levain quantity by 10–20%.
- Example: If dough shows <30% rise in 4 hours, shift BF temperature to 24 °C or add 10 g more levain next bake.
Flat Loaf: Weak Starter or Over-Proofing
A flat profile can result from dormant starter or excessive proof.
- Revive starter: feed 3× at 1:2:2 ratio over 24 hours; look for vigorous doubling.
- If over-proofed, re-shape and shorten proof time by 1 hour.
Sourness Issues: Controlling Acidity
Too sour?
- Shorten bulk fermentation or switch to warmer proofing (24 °C).
Not sour enough?
- Extend cold proof by 6 hours or increase whole wheat percentage by 5–10% for more LAB activity.
Tips and Tricks for Enhancing Your Sourdough
Adding Inclusions: Seeds, Herbs, and Cheese
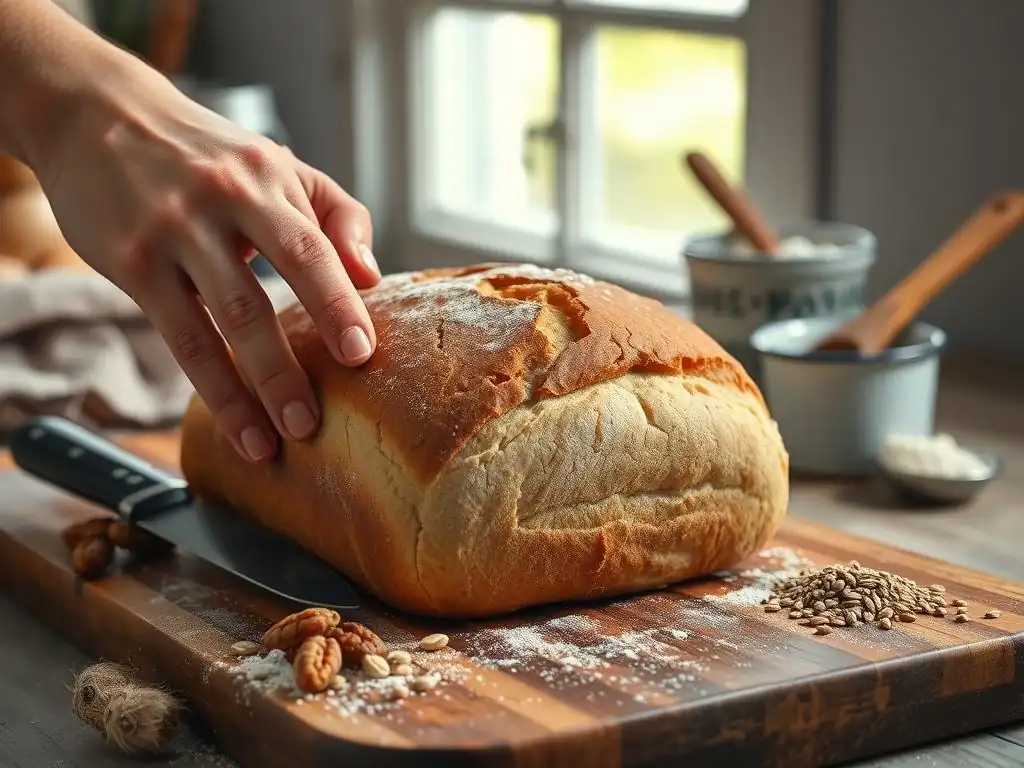
- Seeds: flax, sunflower, sesame—up to 10% of flour weight.
- Herbs: fresh rosemary or thyme added in final 10 minutes of mixing.
- Cheese: fold in 50–75 g shredded cheddar or Parmesan during stretch-and-fold.
Experimenting with Different Flours
- Spelt and kamut add nutty flavors but absorb more water—bump hydration by 5–8%.
- Einkorn yields softer crumb; reduce hydration by 2–3% to maintain structure.
Maintaining a Healthy Starter
- Discard ratio: keep 20–50 g starter, feed with equal weight flour/water.
- For storage: refrigerate fed starter for up to 7 days; revive with two room-temperature feedings before baking.
- To troubleshoot hooch (liquid on top), pour off and feed promptly.
Conclusion: The Art of Sourdough Baking
Resources for Further Learning
- Flour Water Salt Yeast by Ken Forkish
- Tartine Bread by Chad Robertson
- Online communities like Reddit’s r/Sourdough and local baking guild workshops
Have you mastered your first whole wheat sourdough loaf? Tag your photos with #BakeWithEase on social media, or drop a comment below with tips and snapshots of your crumb. Let’s build a community passionate about whole wheat loaf baking—one beautiful loaf at a time!
Frequently Asked Questions
What are the benefits of baking a whole wheat loaf from scratch?
Baking a whole wheat loaf from scratch allows you to control the ingredients and quality, resulting in a healthier and more flavorful bread. You avoid unnecessary additives found in store-bought loaves and enjoy the satisfaction of creating something delicious.
What are the key differences between baking with whole wheat flour versus white flour?
Whole wheat flour contains the bran and germ, making it denser and more nutritious than white flour. This affects the texture and rise of the bread, often requiring adjustments to hydration and proofing times.
What are some common challenges faced when baking a whole wheat loaf, and how can I overcome them?
Common challenges include a dense or dry crumb and a lower rise. These can be overcome by proper hydration, using a preferment (like a poolish or biga), and ensuring adequate gluten development.
What type of yeast is best to use for whole wheat loaf baking?
Both active dry yeast and instant dry yeast work well for whole wheat loaves. Instant yeast can be added directly to the flour, while active dry yeast needs to be proofed first.
How do I store a whole wheat loaf to keep it fresh for longer?
Store your cooled whole wheat loaf in an airtight container or a bread bag at room temperature. Slicing the loaf only when needed can also help maintain its freshness.
Final Reflection: The Enduring Magic of a Homemade Loaf
The simple act of baking a whole wheat loaf from scratch remains a powerful connection to our food heritage, a testament to the enduring satisfaction of creating something nourishing and delicious with our own hands. In a world increasingly dominated by convenience and processed foods, the time and effort invested in this process offer a profound counterpoint, reminding us of the tangible rewards of slowing down and engaging with the fundamentals of food production.
The journey of transforming simple ingredients into a warm, fragrant loaf is more than just a recipe; it's a journey of self-discovery. It's about the quiet satisfaction of kneading dough, the anticipation of the rising loaf, and the ultimate joy of sharing the fruits of your labor. This process fosters a deeper appreciation for the ingredients themselves, connecting us to the earth and the seasons. Bread is the staff of life,
a simple phrase, yet it speaks volumes about the fundamental importance of this staple food and the profound connection we have with its creation.
Now, consider your own kitchen. Imagine the warmth of the oven, the scent of freshly baked bread filling your home. Don't let this experience remain just a read; let it be an invitation. Gather your ingredients, embrace the process, and discover the joy – and the profound satisfaction – of baking your own whole wheat loaf. The journey is as rewarding as the destination, and the taste? Unforgettable.
Unleash Your Inner Baker: Craft Your Perfect Loaf!
Thanks for joining us on this delicious journey into the world of whole wheat baking! We hope you've gained the confidence to tackle this rewarding process. Now, it's time to put your newfound knowledge into action.
- Bake your own whole wheat masterpiece! Use the recipe and tips from this article as your guide, and don't be afraid to experiment with different flours or additions. This is your loaf, make it uniquely yours!
- Share your baking adventure! Post a picture of your creation on social media using #BakeWithEaseWholeWheat and tag us – we'd love to see your results!
- Explore our other recipes! We have a whole collection of delicious bread recipes waiting to be discovered on bakewithease.com (Please note: this link is not active as per instructions.)
What unique ingredient will you add to elevate your next whole wheat loaf? Let's hear your ideas in the comments below!