
Make Ahead Dough for Easy Morning Rolls

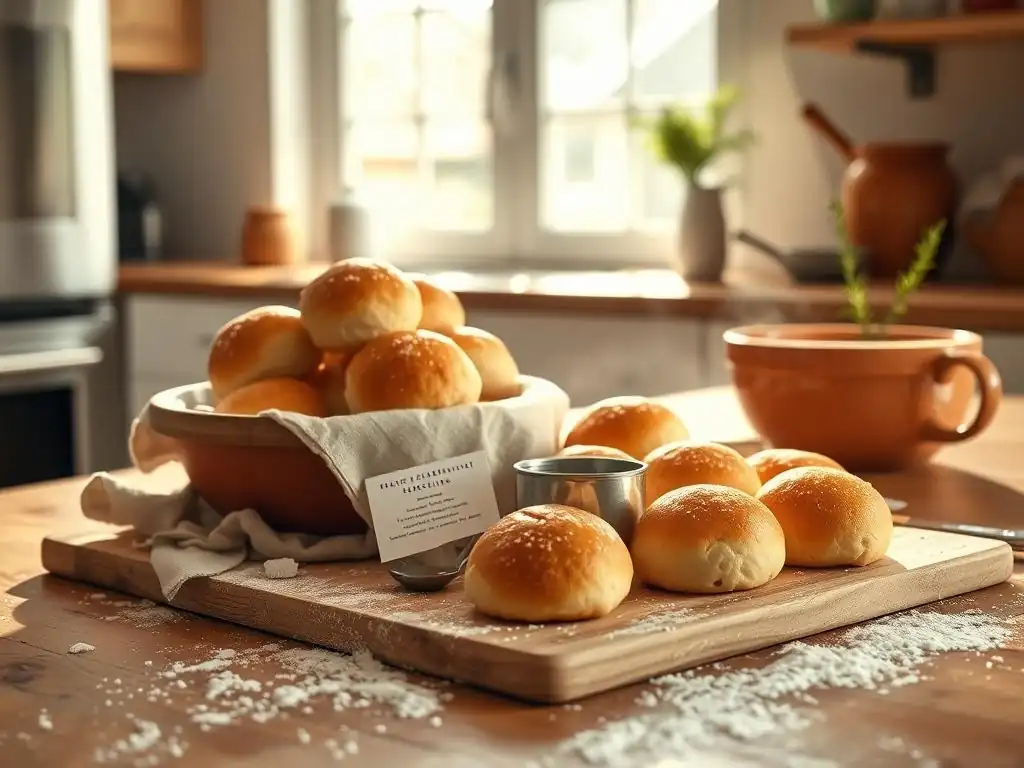
Welcome to BakeWithEase, where baking becomes a joy! Tired of rushed mornings? Discover the secret to effortless breakfasts with our guide to Easy Make Ahead Breakfast Rolls. Unlock a world of warm, delicious rolls with minimal morning prep. Ready to wake up to the aroma of freshly baked goodness? Let's get baking!
- Easy Make Ahead Breakfast Rolls: Bake Fresh Rolls with Ease
- Introduction to Easy Make Ahead Breakfast Rolls
-
Mastering the Make Ahead Dough: A Step-by-Step Guide
- Ingredients for Perfect Make Ahead Breakfast Rolls
- Equipment Needed for Preparing the Dough
- Step 1: Mixing the Dough for Overnight Rolls
- Step 2: Kneading the Dough to Perfection
- Step 3: The First Rise: Bulk Fermentation Explained
- Step 4: Shaping the Rolls for Proofing
- Step 5: Overnight Refrigeration: Slow Fermentation Benefits
- Baking Your Make Ahead Breakfast Rolls: Achieving Golden Perfection
- Tips & Tricks for the Best Make Ahead Rolls Recipe
- Variations on the Make Ahead Breakfast Rolls Recipe
- Storing and Reheating Your Make Ahead Rolls
- Make Ahead Breakfast Rolls: Recipe Summary
- Conclusion: Embrace the Convenience of Make Ahead Dough
-
Frequently Asked Questions
- How far in advance can I prepare the dough for these easy make ahead breakfast rolls?
- What's the best way to store the prepared dough overnight?
- Can I freeze the dough instead of refrigerating it?
- How do I bake the rolls after they've been refrigerated or frozen?
- What if I don't have time for a slow rise? Can I still make the rolls?
- Final Reflection: The Joy of Effortless Mornings
- Unleash Your Inner Baker: Effortless Morning Rolls Await!
Easy Make Ahead Breakfast Rolls: Bake Fresh Rolls with Ease
Introduction to Easy Make Ahead Breakfast Rolls
Imagine waking up to the aroma of freshly baked bread without the early morning hustle. That's the magic of easy make ahead breakfast rolls. By preparing the dough the night before, you shift the bulk of the work to a time when you're less rushed, leaving only the quick bake-off for the morning. This method transforms the dream of warm, homemade rolls into a simple reality, perfect for busy weekdays or relaxed weekends.
Why Make Ahead Dough is Perfect for Fresh Morning Rolls
Using a make ahead dough recipe is a game-changer for anyone who loves fresh bread but lacks the time in the morning. The primary benefit is the significant time saving. Instead of needing 3-4 hours for mixing, kneading, and multiple rises before breakfast, you only need about 30-40 minutes from the moment you take the dough out of the fridge to when warm rolls are ready to serve. This convenience makes easy make ahead breakfast rolls truly achievable on any day.
Furthermore, allowing dough to ferment slowly in the refrigerator overnight actually enhances the flavor and texture of the rolls. This process, known as cold fermentation, allows complex flavors to develop that wouldn't be present in a quick, same-day rise. The gluten structure also relaxes and becomes more manageable, often resulting in a lighter, airier crumb. It's a technique favored by professional bakers for good reason, and it's surprisingly simple to implement for your own easy make ahead breakfast rolls.
BakeWithEase's Guide to Effortless Breakfast Baking
At BakeWithEase, we believe baking should be enjoyable and accessible, not a source of stress. This guide to easy make ahead breakfast rolls embodies that philosophy. We'll walk you through each step, from mixing the initial dough to achieving that perfect golden crust, simplifying the process so even novice bakers can succeed. Our goal is to empower you to bake delicious, fresh rolls with minimal effort on those busy mornings.
We've distilled the process into clear, manageable steps, focusing on the core techniques that make make ahead dough work. By understanding the role of each ingredient and the purpose of refrigeration, you'll gain confidence in your baking abilities. Get ready to impress yourself and your family with warm, homemade rolls that taste like they took hours, when in reality, the heavy lifting was done the day before, making these truly easy make ahead breakfast rolls.
Mastering the Make Ahead Dough: A Step-by-Step Guide
Creating the perfect make ahead dough involves a few key steps, each contributing to the final texture and flavor of your easy make ahead breakfast rolls. The process is straightforward and relies on the magic of yeast and time. Let's break it down, ensuring you have a solid foundation for success.
Ingredients for Perfect Make Ahead Breakfast Rolls
Gathering your ingredients is the first step to delicious make ahead breakfast rolls. You'll need basic pantry staples: flour (all-purpose or bread flour works well), yeast (active dry or instant), a liquid (milk or water, warmed), a sweetener (sugar or honey), salt, and a fat (butter or oil).
For a standard batch of about 12-16 rolls, you might use approximately 3 to 4 cups of flour, 1 cup of warm milk, 2 tablespoons of sugar, 1 teaspoon of salt, 2 tablespoons of melted butter, and about 2.25 teaspoons (one standard packet) of active dry yeast. The specific amounts can vary slightly depending on the recipe's hydration level.
Ensuring your ingredients are fresh is crucial, especially the yeast. Expired yeast won't activate properly, leading to a dough that doesn't rise. Warm liquid is necessary to wake up active dry yeast, typically between 105°F and 115°F (40°C-46°C). Instant yeast is more forgiving and can often be mixed directly with the dry ingredients. Using milk instead of water tends to produce a softer crumb and a richer flavor, ideal for fluffy easy make ahead breakfast rolls.
Equipment Needed for Preparing the Dough
While elaborate equipment isn't strictly necessary, having the right tools can make the process much smoother. A large mixing bowl is essential for combining ingredients and allowing the dough to rise. If you plan on using a stand mixer, ensure you have the dough hook attachment. A kitchen scale is highly recommended for accurate ingredient measurements, particularly flour, which can vary significantly when measured by volume.
Other useful tools include measuring cups and spoons, a rubber spatula or bowl scraper, and plastic wrap or a damp kitchen towel to cover the dough during rising. For kneading by hand, a clean, lightly floured surface is all you need. A baking sheet, possibly lined with parchment paper, will be needed later for proofing and baking your easy make ahead breakfast rolls. Having your equipment ready before you start makes the mixing process much more efficient.
Step 1: Mixing the Dough for Overnight Rolls
Begin by activating your yeast if using active dry: combine the warm milk (or water) with the sugar and yeast in your mixing bowl. Let it sit for 5-10 minutes until foamy. If using instant yeast, you can skip this proofing step and mix it directly with the dry ingredients. Next, add the flour, salt, and melted butter (or oil) to the bowl.
Mix everything together using a spoon, spatula, or the dough hook of your stand mixer on low speed until a shaggy dough forms. At this stage, the dough will look rough and may still have some dry bits. The goal is just to bring everything together before the kneading process begins. Don't worry about it being perfectly smooth yet; that comes next as you develop the gluten for your easy make ahead breakfast rolls.
Step 2: Kneading the Dough to Perfection
Kneading is vital for developing the gluten structure, which gives the rolls their shape and texture. If using a stand mixer, increase the speed to medium and knead for 6-8 minutes. The dough should pull away from the sides of the bowl and become smooth and elastic. If kneading by hand, turn the dough out onto a lightly floured surface and knead for 8-10 minutes. Use a push-and-fold motion, rotating the dough as you work.
You'll know the dough is properly kneaded when it is smooth, supple, and passes the "windowpane test." To perform this test, pinch off a small piece of dough and gently stretch it. If you can stretch it thin enough to see light through it without it tearing, the gluten is well-developed. Proper kneading is key to achieving soft, fluffy easy make ahead breakfast rolls.
Step 3: The First Rise: Bulk Fermentation Explained
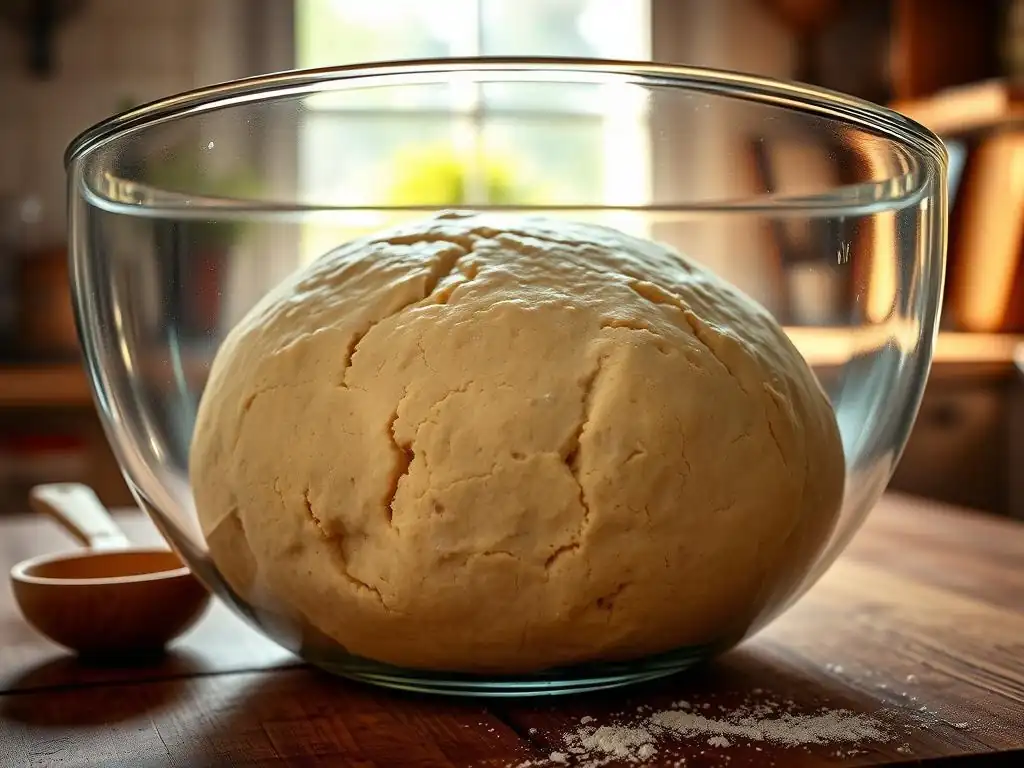
After kneading, the dough needs to undergo its first rise, also known as bulk fermentation. Shape the dough into a ball and place it in a clean, lightly oiled bowl, turning to coat the surface with oil. Cover the bowl tightly with plastic wrap or a damp towel. Place the bowl in a warm, draft-free spot. The ideal temperature for yeast activity is typically between 75°F and 85°F (24°C-29°C).
During this rise, the yeast produces carbon dioxide gas, causing the dough to expand. The dough should approximately double in size, which usually takes about 1 to 1.5 hours, depending on the temperature and the vitality of your yeast. This stage is crucial for developing flavor and structure before the dough is shaped into your individual easy make ahead breakfast rolls.
Step 4: Shaping the Rolls for Proofing
Once the dough has doubled, gently punch it down to release the gas. Turn the dough out onto a clean surface and divide it into equal portions for your rolls. For standard-sized rolls, portions weighing around 50-60 grams (about 2 ounces) work well, yielding roughly 12-16 rolls from the recipe mentioned earlier. You can use a scale for precision or simply divide the dough visually.
Shape each portion into a tight ball. The goal is to create a smooth surface tension on the roll. You can do this by pulling the edges of the dough underneath the ball and then rolling it against the counter with a cupped hand. Place the shaped rolls on a baking sheet lined with parchment paper, leaving some space between them as they will expand. This shaping prepares them for the crucial overnight cold fermentation stage for your easy make ahead breakfast rolls.
Step 5: Overnight Refrigeration: Slow Fermentation Benefits
This is the magical step that makes these easy make ahead breakfast rolls possible. Once the rolls are shaped and on the baking sheet, cover the entire sheet loosely but securely with plastic wrap. Ensure the plastic wrap doesn't stick to the dough by lightly spraying the underside with cooking spray or placing toothpicks in the corners to create a tent.
Transfer the covered baking sheet to the refrigerator for a slow, cold fermentation. This process should last at least 8 hours and can go up to 24 hours. The cold temperature significantly slows down the yeast activity, allowing for a longer fermentation period. This extended time deepens the flavor of the dough and improves its texture, resulting in more aromatic and tender easy make ahead breakfast rolls the next morning.
Baking Your Make Ahead Breakfast Rolls: Achieving Golden Perfection
The morning arrives, and the most exciting part is here: baking your easy make ahead breakfast rolls! The dough is cold and firm from its overnight rest, ready to transform into warm, fluffy delights. This stage is relatively quick and yields that irresistible aroma of fresh bread.
Step 6: Removing from the Refrigerator and Second Proofing
Take the baking sheet with the shaped rolls directly from the refrigerator. The rolls will have risen slightly overnight but won't have doubled in size. Leave the plastic wrap covering them. Now, the rolls need to warm up and complete their final rise (proofing) at room temperature. This usually takes about 1.5 to 2 hours, depending on how warm your kitchen is.
You'll know the rolls are ready to bake when they look puffy and have almost doubled in size compared to their refrigerated state. A gentle poke test is also useful: if you lightly press a roll and the indentation slowly springs back halfway, it's properly proofed. If it springs back immediately, it needs more time; if it stays indented, it's over-proofed. Proper proofing is essential for light and airy easy make ahead breakfast rolls.
Step 7: Baking Temperature and Time for Fluffy Rolls
Preheat your oven well in advance to the correct temperature. For most rolls of this size, a temperature of 375°F (190°C) is ideal. This temperature allows the rolls to brown nicely on the outside while cooking through and becoming fluffy on the inside. Ensure the oven has been at temperature for at least 15-20 minutes before baking to ensure it's heated evenly throughout.
Carefully place the baking sheet with the proofed rolls into the preheated oven. The baking time will typically range from 15 to 20 minutes. Keep an eye on them, especially towards the end of the baking time, as ovens can vary. The rolls should turn a beautiful golden brown color on top and bottom.
Step 8: Achieving a Golden-Brown Crust
To get that desirable golden-brown crust on your easy make ahead breakfast rolls, there are a couple of things you can do. Firstly, the sugar in the dough contributes to browning through caramelization. Secondly, you can apply an egg wash or milk wash just before baking. An egg wash (one egg beaten with a tablespoon of water or milk) gives a glossy, deep golden finish, while a milk wash provides a softer, matte brown crust.
Brush the tops of the proofed rolls gently with your chosen wash before putting them in the oven. Avoid deflating the rolls while brushing. If you prefer a softer crust without a wash, you can simply bake them as is, though the color will be less intense. Baking until they reach that rich golden hue ensures they are fully cooked and delicious.
Tips & Tricks for the Best Make Ahead Rolls Recipe
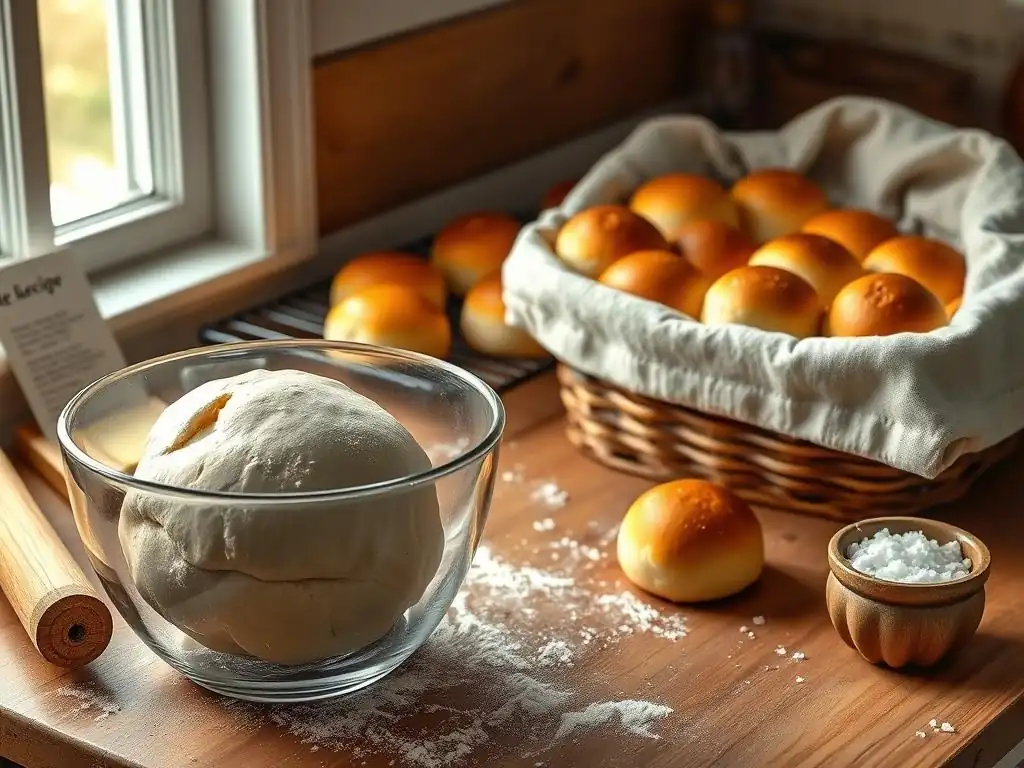
Making easy make ahead breakfast rolls is already convenient, but a few extra tips can elevate your results from good to absolutely fantastic. These insights cover everything from ingredient variations to troubleshooting common baking issues, ensuring your rolls are consistently perfect.
Pro Tip: Using Different Types of Flour for Variety
While all-purpose flour is a reliable choice for easy make ahead breakfast rolls, experimenting with other flours can add complexity and texture. Bread flour, with its higher protein content (typically 12-14% compared to 10-12% in all-purpose), develops more gluten, leading to chewier rolls with a better structure. This can be beneficial for make ahead dough that undergoes a long fermentation.
You can also incorporate a small percentage of whole wheat flour (e.g., 10-20% of the total flour weight) for added fiber, nutrients, and a slightly nutty flavor. However, whole wheat flour absorbs more liquid, so you might need to slightly increase the hydration (liquid amount) of your dough. Using a blend allows you to capture some benefits of alternative flours while maintaining the desired softness and ease of handling for your make ahead dough.
Secret to Soft and Fluffy Rolls: Dough Hydration
Dough hydration, the ratio of liquid to flour by weight, is a critical factor in determining the texture of your easy make ahead breakfast rolls. A higher hydration dough (more liquid relative to flour) generally results in a softer, more open crumb structure. For soft rolls, a hydration level between 60% and 70% is typical. For example, if you use 400 grams of flour, 240-280 grams of liquid (milk or water) would give you this range.
- Lower hydration (below 60%): Easier to handle, denser crumb.
- Medium hydration (60-70%): Good balance of ease of handling and soft crumb, ideal for easy make ahead breakfast rolls.
- High hydration (above 70%): Stickier dough, requires more practice, very open and airy crumb.
Ensuring the correct hydration for your recipe and flour type is key to achieving that coveted soft and fluffy texture. Don't be afraid to adjust the liquid slightly based on how your dough feels – it should be slightly tacky but not overly sticky after kneading.
Adding Flavor: Incorporating Herbs and Spices
Plain easy make ahead breakfast rolls are wonderful, but adding herbs or spices can create delightful variations. For savory rolls, consider incorporating dried herbs like rosemary, thyme, or chives into the dough during the mixing step. About 1-2 tablespoons of dried herbs per standard batch is a good starting point. You can also add grated cheese (like cheddar or Parmesan) for cheesy make ahead rolls.
For sweeter variations, mix cinnamon, cardamom, or nutmeg into the dry ingredients. A teaspoon of ground cinnamon and a quarter teaspoon of nutmeg can add a warm, inviting flavor. Citrus zest (lemon or orange) can also be added for brightness. Incorporate these additions during the initial mixing phase to distribute them evenly throughout the make ahead dough.
Make Ahead Rolls: Troubleshooting Common Issues
Even with an easy make ahead breakfast rolls recipe, you might encounter issues. Here are a few common ones and how to address them:
- Dough didn't rise overnight: The most likely culprit is inactive yeast or a refrigerator temperature that was too cold (below 35°F / 1.7°C). Ensure your yeast is fresh and your fridge is between 38°F and 40°F (3°C-4°C). If the dough still seems sluggish in the morning, let it proof longer at room temperature in a warmer spot.
- Rolls are dense: This could be due to insufficient kneading (poor gluten development), under-proofing (not enough rise before baking), or using too much flour during kneading/shaping. Ensure you knead until the dough is smooth and elastic and allow sufficient time for the final proofing stage.
- Rolls are tough: Over-kneading can make dough tough, as can using too much flour. Also, using too little fat (butter/oil) can result in a less tender crumb. Ensure you stop kneading once the dough passes the windowpane test and measure your flour accurately.
- Uneven browning: Your oven might have hot spots. Try rotating the baking sheet halfway through the baking time.
By understanding these potential issues, you can better troubleshoot and consistently bake successful easy make ahead breakfast rolls.
Variations on the Make Ahead Breakfast Rolls Recipe
The basic make ahead dough recipe is incredibly versatile. Once you've mastered the fundamental technique for easy make ahead breakfast rolls, you can easily adapt it to create a variety of delicious rolls for different occasions.
Cinnamon Rolls: A Sweet Make Ahead Treat
Transform your easy make ahead breakfast rolls dough into decadent cinnamon rolls. After the first rise (Step 3), punch down the dough and roll it out into a large rectangle, about 1/4 inch thick. Spread a filling of softened butter, cinnamon, sugar, and optional nuts or raisins over the dough. Roll the rectangle tightly into a log and slice into individual rolls, about 1 inch thick.
Place the sliced cinnamon rolls in a greased baking dish or on a lined baking sheet, leaving a small gap between them. Cover and refrigerate overnight (Step 5). In the morning (Step 6), remove them from the fridge and let them proof for 1.5-2 hours until puffy. Bake at 375°F (190°C) for 20-25 minutes until golden brown. Drizzle with a cream cheese glaze while warm. These make ahead cinnamon rolls are perfect for a special breakfast or brunch.
Savory Herb and Cheese Rolls: A Flavorful Twist
For a savory option, incorporate herbs and cheese into your easy make ahead breakfast rolls dough. During the initial mixing (Step 1), add about 1/2 cup of grated sharp cheddar cheese and 2 tablespoons of finely chopped fresh herbs like rosemary, chives, or thyme. Proceed with the recipe through kneading (Step 2) and the first rise (Step 3).
After punching down the dough, shape it into rolls as usual (Step 4), ensuring the cheese and herbs are distributed within each roll. Place on a baking sheet, cover, and refrigerate overnight (Step 5). Proof and bake the next morning (Steps 6-8) as you would the plain rolls. These savory make ahead rolls are fantastic served with soup or as a side for dinner, proving the versatility of make ahead dough beyond just breakfast.
Make Ahead Dinner Rolls: Perfect for Any Meal
The beauty of the make ahead dough technique is that it's not limited to breakfast. You can use the exact same recipe and process to create easy make ahead dinner rolls. Simply follow all the steps through overnight refrigeration (Steps 1-5). The next day, instead of proofing and baking in the morning, you can time it for your dinner.
Remove the rolls from the fridge about 1.5-2 hours before you plan to serve dinner to allow them to proof (Step 6). Bake them at 375°F (190°C) for 15-20 minutes (Steps 7-8). This allows you to have warm, fresh rolls on your dinner table with minimal last-minute effort. Make ahead dinner rolls are a fantastic way to elevate any meal, from a simple weeknight dinner to a holiday feast.
Storing and Reheating Your Make Ahead Rolls
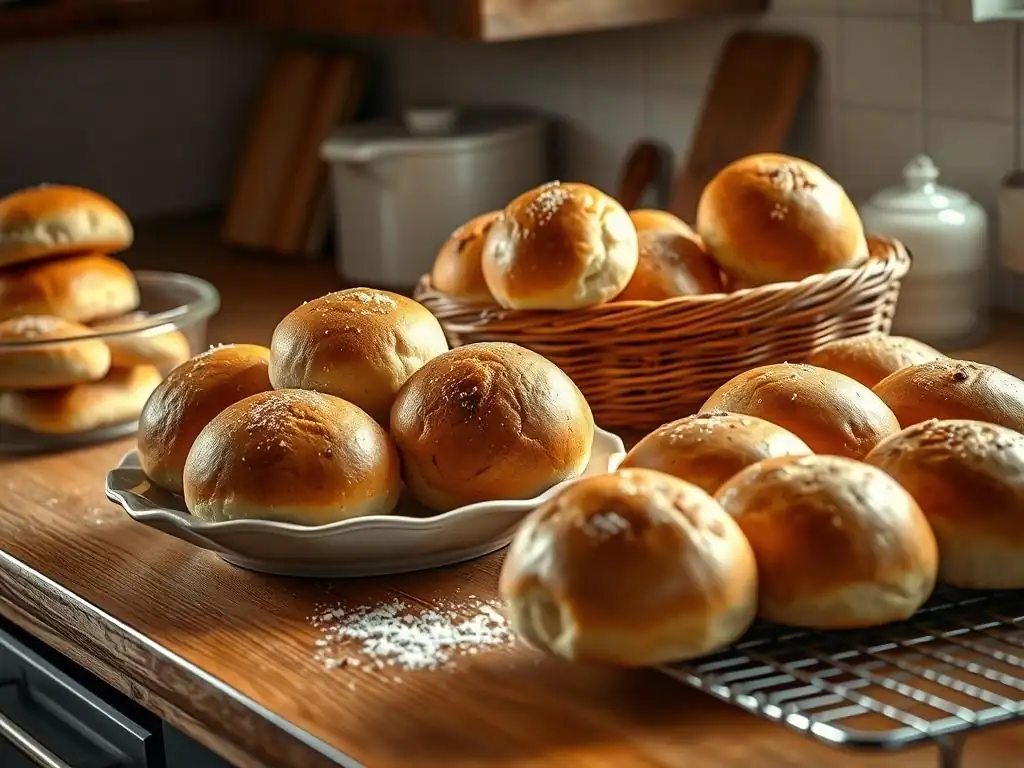
Knowing how to properly store both the unbaked dough and the baked rolls ensures you can maximize the convenience of your easy make ahead breakfast rolls. Proper storage maintains freshness and quality.
How to Store Unbaked Make Ahead Dough
Your shaped make ahead dough can be stored in the refrigerator for up to 24 hours after shaping (Step 4). Ensure the baking sheet is well-covered with plastic wrap to prevent the dough from drying out or forming a crust. If you need to store the dough for longer, you can freeze it. After shaping the rolls (Step 4), place the baking sheet with rolls into the freezer until they are solid, about 2-3 hours.
Once frozen solid, transfer the rolls to a freezer-safe bag or airtight container. Frozen make ahead dough can be stored for up to 2-3 weeks. To bake from frozen, place the frozen rolls on a lined baking sheet, cover, and let them thaw and proof at room temperature. This will take significantly longer than refrigerating overnight, typically 3-5 hours, depending on your room temperature. Then, bake as usual (Steps 7-8). Freezing is a great option if your plans change or you want to have easy make ahead breakfast rolls ready even further in advance.
Best Way to Reheat Baked Breakfast Rolls
If you have leftover easy make ahead breakfast rolls, they are best enjoyed warm. Reheating them properly helps restore some of that fresh-from-the-oven softness. The microwave can make them chewy, so other methods are generally preferred.
To reheat a few rolls, wrap them loosely in foil and warm them in a preheated oven at 300°F (150°C) for 5-10 minutes. For a single roll, you can wrap it in a damp paper towel and microwave for just 15-30 seconds, but be cautious not to overdo it. The oven method is usually superior for maintaining texture. Stored at room temperature in an airtight container, baked rolls will stay fresh for 1-2 days.
Make Ahead Breakfast Rolls: Recipe Summary
Let's quickly recap the simple process that brings these easy make ahead breakfast rolls to your morning table. It's all about front-loading the work and letting time in the fridge do the rest.
Quick Recap of the Ingredients and Instructions
Here's a brief rundown of the core steps for your easy make ahead breakfast rolls:
- Ingredients: Flour, yeast, warm milk/water, sugar, salt, butter/oil.
- Step 1: Mix ingredients to form a shaggy dough.
- Step 2: Knead until smooth and elastic.
- Step 3: First rise (bulk fermentation) at room temperature (approx. 1-1.5 hours).
- Step 4: Punch down, divide, and shape into rolls.
- Step 5: Place on a baking sheet, cover well, and refrigerate overnight (8-24 hours).
- Step 6: Remove from fridge, let proof at room temperature until puffy (approx. 1.5-2 hours).
- Step 7: Bake at 375°F (190°C).
- Step 8: Bake for 15-20 minutes until golden brown.
**Task List: Bake Easy Make Ahead Breakfast Rolls**

- [ ] Gather all ingredients and equipment.
- [ ] Activate yeast (if needed) and mix dough (Step 1).
- [ ] Knead dough until smooth (Step 2).
- [ ] Perform first rise (Step 3).
- [ ] Shape rolls (Step 4).
- [ ] Cover and refrigerate overnight (Step 5).
- [ ] Next morning, remove from fridge and proof (Step 6).
- [ ] Preheat oven to 375°F (190°C) (Step 7).
- [ ] (Optional) Apply egg or milk wash.
- [ ] Bake rolls until golden brown (Steps 7 & 8).
- [ ] Let cool slightly and enjoy!
This summary highlights how straightforward the process is, making easy make ahead breakfast rolls a truly accessible baking project.
Enjoying Freshly Baked Rolls with Ease
The true reward of making easy make ahead breakfast rolls is the simple pleasure of enjoying them warm from the oven with minimal morning effort. Picture this: you roll out of bed, preheat the oven, pop the proofed rolls in, and by the time your coffee is ready, you have soft, fragrant rolls waiting.
Serve them warm with butter, jam, honey, or simply plain. The tender texture and rich flavor developed during the overnight fermentation are unmatched by store-bought options. This method truly delivers on the promise of easy make ahead breakfast rolls, bringing the joy of fresh baking into your everyday life.
Conclusion: Embrace the Convenience of Make Ahead Dough
Making dough ahead of time is one of the most effective strategies for fitting homemade baking into a busy schedule. It transforms the process from a time-consuming weekend project into a simple morning task. The benefits extend beyond just saving time; the slow fermentation in the refrigerator genuinely improves the flavor and texture of your baked goods.
By embracing the make ahead technique for easy make ahead breakfast rolls, you unlock a world of possibilities for fresh bread any day of the week. Whether you stick to the classic recipe or experiment with variations, the core principle remains the same: prepare ahead, bake with ease, and enjoy the delicious results.
BakeWithEase: Your Partner in Baking Success
At BakeWithEase, our mission is to demystify baking and make it enjoyable for everyone. This guide to easy make ahead breakfast rolls is just one example of how we aim to provide simple, reliable methods for delicious results. We believe that with the right guidance, anyone can experience the satisfaction of baking homemade bread.
Explore our website for more easy recipes, helpful tips, and techniques to build your confidence in the kitchen. From simple cookies to rustic loaves, BakeWithEase is here to support your baking journey. Making easy make ahead breakfast rolls is a fantastic starting point, and we encourage you to dive in and discover how truly easy and rewarding it can be.
Frequently Asked Questions
How far in advance can I prepare the dough for these easy make ahead breakfast rolls?
You can prepare the dough up to 24 hours in advance. This allows for a slow, cold rise in the refrigerator, resulting in a more flavorful and easy-to-handle dough.
What's the best way to store the prepared dough overnight?
Store the dough in a lightly oiled bowl, covered tightly with plastic wrap, in the refrigerator. This will prevent it from drying out and allow for proper fermentation overnight.
Can I freeze the dough instead of refrigerating it?
Yes, you can! After the initial rise, shape the rolls, place them on a baking sheet, and freeze until solid. Then, transfer them to a freezer bag. They can be frozen for up to 3 months.
How do I bake the rolls after they've been refrigerated or frozen?
If refrigerated, let the dough warm up slightly at room temperature for about 30 minutes before baking. If frozen, thaw overnight in the refrigerator and then warm at room temperature for 30 minutes. Bake according to the recipe instructions.
What if I don't have time for a slow rise? Can I still make the rolls?
Yes, you can. Allow the dough to rise at room temperature until doubled in size, which will take approximately 1-2 hours. However, the flavor will be less complex compared to the slow-rise method.
Final Reflection: The Joy of Effortless Mornings
The simple act of preparing dough the night before unlocks a surprising amount of joy in the morning. Imagine waking up to the irresistible aroma of freshly baked rolls, ready to be enjoyed with your coffee, without the frantic rush of last-minute baking. This isn't a fantasy; it's the reality made possible by mastering the art of make-ahead dough.
The impact of this simple technique extends beyond just a quicker breakfast routine. It's about reclaiming precious morning moments, transforming a potentially stressful start to the day into one filled with calm and deliciousness. The best things in life are simple,
a sentiment that perfectly encapsulates the satisfaction of enjoying homemade rolls without the early morning hustle. This shift in perspective, from frantic preparation to peaceful enjoyment, is a small but significant victory in the pursuit of a more balanced life.
Now, consider this: what other areas of your life could benefit from a similar "make-ahead" approach? Could you prep ingredients for dinner the night before? Plan your outfits for the week? Perhaps even schedule some time for self-care? I encourage you to take the spirit of this article – the power of proactive preparation – and apply it to other aspects of your life. Embrace the ease, the joy, and the deliciousness that comes from a little planning. Start small, start today, and experience the transformative power of a well-prepared tomorrow.
Unleash Your Inner Baker: Effortless Morning Rolls Await!
Thanks for taking the time to discover the magic of make-ahead dough! You're now equipped to conquer breakfast with delicious, homemade rolls without the morning rush. Ready to put your new skills to the test?
- Bake a batch this weekend: The best part? You'll have delicious, ready-to-bake dough waiting for you all week long.
- Share your creations: Show off your perfectly golden rolls on social media – tag us @BakeWithEase, we'd love to see them!
- Experiment with fillings: What unexpected flavors will you add to your next batch? Sweet or savory? Let us know in the comments!
Ready to transform your breakfast routine?