
How to Store GlutenFree Bread to Keep it Fresh

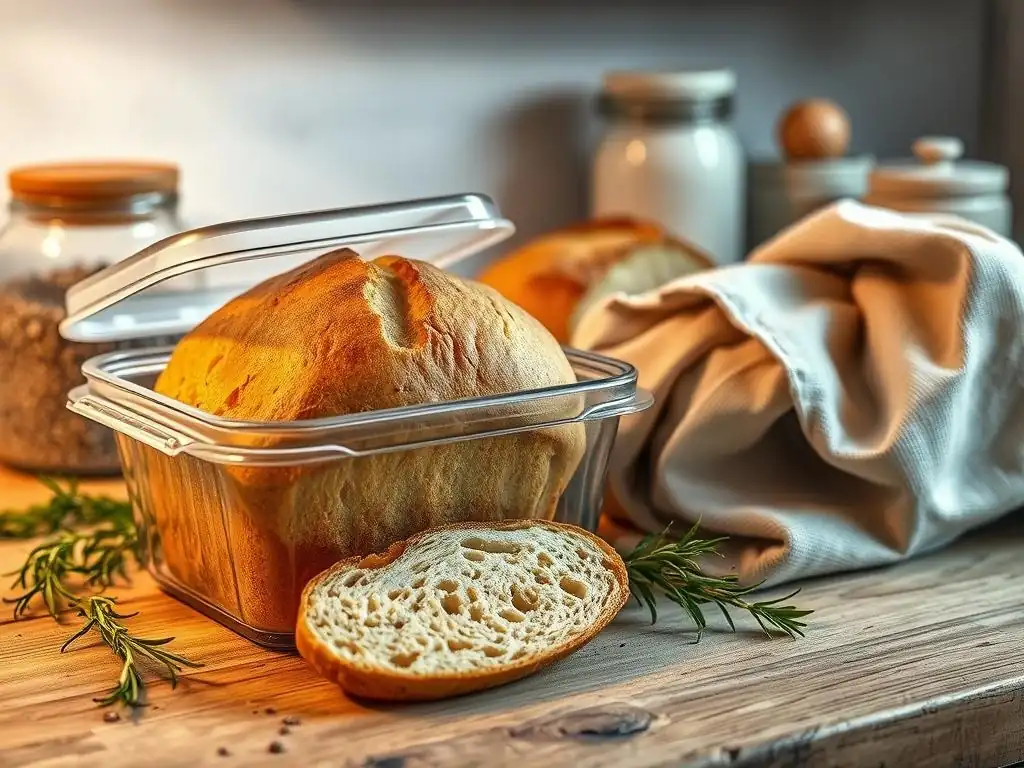
Welcome to BakeWithEase, your trusted companion on your baking journey! Ever wondered how to keep that precious gluten-free bread from turning stale faster than you can say "sandwich"? You're in the right place. Discover our essential Glutenfree bread storage tips below, and unlock the secrets to extending the life of your delicious, homemade (or store-bought!) loaves. Get ready to enjoy fresh, flavorful bread days after baking – let's dive in!
- Introduction: Maintaining the Quality of Your Gluten-Free Bread
- Understanding Gluten-Free Bread Characteristics and Storage Challenges
- Recommended Gluten-Free Bread Storage Methods
- Containers and Materials for Gluten-Free Bread Storage
- Tips for Maximizing Freshness
- Troubleshooting Common Storage Issues
- Conclusion: Ensuring Freshness in Gluten-Free Baking
- Frequently Asked Questions
- Final Reflection: The Enduring Quest for Fresh Gluten-Free Bread
- Unlock the Secret to Perfectly Fresh Gluten-Free Bread!
Introduction: Maintaining the Quality of Your Gluten-Free Bread
There's nothing quite like a fresh loaf of homemade bread, and that holds true for gluten-free varieties! However, many home bakers quickly discover that storing gluten-free bread presents unique challenges compared to its wheat-based cousins. Without the elastic gluten network, these loaves tend to dry out and become crumbly much faster. Mastering effective glutenfree bread storage tips is key to enjoying your delicious creation for more than just the first day.
This article will guide you through the best practices for preserving the texture, flavor, and overall freshness of your gluten-free bread. We'll explore why it behaves differently, delve into various storage methods from countertop to freezer, and provide practical tips to help you keep your loaf at its peak quality for as long as possible. Get ready to extend the life of your gluten-free baking triumphs!
Understanding Gluten-Free Bread Characteristics and Storage Challenges
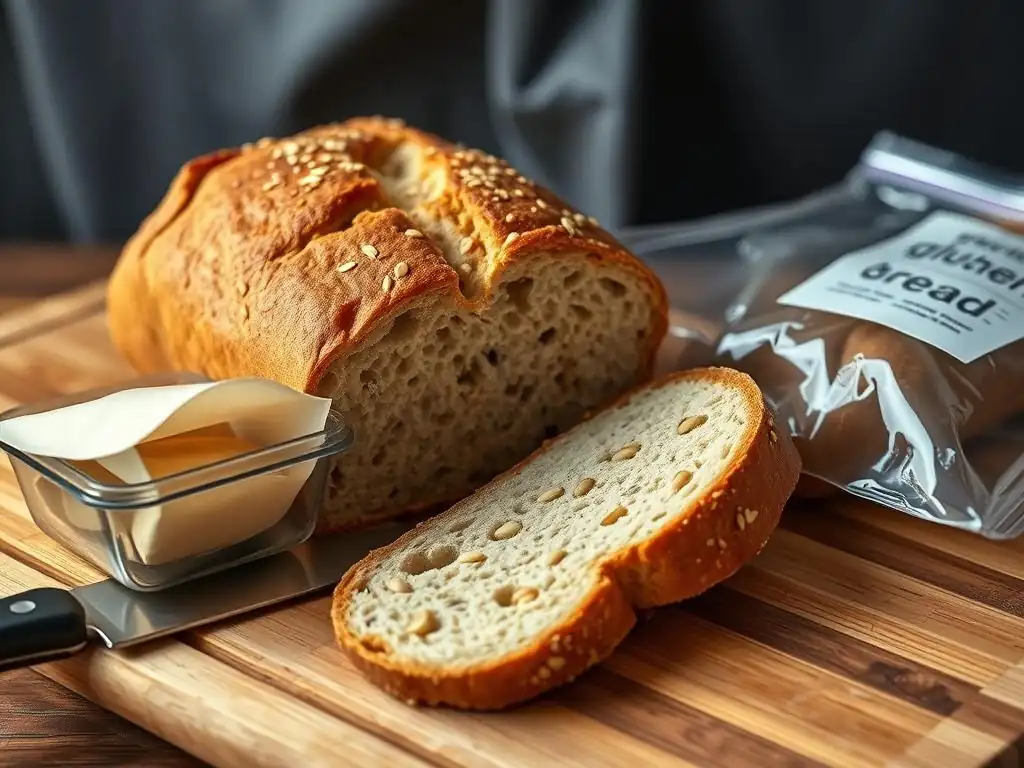
Why Gluten-Free Bread Stales Quickly
Gluten plays a crucial role in traditional bread, forming an elastic network that traps gases, provides structure, and holds moisture. In gluten-free bread, this network is absent. The structure relies instead on a blend of starches (like rice, tapioca, potato, corn) and often gums (such as xanthan gum or guar gum) or psyllium husk.
While these ingredients create a loaf, they don't retain moisture in the same way gluten does. Staling, technically known as retrogradation, occurs when the starch molecules, particularly amylopectin, realign and crystallize, pushing water out of the crumb. This process happens more rapidly and completely in many gluten-free formulations because the starches are more exposed and less integrated into a protective network.
Furthermore, many gluten-free flours and starches are naturally more hygroscopic, meaning they absorb moisture readily from the air or the bread itself, but they also release it quickly. A typical gluten-free sandwich loaf might go from soft and pliable to dry and crumbly within 24-48 hours if left exposed. This rapid moisture loss contributes significantly to the perception of staleness, making effective glutenfree bread storage tips essential for maximizing enjoyment beyond baking day. Understanding this fundamental difference is the first step in preventing your beautiful loaf from becoming a collection of dry crumbs.
The Importance of Proper Storage for Texture and Flavor
Proper storage is absolutely critical for maintaining the desirable texture and flavor of gluten-free bread. The texture is often the most challenging aspect to preserve; a soft, tender crumb can quickly become hard, brittle, or excessively chewy if not stored correctly. For instance, leaving a warm loaf to cool completely uncovered on a rack is necessary initially, but leaving it there for hours will lead to rapid moisture loss and a dry crumb. Similarly, storing it in the wrong environment, like a refrigerator (more on that later! ), can actually accelerate the staling process by promoting starch retrogradation.
Flavor is also impacted by storage. As the bread stales, volatile flavor compounds can dissipate, and the texture change itself affects how we perceive taste. A dry, hard slice simply doesn't taste as good as a moist, tender one, even if the ingredients are the same. Effective glutenfree bread storage tips aim to slow down the retrogradation process and minimize moisture loss, thereby preserving the bread's intended crumb structure, chewiness, and overall deliciousness. Investing a little effort in proper storage techniques ensures you get the most out of your baking efforts.
Recommended Gluten-Free Bread Storage Methods
Slicing Before Storage: Considerations
Whether to slice your gluten-free bread before storing it is a common question, and the answer often depends on your intended storage method and how quickly you plan to use the bread. Slicing the entire loaf exposes a much larger surface area to the air, which can accelerate drying. If you plan to keep the loaf at room temperature for a day or two and consume it quickly, it's often best to store it whole and slice off pieces as needed. This helps protect the interior crumb.
However, if you are planning to freeze the bread for longer-term storage (which is highly recommended for gluten-free bread), slicing it before freezing is often the most practical approach. Freezing individual slices allows you to easily grab just what you need, toast it directly from the freezer, and avoid thawing the entire loaf. This minimizes waste and ensures you always have access to a fresh slice. Just be sure the slices are completely cooled before wrapping and freezing.
Method 1: Room Temperature Storage
Storing gluten-free bread at room temperature is suitable for short-term use, typically up to 1-3 days, depending on the recipe and environmental conditions. The goal is to protect the loaf from drying out while allowing some air circulation to prevent mold growth. Avoid airtight plastic containers or bags if the bread is still even slightly warm, as this traps moisture and creates a prime environment for mold.
Bread Bags for Room Temperature Storage: Options and Features
Several types of bread bags work well for room temperature storage. Paper bags offer breathability, which is excellent for preventing mold but can lead to faster drying. Linen or cotton bread bags are a popular eco-friendly choice; they allow some air circulation while providing better moisture retention than paper.
Look for bags specifically designed for bread storage. For slightly more moisture retention without being fully airtight, some bakers use plastic bags, but it's crucial the bread is completely cool, and they should ideally be loosely tied or vented slightly. A high-quality reusable bread wrap made from beeswax-coated fabric is another excellent option, offering a balance of breathability and protection.
Ideal Room Temperature and Humidity
The ideal room temperature for storing gluten-free bread is typically between 68°F and 72°F (20°C to 22°C). Temperatures significantly higher can accelerate staling and potentially promote mold growth, especially in humid conditions. Humidity also plays a significant role. High humidity can increase the risk of mold, while very low humidity will cause the bread to dry out faster.
Aim for a moderate humidity level. Avoid storing bread near heat sources like ovens or windowsills where temperatures can fluctuate significantly. A cool, dry spot in the kitchen or a pantry is usually best. Effective glutenfree bread storage tips at room temperature focus on balancing moisture retention with airflow.
Method 2: Freezing for Long-Term Storage
Freezing is arguably the best method for long-term storage of gluten-free bread and is one of the most valuable glutenfree bread storage tips you can learn. Freezing effectively pauses the staling process (starch retrogradation) and preserves the bread's texture and flavor for much longer periods, typically up to 3-6 months. Beyond this timeframe, while still safe to eat, the quality might start to degrade, potentially developing freezer burn or off-flavors.
Preparing for Freezing: Wrapping and Protection
Proper wrapping is paramount to prevent freezer burn, which occurs when moisture evaporates from the food's surface and ice crystals form. Ensure the bread is completely cooled before wrapping – wrapping warm bread will trap moisture and lead to ice crystals. If freezing a whole loaf, wrap it tightly in at least two layers.
Start with plastic wrap, pressing it firmly against the bread's surface to eliminate air pockets, then follow with a layer of aluminum foil or place the wrapped loaf in a freezer-safe bag. If freezing slices, stack a few slices together (perhaps 2-3), wrap them tightly in plastic wrap, and then place these bundles into a large freezer bag, pressing out as much air as possible before sealing. Labeling with the date is always a good practice.
Freezing Best Practices: Preventing Freezer Burn
To minimize freezer burn and maintain quality, ensure your freezer is kept at a consistent temperature of 0°F (-18°C) or below. Fluctuations in temperature can cause thawing and refreezing, leading to ice crystal formation. Wrap the bread as tightly as possible, using materials designed for freezing. Removing air is key; using freezer bags and pressing out air before sealing is effective.
If you have a vacuum sealer, this provides the best protection against freezer burn. Avoid storing bread in the freezer door, where temperatures tend to be less stable due to frequent opening. These glutenfree bread storage tips for freezing will keep your loaf tasting fresh for months.
Defrosting Techniques: Maintaining Bread Quality
The best way to defrost frozen gluten-free bread depends on whether it's sliced or a whole loaf. For sliced bread, the most convenient method is often to take a slice or two directly from the freezer and toast it. The toaster's heat thaws and crisps the bread simultaneously, resulting in a texture very close to fresh. Alternatively, individual slices can be left on a counter for 15-30 minutes to thaw.
For a whole loaf, it's best to thaw it in its wrapping at room temperature for several hours (4-8 hours depending on size). Avoid thawing in the refrigerator, as this can actually accelerate staling. Once thawed, the loaf can be refreshed by warming it gently in a low oven (around 300°F or 150°C) for 10-15 minutes. Avoid microwaving, which can make gluten-free bread rubbery.
Method 3: Refrigeration: When to Consider
Refrigeration is generally not recommended for storing gluten-free bread and is often listed as a storage method to avoid in glutenfree bread storage tips. The temperatures in a refrigerator (typically 35-40°F or 1-4°C) are within the range that accelerates starch retrogradation, the primary process of staling. This means that while refrigeration slows down mold growth, it will likely make your bread dry and hard much faster than leaving it at room temperature or freezing it.
Potential Drawbacks of Refrigeration
The main drawback of refrigerating gluten-free bread is the rapid and significant deterioration of texture. The crumb will become dry, dense, and crumbly very quickly, often within just a few hours in the cold environment. This effect is much more pronounced than the drying that occurs at room temperature. The flavor can also be negatively impacted, sometimes absorbing odors from other foods in the refrigerator. Unless there's a very specific reason, refrigeration will likely ruin the pleasant texture you worked hard to achieve during baking.
Situations Where Refrigeration Might Be Suitable
Despite the general recommendation against it, there are very limited situations where refrigeration might be considered. If you live in an extremely hot and humid climate without air conditioning, and you are trying to prevent mold growth on a loaf that will be consumed within a day or two, brief refrigeration might be preferable to leaving it out. However, even in this scenario, it's better to slice and freeze portions you won't eat immediately.
Another niche case might be if the bread contains ingredients that are highly perishable, though most standard bread ingredients are shelf-stable. For the vast majority of gluten-free bread types and home environments, freezing is the superior option for extending shelf life beyond a couple of days.
Containers and Materials for Gluten-Free Bread Storage
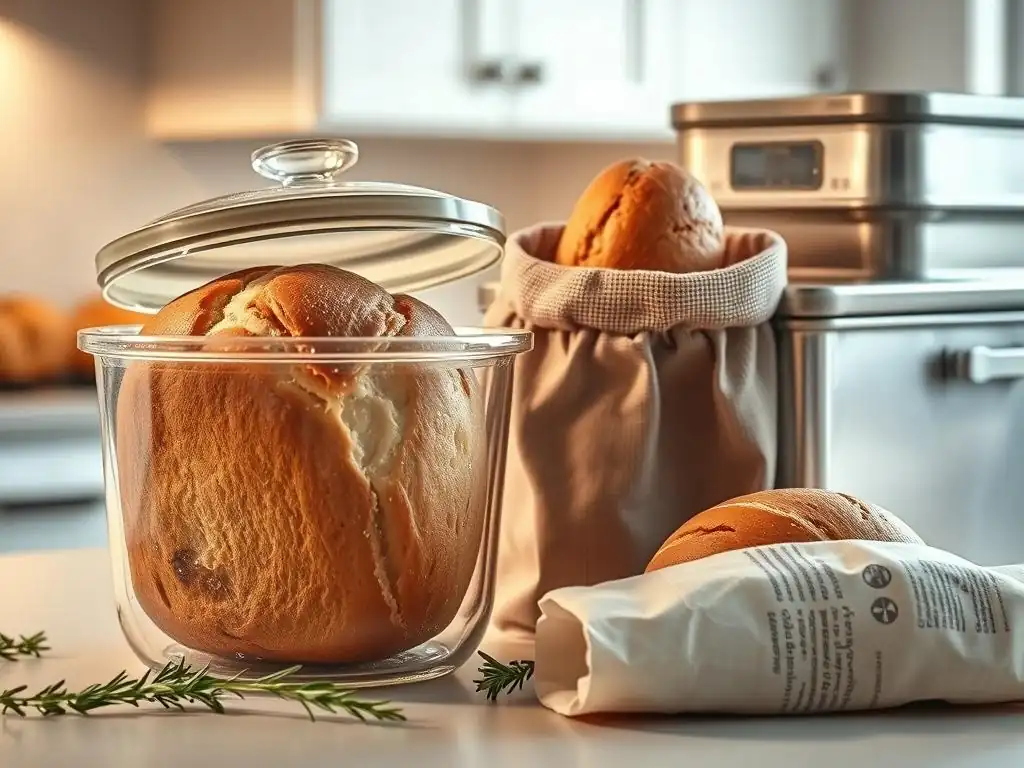
Choosing the right container or wrapping material is a key component of effective glutenfree bread storage tips. The material needs to protect the bread from drying out or getting soggy, prevent mold growth, and ideally be practical for your needs.
Bread Boxes: Material and Design Considerations
Traditional bread boxes can be a good option for short-term room temperature storage. They typically offer a dark, enclosed space that helps maintain a relatively stable environment. The material matters: wooden bread boxes can absorb excess moisture if the bread is warm or the environment is humid, while metal or plastic boxes are less breathable.
A good bread box should have a lid that isn't completely airtight, allowing for a tiny bit of air circulation to prevent mold buildup. Look for designs that are easy to clean. While they don't extend shelf life dramatically, they keep the loaf tidy and offer some protection from the elements for 1-2 days.
Plastic Bags vs. Reusable Wraps: Environmental and Practical Aspects
Plastic bags (like zip-top bags or bread bags from the grocery store) are very effective at trapping moisture, which is good for preventing dryness but can be bad for promoting mold if the bread isn't fully cool. They are convenient and relatively inexpensive. However, their environmental impact is a significant concern. Reusable options like beeswax wraps or cloth bread bags are more eco-friendly.
Beeswax wraps are excellent as they are breathable but still create a good seal. Cloth bags allow more airflow, which is great for mold prevention but can lead to quicker drying. The best choice depends on your priority: maximum moisture retention (plastic, used carefully), or environmental considerations balanced with decent storage (reusable wraps/bags).
Vacuum Sealing: Benefits and Drawbacks
Vacuum sealing removes air from the packaging, creating an airtight environment. This is incredibly effective for preventing freezer burn during long-term storage and significantly extends the shelf life of frozen bread. By removing oxygen, it also inhibits the growth of aerobic mold and bacteria, though it won't stop anaerobic organisms.
The main benefit is superior preservation quality in the freezer, potentially extending the ideal storage time past 6 months. The primary drawback is that vacuum sealing can compress softer gluten-free bread, potentially damaging its structure and texture. This is less of an issue with denser loaves or if you use the "pulse" function on your vacuum sealer to remove most, but not all, of the air. It also requires a vacuum sealer machine, which is an additional cost. For dedicated gluten-free bakers who freeze frequently, the investment might be worthwhile for optimal glutenfree bread storage tips.
Tips for Maximizing Freshness
Beyond the storage method itself, several other factors can influence how long your gluten-free bread stays fresh. Paying attention to these details can make a significant difference in your baking results.
Baking Techniques for Enhanced Shelf Life
Certain baking techniques can contribute to a longer shelf life for gluten-free bread. Ensuring the bread is baked thoroughly is crucial; underbaked bread retains too much internal moisture, which can accelerate staling and mold growth. Baking to an internal temperature of around 200-210°F (93-99°C) is a good guideline for many loaves. Allowing the bread to cool completely on a wire rack before storing is absolutely non-negotiable.
This process allows steam to escape and the internal structure to set. Cooling typically takes 2-3 hours for a standard loaf. Rushing this step is one of the quickest ways to compromise texture and promote mold, regardless of your storage method.
Reviving Stale Bread: Methods and Limitations
Even with the best glutenfree bread storage tips, sometimes a loaf starts to go a bit stale. Thankfully, there are ways to revive it, though the results vary. For slightly dry slices, a quick toast is often enough to make them palatable again. For a whole loaf that has become a bit hard, you can try sprinkling it lightly with water or wrapping it in a damp (but not wet) towel and warming it in a moderate oven (around 300-350°F or 150-175°C) for 10-15 minutes.
This adds moisture back into the crust and crumb. However, once the starch retrogradation is advanced, these methods offer only temporary improvement; the bread will likely revert to its stale state as it cools. Very stale bread might be better repurposed into breadcrumbs or croutons.
Ingredient Impact on Shelf Life: Starches, Gums, and Flours
The specific blend of flours, starches, and gums used in a gluten-free recipe significantly impacts its natural shelf life. Recipes relying heavily on white rice flour or potato starch may stale faster than those incorporating whole grains like brown rice or sorghum, or pseudo-grains like oat or buckwheat flour. The type and amount of gum (xanthan, guar) or psyllium husk also play a role; these ingredients help bind moisture, potentially extending freshness slightly.
Adding fats like oil or butter, or enriching ingredients like eggs or dairy, can also help keep the crumb softer for longer compared to lean, water-based doughs. Understanding how your ingredients behave is key to anticipating storage needs and choosing the right glutenfree bread storage tips.
Troubleshooting Common Storage Issues
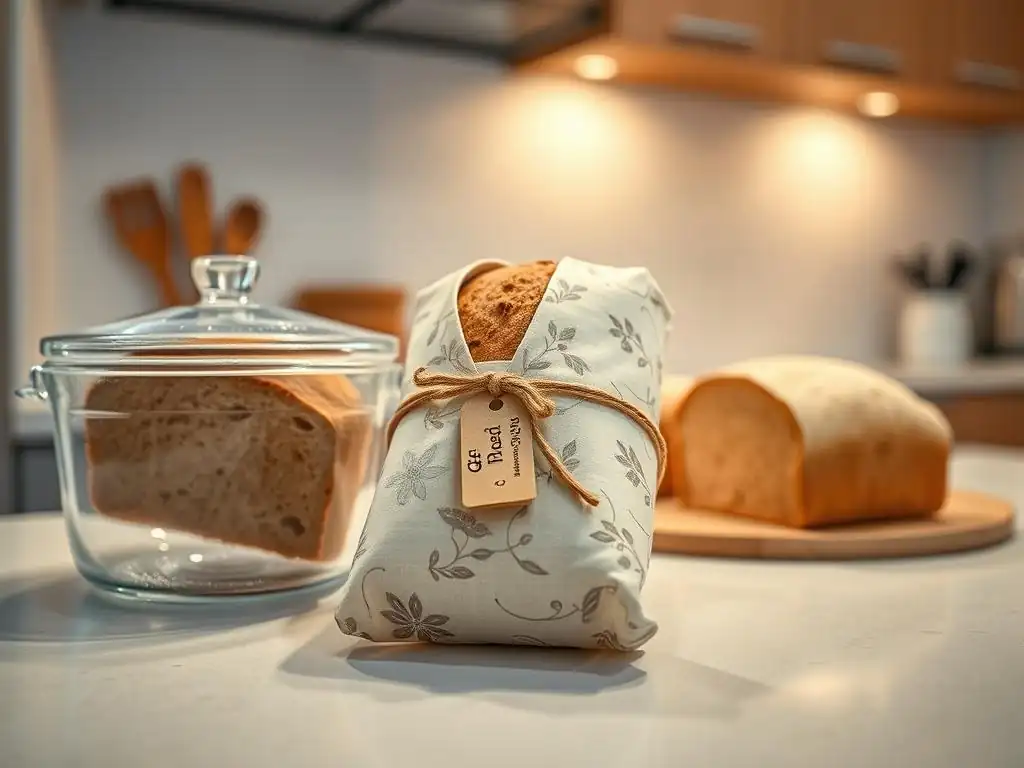
Even with careful storage, you might encounter some common problems. Knowing how to identify and address them is helpful.
Mold Prevention and Identification
Mold is a common issue, especially in humid environments or if bread is stored before it's fully cooled. Prevention is key: always cool bread completely, ensure storage containers allow some minimal airflow (unless freezing), and store at appropriate temperatures. Mold typically appears as fuzzy patches of green, white, blue, or black.
Because gluten-free bread is porous, mold spores can penetrate deep into the crumb even if you only see a small patch on the surface. Therefore, if you see mold, it's generally safest to discard the entire loaf, as recommended by food safety guidelines. Don't try to just cut the moldy part off.
Addressing Dryness and Crumbliness
Dryness and crumbliness are the hallmark signs of staling in gluten-free bread, resulting from moisture loss and starch retrogradation. If your room temperature loaf is consistently drying out too fast (e.g., within 24 hours), consider switching to a storage method that retains more moisture, such as a beeswax wrap or a loosely tied plastic bag, ensuring the bread is fully cool first. For longer-term storage, freezing is the most effective strategy to prevent this. Make sure your recipe has adequate moisture and potentially includes ingredients like fats or gums that help retain moisture.
Preserving Texture and Flavor During Storage
The goal of all glutenfree bread storage tips is to preserve the initial texture and flavor. Rapid staling compromises both. If you notice your frozen bread developing off-flavors or a strange texture (like excessive dryness or sogginess after thawing), it might be due to freezer burn (poor wrapping) or thawing incorrectly (like in the refrigerator).
Ensure airtight wrapping for freezing and thaw at room temperature or toast directly from frozen. If room temperature storage leads to rapid deterioration, it's a clear sign that freezing the majority of the loaf immediately after cooling is the better approach for your specific bread recipe and environment.
Conclusion: Ensuring Freshness in Gluten-Free Baking
Mastering the art of storing gluten-free bread is just as important as mastering the baking process itself. Without the unique properties of gluten, these loaves require careful attention to maintain their delightful texture and flavor. While they do tend to stale faster than traditional bread, employing the right glutenfree bread storage tips can significantly extend their enjoyable lifespan.
Summary of Key Storage Recommendations
Here are the essential takeaways for keeping your gluten-free bread fresh:
- Always cool your bread completely on a wire rack before storing – this is non-negotiable.
- For short-term (1-3 days) room temperature storage, use breathable options like cloth bags or beeswax wraps, or a very loosely tied plastic bag, in a cool, dry spot (68-72°F).
- For long-term storage, freezing is the champion method. Slice the loaf first for convenience.
- Wrap bread tightly for freezing using plastic wrap followed by a freezer bag or foil to prevent freezer burn. Remove as much air as possible.
- Defrost frozen slices by toasting directly or thawing at room temperature. Thaw whole loaves wrapped at room temperature.
- Avoid refrigeration for standard gluten-free bread, as it accelerates staling.
- Choose storage containers/wraps based on duration and desired moisture level (e.g., beeswax wraps balance breathability and moisture).
- Proper baking (internal temp 200-210°F) and ingredient choices (fats, gums) can enhance natural shelf life.
- Discard moldy bread entirely for safety.
- Revive slightly stale bread by toasting or gentle warming, but recognize limitations.
[ ] Cool bread completely before storing.
[ ] Choose appropriate storage method based on intended use time (room temp vs. freezer).
[ ] Wrap bread properly for chosen method (e.g., tight wrapping for freezing).
[ ] Store at recommended temperature and humidity.
[ ] Avoid refrigeration unless absolutely necessary.
[ ] Check for mold before consuming stored bread.
Enjoying Your Gluten-Free Bread at Its Best
By implementing these glutenfree bread storage tips, you can ensure that each slice you enjoy is as close to fresh-baked perfection as possible, whether it's on baking day or weeks later from the freezer. Experiment with the methods to find what works best for your specific recipes and climate. With proper care, your delicious gluten-free creations will bring you joy for longer, making all your baking efforts truly worthwhile. Happy baking and happy storing!
Frequently Asked Questions
How long can I store gluten-free bread at room temperature?
Gluten-free bread generally lasts for 2-3 days at room temperature. To maximize freshness, keep it in a sealed bag or container away from direct sunlight and heat. However, gluten-free bread tends to dry out faster than traditional bread.
What's the best way to freeze gluten-free bread?
Slice the bread before freezing, then wrap it tightly in plastic wrap followed by a freezer bag. This prevents freezer burn. Frozen gluten-free bread can last up to 2-3 months.
Should I refrigerate gluten-free bread to extend its shelf life?
Refrigeration is generally not recommended for gluten-free bread. It can make the bread dry and stale much faster than leaving it at room temperature or freezing it. The cold temperature affects the structure.
How can I revive slightly stale gluten-free bread?
Try lightly toasting the bread or sprinkling it with water and baking it in a low oven for a few minutes. This can help to rehydrate the bread and make it more palatable.
What are the telltale signs that my gluten-free bread has gone bad?
Look for signs of mold, an off-putting odor, or a hard, dry texture. If you notice any of these, it's best to discard the bread for food safety reasons.
Final Reflection: The Enduring Quest for Fresh Gluten-Free Bread
The quest for perfectly preserved gluten-free bread is far from over, but understanding the nuances of storage is a crucial step in winning that battle. The seemingly simple act of storing bread, especially gluten-free varieties, significantly impacts its texture, taste, and overall enjoyment. This article has highlighted the critical differences between gluten-containing and gluten-free bread, emphasizing the need for specialized storage techniques to combat the faster staling process.
The impact of readily available gluten-free products on the lives of those with celiac disease and gluten sensitivities cannot be overstated. It's a revolution in accessibility, but one that still requires a degree of careful management. As we've explored various methods, from freezing to utilizing specialized containers, the underlying theme remains the same: respecting the delicate nature of this often-challenging food group. The best bread is the bread that's enjoyed, not the bread that's wasted.
This simple truth underscores the importance of the information presented here.
Now, consider your own gluten-free bread journey. What methods have you tried? What worked best for you? I encourage you to experiment with the techniques discussed, finding the perfect balance between convenience and freshness. Don't let the fear of stale bread deter you from enjoying the deliciousness of gluten-free options. Embrace the challenge, refine your approach, and savor every bite of your perfectly preserved loaf.
Unlock the Secret to Perfectly Fresh Gluten-Free Bread!
Thanks for taking the time to learn how to keep your gluten-free bread tasting its best! We know how much effort goes into baking, so we're excited you're committed to enjoying every delicious slice. Ready to put your newfound knowledge into practice?
- Master the Art of Storage: Immediately after cooling, store your bread using the method best suited for your timeframe – whether that’s the freezer, a bread box, or a specific wrapping technique.
- Share Your Baking Success: Post a picture of your perfectly stored gluten-free loaf on social media and tag us @BakeWithEase! We'd love to see your results.
- Explore Our Other Gluten-Free Recipes: Dive deeper into the BakeWithEase library and find more delicious gluten-free recipes to expand your baking repertoire.
So, what ingenious storage solutions will you try first to keep your gluten-free bread fresh and flavorful?