
Simple Techniques for Shaping Whole Wheat Rolls

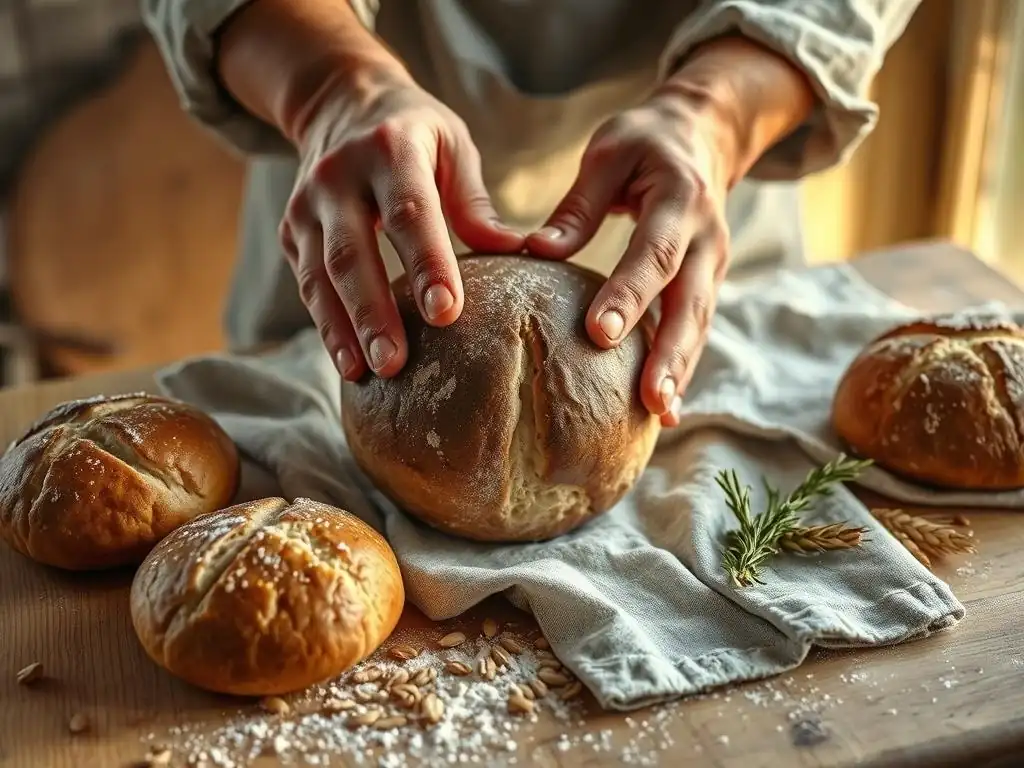
Welcome to BakeWithEase, your kitchen companion for unlocking baking brilliance! Ever dreamed of effortlessly crafting bakery-worthy breads at home? This week, we're demystifying easy whole wheat roll shaping with simple techniques that will transform your dough into perfectly formed delights. Discover the secret to creating beautiful and delicious rolls with our step-by-step guide, and get ready to impress your friends and family! What are you waiting for? Let's get baking!
- Mastering Whole Wheat Roll Shaping: A Comprehensive Guide
- Introduction to Shaping Perfect Whole Wheat Rolls
- Essential Ingredients and Equipment for Whole Wheat Roll Dough
- Step-by-Step Guide to Shaping Whole Wheat Rolls: Three Techniques
- Troubleshooting Common Whole Wheat Roll Shaping Problems
- Baking Your Shaped Whole Wheat Rolls to Perfection
- Storing and Serving Your Homemade Whole Wheat Rolls
- Advanced Whole Wheat Roll Shaping Techniques
- Conclusion: Enjoy the Art of Whole Wheat Roll Baking
-
Frequently Asked Questions
- What makes shaping whole wheat rolls different from shaping white flour rolls?
- What's the easiest method for shaping whole wheat rolls for beginners?
- How can I prevent my whole wheat rolls from cracking during baking?
- What are some advanced shaping techniques for whole wheat rolls, beyond the basic ball?
- How important is dough temperature when shaping whole wheat rolls?
- Final Reflection: The Humble Art of Shaping Whole Wheat Rolls
- Unleash Your Inner Baker: Perfect Whole Wheat Rolls Await!
Mastering Whole Wheat Roll Shaping: A Comprehensive Guide
Introduction to Shaping Perfect Whole Wheat Rolls
Baking warm, fluffy whole wheat rolls at home is a deeply satisfying endeavor, and achieving that perfect shape is a key part of the process. While it might seem intimidating at first, mastering easy whole wheat roll shaping is entirely within reach for any home baker. This guide will walk you through simple, effective techniques to transform your dough into beautifully formed rolls, enhancing both their appearance and texture.
Understanding the nuances of working with whole wheat dough is crucial for successful shaping. Whole wheat flour behaves differently than white flour due to the presence of the bran and germ, which can affect gluten development and dough elasticity. Learning how to handle this dough gently yet firmly will make the easy whole wheat roll shaping process much smoother and lead to consistently excellent results every time you bake.
Benefits of Baking Homemade Whole Wheat Rolls
Baking your own whole wheat rolls offers numerous advantages over store-bought options. For starters, you have complete control over the ingredients, allowing you to choose high-quality flour, avoid preservatives, and adjust salt or sugar levels to your preference. This not only results in a fresher, more delicious product but also allows you to tailor the rolls to specific dietary needs or tastes, making easy whole wheat roll shaping a rewarding part of a healthier lifestyle.
Beyond ingredient control, the nutritional benefits of whole wheat are significant. Whole grains provide fiber, vitamins (like B vitamins), minerals (iron, magnesium, zinc), and antioxidants that are often stripped away during the processing of white flour. A typical whole wheat roll contains around 2-3 grams of fiber, contributing positively to daily intake goals. The satisfaction of pulling a batch of warm, fragrant rolls from your oven, knowing they are packed with goodness, is unparalleled.
Understanding Dough Handling for Optimal Results
Proper dough handling is fundamental to achieving well-shaped and well-risen whole wheat rolls. Whole wheat dough can sometimes feel denser or less elastic than white dough due to the bran particles interfering with gluten strands. Therefore, adequate kneading, whether by hand or machine, is necessary to develop sufficient gluten structure, which provides the framework for the rolls to hold their shape and rise properly during proofing and baking. Aim for a dough that is smooth and springs back slowly when gently poked.
Over-handling the dough after the initial rise should be avoided, as it can toughen the final product. When you're ready for easy whole wheat roll shaping, turn the dough out gently and divide it using a bench scraper or sharp knife to avoid tearing. Work with just enough flour on your surface and hands to prevent sticking, but not so much that you incorporate excess dry flour into the dough, which can make the rolls dry. Gentle shaping techniques, focusing on creating surface tension, are key to achieving beautiful, uniform rolls.
Essential Ingredients and Equipment for Whole Wheat Roll Dough
Crafting delicious whole wheat rolls begins with selecting the right components and having the appropriate tools at hand. The quality of your ingredients directly impacts the flavor, texture, and ease of shaping your dough. While the core ingredients are simple, understanding their roles helps in achieving the best possible outcome for your easy whole wheat roll shaping efforts.
Having the right equipment streamlines the process and ensures consistency. From accurate measuring tools to aids for handling and baking, each piece plays a part. Investing in a few basic items will make your baking experience more efficient and enjoyable, helping you consistently produce perfectly shaped and baked whole wheat rolls.
Selecting the Right Whole Wheat Flour
The type of whole wheat flour you choose significantly affects your dough. Look for 100% whole wheat flour, which contains the entire wheat kernel. The grind of the flour can vary; finely ground whole wheat flour often results in a lighter texture and is easier to work with for shaping compared to coarser grinds. Different brands also have varying protein contents, which affect gluten development. A protein content of around 13-14% is good for bread and rolls, providing structure.
Some recipes may call for a blend of whole wheat and bread flour (which is high-protein white flour). This blend can make the dough easier to handle and result in a slightly softer texture while still retaining much of the whole grain goodness. For pure whole wheat rolls, ensuring your flour is fresh is also important, as the oils in the germ can go rancid over time, affecting flavor. Storing whole wheat flour in the refrigerator or freezer extends its shelf life considerably, preserving its quality for your easy whole wheat roll shaping projects.
Key Ingredients for Flavor and Texture Enhancement
Beyond flour and water, other ingredients play vital roles in the flavor, texture, and shelf life of your whole wheat rolls. Yeast is the leavening agent, producing carbon dioxide that makes the rolls rise. Instant yeast is convenient as it can often be mixed directly with dry ingredients, while active dry yeast usually requires proofing in warm water first. The amount of yeast and the proofing time dictate the final volume and texture.
Fat, such as butter, oil, or even yogurt, adds richness, tenderness, and helps keep the rolls soft. A typical recipe might use 2-4 tablespoons of butter per cup of flour. Sweeteners like honey, maple syrup, or sugar not only add a touch of sweetness but also feed the yeast and contribute to browning. Salt is crucial for flavor and helps regulate yeast activity and strengthen the gluten structure. Using fine sea salt or kosher salt is often preferred by bakers.
Essential Shaping Tools
While much of easy whole wheat roll shaping is done by hand, a few tools can be incredibly helpful. A digital kitchen scale is invaluable for accurately measuring ingredients, especially flour and water, which ensures consistency batch to batch. Dividing the dough accurately is also easier with a scale; aiming for pieces of equal weight (e.g., 60-80 grams per roll) helps ensure uniform size and baking time.
A bench scraper is indispensable for dividing dough cleanly and for helping to gather and clean your work surface. A smooth, non-porous surface like a wooden or composite cutting board or a clean countertop is ideal for shaping. Parchment paper or silicone baking mats simplify transferring shaped rolls to the baking sheet and prevent sticking. Lastly, a sturdy baking sheet or pan is needed for proofing and baking your beautifully shaped whole wheat rolls.
Step-by-Step Guide to Shaping Whole Wheat Rolls: Three Techniques
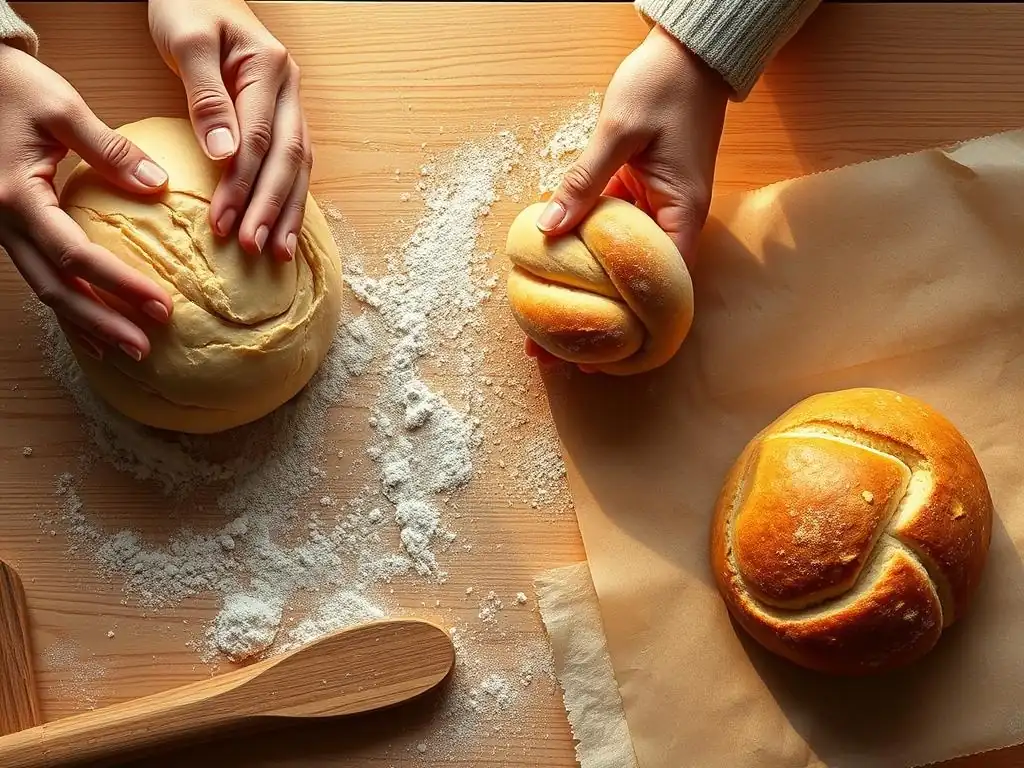
Once your whole wheat dough has completed its first rise, it's time for the fun part: shaping! This section details three classic and relatively easy whole wheat roll shaping techniques. Each method results in a different appearance but relies on the same fundamental principles of creating surface tension to achieve a good structure and rise. Practice makes perfect, so don't worry if your first few attempts aren't flawless – they'll still taste homemade and delicious!
Before you begin any shaping technique, gently deflate the dough (punching down) and turn it out onto a lightly floured surface. Divide the dough into equal portions according to your recipe's yield (a recipe using 3 cups of whole wheat flour might yield 12-16 rolls, each weighing roughly 60-80g). Working with one portion at a time, keep the others covered to prevent drying.
Technique 1: The Classic Round Roll (Boule)
The round roll, or boule, is perhaps the most fundamental and versatile shape. It's simple, classic, and effective for achieving an even rise. Mastering this easy whole wheat roll shaping technique is a great starting point for beginners.
Preparing the Dough for Round Rolls
After dividing your dough into equal portions, take one piece and gently flatten it slightly to form a rough disk. You want to work out any large air bubbles but avoid degassing the dough completely. This initial flattening helps prepare the dough for the subsequent steps where you'll create surface tension, which is key to a well-shaped round roll that holds its form during proofing and baking.
Shaping the Boule: A Detailed Visual Guide
To shape a round roll, take the flattened dough portion and pull the edges up towards the center, pinching them together firmly at the top. Imagine gathering the corners of a square napkin and bringing them to the middle. Once the edges are pinched together, flip the dough seam-side down onto your lightly floured or un-floured surface.
Achieving a Uniform Round Shape and Smooth Surface
Using the palms of your hands, gently cup the dough ball and move it in a circular motion against the surface. Apply slight downward pressure with your pinky fingers or the base of your palms. This motion, often called "rounding" or "pre-shaping," stretches the top surface of the dough, creating tension, and smooths out the seam on the bottom. Continue rounding for about 10-15 seconds until the dough feels taut and forms a smooth, round ball. Place the shaped roll on your prepared baking sheet.
Technique 2: The Cloverleaf Roll
Cloverleaf rolls are a charming, old-fashioned shape where three small dough balls are placed together in a muffin tin cup. As they rise and bake, they merge, creating a roll that's easy to pull apart into three sections. This is another relatively easy whole wheat roll shaping method that adds visual appeal.
Dividing the Dough for Cloverleaf Rolls
For cloverleaf rolls, you first need to divide your main dough mass into the total number of rolls you want (e.g., 12 rolls). Then, each of those portions needs to be divided into three smaller, roughly equal pieces. So, if you want 12 cloverleaf rolls, you'll end up with 36 small dough balls in total. Aim for each small ball to be about one-third the weight of your desired final roll size (e.g., if your final roll should be 60g, each small ball is about 20g).
Assembling the Cloverleaf: A Simple Technique
Take each small dough piece and quickly round it into a smooth, tight ball using the same rounding technique as described for the classic round roll (cupping and rotating on the surface). Once you have three small, taut balls for one cloverleaf roll, lightly grease a muffin tin cup. Place the three small balls into the greased muffin cup, arranging them close together so they touch.
Variations on the Cloverleaf Roll
While the standard cloverleaf uses three balls, you can experiment with variations. Some bakers use two balls for a figure-eight shape, or even four balls for a more clustered look, often baked closer together on a flat sheet rather than in a muffin tin. Ensuring the small balls are well-rounded and have good surface tension is key, regardless of the number used, to ensure they rise upwards and outwards into a cohesive, beautiful roll during proofing and baking.
Technique 3: The Spiral Roll
Spiral rolls offer an elegant, layered appearance and are surprisingly simple to create. This easy whole wheat roll shaping technique results in a roll that easily pulls apart along its layers, making it delightful to eat.
Preparing the Dough for Spiral Rolls
After dividing your dough, take one portion and gently flatten or pat it into a rectangle or oval shape. The goal is to create a piece of dough that is roughly uniform in thickness, about 1/4 to 1/3 inch thick. The exact dimensions aren't critical, but aim for a shape that is longer in one direction, as you will be rolling it up from one end. For example, a 60g piece might be shaped into a rectangle about 4x6 inches.
Shaping the Spiral: A Step-by-Step Tutorial
Starting from one of the longer edges of your flattened dough rectangle, tightly roll the dough towards the opposite edge. As you roll, try to keep the tension even across the width. Once rolled into a cylinder, gently pinch the seam shut along the length of the roll. You now have a log-shaped piece of dough.
Creating Consistent Spiral Patterns
To finish the spiral shape, take the dough log and gently coil it into a spiral, tucking the end underneath the roll. The seam you just pinched should ideally be on the inside of the coil or at the bottom. Gently press down slightly on the coiled roll to flatten it just a little. Place the shaped spiral roll on your prepared baking sheet, leaving adequate space for it to expand during proofing and baking.
Troubleshooting Common Whole Wheat Roll Shaping Problems
Even with simple techniques, you might encounter challenges when shaping whole wheat rolls. Whole wheat dough can be a bit less forgiving than white dough due to its composition. Recognizing common issues and knowing how to address them will make your easy whole wheat roll shaping experience much smoother and improve your results significantly.
Most problems relate to the dough's consistency – whether it's too sticky or too dry – or achieving uniformity in the final shapes. These issues are often manageable with slight adjustments to your technique or ingredients. Don't get discouraged; troubleshooting is a normal part of the baking process and helps build your skills.
Managing Sticky Dough
If your whole wheat dough is excessively sticky, it can make shaping frustrating and messy. This is often due to too much hydration (water) relative to the flour, or insufficient gluten development. Before adding more flour, try working the dough on a lightly floured surface, using a bench scraper to help handle it. A very light dusting of flour on your hands can also help prevent sticking during shaping, but be careful not to incorporate too much dry flour into the dough.
If the dough is still unmanageably sticky after a few minutes of gentle handling, you can knead in a small amount of additional whole wheat flour, just a tablespoon or two at a time, until it becomes more manageable. Ensure your initial dough has been kneaded sufficiently; proper gluten development makes dough less sticky and easier to shape. Sometimes, simply letting the dough rest for 5-10 minutes can also help, allowing the flour to absorb moisture more fully.
Handling Dry Dough
Conversely, if your whole wheat dough feels dry, stiff, or crumbly, it will be difficult to shape without tearing, and the resulting rolls may be dense. This usually indicates too little hydration or over-kneading. Whole wheat flour typically absorbs more water than white flour, so ensuring adequate liquid is key. A standard hydration for whole wheat bread is often between 65% and 75% (water weight relative to flour weight), but this can vary depending on the flour and humidity.
If the dough is dry before shaping, you can try incorporating a small amount of water, a teaspoon at a time, kneading it in until the dough becomes more pliable and easier to work with. Be patient, as adding liquid needs to be done gradually. If the dough tears easily during shaping, it might be underdeveloped or over-proofed; allowing it a short rest (10-15 minutes) can sometimes help the gluten relax, making easy whole wheat roll shaping possible again.
Achieving Uniformity in Roll Shapes
Creating rolls of similar size and shape is important for consistent baking results, as rolls of varying sizes will bake unevenly. The easiest way to achieve uniformity is to divide your dough by weight using a kitchen scale before shaping. Aim for a consistent weight for each roll, for example, 70 grams per roll for a medium-sized roll.
During shaping, whether you're making rounds, cloverleafs, or spirals, focus on applying consistent pressure and motion to each piece of dough. For round rolls, practice the cupping and rounding technique until it feels natural. For cloverleafs, ensure the three small balls are roughly the same size. For spirals, roll the rectangle tightly and uniformly. Don't worry about perfect uniformity initially; practice improves consistency, making easy whole wheat roll shaping a skill you build over time.
Baking Your Shaped Whole Wheat Rolls to Perfection
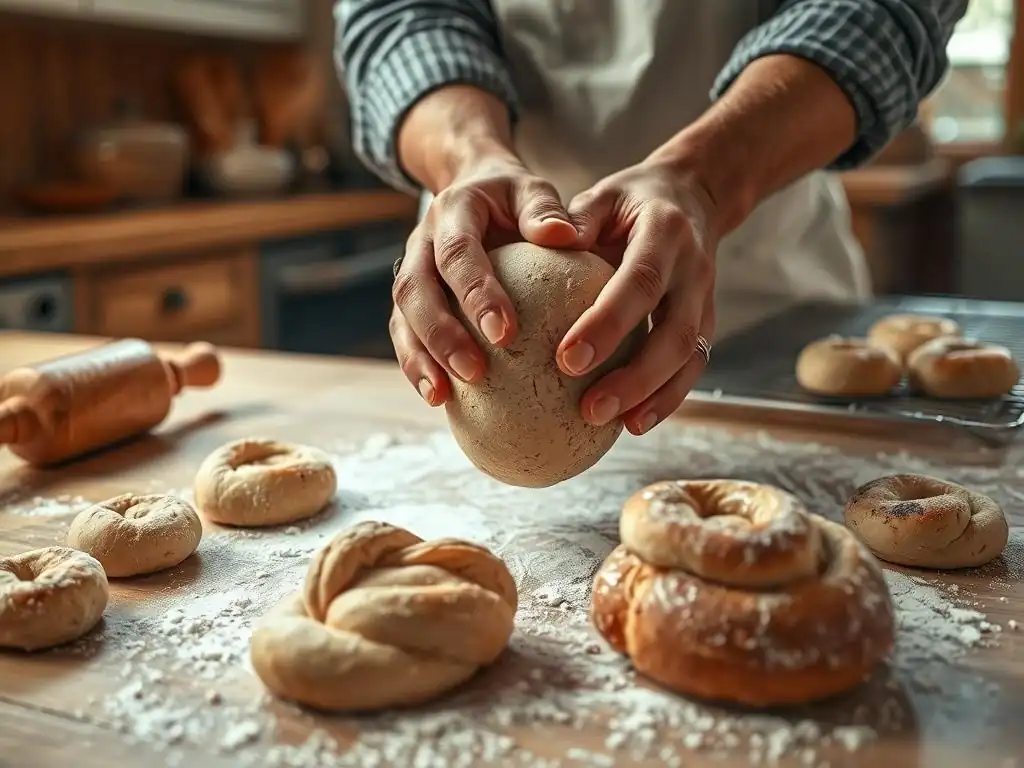
After successfully shaping your whole wheat rolls using easy techniques, the final steps before enjoying them involve proofing and baking. These stages are critical for achieving the desired light texture, golden crust, and internal structure. Proper proofing allows the rolls to rise sufficiently, while correct baking temperature and time ensure they are cooked through and develop a beautiful crust.
Paying attention to these details ensures that your effort in easy whole wheat roll shaping pays off with delicious, well-baked results. The goal is a roll that is light for its size, with a pleasant chew and a lovely aroma filling your kitchen.
Proofing for Optimal Volume
Proofing is the final rise of the shaped rolls before baking. During this time, the yeast continues to produce gas, causing the rolls to expand and become light and airy. Place your shaped rolls on a baking sheet, leaving enough space between them for expansion (they will roughly double in size). Cover the rolls loosely with plastic wrap or a clean kitchen towel to prevent them from drying out.
The proofing time will vary depending on the temperature of your kitchen. In a warm environment (around 75-80°F or 24-27°C), proofing might take 30-60 minutes. In a cooler kitchen, it could take 60-90 minutes or even longer. The rolls are ready to bake when they look visibly puffy and have increased significantly in size. You can gently poke a roll; if the indentation springs back slowly but not completely, it's usually ready. Over-proofing can cause the rolls to collapse in the oven, while under-proofing results in dense rolls.
Baking Temperature and Time Considerations
Whole wheat rolls typically bake at a moderate to hot temperature to ensure a good rise and a browned crust. A common temperature range is between 375°F and 400°F (190°C to 200°C). Preheat your oven thoroughly to the chosen temperature. Placing a baking stone or steel in the oven while preheating can help create a more consistent temperature and promote a better crust, although it's not strictly necessary for rolls.
The baking time depends on the size of your rolls and your oven's calibration, but it generally ranges from 15 to 25 minutes. Smaller rolls (like those used for cloverleafs) will bake faster than larger, classic rounds. The rolls are done when they are deep golden brown on top and bottom and sound hollow when tapped on the bottom. An internal temperature of around 200-210°F (93-99°C) indicates they are fully baked.
Achieving a Golden Crust and Soft Interior
To achieve a beautiful golden crust, many bakers apply an egg wash (beaten egg mixed with a little water or milk) or a milk wash to the tops of the shaped rolls just before baking. This promotes browning and can add a slight sheen. For a softer crust, brushing the hot rolls with melted butter immediately after they come out of the oven is a wonderful technique.
The soft interior is primarily a result of proper dough handling, sufficient gluten development, adequate hydration, and correct proofing and baking. Ensuring the dough isn't too dry and is proofed just right contributes significantly to a tender crumb. Baking them through without over-baking is also key to preventing a dry interior. Allow the rolls to cool on a wire rack for at least 10-15 minutes before breaking into them; this allows the internal structure to set properly.
Storing and Serving Your Homemade Whole Wheat Rolls
Once your delicious whole wheat rolls are baked and cooled, knowing how to store them properly is important to maintain their freshness. Homemade bread typically lacks the preservatives found in commercial versions, so it tends to stale faster. However, with a few simple tips, you can keep your rolls soft and enjoyable for a few days.
Serving your homemade rolls is the final step in the baking journey. They are wonderfully versatile and can complement a wide variety of meals. The simple joy of tearing into a warm, fresh roll you shaped yourself is truly one of baking's greatest pleasures.
Maintaining Freshness
To keep your whole wheat rolls fresh at room temperature, store them in a bread box, a clean paper bag, or a loosely sealed plastic bag. A bread box allows some airflow, which can help prevent the crust from getting too soft. A paper bag keeps the crust crispier but may cause the interior to dry out slightly faster. A plastic bag retains moisture best, keeping the rolls soft, but can sometimes make the crust less crisp. Avoid refrigerating bread, as this actually accelerates staling.
For longer storage, whole wheat rolls freeze exceptionally well. Once completely cooled, place them in a freezer-safe bag or wrap them tightly in plastic wrap followed by aluminum foil. Frozen rolls can last for up to 3-4 months. To reheat, thaw them at room temperature or warm them directly from frozen in a moderate oven (300-350°F or 150-175°C) for 10-15 minutes until heated through.
Serving Suggestions: Complementing Your Meals
Warm, homemade whole wheat rolls are a perfect accompaniment to countless dishes. Serve them alongside soups, stews, or chili for dipping. They are fantastic with a Sunday roast or holiday meal, providing a hearty, flavorful bread option. A basket of warm rolls with butter is often all you need to elevate a simple dinner.
Beyond being a side, whole wheat rolls make excellent sandwiches or sliders. Slice them horizontally and fill them with your favorite meats, cheeses, or vegetables. They can also be used to make delightful breakfast sandwiches or served simply toasted with jam or honey. Their slightly nutty flavor pairs particularly well with savory dishes, making your easy whole wheat roll shaping efforts truly rewarding.
Advanced Whole Wheat Roll Shaping Techniques
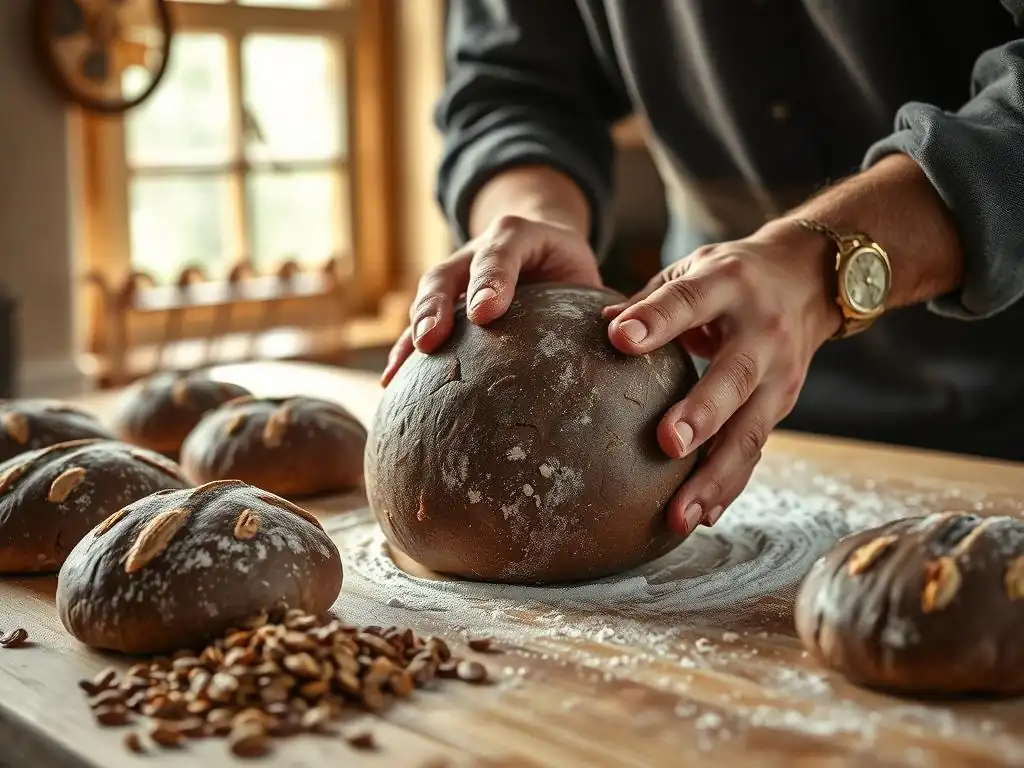
Once you're comfortable with the basic and easy whole wheat roll shaping methods like rounds, cloverleafs, and spirals, you might want to explore more intricate techniques. Advanced shaping adds visual flair and can sometimes impact the texture by creating more layers or pockets. These methods build upon the fundamental skills you've already developed, allowing you to get more creative with your whole wheat dough.
These techniques might require a bit more practice and dexterity, but they are well within reach for the adventurous home baker. Trying new shapes keeps baking interesting and impresses your family and friends with your growing skills in easy whole wheat roll shaping.
Shaping Braided Rolls
Braided rolls, typically made with three strands of dough, create a beautiful, interwoven pattern. To shape a braided roll, divide a portion of dough and then divide that portion into three equal pieces. Roll each of the three small pieces into a long, even strand, roughly 6-8 inches long, tapering slightly at the ends. Pinch the three strands together firmly at one end.
Lay the strands out side-by-side and begin braiding as you would hair or rope, keeping the braid relatively loose to allow for expansion. Braid all the way down, then pinch the other ends together firmly to seal. For individual rolls, you'll make one braid per roll. For a loaf, you'd braid the entire dough mass. Place the braided roll on your baking sheet and allow it to proof.
Creating Pocket Rolls with Savory Fillings
Pocket rolls are essentially filled rolls, where a portion of dough is flattened, filled with a savory mixture, and then sealed. This requires a dough that is pliable and easy to roll out without tearing. Common fillings include seasoned ground meat, cheese and herbs, or sautéed vegetables.
To make a pocket roll, take a portion of dough and roll or pat it into a circle or square about 4-5 inches in diameter. Place a spoonful or two of your cooled filling in the center. Gather the edges of the dough up and over the filling, pinching them together firmly at the top to create a sealed package. Ensure the seam is completely sealed to prevent the filling from leaking out during baking. Place seam-side down on the baking sheet to proof.
Exploring Decorative Scoring Techniques
Scoring, or slashing, the surface of rolls before baking isn't just decorative; it also helps control where the roll expands during the oven spring, resulting in a better shape and crust. For simple rolls like boules or spirals, a single slash or an 'X' cut is common. Use a sharp lame (a baker's razor blade) or a very sharp knife.
For more decorative effects, you can create patterns like parallel lines, a grid, or curved slashes. The depth and angle of the cut affect how the dough opens up. For a pronounced 'ear' (a raised flap of crust), hold the lame at a shallow angle (about 30 degrees) to the dough surface. Practice on a few rolls to get a feel for the dough's tension and how it responds to the blade.
Conclusion: Enjoy the Art of Whole Wheat Roll Baking
You've now explored various techniques for shaping whole wheat rolls, from the simple classic round to more decorative options like cloverleafs and spirals. Mastering easy whole wheat roll shaping is a skill that develops with practice, transforming a basic dough into beautiful, appealing baked goods. Each shape offers a slightly different experience, both in the making and the eating, adding variety to your baking repertoire.
Remember that the journey of baking is as rewarding as the destination. Don't strive for immediate perfection. Embrace the process, learn from each batch, and enjoy the tactile experience of working with dough. The simple satisfaction of pulling warm, fragrant whole wheat rolls from your oven, knowing you shaped them yourself, is truly unparalleled.
Summary of Shaping Techniques
We've covered three fundamental and easy whole wheat roll shaping techniques: the classic round (boule), the charming cloverleaf (using muffin tins), and the elegant spiral. Each method involves taking a portion of dough and manipulating it to create surface tension and a desired form. The round requires cupping and rolling, the cloverleaf involves combining small balls, and the spiral is achieved by rolling up a flattened piece.
Beyond these basics, we touched upon more advanced methods like braiding, filling for pocket rolls, and decorative scoring. These techniques allow for greater creativity and customization. Regardless of the shape you choose, consistent dough division, gentle handling, and creating adequate surface tension are universal principles for successful easy whole wheat roll shaping.
Embrace the Creativity of Homemade Bread
Baking whole wheat rolls at home is more than just following a recipe; it's an opportunity for creativity and expression. Once you're comfortable with the basic easy whole wheat roll shaping methods, feel free to experiment. Try adding seeds (like sesame, poppy, or sunflower) to the dough or as a topping. Incorporate herbs or spices for added flavor.
The beauty of homemade bread lies in its versatility and the personal touch you bring to it. Whether you stick to simple rounds for everyday use or venture into intricate braids for a special occasion, the act of shaping and baking provides a connection to a timeless craft. So grab your whole wheat flour, get your hands ready, and enjoy the wonderful art of easy whole wheat roll shaping!
Frequently Asked Questions
What makes shaping whole wheat rolls different from shaping white flour rolls?
Whole wheat flour contains more bran and germ, which can make the dough less elastic and more prone to tearing. This requires a gentler approach and sometimes a slightly wetter dough.
What's the easiest method for shaping whole wheat rolls for beginners?
The simple ball method is often the easiest. Divide the dough into equal portions, gently pull the sides down and tuck them underneath to form a smooth ball.
How can I prevent my whole wheat rolls from cracking during baking?
Ensure adequate proofing and avoid over-kneading the dough. Also, consider adding a touch of oil or fat to the dough for increased moisture.
What are some advanced shaping techniques for whole wheat rolls, beyond the basic ball?
More advanced techniques include shaping the rolls into knots, cloverleafs, or braids. These require more practice and a slightly stronger dough.
How important is dough temperature when shaping whole wheat rolls?
Maintaining the correct dough temperature is crucial for proper gluten development and rise. A slightly warmer temperature helps the yeast activity, but don't let it get too hot.
Final Reflection: The Humble Art of Shaping Whole Wheat Rolls
The seemingly simple act of shaping a whole wheat roll is far more than just a culinary task; it's a connection to tradition, a testament to the power of mindful creation, and a surprisingly satisfying journey of self-expression. In a world increasingly dominated by convenience and pre-packaged goods, taking the time to craft something beautiful and delicious from scratch offers a profound sense of accomplishment and a deeper appreciation for the ingredients we consume.
The influence of homemade bread, and specifically the comforting ritual of shaping rolls, extends far beyond the kitchen table. It speaks to a deeper human need for connection – to the earth through the grains, to our heritage through the process, and to ourselves through the act of creation. Bread is the staff of life,
a simple phrase, yet it encapsulates the profound significance of this humble food. The act of shaping these rolls, even with simple techniques, becomes a meditative practice, a moment of quiet amidst the chaos of modern life. It's a reminder that even the smallest actions can hold immense meaning.
Now, consider your own hands. Imagine the warmth of the dough, the gentle pressure as you coax it into shape. Take this knowledge, these simple techniques, and apply them not just to baking, but to other areas of your life. Embrace the process, find joy in the creation, and allow the simple act of shaping to inspire you to approach other challenges with the same care, intention, and ultimately, love. The possibilities, like the perfectly formed roll, are endless.
Unleash Your Inner Baker: Perfect Whole Wheat Rolls Await!
Thanks for taking the time to explore the art of shaping perfect whole wheat rolls! You've learned valuable techniques to elevate your baking game. Now, it's time to put your newfound skills into practice.
- Give your first batch a go! Use the techniques you’ve learned to create a stunning loaf of whole wheat rolls. Remember, practice makes perfect!
- Share your baking journey! Snap a photo of your creations and tag us on social media – we’d love to see your results.
- Consider experimenting with different flours or fillings to personalize your rolls. What unique twist will you add?
Ready to transform your kitchen into a bakery? What innovative filling will you try in your next batch of whole wheat rolls?