
Sink Your Teeth into Brazilian Pão de Queijo: Cheesy Tapioca Bread

Welcome to BakeWithEase, where baking becomes a joy, not a chore! Are you ready to unlock the secrets of the world's most comforting foods? Prepare to be amazed by the simplicity and deliciousness of our recipes.
Today, we're diving into a culinary adventure that will tantalize your taste buds: the irresistible Brazilian pão de queijo recipe. But what makes this cheesy tapioca bread so unique, and how can you recreate its warm, fluffy goodness in your own kitchen? Keep reading to discover the secrets!
- Discover the Delight of Authentic Brazilian Pão de Queijo
- Mastering the Brazilian Pão de Queijo Recipe: A Step-by-Step Guide
- Tips and Tricks for the Best Brazilian Pão de Queijo
- Serving and Storing Your Homemade Pão de Queijo
- The History and Culture Behind Pão de Queijo
- Enjoy Your Homemade Brazilian Pão de Queijo!
- Frequently Asked Questions
- Final Reflection: The Enduring Charm of Pão de Queijo
- Unleash Your Inner Baker: Master the Art of Pão de Queijo!
Discover the Delight of Authentic Brazilian Pão de Queijo
What is Pão de Queijo? An Introduction to Brazilian Cheese Bread
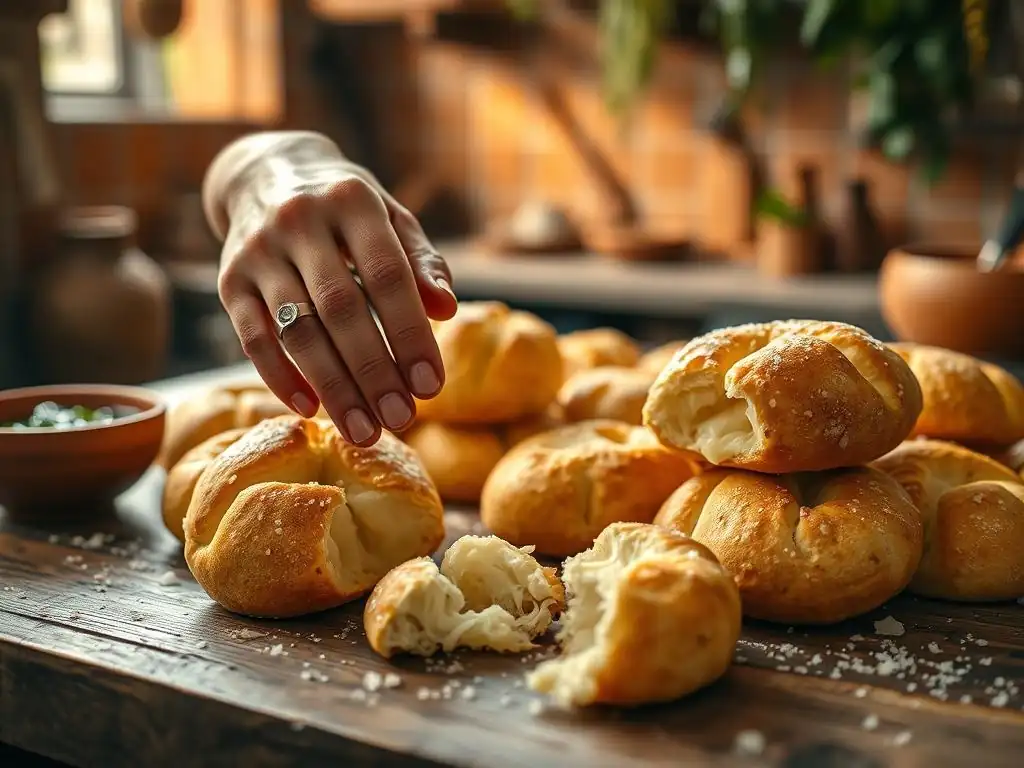
Pão de Queijo, pronounced "pow-djee-kay-zhoo," is a small, baked cheese roll, a popular snack and breakfast food in Brazil. Unlike traditional bread made with wheat flour and yeast, pão de queijo uses tapioca starch, which gives it a unique chewy texture and a delightful airy interior when baked. The key characteristic, of course, is the generous amount of cheese mixed into the dough, providing that irresistible savory flavor. This simple yet ingenious combination results in a naturally gluten-free bread that has captured hearts far beyond Brazil's borders.
Originating in the state of Minas Gerais, a region famous for its dairy production and cheese, pão de queijo became widely popular throughout Brazil in the 1950s. Its rise in popularity coincided with improved access to ingredients like tapioca starch and cheese across the country. Today, it's a staple found in bakeries, coffee shops, and homes, often served warm alongside a cup of coffee. The basic recipe typically involves tapioca starch, eggs, milk, oil, salt, and, crucially, cheese – often a local Brazilian cheese like queijo minas, but other cheeses like parmesan or mozzarella are commonly used elsewhere.
Why You'll Love This Brazilian Pão de Queijo Recipe
There are countless reasons to fall in love with making this delicious Brazilian pão de queijo recipe at home. First and foremost is the incredible taste and texture. Imagine a warm, slightly crispy exterior giving way to a wonderfully chewy, cheesy, and soft interior. It's an experience unlike any other bread roll you've tried. This particular Brazilian pão de queijo recipe aims for that perfect balance, ensuring your rolls are fluffy inside and beautifully golden outside, saturated with that comforting cheese flavor that makes pão de queijo so addictive.
Furthermore, this Brazilian pão de queijo recipe is surprisingly straightforward, making it accessible even for novice bakers. The process doesn't involve complex kneading or long proofing times like traditional yeast breads. Most of the work is in mixing and shaping. Plus, since it's made with tapioca starch, it's naturally gluten-free, making it a fantastic option for those with gluten sensitivities or celiac disease who still crave a delicious bread-like treat. Getting the authentic Brazilian pão de queijo recipe right means you can enjoy this taste of Brazil anytime you like, straight from your own oven.
Mastering the Brazilian Pão de Queijo Recipe: A Step-by-Step Guide
Gathering Your Ingredients: What You Need for Perfect Pão de Queijo
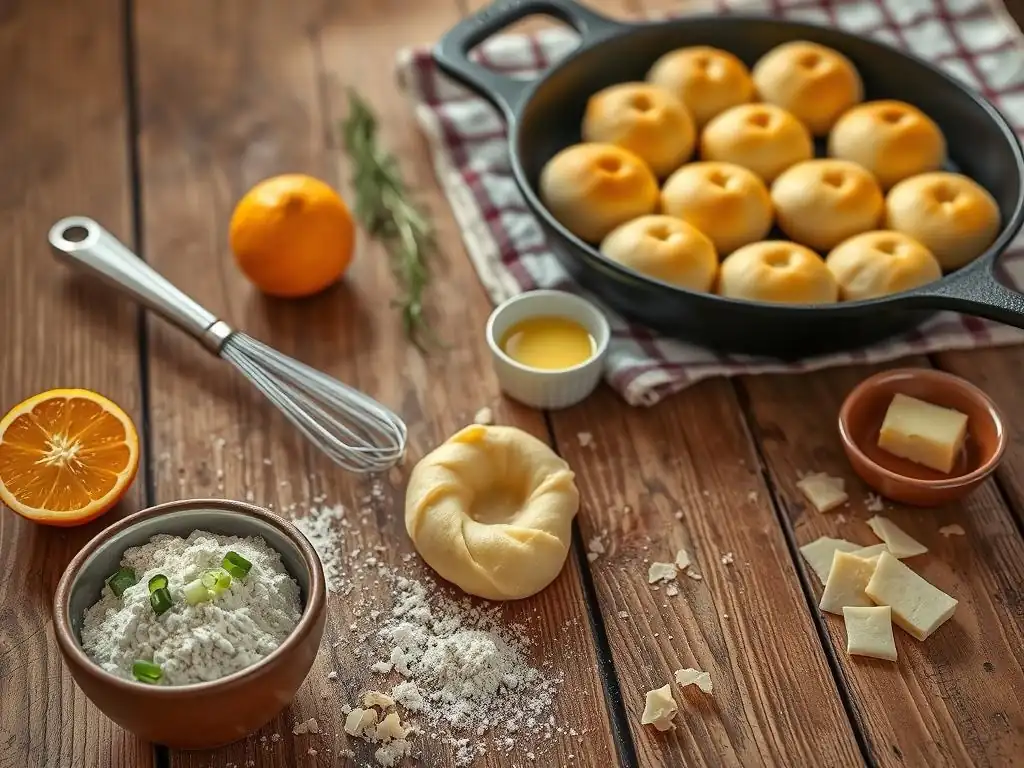
Preparing to bake the best Brazilian pão de queijo recipe starts with having all your ingredients measured and ready. The beauty of this recipe lies in its simplicity and reliance on core components. You'll typically need around 2 cups of tapioca starch (either sweet or sour, or a mix), about 1 cup of milk, roughly 1/2 cup of vegetable oil, 2 large eggs, approximately 1 teaspoon of salt, and a generous 1 1/2 to 2 cups of grated cheese. Having these ready before you begin ensures a smooth baking process.
It's also helpful to have your equipment lined up: a medium saucepan for heating the milk and oil mixture, a large mixing bowl, a whisk, a wooden spoon or spatula, and baking sheets lined with parchment paper or silicone mats. Ensuring your oven is preheating while you prepare the dough also saves time and guarantees it's ready when your rolls are shaped. This systematic approach makes following the Brazilian pão de queijo recipe much easier and helps prevent any last-minute rushes.
The Key Ingredients for Authentic Brazilian Cheese Bread
The foundation of an authentic Brazilian pão de queijo recipe rests on just a few crucial ingredients. The primary ingredient is tapioca starch, known in Brazil as 'polvilho'. You can use 'polvilho doce' (sweet tapioca starch) or 'polvilho azedo' (sour tapioca starch), or a combination. 'Polvilho azedo' is fermented, adding a slight tang and contributing to a more airy interior and a crispier crust, while 'polvilho doce' yields a softer, chewier result. For a classic texture, a mix of both is often recommended, perhaps a 50/50 split or favoring sweet for more chewiness.
The cheese is the other non-negotiable star. Traditionally, Brazilian recipes use 'queijo minas curado', a semi-hard cow's milk cheese. Outside of Brazil, good substitutes that offer a similar savory depth and meltability include finely grated Parmesan cheese, Monterey Jack, or a blend of mozzarella and Parmesan. The fat from the oil and milk helps to hydrate the tapioca starch, which is essential for its unique texture, while the eggs bind everything together and contribute to the rise and structure of the little cheese breads. Salt is added to enhance all the flavors.
Step 1: Preparing the Tapioca Starch Mixture
The first step in many Brazilian pão de queijo recipes involves "scalding" the tapioca starch. This process helps to hydrate the starch granules and is key to achieving the characteristic chewy texture. You'll start by placing the tapioca starch in a large mixing bowl. In a small saucepan, heat the milk and oil together until the mixture is quite hot, just before boiling – look for small bubbles forming around the edges, typically reaching a temperature around 180°F (82°C).
Once the milk and oil mixture is hot, carefully pour it over the tapioca starch in the bowl. Immediately use a wooden spoon or spatula to mix vigorously. At this stage, the mixture will look crumbly and lumpy, almost like wet sand. This is normal. You are essentially cooking the starch with the hot liquid. Continue mixing until all the starch is moistened and no dry pockets remain. Let this mixture cool down for about 10-15 minutes until it's warm enough to handle but not hot enough to cook the eggs you'll add later.
Step 2: Combining the Wet Ingredients
After the tapioca starch mixture has cooled slightly, it's time to incorporate the eggs and salt. Crack the 2 large eggs into the bowl with the scalded tapioca mixture. Add the 1 teaspoon of salt as well. At this point, the mixture will still be quite stiff and crumbly.
Begin mixing the eggs and salt into the tapioca mixture. You can start with a wooden spoon or a sturdy whisk, but you'll likely find it easiest to use your hands eventually. Work the ingredients together until the eggs are fully incorporated and the mixture starts to come together into a more cohesive, albeit still somewhat lumpy, dough. The eggs provide essential moisture and structure, helping to transform the dry, scalded starch into a workable base for the cheese bread dough.
Step 3: Adding the Cheese: The Heart of Pão de Queijo
Now for the star ingredient: the cheese! With the eggs and salt mixed in, add the grated cheese to the bowl. As mentioned earlier, you'll want about 1 1/2 to 2 cups of finely grated cheese for this Brazilian pão de queijo recipe. The amount can be slightly adjusted based on how intensely cheesy you want your rolls to be.
Mix the cheese into the dough. Again, using your hands is often the most effective way to ensure the cheese is evenly distributed throughout the mixture. Squeeze and knead the dough gently until the cheese is fully incorporated. The mixture will become more pliable and slightly sticky as the cheese integrates. This step is crucial as the cheese provides much of the flavor and contributes significantly to the texture and appearance of the final pão de queijo.
Choosing the Best Cheese for Your Pão de Queijo
Selecting the right cheese is paramount to achieving that authentic, irresistible flavor in your Brazilian pão de queijo recipe. While Brazilian 'queijo minas curado' is traditional, it can be hard to find outside of Brazil. A widely accepted and delicious alternative is finely grated Parmesan cheese. Its salty, nutty flavor holds up well against the tapioca starch base. Using 1 1/2 cups of good quality grated Parmesan is a solid choice.
For a milder, meltier interior, a blend of cheeses works wonderfully. Consider using 1 cup of grated Parmesan mixed with 1 cup of grated mozzarella or Monterey Jack. Mozzarella provides excellent stretch and melt, while Monterey Jack adds a creamy texture. Avoid pre-shredded cheeses if possible, as they often contain anti-caking agents that can affect the texture and meltability. Grating the cheese fresh ensures the best results for your homemade Brazilian cheese bread.
Step 4: Mixing and Kneading the Dough
Once all the ingredients, including the cheese, are in the bowl, it's time to bring the dough together. Continue mixing and gently kneading the dough by hand. The goal isn't to develop gluten, as there is none, but rather to ensure all ingredients are uniformly combined and the dough reaches a smooth, workable consistency. It should be soft and slightly sticky, but firm enough to hold its shape when rolled into balls.
Knead for about 5-10 minutes. The dough will transform from a lumpy mass into a smoother, more elastic-like texture due to the properties of the hydrated tapioca starch and the binding action of the eggs and cheese. If the dough feels too dry, you can add a tablespoon of milk at a time until it reaches the right consistency. If it's too wet and sticky to handle, you can add a tablespoon or two more of tapioca starch, but be careful not to add too much, as this can make the final rolls tough.
Step 5: Shaping and Baking Your Pão de Queijo
With the dough ready, it's time to shape the individual pão de queijo rolls. Pinch off small portions of dough, roughly the size of a golf ball or slightly smaller, about 1.5 to 2 inches in diameter. Roll each portion between the palms of your hands to form smooth, round balls.
Place the shaped dough balls onto the prepared baking sheets, leaving about 1-2 inches of space between them to allow for expansion during baking. This Brazilian pão de queijo recipe typically yields between 20-25 rolls, depending on the size you make them. Ensure your oven is preheated to the correct temperature before placing the trays inside.
Tips for Perfectly Shaped Pão de Queijo
Achieving uniform, round shapes for your pão de queijo is simple but benefits from a few tips. First, ensure your hands are clean and dry. Some bakers find it helpful to lightly oil their hands or dampen them slightly with water to prevent the dough from sticking excessively, though the oil in the dough usually prevents this.
When rolling the balls, use gentle but firm pressure, rotating the dough between your palms until you get a smooth, round shape. Try to make them as uniform in size as possible so they bake evenly. A small kitchen scale can be used for precision if you desire perfectly consistent rolls, aiming for about 25-30 grams per ball. Placing them neatly on the baking sheet not only looks good but also ensures they don't touch and bake into one large mass.
Baking Time and Temperature for Optimal Results
The correct baking time and temperature are crucial for getting that perfect texture and golden color in your Brazilian pão de queijo recipe. Preheat your oven to 375°F (190°C). This moderate-high temperature allows the rolls to puff up nicely and develop a slightly crisp exterior while the inside becomes soft and chewy.
Bake the pão de queijo for approximately 20 to 25 minutes. The exact time will vary depending on your oven and the size of your rolls. You'll know they are done when they have puffed up significantly and are golden brown all over. They should look light and airy. Avoid opening the oven door too frequently during the first 15 minutes of baking, as this can cause them to deflate. Once they are golden, remove them from the oven and ideally, serve them warm.
Tips and Tricks for the Best Brazilian Pão de Queijo
Achieving the Perfect Texture: Chewy and Delicious
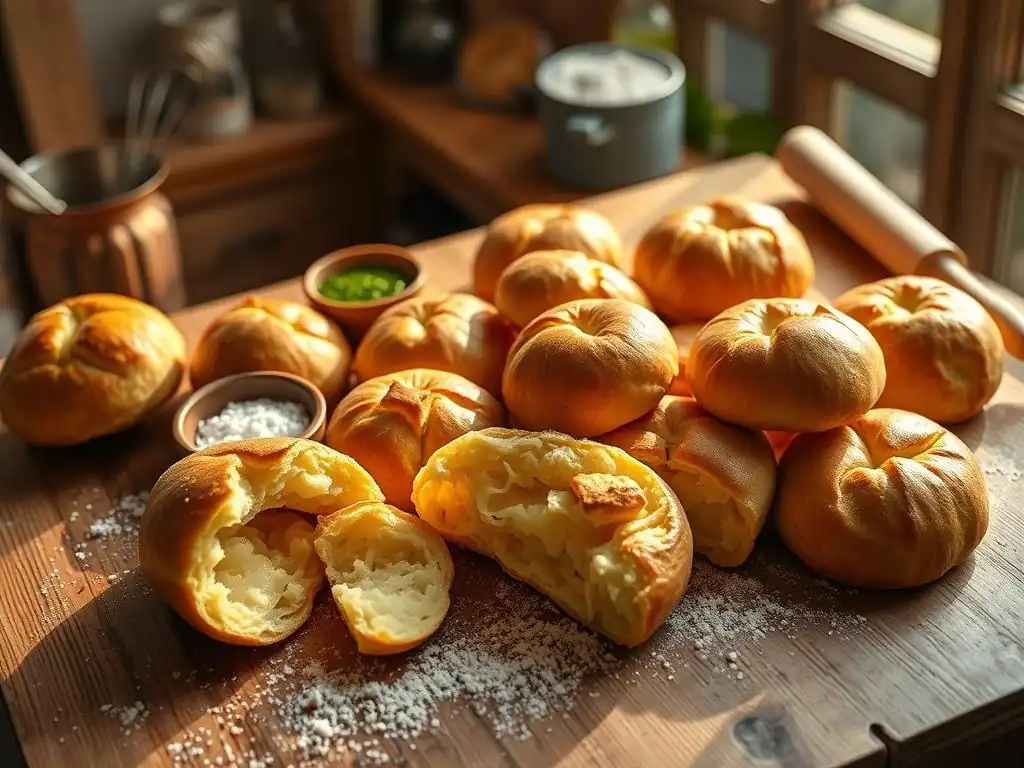
The hallmark of great pão de queijo is its unique chewy interior. This texture is primarily achieved through the proper hydration and cooking of the tapioca starch during the initial scalding step. Ensuring the milk and oil mixture is hot enough ( ~180°F / 82°C) when poured over the starch is key. Mix it thoroughly to ensure all the starch is scalded.
Another factor is not over-mixing the dough after adding the cheese. While you need to combine everything well, excessive kneading isn't necessary and won't improve the texture; the magic happens with the starch hydration. Using a blend of sweet and sour tapioca starch can also help, with the sour starch ('polvilho azedo') contributing more to that desirable airy, slightly elastic chew. Baking at the correct temperature allows the rolls to expand rapidly, setting the structure for that light, airy inside while the outside crisps up.
Troubleshooting Your Pão de Queijo: Common Mistakes and How to Avoid Them
Even with a great Brazilian pão de queijo recipe, sometimes things don't go exactly as planned. A common issue is rolls that are too dense or hard. This can happen if the tapioca starch wasn't properly scalded (liquid not hot enough or not mixed thoroughly), if too much flour was added when troubleshooting sticky dough, or if they were overbaked. Ensure your liquid is hot and mix well initially. If dough is sticky, try chilling it briefly before shaping instead of adding more starch.
Another problem can be flat rolls that don't puff up. This might be due to using liquids that weren't hot enough for scalding, insufficient egg (which provides lift), or an oven that isn't properly preheated to 375°F (190°C). Also, opening the oven door too early can cause them to collapse. Stick to the recommended temperature and time, and trust the process! If your cheese isn't melting well, ensure you are using a good quality cheese known for melting, like Parmesan or mozzarella, and that it's finely grated.
Variations on the Classic Pão de Queijo Recipe
While the classic Brazilian pão de queijo recipe is perfect on its own, its simple base makes it wonderfully adaptable to variations. You can easily customize the flavor profile by adding different ingredients to the dough before shaping and baking. These variations allow you to explore new dimensions of this beloved Brazilian cheese bread.
Consider adding finely chopped herbs or spices to the dough along with the cheese. This simple step can transform the classic taste into something new and exciting. Exploring different cheese combinations is also a fantastic way to personalize your homemade pão de queijo, allowing you to find your favorite cheesy blend.
Adding Herbs and Spices for Enhanced Flavor
Incorporating fresh or dried herbs and spices is a simple way to elevate your Brazilian pão de queijo recipe. Finely chopped fresh parsley or chives add a lovely freshness and subtle oniony note. You can add about 1-2 tablespoons of fresh herbs per batch of dough.
For a more aromatic twist, consider adding dried herbs like oregano or a pinch of red pepper flakes for a slight kick. About 1 teaspoon of dried oregano or 1/4 teaspoon of red pepper flakes can be mixed in with the cheese. Smoked paprika or garlic powder (around 1/2 teaspoon) can also introduce interesting savory layers to the cheesy base, offering a delightful departure from the classic taste while still maintaining the essential pão de queijo character.
Exploring Different Cheese Combinations
As discussed earlier, the cheese choice significantly impacts the final flavor of your homemade pão de queijo. Beyond the Parmesan/Mozzarella blend, experiment with other cheeses. Sharp cheddar can add a bolder, tangier flavor, though it might not melt quite as smoothly as mozzarella. Using a mix of 1 cup grated sharp cheddar and 1 cup grated Monterey Jack could yield a rich, flavorful result.
Another option is to incorporate small amounts of stronger cheeses for punch, like a bit of grated Gruyère or aged white cheddar alongside a milder cheese. Start by substituting perhaps 1/4 to 1/2 of the total cheese amount with the stronger variety to see how you like the flavor intensity. Just ensure the cheese is finely grated for even distribution and melting within the dough of your Brazilian pão de queijo.
Serving and Storing Your Homemade Pão de Queijo
Serving Suggestions: Enjoying Pão de Queijo the Brazilian Way
Pão de queijo is best enjoyed warm, straight out of the oven. In Brazil, it's most commonly served for breakfast or as a mid-afternoon snack ( lanche) alongside a cup of coffee. The combination of the warm, cheesy bread and hot coffee is incredibly comforting and energizing.
You can serve them plain, letting the delicious cheesy flavor speak for itself. Sometimes, Brazilians might split them open and spread butter inside, though many argue they are perfect as is. They also make a fantastic addition to a brunch spread or as a savory accompaniment to soups or stews. Sharing a basket of warm, homemade Brazilian pão de queijo with friends and family is a simple pleasure that truly embodies the friendly spirit of Brazilian hospitality.
Storing Leftover Pão de Queijo to Maintain Freshness
While pão de queijo is undeniably best consumed fresh, you can store leftovers. Once completely cooled, place the pão de queijo in an airtight container or a resealable plastic bag. Store them at room temperature for up to 2 days. For longer storage, they can be kept in the refrigerator for up to 5 days.
An even better option for longer storage, especially if you've made a large batch using this Brazilian pão de queijo recipe, is freezing. Once the baked rolls are fully cooled, place them in a single layer on a baking sheet and freeze until solid. Then, transfer the frozen rolls to a freezer-safe bag or container. They can be stored in the freezer for up to 2-3 months without significant loss of quality.
Reheating Pão de Queijo for a Warm, Cheesy Treat
The wonderful thing about pão de queijo is how well it reheats, bringing back that delightful warm, chewy texture. To reheat, the best method is using a toaster oven or a conventional oven. Preheat your oven or toaster oven to around 350°F (175°C).
Place the pão de queijo directly on the oven rack or on a small baking sheet. Heat for about 10-15 minutes if they were at room temperature or refrigerated, or 15-20 minutes if reheating from frozen. They are ready when they are warm throughout and the exterior feels slightly crisp again. Avoid microwaving, as this can make them rubbery. A properly reheated pão de queijo from this Brazilian pão de queijo recipe will be almost as good as fresh!
The History and Culture Behind Pão de Queijo
A Brief History of Brazilian Cheese Bread
The history of pão de queijo is deeply intertwined with the history of slavery in Brazil and the agricultural practices of the colonial era, particularly in the state of Minas Gerais. Tapioca starch, the main ingredient, was derived from cassava root, a staple crop introduced by indigenous populations and later cultivated extensively by enslaved Africans. Wheat flour was not readily available or affordable for most people, making tapioca starch a crucial alternative for baking.
The earliest forms of pão de queijo likely emerged in the 18th century, created by enslaved people on farms and plantations. They used the available tapioca starch and remnants from cheesemaking. The modern, more refined version of the Brazilian pão de queijo recipe as we know it today gained widespread popularity in the 1950s. This period saw improved transportation and infrastructure, making ingredients more accessible across the country and cementing pão de queijo's place as a national culinary icon.
Pão de Queijo in Brazilian Cuisine
Pão de queijo holds a cherished place in Brazilian cuisine and culture. It's far more than just a bread roll; it's a symbol of hospitality, comfort food, and regional pride, especially for Minas Gerais. It's a ubiquitous presence, found everywhere from humble street vendors selling warm rolls by the dozen to upscale cafes serving them alongside gourmet coffee.
It's a standard offering at breakfast tables ( café da manhã) and afternoon coffee breaks ( café da tarde). People often buy them fresh from the 'padaria' (bakery) in the morning. For many Brazilians living abroad, the smell and taste of pão de queijo evoke strong feelings of nostalgia and home. Mastering this Brazilian pão de queijo recipe allows anyone to tap into this rich cultural heritage and enjoy a true taste of Brazil.
Enjoy Your Homemade Brazilian Pão de Queijo!
Frequently Asked Questions
What exactly is Pão de Queijo?
Pão de Queijo is a popular Brazilian cheese bread made primarily with tapioca flour, giving it a unique chewy texture. It's traditionally served as a snack or breakfast item.
Is this Brazilian Pão de Queijo recipe difficult to make?
No, this recipe is designed to be easy to follow, even for beginner bakers. The steps are simplified, and the ingredients are readily available.
What kind of cheese is best for Pão de Queijo?
The best cheese is a blend of hard and semi-hard cheeses, such as Parmesan, Minas, and mozzarella. The blend contributes to the characteristic flavor and texture.
Can I freeze the Pão de Queijo dough before baking?
Yes, you can absolutely freeze the dough! Simply shape the dough into balls, freeze them individually on a baking sheet, then transfer them to a freezer bag. Bake from frozen, adding a few extra minutes to the baking time.
What makes this Pão de Queijo recipe from BakeWithEase different?
This recipe focuses on simplicity and accessibility. We use readily available ingredients and provide clear, step-by-step instructions to ensure success, even for novice bakers wanting to try authentic Brazilian flavors.
Final Reflection: The Enduring Charm of Pão de Queijo
The simple joy of a perfectly crisp, cheesy pão de queijo transcends mere culinary satisfaction; it's a portal to Brazilian culture and a testament to the power of humble ingredients. This recipe, shared with you today, is more than just a guide to making this beloved bread; it's an invitation to experience a taste of Brazil in your own kitchen. The enduring popularity of pão de queijo speaks volumes about its comforting nature and its ability to connect people across cultures.
The journey of creating this recipe, from researching authentic techniques to perfecting the balance of tapioca flour and cheese, has been a deeply enriching one. It's highlighted for me the importance of respecting tradition while embracing personal creativity in the kitchen. Food is symbolic of love when words are inadequate.
- Alan D. Wolfelt. This quote perfectly encapsulates the emotional connection we forge with food, and pão de queijo, with its simple yet profound flavors, is a prime example. The sharing of this recipe, and the potential for others to create and share their own variations, further strengthens this sense of connection.
Now, I invite you to go beyond simply following the recipe. Experiment! Try different cheeses, explore variations in texture, and most importantly, share your pão de queijo with loved ones. Let the aroma fill your home, let the warmth of the bread melt away any stress, and let the simple act of baking become a celebration of culture, connection, and the delicious magic of Brazilian cuisine. The journey of creating and sharing pão de queijo is just as rewarding as the taste itself.
Unleash Your Inner Baker: Master the Art of Pão de Queijo!
Thanks for joining us on this cheesy journey into the world of Brazilian pão de queijo! We hope you now feel empowered to tackle this delicious recipe. Ready to take your baking skills to the next level?
- Bake a batch of pão de queijo today! Use our recipe as a springboard – experiment with different cheeses, herbs, or even add some spice!
- Share your pão de queijo creations with us on social media! Use #BakeWithEasePãoDeQueijo and tag us – we'd love to see your culinary masterpieces.
- Explore other unique bread recipes on BakeWithEase.com – we've got a whole world of flavors waiting for you!
What unique twist will you add to your first batch of pão de queijo? Let’s hear about your baking adventure in the comments below!