
Troubleshooting OverProofed or UnderProofed Rustic Bread

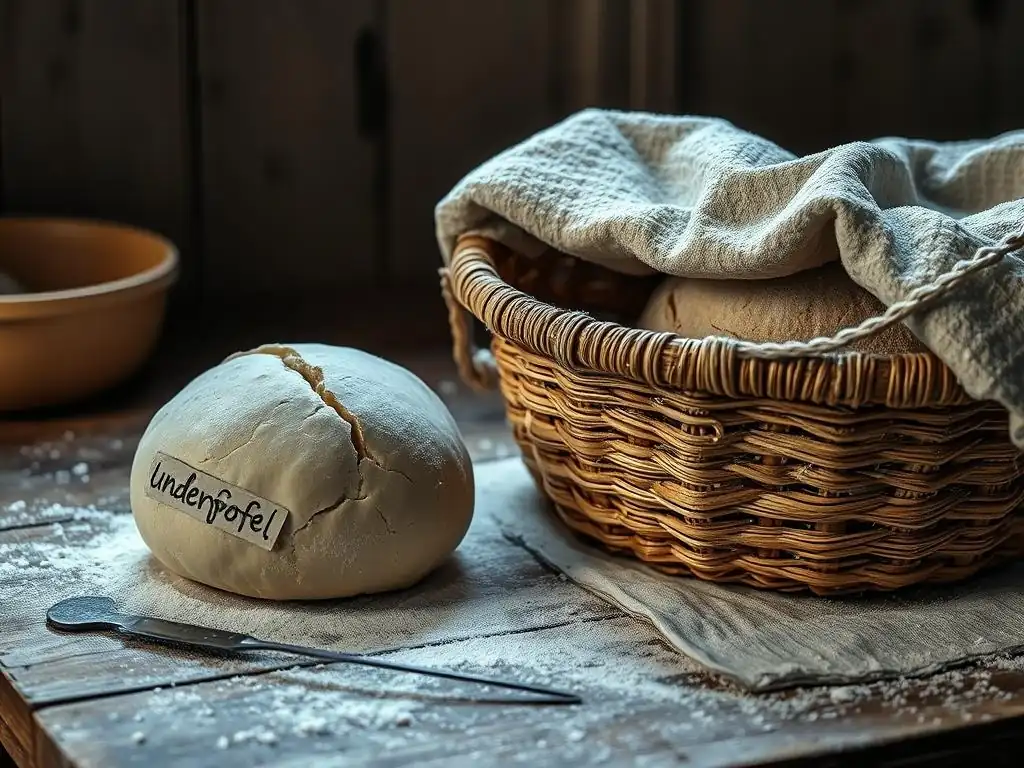
Welcome to BakeWithEase, your haven for baking brilliance! Are you struggling with rustic bread proofing problems, leaving you with dense loaves or collapsed structures? Fear not! This guide unveils the secrets to achieving perfect proofing every time, transforming your baking from frustrating to fabulous. Let's dive in and discover how to troubleshoot those tricky doughs, ensuring your next rustic loaf is a masterpiece.
- Troubleshooting Proofing Problems in Sourdough Bread
- Understanding Sourdough Bread Proofing Problems
-
Recognizing UnderProofed Sourdough Bread: Signs & Solutions
- The Look and Feel of UnderProofed Dough
- How to Identify UnderProofed Sourdough Bread After Baking
- Fixing UnderProofed Sourdough Bread: Rescue Options
- The Look and Feel of OverProofed Dough
- How to Identify OverProofed Sourdough Bread After Baking
- Troubleshooting OverProofed Sourdough Bread: What Can You Do?
- Factors Affecting Sourdough Bread Proofing Time
- Preventing Sourdough Bread Proofing Problems: Tips & Techniques
- Sourdough Bread Proofing Checklist: Ensuring Success Every Time
- Advanced Techniques for Sourdough Bread Proofing
- Conclusion: Achieving Perfect Proofing for Delicious Sourdough Bread
-
Frequently Asked Questions
- What are the key signs of an overproofed rustic bread dough?
- What are the most common reasons for underproofed rustic bread?
- How can I tell if my rustic bread dough is perfectly proofed?
- What happens if I bake rustic bread that is still underproofed?
- What can I do to adjust my rustic bread proofing process based on the season?
- Final Reflection: The Art and Science of Rustic Bread Proofing
- Unleash Your Inner Bread Wizard: Master Your Rustic Loaf!
Troubleshooting Proofing Problems in Sourdough Bread
Understanding Sourdough Bread Proofing Problems
Why Proofing Matters for Sourdough Texture & Flavor
Proofing is a critical stage in sourdough bread making, often considered just as important as the mixing and fermentation process. During this time, yeast and bacteria in the sourdough starter consume sugars in the dough, producing carbon dioxide gas and organic acids. This gas is trapped by the gluten network, causing the dough to rise and develop its structure. Proper proofing ensures the loaf achieves adequate volume and an open, airy crumb structure, which is highly desired in artisanal sourdoughs.
Beyond structure, proofing significantly impacts the final flavor profile of your sourdough. The lactic and acetic acids produced by the bacteria during the slow fermentation develop the characteristic tangy taste associated with sourdough. The duration and temperature of proofing influence the balance of these acids; longer, cooler proofing typically enhances acetic acid production (more sourness), while warmer proofing favors lactic acid (milder tang). Getting the proofing right is essential for balancing acidity, aroma, and texture, preventing common rustic bread proofing problems like dense or overly sour loaves.
Identifying Common Proofing Issues in Sourdough Breads
Two primary issues plague bakers during the proofing stage: underproofing and overproofing. Underproofing occurs when the dough hasn't had enough time or warmth to rise sufficiently, resulting in a dense final product. The gluten structure hasn't fully expanded to capture enough gas, and flavor development is often underdeveloped. This is a frequent challenge when tackling rustic bread proofing problems, leading to loaves that feel heavy and look squat.
Conversely, overproofing happens when the dough proofs for too long or in too warm an environment. The gluten network, initially stretched by gas, eventually weakens and can collapse. The dough might rise dramatically and then start to deflate. Flavor can become excessively sour or even unpleasant due to excessive acid production. Identifying these stages visually and by feel is key to preventing common rustic bread proofing problems and ensuring a successful bake.
Recognizing UnderProofed Sourdough Bread: Signs & Solutions
The Look and Feel of UnderProofed Dough
An underproofed sourdough dough will feel quite dense and firm. When you gently poke it, it will spring back almost immediately, leaving little to no indentation. Visually, it might not have increased significantly in volume, perhaps only by 20-40% depending on the stage (bulk fermentation or final proof). The surface might appear tight rather than relaxed and pillowy. This lack of extensibility makes shaping more challenging, as the dough resists manipulation and feels stiff.
Consider a 1kg batch of sourdough dough. If properly proofed, it might expand to fill a 2-liter container by 50-75%. An underproofed dough might still be below the 1.5-liter mark after the expected proofing time. The dough feels cold and inert compared to a lively, well-proofed dough that feels light and full of air. Recognizing these tactile and visual cues before baking is crucial for avoiding underproofed rustic bread proofing problems.
How to Identify UnderProofed Sourdough Bread After Baking
Dense Crumb Structure: A Sign of UnderProofing
One of the most telling signs of underproofed sourdough after baking is a dense, tight crumb structure. Instead of large, irregular holes characteristic of a well-proofed loaf, you'll find a uniform pattern of small, compact holes, or perhaps no discernible holes at all in the center. The bread feels heavy for its size and might have a gummy or slightly wet texture, especially if the center didn't fully cook due to the density.
For example, slicing into a loaf and finding a cross-section that resembles a pound cake more than an artisanal sourdough is a strong indicator. While some rustic breads naturally have a slightly tighter crumb, an underproofed loaf will be excessively uniform and lacking in the desirable open structure. This dense texture directly results from insufficient gas production and retention during proofing.
Lack of Oven Spring: UnderProofed Bread's Flat Appearance
Underproofed loaves often exhibit poor oven spring, meaning they don't expand much in the oven. The dough enters the hot oven without enough internal gas pressure built up to create a dramatic rise. The gluten network is too tight and undeveloped to expand rapidly before setting. This results in a loaf that is relatively flat and wide, lacking the height and rounded profile characteristic of a well-proofed sourdough.
Imagine baking two identical loaves side-by-side, one properly proofed and one underproofed. The well-proofed loaf might nearly double in height in the oven, achieving a beautiful dome. The underproofed loaf, however, might only increase slightly, resulting in a squat shape. This lack of oven spring is a clear visual cue of underproofing and a common manifestation of rustic bread proofing problems.
Fixing UnderProofed Sourdough Bread: Rescue Options
Extending Proofing Time: When and How
If you suspect your dough is underproofed before baking, the most straightforward solution is to simply extend the proofing time. Assess how much volume increase you still need based on your target (e.g., 50-75% total increase). If the dough feels cold and firm, moving it to a warmer spot can accelerate fermentation. An oven with just the light on can provide a temperature around 80°F (27°C), significantly speeding things up compared to a cool kitchen.
Monitor the dough closely using the poke test and volume cues. An extra hour or two, or even longer in a cool environment, can make a substantial difference. For instance, if your dough only increased by 30% in 4 hours at 70°F, moving it to 80°F might achieve the remaining 30-45% increase in another 1-2 hours. Patience here can save your loaf from being dense and heavy, effectively addressing rustic bread proofing problems before they ruin the bake.
Adjusting Baking Temperature for UnderProofed Loaves
If you've already started baking and realize the dough was underproofed (perhaps noticing minimal oven spring in the first 10-15 minutes), there are limited but potentially helpful adjustments. While you can't magically inject more gas, you can sometimes slightly extend the initial high-heat steaming phase. This allows the dough a little more time for expansion before the crust fully sets.
For example, if you typically bake at 500°F (260°C) for 20 minutes covered, you might try baking at the same temperature for 25 minutes covered. This is a minor adjustment, maybe providing an extra 5-10% potential volume increase in some cases, but it's not a guaranteed fix. The best approach is always to correctly proof before baking, but understanding these small tweaks can sometimes mitigate the severity of underproofed rustic bread proofing problems.
The Look and Feel of OverProofed Dough
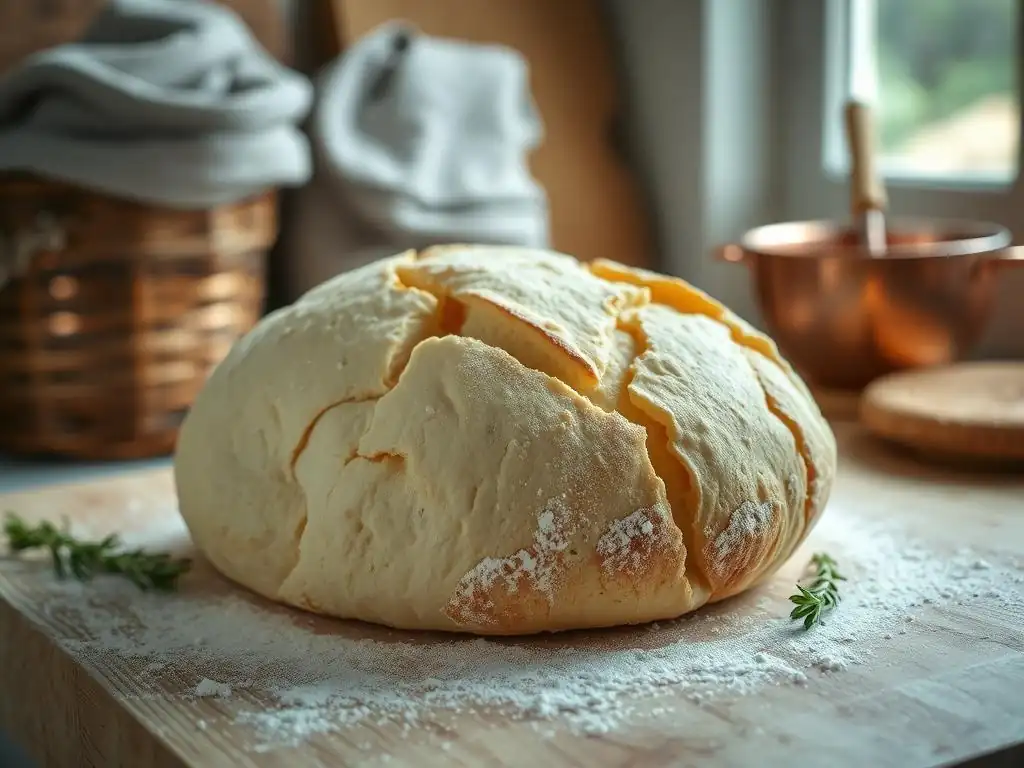
An overproofed sourdough dough will appear significantly larger than its target volume, perhaps doubling or even tripling, and may even start to deflate slightly in the center. When you gently poke it, the indentation will remain and may not spring back at all. The dough feels very soft, slack, and fragile, lacking tension. It can be difficult to handle and may tear easily during shaping.
Imagine your dough was supposed to reach a 75% volume increase, but it has now doubled (100% increase) and looks bubbly and delicate. This is often a sign of overproofing, especially if the surface looks glossy or wet. The structural integrity of the gluten network has begun to break down, unable to hold the gas effectively. This slackness makes preventing overproofed rustic bread proofing problems challenging during handling.
How to Identify OverProofed Sourdough Bread After Baking
Collapsed Structure: A Sign of OverProofing
After baking, an overproofed loaf often shows a collapsed structure, particularly around the edges or the top. The dough may have spread out horizontally rather than rising vertically, resulting in a flat, wide loaf. The crust might be thinner and less robust. Inside, the crumb structure can be uneven, with some very large, irregular holes interspersed with dense areas, or the entire loaf might have a uniform, tight crumb if it completely collapsed before or during baking.
A classic sign is a loaf that looks like a frisbee rather than a dome. The initial oven spring might be minimal or even negative if the structure was already too weak to withstand the heat. This happens because the weakened gluten network cannot support the dough's weight and the rapid gas expansion in the oven. Recognizing this collapsed state is a clear indicator of overproofed rustic bread proofing problems.
Sour Taste and Unpleasant Aroma in OverProofed Bread
Overproofing allows the fermentation process to continue for an extended period, leading to the production of excessive organic acids. This results in a bread with a very strong, sometimes overwhelmingly sour taste, particularly from acetic acid. The aroma can also be intensely sour or even slightly off-putting. While sourdough is known for its tang, overproofed bread takes it to an extreme that many find unpleasant.
Consider a loaf where the tang is so sharp it dominates all other flavors. This is a common outcome of overproofing. The extended fermentation also consumes more sugars, potentially leading to a less sweet crumb and a paler crust because there are fewer residual sugars available for caramelization (Maillard reaction) during baking. Both the intense sourness and potentially weaker crust color are signs of overproofed rustic bread proofing problems.
Troubleshooting OverProofed Sourdough Bread: What Can You Do?
Shaping Challenges with OverProofed Dough
Working with overproofed dough is inherently difficult because of its slackness and fragility. It lacks the tension needed to hold its shape. If your dough is very overproofed, attempting complex shaping like a boule or batard may be futile as it will likely just spread. Gentle handling is paramount to avoid degassing it completely.
A practical approach is to reshape it as minimally as possible and bake it immediately, perhaps in a loaf tin or Dutch oven to provide support. For instance, instead of trying to build surface tension for a freeform loaf, gently fold it a couple of times and place it into a greased tin. The tin will prevent excessive spreading. This can help salvage a loaf suffering from overproofed rustic bread proofing problems.
Baking OverProofed Sourdough: Is It Possible?
Yes, it is often possible to bake overproofed sourdough, though the resulting loaf will likely be different from your original intention. If the dough hasn't completely collapsed, you can attempt to bake it in a supportive environment like a Dutch oven or loaf pan as mentioned. While the oven spring will be limited, you can still get an edible loaf.
Alternatively, if the dough is severely overproofed and too slack to bake as a loaf, consider repurposing it. It can be gently flattened into a focaccia, baked in a hot pan as flatbreads, or even baked and then used for bread crumbs or croutons. Don't discard it entirely! Finding alternative uses is a smart way to manage overproofed rustic bread proofing problems.
Factors Affecting Sourdough Bread Proofing Time
Room Temperature's Influence on Proofing
Temperature is arguably the single most significant factor influencing sourdough proofing speed. Yeast and bacteria activity increases with warmth. A dough proofing at a warm room temperature of 75°F (24°C) will ferment much faster than one proofing at 65°F (18°C). This difference can mean proofing takes 4-6 hours in a warm kitchen versus 8-12 hours or more in a cooler one.
Understanding this relationship is key to managing your proofing schedule and avoiding rustic bread proofing problems. If you need to slow down proofing (e.g., for an overnight rise), using a cooler spot or refrigerating the dough is effective. Conversely, if you need to speed things up, finding a warmer spot accelerates fermentation. Knowing your kitchen's ambient temperature is vital for estimating proofing times.
Starter Activity and Proofing Speed
The vigor and health of your sourdough starter directly impact how quickly your dough proofs. A recently fed, active starter that is bubbly and has doubled in size within 4-6 hours will provide a strong initial push for fermentation. A sluggish or less active starter, perhaps one that hasn't been fed recently or is kept cool, will lead to slower proofing times.
The inoculation rate – the percentage of starter used in the dough recipe – also plays a role. Using a higher percentage of starter (e.g., 20% of flour weight) will generally result in faster proofing compared to using a lower percentage (e.g., 10%). Ensuring your starter is healthy and active before mixing your dough is a fundamental step in preventing unexpected rustic bread proofing problems related to fermentation speed.
Hydration Levels and Their Impact on Proofing
The hydration level of your dough, which is the ratio of water to flour, also affects proofing speed and handling. Higher hydration doughs (e.g., 80% hydration) tend to ferment slightly faster than lower hydration doughs (e.g., 65% hydration). This is partly because the extra water makes the dough softer and potentially more accessible for the microbes.
However, higher hydration doughs are also typically more challenging to handle and shape due to their slackness. While they might proof faster, judging their readiness can be trickier, and they are more susceptible to collapsing if overproofed. Understanding how hydration influences both speed and dough consistency helps in anticipating and managing rustic bread proofing problems specific to different dough types.
Preventing Sourdough Bread Proofing Problems: Tips & Techniques
Mastering the Poke Test for Perfect Proofing
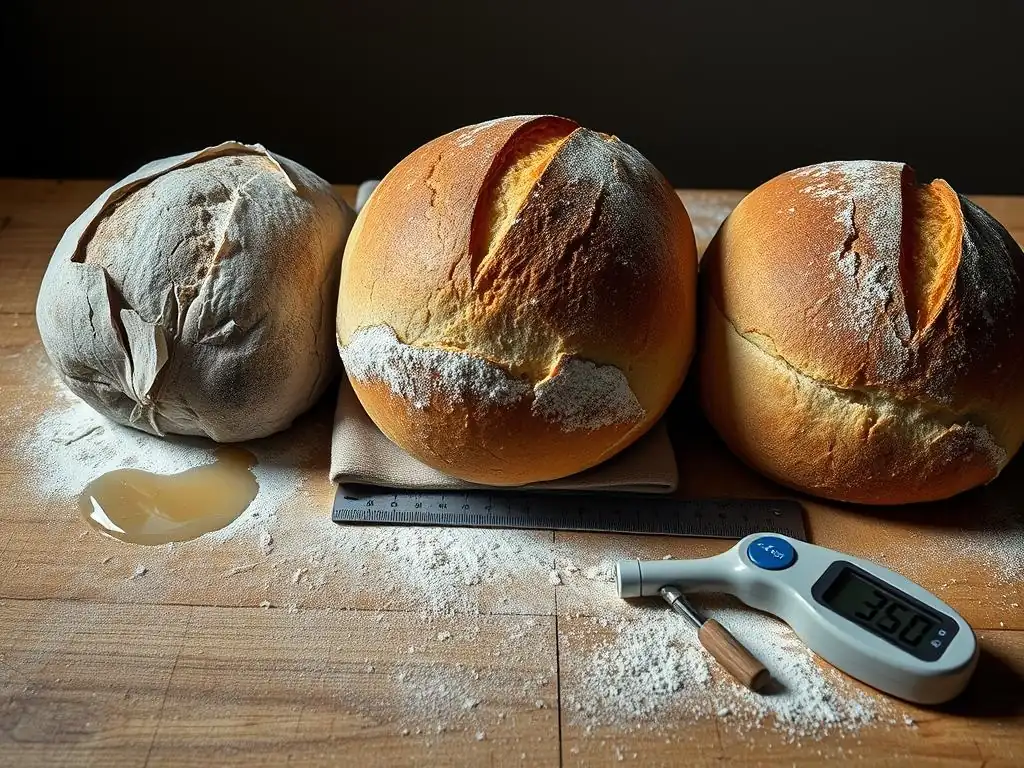
The poke test is a classic technique used to gauge the readiness of dough during proofing. To perform it, gently flour your finger and press it about half an inch into the dough. For a well-proofed dough, the indentation should spring back slowly, but not completely. It should leave a small, lasting dent.
If the indentation springs back immediately, the dough is likely underproofed and needs more time. If the indentation remains completely without springing back, the dough is likely overproofed. Practicing the poke test on different doughs will help you develop an intuitive feel for when your dough has reached the optimal proofing stage, helping you avoid common rustic bread proofing problems.
Creating a Controlled Proofing Environment
Maintaining a consistent temperature is key to predictable proofing. Wild fluctuations can make timing difficult. If your kitchen is cool, you can create a warmer microclimate. Placing the dough in an oven with just the light on often raises the temperature to a steady 75-85°F (24-29°C). Alternatively, a proofing box or even placing the dough in a microwave (turned off) with a cup of hot water can help.
Conversely, if your kitchen is too warm and speeding up fermentation too much, find a cooler spot like a basement or pantry floor. For very long proofing times, refrigeration is the most effective way to control the process, slowing it down dramatically. Controlling temperature removes much of the guesswork associated with rustic bread proofing problems.
Monitoring Dough Volume for Accurate Proofing
While the poke test provides a tactile cue, visually monitoring the dough's volume increase is another essential method. Using a straight-sided, clear container allows you to mark the dough's starting level and easily track its progress. Most sourdough recipes targeting an open crumb aim for a 50-75% increase in volume during the bulk fermentation stage.
For the final proof, the dough might increase by another 20-50% depending on whether it's a cold or warm final proof. Relying solely on time can be misleading due to temperature variations and starter activity. By actively watching the volume and combining this with the poke test, you get a more accurate picture of the dough's readiness, significantly reducing the likelihood of rustic bread proofing problems.
Sourdough Bread Proofing Checklist: Ensuring Success Every Time
Step-by-Step Checklist for Optimal Sourdough Bread Proofing
Here is a checklist to help guide you through the proofing process and minimize rustic bread proofing problems:
- [ ] Assess Starter Activity: Is your starter vigorous and recently fed?
- [ ] Check Dough Temperature: Is the dough at a temperature that aligns with your recipe's timing expectations? (e.g., 75°F for faster proof, 65°F for slower)
- [ ] Use a Transparent Container: Is the dough in a container where you can easily monitor volume increase?
- [ ] Note Starting Volume: Have you marked the initial level of the dough in the container?
- [ ] Monitor Volume Progress: Are you regularly checking the dough's volume increase (aiming for 50-75% for bulk)?
- [ ] Perform Poke Test: Are you using the poke test to check for readiness (slow spring back)?
- [ ] Consider the Environment: Is the proofing environment temperature controlled (warm spot, cool spot, or fridge)?
- [ ] Account for Recipe Specifics: Does the recipe call for a warm proof, cold proof, or a combination?
- [ ] Plan for Final Proof: Have you decided on the duration and temperature for the final proofing stage?
- [ ] Prepare for Baking: Is your oven preheated and ready before the dough is perfectly proofed?
Advanced Techniques for Sourdough Bread Proofing
Retarding Sourdough Bread: Benefits and Process
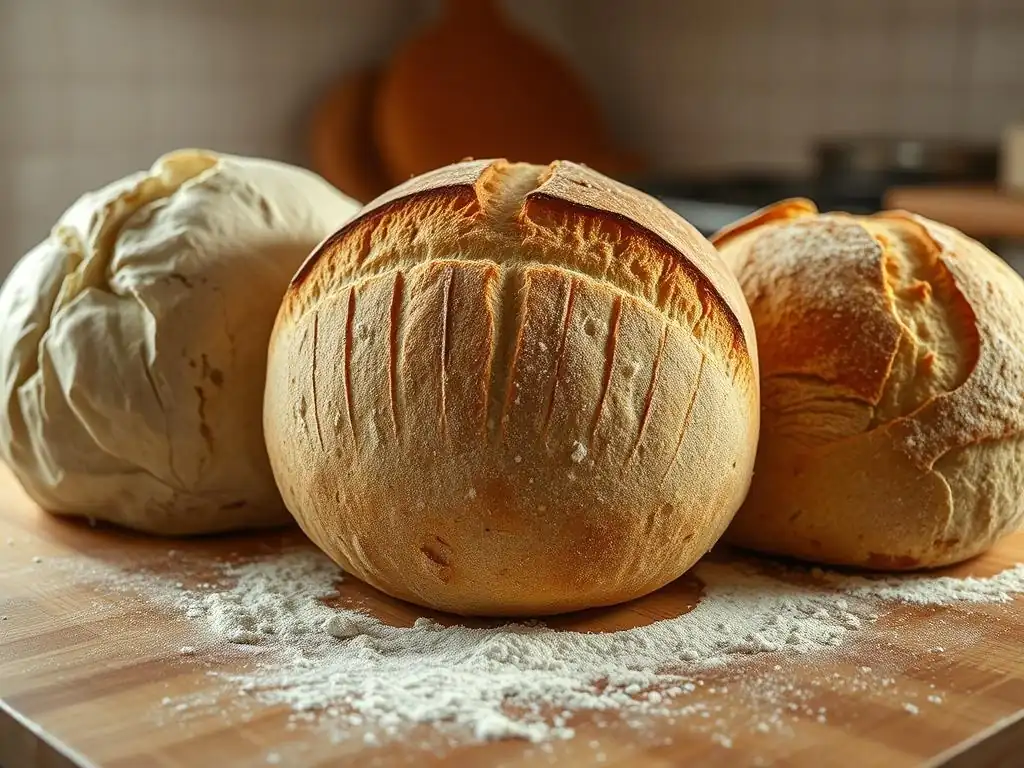
Retarding, or cold proofing, involves placing the dough in the refrigerator, typically at temperatures between 38-40°F (3-4°C), for an extended period, often 12 to 48 hours. This significantly slows down fermentation, allowing for a longer proofing window. The primary benefits are enhanced flavor development, particularly increasing acetic acid production for a tangier loaf, and scheduling flexibility, allowing you to bake on your own timetable.
During cold proofing, enzymatic activity continues, breaking down complex carbohydrates into simpler sugars, which contributes to better crust browning and flavor. While gas production slows dramatically, it doesn't stop entirely. The cold also firms up the dough, making shaping (if done before the cold proof) easier to handle and score directly from the fridge. Cold retarding is a powerful tool for improving both the logistics and the outcome when tackling rustic bread proofing problems.
Using a Banneton for Perfect Sourdough Bread Shape and Proofing
A banneton, or proofing basket, is commonly used for the final proof of freeform loaves. It provides support to the shaped dough, helping it hold its structure as it expands. Bannetons are typically made of cane, rattan, or wood pulp, and are dusted with flour (rice flour is excellent as it doesn't absorb moisture) before placing the dough seam-side up (for baking seam-side down) or seam-side down (for baking seam-side up).
Beyond providing shape, cane bannetons help wick away a small amount of moisture from the surface of the dough. This creates a slightly drier "skin," which can contribute to a better crust and make scoring easier. Using a banneton, especially during a cold final proof, helps maintain the desired shape and tension, preventing the dough from spreading prematurely and mitigating rustic bread proofing problems related to dough structure.
Conclusion: Achieving Perfect Proofing for Delicious Sourdough Bread
Mastering the art of sourdough proofing is perhaps the most significant step in elevating your bread from good to exceptional. It's a balance of time, temperature, and feel, where understanding the signs of both underproofing and overproofing is paramount. By learning to read your dough, using techniques like the poke test, monitoring volume, and controlling your proofing environment, you gain the confidence to guide fermentation to its optimal point.
While facing rustic bread proofing problems like a dense crumb or a collapsed loaf can be frustrating, they are valuable learning experiences. Each bake provides clues about your process, from starter health to ambient temperature. With practice and attention to these key factors, you'll develop an intuitive sense for perfect proofing, consistently achieving that beautiful rise, open crumb, and delightful tang that defines a truly great rustic sourdough loaf.
Frequently Asked Questions
What are the key signs of an overproofed rustic bread dough?
An overproofed dough will often collapse or deflate easily when touched. It may also have a sour, alcoholic smell and a gummy texture after baking.
What are the most common reasons for underproofed rustic bread?
Underproofing typically stems from insufficient time or too low a temperature during proofing. Also, using old or inactive yeast can hinder proper rising.
How can I tell if my rustic bread dough is perfectly proofed?
A perfectly proofed dough should have nearly doubled in size and feel light and airy. Gently pressing it will leave a slowly recovering indentation.
What happens if I bake rustic bread that is still underproofed?
Baking underproofed bread results in a dense, heavy loaf with a tight crumb. It might also have an uneven texture and a less developed flavor.
What can I do to adjust my rustic bread proofing process based on the season?
In warmer weather, proofing will happen much faster, so reduce the proofing time. In colder weather, extend the proofing time and consider placing the dough in a warmer location.
Final Reflection: The Art and Science of Rustic Bread Proofing
Mastering the art of rustic bread proofing is not merely about achieving a perfect rise; it's about understanding the delicate dance between time, temperature, and flour. A perfectly proofed loaf translates to a bread with exceptional texture, flavor, and overall eating experience – a far cry from the dense, gummy, or collapsed loaves that result from proofing errors. This knowledge is crucial for any baker, regardless of skill level, striving for consistent, delicious results.
The journey of perfecting rustic bread proofing is a testament to the enduring power of observation and patience. It's a process that demands attentiveness to detail, a willingness to learn from mistakes, and an appreciation for the subtle nuances of fermentation. The rewards, however, are immeasurable. The satisfaction of biting into a crusty, airy loaf, born from your own hands and careful attention, is a feeling that transcends mere culinary achievement. Bread is the staff of life,
they say, and mastering its creation is a journey of self-discovery as much as it is a culinary pursuit.
Now, it's your turn. Take what you've learned here – the understanding of over- and under-proofing, the importance of environmental control, and the patience required for this process – and apply it to your next bake. Don't be afraid to experiment, to adjust your techniques, and to learn from each loaf you create. The path to perfect rustic bread is a journey of continuous learning, and each loaf is a step closer to mastering this beautiful craft. Embrace the process, celebrate the successes, and learn from the setbacks – the journey itself is as rewarding as the destination.
Unleash Your Inner Bread Wizard: Master Your Rustic Loaf!
Thanks for taking the time to delve into the art of rustic bread baking! We hope you gained valuable insights into troubleshooting those pesky proofing problems. Now, it's time to put your newfound knowledge into action.
- Bake your perfect loaf: Try the adjusted proofing techniques from the article, focusing on the method that best suits your environment and flour. Document your results – you might discover a hidden baking superpower!
- Share your success (or challenges!): We'd love to hear about your baking journey. Post a picture of your masterpiece (or your learning experience!) on social media and tag us – let's build a community of bread-baking enthusiasts!
- Explore our other resources: Dive deeper into the world of bread-making by browsing our other helpful guides and recipes on the BakeWithEase website.
Ready to conquer your next rustic bread challenge? What small adjustment will you make to perfect your proofing technique?