Mastering Ganache Drips for a Professional Cake Finish
🍫 Elevate your cake decorating skills with our easy ganache drip recipe, offering a smooth, professional finish. BakeWithEase.com provides step-by-step tips to…
Read article
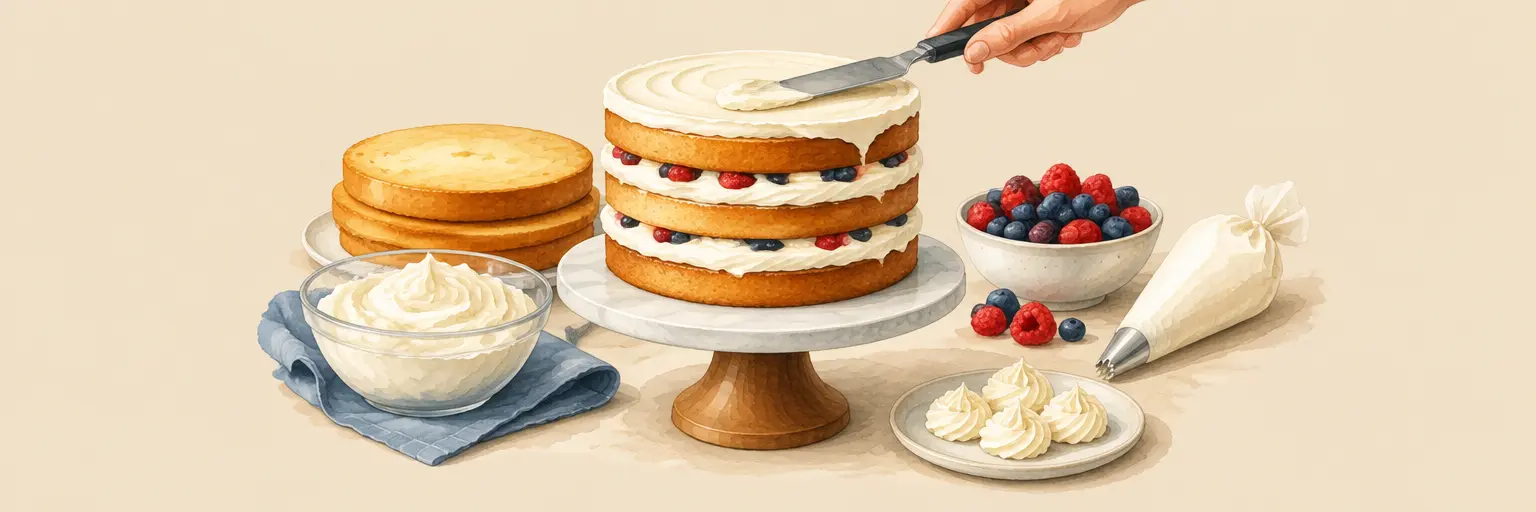
Master the art of layer cake assembly and decoration with ease! Whether you’re stacking moist sponges with silky buttercream or creating show-stopping drip effects, this is where your dessert dreams come to life. From perfect crumb coating to smooth frosting edges, we break down every step—so you can build bakery-worthy cakes right at home. Learn to level, fill, and chill like a pro, then explore fun techniques like piping borders, adding fresh fruit, or crafting elegant floral designs. With our simple, foolproof methods and time-saving tips, you’ll turn any occasion into a celebration. Get ready to impress with towering, beautifully decorated layers—no professional skills required, just a little patience and our guidance!
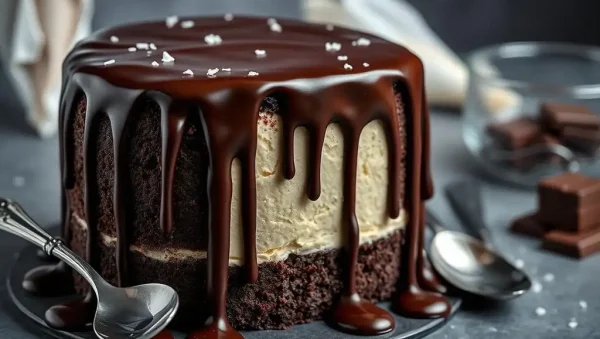
🍫 Elevate your cake decorating skills with our easy ganache drip recipe, offering a smooth, professional finish. BakeWithEase.com provides step-by-step tips to…
Read article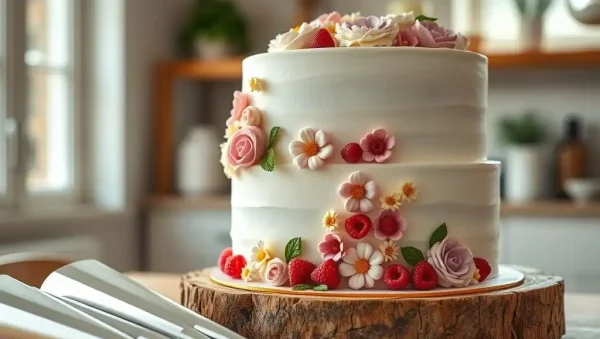
🌸 Discover the art of easy flower piping layer cakes with our beginner-friendly tips on BakeWithEase.com. Perfect your cake decorating skills effortlessly,…
Read article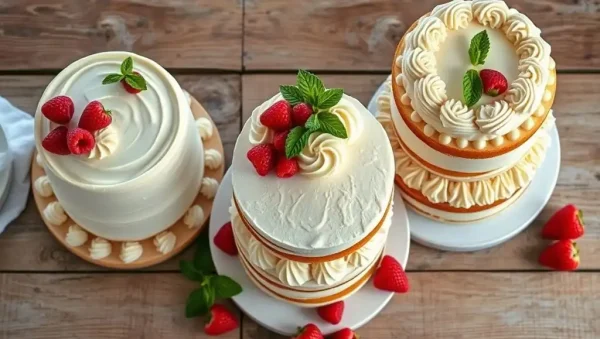
🎂 Unlock your baking potential with our Easy layer cake decorating ideas, perfect for all skill levels. Whether you're just starting or…
Read article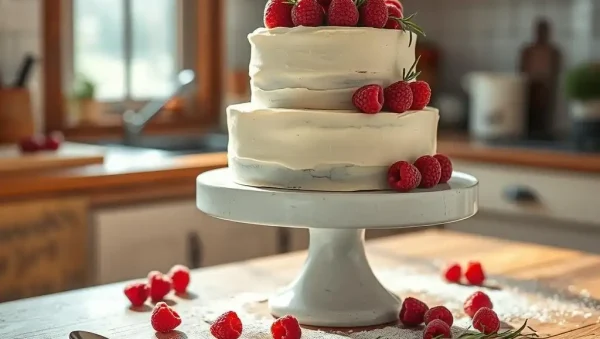
😊 Discover delightful and easy layer cake decorating ideas that will elevate your baked creations. BakeWithEase.com offers simple tips and techniques to…
Read article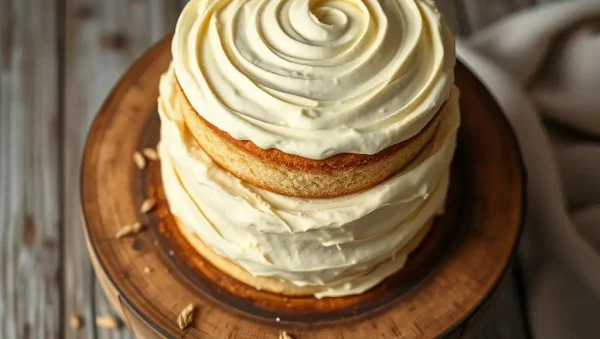
😊 Discover simple techniques for achieving perfect "easy cake frosting no tools" on BakeWithEase.com. This guide helps bakers of all levels master…
Read article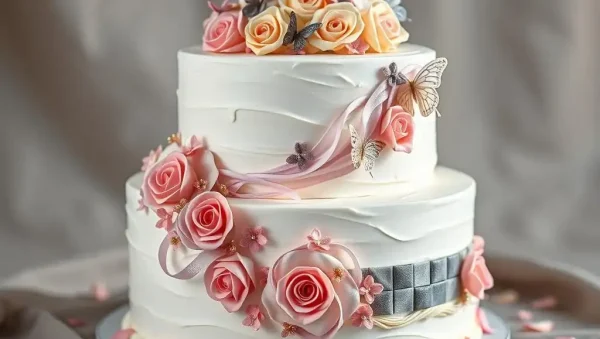
🌟 Discover how to elevate your cake creations with fondant cake decorating accents, adding elegance and personalized flair. BakeWithEase.com offers simple techniques…
Read article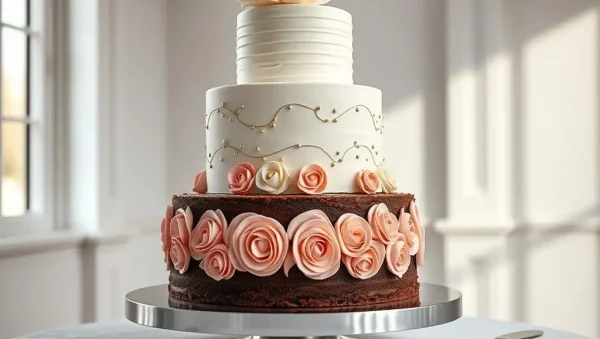
😊 Discover the essential tips in our multitier cake stacking tutorial to confidently assemble and secure layered cakes. BakeWithEase.com simplifies this complex…
Read article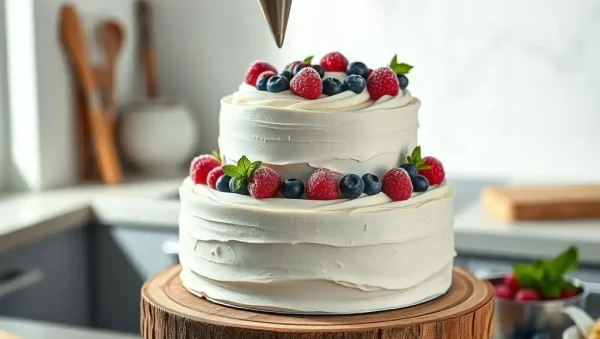
😊 Discover the easiest way to achieve flawless, delicious results with our Easy Layer Cake Frosting tips. Perfect for beginners and pros…
Read article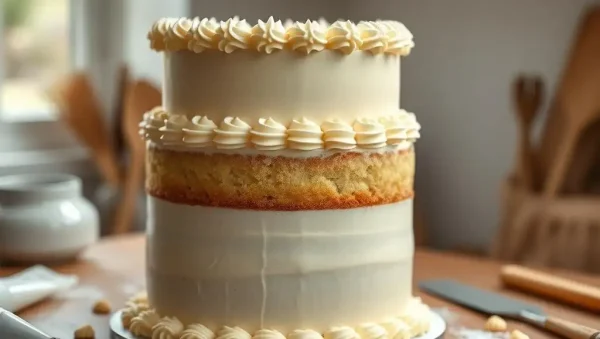
😊 Discover the charm of easy layer cake shell borders—an elegant piping technique that elevates your cake decorating skills. Perfect for bakers…
Read article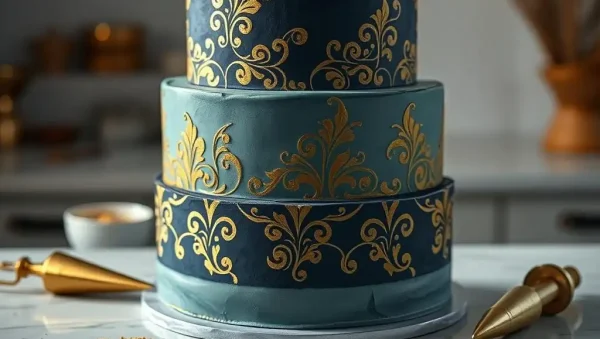
🎂 Discover the art of stenciled layer cake decorations with BakeWithEase.com, your ultimate baking resource. Learn simple techniques to create stunning, personalized…
Read article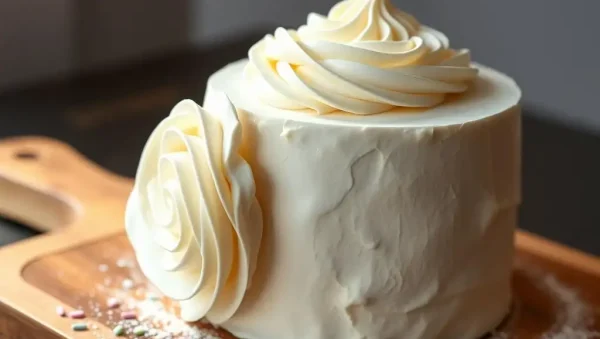
✨ Discover effortless ways to create stunning cake decorations with our "Simple Swirls and Peaks" guide. Perfect for beginners, these easy buttercream…
Read article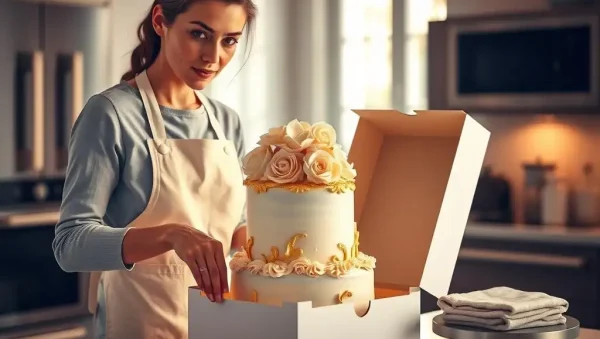
🚚 Discover easy tips to transport decorated layer cake safely with BakeWithEase.com. Learn practical techniques and simple steps to ensure your beautifully…
Read articleWelcome to the ultimate guide for layer cake assembly and decoration at BakeWithEase. Whether you're crafting a birthday showstopper or a minimalist naked cake, this subcategory is your blueprint for flawless structure, silky frostings, and professional-grade finishes. From leveling sponge layers to piping intricate borders, we cover every technique with step-by-step clarity. Expect practical solutions for common pitfalls—like crumbling layers, sliding tiers, or melted buttercream—plus creative design ideas that turn simple bakes into edible art. Dive in to elevate your pastry skills and impress every guest with cakes that look as incredible as they taste.
Before you begin assembly, gather the right equipment to ensure precision and ease. A turntable is non-negotiable for smooth frosting application, while a serrated knife or cake leveler achieves even layers. Invest in a sturdy cake board, offset spatulas (straight and angled), and a bench scraper for clean sides. Piping bags with assorted tips—round, star, and petal—allow versatile decoration. Don’t forget a crumb coat brush and a damp cloth to keep surfaces spotless. These tools reduce frustration and yield professional results, especially for beginners who may struggle with uneven stacking or smudged finishes.
Beyond basics, consider a cake lifter for transferring layers without breakage and a drip tray for chocolate or caramel glazes. A digital scale ensures consistent layer thickness, which is crucial for level tiered cakes. For dome-free tops, use a hot, dry knife to trim gently. If you plan to stack multiple tiers, dowels and a central support rod are essential to prevent collapse. Each tool addresses a specific challenge—like cracked frosting or lopsided layers—so a well-stocked kit saves time and enhances your creative freedom. Prioritize quality over quantity; a few reliable pieces outperform a drawer full of gadgets.
Flawless assembly begins with perfectly leveled cakes. After cooling completely, use a serrated knife to slice off any dome, holding the knife horizontally and rotating the cake for an even cut. For multi-layer cakes, aim for three or four equal layers—use a ruler or toothpicks as guides. Next, apply a simple syrup (equal parts sugar and water, often with vanilla) to each layer for added moisture and flavor. When filling, pipe a ring of frosting around the edge to create a dam, then fill the center with jam, curd, or buttercream. This prevents spillage and keeps layers stable.
Stacking requires patience and a steady hand. Place the first layer cut-side up on a cake board, spread a generous amount of filling, then add the next layer cut-side down to ensure flat top. Repeat, pressing gently to remove air pockets. For tall cakes, chill each layer for 15 minutes before stacking to reduce sliding. Use a leveler to trim any unevenness after assembly. Finally, apply a thin crumb coat—a light layer of frosting that traps crumbs—and refrigerate for 20 minutes. This sets the foundation for a clean final coat, ensuring smoother edges and fewer visible imperfections. Remember, stacking is about balance; use a spirit level on the turntable to avoid tilts.
Buttercream remains the most versatile finish, offering creamy texture and easy tinting. Master a Swiss meringue or American buttercream; the former is silkier, while the latter is simpler. For a smooth exterior, apply a thick layer of frosting using an offset spatula, then use a bench scraper held at a 45-degree angle while rotating the turntable. Achieve a rustic “naked cake” look by leaving sides exposed with a light top layer. Ganache—a mix of cream and chocolate—pours over chilled cakes for a glossy drip effect; temperature control is key, so test consistency on a spoon first. Fondant offers a sleek, modern finish but requires kneading and rolling to avoid cracks.
Each finish demands different techniques. For buttercream, chill the cake between coats to prevent air bubbles; for ganache, ensure the cake is cold to set quickly. Fondant-covered cakes need a smooth, crumb-free base—use a thin layer of ganache or buttercream as a “glue.” You can also combine finishes: a ganache drip over buttercream sides adds drama, while fondant accents like bows or flowers create sophistication. Practice on dummy cakes to perfect your technique without waste. Remember, the finish is not just aesthetic—it seals in moisture, so a well-applied coating prolongs freshness. Experiment with textures, from whipped frosting to mirror glazes, to find your signature style.
Piping transforms a plain cake into a masterpiece. Start with a star tip (e.g., 1M) for classic rosettes and shell borders, perfect for covering imperfections. Use a round tip for writing, dots, and simple lines, while a petal tip (e.g., 104) creates lifelike flowers like roses or tulips. For grass or fur textures, choose a multi-opening tip. Practice on parchment paper to control pressure and speed—too much pressure causes blobs, too little creates thin broken lines. A coupler allows you to switch tips without changing bags, saving time during complex designs. Always fill your piping bag half full to avoid overflow and twist the top to prevent air pockets.
Borders frame your cake and hide seams. A classic shell border uses a star tip in a back-and-forth motion, while a drop flower border adds delicate flourishes. For a modern look, try a rope border by piping overlapping “S” shapes with a round tip. Basketweave patterns require a ridged tip and alternating vertical/horizontal lines. When stacking a border along the bottom edge, start at the back and work forward to hide the tail. For drip cakes, pipe a test drip onto the top edge before committing to the full pour. Piping is forgiving—imperfections can be smoothed with a warm spatula or covered with sprinkles. With practice, you’ll develop muscle memory, making intricate patterns feel effortless.
Unleash creativity with themes that wow. For birthdays, create a rainbow layer cake by tinting separate batters and stacking in ROYGBIV order; finish with a swirl of white buttercream. For weddings, an ombre effect—where frosting darkens from light to deep—is romantic; use gel colors mixed in small batches. The drip cake with chocolate or caramel and fresh fruit on top is a crowd-pleaser, while a mirror glaze (gelatin-based) produces a shiny, artistic surface ideal for special events. Nostalgic sprinkle cakes—pressing colorful jimmies onto fresh frosting—are playful and simple for kids’ parties. For holidays, use stencils with powdered sugar or cocoa to imprint patterns like snowflakes or hearts.
Don’t shy from edible flowers, which add elegance—just ensure they’re pesticide-free and gently pressed into frosting. For texture, try crumb coatings with crushed cookies or nuts on sides. Use a cake comb to create vertical ridges for a trendy “fur” effect. Themed toppers—candles, figurines, or macarons—provide quick focal points. Always consider the flavor pairing: tart fruit filling pairs well with sweet buttercream, while dark chocolate ganache complements vanilla sponge. Presentation extends beyond the cake—place it on a pretty stand and add fresh herbs for a rustic touch. With these ideas, every occasion becomes a canvas for your unique artistry, ensuring cakes that are both memorable and photo-worthy.
Ensure your cake is fully cooled and chilled before assembly. Use a classic buttercream as a “glue” between layers, and always spread filling to the edges to create a seal. For tall cakes, insert dowels or a central support rod into the lower tiers, placing them just below the top surface. Refrigerate the assembled cake for 20–30 minutes before adding the final coat.
Opt for a crusting buttercream (American-style with more powdered sugar) or a Swiss meringue buttercream with added stabilizers like cocoa butter. A ganache with a higher chocolate-to-cream ratio also holds shape. Keep the cake in an air-conditioned room and avoid direct sunlight; if serving outdoors, display it on a chilled slate or use a cooling mat underneath.
Your crumb coat may be too thick or your frosting too warm. Chill the cake for 30 minutes after stacking, then apply a very thin layer—just enough to seal crumbs. Use a warmed offset spatula to smooth it, but don’t overwork. Always refrigerate again before adding the final thick coat, and ensure your frosting is at room temperature (not melted).
After applying the final coat, chill the cake for 10 minutes. Then, using a bench scraper pre-heated in hot water and dried, run it smoothly around the sides while rotating the turntable. For the top edge, use an offset spatula at a 45-degree angle, pulling toward the center. Repeat until edges are crisp.
Yes, but first drain or macerate the fruit to reduce excess liquid. Coat berries with a thin layer of jam or a dusting of cornstarch, and place a piping ring of buttercream around the cake’s edge to create a dam. Avoid overfilling; use a modest layer of fruit, and consume within 24 hours for best texture.