
GlutenFree NutFree Pizza Dough: Crispy and Yeasty

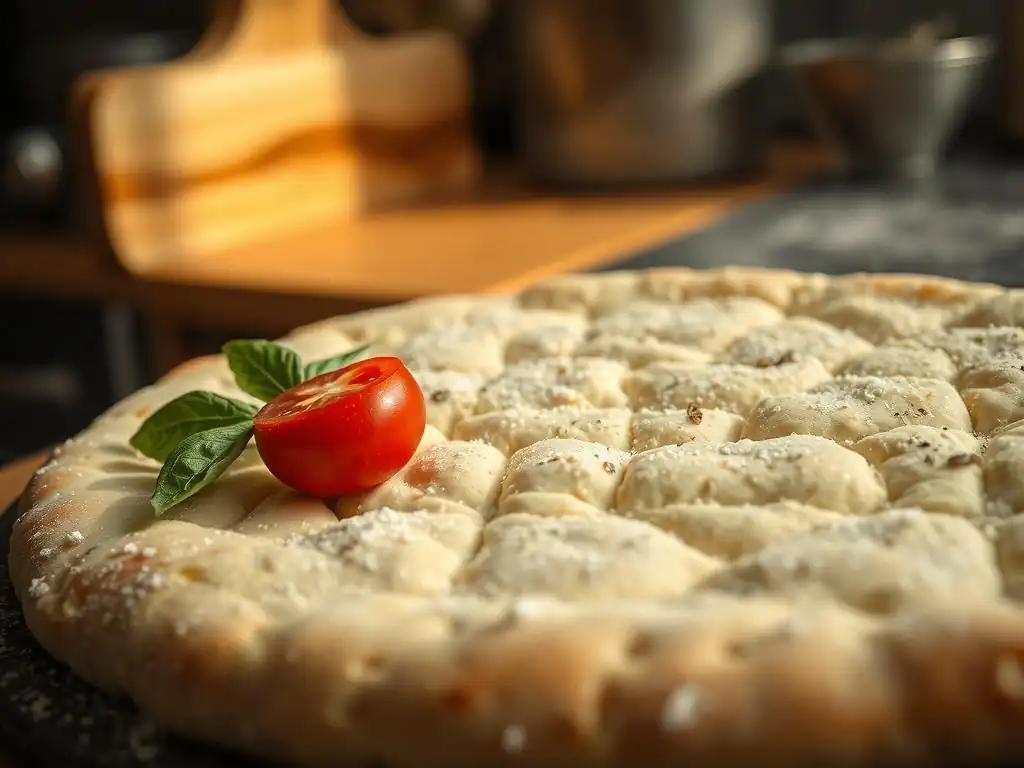
Welcome to BakeWithEase, your haven for stress-free baking adventures! Are you ready to unlock the secret to a perfectly crispy and yeasty GlutenFree NutFree Pizza Dough? We understand the challenges of dietary restrictions, and this guide is your passport to delicious, worry-free pizza nights. Discover how simple ingredients and clever techniques can transform your kitchen into a gluten-free and nut-free pizzeria – keep reading to find out how!
- Gluten-Free, Nut-Free Pizza Dough: Crispy and Yeasty Perfection
- A Guide to Gluten-Free, Nut-Free Pizza Dough
- Understanding Gluten-Free and Nut-Free Baking
- Ingredients for Gluten-Free, Nut-Free Pizza Dough
- Step-by-Step Instructions: Crafting Your Gluten-Free, Nut-Free Pizza Dough
- Tips and Tricks for Gluten-Free Nut-Free Pizza Success
- Gluten-Free, Nut-Free Pizza Recipe Variations
- Serving Suggestions and Topping Ideas
- Why This Gluten-Free, Nut-Free Pizza Dough Recipe Works
-
Frequently Asked Questions
- How does this gluten-free and nut-free pizza dough achieve a crispy crust?
- Can I substitute any of the gluten-free flours listed in the recipe?
- What kind of yeast is best to use for this gluten-free, nut-free pizza dough?
- How can I prevent the pizza dough from becoming too sticky while working with it?
- Is it possible to make this gluten-free and nut-free pizza dough ahead of time?
- Final Reflection: The Delicious Possibilities of Inclusive Baking
- Unleash Your Inner Pizzaiolo: Craft the Perfect Gluten-Free, Nut-Free Crust!
Gluten-Free, Nut-Free Pizza Dough: Crispy and Yeasty Perfection
A Guide to Gluten-Free, Nut-Free Pizza Dough
Creating a delicious pizza crust when navigating dietary restrictions like gluten and nuts can feel like a challenge. Traditional pizza dough relies heavily on gluten for its structure and chewiness, and many gluten-free recipes turn to nut flours for texture and flavor. This guide provides a reliable recipe and detailed instructions for a gluten-free nut-free pizza dough that delivers on both crispiness and that desirable yeasty flavor, ensuring everyone can enjoy pizza night without worry.
This recipe is specifically designed to avoid ingredients containing gluten, such as wheat, barley, and rye, as well as common nuts like almonds, walnuts, and peanuts, which are frequent allergens. We'll walk through the unique properties of gluten-free and nut-free ingredients and how they work together to create a satisfying pizza crust, perfect for your next homemade gluten-free nut-free pizza.
Understanding Gluten-Free and Nut-Free Baking
What Makes This Pizza Dough Gluten-Free and Nut-Free?
This gluten-free nut-free pizza dough is crafted using a blend of gluten-free flours and starches, specifically excluding any wheat, barley, or rye derivatives. Instead, it leverages ingredients like white rice flour, tapioca starch, and potato starch. These alternative flours provide the necessary bulk and some structural support, though they lack the elastic network that gluten forms. By carefully selecting these components, we ensure the base is completely free from gluten, making it safe for individuals with celiac disease or gluten sensitivity.
Furthermore, the recipe strictly avoids all tree nuts and peanuts. Many gluten-free baking recipes utilize almond flour or other nut flours to add richness, texture, and protein. However, for those with nut allergies, these are not an option. Our approach relies on binders like psyllium husk and xanthan gum, along with a balanced blend of starches and flours, to achieve a texture comparable to traditional pizza dough without the need for any nut-based ingredients. This makes it a safe and delicious option for families managing both gluten and nut allergies.
The Challenges of Gluten-Free Pizza Dough
One of the primary hurdles in creating gluten-free pizza dough is compensating for the absence of gluten. Gluten proteins, when hydrated and kneaded, form a stretchy, elastic network that traps the carbon dioxide gas produced by yeast. This network is what gives traditional pizza dough its signature chewiness, structure, and ability to rise significantly. Without gluten, doughs tend to be crumbly, dense, or gummy, and they often don't hold their shape or rise as well.
To overcome these challenges when making a gluten-free nut-free pizza dough, specific techniques and ingredients are necessary. Binders like xanthan gum and psyllium husk are crucial as they absorb liquid and provide some of the elasticity and structure that gluten would normally offer. The hydration level is also key; gluten-free doughs often require more liquid than their wheat-based counterparts to prevent crumbling and ensure the binders are properly activated. Careful handling, avoiding excessive kneading, and specific proofing and baking methods are also vital for achieving a desirable texture in gluten-free nut-free pizza dough.
The Role of Yeast in Gluten-Free Baking
Yeast plays the same fundamental role in gluten-free baking as it does in traditional baking: it consumes sugars and produces carbon dioxide gas and alcohol through fermentation. This gas is what causes dough to rise, creating a lighter, airier texture, and the fermentation process contributes significantly to the dough's flavor profile, giving it that characteristic yeasty tang. While gluten isn't present to form a strong network to trap the gas, yeast is still essential for lift and flavor in gluten-free nut-free pizza dough.
In a gluten-free matrix, binders work in conjunction with the yeast. The psyllium husk and xanthan gum help to create a structure that can hold onto some of the gas produced by the yeast, allowing the dough to rise. Achieving optimal yeast activity is crucial; ensuring the water is the correct temperature (typically between 105°F and 115°F or 40°C and 46°C) for activation and providing a warm environment for proofing helps the yeast perform its job effectively, contributing to a better rise and flavor in your gluten-free nut-free pizza dough.
Ingredients for Gluten-Free, Nut-Free Pizza Dough
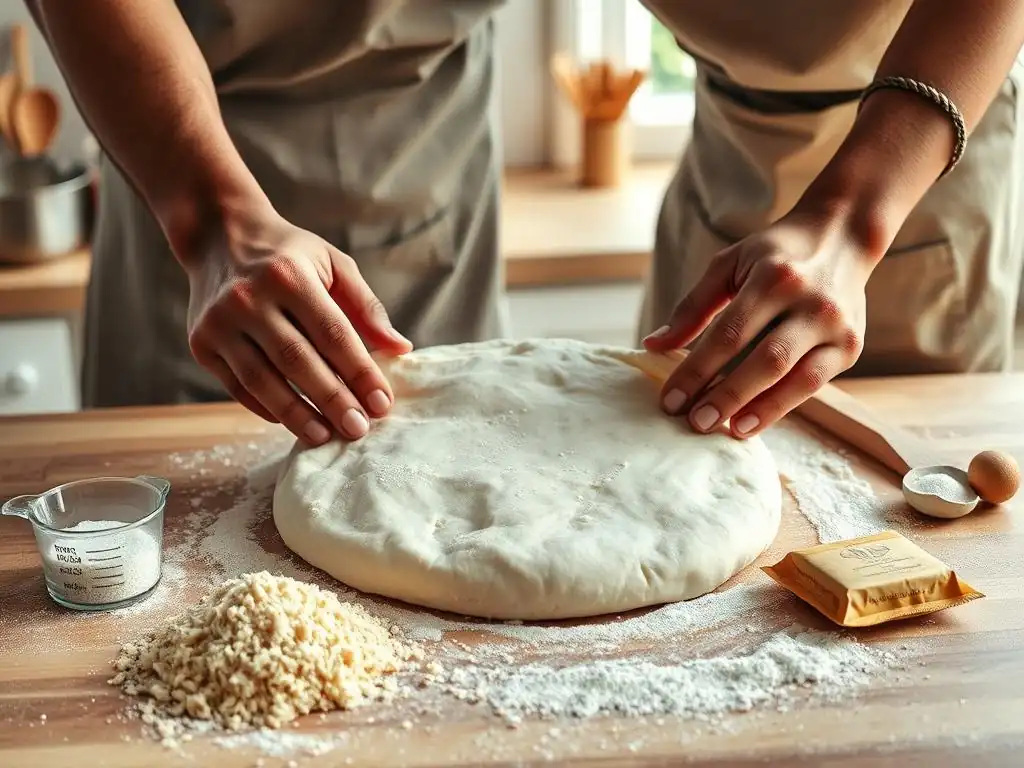
Gluten-Free Flour Blend: Rice Flour, Tapioca Starch, Potato Starch
A balanced blend of gluten-free flours and starches is foundational to successful gluten-free nut-free pizza dough. White rice flour typically provides the primary structure and bulk for the dough, acting as a reliable base. However, using only rice flour can result in a gritty or dry texture.
Incorporating starches like tapioca starch and potato starch is essential for improving the dough's texture. Tapioca starch (also known as tapioca flour) adds chewiness and helps the crust brown nicely, contributing to a slightly crisp exterior. Potato starch adds tenderness and a finer crumb structure. A common effective ratio often seen in commercial blends or recommended for homemade mixtures might be approximately 60% rice flour, 20% tapioca starch, and 20% potato starch, though slight variations exist. Using such a blend helps mimic some of the desirable qualities of wheat flour in your gluten-free nut-free pizza dough.
Yeast Selection: Active Dry Yeast
For this gluten-free nut-free pizza dough recipe, active dry yeast is a reliable choice. Active dry yeast comes in small granules and needs to be proofed or activated in warm liquid before being combined with the dry ingredients. This process confirms the yeast is alive and ready to work, and it gives it a head start in producing carbon dioxide.
Typically, one standard packet of active dry yeast (about 2.25 teaspoons or 7 grams) is sufficient for a recipe yielding one or two medium pizzas. Activating it involves dissolving it in a measured amount of warm water (around 105-115°F) with a pinch of sugar. Within 5-10 minutes, the mixture should become foamy and bubbly, indicating the yeast is active. If no foam appears, the yeast is likely dead, and you'll need to start this step over with fresh yeast to ensure your gluten-free nut-free pizza dough rises properly.
Binders: Psyllium Husk and Xanthan Gum
In the absence of gluten, binders are critical for providing structure and elasticity to gluten-free nut-free pizza dough. Psyllium husk, derived from the seeds of the Plantago ovata plant, is an excellent binder. When combined with liquid, it forms a gel that helps hold the dough together, adds flexibility, and prevents it from becoming too crumbly. It significantly improves the dough's handleability and the final crust's texture.
Xanthan gum is another widely used binder in gluten-free baking. It's a polysaccharide produced by the fermentation of sugar by the bacterium Xanthomonas campestris. Xanthan gum provides viscosity and elasticity, helping to trap the gases released by the yeast and giving the dough some stretch.
Using both psyllium husk and xanthan gum in combination often yields the best results in gluten-free nut-free pizza dough, providing a more balanced texture that is less prone to gumminess than using just one binder alone. Typical usage might involve about 1 teaspoon of xanthan gum and 1-2 tablespoons of psyllium husk per recipe, depending on the total flour amount.
Liquid Ingredients: Warm Water and Olive Oil
Warm water is essential for activating the yeast and hydrating the dry ingredients, including the gluten-free flour blend and binders. The temperature of the water is crucial for the yeast's activity; too hot can kill it, while too cold won't activate it effectively. A temperature range of 105-115°F (40-46°C) is generally recommended for proofing active dry yeast. Sufficient hydration is also necessary for the psyllium husk and xanthan gum to form their gel-like structures, which are vital for the texture of the gluten-free nut-free pizza dough.
Olive oil serves multiple purposes in this gluten-free nut-free pizza dough. It adds richness and flavor to the crust. More importantly, it contributes to the dough's tenderness and helps achieve a crispy exterior when baked. The fat in the oil coats the flour particles, inhibiting excessive moisture absorption and promoting a more tender crumb while preventing the crust from becoming too hard. A typical recipe might use 1-2 tablespoons of olive oil, adding both culinary appeal and functional benefits to the dough.
Optional Additions: Italian Herbs and Garlic Powder
Adding Italian herbs and garlic powder can significantly enhance the flavor profile of your gluten-free nut-free pizza dough, infusing the crust itself with aromatic notes. Dried Italian herbs like oregano, basil, rosemary, and thyme are excellent choices. They can be added directly to the dry ingredients before mixing.
Garlic powder provides a savory depth that complements almost any pizza topping. A teaspoon or two, added with the dry ingredients, can make a noticeable difference in the final taste of your gluten-free nut-free pizza crust. These additions are completely optional but highly recommended for an extra layer of flavor that makes your homemade gluten-free nut-free pizza even more satisfying.
Step-by-Step Instructions: Crafting Your Gluten-Free, Nut-Free Pizza Dough
Step 1: Activating the Yeast
Begin by measuring out the warm water into a small bowl or measuring cup. Ensure the temperature is within the optimal range of 105-115°F (40-46°C). Add a pinch of sugar to the water – this provides a little food for the yeast to get started. Sprinkle the active dry yeast over the surface of the warm sugary water.
Do not stir the mixture immediately. Let it sit undisturbed for about 5 to 10 minutes. During this time, the yeast should absorb the water and begin to activate. You will know the yeast is active and healthy if the mixture becomes foamy and bubbly on top. If, after 10 minutes, there is little to no foam, your yeast may be old or the water temperature was incorrect, and you should discard it and start again with fresh yeast to ensure your gluten-free nut-free pizza dough rises properly.
Step 2: Combining Dry Ingredients
While the yeast is activating, combine all the dry ingredients in a large mixing bowl. This includes your gluten-free flour blend (rice flour, tapioca starch, potato starch), psyllium husk, xanthan gum, and salt. If you are using the optional Italian herbs or garlic powder, add them now as well.
Whisk or stir these dry ingredients together thoroughly. It is particularly important to ensure the psyllium husk and xanthan gum are evenly distributed throughout the flour blend. This even distribution helps the binders work effectively when liquid is added, contributing to a more consistent texture throughout your finished gluten-free nut-free pizza dough.
Step 3: Adding Wet Ingredients and Mixing the Dough
Once the yeast mixture is foamy, add it to the bowl with the combined dry ingredients. Pour in the measured olive oil as well. Begin mixing the ingredients. You can use a sturdy spoon, a spatula, or a stand mixer fitted with a paddle attachment.
Mix until all the ingredients are thoroughly combined and a cohesive dough forms. Unlike traditional wheat dough, gluten-free dough, especially this gluten-free nut-free pizza dough, will be quite wet and sticky – it will not be kneadable in the traditional sense. Mix until there are no dry pockets of flour visible and the mixture resembles a thick batter or a very soft, sticky dough. Overmixing is generally not a concern with gluten-free dough since there's no gluten network to develop.
Step 4: First Rise: Proofing the Dough
After mixing, cover the bowl tightly with plastic wrap or a clean kitchen towel. Place the bowl in a warm spot to allow the dough to rise. An ideal temperature for proofing is between 75°F and 85°F (24°C and 30°C). This could be a slightly warm oven (turned off), near a sunny window, or simply on the counter in a warm kitchen.
Let the dough rise for approximately 45 to 60 minutes. Gluten-free doughs may not double in size as dramatically as wheat doughs, but you should see a noticeable increase in volume and puffiness. The dough will become lighter and more airy as the yeast produces gas. This first rise is crucial for developing flavor and contributing to the final texture of your gluten-free nut-free pizza dough.
Step 5: Shaping the Pizza Dough
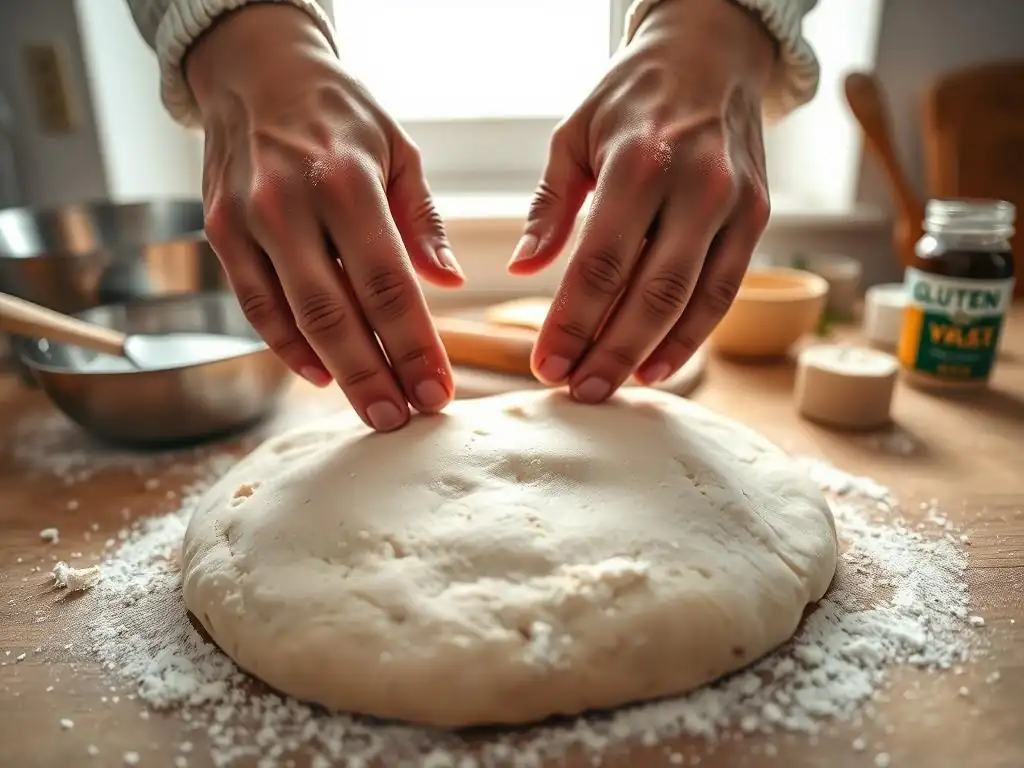
Gluten-free nut-free pizza dough is often too sticky to roll out like traditional dough. The easiest way to shape it is directly on your baking surface. If using a pizza stone or baking steel, you can place a sheet of parchment paper on a pizza peel or an inverted baking sheet, and then transfer the shaped dough on the parchment paper to the hot stone/steel. If using a regular baking sheet, you can oil it or line it with parchment paper.
Scoop or pour the dough onto the prepared surface. Because it's sticky, you might find it helpful to wet your hands slightly or oil them to prevent sticking. Gently press and spread the dough outwards from the center using your fingers or the back of a spoon. Shape it into your desired size and thickness – a round or rectangular shape works well. Aim for a relatively even thickness to ensure even baking.
Step 6: Second Rise: Final Proof
Once the gluten-free nut-free pizza dough is shaped on its baking surface, allow it to rest briefly before adding your toppings. This is a short second rise, or final proof, and it helps the dough relax slightly and hold its shape better during baking.
Cover the shaped dough lightly with plastic wrap or a kitchen towel to prevent the surface from drying out. Let it rest for about 10 to 15 minutes. You may notice a slight puffing during this time. This brief rest is important for the texture and ensures the crust isn't too dense after baking. While it rests, you can preheat your oven and prepare your toppings.
Step 7: Baking Your Gluten-Free, Nut-Free Pizza
Preheat your oven to a high temperature, typically between 450°F and 500°F (230°C and 260°C). For the crispiest crust on your gluten-free nut-free pizza, it's highly recommended to use a preheated pizza stone or baking steel if you have one. Place it in the oven while it preheats, giving it at least 30-60 minutes to get very hot.
Carefully transfer the shaped dough on its parchment paper onto the hot baking surface. Bake the crust for a few minutes (often 5-8 minutes) until it starts to set and puff slightly. This step, sometimes called blind baking or par-baking, helps prevent a gummy center.
Then, remove the crust from the oven, add your sauce and toppings, and return it to the oven to finish baking for another 8-12 minutes, or until the crust is golden brown and the toppings are cooked and cheese is melted and bubbly. The total baking time for a gluten-free nut-free pizza typically ranges from 10 to 20 minutes depending on thickness and oven temperature.
Tips and Tricks for Gluten-Free Nut-Free Pizza Success
Achieving a Crispy Crust
Getting a truly crispy crust on gluten-free nut-free pizza can be challenging but is definitely achievable with the right techniques. A high oven temperature is key; preheating your oven to 450°F (230°C) or even 500°F (260°C) helps the crust cook quickly and develop a crisp exterior before the interior becomes gummy. Using a preheated pizza stone or baking steel is arguably the most effective method, as it delivers intense heat directly to the bottom of the crust, promoting rapid crisping.
Another tip is to avoid overloading your pizza with too many wet toppings, as excess moisture can lead to a soggy crust. Consider par-baking the crust for 5-8 minutes before adding toppings, as mentioned in the baking steps; this allows the base to firm up significantly before the weight and moisture of the toppings are added. Finally, ensuring the dough is spread to a relatively thin, even layer also promotes faster cooking and crisping of your gluten-free nut-free pizza dough.
Preventing a Gummy Texture
A common issue with gluten-free baked goods, including pizza dough, is a gummy or dense texture. This often happens if the dough is underbaked, has too much liquid, or the balance of flours and binders is off. To prevent this in your gluten-free nut-free pizza dough, ensure you measure ingredients accurately, especially the liquid, as gluten-free flours can absorb moisture differently depending on the brand and type.
Proper baking time and temperature are crucial. Make sure the oven is fully preheated and bake the pizza until the crust is clearly golden brown and sounds hollow when tapped, indicating it is cooked through. Par-baking the crust before adding toppings (Step 7) is also a highly effective strategy to ensure the base is firm and cooked through before the toppings add weight and moisture, significantly reducing the risk of a gummy center in your gluten-free nut-free pizza.
Troubleshooting Common Problems
Sometimes, even with the best recipe, things don't go exactly as planned when making gluten-free nut-free pizza dough. If your dough doesn't rise, the most likely culprit is inactive yeast; double-check the water temperature during activation and ensure the yeast is fresh and foamy before proceeding. If the dough seems too dry and crumbly after mixing, you may need to add a tablespoon or two more water, as gluten-free flours can vary in absorption – add liquid gradually until it reaches a thick, sticky consistency.
If the baked crust is too hard or dense, it might be overbaked, spread too thin, or lack sufficient oil. Ensure you're not baking for too long and consider adding a little more olive oil in the future. If the crust is too soft or floppy, it's likely underbaked, the oven temperature wasn't high enough, or you overloaded it with toppings. Try increasing the baking time, preheating the oven and stone/steel longer, or reducing the amount of sauce and wet toppings on your gluten-free nut-free pizza.
Storing Gluten-Free Pizza Dough
Proper storage can help you enjoy your homemade gluten-free nut-free pizza dough at a later time. Uncooked dough can be stored in the refrigerator for 1 to 2 days. Place the dough in a lightly oiled bowl, cover it tightly with plastic wrap, and refrigerate. The dough may continue to rise slightly in the fridge, so ensure the bowl has enough room.
For longer storage, you can freeze the uncooked dough. Divide the dough into portions for individual pizzas, shape them roughly, wrap each portion tightly in plastic wrap, and then place in a freezer-safe bag or container. Frozen gluten-free nut-free pizza dough can be stored for up to 1 month.
Thaw it overnight in the refrigerator before using, then let it come to room temperature for about 30-60 minutes before shaping and baking. Cooked gluten-free nut-free pizza leftovers can be stored in an airtight container in the refrigerator for 3-4 days and reheated in the oven or a toaster oven for best results.
Gluten-Free, Nut-Free Pizza Recipe Variations
Thin Crust Gluten-Free Pizza
Creating a thin crust version of this gluten-free nut-free pizza dough is simple and results in a wonderfully crispy base, perfect for those who love a cracker-like texture. Instead of using the entire batch of dough for one or two pizzas, divide it into smaller portions. For a thin crust, you'll want to spread the dough much thinner than you would for a standard crust, aiming for a thickness of about 1/8 to 1/4 inch (around 3-6mm).
When shaping, ensure you spread the dough evenly across the parchment paper or oiled baking sheet. Because the crust is thinner, it will likely bake faster than a thicker crust. Keep a close eye on it in the oven, especially during the par-baking phase, to prevent it from becoming too brittle or burning. This variation of the gluten-free nut-free pizza dough is excellent for maximizing crispiness.
Deep Dish Gluten-Free Pizza
For a heartier, more substantial pizza, you can adapt this gluten-free nut-free pizza dough recipe for a deep dish style. This requires using a deep dish pizza pan or a springform pan. You will need more dough per pizza compared to a thin or standard crust – potentially using the entire batch for a single deep dish pizza depending on the pan size (e.g., a 9-inch pan might use the full recipe).
Press the dough firmly into the bottom and up the sides of the greased or lined pan. Ensure the dough is evenly thick across the bottom and creates a sturdy wall around the edge to hold the generous fillings typical of deep dish pizza. Deep dish pizzas require a longer baking time at a slightly lower temperature (perhaps 400-425°F or 200-220°C) to ensure the thicker crust cooks through without burning the top. This adaptation provides a satisfyingly thick and chewy base for your gluten-free nut-free pizza.
Gluten-Free Pizza with Dairy-Free Pesto and Roasted Vegetables
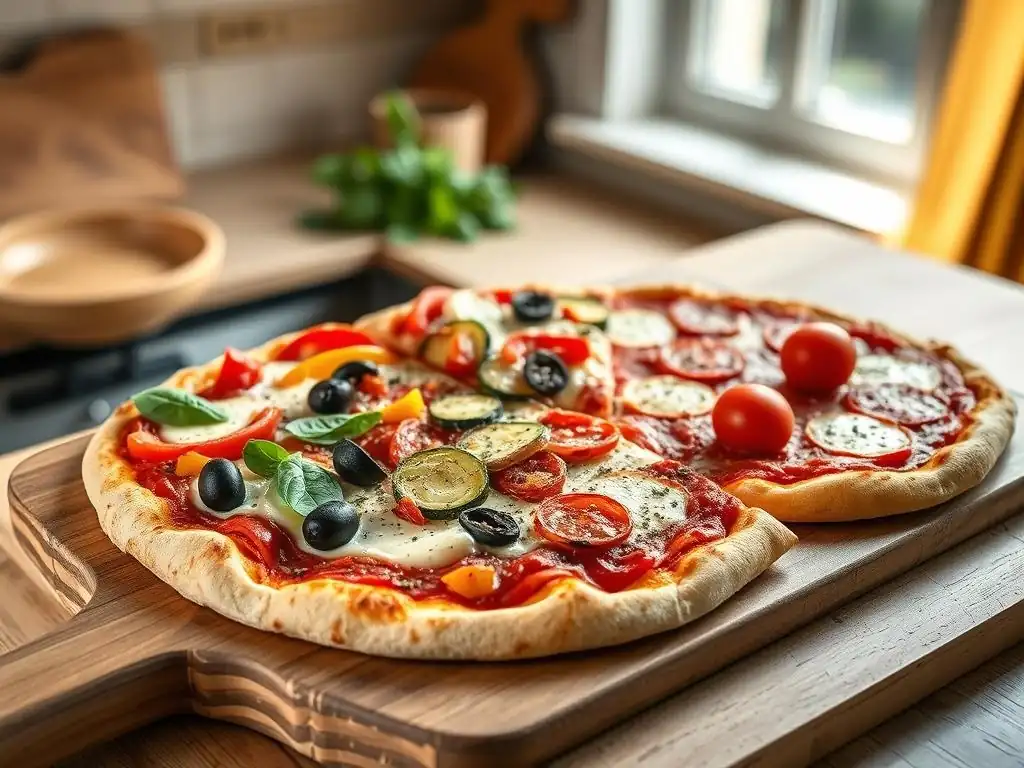
This specific variation showcases how versatile this gluten-free nut-free pizza dough can be for allergen-friendly meals. Instead of a traditional tomato sauce, you can use a delicious dairy-free and nut-free pesto. A nut-free pesto can be made by substituting pine nuts with sunflower seeds, pumpkin seeds, or by simply increasing the amount of fresh basil and adding nutritional yeast for a cheesy flavor, blended with garlic, olive oil, salt, and pepper.
Top the pesto-covered crust with a medley of roasted vegetables. Bell peppers (red, yellow, orange), zucchini, mushrooms, onions, and cherry tomatoes tossed with olive oil, salt, and herbs and roasted until tender make fantastic toppings. Ensure the vegetables are roasted beforehand to remove excess moisture, which helps keep the gluten-free nut-free pizza crust crispy. Add some dairy-free cheese shreds if desired, or enjoy it as a vegetable-forward pizza.
Serving Suggestions and Topping Ideas
Delicious Gluten-Free Pizza Topping Combinations
Once you have your perfectly baked gluten-free nut-free pizza crust, the topping possibilities are endless! Beyond the classic cheese and tomato, consider combinations like spinach and artichoke (using dairy-free cream cheese and artichoke hearts), mushroom and "sausage" (using plant-based sausage crumbles), or a simple yet flavorful garlic and herb pizza brushed with olive oil and sprinkled with fresh herbs and garlic.
For a vibrant option, try a Mediterranean-inspired topping with dairy-free feta alternative, Kalamata olives, cherry tomatoes, and red onion after the pizza is baked. A BBQ "chicken" pizza using shredded jackfruit or a plant-based chicken alternative tossed in nut-free BBQ sauce is another crowd-pleaser. Experiment with your favorite flavors, keeping in mind not to overload the gluten-free nut-free pizza crust with excessive moisture.
Dairy-Free Cheese Alternatives for Pizza
Finding suitable dairy-free and nut-free cheese alternatives can enhance your gluten-free nut-free pizza experience. Several options are available on the market made from bases like soy, tapioca, or coconut oil. Look for shredded mozzarella-style alternatives that melt well. Brands vary in texture and meltability, so you may need to try a couple to find your favorite.
Nutritional yeast is an excellent non-melting option that provides a savory, cheesy flavor. Sprinkling nutritional yeast over your pizza before or after baking adds a distinct umami note without the need for dairy or nuts. For a creamy element, dollops of dairy-free ricotta alternative (often made from tofu or cashews - ensure it's nut-free if needed, check ingredients) can be added. Remember to always check ingredient labels carefully to ensure they meet your specific dietary needs for gluten-free nut-free pizza.
Why This Gluten-Free, Nut-Free Pizza Dough Recipe Works
The Science Behind the Recipe
This gluten-free nut-free pizza dough recipe is formulated based on understanding the roles of each ingredient in the absence of gluten. The blend of rice flour, tapioca starch, and potato starch provides a base structure and desirable texture contrasts – firmness from rice, chewiness from tapioca, and tenderness from potato.
The key to mimicking gluten's function lies in the binders: psyllium husk and xanthan gum. Psyllium husk's ability to form a gel helps create a network that provides flexibility and prevents crumbling, while xanthan gum adds elasticity and helps trap the CO2 gas produced by the yeast. The warm water activates the yeast for leavening and hydrates the flours and binders, allowing them to perform their functions.
Olive oil adds richness and helps achieve a crispy crust by interacting with the starches and promoting browning during baking. Together, these ingredients work synergistically to create a functional and delicious gluten-free nut-free pizza dough.
Addressing Common Gluten-Free Baking Concerns
This recipe specifically addresses the most frequent issues encountered when baking gluten-free, particularly the challenge of making a good pizza crust without gluten or nuts. By using a balanced flour blend and a combination of psyllium husk and xanthan gum, it effectively combats the tendency for gluten-free doughs to be crumbly or dense, providing better structure and handleability.
The detailed instructions, including specific temperature ranges for yeast activation and proofing times, help ensure proper leavening, tackling the issue of a flat crust. Strategies like par-baking the crust at a high temperature and managing toppings help prevent the dreaded gummy texture that can ruin a gluten-free nut-free pizza. This recipe provides a robust framework designed to yield consistent, satisfying results, making homemade gluten-free nut-free pizza accessible and enjoyable for everyone.
Frequently Asked Questions
How does this gluten-free and nut-free pizza dough achieve a crispy crust?
The recipe utilizes a blend of gluten-free flours and starches specifically chosen to create a crispy texture. Baking at a high temperature also helps evaporate moisture, leading to a crispy crust.
Can I substitute any of the gluten-free flours listed in the recipe?
While substitutions may be possible, we recommend sticking to the recipe for best results. Different gluten-free flours have varying binding properties and starch content, affecting the final texture and taste.
What kind of yeast is best to use for this gluten-free, nut-free pizza dough?
We recommend using instant dry yeast or active dry yeast that has been proofed first. Ensure the yeast is fresh, as it's crucial for proper dough rising and a light, airy texture.
How can I prevent the pizza dough from becoming too sticky while working with it?
Use plenty of gluten-free flour on your work surface and hands to prevent sticking. You can also try chilling the dough slightly before shaping it, making it easier to handle.
Is it possible to make this gluten-free and nut-free pizza dough ahead of time?
Yes, you can prepare the dough and store it in the refrigerator for up to 24 hours. Be sure to wrap it tightly in plastic wrap to prevent it from drying out. Let the dough come to room temperature before stretching and baking.
Final Reflection: The Delicious Possibilities of Inclusive Baking
The demand for gluten-free and nut-free recipes continues to grow, reflecting a wider societal shift towards inclusivity and dietary awareness. This recipe for crispy, yeasty gluten-free and nut-free pizza dough demonstrates that delicious, satisfying food can be accessible to everyone, regardless of dietary restrictions. It's not just about avoiding ingredients; it's about embracing creativity and finding innovative solutions in the kitchen.
Creating this recipe wasn't just about finding the right flour blend and yeast ratio; it was about understanding the needs and desires of a growing community. The joy of sharing a pizza, a universally loved food, shouldn't be limited by dietary concerns. Food is symbolic of love when words are inadequate.
- Alan D. Wolfelt. This quote perfectly encapsulates the importance of making delicious and inclusive food available to everyone, fostering connection and shared experiences. The ongoing evolution of gluten-free and allergy-friendly baking reflects a broader societal shift towards empathy and understanding.
Now, it's your turn. Consider the possibilities beyond this recipe. What other inclusive culinary adventures can you embark on? Experiment with different flour blends, explore new flavor combinations, and most importantly, share your creations with others. Let's continue to build a world where everyone can enjoy the simple pleasure of a delicious, homemade pizza, regardless of their dietary needs. The kitchen is a place of innovation and connection – let's make it truly inclusive.
Unleash Your Inner Pizzaiolo: Craft the Perfect Gluten-Free, Nut-Free Crust!
Thanks for joining us on this delicious journey into gluten-free and nut-free pizza dough! We hope you've gained the confidence to create crispy, yeasty perfection in your own kitchen. Ready to take the next step?
- Bake your dream pizza: Use this recipe as your base, experimenting with your favorite toppings. Don't be afraid to get creative!
- Share your culinary masterpiece: Post a picture of your creation on social media and tag us @BakeWithEase (we can't wait to see it! ).
- Join our baking community: Head over to the BakeWithEase forum to share tips, recipes, and your pizza-making triumphs (and challenges! ).
What unexpected topping will you be adding to your gluten-free, nut-free pizza creation? Let us know in the comments below!