
Tempering Chocolate Made Easy: Achieve Professional Shine and Snap

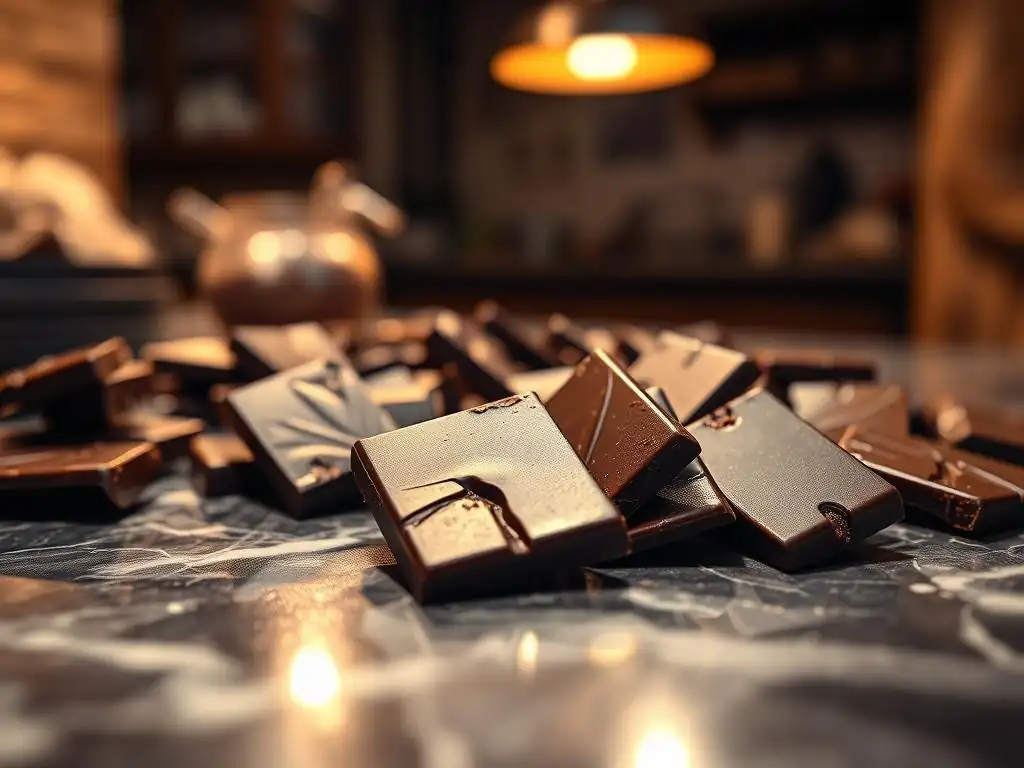
Welcome to BakeWithEase, your trusted guide to the sweet world of baking! Ever dreamed of creating chocolate masterpieces with that perfect snap and glossy shine? Unlocking the secrets to achieving professional-quality results is easier than you think. This week, we're diving deep into easy chocolate tempering techniques, revealing the simple methods that will transform your creations. Ready to melt away your chocolate worries and elevate your desserts? Let's get started!
- Mastering Chocolate Tempering: A Guide for Home Bakers
- Understanding Chocolate Tempering: Achieving Perfect Shine and Snap
- Tempering Techniques: Practical Methods for Home Use
- Equipment and Ingredients: Essential Tools and Chocolate Selection
- Troubleshooting: Addressing Common Tempering Challenges
- Applications: Using Tempered Chocolate in Baking and Confectionery
- Storage: Preserving the Quality of Tempered Chocolate
- Conclusion: Achieving Chocolate Perfection in Your Kitchen
- Frequently Asked Questions
- Final Reflection: The Enduring Allure of Perfectly Tempered Chocolate
- Unlock Your Inner Chocolatier: Master the Art of Tempering!
Mastering Chocolate Tempering: A Guide for Home Bakers
Understanding Chocolate Tempering: Achieving Perfect Shine and Snap
Why Temper Chocolate? Unlocking Superior Quality
Tempering chocolate is a crucial step for anyone wanting to create professional-looking confections at home. It's not just about aesthetics; it dramatically improves the texture, stability, and shelf life of chocolate. Properly tempered chocolate will have a beautiful, glossy sheen and a firm, satisfying snap when broken. Without tempering, chocolate products can be soft, dull, and prone to melting quickly at room temperature, making them difficult to handle and store.
Beyond the visual appeal and texture, tempering prevents "bloom," a common issue where unsightly white or gray streaks appear on the surface of the chocolate. This bloom is caused by unstable fat crystals separating and rising to the surface or sugar crystals forming due to moisture exposure.
Tempered chocolate, with its stable crystal structure, resists this separation, ensuring your creations remain pristine and appealing long after they're made. For instance, a well-tempered chocolate bar stored correctly can retain its snap and shine for several months, whereas an untempered one might develop bloom within days or weeks, significantly impacting its perceived quality.
What is Tempered Chocolate? Crystal Structure and Stability
At its core, tempering is the process of controlling the crystallization of cocoa butter within the chocolate. Cocoa butter can solidify into several different crystal forms, known as polymorphs, each with a different melting point and stability. There are six main types (Type I through VI), but only one, Type V (beta crystals), is stable, melts at the desired temperature range (around 31-32°C or 88-90°F for dark chocolate, slightly lower for milk and white), and gives chocolate its desirable properties: gloss, snap, and smooth texture.
Tempering involves heating chocolate to melt all existing crystals, then cooling it down to a specific temperature range while agitating it to encourage the formation of a high proportion of these stable Type V crystals. Finally, it's warmed slightly to a working temperature that melts any less stable crystals while leaving the desired Type V crystals intact. This careful temperature control and movement ensure that when the chocolate sets, it solidifies into a stable structure dominated by Type V crystals, locking in that perfect shine and snap.
Consequences of Untempered Chocolate: Bloom and Texture Issues
Failing to temper chocolate, or doing so incorrectly, leads to several undesirable outcomes. The most visible is bloom, which can be either fat bloom or sugar bloom. Fat bloom occurs when unstable fat crystals melt and recrystallize on the surface, appearing as white or gray streaks or patches. Sugar bloom happens when moisture condensation dissolves sugar crystals on the surface, and they recrystallize as a rough, grainy layer when the water evaporates. Neither type of bloom affects the safety of the chocolate, but they significantly detract from its appearance and can give it a less pleasant mouthfeel.
Untempered chocolate also lacks the firm snap of tempered chocolate. Instead, it tends to be soft, crumbly, or greasy, melting too easily at room temperature. Imagine dipping strawberries in untempered chocolate – they would likely lose their shine quickly, melt in your fingers, and develop bloom within a day or two. In contrast, strawberries dipped in properly tempered chocolate would retain their gloss, be firm to the touch, and maintain their quality for a longer period, showcasing the practical benefits of mastering easy chocolate tempering techniques.
Tempering Techniques: Practical Methods for Home Use
The Seeding Method: Introducing Stable Crystals
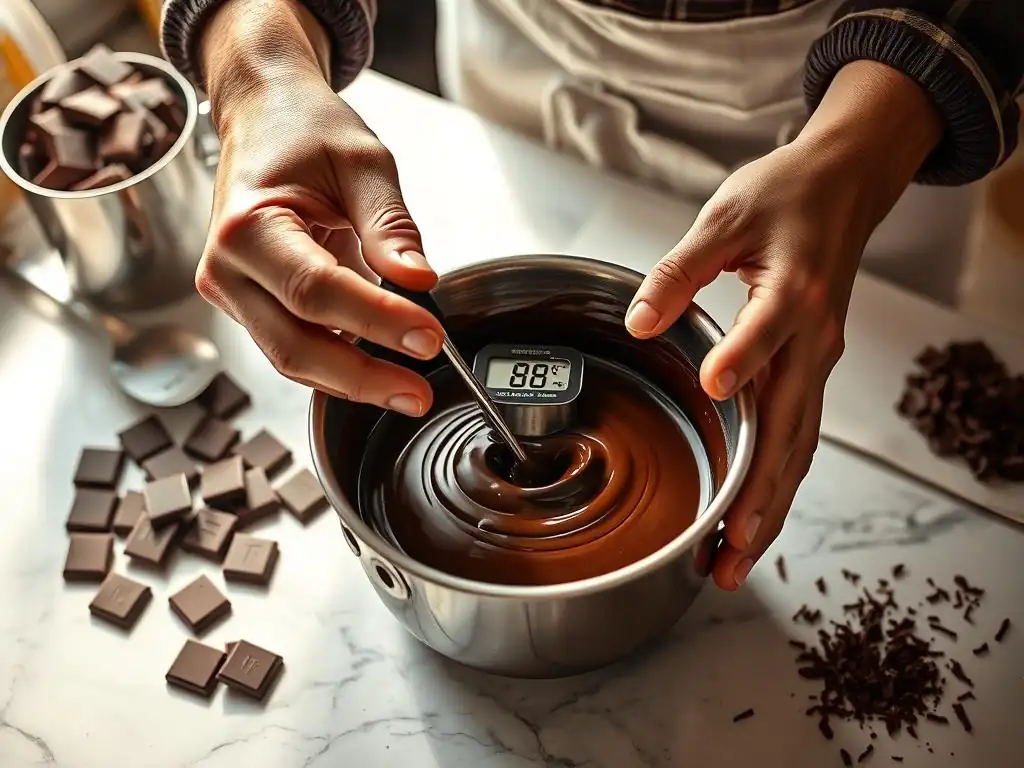
The seeding method is a popular and reliable way to temper chocolate at home, making it one of the more accessible easy chocolate tempering techniques. It relies on the principle of adding already stable chocolate crystals (from untempered but solid chocolate) to melted chocolate to "seed" the crystallization process and encourage the formation of more stable crystals. This method provides good control over the temperature and crystal structure development.
Step-by-Step: Seeding with Callets or Shavings
- Start by finely chopping about 70-80% of your chocolate or using couverture callets (small drops). Place this chocolate in a dry, heatproof bowl.
- Melt this portion of the chocolate gently. You can use a double boiler (ensuring no water or steam gets into the chocolate) or a microwave (heating in short bursts, stirring frequently). Heat dark chocolate to about 45-50°C (113-122°F) to ensure all crystals are melted. Milk and white chocolate need slightly lower temperatures, around 40-45°C (104-113°F).
- Remove the melted chocolate from the heat source. Gradually add the remaining 20-30% of finely chopped or callet chocolate (the "seed"). Stir continuously with a spatula. The solid chocolate will help cool the melted chocolate and introduce stable Type V crystals.
- Continue stirring until the chocolate cools to the desired tempering temperature and the seed chocolate is fully melted and incorporated. For dark chocolate, aim for 28-29°C (82-84°F). For milk and white chocolate, aim for 26-28°C (79-82°F).
- Once the target temperature is reached and the chocolate is smooth, gently reheat the chocolate slightly to its working temperature. For dark chocolate, this is typically 31-32°C (88-90°F). For milk and white chocolate, it's 29-30°C (84-86°F). This brief warming melts any unstable crystals that may have formed during cooling, leaving behind the stable Type V crystals. Your chocolate is now tempered and ready to use.
Tips for Success: Temperature Control and Stirring
Accurate temperature control is paramount when using the seeding method. A reliable digital thermometer is essential to monitor the temperature precisely throughout the process. Even a few degrees too high or too low at critical stages can result in poorly tempered or seized chocolate. Stirring is equally important; it helps distribute the heat evenly, encourages crystal formation, and ensures the seed chocolate melts smoothly into the mixture.
Ensure all your equipment is completely dry, as even a tiny drop of water can cause the chocolate to seize and become unusable. Work in a cool, dry environment, ideally between 20-22°C (68-72°F) with low humidity. Avoid drafts or sudden temperature changes while the chocolate is setting. Using high-quality chocolate with a good cocoa butter content (like couverture chocolate) will also make the tempering process significantly easier and more successful.
The Microwave Method: Quick and Convenient Tempering
For smaller quantities of chocolate, the microwave method is one of the quickest and easiest chocolate tempering techniques for home bakers. It's often referred to as "flash tempering" or "easy melt tempering." This method relies on carefully controlled heating to melt the chocolate just enough while leaving a small amount of solid chocolate (containing stable crystals) unmelted, which then acts as the seed.
Microwave Tempering: Managing Power Levels and Time
Start by finely chopping your chocolate and placing it in a microwave-safe bowl. Use a medium power setting (around 50% power) on your microwave to prevent overheating. Heat the chocolate in short intervals, starting with 30 seconds, then reducing to 15-second or even 10-second bursts as the chocolate begins to melt. After each interval, remove the bowl and stir the chocolate thoroughly with a spatula, even if it doesn't look like it's melting much initially – the heat is distributed throughout the mass as you stir.
Continue heating and stirring until most of the chocolate is melted and smooth, but a few small lumps of solid chocolate remain visible. At this point, stop heating and continue stirring. The residual heat in the melted chocolate will melt the remaining lumps, and the solid chocolate will seed the mixture with stable crystals as it cools slightly. Stir until the chocolate reaches the correct working temperature (31-32°C for dark, 29-30°C for milk/white) and is completely smooth.
Ensuring Even Tempering: Avoiding Hot Spots
The biggest challenge with microwave tempering is avoiding hot spots, which can quickly overheat and burn the chocolate or destroy the desired crystal structure. Using a lower power setting and stirring diligently after every heating interval is crucial for distributing the heat evenly. Never try to melt the chocolate completely in one go. The goal is gentle, controlled melting.
Once the chocolate is mostly melted with a few solid pieces remaining, rely solely on stirring to finish the process. A thermometer is still highly recommended to check the temperature and ensure you hit the correct working range. If the chocolate cools too much and thickens before all the lumps melt, you can give it one final, very short burst in the microwave (5-10 seconds) and stir vigorously. This method is particularly effective for small batches, such as 100-200 grams (3.5-7 ounces) of chocolate.
The Water Bath Method: Gentle and Consistent Tempering
The water bath method, often called a double boiler method, provides a gentle and controlled way to melt and temper chocolate, making it another excellent easy chocolate tempering technique. It's particularly good for larger quantities of chocolate and minimizes the risk of burning compared to direct heat.
How to Temper Chocolate Over a Double Boiler
Set up a double boiler by placing a heatproof bowl (glass or stainless steel works well) over a saucepan containing about an inch or two of simmering water. Ensure the bottom of the bowl does not touch the water, as direct contact can overheat the chocolate. Bring the water to a gentle simmer, then reduce the heat to maintain a low, steady steam. Place your chopped chocolate in the bowl.
Let the chocolate melt slowly over the steam, stirring occasionally with a dry spatula. Once about two-thirds of the chocolate is melted, remove the bowl from the heat (leaving the water simmering in the pan). Continue stirring the chocolate in the bowl. The residual heat will melt the remaining solid pieces.
Continue stirring and allowing the chocolate to cool while monitoring the temperature with a thermometer. Follow the same temperature guidelines as the seeding method: cool dark chocolate to 28-29°C (82-84°F), milk/white to 26-28°C (79-82°F). Once cooled, place the bowl back over the off, still-warm water bath briefly, or use a very low heat, stirring constantly, to raise the temperature to the working range (31-32°C for dark, 29-30°C for milk/white).
Maintaining the Right Temperature: A Thermometer is Key
Using a thermometer is absolutely vital for success with the water bath method, just as it is for others. While the water bath provides gentle heat, it's easy to overheat the chocolate, especially in the final warming phase. Constantly monitor the chocolate's temperature. If it gets too hot during the initial melting, remove it from the heat immediately and stir to cool it down before proceeding.
During the cooling phase, if the chocolate cools below the target range before all the seed chocolate melts (if using seeding with this method), you can briefly return it to the warm water bath for just a few seconds, stirring continuously, to bring it back into the correct range. The key is slow, controlled heating and cooling, always guided by your thermometer, making this one of the most reliable easy chocolate tempering techniques when done carefully.
Equipment and Ingredients: Essential Tools and Chocolate Selection
Essential Equipment: Bowls, Spatulas, and Thermometers
To successfully temper chocolate using any of these easy chocolate tempering techniques, a few key pieces of equipment are indispensable. You'll need several clean, dry bowls – glass or stainless steel are preferred because they don't retain odors or moisture like plastic can. Having multiple bowls allows you to work efficiently, perhaps melting in one and tempering/working in another, or preparing different types of chocolate.
A good quality rubber or silicone spatula is essential for stirring the chocolate smoothly and scraping down the sides of the bowl to ensure even melting and cooling. Crucially, a reliable thermometer is non-negotiable. A digital probe thermometer is ideal as it gives fast, accurate readings. Some bakers prefer infrared thermometers for surface temperature checks, but a probe thermometer inserted into the mass is generally more accurate for overall temperature. Without precise temperature readings, successful tempering is largely a matter of luck rather than skill.
Choosing Chocolate: Understanding Cocoa Content and Quality
The type and quality of chocolate you use significantly impact the tempering process and the final result. For best results, use high-quality chocolate specifically designed for melting and tempering, often labeled as "couverture" chocolate. Couverture has a higher percentage of cocoa butter (typically 32-39%) compared to standard baking chocolate or chocolate chips (which often contain stabilizers that interfere with tempering). The higher cocoa butter content makes it flow more easily when melted and crystallize more predictably during tempering.
Understanding cocoa content is also important, as it affects the melting and tempering temperatures. Dark chocolate, with higher cocoa solids and less sugar/milk, requires slightly higher temperatures than milk or white chocolate. While you can temper standard baking bars, avoid chocolate chips if possible, as their stabilizers (like lecithin) are designed to prevent them from melting completely, which is counterproductive to the tempering process. Using good quality chocolate is the first step towards achieving easy chocolate tempering techniques results.
Troubleshooting: Addressing Common Tempering Challenges
Chocolate Isn't Tempering: Identifying Contributing Factors
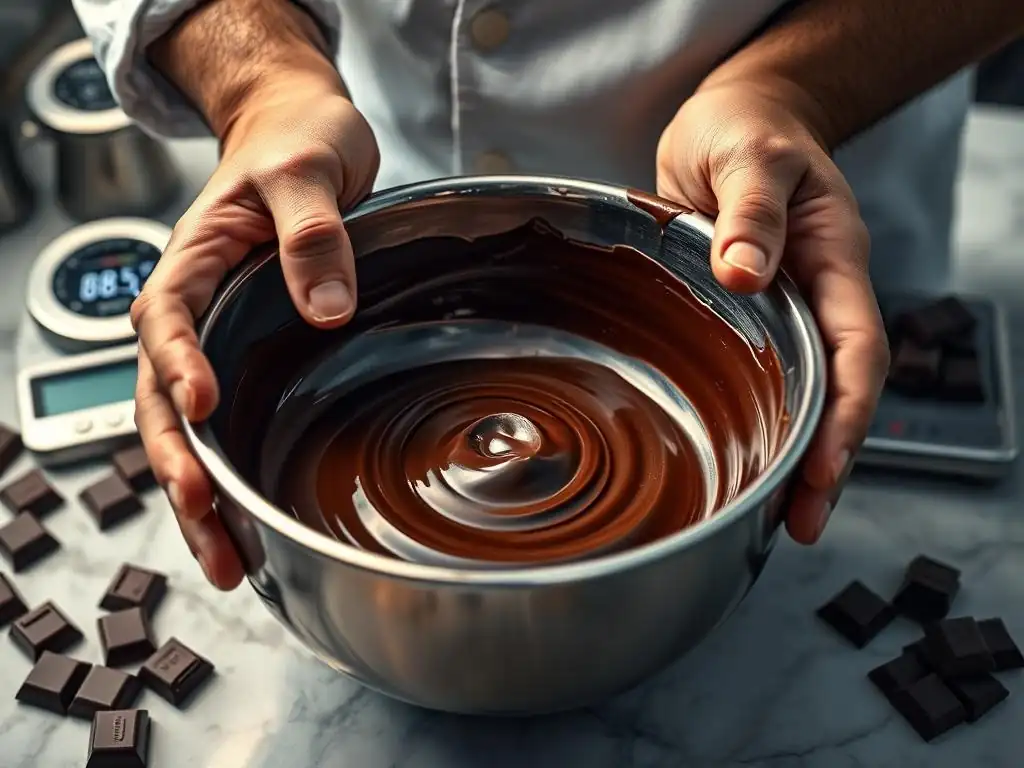
If your chocolate doesn't set properly after attempting to temper it – remaining soft, dull, or developing bloom – several factors could be the cause. The most common issue is incorrect temperature control. If the chocolate wasn't heated high enough initially, not all unstable crystals melted. If it wasn't cooled sufficiently while stirring, not enough stable crystals formed. Or, if it was reheated too high before use, the stable crystals you worked to create were destroyed.
Another major culprit is moisture contamination. Even a tiny drop of water introduced at any stage can cause the chocolate to seize, turning it into a thick, grainy paste. This is why it's critical that all equipment is completely dry and that you prevent steam or water from entering the bowl when using the water bath method. Working in a high-humidity environment can also make tempering more challenging.
Common Mistakes: Overheating, Contamination, and Insufficient Seeding
Overheating is perhaps the most frequent error. Heating dark chocolate above 50°C (122°F) or milk/white above 45°C (113°F) for too long can destroy the cocoa butter crystal structure entirely, making it very difficult to temper successfully without adding a significant amount of new, solid chocolate (seeding). As mentioned, moisture contamination is also a critical mistake to avoid; once chocolate has seized from water, it cannot be brought back to a smooth consistency for tempering.
Insufficient seeding when using the seeding method is another common issue. If you don't add enough solid chocolate, or if the seed chocolate doesn't contain enough stable crystals (e.g., if it was previously bloomed), the melted chocolate won't cool properly and won't develop the necessary stable structure. Similarly, in the microwave method, not leaving enough solid chocolate or not stirring enough to distribute the heat can lead to uneven tempering and failure.
Re-Tempering: Salvaging Seized or Poorly Tempered Chocolate
The good news is that most tempering failures can be corrected! If your chocolate didn't temper properly (it's soft, dull, or bloomed) but hasn't seized from water, you can simply re-melt it and try tempering again. Start the process from the beginning, ensuring you hit the correct melting temperature, cool it properly with sufficient stirring or seeding, and finish at the correct working temperature.
If your chocolate has seized due to water contamination, it cannot be used for dipping or molding where a smooth finish is required. However, it's not entirely wasted. You can sometimes salvage it by stirring in a small amount of hot liquid, like hot cream or milk (about 1-2 tablespoons per cup of seized chocolate), to create a ganache-like consistency.
This mixture won't be temperable but can be used for fillings, sauces, or baked goods. If it seized from overheating but didn't burn, you can try adding more solid, untempered chocolate and stirring vigorously to try and bring the temperature down and re-seed it, essentially performing the seeding method with the overheated chocolate as your base.
Applications: Using Tempered Chocolate in Baking and Confectionery
Creating Chocolate Decorations: Molds, Transfers, and Garnishes
Tempered chocolate is essential for creating beautiful, stable chocolate decorations that add a professional touch to cakes, pastries, and desserts. Using tempered chocolate in polycarbonate molds results in shiny, perfectly formed shapes that release easily. Silicone molds can also be used, though the shine might be slightly less intense.
You can also create intricate chocolate transfers using tempered chocolate spread thinly over acetate sheets or textured transfer sheets. Once set, these can be peeled off to reveal patterns or textures. Simple garnishes like chocolate curls or shards are also best made with tempered chocolate, as they will be firm and snap cleanly when handled, unlike those made from untempered chocolate which would be soft and melt quickly. Mastering easy chocolate tempering techniques opens up a world of decorative possibilities.
Making Chocolate Candies: Truffles, Bark, and Bonbons
Tempering is fundamental for making homemade chocolate candies like truffles, bark, and bonbons. When dipping truffles or bonbons in tempered chocolate, it creates a thin, crisp shell that sets quickly and has a lovely snap. This shell protects the ganache filling and gives the candy a professional finish.
Chocolate bark, made by spreading tempered chocolate onto a sheet and topping it with nuts, dried fruit, or candies, relies entirely on the chocolate setting firmly with a good snap. Untempered bark would be soft, messy, and prone to melting at room temperature. Using tempered chocolate ensures your homemade candies are not only delicious but also visually appealing and easy to handle and package.
Dipping various treats like strawberries, pretzels, cookies, or cake pops is one of the most common uses for tempered chocolate in the home kitchen. Tempered chocolate coats these items smoothly, sets quickly at room temperature, and leaves a shiny, hard shell that doesn't melt on your fingers.
This quick setting time is particularly useful when dipping items like strawberries, which can release moisture. The fast-setting tempered chocolate creates a barrier, helping to prevent sugar bloom. Pretzel rods dipped in tempered chocolate become a satisfyingly crunchy and chocolatey snack with a clean finish. Compared to using untempered chocolate, which would result in a soft, messy coating that takes a long time to set (often requiring refrigeration, which can cause bloom), tempered chocolate provides a superior result every time.
Storage: Preserving the Quality of Tempered Chocolate
Proper Storage: Temperature, Humidity, and Air Exposure
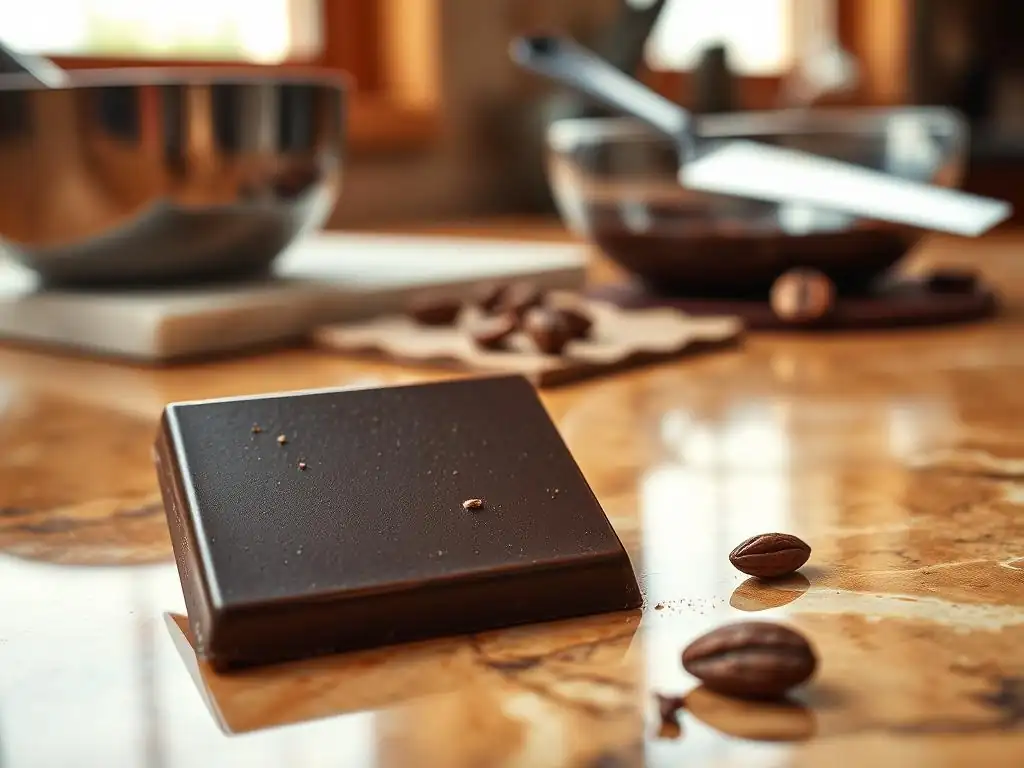
Proper storage is key to maintaining the quality, shine, and temper of your finished chocolate creations. Ideally, tempered chocolate items should be stored in a cool, dry place with minimal temperature fluctuations. The optimal storage temperature is typically between 15-18°C (59-64°F). Avoid warm locations, as this can cause the chocolate to soften and lose its temper, potentially leading to fat bloom.
Humidity is also an enemy of tempered chocolate, as excess moisture can lead to sugar bloom. Store chocolate in airtight containers to protect it from humidity and prevent it from absorbing odors from other foods. While refrigeration is sometimes necessary in very warm climates, it's generally discouraged for tempered chocolate as the cold temperatures and potential for condensation when removed can trigger sugar bloom. If you must refrigerate, place the chocolate in an airtight container before putting it in the fridge, and allow it to come to room temperature slowly in the container before opening it.
Shelf Life: Maintaining Temper and Preventing Bloom
When stored correctly, properly tempered chocolate decorations, candies, and dipped items have a significantly longer shelf life while maintaining their quality compared to untempered chocolate. Chocolate bark or molded shapes can retain their snap and shine for several months if kept in ideal conditions. Dipped items like cookies or pretzels will last as long as the underlying item remains fresh, with the chocolate coating maintaining its integrity.
The primary goal of proper storage is to prevent the conditions that cause bloom and loss of temper. By keeping the chocolate cool, dry, and protected from air, you minimize the chances of temperature fluctuations that disrupt the stable crystal structure and prevent moisture exposure that causes sugar bloom. Adhering to these storage guidelines ensures that the hard work you put into using easy chocolate tempering techniques pays off with beautiful, stable results that last.
Conclusion: Achieving Chocolate Perfection in Your Kitchen
Frequently Asked Questions
How do I know if my chocolate is properly tempered?
Properly tempered chocolate will have a smooth, glossy shine and a satisfying snap when broken. You can also test a small amount on parchment paper; if it sets quickly and evenly, it's likely tempered.
What is the best method for easily tempering chocolate at home?
The seeding method is often considered the easiest for home bakers. It involves melting most of the chocolate, then adding untempered chocolate "seeds" to lower the temperature and encourage the correct crystal formation.
What tools do I need for easy chocolate tempering?
A double boiler or heatproof bowl and saucepan, a reliable thermometer (digital or candy), and a spatula are essential. Parchment paper is also helpful for testing the temper.
What can I do if my chocolate seizes during tempering?
Seizing usually happens when a small amount of water gets into the chocolate. Try adding a small amount of hot liquid (oil or melted cocoa butter) to loosen it back up, though the temper may be affected.
Why is tempering chocolate important for baking and candy making?
Tempering ensures the chocolate has the correct crystal structure, resulting in a professional-looking, shiny finish and a pleasant, snappy texture, essential for chocolates, candies, and dipping.
Final Reflection: The Enduring Allure of Perfectly Tempered Chocolate
The pursuit of flawlessly tempered chocolate, once a culinary mystery, is now within everyone's reach. Achieving that signature snap and glossy sheen is no longer confined to professional pastry kitchens; with the right techniques and a little patience, home bakers can unlock the secrets of this delectable art. This accessibility democratizes a previously exclusive skill, bringing joy and satisfaction to countless kitchens worldwide.
The impact of mastering chocolate tempering extends far beyond the simple act of creating beautiful confections. It's about the meticulous attention to detail, the understanding of the science behind the process, and the profound satisfaction of transforming humble cacao beans into something truly exquisite. This journey of learning resonates deeply with the desire for craftsmanship and precision in a world often characterized by instant gratification. The details are not the details. They make the design.
– Charles Eames. This quote perfectly encapsulates the importance of precise tempering in achieving the desired result, a principle applicable far beyond the realm of chocolate making.
Now, it's your turn. Consider the lessons learned within these pages – the importance of precise temperature control, the subtle nuances of seeding, and the patience required for success. Don't be intimidated by the process; embrace the challenge. Experiment, learn from your mistakes, and savor the delicious rewards of perfectly tempered chocolate. The journey itself is as rewarding as the destination, a testament to the enduring power of dedication and the simple joy of creating something beautiful with your own hands.
Unlock Your Inner Chocolatier: Master the Art of Tempering!
Thanks for diving into the world of chocolate tempering! We hope you now feel confident in achieving that coveted professional shine and satisfying snap in your creations. Ready to put your new skills to the test?
- Craft your masterpiece: Try tempering chocolate for your next baking project – whether it's truffles, bonbons, or even a simple chocolate bark. See the difference!
- Share your success: Post a picture of your perfectly tempered chocolate on social media and tag us @BakeWithEase – we'd love to see your creations!
- Explore more chocolate techniques: Dive deeper into our chocolate-making guides on BakeWithEase.com for even more tips and tricks.
What delicious chocolate treat will you temper first?