
AllPurpose Power: Starting a Sourdough Starter with AP Flour

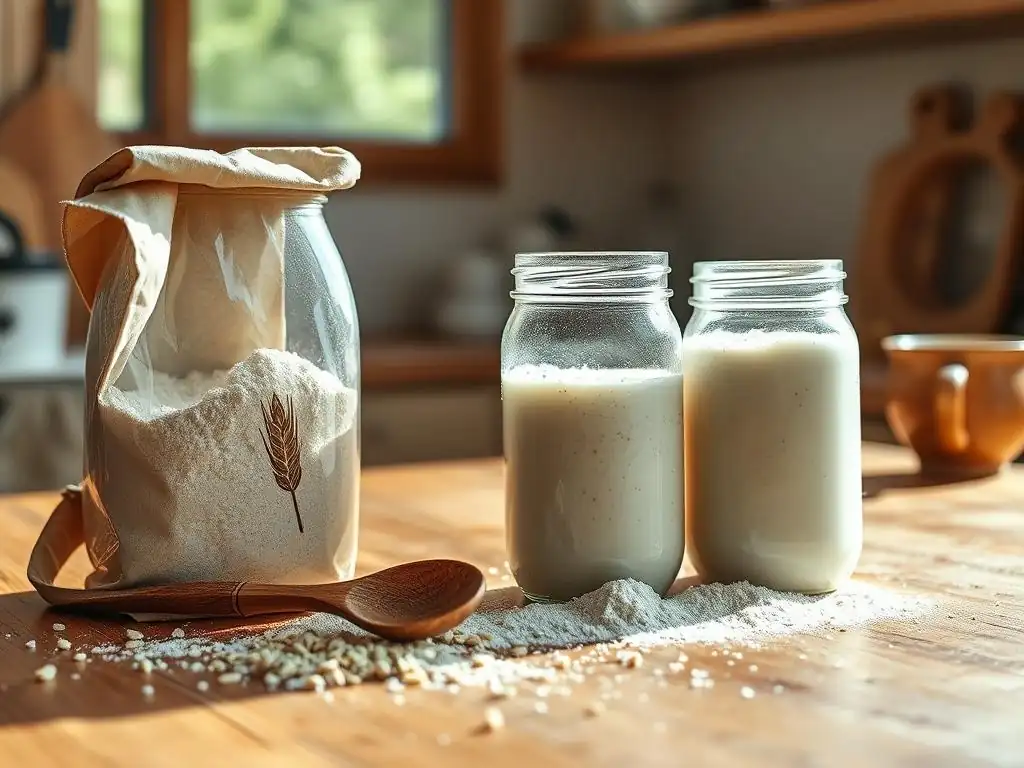
Welcome to BakeWithEase, where baking dreams take flight! Ever wondered if you could unlock the complex flavors of sourdough with just all-purpose flour? Discover how, with our guide to crafting an easy all-purpose sourdough starter. It's simpler than you think, and the possibilities are endless. Dive in and let the magic begin!
- Introduction: Why All-Purpose Flour is Ideal for Beginner Sourdough Starters
- Understanding All-Purpose Flour's Role in Sourdough Fermentation
- Step-by-Step Guide: Cultivating Your All-Purpose Flour Sourdough Starter
- Troubleshooting Your All-Purpose Flour Sourdough Starter
- Baking with Your All-Purpose Flour Sourdough Starter
- Tips and Tricks for a Flourishing Sourdough Starter with All-Purpose Flour
- Conclusion: Embrace the Rewarding Experience of Sourdough Baking
- Frequently Asked Questions
- Final Reflection: The Humble Power of All-Purpose Flour
- Unleash Your Inner Baker: Start Your Sourdough Journey Today!
Introduction: Why All-Purpose Flour is Ideal for Beginner Sourdough Starters
Creating a vibrant, active sourdough starter might seem like a daunting task, often surrounded by myths of needing special flours or complicated schedules. However, the truth is much simpler. An easy allpurpose sourdough starter is not only achievable but is arguably the most accessible and cost-effective way for anyone to begin their sourdough journey right at home. All-purpose flour is readily available in nearly every grocery store, making it the perfect starting point for cultivating your own wild yeast culture.
Opting for all-purpose flour simplifies the process significantly. You don't need to hunt for expensive or specialized flours like rye or whole wheat, which are often recommended but not essential for initiating fermentation. Using a common pantry staple removes a barrier to entry, allowing you to focus on the fundamental process of feeding and nurturing your starter. This approach makes starting your easy allpurpose sourdough starter a practical and budget-friendly first step into the rewarding world of sourdough baking.
BakeWithEase's Guide to Simple Sourdough with All-Purpose Flour
Welcome to the BakeWithEase method for cultivating a thriving sourdough starter using just all-purpose flour and water. Our goal is to demystify the process and show you how straightforward it can be. By following a simple, consistent feeding routine, you'll witness the fascinating transformation of plain flour and water into a bubbly, tangy culture capable of leavening your bread. This guide is designed to be your friendly companion, walking you through each step with clarity and encouragement.
We'll cover everything from the initial mixing to recognizing signs of activity and maintaining your starter for long-term use. You'll learn how simple ingredients and patience are the key ingredients to a successful easy allpurpose sourdough starter. We focus on practical tips and observable changes, empowering you to understand what's happening in your jar and how to respond. Get ready to embark on a fulfilling baking adventure powered by your very own homemade starter.
Dispelling Sourdough Myths: High-Quality Flour Isn't Always Necessary
One common misconception is that you need premium, high-protein, or organic flour from specialty stores to create a viable sourdough starter. While certain flours like rye can sometimes accelerate initial activity due to higher nutrient content, an easy allpurpose sourdough starter proves that excellent results are achievable with standard, everyday flour. The wild yeasts and bacteria needed for fermentation are present everywhere – in the air, on surfaces, and inherent in the flour itself. All-purpose flour provides more than enough starch and nutrients to feed these microorganisms.
Focusing too much on obtaining specific "high-quality" flours can be an unnecessary expense and complication for beginners. A standard unbleached all-purpose flour from your local supermarket typically contains enough natural microbial activity to kickstart your starter. What truly matters is consistency in feeding, appropriate hydration, and a suitable ambient temperature. These factors are far more critical to developing a robust easy allpurpose sourdough starter than the perceived "quality" or type of flour used initially.
Understanding All-Purpose Flour's Role in Sourdough Fermentation
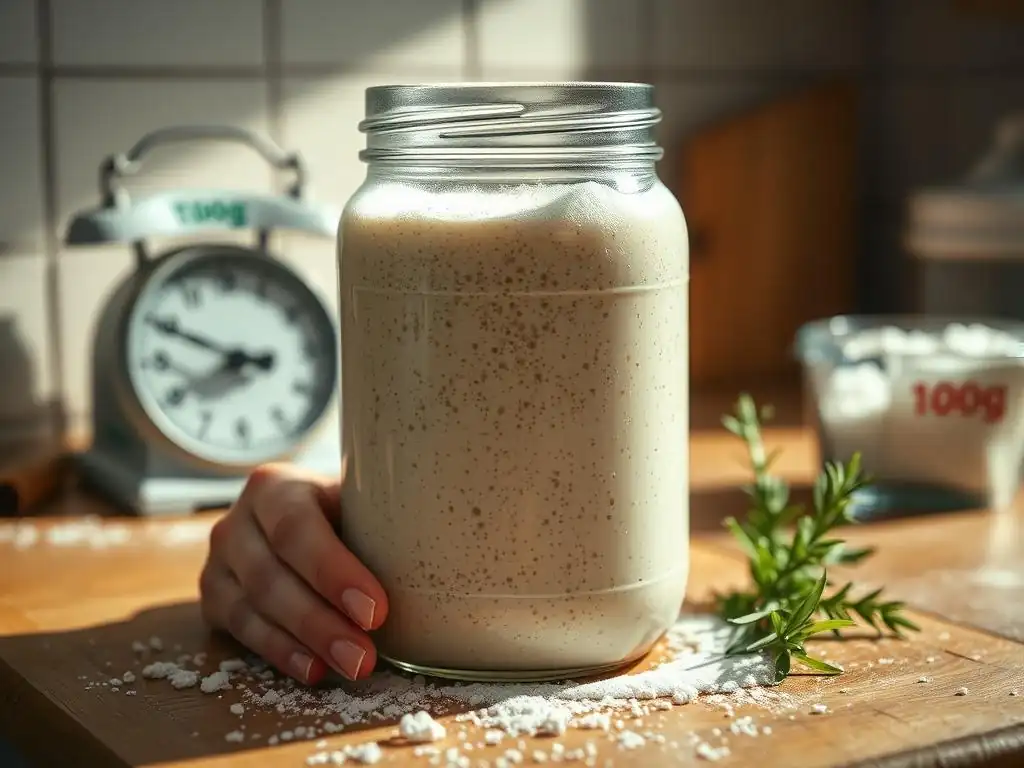
All-purpose flour is a blend of hard and soft wheat, typically milled from the endosperm of the wheat kernel. This composition provides a balanced level of protein and starch, making it versatile for various baking applications, including starting a sourdough culture. The starches in the flour serve as the primary food source for the wild yeasts and lactic acid bacteria that constitute a sourdough starter. These microorganisms break down complex starches into simpler sugars, which they then consume, producing carbon dioxide gas (causing bubbles and rise) and various organic acids (contributing to the characteristic tangy flavor).
The fermentation process in an easy allpurpose sourdough starter relies heavily on the enzymatic activity present in the flour. Amylase enzymes, naturally found in wheat flour, play a crucial role by converting starches into fermentable sugars like maltose. This provides a steady supply of fuel for the microbial community. While whole grain flours often contain higher levels of these enzymes and nutrients, all-purpose flour still possesses sufficient quantities to support a healthy and active starter culture, especially when fed consistently.
The Composition of All-Purpose Flour and its Impact on Starter Development
All-purpose flour generally has a protein content ranging from 10% to 12%. This protein, primarily gluten-forming proteins like gliadin and glutenin, affects the structure of the starter. As you mix flour and water and the fermentation progresses, a weak gluten network begins to form.
While the starter itself isn't kneaded like bread dough, this developing structure helps trap the carbon dioxide gas produced by the yeast, leading to the visible bubbles and rise you observe. A higher protein flour might develop a stronger structure, but AP flour's moderate protein is perfectly adequate for capturing gas and showing activity in an easy allpurpose sourdough starter.
Beyond protein, all-purpose flour contains carbohydrates (mostly starches), a small amount of fat, moisture, and minerals. The specific ratios can vary slightly between brands and regions, but the fundamental components necessary for fermentation are always present. The hydration level (the ratio of water to flour) is also critical; a typical 100% hydration starter (equal weights of flour and water) using AP flour creates a consistency that is favorable for microbial activity and allows for easy mixing and observation of bubbles. This standard ratio contributes to the ease of managing an easy allpurpose sourdough starter.
Protein Content and Gluten Formation in All-Purpose Flour Sourdough
The protein content in all-purpose flour, typically between 10-12%, plays a subtle but important role in the development of your starter. When flour is mixed with water, these proteins begin to hydrate and, with mechanical action (like stirring during feeding), form gluten. While a starter isn't kneaded like bread dough, the regular stirring helps develop a rudimentary gluten network. This network provides some structure to the starter, allowing it to hold onto the carbon dioxide gas produced during fermentation.
This ability to trap gas is what causes the starter to rise and become bubbly. A starter made with a very low-protein flour might not show as dramatic a rise, while one made with high-protein bread flour might develop a very strong, elastic structure.
However, the moderate protein level of all-purpose flour is sufficient to demonstrate healthy activity through visible bubbles and an increase in volume, making it an excellent and forgiving choice for an easy allpurpose sourdough starter. The focus for starter health is less on gluten strength for structure and more on consistent microbial activity for leavening power.
Step-by-Step Guide: Cultivating Your All-Purpose Flour Sourdough Starter
Starting your own sourdough culture is a simple process that requires just two ingredients: flour and water, plus a little patience. Follow these steps to create your easy allpurpose sourdough starter.
Day 1: Combining Flour and Water to Initiate Your Sourdough Culture
To begin your easy allpurpose sourdough starter, you'll need a clean glass jar (about 1-quart capacity is good), a spoon or spatula, unbleached all-purpose flour, and non-chlorinated water (filtered or tap water left out for 24 hours works).
In your jar, combine:
- 50 grams unbleached all-purpose flour
- 50 grams lukewarm non-chlorinated water
Mix these thoroughly until no dry clumps of flour remain. The mixture should resemble a thick batter or paste. Scrape down the sides of the jar to keep it tidy. Loosely cover the jar – don't seal it tightly, as gases will be produced. A lid resting on top or a piece of cloth secured with a band works well. Place the jar in a warm spot, ideally between 70-80°F (21-27°C), away from direct sunlight. Mark the level of the starter on the jar with a rubber band or marker so you can track its growth.
Day 2-7: Nourishing Your All-Purpose Flour Sourdough Starter
For the next several days, you will feed your starter regularly. The goal is to provide fresh flour and water to the developing microbial community and discard a portion to manage the starter's volume and concentrate the active microbes.
Each day, around the same time:
- Observe your starter. Look for bubbles, changes in texture, or smell.
- Discard a portion of the starter. Leaving about 50-60 grams is sufficient for a small starter.
- Feed the remaining starter by adding:
- 50 grams unbleached all-purpose flour
- 50 grams lukewarm non-chlorinated water
- Mix well, scrape down sides, loosely cover, and return to its warm spot.
During this initial week, activity may be minimal for the first few days. You might see a few small bubbles on Day 2 or 3. By Day 4-7, you should start seeing more consistent bubbling, a slight rise after feeding, and perhaps a tangy or slightly yeasty smell. Don't be discouraged if progress seems slow; establishing a robust culture takes time.
Monitoring Activity: Recognizing Fermentation Signs in Your Starter
As your easy allpurpose sourdough starter develops, you'll notice several key signs of fermentation. The most obvious is the appearance of bubbles throughout the mixture, not just on the surface. These are tiny pockets of carbon dioxide gas trapped by the gluten structure. You should also see the starter increase in volume after feeding, ideally doubling within several hours once it becomes more active. Use your rubber band marker to track this rise.
Another important indicator is the smell. Initially, it might smell like wet flour. As fermentation kicks in, it will develop a tangy, slightly acidic, or yeasty aroma, similar to yogurt or ripe fruit. A layer of liquid on top, called "hooch," might appear if the starter is hungry; this is a sign it needs feeding. The texture will also change from a dense paste to a lighter, more airy consistency when active. Observing these changes helps you understand the health and readiness of your easy allpurpose sourdough starter.
Discarding and Feeding: Sustaining a Thriving Sourdough Culture
Discarding a portion of your starter before feeding is a critical step in maintaining a healthy and manageable sourdough culture. It prevents the starter from growing into an unmanageable volume and, more importantly, ensures that the active yeasts and bacteria have enough fresh "food" (flour) in relation to the existing microbial population. If you didn't discard, the small amount of new flour added would be quickly consumed by a large population, leading to a hungry, inactive starter and potentially off flavors.
Feeding involves adding fresh flour and water to the remaining starter. A common feeding ratio is 1:1:1 by weight (starter:flour:water). For example, keeping 50g of starter and feeding it with 50g flour and 50g water. This provides the necessary nutrients for the microbes to thrive and multiply, producing the gas and acids needed for leavening and flavor. Consistent daily feeding during the initial development phase is key to building a strong, active easy allpurpose sourdough starter.
Day 8-14: Building a Robust and Active Sourdough Starter
By Day 8 and onwards, your easy allpurpose sourdough starter should be showing more consistent and predictable activity. After feeding, it should reliably double in volume within 6-12 hours when kept at a warm temperature (around 75°F or 24°C). You'll notice a significant increase in bubbles, a pleasant tangy aroma, and a light, airy texture. This period is about strengthening the microbial community and ensuring it is consistently active and ready for baking.
Continue the daily discard and feeding routine (e.g., 1:1:1 ratio). You might notice that the starter rises and falls predictably between feedings. The peak of its activity, when it's most potent for baking, is typically when it has just about doubled or is at its highest point before starting to deflate. While some starters might be ready for baking by Day 10, others might take up to two weeks or slightly longer. Patience is key; wait until the starter shows consistent doubling behavior for several days in a row.
The Float Test: Determining Starter Readiness for Baking
A popular method to check if your easy allpurpose sourdough starter is ready to leaven bread is the float test. This simple test assesses if the starter is sufficiently aerated and active. To perform the float test, gently take a small spoonful of your starter at its peak (when it looks bubbly and has doubled in size after feeding). Carefully drop this spoonful into a glass of lukewarm water.
If the starter floats on the surface of the water, it is generally considered ready for baking. This indicates that the starter has produced enough carbon dioxide gas, which is trapped within its structure, making it less dense than water. If the starter sinks, it likely means it hasn't produced enough gas yet or has passed its peak and is deflating. Repeat the float test at the peak of activity after future feedings until it consistently floats. This is a good indicator that your easy allpurpose sourdough starter is robust enough to lift your bread dough.
Troubleshooting Your All-Purpose Flour Sourdough Starter
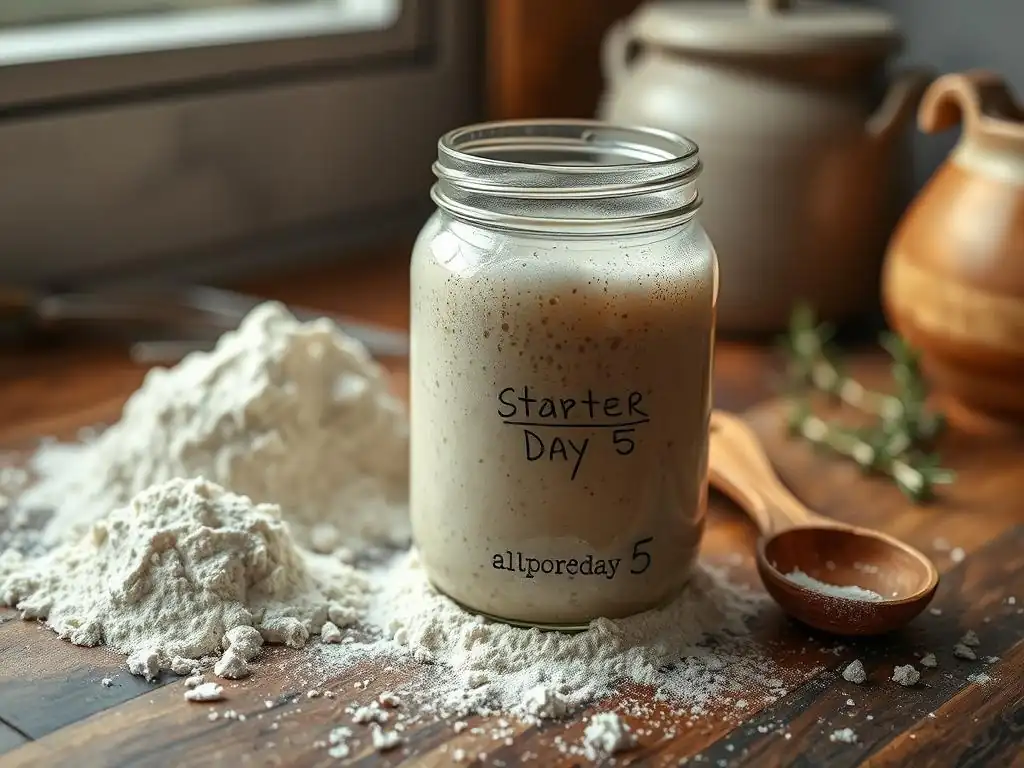
Even with an easy allpurpose sourdough starter, you might encounter a few hiccups along the way. Don't worry, these are common and usually easy to fix. The key is observation and knowing how to adjust your feeding and environment.
Common Issues and Solutions When Using All-Purpose Flour
One common issue is a slow or inactive starter, especially in the first week. This is often due to temperature; if your kitchen is cool (below 70°F or 21°C), fermentation slows down significantly. Try moving the starter to a warmer spot, like on top of the refrigerator, inside a microwave with the light on, or in an oven that's been briefly warmed and turned off. Another issue can be inconsistent feeding or using chlorinated water, which can harm the microbes. Ensure you're feeding regularly with non-chlorinated water.
Another frequent concern is the appearance of hooch, the liquid layer on top. This is a sign that your starter is hungry and has consumed all available food. Simply stir it back in or pour it off before discarding and feeding. If your starter is consistently producing hooch shortly after feeding, you might need to increase the feeding ratio (e.g., feed with more flour and water relative to the starter amount) or switch to feeding twice a day if keeping it at a warm temperature. Adjusting these factors helps maintain a happy, active easy allpurpose sourdough starter.
Identifying and Preventing Mold or Off-Putting Odors
Mold is an unwelcome sight in your sourdough starter. It typically appears as fuzzy patches of various colors (blue, green, black, or pink) on the surface. If you see any sign of mold, unfortunately, it's best to discard the entire starter and begin anew, ensuring your jar is thoroughly cleaned and sanitized. Prevention is key: always use clean jars and utensils, discard regularly to keep the starter healthy, and store a mature starter in the refrigerator if you're not baking frequently, as the cold slows down unwanted microbial growth.
Off-putting odors can also occur. A new starter might smell unpleasant initially (like gym socks or acetone) as different bacteria colonize before the desirable lactic acid bacteria take over. This usually disappears with consistent feeding. However, a strong, foul, or rotten smell is a concern. Ensure you are discarding enough starter before feeding; too little discarding can lead to an imbalance. Regular feeding with fresh flour and water helps maintain a healthy microbial balance, promoting the pleasant tangy aroma characteristic of a thriving easy allpurpose sourdough starter.
Accelerating Slow Starter Activity
If your easy allpurpose sourdough starter seems sluggish, particularly after the first few days, there are a few tricks to encourage activity. Temperature is paramount; aim for a consistent temperature between 75-80°F (24-27°C). Even a few degrees difference can significantly impact fermentation speed. Consider using slightly warmer water (around 80-85°F or 27-30°C) when feeding, as this can also give the microbes a boost.
Another method is to adjust your feeding ratio. Instead of a 1:1:1 ratio, try a 1:2:2 ratio (1 part starter to 2 parts flour and 2 parts water). This provides a larger supply of food for the existing microbes, potentially leading to more vigorous fermentation.
Sometimes, incorporating a small amount (a tablespoon or two) of rye or whole wheat flour into one or two feedings can also help accelerate activity due to the higher enzyme content in these flours, then switch back to all-purpose flour once activity picks up. These adjustments can help transform a slow starter into a bubbly, active easy allpurpose sourdough starter.
Maintaining Your Mature Sourdough Starter for Consistent Baking
Once your easy allpurpose sourdough starter is consistently doubling within a few hours after feeding and passes the float test reliably, it's considered mature and ready for regular baking. How you maintain it depends on how often you bake. If you bake frequently (daily or every few days), you can keep it at room temperature and continue feeding it once or twice a day. A typical maintenance feeding is a 1:1:1 ratio (starter:flour:water).
If you bake less often (weekly or less), storing your mature starter in the refrigerator is the most convenient option. Refrigeration significantly slows down microbial activity, meaning you only need to feed it about once a week. When you want to bake, take the starter out, let it warm up for a few hours, and perform 1-3 feedings at room temperature until it is active and bubbly again. This flexible maintenance allows you to easily manage your easy allpurpose sourdough starter according to your baking schedule.
Baking with Your All-Purpose Flour Sourdough Starter
Using your vibrant easy allpurpose sourdough starter to bake bread is the culmination of your efforts! The starter provides the leavening power and contributes complex flavors to your loaves.
Converting Your Starter into a Leaven for Bread Making
Many sourdough bread recipes call for "leaven" or "levain" rather than directly using the main starter from the jar. A leaven is essentially a build-off from your main starter, specifically mixed in a quantity and ratio needed for a particular recipe. This ensures you're using the starter at its peak activity and doesn't deplete your main starter supply. To create a leaven, you typically take a small amount of your mature starter and mix it with a specific quantity of flour and water (often specified in the recipe).
For example, a recipe might call for 100g of leaven built from 20g starter, 40g flour, and 40g water. You mix these ingredients and let the leaven sit at room temperature until it doubles or triples in volume, which usually takes 4-8 hours depending on temperature and starter strength. This fresh, peak-activity leaven is then used in your dough, ensuring optimal rise and flavor. Using your easy allpurpose sourdough starter to build a leaven is a standard practice for consistent baking results.
Recipe Ideas: Simple Sourdough Loaf with All-Purpose Flour
Once your easy allpurpose sourdough starter is ready, you can bake a basic sourdough loaf using primarily all-purpose flour. A simple recipe structure often includes:
- 100g active sourdough starter (leaven)
- 350g lukewarm water
- 500g all-purpose flour
- 10g salt
Combine the active starter and water in a bowl, mixing to disperse the starter. Add the flour and salt and mix until just combined into a shaggy dough. Let it rest (autolyse) for 30 minutes to an hour. Then, perform a series of stretch and folds or coil folds over the next 2-3 hours at 30-minute intervals to develop gluten.
After the bulk fermentation (when the dough has increased in volume and is airy), shape the loaf and cold proof it in the refrigerator for 12-18 hours. Bake in a preheated oven (like a Dutch oven) at around 450°F (230°C) until golden brown and cooked through, which typically takes 30-40 minutes covered and 15-20 minutes uncovered. This showcases the effectiveness of your easy allpurpose sourdough starter.
Tips and Tricks for a Flourishing Sourdough Starter with All-Purpose Flour
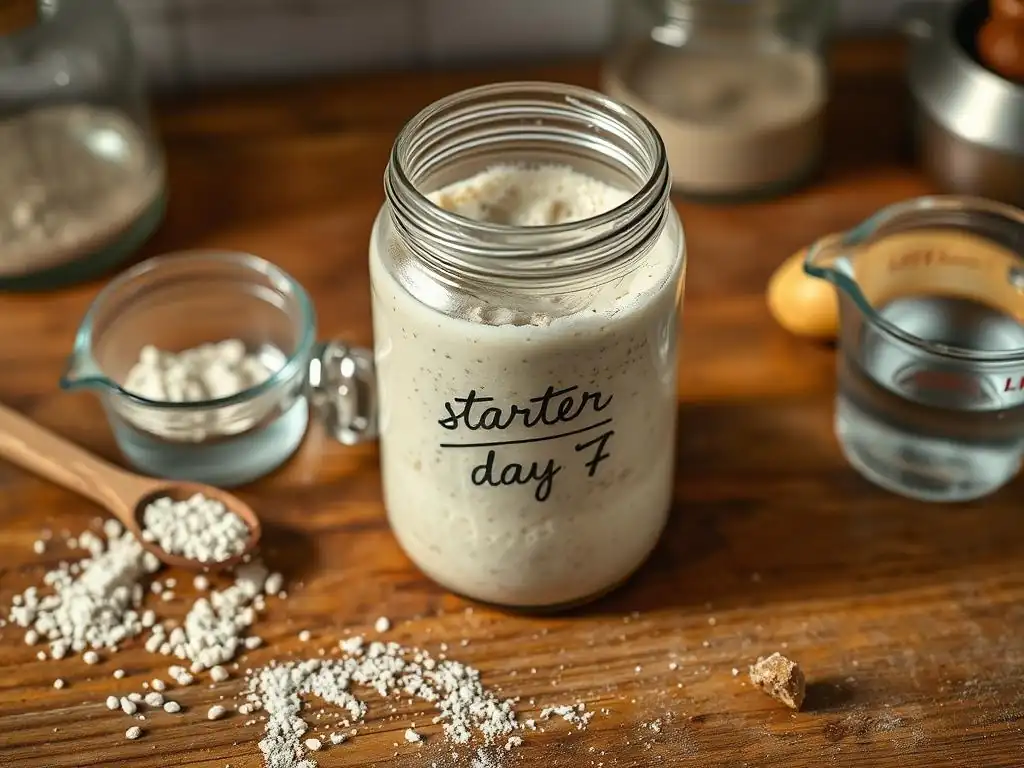
Mastering your easy allpurpose sourdough starter involves understanding its needs and responding to its signals. Here are some tips to help you achieve consistent success.
Achieving Predictable Results with Your All-Purpose Flour Starter
Consistency is key to a predictable sourdough starter. Use the same type and brand of flour and water source for every feeding if possible. Weigh your ingredients using a digital scale rather than using volume measurements (cups), as this provides much greater accuracy. Maintain a consistent feeding schedule, feeding around the same time each day.
Temperature is perhaps the most significant factor affecting starter activity. Aim for a stable temperature between 70-80°F (21-27°C). Fluctuating temperatures will lead to unpredictable rise times. By controlling these variables – consistent ingredients, accurate measurements, regular schedule, and stable temperature – you can significantly improve the predictability and reliability of your easy allpurpose sourdough starter, making your baking experiences much smoother.
Optimal Feeding Schedules and Maintenance Techniques for Your Starter
The optimal feeding schedule for your easy allpurpose sourdough starter depends primarily on temperature. At standard room temperature (around 70-75°F or 21-24°C), feeding once every 24 hours is usually sufficient during the development phase and for a mature starter kept out. If your kitchen is warmer (75-80°F or 24-27°C), your starter will become active and peak faster, potentially requiring feeding every 12 hours to prevent it from becoming too acidic or hungry.
For maintenance of a mature starter you don't use daily, refrigeration is ideal. Feed your starter, let it sit at room temperature for 1-2 hours to start activity, then place it in the fridge. This slows everything down dramatically.
When you want to bake, take the starter out, let it warm up, discard most of it, and feed it at room temperature. Repeat this feeding process (e.g., 1:1:1 or 1:2:2 ratio) until it shows robust activity (doubling or tripling within a few hours) before building your leaven for baking. This flexible approach makes maintaining an easy allpurpose sourdough starter convenient for any baking frequency.
Conclusion: Embrace the Rewarding Experience of Sourdough Baking
Embarking on the sourdough journey by creating your own starter is a deeply rewarding experience. It connects you more intimately with the ingredients and processes of baking. Starting with an easy allpurpose sourdough starter removes much of the initial complexity, allowing you to focus on understanding the natural fermentation process and developing a relationship with your unique culture. Witnessing flour and water transform into a bubbly, active leavening agent is truly magical.
The tang and texture that a homemade sourdough starter brings to baked goods are unparalleled. From crusty loaves of bread to pancakes, pizza dough, and more, your active starter will open up a world of delicious possibilities in your kitchen. Don't be afraid of the learning curve; every baker starts somewhere. With patience, observation, and consistent care, your easy allpurpose sourdough starter will become a reliable partner in your baking adventures.
Appreciate the Ease of an All-Purpose Flour Sourdough Starter
Choosing all-purpose flour for your first sourdough starter is a smart and practical decision. It's accessible, affordable, and perfectly capable of cultivating a strong, active culture. You don't need special equipment or exotic ingredients to begin. This approach emphasizes the fundamental principles of sourdough – feeding, temperature, and time – making the learning process less intimidating and more focused on the core mechanics of fermentation.
An easy allpurpose sourdough starter proves that sourdough baking is within reach for everyone. It demystifies the process and builds confidence as you successfully nurture your own starter from scratch. Embrace the simplicity and effectiveness of using this common pantry staple, and get ready to enjoy the incredible flavors and textures that only real sourdough can provide.
We love seeing your baking triumphs! As you cultivate your easy allpurpose sourdough starter and begin baking with it, share your experiences and photos with the BakeWithEase community. Did your starter double beautifully? Did your first loaf have a perfect crumb? Your successes can inspire others who are just starting out.
Join the conversation, ask questions, and celebrate the journey of creating and baking with your own sourdough starter. The BakeWithEase community is here to support you every step of the way. Happy baking!
Frequently Asked Questions
What is an All-Purpose Sourdough Starter?
An all-purpose sourdough starter is a fermented mixture of flour and water that uses all-purpose flour as its primary ingredient. It acts as a natural leavening agent, giving baked goods a unique tangy flavor and chewy texture.
Why use All-Purpose Flour for a Sourdough Starter?
All-purpose flour is readily available and a convenient option for beginners. While other flours offer unique properties, all-purpose provides a reliable base for establishing a healthy and active starter.
How long does it take to create an All-Purpose Sourdough Starter?
Typically, it takes about 7-14 days to establish a fully active all-purpose sourdough starter. The time can vary depending on factors such as room temperature and flour quality.
How often should I feed my All-Purpose Sourdough Starter?
During the initial creation phase, feed your starter once a day. Once established, you can feed it every 12-24 hours for regular baking or store it in the refrigerator and feed it less frequently.
What are the signs of a healthy All-Purpose Sourdough Starter?
A healthy starter will double in size after feeding, exhibit bubbling activity, and have a slightly tangy, pleasant aroma. A sunken or inactive starter may need more frequent feeding or a warmer environment.
Final Reflection: The Humble Power of All-Purpose Flour
The ease of creating a sourdough starter using all-purpose flour demystifies this ancient process, making the art of bread baking accessible to everyone. This simple act of combining flour and water, patiently nurtured over time, speaks volumes about the power of accessible ingredients and the enduring appeal of homemade goodness. The seemingly mundane becomes extraordinary through dedication and a little bit of wait.
The journey of cultivating a sourdough starter from all-purpose flour is a microcosm of life itself – requiring patience, consistency, and a willingness to embrace the unexpected. It's a testament to the fact that extraordinary things can arise from the most ordinary beginnings. The best things in life are unseen, they are felt in the heart.
This sentiment perfectly captures the quiet satisfaction of nurturing a starter and the rewarding taste of bread born from such a simple, yet profound, process.
Now, consider your own journey. What seemingly simple act, nurtured with patience and care, could yield unexpected rewards? I encourage you to take this lesson beyond the kitchen. Embrace the potential for growth and transformation in your own life, starting with small, consistent steps, just as you would with your sourdough starter. The rewards, like the taste of freshly baked sourdough bread, will be well worth the effort.
Unleash Your Inner Baker: Start Your Sourdough Journey Today!
Thanks for taking the time to explore the world of sourdough with us! We hope you now feel empowered to tackle this baking adventure. You've learned how accessible it is to create a fantastic starter using everyday all-purpose flour. Ready to get baking?
- Begin your sourdough starter TODAY! Gather your all-purpose flour and follow the steps outlined in the article. This is your first step to incredible homemade bread.
- Share your sourdough journey with us and other bakers in the comments below! Let us know how your starter is progressing.
- Consider experimenting: Try different flours to see how they impact your starter's development!
So, what unique ingredient will you add to your starter for a personalized flavor profile?