
Easy Ways to Fill and Decorate Cupcakes with Buttercream

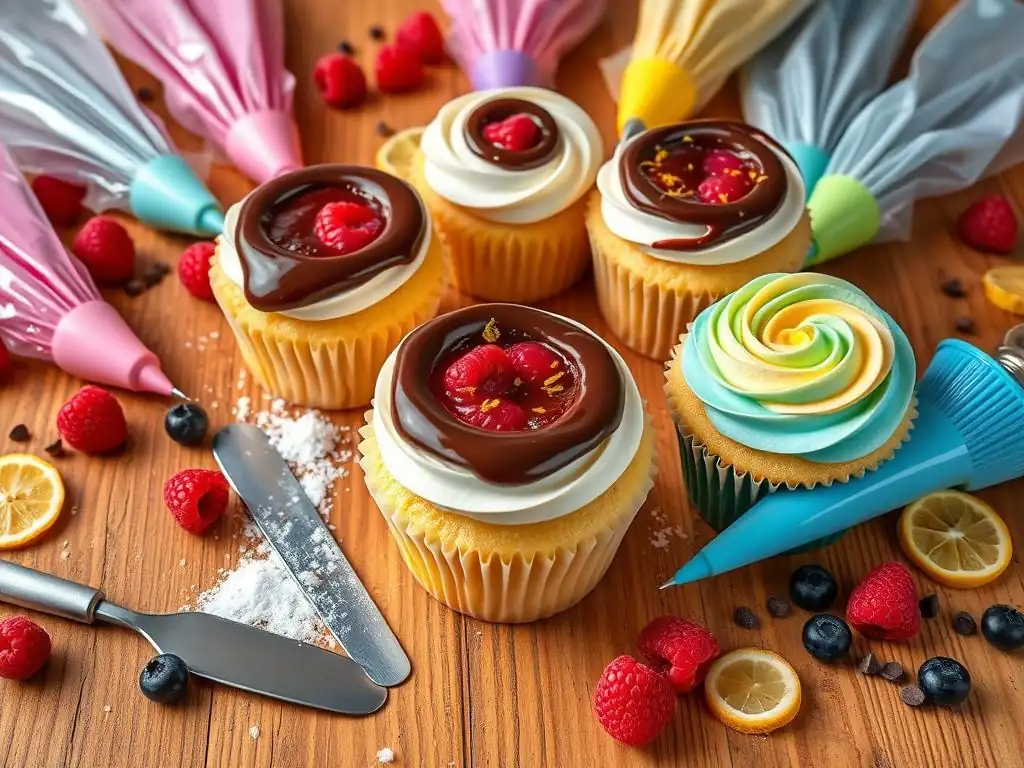
Welcome to BakeWithEase, your trusted companion on your baking journey! Ever wondered how to achieve that perfect swirl of buttercream on your cupcakes, hiding a delectable filling within? Unlock the secrets to professional-looking results with our guide to buttercream cupcake filling decorating tips. Discover techniques that will elevate your baking game and leave everyone craving more. Intrigued? Let's get baking!
- Elevate Your Cupcake Game: Mastering Buttercream Filling and Decoration
- Preparing for Buttercream Cupcake Success
- Simple Methods for Filling Cupcakes with Buttercream
- Buttercream Cupcake Decorating Techniques
- Troubleshooting Common Buttercream Problems
- Advanced Buttercream Techniques
- Storing Your Decorated Cupcakes
-
Frequently Asked Questions
- What is the best way to prepare buttercream for cupcake filling?
- What tools are recommended for filling cupcakes with buttercream?
- How do I prevent my buttercream filling from leaking out of the cupcake?
- What are some creative buttercream decorating techniques for cupcakes?
- Can I use different flavors of buttercream for filling and decorating cupcakes?
- Final Reflection: The Sweet Art of Buttercream: More Than Just Frosting
- Unleash Your Inner Cupcake Artist!
Elevate Your Cupcake Game: Mastering Buttercream Filling and Decoration
Preparing for Buttercream Cupcake Success
Essential Buttercream Supplies
To embark on your journey of mastering buttercream cupcake filling decorating tips, having the right tools is paramount. Beyond the standard mixing bowls and spatulas, consider investing in a good quality stand mixer or a powerful hand mixer, as achieving light and fluffy buttercream requires thorough creaming. Piping bags, both disposable and reusable, are indispensable for both filling and decorating.
You'll need a variety of piping tips; a basic set including round tips (like Wilton #12 or #A1) for filling and star tips (like Wilton 1M or 2D) for decorating is a great starting point. Small offset spatulas are also incredibly useful for smoothing frosting or applying a base layer.
Other crucial supplies include food coloring (gel colors are preferred as they don't add excess liquid), measuring cups and spoons for accuracy, and cupcake corers or a simple paring knife for creating cavities if you choose the coring method. Parchment paper squares can be helpful for practicing piping techniques before applying them to your cupcakes. Having all your supplies gathered and ready before you start making your buttercream will streamline the entire process, allowing you to focus on perfecting your buttercream cupcake filling decorating tips.
Choosing the Right Buttercream: American, Swiss, or Italian?
The type of buttercream you choose significantly impacts the texture, sweetness, and stability, which in turn affects how well it works for both filling and decorating. American buttercream, a simple mix of butter, powdered sugar, milk or cream, and flavoring, is the easiest to make and very sweet. It's quite sturdy for decorating simple swirls with various buttercream cupcake filling decorating tips, but can be very soft in warm temperatures and might feel grainy if not mixed properly. It's a good option for beginners practicing basic techniques.
Swiss meringue buttercream and Italian meringue buttercream are more complex, made by whipping butter into a meringue base. Swiss involves heating egg whites and sugar over a double boiler before whipping, while Italian involves pouring hot sugar syrup into whipping egg whites. Both are less sweet, much smoother, and more stable than American buttercream, making them excellent for intricate decorating like flowers or achieving super smooth finishes.
They are also ideal for filling as they hold their shape well and provide a luscious texture inside the cupcake. Experimenting with these types will broaden your range of buttercream cupcake filling decorating tips.
Achieving the Ideal Buttercream Consistency
The consistency of your buttercream is absolutely critical for successful filling and decorating. Too soft, and it won't hold its shape for piping designs or stay put inside a filling; too stiff, and it will be difficult to pipe smoothly and might even crack. The ideal consistency should be smooth, creamy, and easily spreadable, yet firm enough to hold a distinct peak when lifted with a spatula. If your buttercream is too thick, you can add a teaspoon of milk, cream, or even water at a time, mixing thoroughly, until the desired consistency is reached.
Conversely, if your buttercream is too thin or runny, especially after adding color or flavoring, you can thicken it by adding a tablespoon of sifted powdered sugar (for American buttercream) or by chilling it in the refrigerator for 10-15 minute increments, stirring periodically, until it firms up. Another tip for overly soft meringue buttercreams is to beat them for a few minutes on medium speed; sometimes they just need more whipping to come together. Mastering the perfect consistency will dramatically improve your execution of various buttercream cupcake filling decorating tips.
Simple Methods for Filling Cupcakes with Buttercream
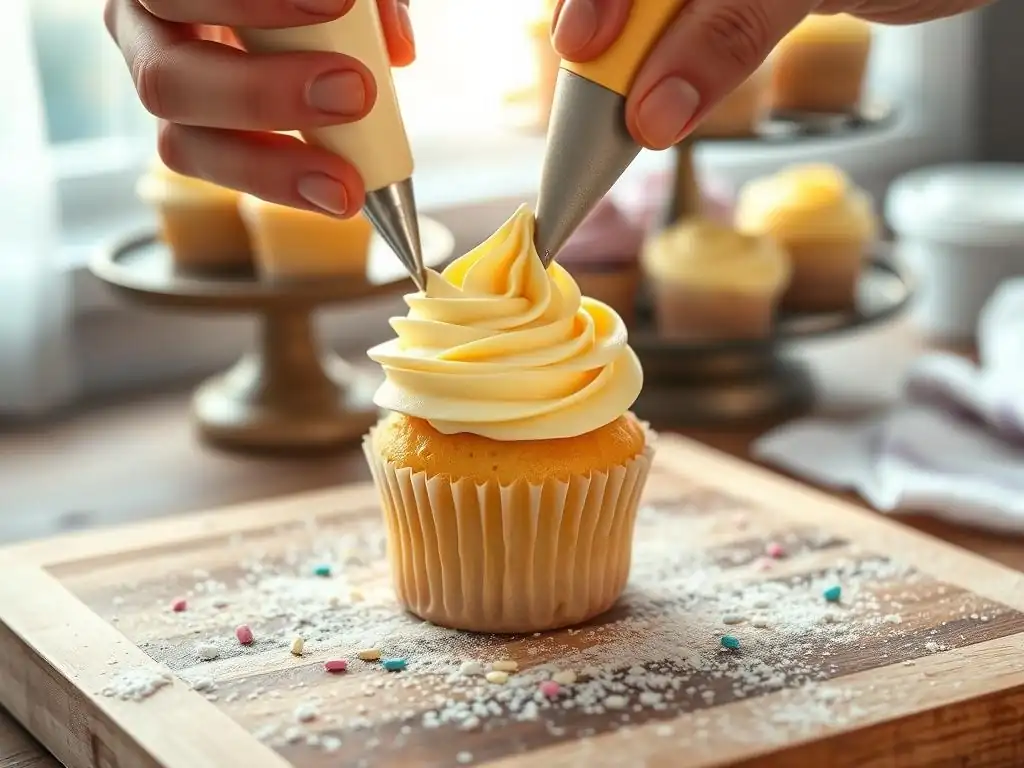
Filling cupcakes adds an element of surprise and extra burst of flavor and moisture. Learning these simple methods will enhance your buttercream cupcake filling decorating tips repertoire.
The Piping Bag Method: Filling from the Top
This is one of the simplest methods for adding a dollop of delicious buttercream inside your cupcakes. It requires minimal tools – just a piping bag and a suitable tip. A large round tip, like a Wilton #12 or even just the end of the piping bag snipped off (about 1/2 inch opening), works well. This method is fast and effective, perfect when you have many cupcakes to fill quickly.
Step-by-Step Guide to Top-Filling with a Piping Bag
- Prepare your buttercream to a smooth, pipeable consistency.
- Fit a piping bag with a round tip or snip off the end.
- Fill the piping bag about two-thirds full with buttercream. Twist the top closed.
- Hold the cupcake in one hand. Insert the tip directly into the top center of the cupcake, about halfway down.
- Gently squeeze the piping bag, allowing the buttercream to fill the cavity you are creating inside the cupcake. You will feel the cupcake become slightly heavier and see the top bulge slightly.
- Stop squeezing and gently pull the tip straight out. The small hole left by the tip will likely be covered by the buttercream you pipe on top for decoration.
Tips for Even Buttercream Distribution
To ensure even distribution of buttercream when filling from the top, apply consistent pressure to the piping bag. Don't overfill the cupcake; a little goes a long way and prevents the cupcake from splitting. Practice on one or two cupcakes first to get a feel for how much pressure and time is needed to dispense the right amount of buttercream. Aim for roughly 1-2 teaspoons of filling per standard-sized cupcake. This technique, while simple, is a fundamental part of efficient buttercream cupcake filling decorating tips.
The Coring Method: Creating a Buttercream Center
Coring involves removing a small piece from the center of the cupcake, creating a defined cavity that you then fill with buttercream or another filling. This method allows for a more generous amount of filling and ensures it's perfectly centered. It's slightly more time-consuming than the top-filling method but offers a professional finish.
How to Core a Cupcake
- Ensure your cupcakes are completely cool.
- Use a cupcake corer, the wide end of a piping tip (like a 1M), or a small paring knife.
- If using a corer or piping tip, press it gently into the center of the cupcake, twisting slightly, and lift out the core. Don't go all the way through the bottom.
- If using a paring knife, make a small cone-shaped cut into the top center of the cupcake, about 1 inch deep and 1 inch wide at the top. Carefully lift out the cone of cake.
- You can snip off the very bottom of the cake core and place the small cake disc back on top after filling, or simply discard the core piece.
Filling the Core with Buttercream
Once the cupcake is cored, it's ready for filling. Use a piping bag filled with buttercream (any tip will work, or just the snipped end). Pipe the buttercream directly into the created hole until it reaches the top. You can slightly overfill it so that when you place the reserved cake disc (if using) back on top, it sits flush or slightly raised, ready for frosting. This method is excellent for showcasing a contrasting color or flavor of buttercream inside the cupcake, adding another dimension to your buttercream cupcake filling decorating tips.
The Injection Method: Precise and Controlled Filling
The injection method uses a specific pastry tip designed for filling (often a long, narrow tip with a small opening) or a bismarck tip, which is long and serrated at the end. This technique allows you to inject filling deep into the cupcake without removing any cake, offering a clean look before decoration. It's particularly useful for softer fillings or when you want minimal disruption to the cupcake structure.
Using a Pastry Tip for Injecting Buttercream
- Fit a piping bag with a bismarck tip or a long, narrow filling tip.
- Fill the bag with smooth, pipeable buttercream.
- Insert the tip into the cupcake from the top, pushing it about two-thirds of the way down into the center.
- While slowly withdrawing the tip, gently squeeze the piping bag. This fills the cavity as you pull the tip out, ensuring the buttercream is distributed throughout the center of the cupcake.
Controlling Buttercream Amount
Controlling the amount of buttercream during injection requires a bit of practice. Apply steady, gentle pressure to the bag. You will feel the cupcake become heavier as it fills. Watch the top surface – it will subtly bulge when sufficiently filled. Stop squeezing before you pull the tip completely out. Overfilling can cause the cupcake to split. This method allows for precise control, making it a valuable addition to your buttercream cupcake filling decorating tips, especially for delicate cupcakes.
Buttercream Cupcake Decorating Techniques
Once your cupcakes are filled (or if you're skipping the filling step), it's time for the fun part: decorating with delicious buttercream! These techniques cover everything from simple swirls to more intricate designs.
Classic Buttercream Swirls: The Foundation of Cupcake Decoration
The classic buttercream swirl is the most popular and versatile way to decorate cupcakes. It's relatively easy to master and provides a beautiful, professional look. The shape of the swirl is determined by the piping tip used and the technique applied. Mastering this is fundamental to expanding your buttercream cupcake filling decorating tips.
Achieving Perfect Swirls with Different Piping Tips (1M, 2D)
- Wilton 1M Tip: This open star tip creates a classic, ruffled swirl. To pipe, hold the bag perpendicular to the cupcake surface. Start piping in the center and move outwards in a circular motion, then continue the spiral upwards, overlapping slightly, until you reach the desired height. Stop squeezing before pulling away.
- Wilton 2D Tip: This closed star tip creates a more defined, slightly different ruffled pattern, often called a "rose swirl" or "petal swirl." To pipe a rose swirl, start piping at the edge of the cupcake and move inwards in a tight spiral, ending in the center. For a classic swirl similar to the 1M, use the same technique as with the 1M, starting in the center and spiraling outwards and upwards. Practice with both to see which effect you prefer for your buttercream cupcake filling decorating tips.
Adding Color with Gel Food Coloring
Adding color transforms plain buttercream into vibrant frosting. Gel food coloring is recommended because it is highly concentrated and doesn't significantly alter the buttercream's consistency, unlike liquid colors. Start with a small amount on a toothpick and mix it in thoroughly. Add more gradually until you achieve the desired shade. For deep colors like red or black, it's often best to let the colored buttercream sit for an hour or two; the color will deepen over time. For vibrant buttercream cupcake filling decorating tips, color is key!
Rosette Buttercream Designs: Elegant and Impressive
Rosettes are beautiful, flower-like swirls that add a touch of elegance to any cupcake. They are created using star tips, typically the 1M or 2D. Once you've mastered the basic swirl, rosettes are a natural next step in your buttercream cupcake filling decorating tips journey.
Step-by-Step Guide to Piping Rosettes
- Prepare your piping bag with a star tip (1M or 2D works well) and fill it with buttercream.
- Hold the piping bag perpendicular to the cupcake surface.
- Start piping at the outer edge of the cupcake.
- Pipe in a tight circular motion, moving inwards towards the center of the cupcake.
- Stop squeezing once you reach the center and gently pull the tip away. This creates a swirling pattern that resembles a rosebud.
Variations: Ombre and Two-Toned Rosettes
- Ombre Rosettes: To create an ombre effect, tint your buttercream in three shades of the same color (light, medium, dark). Layer the colors lengthwise inside the piping bag using a spatula or cling film method. As you pipe, the color will transition, creating a gradient effect.
- Two-Toned Rosettes: For a striking two-toned look, spread one color of buttercream on one side of a piece of cling film, and another color next to it. Roll the cling film into a log, twist the ends, snip one end off, and place the log into your piping bag fitted with a tip. As you pipe, both colors will come out simultaneously, creating beautiful striped rosettes. These variations add exciting dimensions to your buttercream cupcake filling decorating tips.
Buttercream Flowers: Adding a Floral Touch
Piping buttercream flowers directly onto cupcakes or onto parchment paper to transfer later is a classic decorating technique. While complex flowers exist, starting with simple designs using basic tips is achievable for intermediate bakers. This expands your range of buttercream cupcake filling decorating tips beyond just swirls.
Creating Simple Flowers with Piping Tips
- Drop Flowers: Use a closed star tip (like Wilton #2D or #1G). Hold the bag perpendicular to the surface and pipe a cluster of stars close together in a circular shape. Release pressure while lifting straight up to create petals. Add a dot of contrasting color in the center with a small round tip (#3 or #5).
- Petal Flowers: Use a petal tip (like Wilton #104 or #124). Hold the tip with the fatter end touching the surface and the narrow end pointing slightly upwards and outwards. Pipe overlapping curved strokes in a circle, moving inwards, to create petals. The angle and pressure will determine the shape of the petals.
Combining Flowers for a Floral Arrangement
You can combine different simple buttercream flowers on a single cupcake for a mini floral arrangement. Pipe a few drop flowers of varying sizes, then add some piped leaves using a leaf tip (like Wilton #352) and green buttercream. Fill in gaps with small dots or stars using a small round or star tip. This layered approach using different buttercream cupcake filling decorating tips creates a visually appealing and intricate look.
Sprinkles and Toppings: Finishing Touches
Adding sprinkles, edible glitter, small candies, or chocolate shavings provides texture, color, and extra flavor, completing your cupcake's look. These finishing touches are an essential part of effective buttercream cupcake filling decorating tips.
Choosing Complementary Sprinkles
Consider the color and theme of your cupcakes when choosing sprinkles. Rainbow sprinkles are classic and festive. Nonpareils offer dense color. Jimmies (rod-shaped sprinkles) add a different texture. Edible glitter or disco dust can add sparkle. Coordinate sprinkle colors with your buttercream or cupcake flavor. For example, chocolate cupcakes with vanilla buttercream might be topped with chocolate shavings or cocoa powder.
Arranging Sprinkles for Visual Impact
Sprinkles can be applied in various ways for different effects. You can dip the top of a frosted cupcake directly into a bowl of sprinkles for full coverage. Alternatively, sprinkle them artlessly over the top for a scattered look. For more control, use tweezers to place individual sprinkles or drag a spoon of sprinkles across one side of the cupcake for a specific pattern. A small sifter can help apply a fine dusting of powdered sugar or cocoa. Thoughtful application of toppings enhances the overall aesthetic of your buttercream cupcake filling decorating tips.
Troubleshooting Common Buttercream Problems
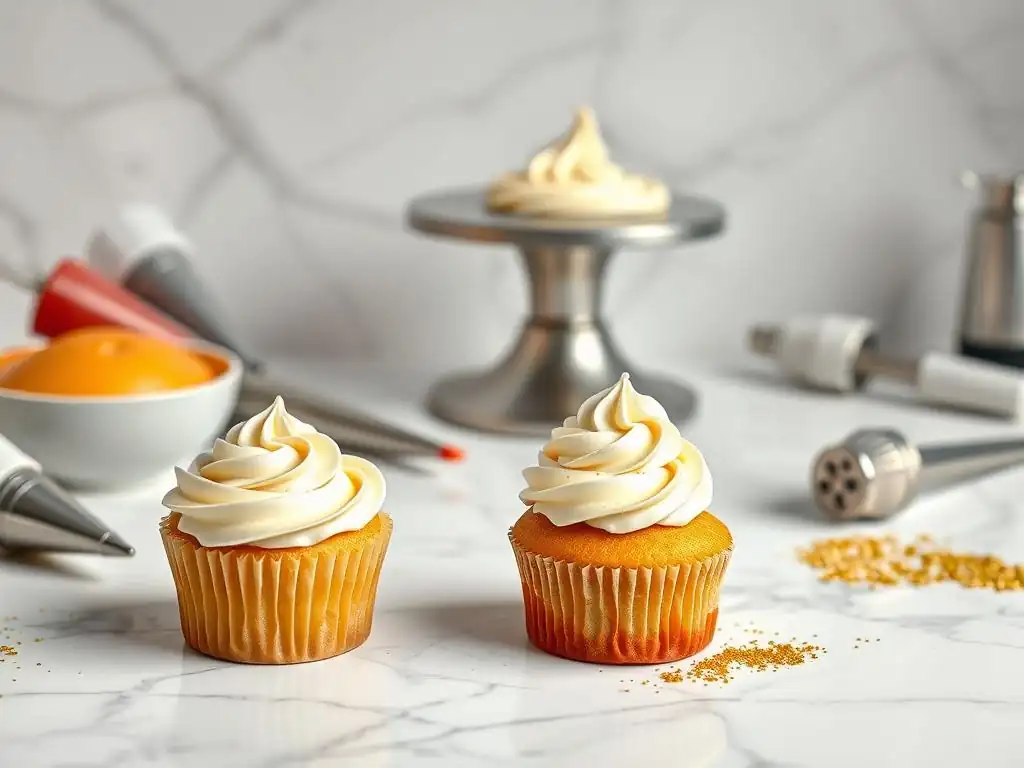
Even with the best buttercream cupcake filling decorating tips, you might encounter issues. Knowing how to fix common problems is crucial.
Preventing Buttercream from Melting
Buttercream, especially those high in butter content like American buttercream, is susceptible to melting in warm environments. The ideal temperature for working with buttercream is generally between 70-75°F (21-24°C). If your kitchen is warmer, your buttercream can quickly become too soft to pipe or hold its shape.
To prevent melting, work in a cool room. If the buttercream becomes too soft while piping, place the piping bag (or the bowl of buttercream) in the refrigerator for 5-10 minutes to firm up, then knead the bag slightly before continuing. For outdoor events or warm weather, consider using a more stable buttercream like Swiss or Italian meringue, or incorporating shortening into American buttercream (though this can affect flavor and texture). Chilling frosted cupcakes briefly before transport or display can also help. These preventative measures are key buttercream cupcake filling decorating tips for warmer climates.
Fixing Cracking or Uneven Frosting
Cracking can occur if your buttercream is too stiff or if it dries out on the surface. Uneven frosting often results from inconsistent pressure while piping or not smoothing properly. Addressing these issues ensures a professional finish for your buttercream cupcake filling decorating tips.
If your buttercream is cracking as you pipe, it's likely too cold or too stiff. Knead the piping bag with your hands to warm it slightly, or if the whole batch is stiff, let it sit at room temperature for a bit and stir it. Adding a tiny amount of liquid (like milk or water, a teaspoon at a time) can also help.
To fix uneven frosting after piping, you can gently smooth it with a small offset spatula dipped in hot water and then wiped dry, though this works best on smooth finishes rather than intricate swirls. Ensure consistent pressure when piping swirls to avoid choppy lines.
Achieving Smooth Buttercream
A smooth, creamy texture is the hallmark of well-made buttercream, essential for executing clean buttercream cupcake filling decorating tips. Graininess often comes from undissolved sugar (especially in American buttercream) or incorporating butter incorrectly (in meringue buttercreams).
For American buttercream, ensure your powdered sugar is sifted and mixed thoroughly. Beating the buttercream on medium-high speed for several minutes after adding all ingredients helps dissolve sugar and incorporates air, making it light and smooth. For meringue buttercreams, ensure the sugar is fully dissolved in the egg whites (Swiss) or syrup (Italian) before adding the butter. If it still appears slightly grainy after adding butter, continue beating on medium speed; sometimes it just needs more time to emulsify and become smooth and silky.
Advanced Buttercream Techniques
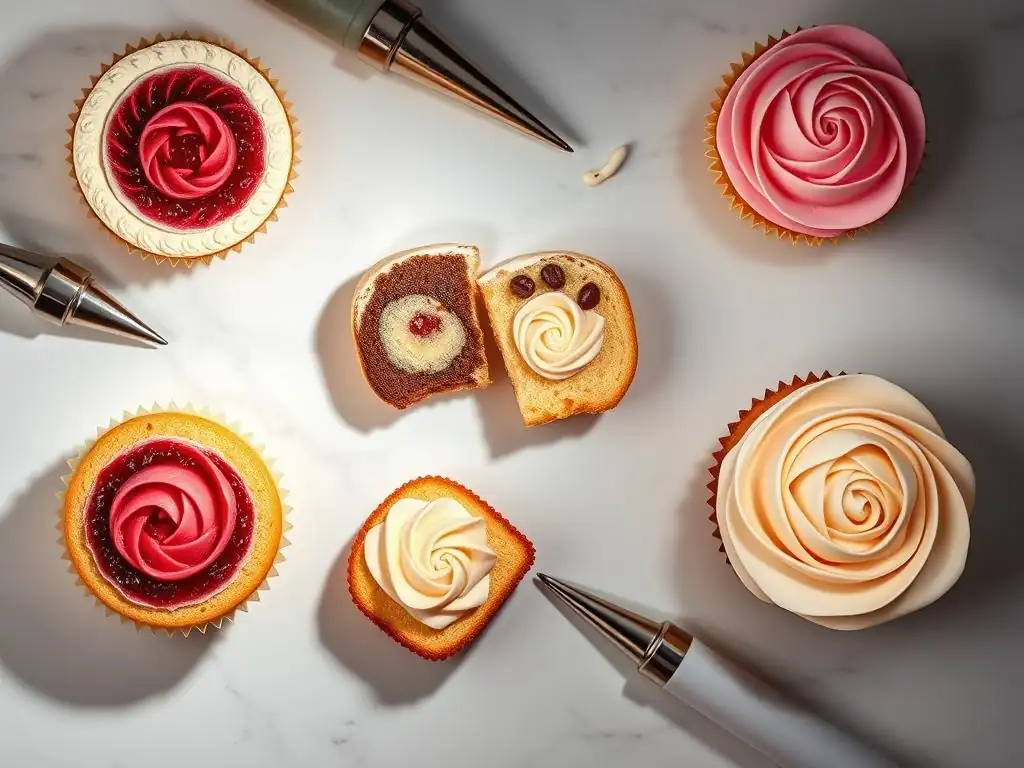
Building upon basic buttercream cupcake filling decorating tips, there are many advanced techniques to explore.
Mastering Fault Line Cakes on Cupcakes
Applying the popular fault line cake technique to cupcakes involves creating a layer of buttercream, leaving a gap around the middle to reveal sprinkles, edible glitter, or a contrasting color of buttercream underneath, giving the illusion of a 'fault line' on the side of the cupcake.
Creating Buttercream Succulents
Buttercream succulents are intricate floral designs piped directly onto cupcakes using various petal and leaf tips, often in shades of green, purple, and dusty rose. These detailed creations require steady hands and practice with specific piping techniques to mimic the appearance of real succulents.
Storing Your Decorated Cupcakes
Proper storage is crucial to maintain the freshness and appearance of your beautifully filled and decorated cupcakes using your new buttercream cupcake filling decorating tips.
Proper Storage Techniques for Freshness
Cupcakes frosted with buttercream are best stored at room temperature if they contain only butter, sugar, and liquid (like milk or water) and the room is cool (below 75°F or 24°C). Place them in an airtight container to prevent drying out. If your buttercream contains perishable ingredients like cream cheese, fresh fruit puree, or meringue made without being cooked to a high temperature, or if your room is warm, refrigeration is necessary.
When refrigerating, place the cupcakes in a container and let the buttercream firm up uncovered in the fridge for about 20-30 minutes before putting the lid on. This prevents the lid from sticking to the frosting. When ready to serve, let them sit at room temperature for about 15-30 minutes (depending on room temp) to allow the buttercream to soften slightly back to its ideal texture. Properly stored, most buttercream frosted cupcakes are best enjoyed within 2-3 days.
Preventing Buttercream Drying
Buttercream, especially American buttercream, can form a crust when exposed to air, making it less appealing and potentially causing cracks. Storing cupcakes in an airtight container is the primary way to prevent this. Ensure the container is sealed well.
If you need to store frosted cupcakes for a longer period, you can freeze them. Place the frosted cupcakes on a baking sheet and freeze until the buttercream is firm (about 1-2 hours). Then, transfer the frozen cupcakes to an airtight container, placing parchment paper between layers if stacking. Thaw them overnight in the refrigerator in the container, then bring them to room temperature before serving. This helps preserve the smooth texture you worked hard to achieve with your buttercream cupcake filling decorating tips.
Frequently Asked Questions
What is the best way to prepare buttercream for cupcake filling?
The best way is to ensure your buttercream is smooth and pipeable. You can achieve this by whipping it well and adding a little milk or cream if needed to thin it slightly.
What tools are recommended for filling cupcakes with buttercream?
A piping bag fitted with a round tip is the most popular choice for filling. Alternatively, you can use a small spoon or knife for a more rustic look.
How do I prevent my buttercream filling from leaking out of the cupcake?
Avoid overfilling the cupcakes. Also, ensure the buttercream has a good consistency, not too runny. You can also use a cupcake corer to create space.
What are some creative buttercream decorating techniques for cupcakes?
Consider using different piping tips for varied designs, such as rosettes or swirls. You can also add sprinkles, edible glitter, or fresh fruit for extra flair.
Can I use different flavors of buttercream for filling and decorating cupcakes?
Absolutely! Using contrasting flavors can create a delicious surprise. Just make sure the flavors complement each other for the best result.
Final Reflection: The Sweet Art of Buttercream: More Than Just Frosting
Mastering the art of buttercream filling and decorating isn't just about creating visually stunning cupcakes; it's about crafting delightful experiences. These simple techniques, explored throughout this article, offer a gateway to expressing creativity and sharing joy through baking. From perfectly piped rosettes to flawlessly smooth fillings, the possibilities are truly endless.
The impact of beautifully decorated cupcakes extends far beyond the individual treat itself. They're a symbol of celebration, a gesture of love, and a testament to the power of simple pleasures. They bring people together, whether it's a child's birthday party, a quiet afternoon tea, or a grand celebration. As the saying goes, The best things in life are the simple things.
And for many, a perfectly frosted cupcake embodies that sentiment perfectly. The act of creating these little works of art is deeply satisfying, a meditative process that allows for self-expression and the creation of something beautiful.
Now, it's your turn. Don't be afraid to experiment with different techniques, flavors, and colors. Let your creativity flow, and most importantly, have fun! The next time you find yourself in the kitchen, remember the joy of crafting a delicious and visually stunning cupcake. Embrace the process, share your creations, and let the sweet art of buttercream bring a little extra sweetness into your life and the lives of those you share it with.
Unleash Your Inner Cupcake Artist!
Thanks for joining us on this sweet journey into the world of buttercream cupcakes! We hope you've picked up some delicious tips and tricks. Ready to put your new skills to the test?
- Master the swirl: Practice your piping techniques and create stunning cupcake designs using the methods we discussed. Challenge yourself to try a new swirl pattern!
- Share your creations: Post pictures of your beautifully decorated cupcakes on social media and tag us – we'd love to see your masterpieces!
- Explore flavor combinations: Experiment with different buttercream flavors and cupcake bases to discover your signature cupcake creation. What unexpected flavor pairing will you try next?
Ready to transform ordinary cupcakes into edible works of art?