
Intermediate Baker's Guide to Yeast Handling for Sweet Rolls

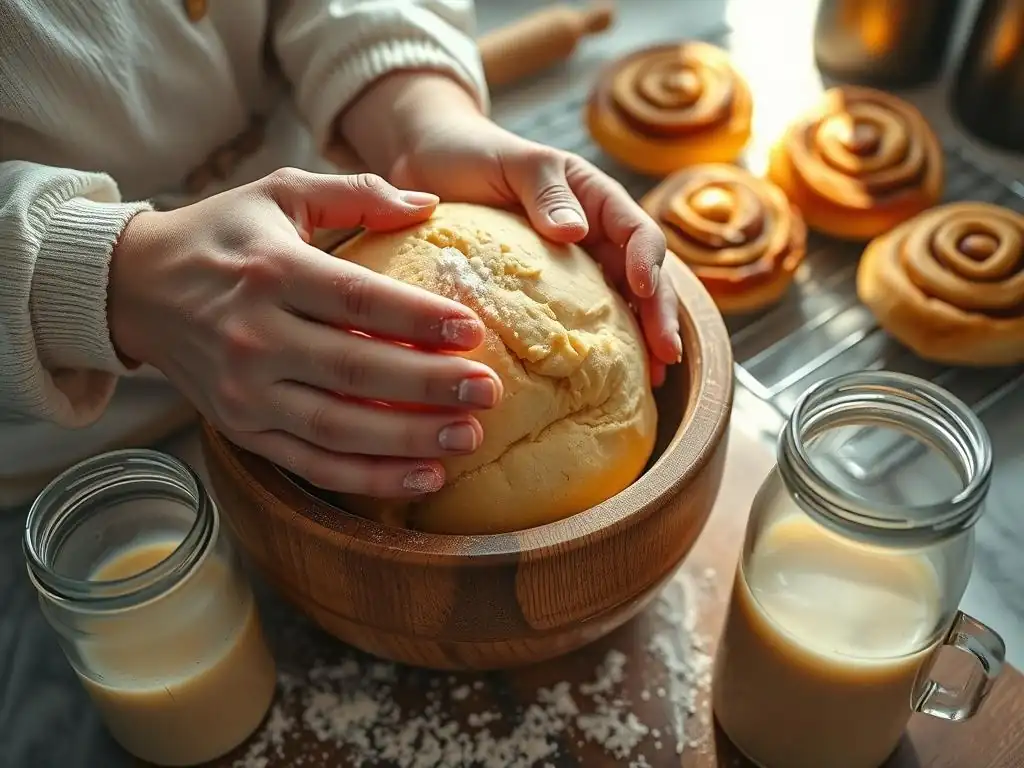
Welcome to BakeWithEase, your trusted companion in the delightful world of baking! Are you ready to elevate your sweet rolls to bakery-worthy perfection? This guide delves into the intermediate secrets of yeast handling for sweet rolls, unlocking a world of flavor and texture you never thought possible. Discover the nuances that separate good sweet rolls from extraordinary ones, and prepare to impress with your newfound expertise. Intrigued? Let's get baking!
- Mastering Yeast for Perfect Sweet Rolls: An Intermediate Guide
- Understanding Yeast Types for Sweet Roll Baking
- Essential Techniques for Yeast Activation in Sweet Roll Dough
- Incorporating Yeast into Sweet Roll Dough: Step-by-Step
- First Rise Fundamentals: Optimizing Yeast Activity
- Shaping and Second Rise: Nurturing Yeast for Fluffy Sweet Rolls
- Baking Your Sweet Rolls: Heat and Yeast Interaction
- Troubleshooting Common Yeast-Related Issues in Sweet Rolls
- Elevate Your Sweet Rolls: Advanced Yeast Handling Tips
- Yeast Handling for Sweet Rolls: Recipe Adjustments for Success
-
Frequently Asked Questions
- What makes yeast handling so crucial for sweet rolls?
- How can I ensure my yeast is still active before baking?
- What's the ideal temperature range for proofing sweet rolls with yeast?
- Can I substitute instant yeast for active dry yeast in sweet roll recipes?
- What happens if I over-proof my sweet roll dough?
- Final Reflection: The Sweet Science of Yeast and the Joy of Baking
- Unleash Your Inner Bread Wizard: Master Yeast & Bake Amazing Rolls!
Mastering Yeast for Perfect Sweet Rolls: An Intermediate Guide
Welcome back to BakeWithEase! If you've moved beyond basic quick breads and are ready to tackle the delightful world of sweet rolls, mastering yeast handling is your next crucial step. Sweet rolls, with their tender crumb and often rich dough, rely heavily on the proper activity of yeast to achieve that coveted light, fluffy texture. This guide is designed to take your understanding of yeast handling for sweet rolls to the next level, moving from simply following a recipe to understanding the why behind each step.
Effective yeast handling for sweet rolls involves more than just adding the ingredient; it's about creating the right environment for the yeast to thrive, controlling its activity through temperature and time, and understanding how it interacts with the other ingredients in your dough. We'll explore different yeast types, essential activation techniques, how to properly incorporate yeast into your dough, and crucial steps like the first and second rise. By the end of this guide, you'll have the knowledge to consistently produce perfect, airy sweet rolls every time you bake.
Understanding Yeast Types for Sweet Roll Baking
Active Dry Yeast vs. Instant Yeast: Which is Best for Sweet Rolls?
When delving into yeast handling for sweet rolls, the first decision often involves choosing your yeast type. Active dry yeast is a common choice, consisting of dried yeast granules that are dormant. Before use, it typically requires 'proofing' or activating in warm liquid (usually water or milk) at a specific temperature range, often between 105°F and 115°F (40°C to 46°C).
This step confirms the yeast is alive and gives it a head start. Active dry yeast generally takes a bit longer to leaven dough compared to instant yeast, which can contribute to a slightly more developed flavor profile during the longer fermentation time. A typical ratio might be 2 ¼ teaspoons (about 7 grams) per 3-4 cups of flour.
Instant yeast, also known as rapid-rise or quick-rise yeast, is processed differently, resulting in smaller granules that dissolve and activate more quickly. It can usually be mixed directly into the dry ingredients without prior hydration, although some bakers prefer to proof it anyway. Instant yeast provides a faster and more vigorous rise, cutting down on overall dough development time.
For sweet rolls where you might want a quicker turnaround, instant yeast is often preferred. You generally use about 25% less instant yeast than active dry yeast if substituting, or follow recipe instructions carefully. While some argue active dry yeast offers superior flavor due to a longer fermentation, many find the difference negligible in rich sweet roll doughs, making instant yeast a convenient and reliable option for yeast handling sweet rolls.
Fresh Yeast for Sweet Rolls: A Baker's Perspective
Fresh yeast, also called cake yeast or compressed yeast, is the traditional choice for many professional bakers and offers a distinct advantage in flavor and dough conditioning for sweet rolls. It comes as a moist, crumbly block and is highly perishable, requiring refrigeration and typically used within a week or two of purchase. Fresh yeast is quite active and needs to be dissolved in warm liquid before being added to the dough. The ideal temperature for dissolving fresh yeast is slightly cooler than active dry, usually around 90°F to 100°F (32°C to 38°C).
Using fresh yeast in yeast handling for sweet rolls can lead to a more nuanced flavor profile and a softer crumb texture compared to dry yeasts. Its consistent moisture content also integrates smoothly into doughs. When substituting fresh yeast for dry yeast, the general rule of thumb is to use about three times the weight of active dry yeast, or two to two-and-a-half times the weight of instant yeast.
For example, if a recipe calls for 7g of active dry yeast, you'd use roughly 21g of fresh yeast. While less commonly available to home bakers, sourcing fresh yeast can be a rewarding step in elevating your sweet roll baking.
Essential Techniques for Yeast Activation in Sweet Roll Dough
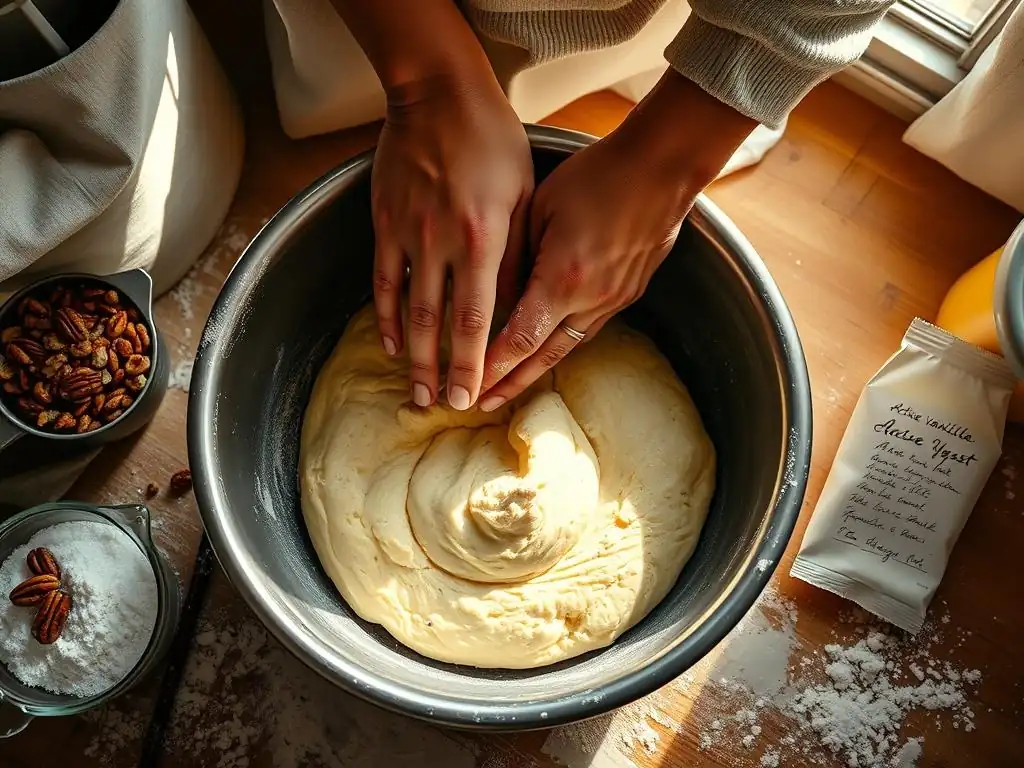
Proofing Yeast: The Key to Successful Sweet Rolls
Proofing yeast is a fundamental step, especially when using active dry yeast, to ensure your yeast is alive and ready to leaven your sweet rolls. This process involves dissolving the yeast in a warm liquid, typically water or milk, often with a pinch of sugar, for about 5-10 minutes. The sugar provides food for the yeast, helping it become active.
The liquid temperature is critical: too cold, and the yeast won't activate; too hot, and you'll kill it. For active dry yeast, aiming for 105°F to 115°F (40°C to 46°C) is ideal. Within a few minutes, the mixture should become foamy or bubbly on the surface, indicating the yeast is active and healthy.
If your yeast mixture doesn't show signs of activity after 10-15 minutes, it's likely dead or inactive, and you should discard it and start with fresh yeast. Using inactive yeast is one of the most common reasons for flat, dense sweet rolls. This simple proofing step is a vital quality control check in yeast handling for sweet rolls, saving you the disappointment of a failed batch after investing time and ingredients. Even with instant yeast, some bakers prefer a quick proof (maybe 5 minutes) just for peace of mind, although it's not strictly necessary according to manufacturer instructions.
The Ideal Temperature for Yeast Activation in Sweet Roll Recipes
Temperature plays a critical role throughout the entire process of yeast handling for sweet rolls, starting with activation. As mentioned, the liquid temperature for proofing is key: typically 105-115°F (40-46°C) for active dry yeast and 90-100°F (32-38°C) for fresh yeast. Instant yeast is more forgiving and can be mixed with room temperature or slightly warm liquids, though very cold liquids will slow down its initial activity. Beyond the initial activation, the temperature of the dough ingredients themselves matters. Using overly cold milk or eggs straight from the refrigerator can significantly slow down yeast activity.
For optimal yeast performance throughout the dough development and rising stages, the dough temperature itself should ideally be maintained. Many bakers aim for a final dough temperature around 75°F to 80°F (24°C to 27°C) after mixing and kneading. This temperature range provides a comfortable environment for the yeast to ferment at a steady pace, developing both gas for rise and beneficial flavor compounds. Ensuring consistent temperatures during mixing, rising, and even resting periods is a hallmark of skilled yeast handling for sweet rolls, leading to more predictable and successful results.
Troubleshooting Yeast Activation Problems: Slow Rise and Solutions
Sometimes, even with careful yeast handling for sweet rolls, you might encounter issues with activation or a slow rise. The most common culprit is incorrect liquid temperature during proofing – either too cold (yeast is sluggish) or too hot (yeast is killed). If your proofing mixture doesn't foam, your yeast is likely inactive. Always re-proof with fresh yeast and correctly tempered liquid. Another issue can be expired yeast; yeast loses viability over time, especially if not stored properly. Check the expiration date and store yeast in an airtight container in the refrigerator or freezer to extend its shelf life.
Other factors affecting yeast activity include:
- Water quality: Highly chlorinated water can inhibit yeast. Letting tap water sit out for 30 minutes can help, or use filtered water.
- Salt contact: Salt inhibits yeast activity. Avoid direct contact between salt and yeast during initial mixing.
- Too much sugar: While a little sugar helps activate yeast, excessive amounts (especially in rich sweet roll doughs) can draw water out of the yeast cells via osmosis, actually slowing fermentation.
- Cold room temperature: Yeast activity slows significantly below 70°F (21°C). Find a warmer spot for rising or create a proofing environment.
If your dough is rising slowly but showing some activity, simply give it more time in a warm place. Patience is often key in yeast handling for sweet rolls.
Incorporating Yeast into Sweet Roll Dough: Step-by-Step
Mixing Yeast with Dry Ingredients for Sweet Rolls
When using instant yeast, the process of incorporating it into your sweet roll dough is quite straightforward. Instant yeast can typically be whisked directly into the flour along with other dry ingredients like salt, sugar, and leavening agents (if any, though yeast is the primary leavener here). This method is convenient and works because the instant yeast granules are designed to hydrate rapidly when they come into contact with the wet ingredients during mixing. Ensure the yeast is evenly distributed throughout the flour mixture by giving it a good whisk.
It's crucial, however, to keep salt separate from the yeast initially, especially if you're piling ingredients into a bowl before mixing. Salt can inhibit or even kill yeast if they are in direct, concentrated contact for too long before hydration. So, when mixing dry ingredients for your sweet rolls, add flour to the bowl, then add yeast and sugar on one side, and salt on the opposite side. A quick whisk through the flour before adding liquids will then distribute everything safely. This simple step in yeast handling for sweet rolls helps ensure optimal yeast performance from the outset.
Adding Yeast to Wet Ingredients for Sweet Rolls: A Detailed Approach
If you are using active dry yeast (which you have proofed) or prefer to proof your instant yeast for sweet rolls, you will typically add the activated yeast mixture to the wet ingredients before combining them with the dry ones. Start by warming your liquid (milk, water, or a combination) to the appropriate temperature (105-115°F or 40-46°C for active dry, 90-100°F or 32-38°C for fresh). Stir in a pinch of sugar from the recipe and then add the yeast. Let it sit for 5-10 minutes until bubbly.
Once the yeast is proofed, combine this frothy mixture with other wet ingredients called for in your sweet roll recipe, such as melted butter, eggs, and any additional liquid. Ensure these wet ingredients are not excessively cold, as this can shock the yeast. Room temperature or slightly warmed ingredients are best. Then, you will typically add this combined wet mixture to your dry ingredients (flour, sugar, salt, etc.) in a mixing bowl. This method of yeast handling for sweet rolls ensures that the yeast is fully hydrated and active before it begins the work of leavening the dough.
The Importance of Gluten Development in Sweet Roll Dough
Beyond effective yeast handling for sweet rolls, developing a strong gluten structure is paramount for achieving the perfect texture. Gluten, formed when proteins in flour (glutenin and gliadin) combine with water and are worked (kneaded), creates a network that traps the carbon dioxide gas produced by the yeast. This trapped gas is what makes the dough rise and gives the final sweet rolls their airy crumb. Without sufficient gluten development, the gas will escape, resulting in a dense, heavy texture.
Kneading is the process that develops this gluten network. Whether by hand or with a stand mixer, the dough needs to be worked until it is smooth, elastic, and passes the "windowpane test." The windowpane test involves stretching a small piece of dough thinly; if you can stretch it into a translucent sheet without tearing, the gluten is well-developed.
Rich sweet roll doughs, often containing high amounts of fat (butter, eggs) and sugar, can be more challenging to knead and require longer mixing times compared to lean bread doughs. Proper kneading, alongside careful yeast handling for sweet rolls, ensures your dough has the strength to hold its shape and achieve maximum volume during rising and baking.
First Rise Fundamentals: Optimizing Yeast Activity
Creating the Ideal Environment for the First Rise: Warm, Draft-Free Spaces
The first rise, also known as bulk fermentation, is a critical stage in yeast handling for sweet rolls where the yeast gets to work converting sugars into carbon dioxide gas and alcohol. The ideal environment for this rise is a warm, draft-free space. Yeast is most active between 75°F and 85°F (24°C to 29°C). Temperatures significantly below this range will slow the rise considerably, while temperatures too high can cause the yeast to overwork and produce off-flavors.
To create this environment, you can:
- Place the dough bowl in a warm oven that has been turned off but had the light on. The oven light often provides enough ambient warmth.
- Place the bowl on top of your refrigerator or another warm appliance.
- Use a proofing box or a specific proofing setting on your oven.
- Cover the bowl tightly with plastic wrap or a clean kitchen towel to prevent a skin from forming and protect it from drafts.
Aim for a consistent temperature throughout the rise. This careful attention to environment during the first rise is a key aspect of successful yeast handling for sweet rolls.
Determining When Your Sweet Roll Dough is Ready for Shaping
Knowing when your sweet roll dough has completed its first rise is crucial before moving on to shaping. The dough should have roughly doubled in size, sometimes even tripled depending on the recipe and temperature. However, size alone isn't the only indicator. The dough should also appear visibly puffy and feel light and airy when gently touched. You might even see small bubbles on the surface.
A reliable method to check for readiness is the "poke test." Gently and lightly flour your finger and press it about half an inch into the dough.
- If the indentation springs back immediately, the dough needs more time.
- If the indentation slowly springs back halfway, the dough is perfectly proofed and ready for shaping.
- If the indentation remains completely, the dough may be slightly over-proofed (though a little over-proofing at this stage isn't usually fatal for sweet rolls).
Mastering this timing through careful observation and the poke test is essential for effective yeast handling for sweet rolls.
Avoiding Over-Proofing and Under-Proofing: The Poke Test
As highlighted, the poke test is your best friend in determining the ideal state of fermentation during the first rise of your sweet roll dough. Under-proofing means the yeast hasn't produced enough gas or developed enough flavor. Dough that is under-proofed will be dense, may tear during shaping, and will result in heavy, tight-crumbed sweet rolls that don't achieve good volume in the oven. If the poke test indentation springs back quickly, the dough needs more time.
Over-proofing, on the other hand, occurs when the yeast has produced too much gas, exhausting its food source and potentially starting to produce unpleasant, overly alcoholic or sour flavors. Over-proofed dough will be very soft, may collapse when poked, and the final sweet rolls will have a coarse texture, might spread excessively during baking, and could taste overly "yeasty." If the indentation remains completely, the dough is likely over-proofed.
While slightly over-proofed dough can sometimes be salvaged by gently punching it down and giving it a short second rise, it's best to avoid this scenario by monitoring the dough and using the poke test reliably. Proper timing, guided by the poke test, is paramount in yeast handling for sweet rolls.
Shaping and Second Rise: Nurturing Yeast for Fluffy Sweet Rolls
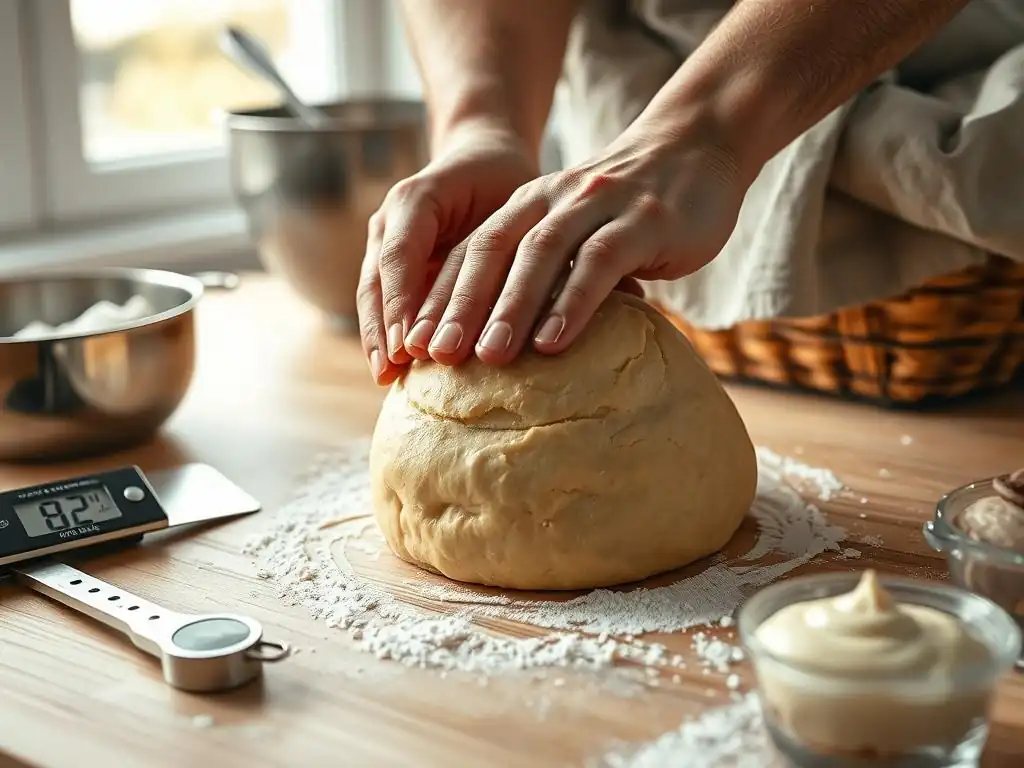
Gentle Handling of Sweet Roll Dough During Shaping
After the first rise, your sweet roll dough should be light and airy. When you turn it out onto your work surface, it's important to handle it gently. Avoid aggressively punching down the dough, as this expels all the hard-earned gas bubbles and can damage the gluten structure. Instead, gently deflate the dough by lightly pressing on it or folding it over on itself a couple of times. Think of it as coaxing the air out, not forcing it.
When rolling or shaping the dough, use a light touch. Excessive pressure can compress the dough, leading to a less airy final product. If the dough is resisting, let it rest for 5-10 minutes (this is called 'benching') to allow the gluten to relax before continuing. This gentle approach throughout the shaping process is crucial for maintaining the delicate structure created by proper yeast handling for sweet rolls and ensures the dough is ready to rise beautifully during the second proof.
Preparing the Sweet Rolls for the Second Rise
Once your sweet rolls are shaped – whether they are classic cinnamon rolls, sticky buns, or other variations – they need a second rise (also called the final proof) before baking. Arrange the shaped rolls in your baking pan, leaving enough space between them for expansion. Remember, they will expand considerably during this rise and even more in the oven. For standard cinnamon rolls, leaving about an inch between them is usually sufficient, allowing them to bake together into a soft, pull-apart structure.
Cover the pan loosely with plastic wrap or a light towel to prevent the surface of the rolls from drying out and forming a skin, which would inhibit the rise. Place the pan in a warm, draft-free spot for the second rise, similar to the first rise environment. The temperature should ideally be around 75-85°F (24-29°C). This allows the yeast to continue producing gas, giving the individual rolls their final volume and lightness. Proper preparation for this second rise is a key step in yeast handling for sweet rolls, ensuring they bake up light and fluffy.
Monitoring the Second Rise: Achieving Optimal Volume
The second rise for sweet rolls is typically shorter than the first, often taking 30-60 minutes, depending on the temperature and the dough's activity. During this time, the shaped rolls should visibly increase in size, becoming puffy and soft. They won't necessarily double in size like the bulk fermentation, but they should look significantly larger and feel airy when gently touched.
Determining when the second rise is complete is crucial. If under-proofed, the rolls will have a dense texture and may crack on the surface during baking. If over-proofed, they can collapse, lose their shape, and result in a coarse crumb. A gentle poke test can also be used here, but be very careful as the dough is more delicate.
A light touch should leave a slight indentation that springs back very slowly. When the rolls look significantly puffed and feel tender, they are likely ready for the oven. Learning to judge this stage visually and by feel is an important skill in yeast handling for sweet rolls.
Baking Your Sweet Rolls: Heat and Yeast Interaction
The Oven's Role in Yeast Activity and Sweet Roll Texture
The oven is where the final, dramatic act of yeast activity occurs: oven spring. When the dough hits the hot environment of the oven, the yeast experiences a burst of activity before dying off at around 130°F (54°C). This final push produces a significant amount of carbon dioxide, causing the sweet rolls to expand rapidly in the first 10-15 minutes of baking.
Simultaneously, the heat causes the alcohol produced by the yeast to evaporate, contributing to the aroma and texture. The moisture in the dough turns to steam, which also aids in expansion and helps keep the crust soft initially.
The high heat also sets the gluten structure, solidifying the shape of the rolls, and causes the starches to gelatinize, contributing to the crumb structure. The sugars in the dough caramelize, giving the sweet rolls their golden-brown crust. Baking temperature is typically between 350°F and 375°F (175°C to 190°C) for sweet rolls, depending on the recipe and desired crust color. Proper oven temperature and preheating are as important as yeast handling for sweet rolls to ensure they achieve maximum volume and a beautiful finish.
Achieving Even Baking and Preventing Over-Browning
Even baking is essential for perfect sweet rolls. Uneven oven temperatures or pan placement can lead to some rolls being perfectly golden while others are pale or burnt. Most home ovens have hot spots, so rotating your baking pan halfway through the baking time (e.g., after 10-15 minutes) is a simple but effective way to promote even browning. If the tops of your sweet rolls are browning too quickly before the inside is cooked, you can loosely tent the pan with aluminum foil for the remainder of the baking time.
The high sugar content in sweet roll dough makes them prone to burning, especially on the bottom. Using a quality, light-colored metal baking pan can help prevent over-browning on the base compared to dark or non-stick pans, which absorb and radiate heat more intensely. Baking time for a standard batch of sweet rolls is usually between 20 and 30 minutes. The rolls are done when they are golden brown on top and bottom, and the internal temperature reaches around 190-200°F (88-93°C). Careful monitoring during this final stage complements effective yeast handling for sweet rolls, ensuring a delicious outcome.
Cooling and Serving: Preserving Sweet Roll Freshness
Once your sweet rolls emerge from the oven, smelling absolutely divine, resist the urge to immediately pull them apart. Allow them to cool in the pan for 5-10 minutes. This allows the structure to set slightly and makes them easier to handle. After this initial cooling, transfer the rolls to a wire rack to cool completely. Cooling on a wire rack allows air circulation around the entire roll, preventing the bottoms from becoming soggy from trapped steam.
While sweet rolls are undeniably best served warm, allowing them to cool slightly improves their texture and flavor. The flavors meld, and the crumb structure becomes more stable. If you plan to add a glaze or icing, wait until the rolls have cooled significantly, though they can still be slightly warm, to prevent the glaze from melting completely into the roll. Proper cooling is the final step in the process of yeast handling for sweet rolls, ensuring the texture you worked hard to achieve is preserved until they are enjoyed.
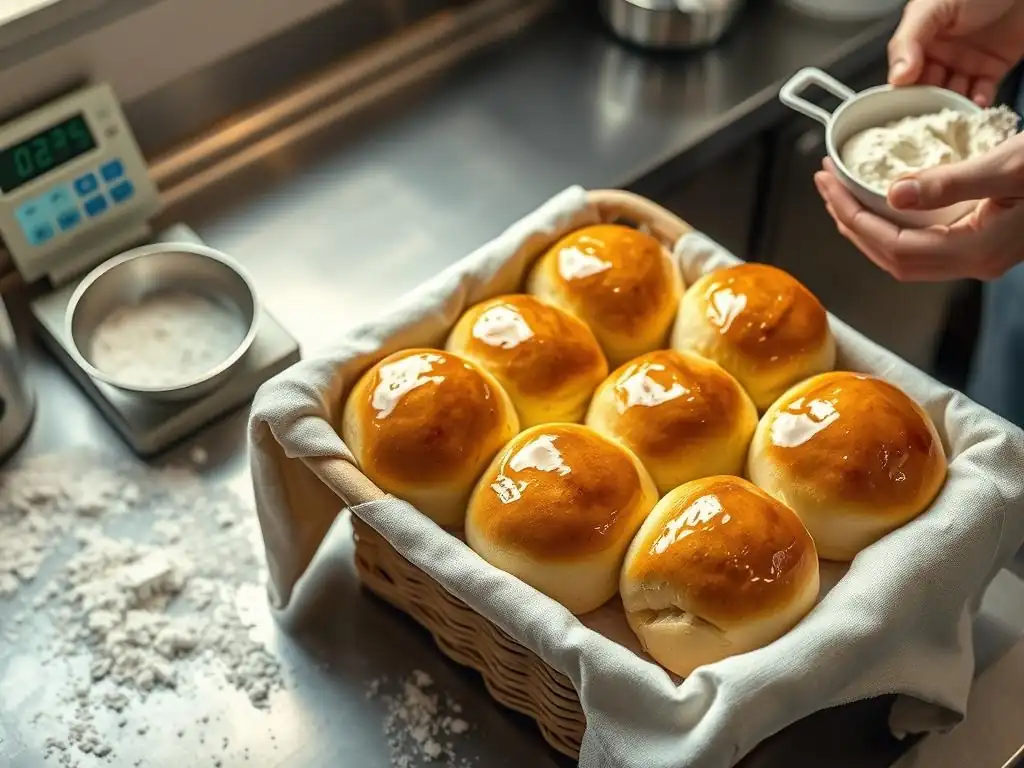
Dense or Heavy Sweet Rolls: Improper Proofing and Solutions
One of the most frustrating outcomes in yeast handling for sweet rolls is a batch that turns out dense and heavy instead of light and airy. The primary cause is almost always insufficient proofing. This means either the yeast was inactive from the start (not proofed correctly or dead) or the dough didn't rise enough during the first or second rise. Other factors contributing to density can include insufficient kneading (poor gluten development) or adding too much flour, resulting in a stiff dough that's hard for the yeast to leaven.
- Solutions:
- Ensure your yeast is active by proofing it correctly in warm liquid before adding to the dough.
- Check the expiration date of your yeast and store it properly.
- Provide a consistently warm, draft-free environment (75-85°F / 24-29°C) for both rises.
- Allow sufficient time for both the first and second rise, using the poke test to check for readiness. Don't rush the process.
- Knead the dough adequately until it passes the windowpane test.
- Measure flour accurately, preferably by weight, to avoid adding too much.
Sweet Rolls That Don't Rise Properly: Yeast Inactivity and Solutions
A complete or near-complete failure to rise is a clear sign of yeast inactivity. This is distinct from a slow rise, which just needs more time. If your dough shows no significant increase in volume after the expected rise time in a warm environment, the yeast is likely dead or was killed. Common causes include using expired yeast, using liquid that was too hot during activation or mixing, or direct contact between active yeast and a large amount of salt or sugar before mixing.
- Solutions:
- Always proof active dry yeast to confirm viability. If no foam appears, get new yeast.
- Use a thermometer to ensure liquid temperatures for proofing are correct (105-115°F or 40-46°C for active dry).
- When mixing, keep salt and yeast separate until they are incorporated into the bulk of the flour and liquid.
- Check the expiration date and storage of your yeast.
- Ensure your rising environment is warm enough.
Unfortunately, if the yeast is truly inactive, there's no way to salvage the dough for a yeasted sweet roll. You'll need to discard the dough and start over with fresh, properly handled yeast. This underscores the importance of careful yeast handling for sweet rolls from the very beginning.
Overly Yeasty Taste: Preventing and Correcting the Imbalance
An overly strong, sometimes alcoholic or sour, "yeasty" flavor in sweet rolls is usually a result of over-proofing, especially during the first rise (bulk fermentation). When yeast ferments for too long or at too high a temperature, it produces more ethanol and other metabolic byproducts that can impart off-flavors. While some fermentation flavor is desirable, too much indicates the yeast had an uncontrolled party. Using too much yeast for the amount of flour can also contribute to this issue.
- Prevention:
- Use the correct amount of yeast specified in the recipe (or adjust carefully if substituting types).
- Monitor rise times closely and use the poke test. Don't let the dough over-proof.
- Control the temperature of your rising environment; cooler temperatures (70-75°F / 21-24°C) allow for a slower, more controlled fermentation that develops pleasant flavors without the harsh yeasty notes.
- Correction (Limited): If you suspect slight over-proofing during the first rise, gently punch down the dough, reshape, and give it a much shorter second rise. However, once the off-flavors are developed, they are difficult to completely eliminate.
Careful yeast handling for sweet rolls involves balancing activity and time to achieve optimal flavor development without the unpleasant taste of over-fermentation.
Elevate Your Sweet Rolls: Advanced Yeast Handling Tips
Using a Preferment (Poolish or Biga) for Enhanced Flavor
Taking your yeast handling for sweet rolls to an advanced level often involves incorporating a preferment, such as a poolish or a biga. A preferment is a portion of the dough (flour, water, and a small amount of yeast) mixed hours or even a day in advance and allowed to ferment slowly at room temperature or in the refrigerator. This slow, long fermentation develops complex flavors and aromas that are not achievable with a direct mix method.
- Poolish: Equal parts flour and water by weight, with a tiny amount of yeast. It's a wet, batter-like preferment that is typically fermented for 12-16 hours at room temperature.
- Biga: A stiffer preferment, usually with a lower hydration (around 50-60% water to flour by weight) and a small amount of yeast. It can be fermented at room temperature for several hours or refrigerated for 24-72 hours.
Incorporating a preferment adds depth and complexity to the sweet roll flavor, improves the texture, and can enhance shelf life. While it adds an extra step and requires planning, it's a rewarding technique for intermediate bakers looking to master yeast handling for sweet rolls and produce truly exceptional results.
Incorporating Tangzhong for Extra Softness and Moisture
Tangzhong is an Asian baking technique that involves cooking a small portion of the flour and liquid (usually milk or water) into a thick paste before adding it to the main dough. This paste, also known as a 'roux starter' or 'water roux,' gelatinizes the starches in the flour. When added to the dough, the gelatinized starches can hold significantly more liquid.
The benefits of using tangzhong in sweet roll dough are numerous:
- Increased Moisture: The dough holds more liquid without being sticky.
- Enhanced Softness: The gelatinized starches contribute to an incredibly soft and tender crumb.
- Extended Shelf Life: The extra moisture retained helps the sweet rolls stay fresh and soft for longer.
Typically, a tangzhong is made by whisking together about 5-10% of the total flour in the recipe with 5 times its weight in liquid and heating it to 149°F (65°C) until it thickens into a paste. This paste is then cooled before being added to the dough along with the other wet ingredients. While not directly about yeast handling for sweet rolls, tangzhong creates a dough environment that supports yeast activity and results in a superior final texture, making it a valuable technique for intermediate bakers.
Experimenting with Different Yeast Strains for Unique Flavor Profiles
While most home bakers stick to common active dry or instant yeast strains (typically Saccharomyces cerevisiae), there are different commercial strains available, and even wild yeasts (used in sourdough) can be explored for sweet rolls. Different yeast strains can produce varying amounts of flavor compounds (esters, alcohols) during fermentation, leading to subtle differences in the final taste and aroma of your sweet rolls.
For example, some specialized baking yeasts are marketed for their ability to enhance specific flavors or perform differently in rich doughs. Exploring sourdough starter for a portion or all of the leavening can introduce lactic and acetic acid bacteria alongside wild yeasts, resulting in a tangy complexity that pairs surprisingly well with sweet flavors (think sourdough cinnamon rolls). While this requires a deeper understanding of fermentation, experimenting with different yeast types or incorporating a sourdough element is an exciting way to push the boundaries of yeast handling for sweet rolls and personalize your baking.
Yeast Handling for Sweet Rolls: Recipe Adjustments for Success
Adapting Recipes for Different Yeast Types
Recipes often specify a particular type of yeast, but knowing how to adapt if you only have another type is a useful skill in yeast handling for sweet rolls.
- Active Dry to Instant: Use about 25% less instant yeast than active dry yeast called for. If the recipe uses the "proof first" method for active dry, you can usually just whisk the instant yeast into the dry ingredients instead, but the rise times might be slightly shorter.
- Instant to Active Dry: Use about 25% more active dry yeast than instant yeast. You must proof the active dry yeast in warm liquid before adding it to the dough. The rise times may be slightly longer.
- Dry Yeast to Fresh Yeast: Use roughly 2.5 to 3 times the weight of active dry or 2 to 2.5 times the weight of instant yeast. Dissolve the fresh yeast in warm liquid (90-100°F / 32-38°C) before adding.
Always monitor the dough's rise visually and with the poke test rather than strictly adhering to the recipe's timing when substituting yeast types, as activity levels can vary. This adaptability is key to successful yeast handling for sweet rolls regardless of what's in your pantry.
Adjusting Rise Times Based on Room Temperature
Yeast activity is highly sensitive to temperature, meaning the rise times specified in a recipe are often just estimates based on a typical room temperature (usually around 70-75°F or 21-24°C). If your kitchen is warmer, your dough will rise faster; if it's cooler, it will rise slower. Effective yeast handling for sweet rolls requires you to adjust your timing based on your environment.
Instead of watching the clock, watch the dough. Rely on visual cues (doubling in size for the first rise, significant puffiness for the second) and the poke test to determine when the dough is ready.
- If your kitchen is 80°F (27°C), a 60-90 minute rise might be done in 45-60 minutes.
- If your kitchen is 65°F (18°C), that same rise might take 90-120 minutes or even longer.
You can also intentionally manipulate temperature for different results: a cooler, longer rise in the refrigerator (cold proofing) develops more flavor, while a warmer rise speeds up the process. Being flexible and observing your dough is crucial for successful yeast handling for sweet rolls in any kitchen environment.
Scaling Recipes: Maintaining Yeast Ratios for Consistent Results
When scaling a sweet roll recipe up or down, it's generally best to scale all ingredients proportionally, including the yeast. If you double a recipe, double the amount of yeast. If you halve it, halve the yeast. While yeast multiplies, its initial population needs to be sufficient to effectively leaven the scaled volume of dough within a reasonable timeframe.
For very large batches (e.g., professional scale), the yeast percentage might be slightly reduced because the sheer volume of dough generates more internal heat during fermentation, which can increase yeast activity. However, for typical home baking scaling (doubling or halving), maintaining the original yeast ratio relative to the flour weight is the most reliable approach for consistent yeast handling for sweet rolls. Measure ingredients, especially flour and yeast, by weight for the most accurate scaling.
Frequently Asked Questions
What makes yeast handling so crucial for sweet rolls?
Yeast is the living organism responsible for the rise and texture of sweet rolls. Proper handling ensures it's active and produces the desired results, preventing dense or flat rolls.
How can I ensure my yeast is still active before baking?
You can perform a proof test by mixing the yeast with warm water and sugar. If it foams within 5-10 minutes, it's active and ready to use.
What's the ideal temperature range for proofing sweet rolls with yeast?
The ideal temperature for proofing is generally between 75-85°F (24-29°C). Too cold, and the yeast will be sluggish; too hot, and it can be killed.
Can I substitute instant yeast for active dry yeast in sweet roll recipes?
Yes, you can substitute instant yeast, but the ratios and process may vary slightly. Instant yeast can often be added directly to the dry ingredients. Always check your recipe instructions.
What happens if I over-proof my sweet roll dough?
Over-proofing results in a collapsed or deflated dough and a sour, unpleasant taste. The gluten structure weakens, resulting in a poor final product.
Final Reflection: The Sweet Science of Yeast and the Joy of Baking
Mastering yeast handling isn't just about perfectly risen sweet rolls; it's about understanding the fundamental building blocks of baking and unlocking a world of culinary creativity. The seemingly simple act of activating yeast unlocks a transformative process, turning humble ingredients into delightful treats. This understanding, as detailed in this guide, is crucial for any baker looking to elevate their skills beyond the basic recipe.
The impact of yeast on our culinary landscape is profound, extending far beyond the sweet rolls discussed here. It's a cornerstone of countless cultures and traditions, representing both sustenance and celebration. The subtle nuances of yeast activity – the rise, the fall, the delicate aroma – are a testament to the intricate dance between science and art in baking. Baking is at once child's play and adult joy. And love, of course.
– This quote perfectly encapsulates the emotional connection many bakers feel with the process, a connection deeply intertwined with the reliable, yet ever-fascinating, power of yeast.
Now, it's your turn. Don't just passively read recipes; actively engage with the process. Experiment with different yeast strains, explore variations in temperature and hydration, and most importantly, taste your creations. Each batch is a learning opportunity, a chance to refine your technique and deepen your understanding of this magical ingredient. Embrace the challenges, celebrate the successes, and discover the immense satisfaction of crafting perfect sweet rolls – and so much more – with your newfound mastery of yeast handling.
Unleash Your Inner Bread Wizard: Master Yeast & Bake Amazing Rolls!
Thanks for joining us on this yeast-y adventure! We hope you gained valuable insights into handling this magical ingredient and are ready to create truly incredible sweet rolls. Now it's time to put your new knowledge into practice!
- Bake a batch of your favorite sweet rolls today! Use what you've learned to perfect your technique and enjoy the delicious results. Consider trying a new recipe to challenge yourself!
- Share your baking triumphs (and even your bloopers!) with our community on social media using #BakeWithEaseYeast. Let's inspire each other!
- Explore more advanced yeast baking techniques on BakeWithEase.com – we've got plenty more where that came from!
What incredible sweet roll creation will you bake first? Let's hear about it in the comments!