
The Perfect Proof: Visual Cues for ReadytoBake Viennoiseries

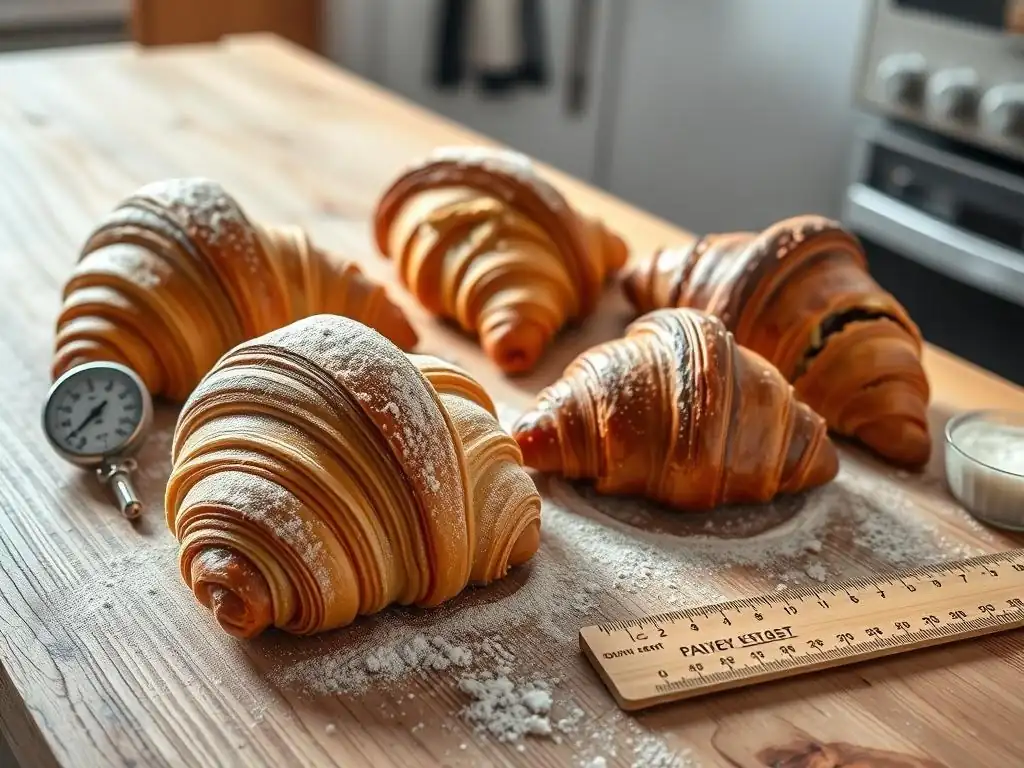
Welcome to BakeWithEase, your trusted guide to baking brilliance! Ever wondered if your viennoiseries are ready to bake proof? Unlock the secrets to achieving that perfect rise and flaky texture. This guide, tailored for intermediate bakers, will provide you with the visual cues you need to confidently bake delicious pastries every time. Discover the subtle signs and avoid common pitfalls. Curious to know more? Let's get started!
- Understanding the Importance of Proofing Frozen Croissants
- Visual Cues for Perfectly Proofed Frozen Croissants: A Baker's Guide
- Proofing Environment: Optimizing for the Best Results with Frozen Croissants
- Baking Your Proofed Frozen Croissants: From Oven to Golden Perfection
- Troubleshooting Common Issues After Baking Proofed Croissants
- Elevate Your Baking: Mastering the Art of Frozen Croissant Proofing
-
Frequently Asked Questions
- What are viennoiseries and why is proofing so important for them?
- What are some visual cues to look for to know if my ready-to-bake viennoiseries are properly proofed?
- How long should I typically proof ready-to-bake viennoiseries?
- What happens if I over-proof my viennoiseries?
- Can I proof ready-to-bake viennoiseries in the refrigerator overnight?
- Final Reflection: The Art and Science of the Perfect Viennoiserie Proof
- Unleash Your Inner Boulanger: Bake Perfect Viennoiseries Today!
Understanding the Importance of Proofing Frozen Croissants
Why Proper Proofing Matters for Croissant Texture and Flavor
Proofing is the crucial stage where yeast in the dough becomes active, fermenting sugars and producing carbon dioxide gas. This gas gets trapped within the gluten network of the dough, causing it to expand. For ready-to-bake viennoiseries like frozen croissants, this process is vital because it dictates the final volume, the openness of the crumb structure, and contributes significantly to the overall flavor profile. A properly proofed croissant will bake up light, airy, and flaky, with distinct layers and a delicate, buttery taste profile enhanced by the fermentation.
Think of proofing as the dough "coming alive." During this period, typically requiring several hours for frozen products to thaw and rise, enzymes break down starches into simpler sugars, which the yeast then consumes. This fermentation not only creates gas for lift but also produces various compounds that contribute to the complex aroma and flavor characteristic of authentic viennoiseries. Skipping or rushing the proofing stage for ready-to-bake viennoiseries proof means you miss out on this critical flavor development and structural formation, resulting in a dense, heavy, and less flavorful pastry.
Common Mistakes in Proofing Frozen Croissants and How to Avoid Them
One of the most frequent errors when proofing frozen croissants or other ready-to-bake viennoiseries proof is incorrect temperature. Proofing at too low a temperature significantly slows down yeast activity, leading to under-proofed dough that won't achieve adequate volume in the oven. Conversely, proofing at too high a temperature can kill the yeast or cause it to become overly active too quickly, leading to over-proofing, where the gluten structure weakens and collapses. A common range for optimal proofing is between 75°F and 80°F (24°C and 27°C). Avoiding drafts and maintaining a consistent temperature throughout the proofing time is key.
Another common pitfall is neglecting humidity. Dry air causes the surface of the dough to dry out and form a skin, which restricts expansion and can lead to a cracked or uneven crust. Aiming for a humidity level between 70% and 80% is ideal for proofing frozen croissants.
This can be achieved by proofing in a slightly humid environment, like a turned-off oven with a pan of hot water, or by covering the pastries loosely with plastic wrap or a damp towel (ensuring the cover doesn't stick to the dough). Avoiding overcrowding the proofing area also allows for better air circulation and even proofing.
Visual Cues for Perfectly Proofed Frozen Croissants: A Baker's Guide
Cue #1: The Volume Increase - Observing the Rise
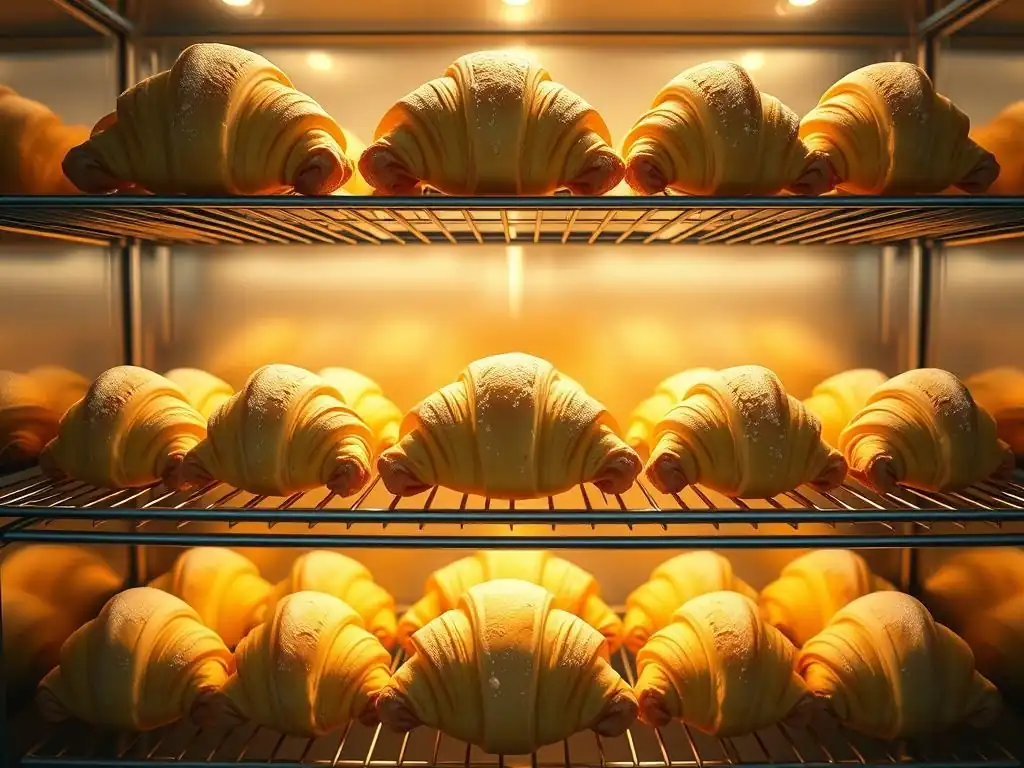
Observing the increase in size is perhaps the most intuitive visual cue for ready-to-bake viennoiseries proof. As the yeast ferments, the dough expands significantly. For most frozen croissants, you are looking for the dough to increase in volume by roughly 1.5 to 2 times its original size. This expansion should be noticeable and even across all the pastries. The layers, which were tightly wound when frozen, should become more separated and defined as the dough proofs.
Monitoring this growth requires patience, as proofing can take anywhere from 6 to 12 hours depending on the ambient temperature and the specific product. Placing a ruler next to one of the croissants or taking a "before" photo can help you track the progress accurately. When they look significantly puffier and lighter, they are likely approaching readiness. This substantial increase in size is a primary indicator that the yeast has done its job effectively and the dough is filled with enough carbon dioxide to create that desired flaky, airy texture upon baking.
How Much Should Frozen Croissants Rise During Proofing?
As a general guideline, frozen croissants should approximately double in size during the proofing process. Some might reach 1.5 times their original volume, while others might push closer to 2.5 times, depending on the specific brand and formulation. The key is a significant, visible expansion from their compact frozen state to a noticeably larger, softer form. They should look plump and ready to burst with air, though not so much that they appear fragile or stretched thin.
For a standard frozen butter croissant weighing around 2-3 ounces (approx. 55-85g) when frozen, the fully proofed pastry might weigh slightly less due to moisture loss but its physical dimensions will be considerably larger. Imagine the difference between a tightly rolled scroll and a puffed-up cushion; the proofed croissant should resemble the latter. This visual check on volume is your first and often most reliable indicator of readiness for ready-to-bake viennoiseries proof.
Troubleshooting: Insufficient Rise in Frozen Croissants
If your frozen croissants aren't rising adequately during the proofing period, several factors could be at play. The most common culprit is insufficient temperature. Yeast is most active in a warm environment (75-80°F / 24-27°C). If your proofing space is too cool, the yeast activity will be sluggish. Try moving them to a warmer spot, using a proofing box, or creating a warm environment in your oven (turned off, with the light on, or with a pan of hot water on the bottom rack).
Another possibility is that the yeast itself might be inactive or damaged, although this is less common with commercially prepared frozen dough designed for this process. Ensure the pastries were stored correctly before proofing. Finally, ensure you've given them enough time. Frozen products require a significant thawing period before active proofing begins, often needing 8-10 hours or even overnight at room temperature to reach full proof. Patience is crucial when proofing ready-to-bake viennoiseries proof.
Cue #2: The Texture - Assessing Dough Softness and Elasticity
Beyond just size, the feel of the dough provides critical information about its proofing progress. A perfectly proofed frozen croissant should feel incredibly light and airy when gently lifted (though avoid lifting them too much to prevent deflation). The surface should be soft and slightly yielding, not firm or taut. The dough should feel elastic but also delicate, indicating that the gluten structure has relaxed and expanded with trapped gas.
This tactile assessment requires a very gentle touch. Pressing too hard can easily deflate the pastry, undoing hours of careful proofing. The goal is to feel the difference between the dense, cold dough you started with and the expanded, airy structure it has become. This softness and slight elasticity are signs that the yeast has generated substantial gas and the dough is ready to hold its shape and structure during the intense heat of the oven.
The Gentle Poke Test: Evaluating Proofed Dough Readiness
The "poke test" is a classic technique used by bakers to determine if dough is properly proofed, and it works well for ready-to-bake viennoiseries proof. To perform the test, gently and lightly press the surface of the dough with a floured finger or knuckle, about half an inch deep. Observe how quickly the indentation springs back.
- Under-proofed: If the indentation springs back immediately and completely, the dough needs more time to proof. The gluten is still too tight.
- Perfectly Proofed: If the indentation springs back slowly and only partially (leaving a small indent), the dough is perfectly proofed and ready for baking. The gluten structure is relaxed but still has enough strength.
- Over-Proofed: If the indentation remains completely and the dough feels fragile or collapses slightly, it is likely over-proofed.
This test provides a more nuanced assessment than just volume alone, helping you fine-tune the proofing time based on the dough's actual readiness.
Recognizing Over-Proofed Frozen Croissant Dough
Over-proofing is a common issue that can ruin the final texture of frozen croissants. Visually, over-proofed dough will appear excessively large, often looking bloated or puffy to an extreme degree. The layers might start to look stretched thin or even appear separated before baking. The dough surface might also look very shiny and stretched, almost translucent in places.
Texturally, over-proofed dough feels extremely delicate and fragile. When you attempt the poke test, the indentation will remain completely, and the dough might even deflate or collapse slightly under the gentle pressure. The structure has weakened too much, and it won't have the strength to hold its shape or achieve good oven spring during baking. Over-proofed croissants often bake up flat, dense, or with a coarse, uneven crumb instead of distinct, airy layers.
Cue #3: The Surface Appearance - Identifying a Smooth and Shiny Finish
A well-proofed frozen croissant should have a surface that is smooth, taut, and often has a slightly glossy or shiny appearance. This sheen is a direct result of adequate moisture being present on the dough's surface during proofing, which prevents a dry skin from forming. A smooth surface indicates that the dough has expanded evenly without tearing or developing cracks prematurely.
This visual cue is closely linked to the humidity level during proofing. When the air is sufficiently humid, the dough's surface remains pliable, allowing for uniform expansion. The light reflecting off the moist surface gives it that characteristic sheen. This smooth, shiny appearance is a strong indicator that the dough has reached its optimal expansion point and is ready to receive an egg wash (if using) and head into the hot oven.
Understanding the Significance of a Glossy Surface on Croissants
The glossy surface on proofed ready-to-bake viennoiseries proof is more than just aesthetic; it's a sign of proper hydration on the dough's exterior. During proofing, the goal is to keep the surface from drying out. A dry surface forms a skin that restricts the dough's ability to expand fully and evenly. This can lead to blowouts, cracks, or an overall smaller final volume.
A glossy surface confirms that the humidity level in the proofing environment was sufficient to keep the dough pliable. This ensures that as the internal gases expand, the outer layer can stretch smoothly along with the rest of the dough. It also provides a perfect surface for an egg wash to adhere evenly, contributing to a beautiful, golden-brown crust during baking.
Addressing a Dry or Cracked Surface Before Baking
If you notice that the surface of your proofing frozen croissants is looking dry, dull, or worse, starting to crack, it's a sign that the humidity in your proofing environment is too low. This should ideally be addressed during the proofing process, but you can take steps if you catch it before baking.
Gently misting the surface of the croissants with a fine spray of water can help rehydrate the skin. Do this very carefully to avoid deflating the delicate dough. For future proofing sessions, ensure you are using a method that maintains humidity, such as a proofing box or a turned-off oven with a pan of hot water. While misting can help salvage a slightly dry surface, preventing it through proper environmental control is always the best approach for perfectly proofed ready-to-bake viennoiseries proof.
Proofing Environment: Optimizing for the Best Results with Frozen Croissants
Temperature Control: The Ideal Proofing Temperature for Frozen Croissants
Maintaining a consistent and appropriate temperature is paramount when proofing frozen croissants. Yeast is a living organism, and its activity is highly dependent on temperature. For optimal proofing of ready-to-bake viennoiseries proof, a temperature range between 75°F and 80°F (24°C and 27°C) is generally recommended. This range encourages active yeast fermentation without being so warm that it over-accelerates the process or melts the butter layers prematurely.
Proofing at too low a temperature (e.g., below 70°F / 21°C) will result in a very slow proof, potentially leading to under-proofing even after extended periods. Conversely, temperatures above 85°F (29°C) can cause the butter within the dough layers to melt, destroying the delicate lamination structure that gives croissants their characteristic flakiness. The ideal temperature ensures a steady, predictable rise and allows for good flavor development.
Humidity's Role: Maintaining the Right Moisture Levels During Proofing
Humidity is the unsung hero of successful proofing, especially for laminated dough like frozen croissants. A humid environment prevents the surface of the dough from drying out and forming a skin. This skin inhibits the dough's ability to expand freely and can lead to cracking or a less voluminous final product. A humidity level of 70% to 80% is considered optimal for proofing ready-to-bake viennoiseries proof.
Adequate humidity keeps the dough surface pliable and elastic, allowing it to stretch smoothly as the internal gases expand. This contributes to a beautiful, even rise and a smooth, glossy surface before baking. Without sufficient moisture in the air, the surface dries, becomes rigid, and can tear, compromising the delicate structure. Proper humidity management ensures the dough remains supple throughout the proofing process.
Alternative Proofing Methods for Frozen Croissants [e.g., Using the Oven, a Proofing Box]
Not everyone has a dedicated proofing box, but you can easily create an ideal proofing environment at home for your ready-to-bake viennoiseries proof. A common method is using your oven (when it's turned off). You can place the croissants on a baking sheet inside the cold oven and place a pan of hot, steaming water on the rack below. The residual heat and steam from the water will create a warm, humid environment perfect for proofing. Avoid turning the oven on, as even a low temperature can be too hot.
Another effective technique is to use a DIY proofing box. This can be as simple as a large plastic storage container or a cooler with a bowl of hot water placed inside. The container traps the warmth and humidity from the water. Ensure the croissants are elevated above the water and not in direct contact. Covering the croissants loosely with plastic wrap (sprayed with non-stick spray to prevent sticking) before placing them in the warm, humid environment also helps maintain surface moisture and prevent a skin from forming on your proofing frozen croissants.
Baking Your Proofed Frozen Croissants: From Oven to Golden Perfection
Preheating the Oven: Ensuring Even Baking
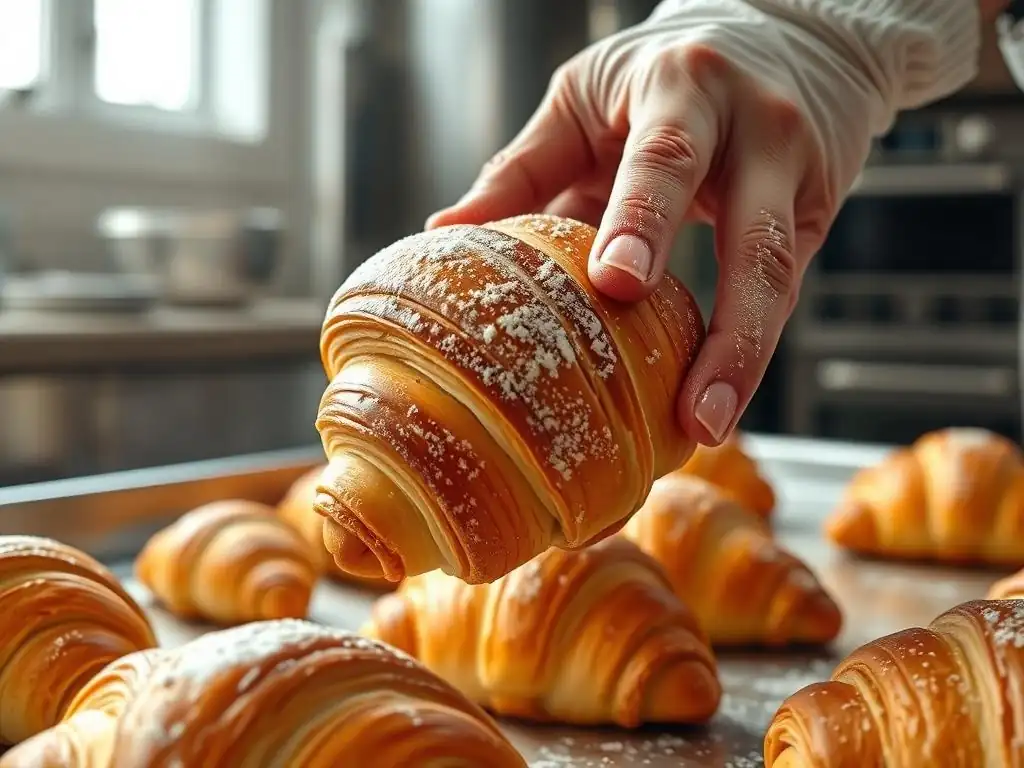
Properly preheating your oven is a non-negotiable step for achieving perfectly baked ready-to-bake viennoiseries proof. Croissants benefit greatly from a hot oven from the moment they enter. A high initial temperature helps to quickly activate the yeast one last time (oven spring) and encourages the rapid melting of the butter layers, creating steam that separates the dough layers and contributes to flakiness.
Preheat your oven to the recommended temperature (often between 375°F and 400°F, or 190°C and 200°C, depending on the size and type of croissant) for at least 20-30 minutes after it reaches the set temperature. This ensures that the oven walls and racks are fully heated, providing consistent radiant heat and preventing temperature drops when you open the door to load the pastries. Baking on a preheated surface, like a baking stone or steel (if you have one), can further enhance the bottom crust development.
Baking Time and Temperature: Guidelines for Different Types of Croissants [Butter, Almond, Chocolate]
The exact baking time and temperature for your proofed frozen croissants will depend on their size, filling, and your specific oven. As a starting point, plain butter croissants typically bake at 375-400°F (190-200°C) for 15 to 20 minutes. They are done when they are deep golden brown all over, including the bottoms.
For pastries with fillings like pain au chocolat or almond croissants, the baking time might be slightly longer, perhaps 18-25 minutes, to ensure the filling is heated through and the pastry is cooked properly around it. Almond croissants, often topped with frangipane and sliced almonds, require careful monitoring to prevent the topping from burning before the pastry is fully baked. Always rely on visual cues – a rich, even golden-brown color – rather than just the clock, as oven temperatures can vary.
Achieving a Golden-Brown Crust: Tips for a Perfect Finish
A beautiful, golden-brown crust is the hallmark of a perfectly baked croissant. This color develops through the Maillard reaction and caramelization of sugars on the surface. Applying an egg wash just before baking is the most common technique to achieve this. A standard egg wash is one egg whisked with a tablespoon of water or milk. For a deeper, richer color and shine, use only the egg yolk mixed with a little cream.
Brush the egg wash evenly over the entire surface of the proofed ready-to-bake viennoiseries proof, taking care not to let it pool between the layers, which can glue them together. Some bakers also introduce a small amount of steam into the oven during the first few minutes of baking (e.g., by placing a tray of hot water on the oven floor) to keep the surface pliable and encourage maximum expansion before the crust sets. Ultimately, the key is baking until the desired depth of color is achieved across the entire pastry.
Troubleshooting Common Issues After Baking Proofed Croissants
Dense Texture: What Went Wrong and How to Fix It
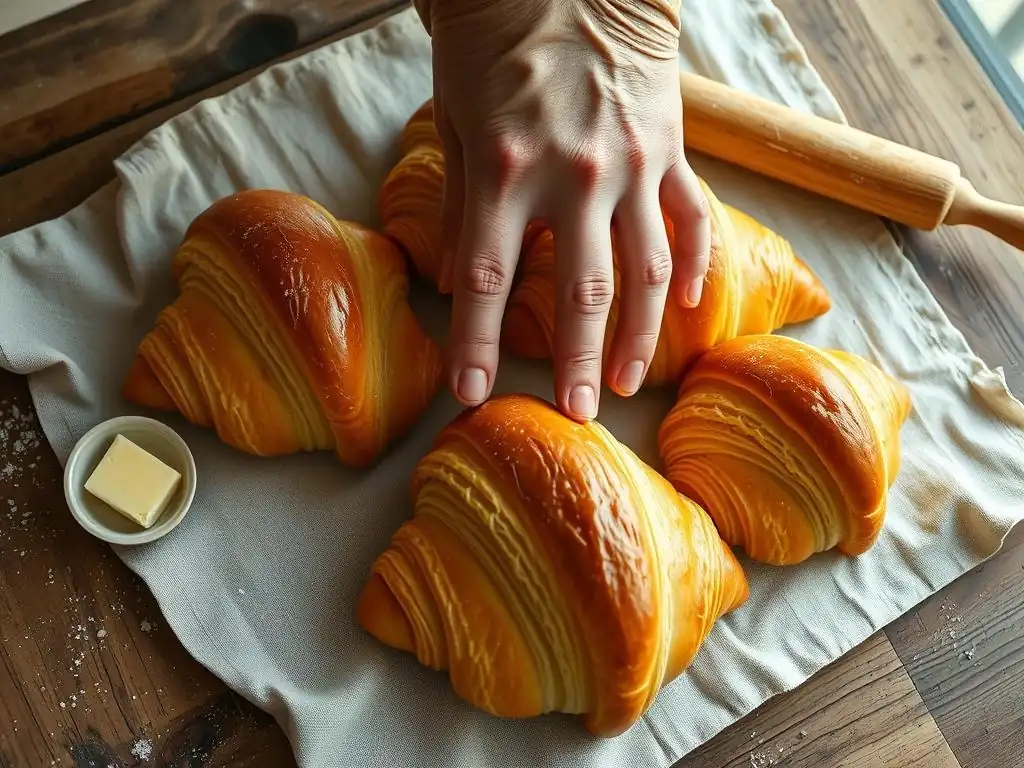
If your baked croissants have a dense, heavy texture instead of the expected light and airy layers, the most likely culprit is under-proofing. Under-proofed dough didn't have enough time for the yeast to produce sufficient gas to create an open crumb structure. This results in less oven spring and a tighter interior. Review your proofing time and temperature; ensure you are hitting that 1.5-2x volume increase and passing the gentle poke test (slow recoil).
Another cause could be improper handling of the delicate proofed dough. If you handled the pastries roughly when transferring them to the oven or applying egg wash, you might have deflated them. Always handle proofed ready-to-bake viennoiseries proof with extreme care. While you can't fix a dense texture in the already baked croissant, understanding the cause helps you adjust your proofing process for the next batch.
Uneven Baking: Identifying and Addressing Hot Spots
Unevenly baked croissants – some parts too dark, others too light – are often due to hot spots in your oven. Most ovens have variations in temperature distribution. To identify hot spots, try baking a batch of simple cookies or toast bread slices placed evenly across a baking sheet; the areas that brown faster indicate hotter zones.
To mitigate uneven baking when working with proofing frozen croissants, rotate your baking sheet halfway through the baking time. For example, if baking for 20 minutes, turn the tray 180 degrees after 10 minutes. If your oven has a significant hot spot, you might also need to rearrange the pastries on the tray or even swap racks if baking multiple sheets. Using a calibrated oven thermometer can also help ensure your oven is reaching and maintaining the correct temperature.
Soggy Bottoms: Preventing and Correcting Moisture Issues
Soggy bottoms on baked croissants are typically caused by moisture getting trapped underneath the pastry during baking. This can happen if the baking surface isn't hot enough or if there's too much steam or moisture in the oven that can't escape. Using a perforated baking sheet designed for pastries can help significantly, as the holes allow for better air circulation around the bottom of the croissant, promoting even drying and browning.
Ensure your oven is fully preheated, including the baking sheet or stone if you're using one. Baking on a hot surface helps set the bottom crust quickly. If moisture is an ongoing issue, try slightly venting your oven during the last few minutes of baking by propping the door open a crack with a heatproof utensil. This allows steam to escape, promoting a crisper bottom crust on your ready-to-bake viennoiseries proof.
Elevate Your Baking: Mastering the Art of Frozen Croissant Proofing
Advanced Techniques for Enhancing Flavor and Texture [e.g., Egg Wash Variations]
Once you've mastered the basics of proofing frozen croissants, you can experiment with techniques to further enhance their appeal. While a standard egg wash (whole egg + water/milk) provides a lovely golden sheen, variations can alter the final look. An egg yolk whisked with a little cream or milk (without the white) yields a richer, deeper golden color and a slightly shinier finish. Using only egg white mixed with water gives a lighter, less colored glaze but can still provide a subtle sheen.
For an extra touch of sweetness and shine, some bakers lightly brush the baked croissants with a simple sugar syrup (equal parts sugar and water heated until dissolved) immediately after they come out of the oven. This creates a beautiful, professional-looking gloss and adds a hint of sweetness that complements the buttery pastry. These small touches can elevate your ready-to-bake viennoiseries proof from good to truly exceptional.
Storing and Reheating Baked Croissants for Optimal Freshness
Baked croissants are best enjoyed fresh, ideally within a few hours of coming out of the oven when their layers are crispest. However, they can be stored for later. Allow them to cool completely on a wire rack before storing. Store cooled croissants in a paper bag at room temperature for up to 1-2 days. Avoid plastic bags or airtight containers at room temperature, as they trap moisture and will make the crust soft and rubbery.
To revive the flaky texture of stored croissants, reheating is highly recommended. The best method is to place them directly on a rack in a preheated oven at around 350°F (175°C) for 5-10 minutes, depending on their size. This gentle heat crisps up the layers again. Avoid microwaving, which heats the moisture within the pastry, resulting in a chewy or soggy texture rather than flaky. Proper storage and reheating ensure you can enjoy delicious ready-to-bake viennoiseries proof even days after baking.
Frequently Asked Questions
What are viennoiseries and why is proofing so important for them?
Viennoiseries are yeast-leavened pastries like croissants and pain au chocolat. Proofing is crucial because it allows the yeast to produce gas, creating the light and airy texture characteristic of these pastries.
What are some visual cues to look for to know if my ready-to-bake viennoiseries are properly proofed?
Visually, properly proofed viennoiseries will have increased in size significantly, appearing plump and slightly puffed. They should also have a soft, almost jiggly texture when gently touched.
How long should I typically proof ready-to-bake viennoiseries?
Proofing time varies depending on the recipe, but generally, allow 1.5 to 3 hours at a warm, humid temperature. Always refer to the specific recipe instructions for best results.
What happens if I over-proof my viennoiseries?
Over-proofed viennoiseries can collapse during baking, resulting in a dense, flat pastry. They may also have a sour or unpleasant taste due to excessive yeast activity.
Can I proof ready-to-bake viennoiseries in the refrigerator overnight?
Yes, you can slow-proof them in the refrigerator. This method enhances flavor development. However, you'll need to allow extra time for them to warm up and proof fully at room temperature before baking.
Final Reflection: The Art and Science of the Perfect Viennoiserie Proof
The quest for the perfect proof in ready-to-bake viennoiseries is not merely a culinary pursuit; it's a crucial step in unlocking the flaky, buttery magic that defines these beloved pastries. Mastering this process, as we've explored, significantly impacts the final product's texture, flavor, and overall appeal. Ignoring the visual cues can lead to disappointing results, highlighting the importance of careful observation and understanding.
The journey of learning to identify the perfect proof has been a fascinating blend of scientific precision and artistic intuition. It's a testament to the delicate balance between controlled fermentation and the inherent unpredictability of natural leavening. This process, often overlooked, speaks volumes about the dedication and skill required in baking. The proof is in the pudding,
they say, and in the case of viennoiseries, the proof is undeniably in the subtle rise, the gentle dome, and the delicate sheen of the dough.
Now, armed with a deeper understanding of the visual indicators of a perfect proof, I invite you to embark on your own baking journey. Don't be afraid to experiment, to observe, and to learn from each bake. The path to mastering the art of viennoiserie is paved with patience and attention to detail. Each perfectly proofed pastry is a testament to your dedication and a reward for your careful observation. So, embrace the challenge, and let the visual cues guide you to baking success.
Unleash Your Inner Boulanger: Bake Perfect Viennoiseries Today!
Thanks for taking the time to explore the art of perfect viennoiserie! We hope you now feel more confident in identifying those crucial visual cues that signal baking perfection. Ready to put your new skills to the test?
- Bake your own masterpiece! Try out one of our featured recipes (find them on our recipe page!) and see how easily you can achieve those golden-brown, perfectly risen results.
- Share your baking journey! Post pictures of your creations on social media and tag us – we love seeing your successes!
- Challenge yourself: Try a new viennoiserie recipe you haven't attempted before, focusing on mastering the visual cues discussed in this article.
What unexpected visual cue will you be looking for in your next bake? Let's discuss in the comments below!