
The Pure Joy of Baking with Rich, Tender Enriched Doughs

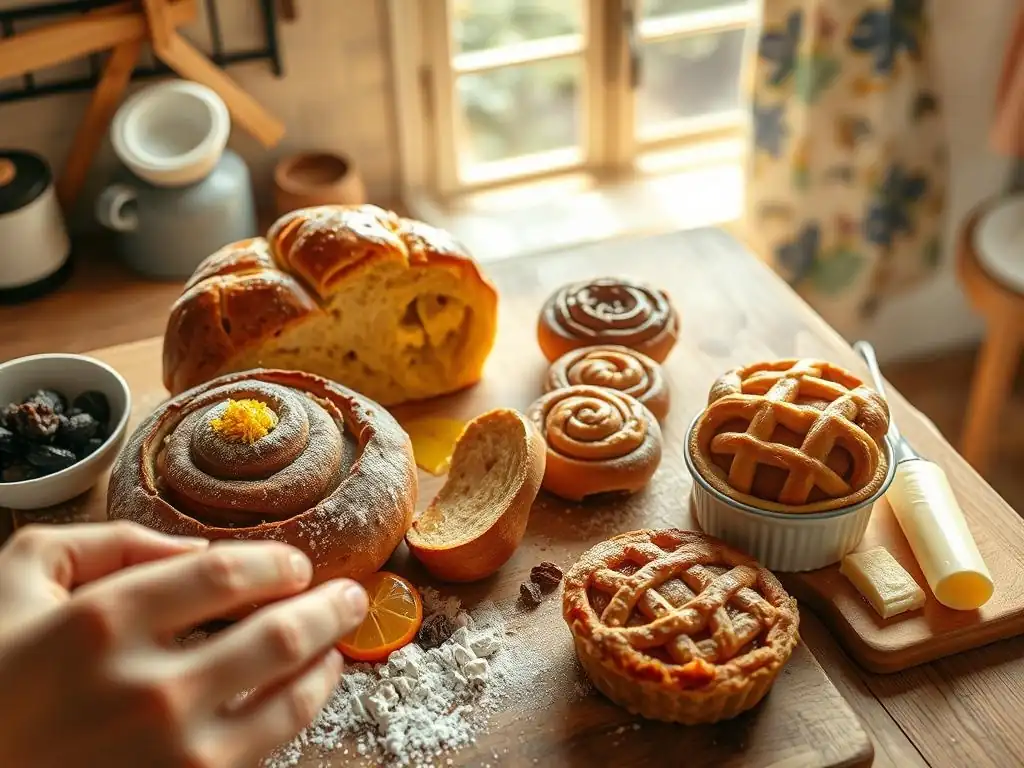
Welcome to BakeWithEase, your haven for baking bliss! Ever wondered how to achieve that melt-in-your-mouth texture and irresistible flavor found in the finest pastries? Prepare to unlock the secrets of enriched dough baking recipes! Dive in and discover how simple techniques can transform everyday ingredients into extraordinary treats. Ready to elevate your baking game? Let's get started!
- Mastering Enriched Doughs: From Brioche to Babka
- Introduction to Enriched Dough Baking
- Understanding the Key Ingredients in Enriched Doughs
- Essential Techniques for Perfect Enriched Doughs
- Enriched Dough Baking Recipes to Try
- Troubleshooting Common Enriched Dough Baking Problems
- Tips for Success in Enriched Dough Baking
- Conclusion: Unleash Your Baking Potential with Enriched Dough
-
Frequently Asked Questions
- What exactly is enriched dough, and how does it differ from regular dough?
- What are some common examples of enriched dough baking recipes?
- Why is enriched dough often considered more challenging to work with?
- What are some essential tips for successfully baking with enriched dough recipes from BakeWithEase?
- Where can I find beginner-friendly enriched dough baking recipes on BakeWithEase.com?
- Final Reflection: The Enduring Allure of Enriched Doughs
- Unleash Your Inner Baker: Craft Exquisite Enriched Doughs Today!
Mastering Enriched Doughs: From Brioche to Babka
Introduction to Enriched Dough Baking
What are Enriched Doughs? Defining Rich Doughs
Enriched doughs stand apart from lean doughs (like those used for baguettes or rustic loaves) due to the addition of ingredients beyond flour, water, yeast, and salt. These extra components typically include fats such as butter, oil, or eggs, and often sugar or milk. The presence of these enriching ingredients fundamentally alters the dough's structure, texture, flavor, and keeping quality, resulting in breads and pastries that are tender, soft, and often quite rich.
Unlike lean doughs which rely primarily on gluten development for structure and a crisp crust, enriched doughs have their gluten development somewhat inhibited by the fat and sugar. This inhibition contributes to a softer crumb. Common examples of baked goods made from enriched dough include brioche, challah, cinnamon rolls, babka, and various sweet rolls and buns. Mastering these recipes involves understanding how these additional ingredients interact within the dough matrix.
Why Bake with Enriched Doughs? Exploring Flavor and Texture
Baking with enriched doughs offers a uniquely rewarding experience, primarily due to the exceptional depth of flavor and luxurious texture they provide. The added fats, sugars, and dairy create a crumb that is incredibly tender, moist, and often melt-in-your-mouth soft. This contrasts sharply with the chewier, open crumb of lean breads. The richness from butter and eggs imparts a wonderful aroma and a depth of flavor that simple lean doughs cannot replicate.
Furthermore, the sugar content in enriched doughs promotes beautiful browning during baking through caramelization, giving the crust a lovely golden hue and often a slightly sweet, appealing finish. These doughs are also incredibly versatile, serving as the base for countless sweet and savory creations, from simple dinner rolls to elaborate filled pastries. Exploring enriched dough baking recipes opens up a world of delicious possibilities.
Elevating Your Baking: The Art of Enriched Dough
Working with enriched doughs is often considered a step up in the baking journey, requiring a bit more finesse and understanding of ingredient interactions. The higher fat and sugar content can make the dough stickier and require different handling techniques compared to lean doughs. However, the effort is well worth it, leading to results that are truly impressive and deeply satisfying to create.
Achieving the perfect balance of richness, tenderness, and structure in an enriched dough is an art form. It involves careful measurement, patient kneading (often longer than for lean doughs), precise temperature control during proofing, and understanding how the oven affects the dough's expansion and browning. Successfully baking enriched doughs demonstrates a higher level of baking skill and allows you to produce bakery-quality items right in your own kitchen.
Understanding the Key Ingredients in Enriched Doughs
Flour Selection: Finding the Right Flour for Structure
Selecting the appropriate flour is crucial for successful enriched dough baking recipes. While all-purpose flour works for many recipes, bread flour, with its higher protein content (typically 12-14%), is often preferred, especially for doughs with a significant amount of fat and sugar. The extra protein helps develop a stronger gluten network, which is essential for providing structure and allowing the dough to rise despite the weight and inhibitory effects of the enriching ingredients.
Using bread flour ensures that the dough can support its own weight and the weight of any fillings, resulting in a well-risen, airy final product rather than a dense, heavy one. Some recipes might call for a blend of all-purpose and bread flour, or even specialized flours like pastry flour for a particularly tender crumb, but generally, a higher protein flour is beneficial for handling the demands of rich doughs.
Sugar's Impact: Sweetness, Moisture, and Browning
Sugar in enriched doughs does more than just add sweetness. It plays several vital roles. Firstly, it provides food for the yeast, helping it to ferment and produce carbon dioxide for leavening. However, too much sugar can actually inhibit yeast activity. Secondly, sugar is hygroscopic, meaning it attracts and retains moisture, contributing to a softer, moister crumb and extending the shelf life of the baked good.
Thirdly, sugar is key to achieving that beautiful golden-brown crust. During baking, sugars caramelize on the surface, creating desirable flavors and colors. Typical sugar percentages in enriched doughs can range from around 5% to 20% or more of the flour weight, depending on the desired level of sweetness and richness.
Fat's Role: Butter, Eggs, and Richness
Fats, whether from butter, oil, or eggs, are defining ingredients in enriched doughs, contributing significantly to richness, tenderness, and flavor. Fat coats the flour particles, interfering with gluten development. This inhibition is desirable in enriched doughs as it prevents the formation of a tough, chewy crumb, instead promoting a soft, cake-like texture.
Butter is a common fat in enriched doughs like brioche (which can contain 50% or more butter relative to flour weight), providing exceptional flavor and richness. Eggs contribute fat, protein, and liquid, adding richness, color, and helping to create a tender crumb. Oil, while less flavorful than butter, also inhibits gluten and keeps the dough soft, often used in recipes like challah. The amount and type of fat greatly influence the final texture and richness.
Liquid Hydration: Milk, Water, and Flavor Infusion
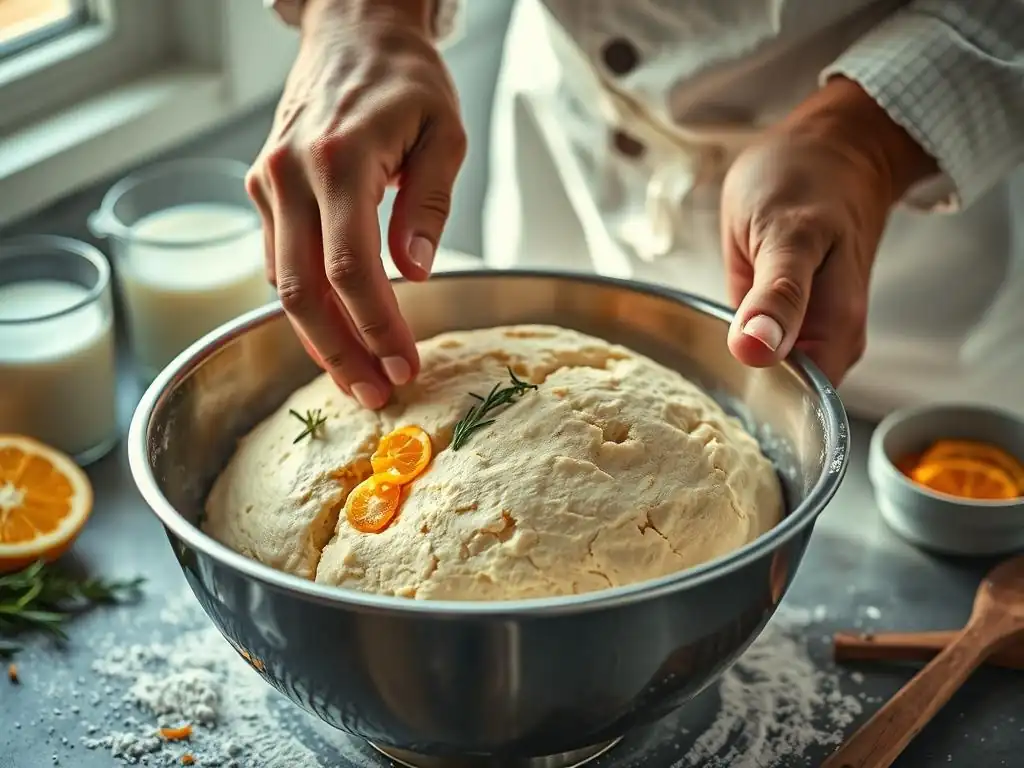
Liquid provides the necessary hydration for the flour to form gluten and allows the yeast to become active. While water can be used, milk is a frequent choice in enriched doughs. Milk fat and proteins further contribute to richness, tenderness, and a finer crumb structure. The lactose (milk sugar) also participates in browning.
The hydration level (the ratio of liquid to flour by weight) in enriched doughs is crucial but can be tricky due to the liquid contributed by eggs and melted butter. Recipes typically provide specific amounts, and it's important to measure accurately. The liquid temperature is also vital, usually warmed slightly (around 100-110°F or 38-43°C) to activate the yeast effectively without killing it.
Yeast Activation: Proper Leavening Techniques
Yeast is the leavening agent in enriched doughs, producing carbon dioxide gas that makes the dough rise. Active dry yeast or instant yeast are commonly used in enriched dough baking recipes. Proper activation is key: active dry yeast usually needs to be proofed in warm liquid with a pinch of sugar before being added to the dry ingredients, while instant yeast can often be mixed directly with the flour.
The presence of sugar and fat in enriched doughs can sometimes slow down yeast activity. Therefore, ensuring the yeast is viable and providing optimal conditions for fermentation (correct liquid temperature, warm proofing environment) are critical steps. Patience during the proofing stage is also paramount, as enriched doughs may take longer to rise than lean doughs.
Essential Techniques for Perfect Enriched Doughs
Kneading Methods: Achieving Strength and Elasticity
Kneading is essential for developing the gluten structure needed to give enriched doughs their shape and crumb. Because fats and sugars interfere with gluten development, enriched doughs often require longer kneading times compared to lean doughs. Using a stand mixer with a dough hook is highly recommended for many enriched dough baking recipes, as it can handle sticky doughs and provide consistent, thorough kneading for 10-15 minutes or even longer.
Manual kneading is also possible but requires more effort and patience. The goal is to develop a dough that is smooth, elastic, and passes the "windowpane test" (a small piece of dough can be stretched thinly enough to see light through it without tearing). Proper kneading ensures the dough can trap the gases produced by the yeast, leading to a light and airy texture after baking.
Proofing Strategies: Controlling Temperature and Humidity
Proofing, the process where yeast ferments and the dough rises, is a critical step for successful enriched dough baking. Optimal proofing temperature is typically between 75-85°F (24-30°C). A warm, draft-free environment is ideal. Slightly warming your oven and turning it off, or using a proofing box, can help maintain a consistent temperature.
Humidity is also important; covering the dough with plastic wrap or a damp towel prevents a crust from forming, which would restrict the rise. Enriched doughs, particularly those high in fat and sugar, often rise slower than lean doughs. The first rise (bulk fermentation) might take 1-2 hours, while the second rise (after shaping) could take 45-90 minutes. Look for the dough to roughly double in volume, though some very rich doughs may not quite double.
Shaping Techniques: Braiding, Rolling, and Filling
Shaping enriched doughs allows you to create the final form of your baked good, whether it's a simple loaf, rolls, or intricate pastries. The dough's elasticity and tenderness make it well-suited for various techniques. Common methods include rolling and cutting (for cinnamon rolls), braiding (for challah or brioche), or shaping into individual buns or loaves.
Working with slightly chilled enriched dough can make shaping easier, especially for sticky or high-fat doughs like brioche. Gentle handling is key to avoid deflating the air pockets created during proofing. Techniques like the 'en tête' shape for brioche or the classic challah braid showcase the dough's ability to hold shape while still producing a soft crumb. Recipes for enriched dough often include specific shaping instructions tailored to the particular bake.
Baking Principles: Temperature Control and Even Baking
Baking enriched doughs requires careful temperature control to ensure they cook through evenly without becoming too dark on the outside before the inside is done. Typical baking temperatures range from 325°F to 375°F (160°C to 190°C), often lower than for lean breads. The sugar content causes rapid browning, so a slightly lower temperature helps manage this.
Preheating your oven thoroughly is essential for consistent results. Placing the dough in a properly heated oven allows for a final burst of rising called "oven spring." Baking time varies greatly depending on the size and type of bread, from 15-25 minutes for rolls to 30-45 minutes or more for larger loaves. The bread is typically done when it's golden brown and reaches an internal temperature of around 190-200°F (88-93°C).
Enriched Dough Baking Recipes to Try
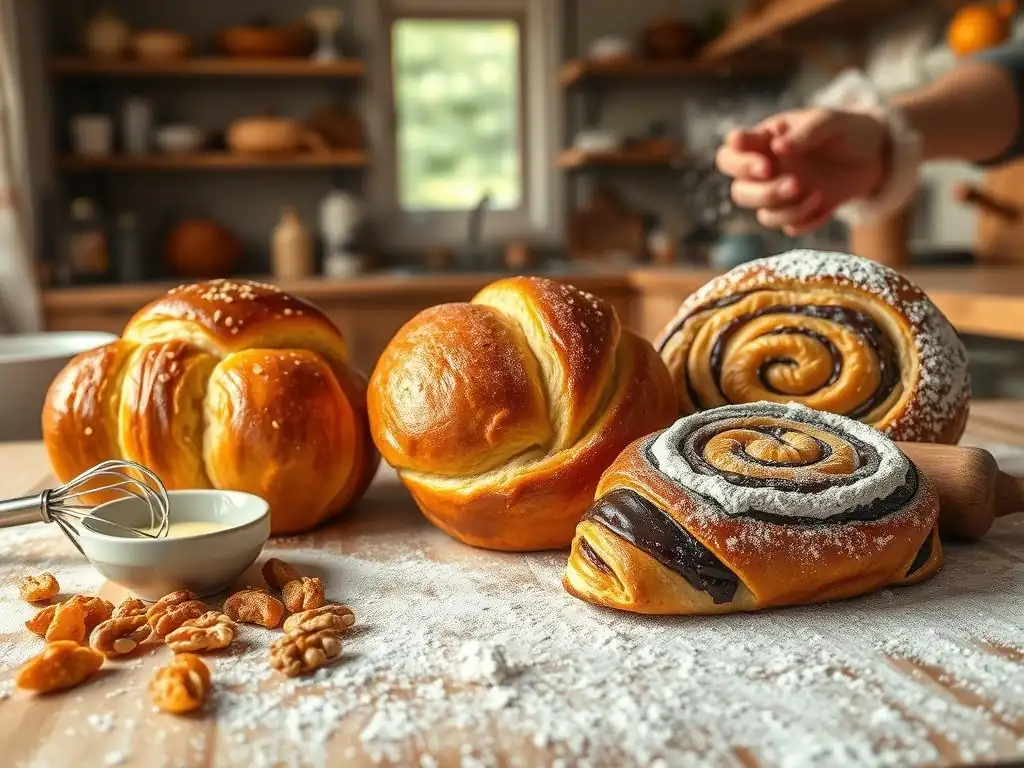
Classic Brioche: A Buttery Delight
Brioche is perhaps the quintessential enriched dough, renowned for its incredibly high butter and egg content, resulting in a bread that is less like traditional bread and more like a tender, golden pastry. Originating in France, it's characterized by a rich flavor, a fine, soft crumb, and a beautiful golden crust often achieved with an egg wash.
Making brioche is a rewarding challenge that truly showcases the potential of enriched dough baking recipes. Its versatility is immense; it can be eaten plain, used for French toast, made into sweet rolls, or even savory applications. The high fat content requires careful handling and often chilling steps, but the result is a luxurious bread unlike any other.
Brioche Dough: Mixing and Initial Rise
The process for brioche often involves starting with a sponge or pre-ferment, followed by incorporating flour, sugar, yeast, and eggs. The butter, often softened or melted, is typically added gradually towards the end of the kneading process. This technique, known as the beurre manié method or similar, helps develop gluten before the fat inhibits it.
Kneading brioche dough can take 15-20 minutes in a stand mixer until it is smooth, elastic, and very glossy. Due to the high fat content, the initial rise (bulk fermentation) is often done at room temperature for a short period, followed by a long, slow rise in the refrigerator (8-12 hours or even up to 2 days). This cold fermentation develops flavor and makes the sticky dough much easier to handle and shape.
Shaping Brioche: En Tête or Nanterre
Two classic shapes for brioche are brioche à tête (head brioche) and brioche Nanterre (loaf brioche). The à tête shape involves placing a small ball of dough on top of a larger ball in a fluted mold, creating a distinctive "head." This requires dough that is firm enough to hold its shape.
The Nanterre shape involves placing several small balls of dough side-by-side in a loaf pan, which merge during baking to form a pull-apart loaf. Other shapes include simple buns, braided loaves, or using the dough as a base for filled pastries like pain au chocolat (though often pain au chocolat uses a laminated dough, similar enriched doughs can be used).
Baking Brioche: Achieving a Golden Crust
Before baking, brioche is typically given an egg wash (often just egg yolk and a little cream or water) to achieve a deep golden, shiny crust. Baking temperature is usually moderate, around 350-375°F (175-190°C), to prevent the high-sugar, high-fat dough from burning before it's cooked through.
Baking time varies by size, from 20 minutes for small rolls to 30-40 minutes for larger loaves. The brioche should sound hollow when tapped on the bottom and reach an internal temperature of 190-200°F (88-93°C). Allowing it to cool slightly on a wire rack before slicing helps set the rich crumb.
Challah Bread: A Traditional Braided Loaf
Challah is a traditional Jewish bread, often braided, made from an enriched dough that typically includes eggs and oil (or sometimes butter), but less fat than brioche. It's slightly sweet, with a tender, eggy crumb and a beautiful golden-brown crust, often topped with sesame or poppy seeds.
Challah is a popular choice for bakers new to enriched dough baking recipes because the dough is usually easier to handle than brioche, while still offering a wonderful richness and tenderness. Its iconic braided shape is both beautiful and fun to create.
Challah Dough: Preparing for Braiding
Challah dough usually starts with yeast activated in warm water or milk, followed by mixing in flour, sugar, salt, eggs, and oil. The dough is kneaded until smooth and elastic, typically for 8-10 minutes in a mixer or 10-15 minutes by hand. The hydration level is usually moderate, resulting in a dough that is soft but not overly sticky.
After the initial rise (which takes about 1-1.5 hours at room temperature), the dough is punched down and divided into strands for braiding. A rest period after dividing (about 10-15 minutes) helps relax the gluten, making the strands easier to roll out and braid without shrinking back.
Braiding Techniques: Round vs. Straight Loaves
Challah is most recognized for its beautiful braid. Common braiding techniques range from simple three-strand braids to more intricate four-, six-, or even twelve-strand braids. For the Sabbath, challah is often baked as a straight loaf, while for Rosh Hashanah (the Jewish New Year), a round, spiral braid is traditional, symbolizing continuity.
Learning to braid well takes practice, but even a simple three-strand braid results in a stunning loaf. Ensuring the strands are of equal length and thickness helps create an even loaf. Tucking the ends neatly underneath before the final proof helps maintain the shape during baking.
Baking Challah: Achieving a Shiny, Even Bake
Challah is typically given an egg wash (often a whole egg beaten with a little water or milk) before baking to achieve its characteristic shiny, golden-brown crust. Sometimes, a double egg wash is applied: one before proofing and another just before baking.
Baking is usually done at around 350-375°F (175-190°C) for 25-40 minutes, depending on the size and shape of the loaf. The challah should be deeply golden brown and sound hollow when tapped. Letting it cool on a wire rack is essential before slicing to allow the steam to escape and the crumb to set.
Cinnamon Rolls: A Sweet and Spicy Treat
Cinnamon rolls are a universally loved sweet pastry made from a soft, enriched dough rolled up with a sweet cinnamon-sugar filling. The dough is key to a good cinnamon roll, needing to be tender and soft to complement the gooey filling and sweet glaze.
These are a fantastic example of how enriched dough baking recipes can be used for decadent pastries. While many variations exist, the core elements are a rich dough, a flavorful filling, and often a cream cheese or powdered sugar glaze.
Cinnamon Roll Dough: The Foundation for Flavor
Cinnamon roll dough is a sweet enriched dough, typically containing milk, sugar, eggs, and butter. The hydration and fat content contribute to a very soft, pliable dough that is easy to roll out thinly. Kneading ensures enough gluten development to hold the rolled shape without being tough.
After kneading, the dough is proofed until doubled, usually for about 1-1.5 hours. This initial rise is crucial for developing flavor and texture. The dough is then typically rolled into a large rectangle before the filling is spread evenly across the surface.
Filling and Shaping: Creating Classic Swirls
The classic cinnamon roll filling consists primarily of softened butter, granulated or brown sugar, and cinnamon. Sometimes other spices like cardamom or nutmeg are added. The softened butter helps the sugar and cinnamon adhere to the dough and melts during baking, creating a gooey layer.
After spreading the filling, the dough is tightly rolled up into a log. Using dental floss or a sharp knife, the log is then sliced into individual rolls, typically about 1 to 1.5 inches thick. These slices are placed cut-side up in a baking pan, often quite close together to encourage them to bake up soft against each other.
Baking Cinnamon Rolls: Ensuring a Soft Center
The shaped cinnamon rolls undergo a second proofing in the pan until they are puffy, usually for 30-45 minutes. Baking is typically done at a moderate temperature, around 350-375°F (175-190°C), for 20-30 minutes. The goal is for the rolls to be golden brown on the edges and top, but still soft and slightly underbaked in the very center to ensure a gooey texture.
An internal temperature of about 190°F (88°C) is a good indicator of doneness. They are often glazed while still warm, allowing the glaze to melt slightly and seep into the rolls.
Babka: A Chocolate or Cinnamon Swirl Bread
Babka is a sweet braided bread or cake, originating from Eastern Europe, made from an enriched dough that is often laminated (though not always as extensively as croissant dough) and filled with generous layers of chocolate, cinnamon, or sometimes fruit or cheese. It's known for its beautiful marbled swirl pattern when sliced.
Babka is a more advanced project among enriched dough baking recipes due to the rolling, filling, and shaping required to achieve the characteristic swirl, but the result is a rich, moist, and incredibly flavorful treat.
Babka Dough: Preparing for Rich Flavor
Babka dough is a sweet, enriched dough similar to brioche, often containing eggs, sugar, butter, and milk. It requires thorough kneading to develop gluten. Many recipes call for chilling the dough extensively after the initial rise, often overnight, as this firm dough is much easier to roll out thinly and handle when cold.
The dough is typically rolled into a large rectangle, similar to cinnamon rolls, but the filling and shaping process differs significantly to create the distinct layers and swirl.
Filling and Shaping: Layering with Chocolate or Cinnamon
Babka fillings are usually rich pastes made from melted chocolate and cocoa powder, or a mix of cinnamon, sugar, and butter. The filling is spread generously over the rolled-out dough. The dough is then rolled into a log, but instead of slicing it straight away, the log is often chilled again briefly to firm up.
To create the swirl, the log is typically cut lengthwise down the center, exposing the layers of dough and filling. The two halves are then twisted together, often in a simple two-strand twist, or braided, before being placed into a loaf pan. This process creates the beautiful marbled effect seen in sliced babka.
Baking Babka: Achieving a Moist and Flaky Texture
Babka is baked in a loaf pan, usually at around 350-375°F (175-190°C), for 30-50 minutes depending on the size. Due to the high sugar content in both the dough and filling, it's prone to browning quickly. Covering the top loosely with foil partway through baking can prevent the top from burning while the inside finishes cooking.
The babka is done when a skewer inserted into the center comes out mostly clean (some melted chocolate is fine) and the internal temperature reaches around 190-200°F (88-93°C). Many babka recipes call for brushing the hot babka with a simple sugar syrup immediately after it comes out of the oven. This adds moisture, sweetness, and a lovely sheen, ensuring the babka remains moist.
Troubleshooting Common Enriched Dough Baking Problems
Dough Not Rising? Addressing Yeast or Temperature Issues
A common issue in enriched dough baking is insufficient rise. This can often be traced back to problems with the yeast or the proofing environment. If the yeast is old or expired, it may no longer be active. Always check the expiration date and, if using active dry yeast, proof it in warm liquid with sugar first to ensure it's bubbling and alive.
Another major factor is temperature. If the liquid used to activate the yeast was too hot (above 130°F/54°C), it can kill the yeast. Conversely, if the proofing environment is too cold (below 70°F/21°C), the yeast activity will be very slow or stalled. Ensure your proofing spot is warm and consistent, ideally between 75-85°F (24-30°C). Also, remember that enriched doughs with high fat/sugar content naturally rise slower than lean doughs.
Dough Too Sticky? Adjusting Hydration Levels
Enriched doughs, especially those with high fat or sugar, can be inherently stickier than lean doughs. However, excessively sticky dough that is impossible to handle usually indicates too much liquid or not enough flour. Humidity can also play a role, requiring slight adjustments.
While it's best to stick to the recipe's measurements, if your dough is unmanageably sticky after the initial mixing and kneading, you can add a small amount of flour (a tablespoon at a time) while kneading until it becomes more manageable, smooth, and elastic, but still soft. Avoid adding too much flour, as this will result in a dry, dense baked good.
Dry and Crumbly? Increasing Fat Content
If your baked enriched dough is dry, crumbly, or lacks tenderness, the likely culprit is insufficient fat or liquid, or over-baking. Fat is crucial for tenderness in these doughs as it interferes with excessive gluten development and adds moisture. Recipes for enriched dough should have a balanced ratio of fat, sugar, and liquid to flour.
Ensure you are accurately measuring all ingredients, especially fats like butter or oil. If you find a particular recipe consistently yields dry results, it might benefit from a slight increase in the fat or liquid component in future attempts. Also, double-check your baking time and temperature; over-baking will dry out any bread.
Uneven Baking? Optimizing Oven Conditions
Uneven baking, where one part of the loaf or rolls is darker or more cooked than another, is often an oven issue. Hot spots are common in many ovens. Rotating your pan halfway through the baking time is a simple but effective way to promote even browning and cooking.
Ensure your oven is accurately calibrated; an oven thermometer can help verify that your oven is reaching and maintaining the set temperature. Placing the baking rack in the correct position (usually the middle rack for most enriched dough baking recipes) also helps ensure even heat circulation around the dough.
Tips for Success in Enriched Dough Baking
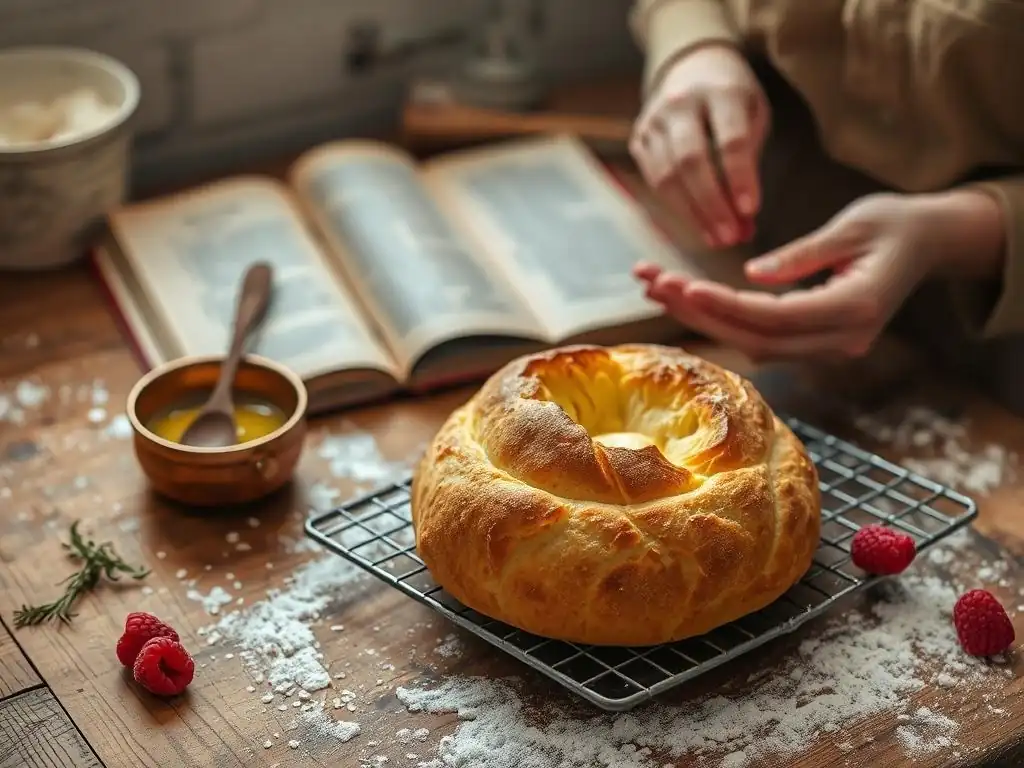
Accurate Weighing: Ensuring Consistent Results
Baking is a science, and precision in measuring ingredients is paramount, especially in enriched dough baking recipes where the balance of fat, sugar, and liquid is critical. Using a kitchen scale to weigh ingredients, particularly flour, sugar, and fat, is significantly more accurate than using volume measurements (cups).
Flour, for instance, can vary in weight per cup depending on how it's scooped and leveled. Weighing ensures you use the exact amount specified in the recipe every time, leading to more consistent and reliable results. This accuracy helps prevent issues like overly sticky or dry dough.
Ingredient Quality: Choosing Fresh and Flavorful Components
The quality of your ingredients directly impacts the flavor and texture of your finished enriched dough baked goods. Use fresh, high-quality butter for the best flavor and richness. Ensure your eggs are fresh. If using milk, whole milk typically contributes more richness than lower-fat versions.
Fresh yeast is also crucial for a good rise. Check the expiration date on your yeast and store it properly (often in the refrigerator or freezer) to maintain its viability. Using good quality flour, sugar, and any flavorings like vanilla or spices will elevate the taste of your enriched dough creations.
Proofing Patience: Allowing Sufficient Time for Development
One of the most common mistakes in baking, especially with enriched doughs, is rushing the proofing process. Yeast activity is sensitive to temperature and the dough's composition. Enriched doughs, being heavier and richer, often require longer proofing times than lean doughs.
Allow the dough to rise fully until it is puffy and significantly increased in volume (though perhaps not perfectly doubled, especially for very rich doughs). The "poke test" is a good indicator: gently poke the dough; if the indentation springs back slowly and slightly, it's ready. If it springs back immediately, it needs more time. If it collapses, it's over-proofed. Patience during proofing pays off in a lighter, more flavorful crumb.
Embrace Experimentation: Customizing Flavors and Shapes
Once you've mastered the basic techniques for enriched dough baking, don't be afraid to experiment! The world of enriched doughs is vast and adaptable. Try adding different flavorings to the dough, such as citrus zest, vanilla extract, or cardamom.
Experiment with different fillings for rolls or babka, from fruit pastes to nut fillings. Play with shaping techniques; a simple enriched dough can be formed into countless shapes, from knots and twists to filled pockets. Customizing enriched dough baking recipes allows you to put your own spin on classic favorites and discover new delicious possibilities.
Conclusion: Unleash Your Baking Potential with Enriched Dough
Diving into the world of enriched dough baking recipes is a journey filled with delicious rewards. From the buttery luxury of brioche to the comforting swirls of cinnamon rolls and the intricate beauty of babka, mastering these doughs elevates your baking skills and allows you to create incredibly tender, flavorful, and visually appealing breads and pastries. By understanding the role of key ingredients like butter, eggs, and sugar, and practicing essential techniques such as proper kneading, patient proofing, and careful baking, you can confidently tackle a wide array of enriched doughs.
Don't be discouraged by initial challenges; each bake is a learning opportunity. Embrace the process, enjoy the aromas filling your kitchen, and savor the pure joy that comes from pulling a perfectly golden, tender enriched loaf or roll from your oven. Happy baking!
Frequently Asked Questions
What exactly is enriched dough, and how does it differ from regular dough?
Enriched dough differs from regular dough primarily due to the addition of fat and sugar. These ingredients, like butter, eggs, and milk, create a softer, richer, and more tender crumb.
What are some common examples of enriched dough baking recipes?
Common examples include brioche bread, cinnamon rolls, and challah bread. These recipes showcase the versatility of enriched dough, resulting in sweet and savory baked goods.
Why is enriched dough often considered more challenging to work with?
Enriched dough can be more challenging because the added fats and sugars can interfere with gluten development. This requires careful attention to kneading time and temperature control for optimal results.
What are some essential tips for successfully baking with enriched dough recipes from BakeWithEase?
BakeWithEase recommends using high-quality ingredients and ensuring your ingredients are at the correct temperature. Proper kneading is also crucial, so follow our step-by-step guides closely for best results.
Where can I find beginner-friendly enriched dough baking recipes on BakeWithEase.com?
On BakeWithEase, navigate to the "Breads" or "Pastries" sections and filter by "Enriched Dough". You'll find recipes specifically designed for beginners with detailed instructions and tips.
Final Reflection: The Enduring Allure of Enriched Doughs
The art of baking with enriched doughs remains a powerful testament to the enduring connection between culinary skill and pure joy. From the simplest croissant to the most elaborate brioche, these recipes offer a tangible reward for patience and precision, a delicious embodiment of the transformative power of ingredients. The rich, buttery aroma alone is enough to transport you, but the final product – flaky, tender, and utterly irresistible – is the true testament to the magic of enriched doughs.
The influence of these doughs extends far beyond the kitchen; they represent a legacy of culinary tradition passed down through generations. They are a symbol of comfort, celebration, and the simple pleasure of creating something beautiful and delicious with your own hands. Baking is at once child's play and adult joy. And love, of course.
– This sentiment perfectly captures the essence of working with enriched doughs – a process that is both challenging and deeply rewarding, demanding precision yet yielding immense satisfaction.
Now, I invite you to consider your own relationship with baking. Perhaps you'll be inspired to tackle a challenging enriched dough recipe, or maybe you'll simply savor the memory of a perfectly crafted pastry. Regardless, I hope this exploration of enriched doughs has ignited a spark of creativity and a deeper appreciation for the simple, yet profound, joy found in the kitchen. Embrace the process, savor the results, and discover the magic within yourself, just as you discover the magic within each perfectly risen, golden-brown creation.
Unleash Your Inner Baker: Craft Exquisite Enriched Doughs Today!
Thank you for taking the time to explore the delightful world of enriched doughs! We hope you've gained valuable insights and inspiration for your next baking adventure. Now it's time to put your newfound knowledge into practice.
- Bake your dream enriched dough today! Choose your favorite recipe (or try a new one!) and experience the satisfying process of creating something truly delicious. This is the most important step—get baking!
- Share your baking triumphs (and challenges!) with our community on social media using #BakeWithEaseEnriched. Let's inspire each other!
- Explore our extensive recipe collection on BakeWithEase.com for even more enriched dough creations. Discover new flavor combinations and techniques to expand your baking repertoire.
What incredible enriched dough creation will you bake first?