
Perfecting the First Rise: The Foundation of Great Enriched Dough

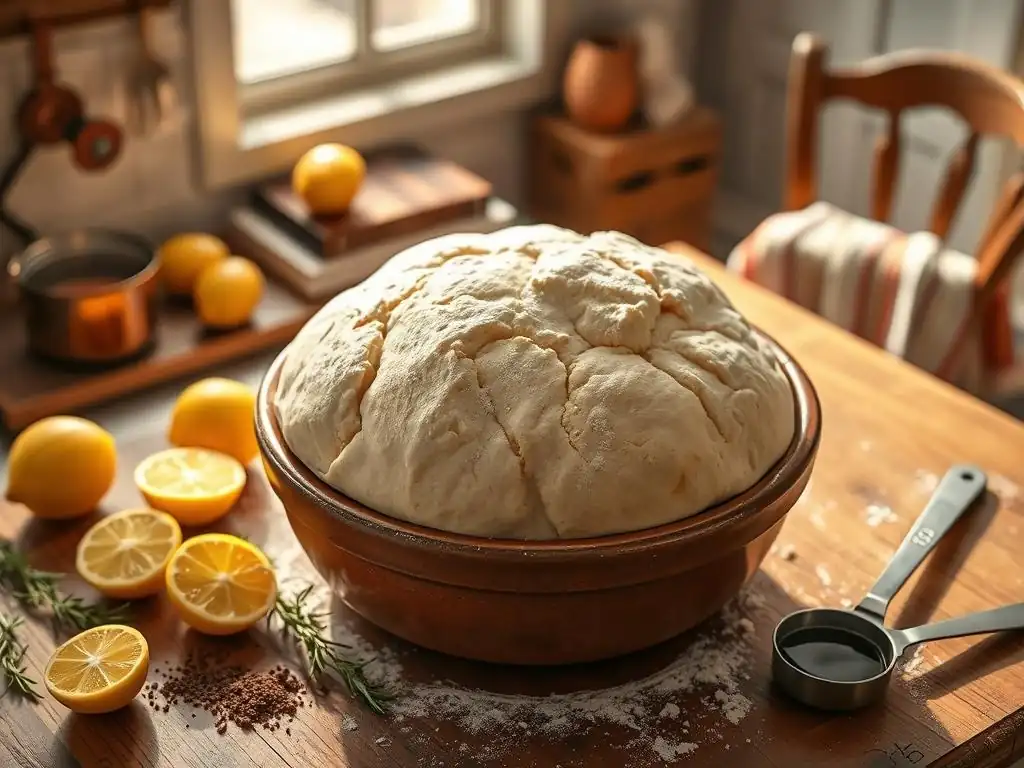
Welcome to BakeWithEase, your kitchen companion for unlocking baking brilliance! Ever wondered if you're really nailing that crucial first rise for your enriched dough? This article dives deep into the secrets of a successful enriched dough first rise, demystifying the process and setting you on the path to incredibly flavorful and perfectly textured baked goods. Prepare to elevate your baking game – let's get rising!
- Understanding the Importance of the First Rise in Enriched Dough Baking
- Key Factors Influencing the Enriched Dough First Rise
- Step-by-Step Guide to Achieving the Perfect First Rise for Enriched Dough
- Troubleshooting Common Enriched Dough First Rise Problems
- Tips and Tricks for Mastering the Enriched Dough First Rise
- Enriched Dough First Rise: Beyond the Basics
- Conclusion: Mastering the First Rise for Baking Excellence
-
Frequently Asked Questions
- What exactly is enriched dough, and why is the first rise so important?
- How long should I let my enriched dough rise the first time?
- What's the best temperature for the first rise of enriched dough?
- How can I tell if my enriched dough has risen enough during the first rise?
- What happens if I overproof my enriched dough during the first rise?
- Final Reflection: The Humble Rise, the Extraordinary Result
- Unleash Your Inner Baker: Master the First Rise!
Understanding the Importance of the First Rise in Enriched Dough Baking
Why the Initial Proof is Crucial for Enriched Dough Success
The first rise, often called the bulk fermentation, is a critical stage in creating delicious enriched doughs like brioche, challah, or cinnamon rolls. This initial proof allows the yeast to become active, feeding on sugars and producing carbon dioxide gas, which causes the dough to expand and develop flavor. Without a proper first rise, your enriched dough will lack the necessary structure and aeration, resulting in a dense, heavy final product.
Think of the first rise as the foundation of a house; a weak foundation leads to a weak structure. For enriched dough, this stage is where the complex flavors begin to build. During this time, enzymatic activity breaks down starches into simpler sugars that the yeast can consume, and proteins start to develop, contributing to the dough's texture and crumb. Achieving the correct volume increase – typically doubling or even tripling in size – is essential for a light, airy, and tender bake.
The Science Behind Enriched Dough Fermentation
At its core, fermentation in enriched dough is a biological process driven by yeast. Yeast are living microorganisms that, in the presence of moisture, warmth, and food (sugars), metabolize these sugars through anaerobic respiration. This process yields ethanol (alcohol) and carbon dioxide (CO2) gas as byproducts. The CO2 gas is trapped within the elastic network of gluten proteins that develops during mixing and kneading, causing the dough to inflate and rise.
Enriched doughs present unique challenges and opportunities for fermentation due to their high content of sugar, fat, and sometimes eggs. While sugar fuels the yeast, high concentrations (above, say, 10-15% of flour weight) can exert osmotic pressure, drawing water out of the yeast cells and slowing down activity.
Fat, often added as butter, can coat gluten strands, potentially slowing gluten development and gas retention initially, but ultimately contributing to a tender crumb. The yeast needs to work harder and longer in such a rich environment compared to lean doughs, making the conditions of the enriched dough first rise particularly important.
Key Factors Influencing the Enriched Dough First Rise
Yeast Activity and Its Impact on Dough Volume
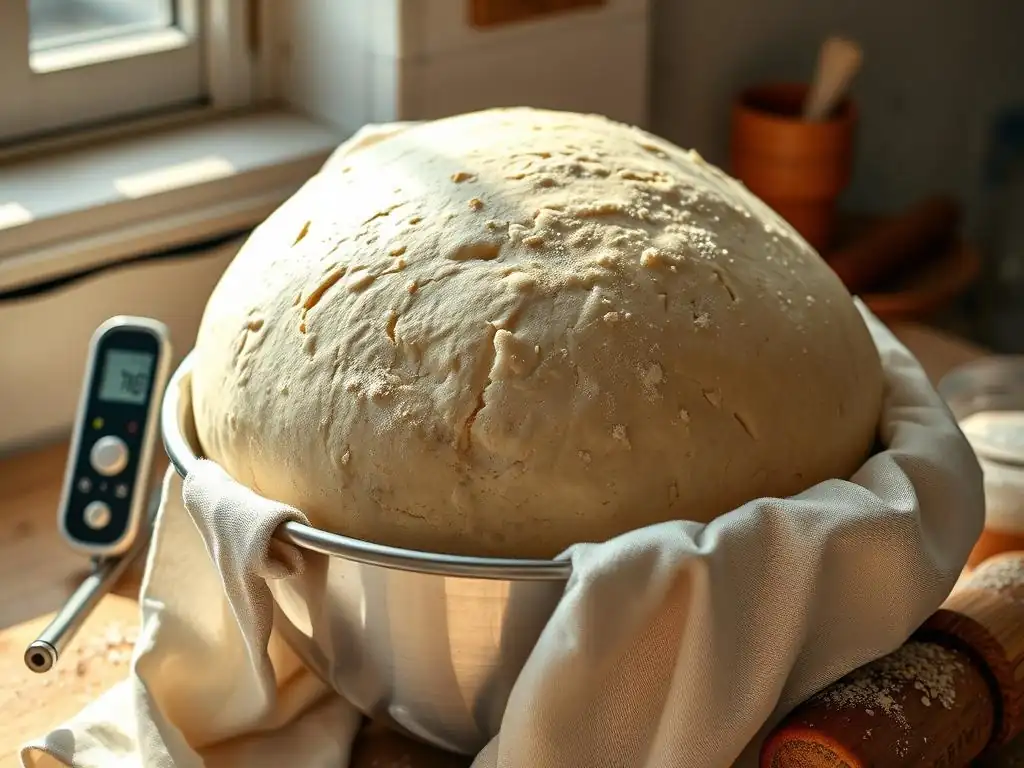
Yeast activity is the primary driver of the enriched dough first rise. The amount and type of yeast used (active dry, instant, fresh) directly influence the speed and extent of fermentation. For instance, using 2% fresh yeast relative to flour weight typically provides a moderate fermentation rate, while 1% instant yeast might be slightly faster. The yeast consumes available sugars and produces CO2, which expands the dough's volume. Insufficient yeast or inactive yeast will result in a slow or non-existent rise.
Beyond the quantity, the vitality of the yeast is paramount. Yeast is most active within a specific temperature range, often cited as 75-85°F (24-29°C). If the dough is too cold, yeast activity slows dramatically; too hot, and the yeast can be killed. Ensuring your yeast is fresh and properly activated (if using active dry) is the first step to a successful enriched dough first rise. A simple test is to mix yeast with warm water and a pinch of sugar; it should become foamy within 5-10 minutes, indicating it's alive and ready to work.
The Role of Sugar and Fat in Enriched Dough Fermentation
Sugar's Influence on Yeast Function
Sugar plays a dual role in enriched dough: it serves as food for the yeast and contributes to browning and tenderness in the final bake. Yeast initially feeds on simple sugars present in the flour or added directly. As fermentation progresses, enzymes in the flour and yeast break down complex starches into more simple sugars for the yeast to consume. However, in highly enriched doughs with sugar levels exceeding 10-15% of the flour weight, the high sugar concentration can create an osmotic effect, drawing water out of the yeast cells and slowing down fermentation.
Despite the potential slowing effect, sugar is essential for the enriched dough first rise. It provides the necessary fuel for yeast to produce gas and develop flavor. Doughs with moderate sugar content (e.g., 5-10%) will typically rise faster than very sweet doughs (e.g., 20-30%). Bakers often compensate for high sugar levels by using a slightly higher percentage of yeast or allowing a longer fermentation time to ensure adequate volume development and flavor complexity during the enriched dough first rise.
Fat's Effect on Dough Texture and Rise
Fat, typically butter in enriched doughs, contributes significantly to tenderness and richness. During mixing, fat coats gluten strands, which can initially impede gluten development. This can make the dough feel slack or sticky before the first rise. However, as the dough ferments, the fat integrates further, lubricating the gluten network and contributing to a soft, melt-in-your-mouth texture in the final product.
While fat doesn't directly feed the yeast or produce gas, its presence affects the dough's structure and how it handles the gas produced during the enriched dough first rise. A dough with 20-30% butter (relative to flour weight) will feel very different from a lean dough.
The fat can sometimes slightly slow the initial rise by interfering with gluten development, but it helps create a finer, more even crumb structure by preventing large, irregular gas pockets. The dough's ability to retain gas is ultimately enhanced by a well-developed gluten network, even if fat incorporation takes a bit longer to achieve it.
Temperature Control for Optimal Enriched Dough Rise
Finding the Ideal Temperature Range
Temperature is perhaps the most critical environmental factor for a successful enriched dough first rise. Yeast is a living organism and thrives within a specific temperature window. While yeast can be active over a broader range, the optimal temperature for bulk fermentation of enriched doughs is often considered to be between 75°F and 80°F (24°C and 27°C). This range promotes steady, predictable yeast activity, allowing for good gas production and flavor development without rushing the process.
Temperatures significantly outside this range can cause issues. Below 70°F (21°C), yeast activity slows considerably, leading to a very long or stalled enriched dough first rise. Above 85°F (29°C), yeast activity accelerates rapidly, potentially leading to over-proofing before sufficient flavor has developed. Consistent temperature control ensures the yeast works at an optimal pace, resulting in the desired volume increase and a balanced flavor profile.
Avoiding Over-Proofing and Under-Proofing
Controlling temperature is key to avoiding the pitfalls of under-proofing and over-proofing during the enriched dough first rise. Under-proofing occurs when the dough hasn't developed sufficient gas or flavor; it will feel dense and not have doubled in size. Baking under-proofed dough results in a loaf with poor volume, a dense crumb, and less complex flavor.
Over-proofing happens when the dough ferments for too long or at too high a temperature. The gluten structure eventually weakens and can no longer hold the gas, causing the dough to collapse or deflate easily. Over-proofed dough often has a strong, alcoholic smell and can produce a final product with poor volume, a coarse crumb, and potentially a gummy texture. Monitoring the dough's volume and using the "poke test" (gently pressing a finger into the dough; if the indentation springs back slowly, it's likely ready) are crucial checks during the enriched dough first rise.
Step-by-Step Guide to Achieving the Perfect First Rise for Enriched Dough
Preparing Your Enriched Dough for the First Rise
Mixing Techniques for Enriched Dough
Proper mixing is fundamental before the enriched dough first rise begins. Enriched doughs often require more mixing than lean doughs to develop a strong gluten network capable of supporting the added fat, sugar, and eggs, and trapping the fermentation gases. Techniques like the stand mixer method with a dough hook are popular, often involving adding butter gradually after the initial dough has come together and some gluten development has occurred.
The goal is to achieve a dough that is smooth, elastic, and passes the "windowpane test" – stretching a small piece of dough thin enough to see light through it without tearing. This indicates sufficient gluten development. For very high-fat doughs like brioche (sometimes containing 50% or more butter), the mixing process can be lengthy, sometimes 15-20 minutes or more in a stand mixer, to fully incorporate the fat and build gluten strength before the enriched dough first rise.
Ensuring Proper Gluten Development
Gluten development is non-negotiable for a successful enriched dough first rise. Gluten, formed by the proteins glutenin and gliadin in flour when hydrated and worked, creates the elastic network that traps the carbon dioxide produced by yeast. Without sufficient gluten development, the gas will escape, and the dough won't rise properly, regardless of how active your yeast is.
Kneading, whether by hand or machine, aligns the gluten strands and builds this network. The high sugar and fat content in enriched doughs can sometimes slow this process, requiring longer kneading times compared to leaner doughs. A well-developed dough will feel smooth and elastic and should be able to hold its shape somewhat before being placed for the enriched dough first rise. If the dough feels sticky or tears easily when stretched, it likely needs more kneading.
The First Rise: A Detailed Walkthrough
Choosing the Right Container for Proofing
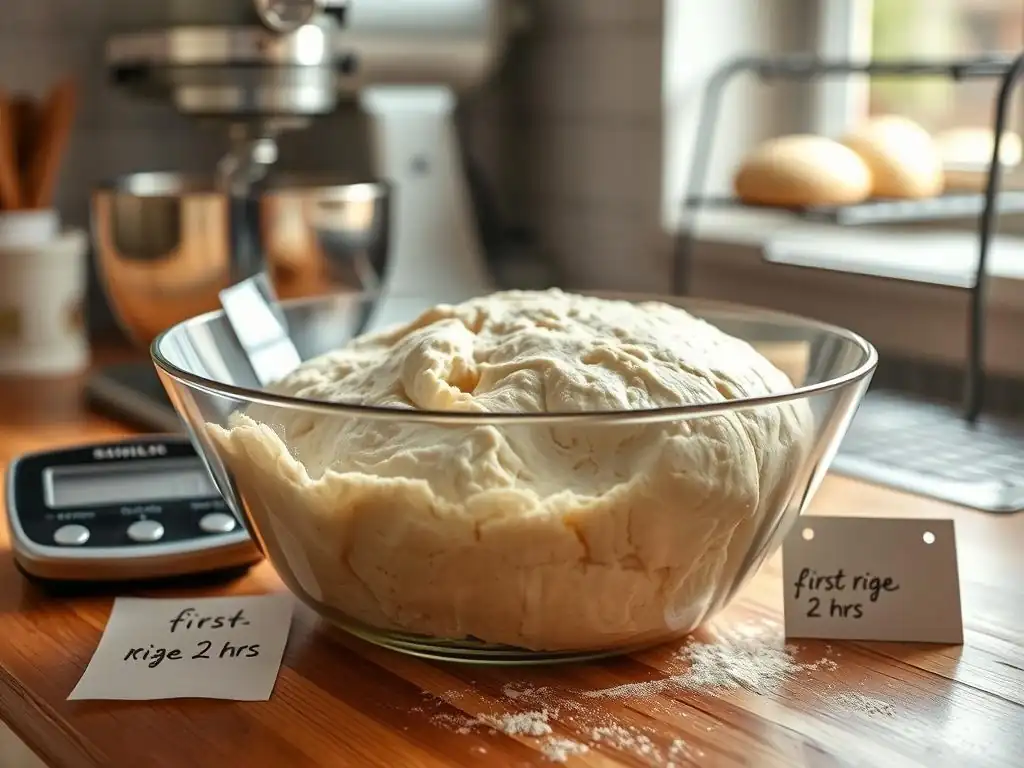
Selecting the correct container for the enriched dough first rise is important for monitoring its progress. A large bowl, ideally made of glass or a clear material, allows you to visually track the dough's volume increase. Ensure the bowl is significantly larger than the initial dough volume – aim for a bowl that can comfortably hold 2-3 times the dough's starting size, as enriched dough can sometimes triple during the first rise.
Lightly greasing the bowl with a neutral oil or melted butter prevents the dough from sticking as it expands. This also makes it easier to turn the dough out gently after the enriched dough first rise is complete, minimizing deflation. A clear container makes it easy to see exactly how much the dough has grown against markings or its initial level.
Covering and Protecting Your Dough
Once the dough is in the greased bowl, it must be covered properly to prevent a skin from forming on the surface. A skin inhibits the dough's ability to expand evenly and can lead to a less smooth crumb. Common methods include:
- Using plastic wrap pressed directly onto the surface of the dough (for very wet doughs).
- Covering the bowl tightly with plastic wrap, ensuring no drafts can reach the dough.
- Using a damp clean kitchen towel (though this can sometimes dry out).
- Placing the bowl inside a large plastic bag.
The covering also helps to maintain a consistent temperature and humidity around the dough during the enriched dough first rise, creating an optimal microenvironment for the yeast.
Monitoring Dough Volume and Consistency
Monitoring the dough's progress during the enriched dough first rise is crucial. The goal is typically for the dough to double or even triple in volume, depending on the recipe and desired outcome. This isn't a precise science measured in minutes, as ambient temperature and dough temperature play significant roles. Instead, rely on visual cues and the poke test.
Check the dough periodically, perhaps every 30-45 minutes. Look for a significant increase in size and a dome-like appearance. The surface should look smooth and bubbly. Perform the poke test: gently press a floured finger about half an inch into the dough. If the indentation remains or springs back very slowly, the dough is likely ready. If it springs back immediately, it needs more time. If it collapses, it may be over-proofed. A typical enriched dough first rise at 75-80°F might take anywhere from 1.5 to 3 hours.
Troubleshooting Common Enriched Dough First Rise Problems
Identifying and Correcting a Slow Rise
Possible Causes of a Slow Rise
A sluggish enriched dough first rise can be frustrating, but several factors could be at play. One common culprit is insufficient yeast activity, possibly due to using old or expired yeast, or killing the yeast with liquid that is too hot (above 130°F or 54°C). Another major factor is temperature; if the dough or the proofing environment is too cold (below 70°F or 21°C), yeast activity slows dramatically.
Other reasons include too much salt or sugar, both of which can inhibit yeast in high concentrations (e.g., salt above 2.5% or sugar above 15% of flour weight). Insufficient kneading can also result in a slow rise because the undeveloped gluten network can't effectively trap the gas being produced. Using cold ingredients directly from the refrigerator without warming them slightly can also significantly prolong the enriched dough first rise time.
Solutions for Boosting Yeast Activity
If your enriched dough first rise is moving too slowly, you can take steps to help it along. The easiest solution is to increase the dough's temperature. Place the covered bowl in a slightly warmer spot, such as:
- A turned-off oven with the light on (often creates a temperature of 75-85°F / 24-29°C).
- A warm water bath (place the dough bowl inside a larger bowl filled with warm water, ensuring no water gets into the dough).
- Near a warm appliance or sunny window (be careful not to overheat).
If you suspect the yeast itself was inactive, there's not much you can do for the current batch other than extending the proofing time significantly and hoping for some activity. However, ensuring your yeast is fresh and properly proofed in warm water before adding it to the dough in future batches prevents this issue. Slightly increasing the amount of yeast in very rich doughs can also help compensate for the inhibiting effects of sugar and fat, aiding the enriched dough first rise.
Preventing Over-Proofing in Enriched Dough
Recognizing the Signs of Over-Proofing
Over-proofing during the enriched dough first rise is a common pitfall, especially in warmer conditions or when proofing times aren't closely monitored. Signs that your dough may be over-proofed include: the dough looks deflated or has stopped rising and started to sink in the center; it has a very strong, pungent, sometimes alcoholic or sour smell; it feels very fragile and collapses easily when touched; and the poke test results in the indentation remaining completely without springing back at all.
Visually, an over-proofed dough might look bubbly on the surface, but the overall structure is weak. The gluten network has stretched beyond its capacity to hold gas, and the yeast may have consumed most of the available sugars, leading to a loss of structure and potential flavor imbalances. Catching over-proofing early is key, but even slightly over-proofed dough can sometimes be salvaged.
Salvaging Over-Proofed Dough
If you suspect your enriched dough is over-proofed after the first rise, don't despair entirely, though the final texture may be compromised. The best approach is often to gently deflate the dough, reshape it, and allow it a much shorter second rise (proof) before baking. Be very gentle when handling the dough to avoid further weakening the fragile gluten structure.
For severely over-proofed dough that has completely collapsed and smells strongly of alcohol, salvaging it for a light, airy loaf is difficult. However, you might be able to repurpose it.
- For sweet doughs, consider turning it into something less reliant on structure, like flatbreads, crackers, or even using small pieces as a starter for a new batch (though the flavor might be intense).
- For slightly over-proofed but still somewhat stable dough, reshape quickly and bake immediately without a full second proof, accepting that the volume might be less than ideal.
Prevention is the best strategy: monitor temperature, use the poke test, and check the dough frequently as it approaches double or triple its size during the enriched dough first rise.
Dealing with a Sticky or Unmanageable Dough After the First Rise
Techniques for Handling Sticky Dough
Enriched doughs, especially those high in butter and sugar, can sometimes be quite sticky after the first rise. This is often normal due to the high hydration relative to the structure initially. If the dough is merely tacky, a light dusting of flour on your work surface and hands is usually sufficient. Avoid adding too much flour, as this can make the final product dry and tough.
For stickier doughs, chilling it briefly in the refrigerator for 20-30 minutes can make it much easier to handle. Cold butter and fat are firmer, which helps stabilize the dough structure. Using a bench scraper to manipulate and move the dough, rather than your hands, can also minimize sticking. Working quickly and confidently also helps; hesitation allows the dough to stick more. Ensure your work surface isn't overly warm, which can soften the butter and increase stickiness.
Adjusting Hydration Levels in Future Batches
Persistent issues with overly sticky or unmanageable dough after the enriched dough first rise might indicate that the hydration level (the ratio of liquid to flour) in the recipe is too high for your specific flour or environment. Different flours absorb liquid differently, and humidity can also play a role.
If a recipe consistently yields dough that is too sticky to handle comfortably even after proper mixing and the first rise, consider slightly reducing the liquid (milk, eggs, water) in future batches. Start with a small reduction, perhaps 5-10% of the total liquid amount, and adjust in subsequent bakes until you achieve a dough consistency that is manageable yet still soft and pliable. Conversely, if the dough is consistently too stiff, slightly increase the liquid next time. Keeping notes on your adjustments can help you fine-tune the recipe for your kitchen.
Tips and Tricks for Mastering the Enriched Dough First Rise
Creating a Consistent Baking Environment
Consistency in your baking environment is key to predictable results during the enriched dough first rise. Yeast is highly sensitive to temperature fluctuations. Drafty kitchens, placing dough near an open window in winter, or leaving it in direct sunlight can all negatively impact the rise.
Aim for a stable temperature, ideally within the 75-80°F (24-27°C) range. Consider using a proofing box (a dedicated appliance) or creating a makeshift one, such as the turned-off oven with the light on mentioned earlier. Some ovens have a "proof" setting which is usually around 80-90°F (27-32°C); while this can speed up the rise, it might also accelerate flavor development differently than a cooler proof. Finding a consistent spot in your home that maintains a steady temperature will greatly improve the reliability of your enriched dough first rise.
Using a Dough Thermometer for Accurate Temperature Monitoring
Guessing the temperature of your dough or proofing environment can lead to inconsistent results. A simple digital thermometer is an invaluable tool for mastering the enriched dough first rise. Use it to check the temperature of your liquid ingredients before adding yeast, and periodically check the internal temperature of the dough itself during mixing and proofing.
Knowing the exact dough temperature allows you to predict how quickly it will rise or troubleshoot why it's too slow or fast. If your dough is only 68°F (20°C), you know it will take significantly longer to double than if it's 78°F (26°C). This precision takes the guesswork out of the enriched dough first rise and helps you achieve reliable results every time.
The Importance of Patience: Allowing Sufficient Time for the First Rise
Perhaps the most important tip for perfecting the enriched dough first rise is patience. Resist the urge to rush the process, especially in cooler conditions. The time it takes for the dough to double or triple in volume is more important than the clock time. While a recipe might suggest 1-2 hours, your dough might take 3 or even 4 hours depending on the variables in your kitchen.
Allowing the dough sufficient time for the enriched dough first rise not only ensures adequate volume but also allows crucial flavor compounds to develop through fermentation. A slower, cooler rise often results in more complex and nuanced flavors than a quick, warm rise. Trust the dough's visual cues and the poke test over the timer. The waiting is part of the magic!
Enriched Dough First Rise: Beyond the Basics
Adapting the First Rise for Different Enriched Dough Recipes
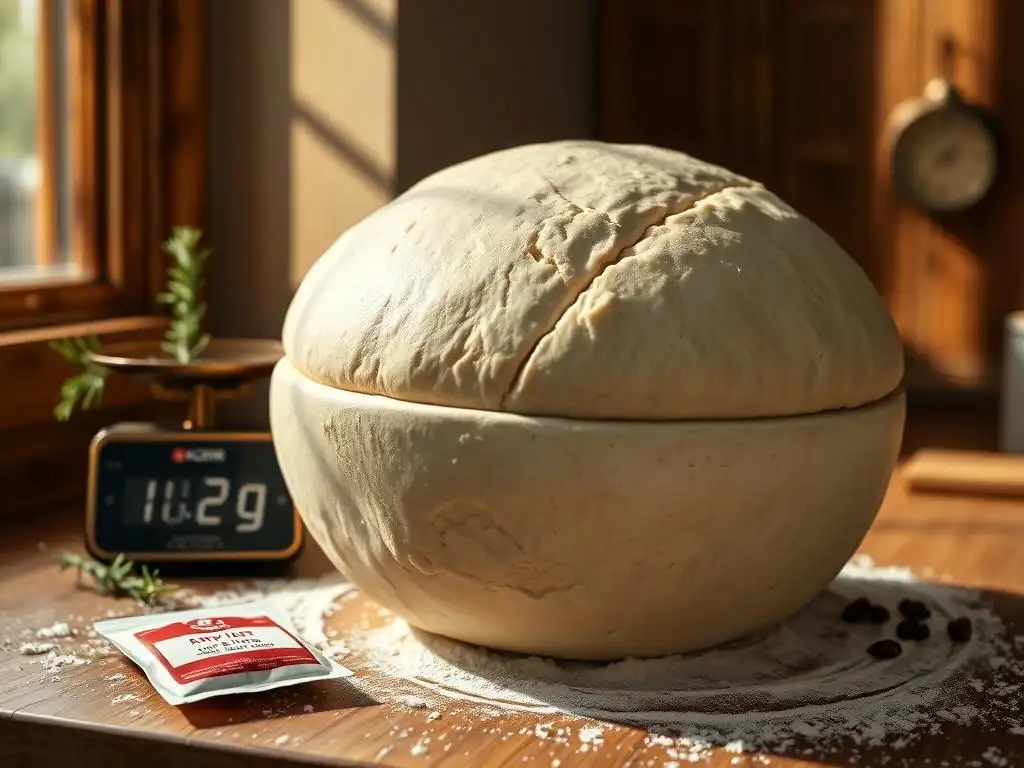
Not all enriched doughs behave the same way during the first rise. A lightly enriched challah dough with only a bit of oil and sugar will rise faster and behave more like a lean dough than a rich brioche dough packed with butter, eggs, and sugar. The percentage of enrichments significantly impacts the yeast activity and the dough's structure.
Recipes with very high fat and sugar content often benefit from a longer, slower enriched dough first rise, sometimes even involving refrigeration for part of the time. This allows the gluten structure to strengthen in the presence of fat and allows for more complex flavor development. Always consider the specific recipe's ratios when determining the expected behavior and duration of the enriched dough first rise.
Exploring Variations in Proofing Times and Temperatures
While a standard warm proof (75-80°F) is common for the enriched dough first rise, experienced bakers sometimes manipulate proofing conditions to achieve specific results. A long, cold fermentation in the refrigerator (40°F / 4°C) for 12-48 hours slows down yeast activity significantly but allows enzymes to break down starches and proteins more thoroughly, leading to deeper flavor development and a more manageable dough texture, especially for very sticky doughs.
Conversely, a slightly warmer proof might be used to speed things up if time is limited, though this can compromise flavor. Experimenting with slightly different temperatures and durations for the enriched dough first rise can reveal how these variables impact the final taste and texture of your baked goods.
The First Rise and its Impact on the Final Baked Product
The success of the enriched dough first rise directly influences the final baked product in several ways. Proper fermentation leads to a well-aerated dough, which translates into good oven spring and a light, open crumb structure. The flavors developed during this stage contribute significantly to the overall taste profile – from subtle sweetness to complex, slightly tangy notes depending on the duration and temperature.
A dough that has undergone a sufficient and controlled enriched dough first rise will also be easier to handle for shaping and will bake more evenly. Conversely, issues during the first rise, such as under- or over-proofing, will manifest as poor volume, dense or irregular crumb, and underdeveloped or off-flavors in the finished bread or pastry. Mastering this initial stage is truly foundational to baking excellence with enriched doughs.
Conclusion: Mastering the First Rise for Baking Excellence
The First Rise: A Cornerstone of Enriched Dough Baking Success
Mastering the enriched dough first rise is not just a step in a recipe; it's a fundamental skill that unlocks the potential of rich, tender, and flavorful baked goods. This crucial stage allows yeast to perform its magic, building volume and developing complex flavors that are impossible to achieve otherwise. Understanding the interplay between yeast activity, ingredients like sugar and fat, and environmental factors like temperature empowers you to take control of your baking.
By paying close attention to the dough's cues, monitoring its progress, and troubleshooting common issues, you can consistently achieve the perfect enriched dough first rise. Whether you're aiming for a cloud-like brioche, a soft challah, or decadent cinnamon rolls, a successful first rise is the essential foundation. Practice, patience, and observation are your best tools on the journey to baking excellence with enriched dough.
Frequently Asked Questions
What exactly is enriched dough, and why is the first rise so important?
Enriched dough is a dough that contains added fats, sugars, and/or eggs. The first rise is crucial because it develops gluten structure and flavor. Insufficient rise leads to a dense, less flavorful product.
How long should I let my enriched dough rise the first time?
The first rise time varies depending on the recipe and environmental conditions. Typically, it takes around 1-2 hours, or until doubled in size. Look for visual cues rather than relying solely on time.
What's the best temperature for the first rise of enriched dough?
The ideal temperature is warm, but not hot, around 75-80°F (24-27°C). Too hot and the dough will overproof; too cold and it will rise too slowly. A proofing drawer or warm spot in your kitchen works well.
How can I tell if my enriched dough has risen enough during the first rise?
The dough should have doubled in size and feel light and airy. Gently poke the dough; if the indentation slowly springs back, it's ready. If it collapses, it has probably overproofed.
What happens if I overproof my enriched dough during the first rise?
Overproofed dough can be difficult to work with and result in a flat, dense final product. You can try gently punching it down and letting it rise again, but the quality may be compromised.
Final Reflection: The Humble Rise, the Extraordinary Result
Mastering the first rise of enriched dough isn't just about technique; it's the cornerstone of achieving truly exceptional baked goods. A seemingly small detail, the initial fermentation profoundly impacts the final texture, flavor, and overall quality of your bread, pastries, or rolls. Ignoring this crucial step leads to disappointing results, while understanding its nuances unlocks a world of baking possibilities.
The impact of a perfectly executed first rise extends far beyond the immediate outcome. It's a testament to the patience and precision required in baking, mirroring the slow, deliberate processes that shape our own lives. The best things in life are worth waiting for,
a sentiment perfectly encapsulates the rewarding nature of this fundamental baking step. The subtle nuances of gluten development, the delicate balance of yeast activity, and the careful observation of dough behavior all contribute to a deeper appreciation for the artistry of baking. This process, in its simplicity, reflects the beauty found in mastering the fundamentals.
Now, consider your own "first rise." What foundational elements in your life, your work, or your passions require the same careful attention, the same patience, and the same understanding of the subtle processes at play? Take a moment to reflect on this. Identify that crucial first step in your own endeavors, and nurture it with the same care and precision you would dedicate to perfecting the first rise of your enriched dough. The rewards, like the taste of perfectly risen bread, will be immeasurable.
Unleash Your Inner Baker: Master the First Rise!
Thanks for taking the time to explore the secrets of a perfect first rise! You've now got the knowledge to elevate your enriched dough game. Ready to put your newfound skills to the test?
- Bake a masterpiece today! Try the recipe mentioned in the article – you'll be amazed by the difference a perfectly risen dough makes.
- Share your baking journey! Post a picture of your creation on social media and tag #BakeWithEaseFirstRise – we'd love to see your results!
- Consider experimenting with different flours or hydration levels to further refine your technique. What unique twist will you add?
What delicious enriched dough creation will you bake first? Let us know in the comments!