
Scaling Your Starter: How to Adjust Quantities for Your Needs

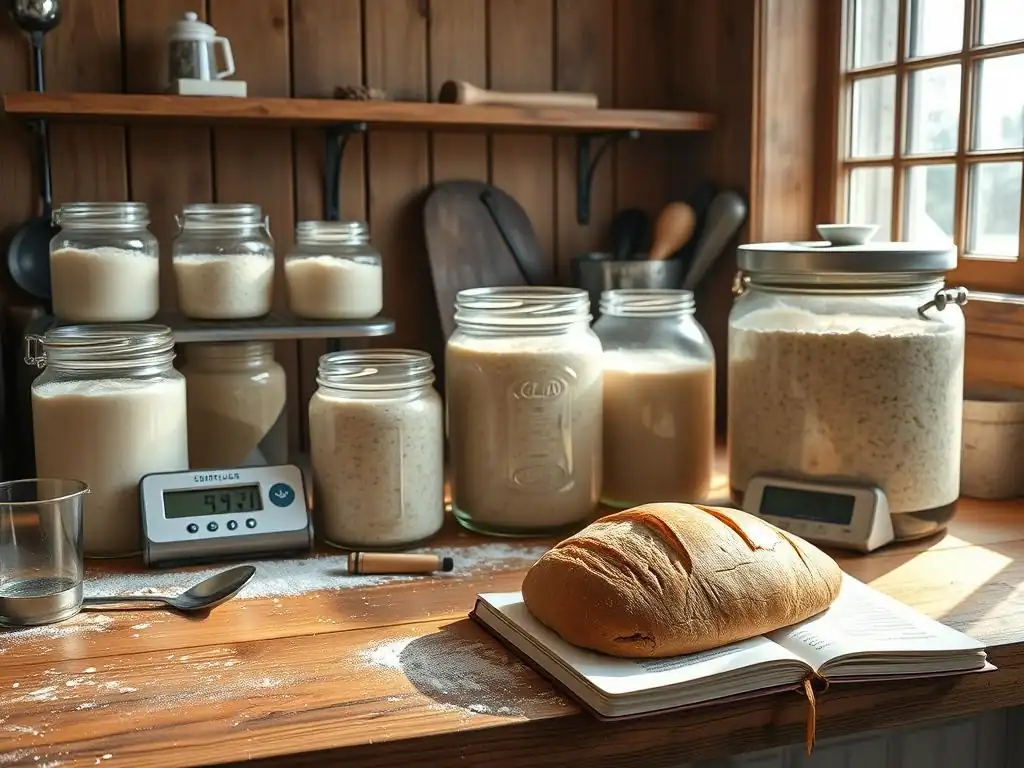
Welcome to BakeWithEase, your haven for effortless baking! Are you ready to scale up your sourdough game? Dive into our latest guide, " Scaling Your Starter: How to Adjust Quantities for Your Needs," and unlock the secrets to managing large sourdough starter quantities. Whether you're baking for a crowd or just want a robust starter on hand, we'll show you how to adapt your feeding schedule and ratios. Curious about how to maintain the perfect balance? Let's get baking!
- Scaling Your Starter: How to Adjust Quantities for Your Needs - BakeWithEase
- Introduction: Mastering Sourdough Starter Scaling for Baking Projects
- Determining Your Ideal Sourdough Starter Size: A Step-by-Step Guide
- Scaling Up Your Sourdough Starter: Feeding for Larger Batches
- Scaling Down Your Sourdough Starter: Maintaining a Small Amount
- Troubleshooting Sourdough Starter Scaling Issues
- Large Sourdough Starter Quantities Guide: Expert Tips for Success
- Advanced Techniques for Managing Sourdough Starter Volume
- Conclusion: Baking with Confidence Using Scaled Sourdough Starter
-
Frequently Asked Questions
- How do I determine the right amount of sourdough starter to use for a large batch of bread?
- What's the best way to store excess sourdough starter when scaling up?
- Can I use a younger sourdough starter when making a large batch, or should I wait until it's more mature?
- How do I adjust feeding ratios when maintaining a larger sourdough starter quantity?
- What are some potential problems when scaling up sourdough starter, and how can I avoid them?
- Final Reflection: The Bountiful Bread Starter: From Humble Beginnings to Abundant Loaves
- Ready to Bake Bigger (or Smaller)?
Scaling Your Starter: How to Adjust Quantities for Your Needs - BakeWithEase
Introduction: Mastering Sourdough Starter Scaling for Baking Projects
Baking with sourdough is a rewarding journey, offering unique flavors and textures that commercially yeasted breads simply can't replicate. A crucial skill for any sourdough baker, whether you're just starting or working towards perfecting your craft, is learning how to manage your sourdough starter's quantity.
Different recipes call for varying amounts of active starter, and understanding how to scale your starter up or down to meet these demands is essential for consistent baking success. This guide will walk you through the process, ensuring you always have the right amount of vibrant, active starter ready for your next loaf, pizza dough, or pastry.
Managing your starter's size effectively isn't just about having enough for a recipe; it's also about efficiency, reducing waste, and maintaining a healthy culture. A small, daily-fed starter might be perfect for one or two loaves a week, but tackling a large batch of holiday rolls or multiple pizza doughs requires a significantly larger quantity of active starter. This is where scaling comes in. By mastering the techniques presented in this Large sourdough starter quantities guide, you'll gain the confidence to bake any sourdough recipe, regardless of the required starter volume, and keep your starter thriving with minimal effort.
Why Adjust Sourdough Starter Quantities?
Adjusting your sourdough starter quantity is primarily driven by the needs of your baking projects. A standard sourdough loaf might require around 100-150 grams of active starter, but a recipe for a large batch of focaccia or multiple loaves could easily demand 300-500 grams or even more. Trying to bake a large recipe with a starter that's too small means you won't have enough leavening power, leading to dense, underdeveloped dough. Conversely, maintaining a very large starter when you only bake occasionally can lead to significant flour waste from frequent large feedings.
Beyond just meeting recipe requirements, scaling allows for better management and flexibility. If you're planning a baking marathon weekend, scaling up your starter ensures you have plenty ready without multiple small feeding steps. If you're going away, scaling down to a minimal amount and storing it in the refrigerator minimizes maintenance needs. Furthermore, adjusting quantities helps maintain the starter's health; a properly fed and scaled starter is more likely to be vigorous and reliable, providing the consistent rise needed for successful sourdough baking.
Understanding the Fundamentals of Sourdough Starter Ratios
The health and activity of your sourdough starter largely depend on its feeding ratio – the proportion of starter, flour, and water you combine during each feed. The most common ratio is 1:1:1 by weight, meaning 1 part starter, 1 part fresh flour, and 1 part fresh water. For example, feeding 50 grams of existing starter with 50 grams of flour and 50 grams of water results in 150 grams of starter. This ratio is often used for maintaining a starter at room temperature with daily feedings.
Other ratios are also common and serve different purposes. A 1:2:2 or 1:3:3 ratio (starter:flour:water) provides more food for the microorganisms, allowing the starter to peak more slowly and stay active longer, which is useful if you can't feed it daily or are preparing it for a longer fermentation. Conversely, a 1:0.5:0.5 ratio (starter:flour:water), a heavier feed, can help quickly build a large quantity from a small amount or refresh a sluggish starter rapidly. Understanding how these ratios impact the starter's fermentation cycle is key to successfully scaling your starter for various applications.
Determining Your Ideal Sourdough Starter Size: A Step-by-Step Guide
Knowing how much active starter you need for a specific recipe is the first step in effective scaling. This isn't always explicitly stated in recipes as a total starter weight; sometimes, it's given as a percentage of the total flour in the recipe. Breaking down the calculation into simple steps makes it easy to figure out exactly how much starter you need to prepare, ensuring you don't fall short or have excessive leftovers.
This step-by-step guide is designed to help you calculate the precise amount of mature sourdough starter required for any recipe. By following these steps, you can confidently determine the target quantity for your starter build, whether you need a small amount for a single loaf or are preparing Large sourdough starter quantities for multiple baking projects.
Step 1: Calculating the Total Flour Needed for Your Recipe
The amount of starter often correlates directly with the total flour weight in a recipe. Start by summing up all the flour listed in your recipe, including any flour used in the main dough, preferments (if applicable, though less common when using sourdough starter directly), and any flour mentioned for dusting or shaping that you plan to incorporate into the dough. For example, a simple sourdough bread recipe might call for 500 grams of bread flour and 50 grams of whole wheat flour for the main dough.
In this example, the total flour needed for the recipe is 500g + 50g = 550 grams. This figure is crucial because many recipes specify the starter amount as a percentage of this total flour weight. Always refer to your specific recipe, as some might calculate the percentage based only on the main dough flour, but the most common method uses the total flour weight for the entire recipe.
Step 2: Figuring Out the Percentage of Starter in Your Dough
Recipes typically specify the amount of sourdough starter needed as a percentage of the total flour weight. This percentage can vary widely depending on the recipe's desired fermentation time and characteristics, but it commonly falls between 15% and 30% of the total flour weight. For instance, a recipe aiming for a relatively fast bulk fermentation might use 25% starter, while a recipe designed for a long, cold proof might use only 15% starter.
If your recipe simply lists the starter quantity in grams (e.g., "use 100g active starter"), you can skip this step. However, if it says "use 20% active starter," you'll use the total flour weight calculated in Step 1 and multiply it by this percentage. Using our previous example with 550 grams of total flour and assuming the recipe calls for 20% starter, the calculation would be 550g * 0.20 = 110 grams of active starter needed.
Step 3: Calculating the Required Amount of Mature Sourdough Starter
Once you have determined the total amount of active starter required for your recipe (either directly provided or calculated from the percentage), this is your target quantity. Let's say, based on Step 2, you need 110 grams of mature, active starter. Now, look at how much starter you currently have and plan to feed. If you maintain a small starter, perhaps keeping only 30-50 grams after each feed, you'll need to feed enough starter to produce at least 110 grams.
Suppose you currently have 40 grams of starter and want to feed it to get 110 grams. You could use a 1:1:1 ratio. To get 110g total, you need roughly equal parts of starter, flour, and water. If you use 37g of your current starter, feed it with 37g flour and 37g water, you get 111g total (37+37+37).
This is just over 110g, perfect. If you needed a much larger quantity, say 500g for a Large sourdough starter quantities guide recipe, and only had 50g, you might feed 50g starter with 225g flour and 225g water (a ~1:4.5:4.5 ratio) to yield 500g, or perhaps do two consecutive feedings. The key is to feed slightly more than you need to ensure you have enough active starter at its peak.
Scaling Up Your Sourdough Starter: Feeding for Larger Batches
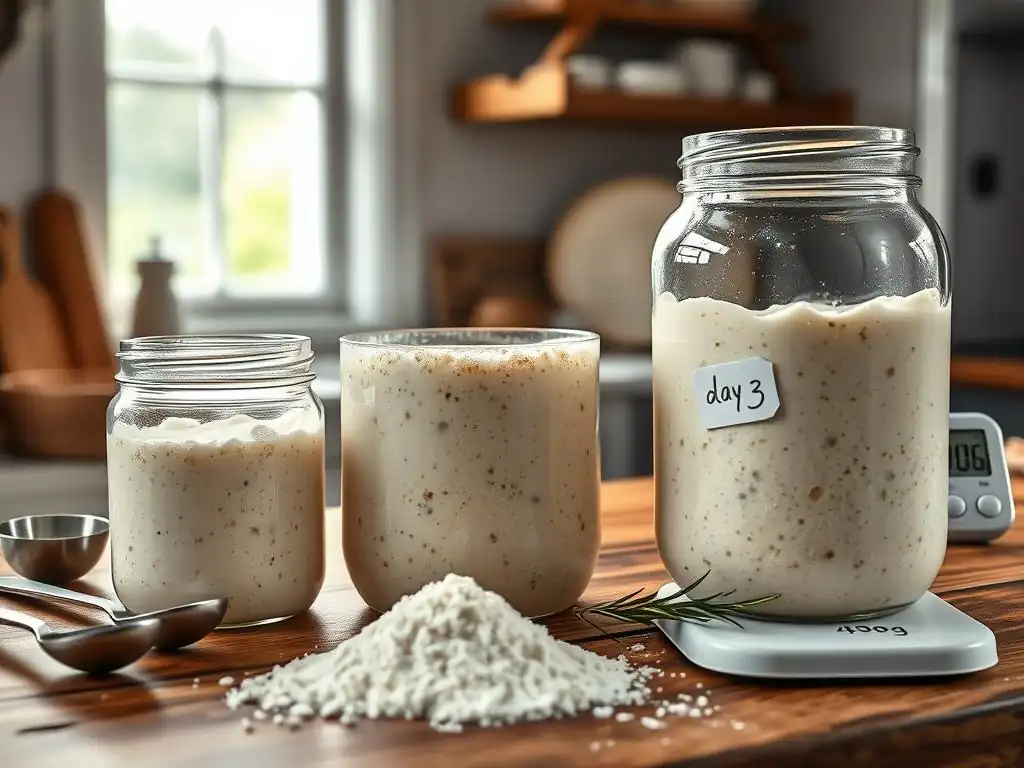
Scaling up your sourdough starter is necessary when you're planning to bake large quantities of dough or multiple different recipes that collectively require a significant amount of active culture. This process involves feeding your existing starter with larger amounts of flour and water than your usual maintenance feeds. It's not just about increasing the volume; it's also about ensuring the larger batch of starter remains vigorous and reaches its peak activity when you need it.
When scaling up, precision in measurement becomes even more important, especially when working with Large sourdough starter quantities. Using a reliable kitchen scale is essential. The goal is to create a larger volume of starter that behaves just like your smaller, well-maintained starter – bubbling, doubling (or tripling) in size, and smelling pleasantly tangy.
Preparing a Large Batch Sourdough Starter Feed
To prepare a large batch sourdough starter feed, you first need to determine the total amount of active starter you need, as calculated in the previous section (e.g., 500 grams). Then, decide how much of your existing starter you will use for this build. Using a larger amount of existing starter will speed up the process, while using a smaller amount will stretch your flour further but take longer to reach peak. A common approach for scaling up is using a 1:2:2 or 1:3:3 ratio (starter:flour:water) to provide ample food for the increased microbial population.
Let's say you need 500 grams of active starter and want to use 50 grams of your current starter to initiate the large batch feed. Using a 1:4.5:4.5 ratio (50g starter : 225g flour : 225g water), you would mix these components together. This yields a total of 500 grams (50 + 225 + 225). Ensure you use the same type of flour (or mix) that you typically use for your starter to maintain consistency. Mix thoroughly until no dry spots remain, ensuring the starter is well-hydrated and the new flour is fully incorporated.
Choosing the Right Container for Expanding Your Starter
Selecting the appropriate container is crucial when scaling up your sourdough starter, especially when preparing Large sourdough starter quantities. You need a container that is significantly larger than the volume you expect the starter to reach at its peak. Sourdough starter can easily double or triple in volume when active, and a large batch could overflow a container that seems adequately sized when the starter is initially mixed.
For batches up to 500-700 grams, a large glass jar (like a half-gallon or gallon size) or a wide-mouth plastic container with a loose-fitting lid is suitable. For quantities exceeding a kilogram, food-grade buckets (often used for bulk ingredients) are excellent options. These containers provide ample headspace for expansion and are easy to clean. Always choose a container with straight sides to make it easy to monitor the rise and mark the starting level. Ensure the lid is not airtight, as the fermentation process produces gases that need to escape.
Monitoring Fermentation and Activity in Larger Starter Quantities
Monitoring the fermentation process is key to knowing when your large batch sourdough starter is ready to use. Just like smaller starters, a large batch will bubble, increase significantly in volume, and eventually start to fall once it has peaked. The time it takes to reach peak activity will depend on the feeding ratio, temperature, and the vigor of your base starter, but larger batches can sometimes take slightly longer to show initial signs of activity simply due to thermal mass.
To monitor, mark the starting level on your container with a rubber band or marker. Observe the starter regularly, looking for bubbles throughout, a domed top, and the signature expansion. For a 1:2:2 or 1:3:3 feed at typical room temperature (around 70-75°F or 21-24°C), a large batch might be ready in 6-10 hours.
Perform the "float test" (dropping a small spoonful into water to see if it floats) or check for a pleasant, tangy aroma to confirm readiness. A large sourdough starter quantities guide wouldn't be complete without emphasizing patience and observation – let the starter tell you when it's ready, rather than relying solely on a clock.
Scaling Down Your Sourdough Starter: Maintaining a Small Amount
Scaling down your sourdough starter is just as important as scaling up, particularly for home bakers who don't bake daily. Maintaining a smaller quantity of starter significantly reduces the amount of flour and water used for maintenance feeds, leading to less waste and making the process more economical and sustainable. This is ideal if you bake infrequently or simply want to keep your starter alive without dedicating large amounts of resources to it.
A small, well-maintained starter can be just as vigorous and effective as a large one. The key is consistent, appropriate feeding based on its activity level and storage method. Learning to scale down efficiently allows you to keep your starter healthy in the refrigerator for weeks or months between bakes, requiring minimal attention.
Reducing Waste: Tips for Maintaining a Small Starter
Maintaining a small sourdough starter is the most effective way to reduce discard and minimize waste. Instead of keeping 200-300 grams of starter after every feed, aim to keep only a small amount, perhaps 20-30 grams, and feed that small amount. For example, if you typically feed your starter 1:1:1 (starter:flour:water) and keep 100g, you use 100g starter, 100g flour, 100g water, resulting in 300g, with 200g being discard. If you only keep 20g, you'd feed 20g starter with 20g flour and 20g water, resulting in 60g total, with only 40g discard – a substantial reduction.
To further reduce waste, you can store a small starter in the refrigerator. A small amount (e.g., 20-50 grams) only needs to be fed once a week or even less frequently when chilled. This "dormant" state slows down microbial activity dramatically.
When you're ready to bake, you simply take the small amount out, feed it once or twice at room temperature to revive it, and then use a portion of that revived starter to build the quantity needed for your recipe, as outlined in the scaling-up steps. The minimal discard from these infrequent feeds makes this a very low-waste approach.
Feeding a Small Sourdough Starter Efficiently
Feeding a small sourdough starter efficiently means using appropriate ratios and methods based on whether it's kept at room temperature or in the refrigerator. If keeping a small starter (e.g., 30-50 grams) at room temperature for daily baking, a 1:1:1 ratio is standard. You'd simply discard down to your desired small amount and feed it with equal parts fresh flour and water. For example, keep 30g starter, feed with 30g flour and 30g water, resulting in 90g total.
If storing a small starter (e.g., 20-50 grams) in the refrigerator, it needs much less frequent feeding. A common practice is to feed it once a week.
Take the chilled starter out, discard all but your target small amount (e.g., 30g), feed it with 30g flour and 30g water (a 1:1:1 feed), let it sit at room temperature for 1-2 hours to show some signs of life, and then return it to the refrigerator. Some bakers feed even less frequently, perhaps every 2-3 weeks, using a higher ratio like 1:2:2 or 1:3:3 before refrigerating, which provides more food for the longer storage period.
Reviving a Small Amount of Starter After Inactivity
A small sourdough starter that has been stored in the refrigerator for a week or more will be sluggish. Reviving it to full activity is crucial before using it in a recipe. The process typically involves one or two consecutive feedings at room temperature. Take your small amount of chilled starter out of the refrigerator. Discard all but a small amount (e.g., 20-30 grams).
Feed this small amount with fresh flour and water, using a standard 1:1:1 ratio (e.g., 20g starter + 20g flour + 20g water = 60g total). Let this sit at room temperature (around 70-75°F or 21-24°C) until it shows clear signs of activity – bubbling throughout, increasing in volume, and smelling pleasant. This first feed might take 8-12 hours or longer depending on how long it was refrigerated.
Once it has peaked or is starting to fall slightly, you can use a portion of this revived starter to build the larger quantity needed for your recipe, or give it a second 1:1:1 feed if it still seems weak. A second feed usually revives it completely within 4-6 hours, ensuring it's vibrant and ready for baking or scaling up into Large sourdough starter quantities.
Troubleshooting Sourdough Starter Scaling Issues
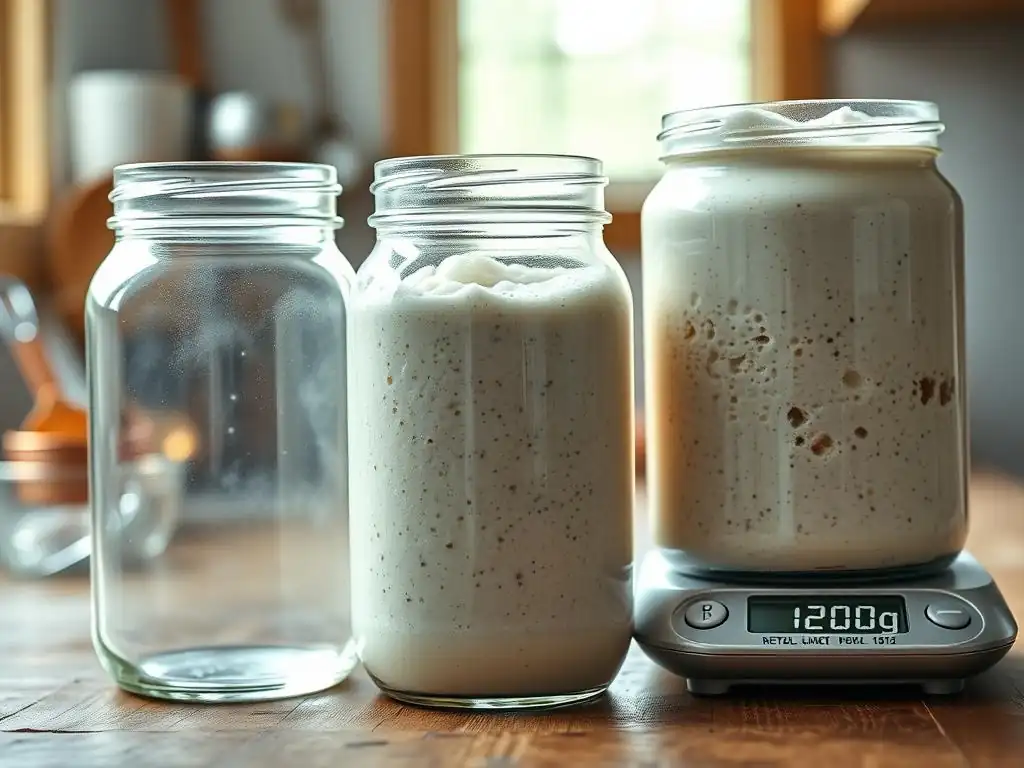
Scaling sourdough starter, whether up or down, can sometimes present challenges. While the principles are straightforward, factors like temperature fluctuations, inconsistent feeding ratios, or the initial health of your starter can impact the outcome. Recognizing common issues and knowing how to address them is part of mastering sourdough starter management.
Don't be discouraged if your scaled starter doesn't behave exactly as expected the first time. Sourdough is a living culture, and slight variations are normal. This section addresses some of the typical problems encountered when adjusting starter quantities and provides practical solutions to get your starter back on track, ensuring your Large sourdough starter quantities guide efforts are successful.
Common Problems When Adjusting Starter Quantities
One common problem when scaling up is a starter that appears sluggish or doesn't rise as much as expected, even after a large feed. This can happen if the initial amount of active starter used in the build was too small relative to the amount of new flour and water, or if the temperature is cooler than ideal. Another issue is over-proofing the scaled-up starter if left too long at room temperature, leading to collapse and a very acidic smell before you're ready to use it.
When scaling down for refrigeration, a common problem is the starter developing a thick layer of hooch (dark liquid) or mold if stored too long or not fed sufficiently before chilling. Sometimes, a small refrigerated starter can take multiple feeds to fully revive, seeming less vigorous than anticipated. These issues often stem from misjudging the starter's activity level, using imprecise measurements, or not allowing sufficient time/warmth for the microorganisms to become active again.
Troubleshooting Inconsistent Rise Times
Inconsistent rise times in your scaled starter are often linked to temperature and feeding ratios. If your scaled-up starter is taking much longer than expected to peak, the environment might be too cool. Try moving it to a warmer spot in your kitchen, like inside a turned-off oven with the light on, which can provide a steady temperature around 75-80°F (24-27°C). Alternatively, consider using a slightly warmer water temperature during the feed (around 80-85°F or 27-30°C) to give the microbes a boost.
If your starter is peaking too quickly and collapsing before you're ready, your environment might be too warm, or the feeding ratio might be too lean (e.g., 1:0.5:0.5). To slow it down, use cooler water for the feed (around 70°F or 21°C) or use a higher ratio of fresh flour and water to starter (e.g., 1:2:2 or 1:3:3), which provides more food and extends the fermentation time. Ensuring accurate measurements with a scale is paramount, as even small deviations can affect fermentation speed, especially with Large sourdough starter quantities.
Addressing Changes in Taste and Texture
Scaling your starter shouldn't drastically change its fundamental taste and texture if you maintain your usual feeding flour and hydration level. However, if you notice a significant change – perhaps it's much more acidic, less tangy, or the texture is unusually thin or thick – it's likely related to the fermentation balance.
An overly acidic taste usually means the starter is being left too long between feeds or is peaking and collapsing repeatedly, generating excess acetic acid. Try feeding it more frequently, reducing the amount of starter you carry over, or using a higher feeding ratio (more flour/water relative to starter).
If the texture becomes too thin, ensure you are measuring your flour and water accurately by weight. Some flours absorb water differently, but dramatic thinning usually points to an error in measurement or perhaps the starter consuming the flour sugars too quickly without sufficient structure remaining. If it's too thick, you might be using too much flour or not enough water. Always aim for the consistency of a thick, pourable batter or a very wet dough when feeding a standard 100% hydration starter. For Large sourdough starter quantities, maintaining consistency is key to predicting its behavior.
Large Sourdough Starter Quantities Guide: Expert Tips for Success
Working with large sourdough starter quantities requires a bit more planning and attention than maintaining a small jar. However, the principles remain the same: consistent feeding, appropriate ratios, and monitoring activity. Having a large, active starter ready is incredibly convenient for tackling ambitious baking projects or simply making multiple loaves at once.
This section provides expert tips specifically tailored to managing larger volumes of sourdough starter. By implementing these strategies, you can ensure your scaled-up starter remains healthy, predictable, and ready to leaven your biggest baking endeavors, making this Large sourdough starter quantities guide a valuable resource in your kitchen.
Using a Dough Calculator for Precise Measurements
While manual calculations are possible, using an online sourdough dough calculator can greatly simplify determining the exact amount of starter, flour, and water needed, especially when dealing with Large sourdough starter quantities. These calculators allow you to input your desired total dough weight, the percentage of starter the recipe requires, and your starter's hydration level (typically 100% for standard starters). They will then output the precise weight of mature starter, flour, and water needed for the main dough.
Furthermore, some advanced calculators can help you plan your starter build itself. You can input how much starter you currently have, the total amount you need for your recipe, and your desired feeding ratio (e.g., 1:2:2 or 1:3:3), and the calculator will tell you exactly how much starter to use and how much fresh flour and water to add to reach your target quantity. This precision is invaluable when scaling up, minimizing guesswork and ensuring you have exactly the right amount of starter ready at peak.
Adjusting Hydration Levels When Scaling
Most standard sourdough starters are maintained at 100% hydration, meaning they are fed with equal weights of flour and water. However, when scaling up or down, you might consider temporarily adjusting the hydration or maintaining a different hydration starter altogether for specific purposes. A stiffer starter (lower hydration, e.g., 50-70% water relative to flour) ferments more slowly and is often used in recipes like panettone or specific rye breads. It can also be more resilient for storage.
If you typically maintain a 100% hydration starter but need a stiffer one for a recipe requiring a large quantity, you would perform your final build using less water. For example, if you need 300g of a 70% hydration starter, you'd feed your base starter with flour and water in a ratio that results in 300g total weight with 70% of the flour weight being water.
Conversely, a very wet starter (higher hydration, e.g., 120-150%) ferments faster and is sometimes used for specific dough types or to quickly revive a sluggish starter. When scaling Large sourdough starter quantities, maintaining your standard hydration is usually easiest unless the recipe specifically calls for a different type of starter.
Long-Term Starter Storage Solutions for Different Amounts
Effective long-term storage is key to managing sourdough starter volume without waste. For small amounts (e.g., 20-50 grams), refrigeration is excellent. Feed it once every 1-3 weeks with a higher ratio (like 1:3:3) before placing it back in the fridge. Ensure the container has a loose lid. This method is perfect for infrequent bakers.
For Large sourdough starter quantities that you might need again relatively soon (within a week or two), refrigeration in a larger container is also an option, though it takes up more space. Feed it well before chilling. For very long-term storage or preserving a large amount you won't use for months, drying or freezing are viable options.
To dry, spread a thin layer of active starter onto parchment paper and let it dry completely until brittle, then break into flakes and store in an airtight container. To freeze, place active starter in a freezer-safe container, leaving headspace, and freeze. Both dried and frozen starters require multiple feedings to revive, but they are excellent ways to preserve your culture indefinitely, regardless of the initial volume.
Advanced Techniques for Managing Sourdough Starter Volume

Beyond basic scaling, there are advanced techniques that experienced bakers use to manage sourdough starter volume efficiently and precisely. These methods offer greater control over fermentation times and help integrate starter management seamlessly into a busy baking schedule. Understanding these techniques can elevate your sourdough game, especially when working with fluctuating needs for your Large sourdough starter quantities.
These techniques focus on building specific amounts of starter for immediate use rather than constantly maintaining a large volume, or finding clever ways to utilize the inevitable discard. They represent a more nuanced approach to starter management, moving beyond simple feeding schedules to a more strategic approach to your baking workflow.
The Levain Build: A Controlled Approach to Starter Quantity
Many sourdough recipes, especially those from professional bakers, don't tell you to use your entire jar of active starter. Instead, they instruct you to build a levain (also called a leaven or preferment) using a small amount of your mature starter, fresh flour, and fresh water. The levain build is a controlled way to create the exact amount of highly active starter needed for a specific recipe without disturbing your main starter culture.
For example, a recipe requiring 200 grams of active starter might say "build a levain using 20g starter, 90g flour, and 90g water." You would mix these components in a separate container. This small batch of starter (the levain) will ferment and become active relatively quickly (often 4-8 hours depending on temperature and ratio).
Once it peaks, you use the entire 200 grams in your dough. Your main starter jar remains mostly full and can be fed back to its usual maintenance level. This method is excellent for managing Large sourdough starter quantities for multiple bakes on different days, allowing you to build exactly what you need each time.
Utilizing Discarded Starter Efficiently
Even with careful scaling and maintaining a small starter, you will likely have some sourdough starter discard from time to time. Instead of throwing it away, there are numerous delicious ways to utilize this unfed, less active starter. This not only reduces waste but also adds a pleasant tang and unique texture to baked goods.
Discarded starter can be used straight from the refrigerator in recipes where its leavening power isn't the primary goal. Popular uses include sourdough discard pancakes, waffles, crackers, flatbreads, muffins, and quick breads. The discard contributes flavor and moisture. You can store discard in a separate container in the refrigerator for up to a week or two. When you accumulate enough for a recipe requiring discard, simply use it. This approach makes the process of maintaining your starter, especially when occasionally scaling up and generating more discard, much more sustainable and enjoyable.
Maintaining Starter Consistency Across Different Batches
Consistency is key in sourdough baking, and maintaining a consistent starter means it will behave predictably, regardless of the quantity you're working with. Whether you're maintaining a small amount, building a large batch for a Large sourdough starter quantities guide recipe, or creating a levain, aim for the same feeding ratio, flour type, and hydration level whenever possible. Sudden changes in flour type or hydration can affect the microbial balance and fermentation speed.
If you must change flour types (e.g., switching from all-purpose to bread flour), transition gradually by mixing the old and new flours over several feedings. Similarly, if you need a different hydration for a specific bake (like a stiff starter), build that specific quantity separately as a levain rather than changing the hydration of your entire main starter culture. Keeping your main starter consistent in its characteristics ensures a reliable foundation for all your baking, regardless of the scale.
Conclusion: Baking with Confidence Using Scaled Sourdough Starter
Mastering the art of scaling your sourdough starter is a fundamental skill that unlocks a wider range of baking possibilities. From maintaining a small, low-waste starter for occasional loaves to confidently building Large sourdough starter quantities for ambitious baking projects, understanding how to adjust your starter's volume is crucial for consistent, successful results. By applying the principles of calculating needs, feeding ratios, proper containers, and monitoring activity, you gain greater control over your sourdough journey.
Remember that practice makes perfect. Don't be afraid to experiment with scaling, keeping track of what works best in your kitchen environment. With the knowledge gained from this Large sourdough starter quantities guide, you are well-equipped to manage your starter effectively, ensuring it is always healthy, active, and ready to leaven your next delicious creation.
Achieving Consistent Results with Adjusted Starter Quantities
Achieving consistent results in your sourdough baking is directly tied to the consistency and predictability of your active starter. When you learn to accurately scale your starter up or down, you ensure that the amount of leavening power you add to your dough is correct for the recipe's specifications. A correctly scaled and peaked starter will reliably provide the lift, structure, and flavor development needed for a successful bake, whether it's a single small loaf or a large batch of dough for multiple pizzas.
Consistency also comes from understanding how temperature and time interact with your scaled starter. By monitoring its activity and recognizing its peak, you can time your dough mixing accurately. Using a dough calculator and practicing precise measurements further enhance consistency. Over time, you'll develop an intuition for how your starter behaves at different scales, allowing you to adjust timings and quantities with greater confidence.
BakeWithEase: Your Resource for Mastering Sourdough Starter Management
At BakeWithEase, we are dedicated to providing you with the knowledge and resources needed to master every aspect of baking, including the nuances of sourdough starter management. This Large sourdough starter quantities guide is just one example of our commitment to breaking down complex techniques into understandable steps. Whether you're struggling with maintaining a small starter, need to scale up for a big bake, or want to troubleshoot issues, BakeWithEase is here to help.
Explore our wide range of sourdough recipes, guides on feeding and maintaining your starter, and tips for using discard. Our goal is to empower you to bake with confidence, creativity, and ease. By leveraging the information available on BakeWithEase, you can navigate the challenges of sourdough starter scaling and management, ensuring your baking endeavors are always rewarding and delicious.
Frequently Asked Questions
How do I determine the right amount of sourdough starter to use for a large batch of bread?
The correct amount depends on the recipe, but a general guideline is to use 20-25% of the total flour weight as starter. Factors like ambient temperature and desired fermentation time also influence this.
What's the best way to store excess sourdough starter when scaling up?
Excess starter can be stored in the refrigerator to slow down fermentation. Alternatively, you can dehydrate it for long-term storage and rehydrate it later.
Can I use a younger sourdough starter when making a large batch, or should I wait until it's more mature?
While possible, using a mature and active starter is recommended for large batches. A weaker starter might result in longer proofing times or a less consistent rise.
How do I adjust feeding ratios when maintaining a larger sourdough starter quantity?
The feeding ratio (starter:flour:water) remains the same regardless of quantity. Common ratios are 1:1:1 or 1:2:2; maintain your chosen ratio to ensure consistent starter activity.
What are some potential problems when scaling up sourdough starter, and how can I avoid them?
Over-fermentation and inconsistent activity are common issues. Avoid these by monitoring temperature, using accurate measurements, and ensuring consistent feeding schedules.
Final Reflection: The Bountiful Bread Starter: From Humble Beginnings to Abundant Loaves
Scaling your sourdough starter isn't just about numbers; it's about unlocking the potential for countless loaves of delicious, handcrafted bread. The ability to confidently adjust starter quantities directly impacts your baking journey, transforming a small, precious culture into a reliable source for your baking needs, no matter how ambitious your projects become. This knowledge empowers you to bake more frequently, experiment with larger recipes, and share the joy of sourdough with others.
The journey of scaling a sourdough starter mirrors the journey of life itself – starting small, nurturing growth, and adapting to changing circumstances. It's a testament to patience, precision, and the rewarding nature of working with living organisms. The process teaches valuable lessons in observation, adaptation, and the interconnectedness of seemingly small actions. The best things in life are worth waiting for,
and a perfectly scaled sourdough starter, ready to leaven a magnificent loaf, is a testament to that truth.
Now, consider your own baking aspirations. Are you ready to take the leap and confidently scale your starter to meet your needs? Perhaps you dream of baking enough bread to share with friends and family, or maybe you envision a future filled with sourdough experiments and innovative recipes. Whatever your vision, remember the principles outlined in this guide. Embrace the process, trust your instincts, and most importantly, enjoy the journey of nurturing your own little ecosystem of deliciousness. The possibilities are as boundless as your imagination.
Ready to Bake Bigger (or Smaller)?
Thanks for taking the time to learn how to scale your baking recipes! We hope you now feel confident adjusting quantities to fit your needs, whether it's a party-sized cake or a single-serving treat. Let's put that knowledge into action:
- Try scaling your favorite recipe today! Choose a recipe you already love and adjust it – double it, halve it, or even try a completely different quantity.
- Share your baking adventures! Post a picture of your scaled recipe on social media and tag us – we'd love to see your creations!
- Consider exploring different scaling methods. Experiment with using ratios or percentage-based scaling for even more precise results.
What’s the first recipe you'll be scaling up or down? Let us know in the comments below!