
Simple Swirls: Decorating Cupcakes and Cakes with Ease

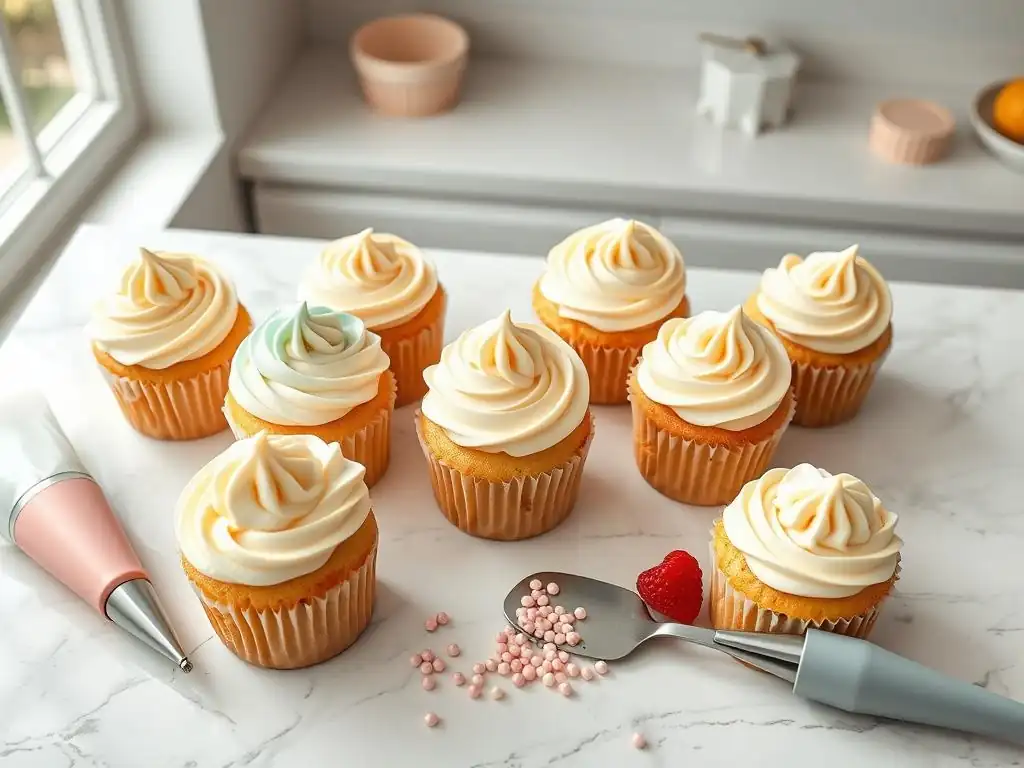
Welcome to BakeWithEase, your guide to creating delicious baked goods with confidence! Ever wished you could achieve those perfect, professional-looking swirls on your cupcakes? This article dives into the secrets of easy cupcake swirl decorating, demystifying the process and unlocking stunning results. Prepare to elevate your baking game – we're about to reveal tips and tricks that will leave everyone wondering where you learned such artistry! Ready to transform your cupcakes (and cakes!) into edible masterpieces?
- Mastering Buttercream Swirls: Decorating Cakes and Cupcakes
- Introduction to Buttercream Swirl Decorating
- Essential Tools for Buttercream Swirls
- Perfecting Your Buttercream for Swirls
- Step-by-Step Guide to Cupcake Swirls
- Cake Swirl Decorating Techniques
- Tips and Tricks for Consistent Swirls
- Advanced Swirl Techniques
- Conclusion: Creating Beautiful Buttercream Swirls.
-
Frequently Asked Questions
- How do I achieve a smooth, professional-looking cupcake swirl?
- What type of frosting is best for swirl decorating?
- What piping tip should I use for easy cupcake swirl decorating?
- How can I prevent air bubbles from ruining my cupcake swirls?
- Is there a simple way to practice swirl decorating before decorating my cupcakes?
- Final Reflection: The Enduring Allure of the Simple Swirl
- Unleash Your Inner Cake Artist!
Mastering Buttercream Swirls: Decorating Cakes and Cupcakes
Introduction to Buttercream Swirl Decorating
Why Buttercream Swirls Are a Great Starting Point
Decorating with buttercream swirls offers a fantastic entry point into the world of cake and cupcake decoration for bakers of all skill levels. Unlike intricate fondant work or complex sugar flowers, creating beautiful swirls primarily requires mastering a few basic piping techniques and understanding buttercream consistency. This makes it incredibly accessible, allowing even complete beginners to achieve visually appealing results quickly. For instance, a simple star swirl on a cupcake can be learned in just a few minutes, providing instant gratification and building confidence.
Furthermore, buttercream is widely available and relatively inexpensive to make from scratch, using common pantry staples like butter, powdered sugar, and milk or cream. Its forgiving nature means small mistakes are often easy to fix or can be blended in. This low barrier to entry, combined with the versatility of buttercream in terms of flavor and color, makes learning easy cupcake swirl decorating a practical and rewarding first step for anyone wanting to elevate their baked goods beyond just baking.
Achieving Professional-Looking Swirls at Home
Achieving professional-looking buttercream swirls at home is more attainable than you might think, primarily hinging on two key factors: the right tools and the correct buttercream consistency. While advanced decorators use many techniques, mastering just a few essential piping tips and ensuring your buttercream is smooth, stable, and pipeable will dramatically improve your results. Think of it like painting – having quality brushes and the right paint consistency makes all the difference.
Beyond tools and technique, attention to detail matters. This includes properly filling your piping bag to avoid air bubbles, maintaining a consistent pressure as you pipe, and practicing the motion. Many home bakers find that after just a few attempts, perhaps decorating a batch of 12 cupcakes, they see a significant improvement in the uniformity and definition of their swirls. The secret isn't necessarily innate artistic talent, but rather understanding the fundamentals and putting in a little practice.
Essential Tools for Buttercream Swirls
Piping Bags: Disposable vs. Reusable
Piping bags are fundamental for creating buttercream swirls. They come in two main types: disposable plastic bags and reusable cloth or silicone bags. Disposable bags are convenient as they require no washing, simply discard them after use. They are ideal for using multiple colors or flavors in one decorating session, or for occasional use. A standard roll of 100 disposable piping bags, often 12 or 16 inches in size, is relatively inexpensive, usually costing around $10-$20.
Reusable piping bags, typically made from coated cotton or silicone, are more environmentally friendly and durable. They require washing after each use, which can sometimes be a bit messy, especially with greasy buttercream. However, a good quality reusable bag can last for years, making them a cost-effective choice in the long run. Many professional bakers prefer reusable bags for their feel and sturdiness, finding they offer better control, particularly for intricate work or when working with stiffer buttercreams.
Piping Tips: Nozzles for Different Swirl Styles
Piping tips, also known as nozzles, are the metal or plastic attachments fitted to the end of a piping bag that shape the buttercream as it's squeezed out. The variety of tips available is vast, allowing for countless designs, but a few are essential for mastering basic buttercream swirls. Investing in a small set of quality metal tips, perhaps starting with just 3-5 key shapes, is a great way to begin your easy cupcake swirl decorating journey.
Choosing the right tip is crucial for the desired effect. For example, open star tips create defined ridges, while round tips produce smooth lines or dots. Understanding how different tips affect the buttercream flow is key to achieving specific swirl patterns, from simple stars to intricate rosettes. Most tips are numbered, making it easy to identify and repurchase favorites.
1M Piping Tip: The Classic Star Swirl
The Wilton 1M tip (or equivalent from other brands) is arguably the most popular piping tip for creating buttercream swirls, especially on cupcakes. It's an open star tip with large, deep teeth that create a beautifully defined, spiraling star pattern. This tip is incredibly versatile and forgiving, making it perfect for beginners learning easy cupcake swirl decorating.
To use the 1M tip for a classic swirl, you start at the center of the cupcake or cake and pipe in a circular motion, moving outwards and slightly upwards, or start at the outer edge and spiral inwards towards the center. The result is a lovely, textured peak that looks impressive but is surprisingly simple to execute. This tip is a staple in nearly every decorator's toolkit due to its ease of use and consistently beautiful results.
2D Piping Tip: Creating Rosettes
The Wilton 2D tip is another excellent choice for creating a different style of swirl: the rosette. This is a closed star tip, meaning its teeth curve slightly inwards. This design creates a more ruffled, petal-like effect compared to the sharper points of an open star tip like the 1M. Rosettes offer an elegant and slightly more intricate look while still being relatively easy to pipe.
To create a rosette with the 2D tip, you typically start at the center of your cupcake or cake and pipe in a tight circular motion, staying in one spot. The buttercream builds upon itself, forming a rose-like shape. Alternatively, you can start at the outer edge and spiral inwards tightly. This tip is fantastic for covering the entire surface of a cake with small rosettes or for creating beautiful borders on cupcakes.
Turntables: Smoothing Frosting and Creating Even Swirls
A turntable, also known as a revolving cake stand, is an invaluable tool for decorating cakes with buttercream, although less critical for individual cupcakes. It allows you to smoothly rotate the cake as you apply frosting and create swirls or borders, ensuring an even application and consistent movement. For instance, when smoothing the sides of a cake with an offset spatula, rotating the cake on a turntable makes the process significantly easier and yields a much smoother finish.
For piping swirls directly onto the surface of a cake, a turntable allows you to maintain a steady hand and pressure while the cake turns beneath your piping tip. This is especially helpful for creating continuous borders or covering the entire top surface with a swirl pattern. While you can certainly decorate a cake without one, a turntable significantly improves the ease and quality of your work, making it a worthwhile investment for anyone planning to decorate cakes regularly.
Offset Spatulas: Achieving a Smooth Buttercream Base
Offset spatulas are flat metal spatulas with a bent handle, designed specifically for spreading and smoothing frosting on cakes and cupcakes. The offset handle keeps your hand clear of the cake's surface, allowing for smoother strokes and preventing accidental smudges. They come in various sizes, from small ones ideal for cupcakes to larger ones for icing the tops and sides of cakes.
Before you can pipe beautiful swirls onto a cake, you often need to apply a base layer of buttercream. An offset spatula is the perfect tool for this, helping you to spread the frosting evenly and achieve a smooth foundation. For easy cupcake swirl decorating, a small offset spatula is also useful for applying a thin layer of frosting before piping the main swirl, or for fixing small imperfections.
Perfecting Your Buttercream for Swirls
Buttercream Consistency: The Key to Defined Swirls
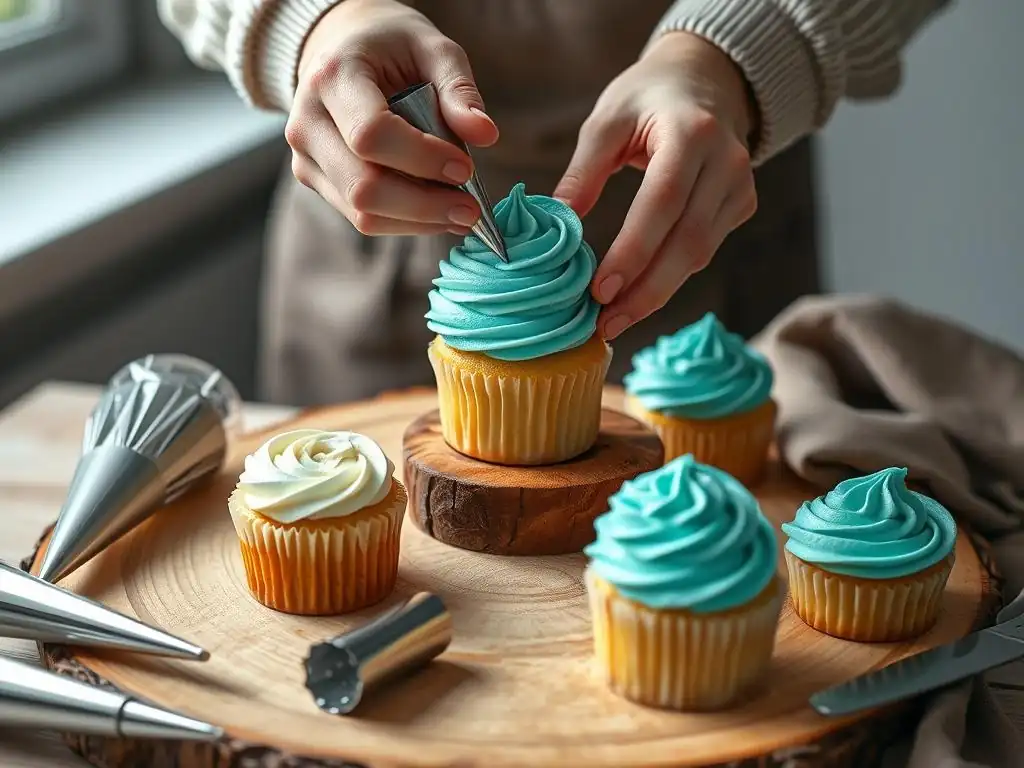
The consistency of your buttercream is perhaps the single most important factor in achieving defined, beautiful swirls. Buttercream that is too soft will result in swirls that melt, lose their shape, and look sloppy, especially in warmer conditions. Buttercream that is too stiff will be difficult to pipe, causing hand strain and potentially breaking your piping bag, while also resulting in a crumbly or rough texture in the piped design.
The ideal consistency for piping swirls is firm enough to hold its shape when piped, but soft enough to flow smoothly through the piping tip without excessive pressure. It should resemble a thick paste or soft-serve ice cream. This balance is usually achieved by carefully adjusting the amount of liquid (milk, cream, or water) added during mixing. If it's too stiff, add liquid one teaspoon at a time; if too soft, add a little more powdered sugar or chill it slightly.
American Buttercream Recipe for Decorating
American buttercream is a simple and popular choice for decorating, especially for easy cupcake swirl decorating, due to its ease of preparation and stable nature. A basic recipe typically involves creaming together softened butter (often 1 cup or 2 sticks) with a large amount of powdered sugar (around 4-5 cups), a splash of liquid (2-4 tablespoons of milk or cream), and vanilla extract (1-2 teaspoons).
To achieve the right piping consistency with this recipe, ensure your butter is properly softened but not melted. Beat the butter until light and fluffy, then gradually add the sifted powdered sugar on low speed to avoid a cloud of sugar dust. Once combined, increase the speed and beat for several minutes until smooth. Add the liquid and vanilla, and mix until incorporated. If it's too thick, add more liquid a teaspoon at a time; if too thin, add more powdered sugar or chill briefly.
Flavoring Buttercream: Vanilla, Chocolate, and Beyond
While classic vanilla buttercream is a staple, flavoring your buttercream opens up a world of possibilities to complement your cakes and cupcakes. Vanilla extract is essential in most buttercreams, enhancing sweetness and providing a base flavor. For chocolate buttercream, unsweetened cocoa powder is typically sifted into the finished vanilla buttercream, or melted and slightly cooled chocolate can be incorporated for a richer flavor.
Beyond vanilla and chocolate, you can add extracts like almond, lemon, peppermint, or maple. Citrus zests provide a bright, fresh flavor. Fruit purees (reduced and cooled) or freeze-dried fruit powders can add intense fruit flavor and natural color, though they may slightly affect consistency. Coffee or espresso powder dissolves easily and pairs wonderfully with chocolate or mocha-flavored treats. Experimenting with different flavorings allows you to customize your easy cupcake swirl decorating to match any cake flavor.
Step-by-Step Guide to Cupcake Swirls
Preparing Cupcakes and Buttercream
Before you begin piping beautiful swirls, ensure your cupcakes are completely cooled. Piping buttercream onto warm cupcakes will cause the frosting to melt and slide off, ruining your design. It's best if they are at room temperature or even slightly chilled. While the cupcakes cool, prepare your buttercream, ensuring it has the correct piping consistency as discussed earlier.
Once the buttercream is ready, color it if desired using gel food coloring (which is more concentrated and less likely to affect consistency than liquid colors). Stir the color in thoroughly until uniform. Have your chosen piping bag and tip ready. For easy cupcake swirl decorating, having everything prepared before you start piping makes the process much smoother and less stressful.
Filling the Piping Bag Without a Mess
Filling a piping bag can sometimes be messy, but a simple technique keeps things clean. First, insert the piping tip into the bag, pushing it down firmly. If using a coupler, attach the base to the inside of the bag, snip the end, insert the tip over the coupler base, and screw on the ring. Next, fold the top edge of the piping bag down over your hand, creating a cuff.
Use a spatula or spoon to scoop the buttercream into the bag, filling it no more than two-thirds full. This prevents the frosting from squeezing out the top when you apply pressure. Unfold the cuff and gently push the buttercream down towards the tip, twisting the top of the bag to seal it. This method keeps the outside of the bag clean, allowing for better grip and control while piping your easy cupcake swirl decorating designs.
The Basic Star Swirl: A Detailed Guide
The basic star swirl, often created with the 1M tip, is the quintessential easy cupcake swirl decorating technique. Start by holding the piping bag perpendicular to the center of the cooled cupcake, about a quarter-inch above the surface. Apply even pressure, allowing a small dollop of buttercream to anchor in the center.
Maintaining consistent pressure, begin piping a spiral around the center dollop, moving outwards towards the edge of the cupcake liner. As you reach the edge, continue spiraling inwards, stacking the buttercream on top of the previous layer, while gently decreasing pressure and lifting the bag upwards to form a peak. Practice maintaining even pressure and a steady spiral motion for the most uniform results. This technique quickly transforms a plain cupcake into a professional-looking treat.
Exploring Swirl Variations
Once you've mastered the basic star swirl, you can explore numerous variations using different tips and techniques to create unique easy cupcake swirl decorating styles. Changing the piping tip is the simplest way to alter the design, but experimenting with your piping motion also yields different effects.
Consider practicing on a piece of parchment paper before decorating your actual cupcakes. This allows you to get a feel for the tip and technique without wasting frosting. Try different starting points (center vs. edge), varying pressure, and changing the speed of your spiral to see how it affects the final look. This exploration is key to expanding your decorating repertoire beyond the basic swirl.
The Rosette: An Elegant and Timeless Design
The rosette swirl, typically created with a closed star tip like the 2D, offers a romantic and elegant look perfect for special occasions. To pipe a rosette, hold the piping bag perpendicular to the cupcake surface. Start piping in the center, applying steady pressure, and move in a tight circular motion, spiraling outwards slightly if desired, while staying relatively in one spot.
Alternatively, you can start at the outer edge of the cupcake and pipe a tight spiral inwards towards the center. The key is maintaining consistent pressure and a smooth, continuous circular motion. The closed star tip will create beautiful ruffled edges that resemble a rose. This technique is another excellent option for easy cupcake swirl decorating that looks impressive but is surprisingly simple to execute.
The Vertical Swirl: Adding Height and Drama
The vertical swirl adds significant height and a dramatic flair to cupcakes. This technique often uses a large round tip or a large open star tip like the 1M, but the piping motion is different from the classic spiral. Start by holding the piping bag perpendicular to the cupcake, just off-center.
Apply firm, consistent pressure and pipe straight upwards, allowing the buttercream to stack on itself. As you pipe, slowly move the bag slightly in a tight, circular motion, spiraling upwards rather than outwards. Release pressure and pull straight up to create a tall, elegant peak. This style requires a stable buttercream and confident, steady piping for the best results.
The Two-Tone Swirl: Blending Colors Seamlessly
Creating a two-tone swirl adds visual interest by blending two buttercream colors as they are piped. This technique works well with various tips, including the 1M and 2D. There are a couple of ways to achieve this effect for easy cupcake swirl decorating.
One method is to prepare two separate batches of buttercream in different colors. Lay a piece of plastic wrap flat. Spoon one color of buttercream onto one half of the plastic wrap in a log shape, and the second color onto the other half, right next to the first. Roll the plastic wrap tightly around the buttercream, creating a log. Twist the ends. Snip one end of the plastic wrap log and insert that end into your piping bag fitted with a tip. As you pipe, the two colors will emerge simultaneously and blend beautifully.
Cake Swirl Decorating Techniques
Frosting the Cake: Achieving a Smooth Canvas
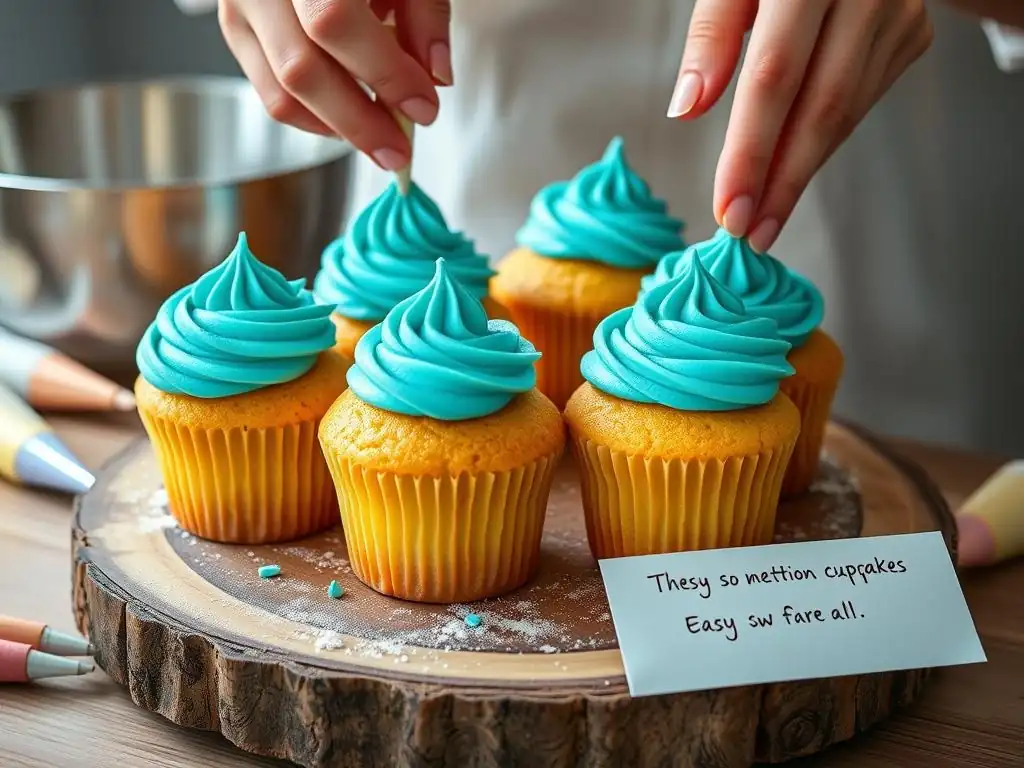
Before you can pipe beautiful swirls onto a cake, you need to frost it smoothly. This base layer provides a clean canvas and helps the final swirls adhere properly. Start by applying a crumb coat – a thin layer of buttercream that seals in any loose crumbs. Chill the cake for 15-30 minutes until the crumb coat is firm.
Next, apply the final layer of buttercream using an offset spatula. Start with the top, applying a generous amount and spreading it towards the edges. Then, apply buttercream to the sides. Use a bench scraper or a large offset spatula held against the side of the cake while rotating it on a turntable to smooth the sides. Aim for as smooth a finish as possible, as imperfections in the base layer can sometimes show through the piped swirls.
Simple Swirl Borders for Cakes
Adding a simple swirl border is an effective way to finish the edges of a cake and add a decorative touch. The 1M or 2D tip is perfect for this. For the top edge, hold the piping bag at a 45-degree angle to the cake's surface, with the tip just over the edge. Pipe a series of connected swirls (like small rosettes or stars) along the perimeter, allowing each swirl to slightly overlap the previous one.
For a border along the base of the cake, hold the piping bag perpendicular to the cake board, with the tip just touching the side of the cake at the bottom. Pipe a continuous line of swirls, rosettes, or shells, moving horizontally along the base while maintaining even pressure. These simple borders frame the cake beautifully and are excellent for practicing consistent piping.
All-Over Swirl Cake Designs
Covering the entire surface of a cake with buttercream swirls creates a stunning, textured look. This technique works well with various tips, including the 1M, 2D, or even round tips for a different effect. Ensure your cake has a smooth crumb coat applied and is chilled.
Starting from the bottom edge of the cake, pipe vertical rows of swirls (like elongated rosettes or wavy lines) moving upwards towards the top edge. Alternatively, you can pipe horizontal rows, or cover the cake with individual rosettes packed closely together. The key is consistent pressure and spacing between the piped elements. This technique uses a fair amount of buttercream but results in a visually impressive cake.
Multi-Colored Swirls on Cakes
Similar to two-tone cupcake swirls, you can create beautiful multi-colored swirls on cakes. The plastic wrap method described for cupcakes works perfectly for cakes as well, allowing you to blend 2 or even 3 colors in a single swirl. Imagine a cake covered in swirls that transition from pink to white, or blue to green.
Another approach is to pipe sections of the cake with different colors using separate piping bags, then blend them slightly with an offset spatula or palette knife before piping the final design on top, or pipe different colored swirls side-by-side. For example, you could pipe a row of blue swirls, then a row of white swirls next to it using the same tip, creating a striped effect with texture.
Tips and Tricks for Consistent Swirls
Practice and Patience: Mastering the Technique
Mastering buttercream swirls, like any decorating skill, requires practice and patience. Your first few swirls might not be perfect, and that's completely normal! Don't get discouraged. The more you practice, the better your muscle memory will become, leading to more consistent pressure and smoother movements.
A great way to practice easy cupcake swirl decorating is to fill a piping bag with buttercream (or even mashed potatoes for a zero-waste option!) and pipe swirls onto a piece of parchment paper or the back of a baking sheet. Scrape the practice frosting back into the bag and repeat. This allows you to practice the motion and pressure without the pressure of decorating a final product. Dedicate 10-15 minutes to practice before decorating your actual treats.
Maintaining Buttercream Temperature: Preventing Melting
Buttercream temperature significantly impacts piping consistency, especially when creating defined swirls. If your kitchen is warm, or you're holding the piping bag for a while, the heat from your hands can soften the buttercream, causing it to lose shape. Conversely, if the buttercream is too cold, it will be stiff and difficult to pipe.
Ideally, buttercream should be at room temperature, around 70-72°F (21-22°C), for optimal piping. If it becomes too soft while piping, place the piping bag in the refrigerator for 5-10 minutes to firm up. If it's too stiff, knead the bag gently with your hands or let it sit at room temperature for a few minutes to warm slightly. Working in a cool environment also helps maintain consistency.
Troubleshooting: Air Bubbles, Unevenness, and More
Encountering issues while piping swirls is common, but most can be easily troubleshooted. Air bubbles in the buttercream can cause breaks or inconsistencies in your piped line. To avoid this, fill your piping bag carefully to minimize trapped air, and gently squeeze the bag before you start piping to push any air pockets out.
Uneven swirls often result from inconsistent pressure or movement. Focus on maintaining steady pressure on the bag and a smooth, continuous motion. If your swirls are melting, your buttercream is too soft or warm – chill it. If they are rough or breaking, the buttercream is too stiff or cold – allow it to warm slightly or add a tiny amount of liquid. Don't be afraid to scrape off a swirl you're unhappy with and try again!
Enhancing Swirls: Sprinkles, Edible Flowers, and Other Accents
Once you've piped your beautiful buttercream swirls, you can enhance them with various decorations to add visual appeal. Sprinkles are a classic choice for easy cupcake swirl decorating; apply them immediately after piping while the buttercream is still soft so they adhere. Jimmies, nonpareils, sanding sugar, or themed sprinkle mixes can all be used.
Other popular accents include edible glitter or dust for sparkle, small sugar pearls, chocolate shavings, or edible flowers placed delicately on top of the swirl. Fresh fruit, like a single raspberry or a slice of strawberry, can also be a lovely addition. These small touches can elevate your simple swirls and match the theme of your baked goods.
Advanced Swirl Techniques
Ombre Buttercream Swirls
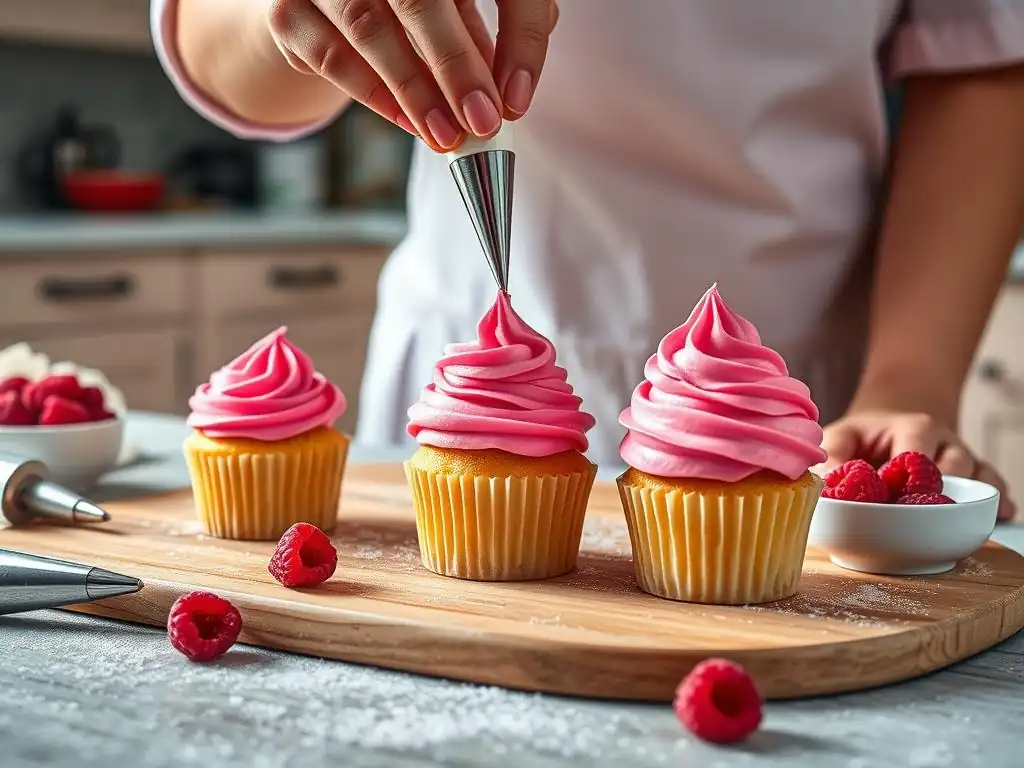
Creating an ombre effect within a buttercream swirl involves transitioning seamlessly from one color to another, usually from a darker shade at the base to a lighter shade at the top, or vice versa. This technique requires careful coloring of the buttercream. Prepare your buttercream and divide it into several portions. Color each portion a progressively lighter shade of your chosen color, leaving one portion white or the lightest shade.
To achieve the ombre effect in a single swirl (like a large cake swirl), you can layer the different shades of buttercream side-by-side on plastic wrap before inserting it into the piping bag, similar to the two-tone method. For ombre cupcakes, you can pipe the darker color at the base using a round tip, then pipe the lighter color on top using your chosen swirl tip, blending slightly where they meet, or pipe layers of different shades onto the cupcake before swirling.
Textured Buttercream Swirls
Beyond the defined ridges of star tips, you can create textured buttercream swirls using palette knives, spatulas, or even combs designed for cake decorating. Instead of piping a perfect swirl, you might apply a generous dollop of buttercream to the cake or cupcake, then use a small offset spatula to gently swirl or smear the frosting into a textured pattern.
This technique is less about precise piping and more about artistic application. For example, you can create rustic, textured swirls by dabbing and swirling the buttercream with the back of a spoon or a small spatula. Different tools and motions will produce different textures, allowing for a wide range of creative finishes on your easy cupcake swirl decorating projects and cakes.
Adding Gold Leaf for an Elegant Touch
Adding gold leaf is a simple yet incredibly elegant way to elevate buttercream swirls, making them perfect for sophisticated occasions like weddings or anniversaries. Edible gold leaf is available in small sheets or flakes and adheres easily to the slightly sticky surface of buttercream.
Using tweezers or a dry, soft brush, carefully pick up small pieces of gold leaf and gently press them onto the peaks or sides of your piped buttercream swirls. A little goes a long way, adding a touch of luxury and sparkle that catches the light beautifully. Ensure you are using certified edible gold leaf intended for food decoration.
Conclusion: Creating Beautiful Buttercream Swirls.
Frequently Asked Questions
How do I achieve a smooth, professional-looking cupcake swirl?
To achieve a smooth swirl, focus on using a consistent piping pressure and a steady hand. Practice makes perfect, so don't be afraid to experiment!
What type of frosting is best for swirl decorating?
A stable frosting like American buttercream or Swiss meringue buttercream works best. These frostings hold their shape well and are easy to pipe.
What piping tip should I use for easy cupcake swirl decorating?
A 1M open star tip is a popular choice for creating classic swirls. Other options include French star tips for a more textured look or a round tip for a simple, elegant swirl.
How can I prevent air bubbles from ruining my cupcake swirls?
To minimize air bubbles, gently press out any air from your piping bag before you start. Also, avoid over-mixing your frosting.
Is there a simple way to practice swirl decorating before decorating my cupcakes?
Yes, practice on a piece of parchment paper first. This allows you to perfect your technique and avoid wasting frosting on your cupcakes.
Final Reflection: The Enduring Allure of the Simple Swirl
The art of cupcake decorating, once perceived as an intimidating skill, is now readily accessible thanks to the power of simple techniques. Mastering even the most basic swirls unlocks a world of creative expression, transforming ordinary baked goods into delightful masterpieces. This accessibility empowers home bakers of all skill levels to add a touch of elegance and personality to their creations.
The simple swirl, in its understated elegance, reflects a larger cultural shift towards valuing handmade items and personalized touches. It's a testament to the enduring appeal of homemade treats, a connection to simpler times, and a celebration of individual creativity. The best things in life are simple,
a sentiment that rings especially true when considering the joy a perfectly swirled cupcake can bring. This seemingly small detail speaks volumes about our desire for beauty and craftsmanship in a fast-paced world. It's a reminder that even the smallest act of creation can bring immense satisfaction.
Now, it's your turn. Pick up your piping bag, choose your favorite frosting, and let your creativity flow. Don't be afraid to experiment, to embrace imperfections, and to find joy in the process. The simple swirl is just a starting point; it's the gateway to a world of delicious possibilities. Remember the ease, the joy, and the satisfaction of creating something beautiful with your own hands. Let the simple swirl inspire you to create your own unique masterpieces, one delicious cupcake at a time.
Unleash Your Inner Cake Artist!
Thanks for joining us on this sweet journey into cupcake and cake decorating! We hope you've discovered some simple yet stunning techniques to elevate your baking. Ready to put your newfound skills to the test?
- Master the swirl: Practice your swirling technique on a few cupcakes – you'll be amazed at how quickly you improve! Try variations with different piping tips for extra flair!
- Share your creations: Show off your beautiful baked goods on social media and tag us – we'd love to see what you've made! #BakeWithEaseSwirls
- Experiment with flavors: Take the next step and try combining different frosting flavors and swirl techniques for a truly unique treat.
What's your favorite swirl design, and what flavor combination will you create next?