
Writing with Buttercream: Tips for Neat Lettering

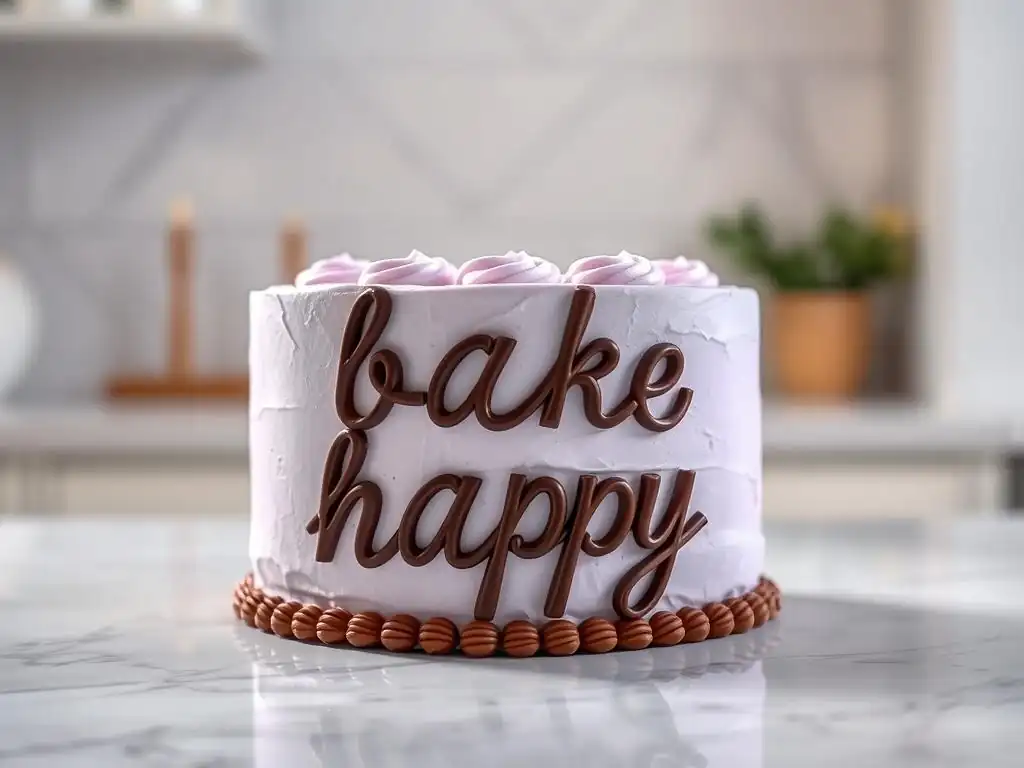
Welcome to BakeWithEase, your guide to unlocking baking mastery! Ever dreamed of creating beautifully decorated cakes with elegant lettering? Mastering buttercream lettering can seem daunting, but with our expert guidance, you'll be crafting stunning inscriptions in no time. Discover our beginner-friendly buttercream lettering tips and start adding a personalized touch to your delicious creations. What secrets will you unveil? Dive in and find out!
- Mastering Buttercream Lettering: A Comprehensive Guide
- Introduction to Buttercream Lettering
- Achieving Perfect Buttercream Consistency
- Fundamental Piping Techniques
- Creating Neat Buttercream Letters
- Advanced Lettering Techniques
- Correcting Lettering Mistakes
- Buttercream Lettering Project Ideas
- Maintaining Lettering Tools and Buttercream
- Conclusion: Elevating Cake Decorating with Buttercream Lettering
-
Frequently Asked Questions
- What are the essential tools for buttercream lettering as a beginner?
- What type of buttercream works best for lettering?
- How do I prevent my buttercream from being too soft to pipe letters?
- What are some tips for achieving straight and even lines when lettering?
- How can I fix mistakes when writing with buttercream?
- Final Reflection: The Enduring Sweetness of Perfect Lettering
- Unleash Your Inner Cake Artist: Master Neat Lettering Today!
Mastering Buttercream Lettering: A Comprehensive Guide
Introduction to Buttercream Lettering
Why Buttercream Lettering Enhances Cake Design
Adding personalized text is one of the most direct ways to make a cake truly special. Whether it's a simple "Happy Birthday" or a heartfelt message, lettering with buttercream instantly elevates a plain frosted cake into a custom creation. For beginners learning buttercream lettering, mastering this skill opens up a world of decorative possibilities, allowing you to tailor cakes for any occasion, from intimate gatherings to grand celebrations. It's a fundamental technique that adds significant value and personalization to your baked goods.
Beyond personalization, neat buttercream lettering provides a professional finish. Clean, legible text demonstrates attention to detail and skill, even on otherwise simple designs. Developing proficiency in piping letters on cakes is a stepping stone to more intricate buttercream decorating techniques. It builds fine motor control and confidence, essential for any aspiring cake decorator.
Essential Tools for Buttercream Lettering
To begin your journey into buttercream lettering, you'll need a few key tools. The most fundamental is a piping bag, which can be reusable silicone or plastic, or disposable plastic bags. Disposable bags are often preferred by beginners as they simplify cleanup. You'll also need piping tips; for fine lettering, small round tips are crucial. Common sizes recommended for beginner buttercream lettering include Wilton tips #1, #2, or #3, or PME tips #0, #1, or #1.5. These small openings allow for delicate, controlled lines necessary for legible text.
In addition to bags and tips, you'll need couplers if you plan to switch tips easily without changing bags (though many beginners start without them). A spatula or bench scraper is useful for filling the piping bag cleanly. Parchment paper or wax paper is excellent for practicing your buttercream lettering tips before committing to the cake. A cake turntable can also be helpful for rotating the cake as you work, ensuring comfortable access to all areas.
Achieving Perfect Buttercream Consistency
The Ideal Buttercream Consistency for Fine Details
The consistency of your buttercream is perhaps the single most important factor for successful buttercream lettering, especially for beginners. For crisp, clean lines and sharp edges needed for detailed text, the buttercream should be firm enough to hold its shape when piped but still soft and smooth enough to flow continuously without breaking. Think of a consistency similar to smooth peanut butter or toothpaste – it should not be runny, nor should it be stiff and crumbly.
Buttercream that is too soft will result in blobby, indistinct letters that spread and lose their shape. Too stiff, and it will be difficult to pipe smoothly, leading to shaky lines, breaks in the text, and hand fatigue. Achieving the right balance allows the buttercream to flow evenly through the small piping tip, creating consistent, well-defined letters that stand tall and retain their form. This perfect consistency is key to mastering buttercream lettering tips.
Troubleshooting Buttercream Issues
Stiff Buttercream: Reviving a Crusting Batch
Sometimes, buttercream can become too stiff, especially if it's been sitting out or was made with too much powdered sugar or not enough liquid. A common issue is crusting, where the surface dries out. To revive stiff buttercream for piping letters, you can add a small amount of liquid, such as milk, cream, or even water, one teaspoon at a time. Mix thoroughly after each addition until the desired consistency is reached. Be cautious not to add too much at once, as it's easier to add more liquid than to correct overly soft buttercream.
Another method is to briefly warm a small portion of the buttercream. You can microwave a small amount (say, ¼ cup) for just 5-10 seconds until slightly softened, then mix it back into the main batch. Alternatively, place the mixing bowl over a pot of gently simmering water (bain-marie style) and stir until it loosens slightly. This helps melt some of the fat, making the buttercream smoother and more pliable for neat buttercream lettering.
Soft Buttercream: Stabilizing for Sharp Lines
Conversely, buttercream can sometimes be too soft, often due to warm kitchen temperatures or an imbalance of fat to sugar/liquid. Soft buttercream makes piping fine details like letters extremely challenging as it won't hold its shape. To stabilize soft buttercream, the quickest fix is often to chill it. Place the bowl of buttercream in the refrigerator for 10-15 minute intervals, stirring between chilling sessions, until it reaches the desired piping consistency.
If chilling isn't sufficient, you may need to add a bit more structure. This can be done by adding a small amount of sifted powdered sugar, a tablespoon at a time, mixing well until the consistency improves. Another option is to add a small amount of cornstarch (a teaspoon or two, sifted) which can help absorb excess moisture and provide structure without significantly altering the sweetness. Learning these troubleshooting buttercream lettering tips is vital for beginners.
Fundamental Piping Techniques
Proper Piping Bag Grip and Posture
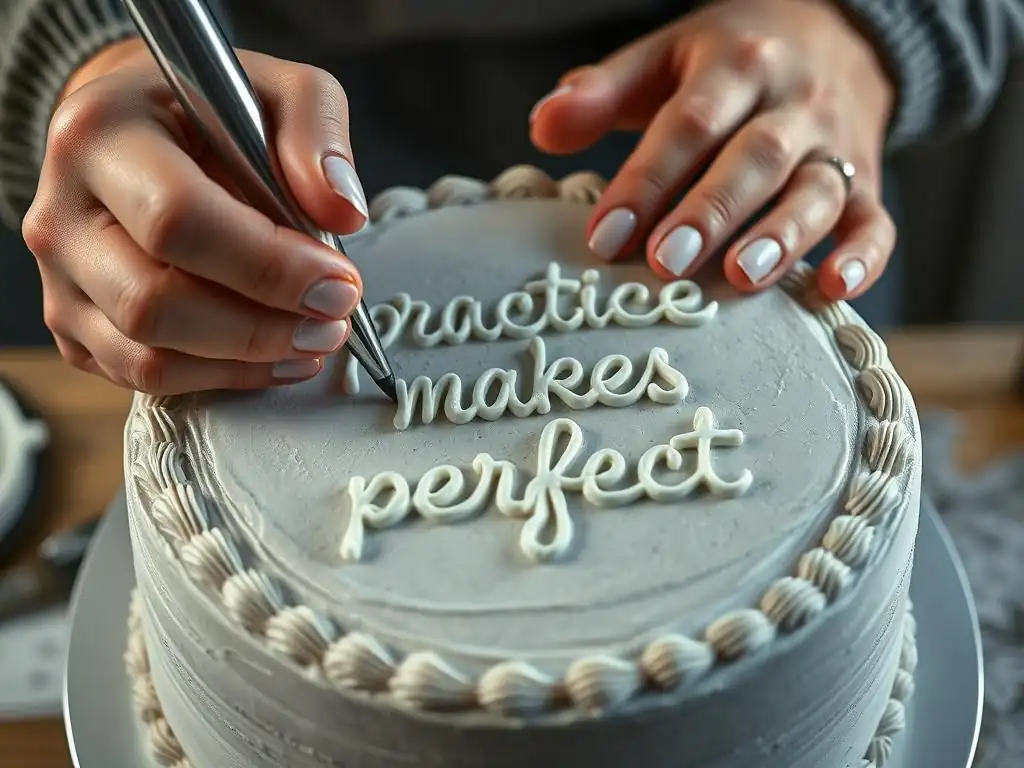
A steady hand and comfortable grip are essential for successful buttercream lettering. Hold the piping bag with your dominant hand towards the back, near the tied or twisted end, using it to apply pressure. Your non-dominant hand should cradle the bag near the tip, acting as a guide and providing support. Avoid gripping the bag in the middle, as this makes it harder to control the flow and pressure evenly.
Maintain good posture while piping. Ideally, sit or stand with your back straight and shoulders relaxed. Position the cake or practice board at a comfortable height, allowing you to pipe without straining your wrists or back. Practice holding the bag and applying pressure before you even add buttercream; getting comfortable with the feel is a great first step for beginner buttercream lettering.
Consistent Pressure Control for Uniformity
Uniform pressure is key to creating consistent, even buttercream letters. Apply steady, gentle pressure with your dominant hand to push the buttercream through the tip. Avoid squeezing intermittently, as this will result in thick and thin sections within your letters, making them look messy and uneven. The goal is a smooth, continuous flow of buttercream.
As you pipe a line or curve, maintain the same pressure throughout. If you need to pause or lift the tip, stop applying pressure just before you lift to prevent a blob or tail. Learning to start and stop the flow smoothly is a crucial buttercream lettering tip for achieving clean lines and defined letter shapes. Practice applying consistent pressure on a practice surface before moving to the cake.
Practicing Fundamental Piping Exercises
Before tackling actual letters, practice basic piping exercises to build muscle memory and control. Start by piping straight lines of varying lengths. Focus on maintaining consistent pressure and a steady hand. Next, move on to piping curves, such as 'C' or 'S' shapes, and then circles. These exercises help you get a feel for how the buttercream flows and how your hand movements affect the line.
Another useful exercise is piping zigzags or waves. This helps practice controlling the flow while changing direction. Aim for uniform thickness and smooth transitions between turns. Dedicating time to these fundamental exercises, perhaps 15-20 minutes daily on parchment paper, will dramatically improve your control and confidence when you start piping actual buttercream lettering on your cakes.
Creating Neat Buttercream Letters
Selecting the Right Piping Tip for Lettering
Choosing the correct piping tip is fundamental to achieving neat buttercream lettering. For most beginner lettering projects, small round tips (like Wilton #1, #2, or #3) are ideal. The smaller the number, the finer the line. A #1 tip produces a very delicate line, suitable for small cakes or detailed writing, but requires very steady hands and perfectly consistent buttercream. A #2 or #3 tip provides a slightly thicker, more forgiving line, often easier for beginners to control.
Consider the size of the cake and the message when selecting your tip. A large cake with a short message can accommodate slightly thicker letters (#3 or #4), while a small cake or a long message requires finer tips (#1 or #2) to avoid crowding. Experimenting with different tip sizes on a practice board is a great way to determine which one feels most comfortable and produces the desired effect for your buttercream lettering.
Transferring Designs Accurately
Piping freehand can be daunting, especially for beginners. A simple and effective buttercream lettering tip is to transfer your design or message onto the cake first. Write or print your message on paper using a font and size you like. If the message needs to go on a curved surface (like the side of a round cake), shape the paper accordingly.
There are a few ways to transfer. One method is to lightly press the paper onto the chilled, crusted buttercream surface of the cake. The paper should leave a faint indentation. Another technique is to use a food-safe marker to trace the letters onto the back of the paper, then gently press this side onto the cake.
The marker will leave a light guide. For darker frostings, you can use a small amount of powdered sugar dusted over a stencil or paper cut-out. These guides provide a roadmap, making it much easier to pipe your buttercream lettering neatly and accurately.
Outlining Letters for Precision
Once your guide is on the cake, begin by outlining each letter. Using your chosen small round tip and perfectly consistent buttercream, carefully trace over the guide lines. Keep the tip slightly elevated above the surface of the cake (a technique sometimes called "floating" or "writing") and let the buttercream fall naturally onto the surface. This prevents the tip from dragging through the frosting and helps create smoother lines.
Focus on piping one continuous line for each stroke of the letter whenever possible. For example, when piping a capital 'A', you might pipe the first leg, then the second leg, and finally the crossbar. Lift the bag and stop the pressure cleanly at the end of each stroke. Outlining provides the basic structure and definition of your buttercream lettering.
Filling Letters for a Smooth Finish
For blockier letters or larger text where you've outlined the shape, you'll need to fill them in. Once the outline has slightly crusted (if using a crusting buttercream), use the same or a slightly larger round tip (like a #3 or #4) to fill the interior of the letter. Pipe back and forth within the outline, or use a zig-zag motion, ensuring you cover the area completely.
After filling, you can use a small offset spatula or a clean, dry paintbrush (specifically for cake decorating) to gently smooth the surface of the filled letters. Be careful not to disturb the outline. This filling and smoothing technique creates solid, professional-looking letters that stand out. This process is a key buttercream lettering tip for achieving a polished final look.
Advanced Lettering Techniques
Shading and Highlighting Techniques
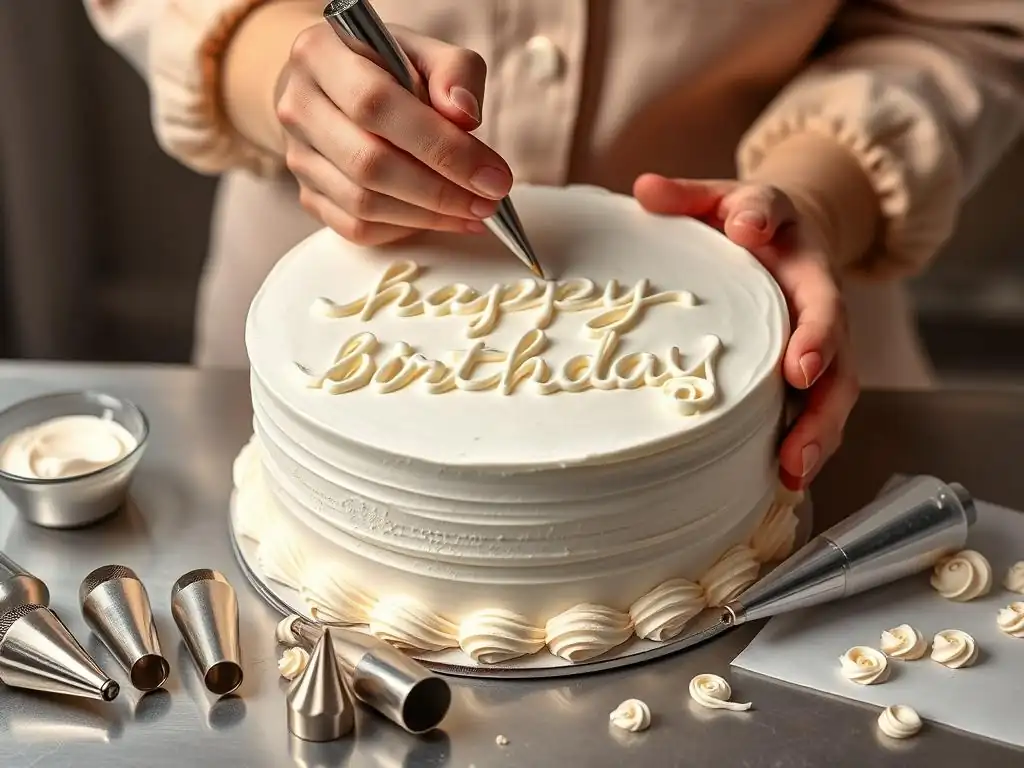
Adding shading and highlighting can give your buttercream lettering depth and dimension. Shading typically involves piping a slightly darker shade of the same color along one edge of the letter, often the bottom or right side. This creates the illusion that light is hitting the letter from a specific direction, casting a shadow. Use a very small round tip (#1 or #2) for precision.
Highlighting uses a lighter shade or white piped along the opposite edge (top or left side). A tiny dot or thin line of white or light-colored buttercream can mimic a light reflection. These techniques require a steady hand and practice, but they add a professional, artistic touch to your buttercream lettering, making the text appear more dimensional and visually striking.
Creating 3D Lettering Effects
Three-dimensional buttercream lettering goes beyond simple outlines or flat fills. One common 3D technique is shell-border lettering, where you pipe small shells or rosettes close together to form the shape of letters. This adds significant texture and volume. Another method involves piping thick lines and then smoothing and shaping them with a spatula or tool to create rounded, raised letters.
Piping multiple layers can also create a 3D effect. You can pipe an outline, let it set slightly, then pipe another layer directly on top, slightly inside the first, and repeat, building height. For solid 3D letters, you might pipe a base shape, then pipe more buttercream on top, sculpting it into the desired form. These techniques require more buttercream and practice but result in impressive, raised lettering.
Multi-Color Lettering Techniques
Using multiple colors in your buttercream lettering can make messages pop and add vibrancy to your design. The simplest method is to pipe different words or lines in different colors. For a more integrated multi-color effect within a single letter or word, you can use a striped piping bag technique. Load different colors of buttercream side-by-side into the same piping bag. As you pipe, the colors will emerge together, creating striped letters.
Another technique involves piping the base of a letter in one color and then piping an outline or shadow in a contrasting color immediately after. You can also pipe one color, let it crust slightly, then pipe a different color over the top or side for layering effects. Experimenting with color combinations and piping methods allows for creative and eye-catching buttercream lettering.
Correcting Lettering Mistakes
Repairing Smudges and Imperfections
Even with the best buttercream lettering tips and practice, mistakes happen. If you smudge a letter or make an error on a crusted buttercream surface, act quickly. For minor smudges, you might be able to gently scrape away the mistake using the tip of a sharp knife or a toothpick. Work carefully to avoid damaging the underlying frosting.
For larger errors or mistakes on non-crusting buttercream, it's often best to gently scrape away the entire letter or word using a small offset spatula or bench scraper. Clean the area carefully, ensuring no residual buttercream is left. Then, re-chill the cake section slightly if needed before attempting to re-pipe the corrected buttercream lettering. Patience and a steady hand are key here.
Strategic Decoration for Error Concealment
Sometimes, a mistake isn't easily scraped away without damaging the surrounding decoration. In such cases, strategic decoration can be your best friend. A small error in buttercream lettering can often be covered with a decorative element. Consider piping a small dot, star, or rosette over the mistake. Non-edible decorations like sprinkles, dragees, or small candies can also be used creatively to disguise imperfections.
Edible elements like sugar flowers, fondant cutouts, or even fresh berries can be strategically placed to cover larger areas of concern. Think of it as an opportunity to enhance your design! Planning your overall cake decoration to include elements that can serve as potential "error concealers" is a smart buttercream lettering tip for beginners.
Preventing Common Lettering Problems
Prevention is always better than correction. Many common buttercream lettering problems can be avoided with careful preparation. Ensure your buttercream is the correct consistency – this prevents shaky lines and blowouts. Practice your message on parchment paper first to build confidence and identify tricky spots before piping on the cake. Chill your cake thoroughly before piping; a cold surface helps the buttercream set quickly and reduces the risk of smudging.
Use a guide (like the indentation or food-safe marker method) to ensure correct spacing and alignment. Avoid overfilling your piping bag, as this makes it harder to control pressure. Fill it only about halfway. Finally, work slowly and steadily. Rushing is a common cause of mistakes. By following these preventative buttercream lettering tips, you'll significantly increase your chances of success.
Buttercream Lettering Project Ideas
Beginner-Friendly Lettering Projects
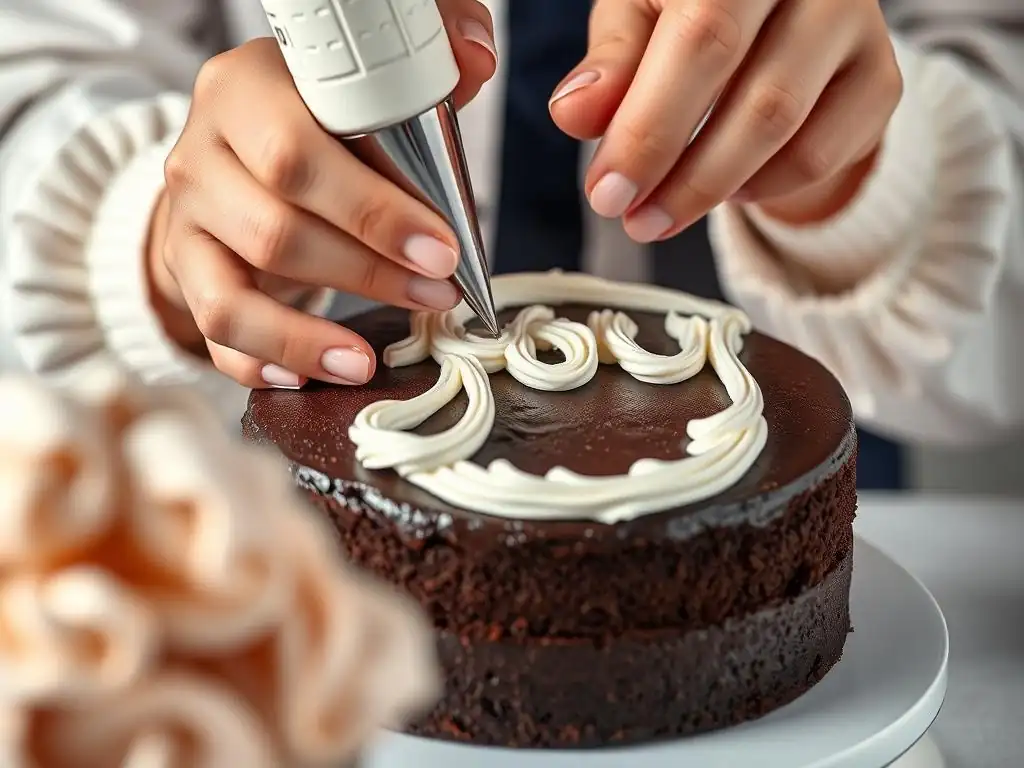
Starting with simple projects is the best way for beginners to practice buttercream lettering. Try piping initials or a single word like "Love" or "Yay" on cupcakes or cookies. Their smaller surface area is less intimidating than a full cake. Practice piping the same letter repeatedly on a flat surface to build consistency.
Another great beginner project is piping a simple message on a small, flat sheet cake or the top of a round cake. Start with block capital letters, as they are often easier than cursive. Choose a short message, maybe just "Hi!" or "Hello". These projects allow you to focus solely on the lettering technique without the added complexity of larger cake decorating.
Lettering a Celebration Cake with a Personalized Message
Once you've practiced the basics, tackle a celebration cake! Lettering a personalized message like "Happy Birthday, [Name]" or "Congratulations!" is a classic use of buttercream lettering. Choose a cake size appropriate for the message length and select a piping tip that allows the text to fit comfortably without being too small or too large.
Use a guide to plan the layout and ensure the message is centered and spaced correctly. Pipe slowly and deliberately, focusing on consistent pressure and smooth lines. This project allows you to apply all the buttercream lettering tips you've learned on a real centerpiece cake, creating a memorable and personal touch for the celebration.
Creating Monogrammed Cupcakes for Special Occasions
Monogrammed cupcakes are elegant and relatively simple projects perfect for practicing individual letters. Pipe a single initial or a small number onto the top of each cupcake. This is an excellent way to refine your technique on individual letters and practice consistency across multiple items.
You can pipe the monogram directly onto the frosting or onto a fondant disc placed on top of the cupcake. Experiment with different letter styles – block letters, simple script, or even decorative outlines. Monogrammed cupcakes are ideal for weddings, anniversaries, or personalized gifts and provide focused practice on your buttercream lettering skills.
Maintaining Lettering Tools and Buttercream
Cleaning and Storing Piping Tips for Longevity
Proper care of your piping tips is essential for keeping them in good condition for future buttercream lettering projects. Immediately after use, rinse your tips thoroughly with hot water to remove as much buttercream as possible. Use a small brush (a clean toothbrush works well) or a specialized tip brush to clean out any stubborn bits of frosting from the intricate openings.
Wash the tips with warm, soapy water and rinse again. Ensure they are completely dry before storing to prevent rust (especially metal tips). Store tips in a container with compartments or on a tip organizer stand to keep them sorted by size and easily accessible. Proper cleaning and storage ensure your tips are ready and clean whenever you need them for buttercream lettering.
Proper Buttercream Storage for Freshness
Storing leftover buttercream correctly ensures it remains fresh and usable for future decorating, including practicing buttercream lettering tips. Place buttercream in an airtight container. It can be stored at room temperature for a day or two, depending on the ingredients (butter-based frostings are more stable than those made with shortening in warm conditions).
For longer storage, refrigerate buttercream for up to 1-2 weeks. Before using refrigerated buttercream, let it come to room temperature, then re-whip it with an electric mixer for a few minutes. This restores its smooth, pliable consistency. Buttercream can also be frozen for several months. Thaw in the refrigerator overnight and re-whip before use. Always check for any off smells or discoloration before using stored buttercream.
Conclusion: Elevating Cake Decorating with Buttercream Lettering
Mastering buttercream lettering is a rewarding skill that significantly enhances your ability to create beautiful, personalized cakes. From understanding the importance of buttercream consistency to practicing fundamental piping techniques and troubleshooting common issues, these buttercream lettering tips provide a solid foundation for beginners.
With practice, patience, and the right tools, you'll gain confidence in piping neat, professional-looking letters on any baked creation. Don't be discouraged by initial imperfections; every piped line is a step towards improvement. Embrace the process, try out different techniques and projects, and soon you'll be adding stunning personalized messages and designs using buttercream lettering with ease.
Frequently Asked Questions
What are the essential tools for buttercream lettering as a beginner?
You'll need piping bags, various sized round tips, a turntable (optional but helpful), and a good spatula for smoothing. Getting high-quality piping bags is essential for a consistent flow.
What type of buttercream works best for lettering?
American buttercream is generally recommended for beginners due to its stability and ease of use. It holds its shape well, making it ideal for clear and defined lettering.
How do I prevent my buttercream from being too soft to pipe letters?
Ensure your buttercream is chilled but not too cold. You may need to add more powdered sugar to achieve the desired stiff consistency.
What are some tips for achieving straight and even lines when lettering?
Practice makes perfect! Use a toothpick or edible marker to lightly sketch guidelines on your cake first. Maintain consistent pressure on your piping bag.
How can I fix mistakes when writing with buttercream?
Gently scrape off the mistake with a small offset spatula. Smooth the area and try again. Don't be afraid to practice on parchment paper first!
Final Reflection: The Enduring Sweetness of Perfect Lettering
The art of buttercream lettering isn't just about creating beautiful cakes; it's about mastering a skill that blends precision with creativity. In a world increasingly dominated by digital imagery, the tactile experience of crafting intricate designs with buttercream offers a unique and deeply satisfying counterpoint. The meticulous detail, the subtle nuances of pressure and consistency, all contribute to a final product that is both visually stunning and profoundly personal.
The journey from wobbly swirls to elegant script is a testament to patience and practice, a reflection of the dedication required to master any craft. This process mirrors the broader human experience of striving for excellence, of finding beauty in the details. The details are not the details. They make the design.
– Charles Eames. This quote resonates deeply with the process of buttercream lettering, reminding us that the seemingly small adjustments and refinements are what elevate a simple cake into a work of art. The impact of this skill extends beyond the kitchen; it fosters a sense of accomplishment and encourages a mindful approach to creativity.
Now, it's your turn. Consider the lessons learned here – the importance of the right tools, the value of consistent practice, and the beauty found in embracing imperfection. Don't be afraid to experiment, to let your creativity flow, and to find joy in the process. Pick up your piping bag, embrace the mess, and discover the enduring sweetness of creating your own masterpiece. You might surprise yourself with what you can achieve.
Unleash Your Inner Cake Artist: Master Neat Lettering Today!
Thanks for taking the time to level up your cake decorating skills! You've just learned valuable techniques for creating beautiful buttercream lettering. Now it's time to put your new knowledge into practice.
- Practice your piping: Grab your bag and tips, and try creating the lettering styles we discussed on a practice sheet of parchment paper. Focus on consistency and pressure control. This is the most crucial step!
- Share your creations: Post a picture of your lettering on social media and tag us! We'd love to see your progress and inspire others.
- Explore new techniques: Try experimenting with different piping tips, colors, and even edible glitter for extra sparkle! Let your creativity run wild.
Ready to transform your cakes from delicious to dazzling? What's your biggest lettering challenge, and how will you overcome it?