
Baking Cream Pies: The Right Temperature and Time Guide

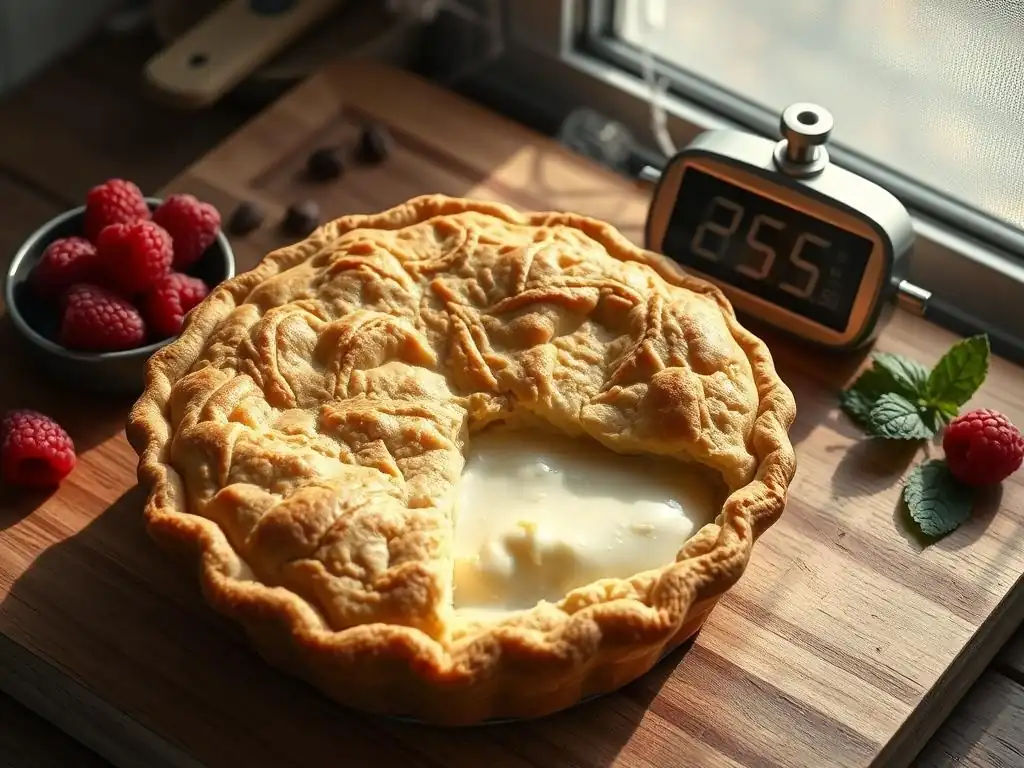
Welcome to BakeWithEase, your haven for effortless baking! Ever wondered if you're really getting the baking cream pie perfect temperature just right? Discover the secrets to achieving that golden-brown crust and perfectly set filling in our comprehensive guide. We'll unravel the mysteries of heat and time, so you can confidently create delectable cream pies every single time. Curious to know the ideal temperature for your next pastry masterpiece? Let's get baking!
- Introduction to Baking Perfect Cream Pies at Home
- Understanding Cream Pie Fillings and Their Baking Needs
- Achieving the Perfect Cream Pie Crust: Temperature and Time
- The Ideal Oven Temperature for Baking Cream Pies
- Baking Time Guidelines for Different Cream Pie Types
- Troubleshooting Common Cream Pie Baking Problems
- Step-by-Step Guide: Baking a Classic Vanilla Cream Pie
- Tips and Tricks for Baking Cream Pies Like a Pro
- Conclusion: Mastering Cream Pie Baking with Temperature and Time
- Frequently Asked Questions
- Final Reflection: The Sweet Science of the Perfect Cream Pie
- Unlock Your Inner Pie Master: Bake the Perfect Cream Pie Today!
Introduction to Baking Perfect Cream Pies at Home
Baking a delicious cream pie at home is a rewarding experience, resulting in a dessert that's both comforting and elegant. Whether you're aiming for a classic chocolate cream pie or a vibrant lemon cream pie, the journey from ingredients to that first perfect slice hinges significantly on precision. Achieving that ideal balance of a flaky crust and a smooth, set filling requires careful attention to detail, particularly regarding the heat applied during the baking process.
This guide will walk you through the essential principles of baking cream pies, focusing on the critical elements of temperature and time. We'll explore how different fillings react to heat, the nuances of achieving a perfectly baked crust, and provide practical tips to ensure your cream pies turn out beautifully every time. Mastering the baking cream pie perfect temperature is key to unlocking truly exceptional results in your home kitchen.
Why Temperature and Time are Crucial for Cream Pie Success
Temperature and time are not just suggestions when baking cream pies; they are fundamental controls that dictate the chemical and physical transformations happening in your ingredients. Too high a temperature, and your filling might curdle or crack while the crust burns. Too low, and the filling may never set properly, resulting in a runny mess, or the crust could become soggy. The precise temperature provides the energy needed for proteins to coagulate (in custards), starches to thicken (in puddings), and fats to render and create flakiness (in crusts).
Similarly, baking time must correspond to the temperature and the pie's size and type. Underbaking leaves fillings unset and crusts doughy, while overbaking can lead to dry, tough fillings or scorched crusts. For instance, a standard 9-inch custard cream pie baked at the baking cream pie perfect temperature typically requires a specific window of time for the center to set without overcooking the edges. Understanding this interplay is vital for consistent, delicious outcomes.
Mastering Cream Pie Baking
Mastering the art of baking cream pies involves more than just following a recipe; it requires understanding the science behind the bake. Each ingredient plays a role, and heat is the catalyst that brings them together in harmony. For example, eggs in a custard filling need gentle, consistent heat to thicken without scrambling, a process that is highly sensitive to temperature fluctuations. The fat in your pie crust needs to melt gradually to create those desirable flaky layers, which is also temperature-dependent.
By focusing on the baking cream pie perfect temperature and corresponding timeframes, you gain control over the texture and appearance of your final product. This knowledge allows you to adapt recipes based on your specific oven and ingredients, troubleshoot common issues like soggy bottoms or cracked fillings, and ultimately bake cream pies that are not only delicious but also visually stunning. It's about moving beyond simply combining ingredients to truly crafting a perfect dessert.
Understanding Cream Pie Fillings and Their Baking Needs
Cream pies are characterized by their rich, smooth fillings, which can vary significantly in composition. The type of filling dictates how the pie should be baked, particularly regarding temperature and time. Understanding the base of your filling – whether it's custard, cream cheese, or pudding – is the first step in determining the appropriate baking strategy. Each type has unique properties that respond differently to heat.
For instance, a classic French silk pie, which is often considered a type of cream pie though it's sometimes baked without eggs or only partially baked, requires very different handling than a traditional coconut cream pie with a baked custard filling. The key is recognizing the primary thickening agent and moisture content, as these factors heavily influence how heat penetrates and sets the filling. Getting the baking cream pie perfect temperature right starts with knowing your filling.
Different Types of Cream Pie Fillings: A Temperature Overview
Cream pie fillings fall into several general categories, each with distinct baking requirements. Custard-based fillings, reliant on eggs for thickening, are perhaps the most temperature-sensitive. Cream cheese fillings, often stabilized with eggs or starch, require moderate temperatures to set without curdling the cheese. Pudding-based fillings, thickened primarily with cornstarch or flour, are typically cooked on the stovetop before being poured into a pre-baked shell and chilled, though some variations might require a short bake to set fully.
Understanding these categories helps predict how the filling will behave in the oven. For example, a filling high in dairy and eggs will need a lower, more gentle temperature to prevent curdling compared to a filling thickened mainly with starch. The baking cream pie perfect temperature is thus not a single number for all pies but rather a range tailored to the specific filling composition.
Custard-Based Fillings: Ideal Baking Temperatures
Custard-based cream pie fillings, such as those found in classic vanilla, coconut, or banana cream pies (when baked), rely on the coagulation of egg proteins to set. This process occurs gradually at moderate temperatures. Baking these pies at too high a temperature can cause the eggs to set too quickly and unevenly, leading to a rubbery texture or, worse, curdling. A commonly recommended temperature range for baking custard pies is between 325°F (160°C) and 350°F (175°C).
Baking at 325°F (160°C) is often preferred for a very smooth, delicate texture, though it requires a longer baking time. Baking at 350°F (175°C) is slightly faster but increases the risk of cracking or overcooking the edges before the center is set. The baking cream pie perfect temperature for custards often involves starting at a slightly higher temperature (like 375°F or 190°C) for the first 15-20 minutes to help set the crust bottom quickly, then reducing the temperature to 325-350°F to gently finish the filling.
Cream Cheese Fillings: Temperature Considerations
Cream cheese fillings, like those in cheesecakes or some variations of lemon or fruit cream pies, also contain eggs but often in conjunction with a significant amount of cream cheese. The goal here is to set the eggs and stabilize the cream cheese without causing it to separate or become grainy. These fillings generally benefit from a moderate baking temperature, often in the range of 300°F (150°C) to 350°F (175°C).
Baking cream cheese pies at lower temperatures, such as 300-325°F (150-160°C), is common, especially for larger pies or those with a very high cream cheese content. This gentle heat ensures even cooking and minimizes the risk of cracks on the surface, which can happen when the top sets too quickly compared to the center. Some recipes even call for baking in a water bath to provide even more gentle, consistent heat and prevent temperature fluctuations, contributing to the baking cream pie perfect temperature environment for these delicate fillings.
Pudding-Based Fillings: Achieving the Right Consistency
Pudding-based fillings, typically thickened with cornstarch, flour, or a mix, are most often cooked on the stovetop until thickened and then poured into a pre-baked crust. These pies usually require no further baking to set the filling itself, relying instead on chilling to achieve their final firm texture. However, some recipes might call for a brief bake, perhaps 10-15 minutes at a moderate temperature like 350°F (175°C), primarily to help meld the filling with the crust or to lightly brown a meringue topping if one is added.
In these cases, the baking cream pie perfect temperature and time are less about setting the filling from scratch and more about finishing the pie. The focus is on ensuring the crust remains crisp and any toppings are appropriately browned without overheating the already-set filling. The primary thickening happens before the filling enters the pie shell.
Achieving the Perfect Cream Pie Crust: Temperature and Time
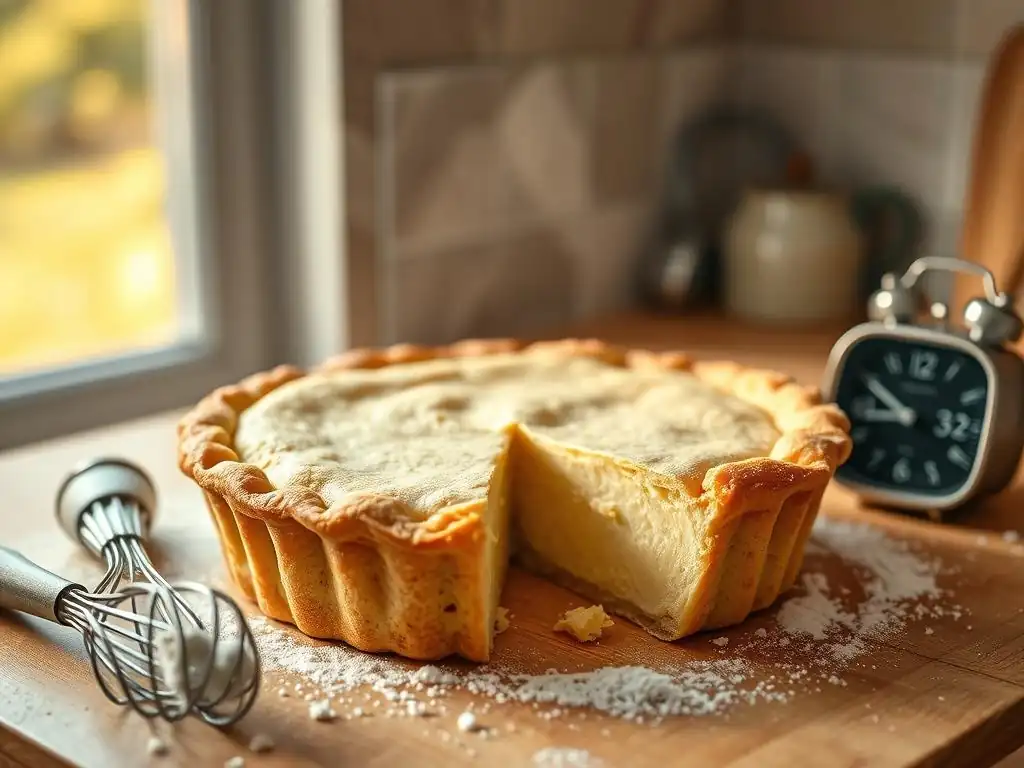
A perfect cream pie isn't just about the filling; the crust is equally important. A flaky, golden-brown crust that holds its shape and doesn't become soggy under the weight of the filling is essential. Achieving this requires precise temperature control and timing, whether you're blind baking the crust or baking it along with the filling. The type of fat used in your crust (butter, shortening, lard, or a combination) also influences the ideal baking temperature and time.
For instance, a crust made primarily with butter might brown faster than one made with shortening due to butter's lower melting point and milk solids. Therefore, the baking cream pie perfect temperature for the crust part of the process needs to consider the dough composition. Proper chilling of the dough before baking is also crucial, as it helps the fat solidify, which is key to creating those desirable flaky layers when the pie hits the hot oven.
Blind Baking Your Pie Crust: Preventing Soggy Bottoms
Blind baking, or pre-baking the pie crust before adding the filling, is a critical step for many cream pies, especially those with fillings that are not baked or require minimal baking time (like chilled pudding or no-bake cream cheese fillings). This process ensures the bottom crust is fully cooked and sealed, creating a barrier that prevents it from becoming soggy once the moist filling is added. It involves lining the raw pie shell with parchment paper or foil, filling it with pie weights, dried beans, or rice, and baking it until partially or fully set.
The temperature for blind baking is typically higher than when baking with a filling. This allows the crust to set quickly and develop structure before the edges can slump down. Common temperatures range from 375°F (190°C) to 400°F (200°C). After an initial bake with weights (often 15-20 minutes), the weights are removed, and the crust is baked for another 10-15 minutes or until golden brown and cooked through. This two-stage approach at a relatively high baking cream pie perfect temperature for the crust ensures crispness.
Recommended Blind Baking Temperatures for Different Crusts
The ideal blind baking temperature can vary slightly depending on the type of crust. A standard all-butter crust often benefits from a slightly lower temperature, around 375°F (190°C), to prevent the butter from melting too quickly and losing its structure before the flour sets. However, some bakers prefer a hotter oven, like 400°F (200°C), for butter crusts to achieve maximum flakiness, but this requires careful monitoring to prevent burning.
Crusts made with shortening or a combination of fats can often handle higher temperatures, such as 400°F (200°C), more readily. Regardless of the fat, the key is to use a temperature that allows the crust to set and brown evenly. For a fully baked crust intended for a no-bake filling, aiming for a golden-brown color is essential. This typically requires baking at 375-400°F (190-200°C) for a total of 30-40 minutes, split between baking with weights and without. Achieving the baking cream pie perfect temperature for blind baking is about speed and even heat distribution.
Baking the Crust with the Filling: A Combined Approach
For cream pies where the filling is baked along with the crust (like many custard-based pies), the baking process is a single event. In this scenario, the temperature must be suitable for both the crust and the filling. As discussed earlier, custard fillings prefer lower, gentler heat. This means the crust is also baked at this lower temperature, typically 325-350°F (160-175°C), for the entire baking time.
Baking the crust and filling together requires careful management to prevent the crust from becoming soggy before the filling sets or burning before the filling is cooked. Often, recipes will call for covering the edges of the crust with foil or a pie shield partway through baking to prevent them from over-browning while the center of the pie finishes. This combined approach means the baking cream pie perfect temperature is a compromise, optimized primarily for the delicate filling while using techniques to protect the crust.
The Ideal Oven Temperature for Baking Cream Pies
Determining the absolute "ideal" oven temperature for baking cream pies is complex, as it depends heavily on the filling type and whether the crust is pre-baked. However, for pies where the filling is baked from raw, such as classic custard cream pies, a common range considered ideal is between 325°F (160°C) and 350°F (175°C). This moderate temperature allows the filling to set slowly and evenly without curdling or cracking, while also allowing the crust to bake through.
Baking at temperatures significantly higher than this range (e.g., 400°F/200°C or above) is generally not recommended for baked cream fillings unless it's for a very short initial period to help set the crust. Conversely, baking much lower than 325°F (160°C) can result in excessively long baking times, potentially leading to a tough crust or a filling that doesn't set firmly. The baking cream pie perfect temperature aims for a balance between setting the filling and baking the crust effectively.
Finding the Sweet Spot: Optimal Baking Temperature
For most baked cream pies, the sweet spot for oven temperature lies in that 325-350°F (160-175°C) range. Within this range, 325°F (160°C) generally yields the smoothest, most delicate custard fillings with minimal risk of cracking, though baking time will be longer (potentially 50-70 minutes for a 9-inch pie). A temperature of 350°F (175°C) is slightly more common as it reduces baking time (often 40-50 minutes) while still allowing for relatively gentle setting of the filling, provided the pie isn't overbaked.
Experimentation with your specific oven is often necessary to find your personal baking cream pie perfect temperature. Ovens can vary significantly in accuracy; a setting of 350°F on one oven might be closer to 375°F or 325°F on another. Using an oven thermometer is highly recommended to ensure your oven is heating accurately to the desired temperature.
How Oven Temperature Affects Cream Pie Texture
The oven temperature directly impacts the texture of both the filling and the crust. For the filling, particularly custard-based ones, a lower temperature encourages a slow, gentle coagulation of proteins, resulting in a silky-smooth texture. Higher temperatures can cause proteins to seize up quickly, leading to a firmer, potentially rubbery or grainy texture. For example, baking a custard at 375°F (190°C) instead of 325°F (160°C) could result in a filling that is firm around the edges but still liquid in the center, or worse, a filling that is rubbery throughout.
For the crust, the temperature affects how the fat melts and interacts with the flour. At the baking cream pie perfect temperature for combined baking (325-350°F), the crust bakes more slowly than during blind baking. This requires sufficient baking time for the bottom crust to dry out and become crisp before the moisture from the filling can make it soggy. If the temperature is too low, the crust may never fully crisp up.
Baking Time Guidelines for Different Cream Pie Types
Baking time is intrinsically linked to oven temperature and the type of cream pie. There is no single baking time that applies to all cream pies. A thin layer of filling in a tart shell will bake much faster than a deep-dish pie packed with filling. The moisture content of the filling and whether it contains ingredients that release water during baking (like some fruits) also play a role.
General guidelines exist for common types, but it's always crucial to rely on visual cues and tests for doneness rather than solely on a timer. For instance, a standard 9-inch baked custard cream pie might take anywhere from 40 to 70 minutes, depending on the exact temperature used (350°F vs. 325°F) and the depth of the filling. Getting the baking cream pie perfect temperature set is half the battle; timing is the other half.
Recommended Baking Times for Custard Cream Pies
For a typical 9-inch deep-dish custard cream pie baked at 325°F (160°C), the baking time usually falls between 50 and 70 minutes. At 350°F (175°C), the time is generally shorter, ranging from 40 to 50 minutes. These times are approximate and depend on the oven's calibration, the pie dish material (glass or ceramic holds heat longer than metal), and the exact filling depth.
The key is to bake until the edges of the filling are set, and the center is just barely jiggly. Overbaking will result in a cracked surface and a less smooth texture. For example, a 9-inch classic vanilla bean custard pie recipe might specify 60-70 minutes at 325°F, while a shallower chocolate custard pie could finish in 40-50 minutes at 350°F. Monitoring is crucial within this baking cream pie perfect temperature range.
Baking Time Adjustments for Fruit-Infused Cream Pies
Cream pies that incorporate fruit, such as banana cream or coconut cream pies with large pieces, might require slight adjustments to baking time or technique. If the fruit is added before baking, its moisture content can affect how quickly the filling sets. For example, fresh banana slices can release moisture, potentially requiring a few extra minutes of baking time or a slightly higher initial temperature to compensate.
However, many fruit cream pies, like banana or coconut, use a pre-cooked pudding-based filling poured into a pre-baked crust, with the fruit added before or after chilling. In these cases, the baking time for the pie as a whole is zero; only the crust is baked. If a fruit cream pie does require baking (e.g., a baked lemon cream pie), the acidity of the lemon juice can affect the protein coagulation, sometimes requiring a slightly longer bake at the baking cream pie perfect temperature compared to a plain custard.
Signs Your Cream Pie is Perfectly Baked
Knowing when your cream pie is perfectly baked is more an art than a science based purely on time. While time guidelines are helpful, visual cues and tactile tests are the most reliable indicators. For baked fillings, the edges should appear set and slightly puffed, while the center should still have a slight wobble. The crust should be golden brown and appear cooked through, especially on the bottom if it was baked with the filling.
Look for a filling that no longer appears liquid, even if it's not completely firm. A slight sheen on the surface is also a good sign. If you insert a knife about halfway between the center and the edge, it should come out clean or with moist crumbs clinging to it, not liquid filling. Achieving the baking cream pie perfect temperature helps ensure these signs appear consistently.
The Jiggle Test: Knowing When It's Ready
The "jiggle test" is a classic method for determining if a baked cream or custard pie filling is done. Gently tap the side of the pie plate. The edges of the filling should appear set and relatively firm, while the very center (about a 1-2 inch diameter circle) should still have a slight, soft jiggle. It should not slosh like liquid.
If the entire pie jiggles significantly, it needs more time. If no part of the pie jiggles, it is likely overbaked. This slight jiggle in the center is key because the filling will continue to set as it cools. Removing it from the oven at this stage ensures a smooth, creamy texture once fully chilled. Mastering this test at the baking cream pie perfect temperature is crucial for a perfect set.
Troubleshooting Common Cream Pie Baking Problems
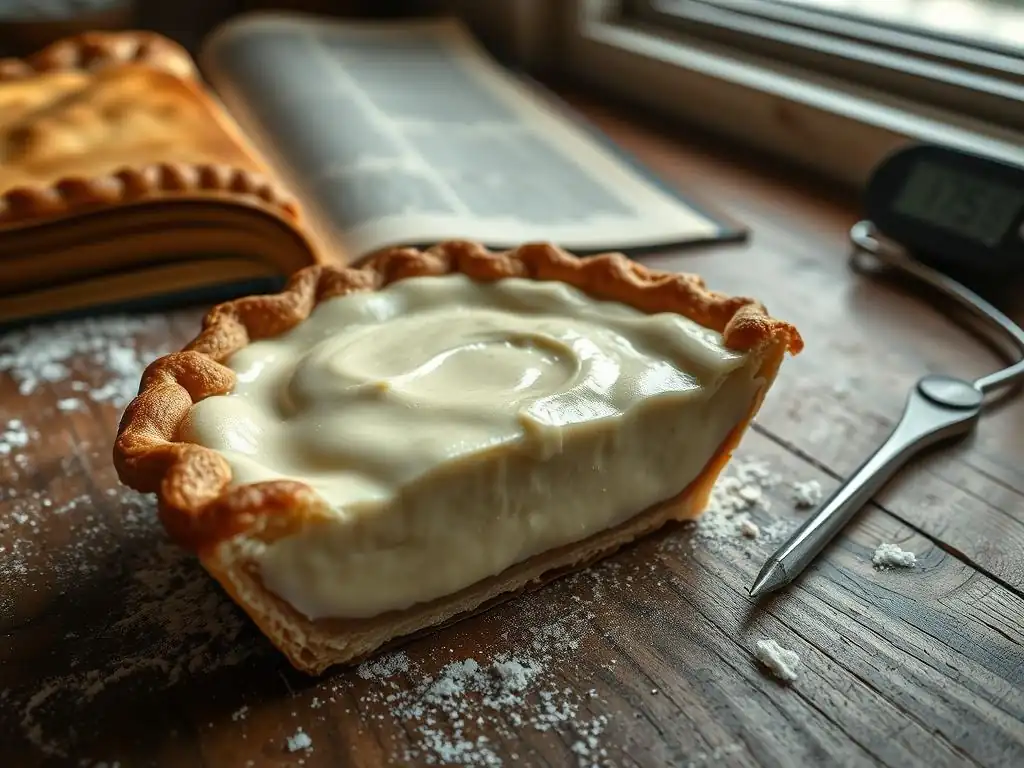
Even when aiming for the baking cream pie perfect temperature, problems can arise. Common issues include cracked fillings, soggy bottom crusts, and uneven baking. Understanding the causes of these problems, often related to temperature, time, or technique, is the first step to preventing them. Don't get discouraged; troubleshooting is part of the baking journey.
For example, a cracked custard filling is frequently a result of baking at too high a temperature or baking for too long. A soggy bottom crust is usually due to insufficient pre-baking or baking at too low a temperature with a moist filling. Uneven baking can stem from hot spots in your oven or improper placement of the pie.
Preventing Cracking: Temperature Control and Cooling Techniques
Cracking in baked cream or custard fillings is primarily caused by the filling setting too quickly or unevenly, or by the pie cooling too rapidly. Baking at too high a temperature forces the outer edges to set and contract before the center is fully cooked, leading to stress and cracks as the center finishes. To prevent this, ensure your oven temperature is accurate (use an oven thermometer) and bake at the lower end of the recommended range, like 325°F (160°C).
Equally important is the cooling process. Custard pies should cool gradually. Avoid placing a hot pie directly into a cold refrigerator. Let it cool at room temperature on a wire rack for 1-2 hours until it's just warm, then transfer it to the refrigerator to chill completely. This slow cooling allows the filling to contract evenly and minimizes the risk of surface cracks. Maintaining the baking cream pie perfect temperature during the bake and managing the cooling are both key.
Avoiding a Soggy Crust: Tips for a Crispy Base
A soggy bottom crust is a common lament in pie baking, especially with moist cream fillings. The best defense is often blind baking the crust before adding the filling, as discussed earlier. Fully baking the crust until golden brown creates a barrier against moisture. If you are baking the crust and filling together, ensure your oven is preheated properly and the baking cream pie perfect temperature is reached before the pie goes in.
Other strategies include brushing the bottom of the partially baked crust with an egg wash (a beaten egg or egg white) and baking for a few more minutes before adding the filling. This creates a protein layer that helps seal the crust. Using a metal pie plate, which conducts heat more efficiently than glass or ceramic, can also help the bottom crust crisp up better when baking with the filling.
Addressing Uneven Baking: Oven Calibration and Pie Placement
Uneven baking, where one side or part of the pie is more cooked than another, is often a sign of an inaccurate oven temperature or hot spots within the oven. Using an oven thermometer placed near where you bake your pies can help you verify the actual temperature and adjust your oven dial accordingly. If your oven has known hot spots, rotating the pie halfway through the baking time can help ensure even cooking.
Proper pie placement in the oven is also important. Generally, placing the pie on the center rack allows for the most even heat circulation. Avoid placing it too close to heating elements at the top or bottom. If baking multiple pies, ensure there is adequate space between them for air to circulate freely. Consistent temperature throughout the oven, facilitated by accurate calibration and proper placement at the baking cream pie perfect temperature, is crucial for even results.
Step-by-Step Guide: Baking a Classic Vanilla Cream Pie
Let's put theory into practice with a step-by-step guide for baking a classic vanilla cream pie. This recipe assumes a baked custard-style filling and a blind-baked crust for optimal texture. Following these steps, paying close attention to temperature and time, will help you achieve a delicious result.
Recipe: Classic Vanilla Cream Pie
- Yields: 1 standard 9-inch pie
- Prep time: 30 minutes
- Bake time (crust): 30-40 minutes
- Bake time (filling): 40-50 minutes
- Chill time: At least 4 hours
Ingredients:
- 1 pre-made or homemade pie crust (for a 9-inch pie)
- 4 large egg yolks
- 1/2 cup granulated sugar
- 1/4 cup cornstarch
- 1/4 teaspoon salt
- 2 cups whole milk
- 1 cup heavy cream
- 2 tablespoons unsalted butter
- 2 teaspoons vanilla extract
Step 1: Preparing the Pie Crust
Prepare your favorite pie crust dough. Roll it out and fit it into a 9-inch pie plate. Crimp the edges decorately. Thoroughly chill the prepared crust in the refrigerator for at least 30 minutes. Preheat your oven to 375°F (190°C) for blind baking. Line the chilled crust with parchment paper or foil and fill with pie weights.
Bake for 15-20 minutes until the edges are set. Remove the weights and parchment/foil. Return the crust to the oven and bake for another 15-20 minutes, or until the bottom is golden brown and appears cooked through. This is a crucial step for avoiding a soggy bottom, leveraging the baking cream pie perfect temperature for the crust. Let the blind-baked crust cool completely on a wire rack. Reduce the oven temperature to 350°F (175°C) for baking the filling.
Step 2: Making the Cream Filling
In a medium saucepan, whisk together the egg yolks, sugar, cornstarch, and salt until smooth. Gradually whisk in the milk and heavy cream until well combined. Place the saucepan over medium heat and cook, stirring constantly with a whisk or rubber spatula, until the mixture thickens significantly and comes to a gentle boil. This typically takes about 8-12 minutes. Be sure to scrape the bottom and sides of the pan to prevent scorching. Once thickened, remove from heat and stir in the butter and vanilla extract until the butter is melted and the mixture is smooth.
Step 3: Baking the Pie to Perfection
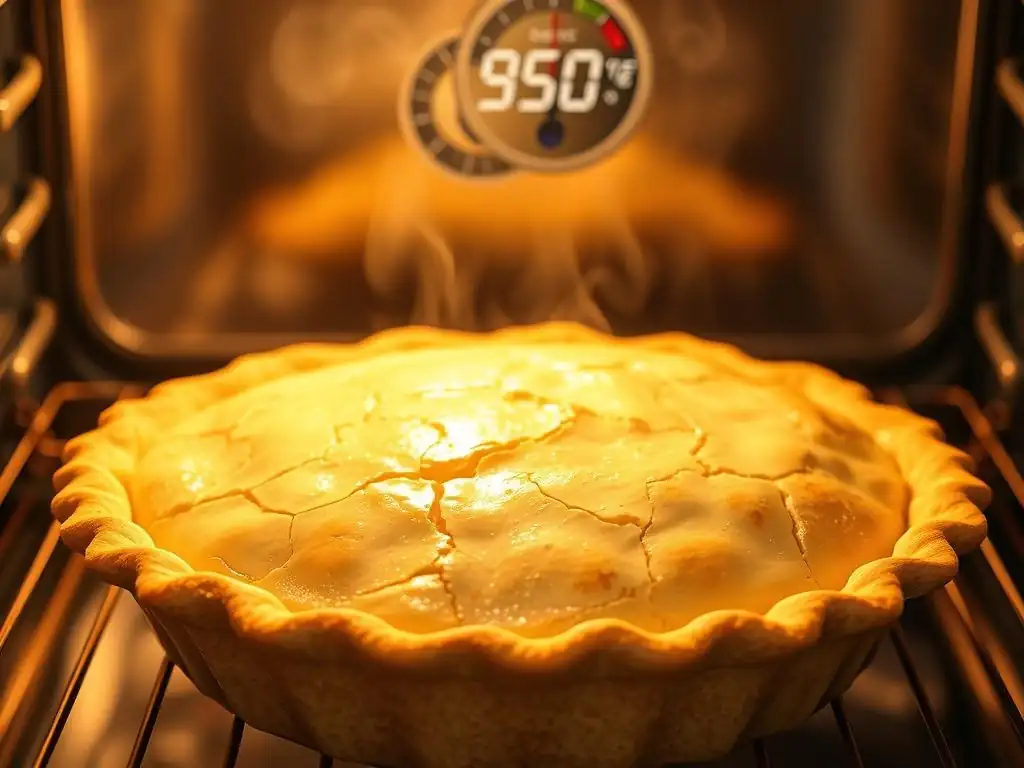
Pour the hot vanilla cream filling into the cooled, blind-baked pie crust. Gently smooth the top with a spatula. Carefully place the pie in the preheated oven set to 350°F (175°C). If the edges of your crust are already quite brown, you can cover them loosely with foil or a pie shield at this point. Bake for 40-50 minutes, or until the edges of the filling are set and the center has only a slight jiggle when gently tapped. The baking cream pie perfect temperature (350°F) allows the filling to set without curdling while the crust finishes baking.
Step 4: Cooling and Setting the Cream Pie
Once baked, carefully remove the pie from the oven and place it on a wire rack to cool. Let it cool at room temperature for 1-2 hours until it is just warm to the touch. This gradual cooling helps prevent the filling from cracking. Once cooled to near room temperature, cover the pie loosely with plastic wrap (avoid touching the surface of the filling if possible) and refrigerate for at least 4 hours, or preferably overnight, until the filling is completely set and chilled. This chilling time is essential for the filling to reach its final texture.
Tips and Tricks for Baking Cream Pies Like a Pro
Elevating your cream pie game involves more than just following a recipe; it's about applying techniques that ensure consistent, professional-quality results. Paying attention to small details can make a big difference in the final outcome, from preventing over-browning to ensuring the perfect set. These tips complement the importance of finding the baking cream pie perfect temperature.
Using a Pie Shield to Prevent Over-Browning
Pie crust edges are notoriously prone to browning faster than the rest of the pie, especially when baking with a filling at the baking cream pie perfect temperature for the filling. A pie shield, either a reusable silicone one or strips of aluminum foil molded around the edges, is an invaluable tool to prevent this. Apply the shield or foil after the first 15-20 minutes of baking or when the edges have reached your desired golden color. This protects the edges, allowing the center of the pie and the filling to finish baking without the crust burning.
The Importance of Proper Cooling Time
Proper cooling and chilling are just as crucial as baking time and temperature, especially for cream pies. Baked fillings, particularly custards, continue to set as they cool. Removing a pie too early from the oven and then rushing the chilling process can result in an unset or improperly textured filling. Allowing the pie to cool gradually at room temperature before chilling helps the filling set evenly and reduces the risk of cracks. Full chilling in the refrigerator (at least 4 hours, ideally overnight) allows the filling to firm up completely, making it easy to slice and serve.
Storing Your Cream Pie for Optimal Freshness
Cream pies, especially those with dairy and egg-based fillings, must be stored properly to maintain freshness and safety. After the initial cooling and chilling period, cover the pie tightly with plastic wrap or place it in an airtight pie carrier. Store the pie in the refrigerator. Cream pies are best enjoyed within 2-3 days of baking. For longer storage, some cream pies (particularly those with stable fillings like baked cheesecakes) can be frozen, though texture might be slightly altered upon thawing. Always ensure the pie is thoroughly chilled before attempting to store it long-term.
Conclusion: Mastering Cream Pie Baking with Temperature and Time
Baking cream pies is a delightful pursuit that rewards precision and patience. While recipes provide a roadmap, understanding the fundamental roles of temperature and time empowers you to navigate potential challenges and consistently achieve exceptional results. From selecting the baking cream pie perfect temperature based on your filling type to mastering the jiggle test for doneness and implementing proper cooling techniques, each step contributes to the final masterpiece.
By paying close attention to the heat in your oven, timing your bake correctly, and using techniques like blind baking and pie shields, you can confidently bake cream pies with perfectly set fillings and wonderfully crisp crusts. Practice refines skill, and with each pie you bake, you'll gain a deeper intuition for the nuances of temperature and time, bringing you closer to baking the baking cream pie perfect temperature creation every time. Happy baking!
Frequently Asked Questions
What is the ideal oven temperature for baking a cream pie?
The ideal temperature for baking a cream pie is typically around 325°F to 350°F. This lower temperature helps prevent the crust from burning while the filling sets properly.
How can I prevent my cream pie crust from becoming soggy?
To prevent a soggy crust, blind bake the crust before adding the filling. You can also brush the crust with a thin layer of egg wash before baking it.
How do I know when my cream pie is done baking?
The filling should be mostly set, with a slight jiggle in the center. Avoid overbaking, as this can lead to a cracked or dry filling.
What's the best way to cool a cream pie after baking?
Cool the cream pie at room temperature for about 2-3 hours, then refrigerate for at least 4 hours before serving. This allows the filling to fully set.
Can I freeze a baked cream pie?
While possible, freezing can affect the texture. If you freeze, wrap the pie tightly in plastic wrap and foil. Thaw it in the refrigerator for optimal results, understanding that the texture may not be perfect.
Final Reflection: The Sweet Science of the Perfect Cream Pie
Mastering the art of baking the perfect cream pie isn't just about following a recipe; it's about understanding the delicate dance between temperature and time. A seemingly simple dessert, the cream pie reveals itself to be a testament to precision and patience, a lesson applicable far beyond the kitchen. The subtle shifts in texture, the creamy perfection, or the unfortunate curdling – all hinge on a precise understanding of heat and timing.
The pursuit of the perfect cream pie, for me, has become a metaphor for life's endeavors. The careful attention to detail, the anticipation of the final result, and even the occasional mishaps along the way – these are all experiences that resonate far beyond the confines of baking. The best things in life are worth waiting for,
a sentiment that rings especially true when the reward is a slice of flawlessly smooth, creamy pie. The impact of this seemingly simple pursuit extends to the joy it brings, the connections it fosters (sharing a pie is always a good time! ), and the sense of accomplishment it provides.
Now, I invite you to consider your own "perfect pie." What are the elements in your life that require the same careful attention to temperature and timing? What seemingly small details, when precisely managed, can lead to extraordinary results? Take the lessons learned from baking the perfect cream pie – the patience, the precision, the understanding of cause and effect – and apply them to your own pursuits. The sweetness of success awaits.
Unlock Your Inner Pie Master: Bake the Perfect Cream Pie Today!
Thanks for taking the time to learn about baking the perfect cream pie! You've now got the knowledge to avoid those common baking pitfalls and create a truly delicious dessert. Ready to put your new skills to the test?
- Bake your dream cream pie: Grab those ingredients and get baking! Experiment with different flavor combinations – the possibilities are endless!
- Share your masterpiece: Show off your perfectly baked pie on social media and tag us @BakeWithEase – we'd love to see your creations!
- Explore our other pie recipes: Dive into our library for even more inspiration and baking techniques.
What unique twist will you add to your next cream pie creation? Let's hear your ideas in the comments below!