
How to Cool Baked Goods Properly

Welcome to BakeWithEase, your trusted companion on your baking journey! Ever wondered if you're properly cooling baked goods quickly enough to preserve that perfect texture and prevent dreaded sogginess? This article unveils the secrets to achieving bakery-worthy results every time. Discover the crucial steps and techniques that separate baking success from baking sadness – and unlock the full potential of your delicious creations. Let's dive in!
- How to Properly Cool Baked Goods Quickly
- Why Cooling Baked Goods Properly Matters
- Best Methods for Quickly Cooling Baked Goods
- Cooling Cakes and Cupcakes the Right Way
- Cooling Cookies for Optimal Texture
- Cooling Pies and Cheesecakes Perfectly
- Troubleshooting Common Cooling Problems
- Essential Tools for Cooling Baked Goods
- Expert Tips for Faster Cooling
- Storing Baked Goods After Cooling
-
Frequently Asked Questions
- How important is proper cooling for baked goods?
- What are some common mistakes people make when cooling baked goods?
- What are the best methods for quickly cooling different types of baked goods?
- How can I prevent my baked goods from becoming soggy during the cooling process?
- What happens if I cool my baked goods too quickly?
- Final Reflection: The Art and Science of Cooling Baked Goods
- Unlock Your Baking Potential: Cool Down & Conquer!
How to Properly Cool Baked Goods Quickly
Why Cooling Baked Goods Properly Matters
Properly cooling baked goods quickly isn't just about impatience; it's a crucial step in the baking process that significantly impacts the final quality of your creations. Skipping or rushing this stage can lead to undesirable textures, flavors, and even potential food safety issues, especially with items containing dairy or eggs. Understanding the science behind cooling helps you achieve consistently delicious results every time you bake.
When baked goods come out of the oven, they are still undergoing chemical and physical changes. The residual heat continues to cook the interior, and the structure is often fragile. Rapid cooling allows the internal temperature to drop efficiently, halting the cooking process and setting the internal structure. This is particularly important for cakes, breads, and pastries where a delicate crumb or crisp crust is desired.
Preventing Soggy Bottoms
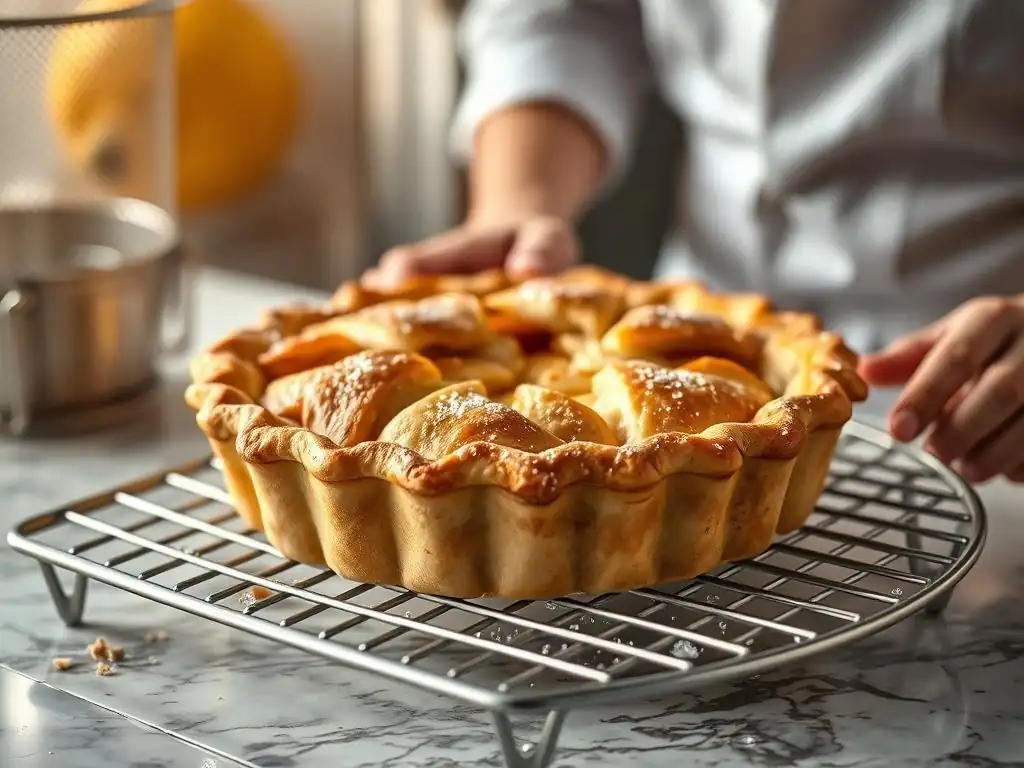
One of the most common frustrations in baking is a soggy bottom, particularly with pies and tarts. This occurs when steam released from the filling or crust is trapped, condensing and making the bottom layer wet and unpleasantly soft. Properly cooling baked goods quickly on a wire rack allows air to circulate freely around the entire item, enabling steam to escape effectively.
For instance, a fruit pie fresh out of the oven is full of steam. Placing it on a solid surface immediately after baking traps that steam against the bottom crust. Moving it to a wire rack elevates the pie, allowing air to flow underneath. This rapid airflow helps dissipate the steam, ensuring the bottom crust stays crisp and flaky, preventing that dreaded sogginess that can ruin an otherwise perfect dessert.
Maintaining Texture
Cooling plays a vital role in setting the texture of baked goods. For cakes and muffins, cooling allows the crumb structure to stabilize. If sliced too early while still hot, the structure can collapse, resulting in a dense, gummy texture. Cookies, on the other hand, often need initial cooling on the hot baking sheet to finish setting before being moved, which contributes to their final crispness or chewiness.
Consider a loaf of bread. While it's tempting to slice into a warm loaf, cooling allows the internal moisture to redistribute evenly. Slicing hot bread releases too much steam, leading to a dry, crumbly texture once it cools completely. A proper cooling period, often 1-2 hours for a standard loaf, ensures a moist interior and a well-set crust, showcasing the intended texture. Properly cooling baked goods quickly helps achieve these desired textural outcomes efficiently.
Food Safety
While less emphasized for many simple baked goods, proper cooling is critical for food safety, especially for items containing perishable ingredients like dairy, eggs, or cream fillings. These items enter the "danger zone" (roughly 40°F to 140°F or 4°C to 60°C) where bacteria multiply rapidly, as they cool down. Getting them out of this zone efficiently is key.
For items like cheesecakes, quiches, or pastries with cream fillings, prompt cooling minimizes the time they spend at hazardous temperatures. While you wouldn't typically put a piping hot cheesecake directly into the fridge (which can crack it and warm other items), allowing it to cool safely on the counter for a limited time (often around 1-2 hours, depending on size and ambient temperature) before refrigerating is standard practice. Properly cooling baked goods quickly helps reduce the overall exposure time in the danger zone.
Best Methods for Quickly Cooling Baked Goods
Achieving that perfect texture and ensuring safety often hinges on employing the right cooling techniques. While simply leaving items on the counter is an option, it's rarely the most efficient or effective way to properly cool baked goods quickly. Utilizing specific tools and methods can significantly speed up the process and improve results.
The primary goal of quick cooling is to maximize airflow around the baked item and facilitate heat transfer away from it. Different types of baked goods benefit from slightly different approaches, but the underlying principles of ventilation and efficient heat dissipation remain constant. Understanding these methods helps you choose the best strategy for whatever you've just pulled from the oven.
Wire Rack Cooling
The undisputed champion of proper cooling methods is the wire cooling rack. Placing baked goods on a wire rack elevates them above the counter surface, allowing air to circulate freely not only around the sides and top but also underneath. This airflow is crucial for preventing steam buildup and promoting even cooling.
Compare cooling a cake on a solid plate versus a wire rack. On the plate, the bottom of the cake remains in contact with a non-circulating surface, trapping heat and steam. On a wire rack, air flows beneath, carrying heat and moisture away. This allows the cake to cool down much faster and prevents a soggy bottom, ensuring the entire cake cools uniformly and sets properly. This is essential for properly cooling baked goods quickly and effectively.
Speeding Up the Process
While a wire rack is fundamental, you can take steps to accelerate cooling further. Ensuring good air circulation in the room is one simple step; avoid cooling in a stuffy kitchen right after the oven has been on for hours. Moving the item to a cooler part of the house can also help.
For even faster cooling, especially for items that need to be frosted or stored quickly, a gentle fan can be used. Position a fan to blow air across the cooling rack, not directly into the baked goods (which can dry them out). This increased airflow significantly speeds up the rate at which heat is dissipated from the surface, contributing to properly cooling baked goods quickly without negatively impacting texture. For example, a batch of cookies that might take 30 minutes to cool on a still-air rack could be ready in 15-20 minutes with a gentle fan.
Cooling Cakes and Cupcakes the Right Way
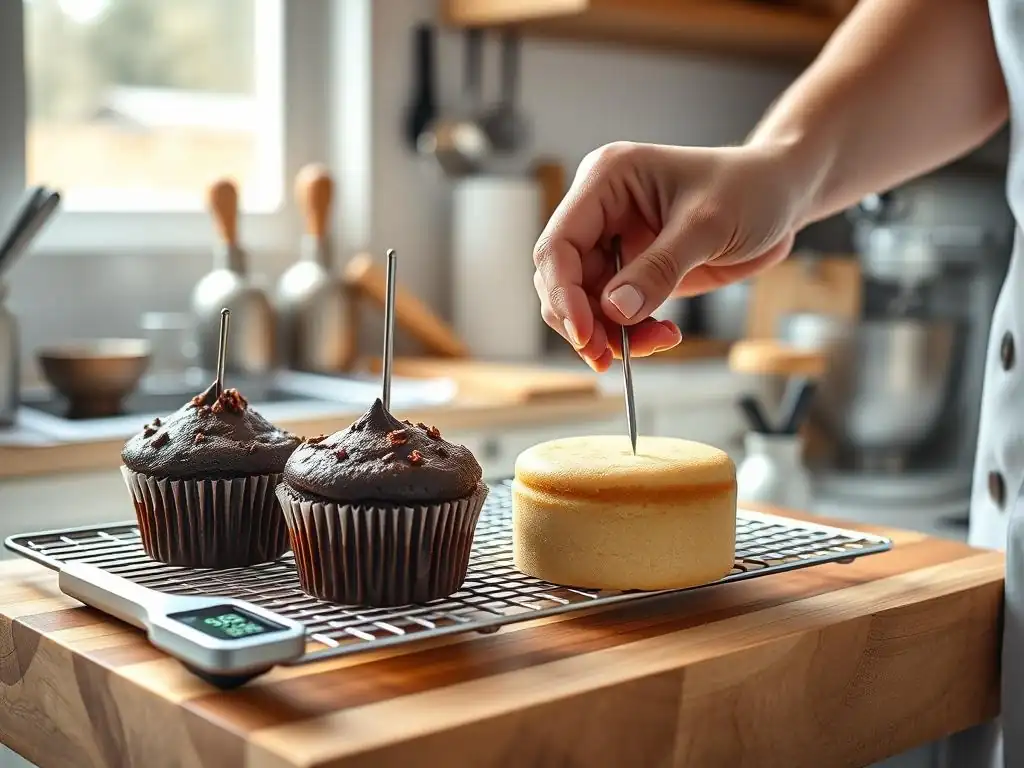
Cakes and cupcakes require careful handling during the cooling process to maintain their delicate structure, prevent shrinking, and prepare them for decorating. The method you use immediately after they come out of the oven can make a significant difference in their final appearance and texture.
The primary challenge with cooling cakes and cupcakes is preventing them from becoming dense or having a gummy layer at the bottom. They are also prone to cracking or sinking if disturbed too early or cooled improperly. Mastering the cooling step ensures your cakes are level, tender, and easy to work with.
Cooling in the Pan vs. On a Wire Rack
Most cakes benefit from a short cooling period in the pan before being transferred to a wire rack. This initial cooling allows the cake's structure to firm up slightly, making it less likely to break or crumble when inverted. A common guideline is to cool cakes in their pans for 10-15 minutes after removing them from the oven.
After this initial period, the cake should be carefully inverted onto a wire cooling rack to finish cooling completely. Leaving a cake in the hot pan for too long can cause the residual heat to overcook the edges or bottom, potentially leading to dryness or sticking. Transferring it to the rack allows air circulation, facilitating properly cooling baked goods quickly and evenly. Cupcakes are often cooled in their liners within the muffin tin for just a few minutes (around 2-5) before being lifted out and placed directly onto a wire rack.
Preventing Cake Domes
While proper baking technique is the primary factor in preventing excessive cake domes, how you cool can also play a minor role. Rapid, even cooling helps the cake set uniformly. Uneven cooling, perhaps due to placing a hot pan on a cold surface or in a drafty spot, can sometimes exacerbate uneven rising and setting.
Ensuring the cake cools on a level surface on a wire rack promotes even air circulation around the entire cake. Some bakers even use cooling strips around the pan during baking to encourage level tops, which then cool more evenly. While cooling won't fix a fundamentally domed cake, properly cooling baked goods quickly and evenly on a rack ensures the dome doesn't worsen during the cooling process and helps the cake settle uniformly.
Cooling for Frosting Application
Cakes and cupcakes must be completely cool before frosting. Applying frosting to a warm cake will cause the frosting to melt, slide off, and potentially pull up crumbs, resulting in a messy finish. "Completely cool" means the cake has reached room temperature throughout.
Depending on the size of the cake, this can take anywhere from 1 to 3 hours or even longer for very large cakes. Cupcakes typically cool faster, often within 30-60 minutes. To properly cool baked goods quickly for frosting, ensure they are on a wire rack with good airflow. Using a fan can help speed this up, potentially cutting cooling time by 20-30%. Test by touching the center of the cake; it should feel cool to the touch, not just the edges.
Cookies are unique in how they cool, often continuing to bake slightly and set their texture on the hot baking sheet after being removed from the oven. The cooling process for cookies is a two-step dance: initial setting on the sheet, followed by complete cooling on a wire rack.
The goal when cooling cookies is to achieve the desired final texture, whether that's chewy, crisp, or soft. How long you leave them on the baking sheet versus the wire rack plays a significant role in this. Properly cooling baked goods quickly like cookies requires understanding this delicate balance.
Most cookie recipes instruct you to leave cookies on the hot baking sheet for a few minutes after removing them from the oven. This is crucial because cookies are often quite delicate and soft when first baked. The residual heat in the baking sheet continues to cook the cookies slightly from the bottom, allowing them to firm up enough to be safely moved without breaking.
The duration varies by recipe and desired texture, but typically ranges from 2 to 10 minutes. For instance, a thin, crisp cookie might only need 2-3 minutes to set, while a thicker, chewier cookie might benefit from 5-8 minutes. Leaving them on the sheet too long can make them brittle or overly crisp, while removing them too soon can cause them to fall apart.
After the initial setting period on the baking sheet, cookies should be transferred to a wire cooling rack to cool completely. Using a thin, flexible spatula is best for this to avoid damaging the cookies. Placing them on a wire rack allows air to circulate around the entire cookie, stopping the residual cooking and allowing them to cool quickly and evenly.
Cooling on a wire rack is essential for achieving the final texture. For crisp cookies, this rapid cooling helps them dry out slightly. For chewy cookies, it allows the interior to cool without becoming too dry. Placing cookies directly onto a solid surface like a counter or plate will trap steam underneath, potentially leading to soggy bottoms or an uneven texture. Properly cooling baked goods quickly like cookies on a rack is key.
If your goal is a chewy cookie, the cooling process is particularly important. While recipe formulation (ingredients, baking time) is primary, cooling technique helps preserve that chewiness. Allowing them to cool just long enough on the baking sheet to be moved, then transferring them to a wire rack to finish cooling, is crucial.
Avoid over-cooling cookies on the baking sheet if you want them chewy, as this can make them more crisp. Once on the wire rack, let them cool completely. Storing them properly once cool (often in an airtight container, perhaps with a piece of bread) also helps maintain moisture and chewiness. The combination of slight underbaking (for chewiness) and properly cooling baked goods quickly on a rack is often the secret.
Cooling Pies and Cheesecakes Perfectly
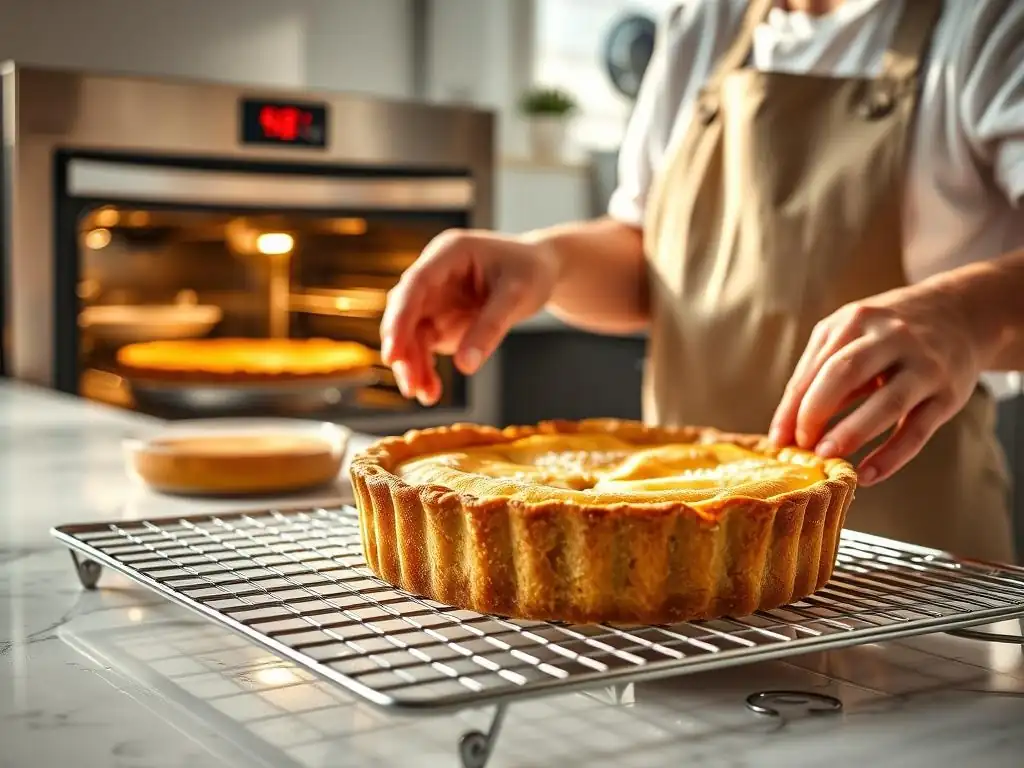
Pies and cheesecakes are perhaps the most challenging baked goods to cool, as they are prone to issues like soggy crusts, cracks, or uneven setting. Their size and density mean they retain heat for a long time, requiring specific strategies for successful cooling.
Unlike cakes or cookies that often benefit from rapid cooling, cheesecakes, in particular, require a more gradual approach to prevent cracking. Pies, however, need good airflow to keep their bottom crust crisp. Understanding these nuances is vital for achieving perfect results.
Cooling Pies to Prevent Soggy Crusts
As mentioned earlier, preventing a soggy bottom crust is paramount for pies. This is achieved by placing the pie on a wire cooling rack immediately after removing it from the oven. Do not let it sit on a solid surface. The elevation and airflow are non-negotiable for a crisp crust.
A standard 9-inch fruit pie can take 2-4 hours or even longer to cool completely at room temperature. The filling needs adequate time to set as it cools. Cutting into a hot pie will result in a runny filling. While properly cooling baked goods quickly is often the goal, for pies, "quickly" means efficiently getting air circulation underneath, not necessarily rushing the total cooling time needed for the filling to set properly.
Gradual Cooling for Cheesecakes
Cheesecakes are notorious for cracking during cooling. This is often caused by a sudden drop in temperature, which makes the outside cool and contract faster than the inside. The best method for preventing cracks is gradual cooling. Many recipes recommend turning off the oven and leaving the cheesecake inside with the door slightly ajar for 30-60 minutes after it's finished baking.
This allows the cheesecake's temperature to decrease slowly, minimizing the thermal shock. After this period in the oven, the cheesecake should be transferred to a wire rack to cool completely at room temperature, which can take 2-4 hours. Only after it has reached room temperature should it be covered and refrigerated to chill thoroughly (typically 4-8 hours or overnight) before serving. This controlled, gradual approach is essential for properly cooling baked goods quickly without causing damage.
Achieving Perfect Cheesecake Texture
Beyond preventing cracks, proper cooling is key to achieving that signature smooth, dense, and creamy cheesecake texture. The slow cooling process allows the protein structure within the custard to set gently and evenly. Rapid cooling can result in a tougher or less smooth texture.
Chilling the cheesecake completely in the refrigerator after it has cooled to room temperature is just as important as the initial gradual cooling. This final chilling period firms up the cheesecake, making it sliceable and enhancing its creamy mouthfeel. A cheesecake that hasn't been properly chilled will be too soft and potentially runny in the center. The multi-stage cooling and chilling process ensures the perfect texture.
Troubleshooting Common Cooling Problems
Even with the best techniques, sometimes things don't go exactly as planned during the cooling phase. Recognizing common problems and understanding their likely causes can help you adjust your methods and improve future results. Properly cooling baked goods quickly sometimes involves knowing what went wrong the last time.
From soggy bottoms to cracked surfaces, these issues can be frustrating but are often preventable or fixable with a little know-how. Let's look at some frequent cooling mishaps and how to address them.
Soggy Bottoms: Identifying and Fixing the Cause
Soggy bottoms, particularly in pies and tarts, are almost always a result of trapped steam during cooling.
- Cause: Not cooling on a wire rack immediately after baking.
- Fix: Always transfer pies, tarts, and even loaf cakes (after initial pan cooling) to a wire rack to ensure air circulation underneath.
Sometimes, excess moisture in the filling itself contributes. If your filling is very wet, consider using a pie shield or par-baking the crust to give it a head start before adding the filling. Ensuring the oven temperature was correct and the pie baked long enough to properly set the bottom crust is also crucial, as insufficient baking can leave the crust vulnerable to sogginess during cooling.
Uneven Cooling
Uneven cooling can lead to dense spots in cakes, cookies that are crisp on one side and soft on the other, or even structural issues.
- Cause: Placing hot items on an uneven surface, in a draft, or too close together on the cooling rack.
- Fix: Always place baked goods on a level wire rack with adequate space between them for air to circulate evenly.
Avoid placing hot pans directly on cold countertops or near open windows where drafts can hit only one side. If using a fan to properly cool baked goods quickly, ensure the airflow is gentle and distributed across the items, not concentrated on just one area. Rotating items on the rack can also help ensure uniform cooling, though with good spacing and airflow, it's often unnecessary.
Cracked Cheesecakes
Cracked cheesecakes are primarily a cooling issue, stemming from rapid temperature changes.
- Cause: Sudden temperature drops during or after baking.
- Fix: Implement gradual cooling methods.
This includes:
- Leaving the cheesecake in the turned-off oven with the door ajar for 30-60 minutes.
- Using a water bath during baking (this helps regulate the temperature and adds moisture to the oven).
- Cooling completely at room temperature on a wire rack before refrigerating.
If a crack does occur, don't despair! It doesn't affect the taste. You can often cover it with a topping like fruit, whipped cream, or a ganache. While properly cooling baked goods quickly is a goal, for cheesecakes, a controlled and gradual cooling is the proper way to prevent cracks.
Essential Tools for Cooling Baked Goods
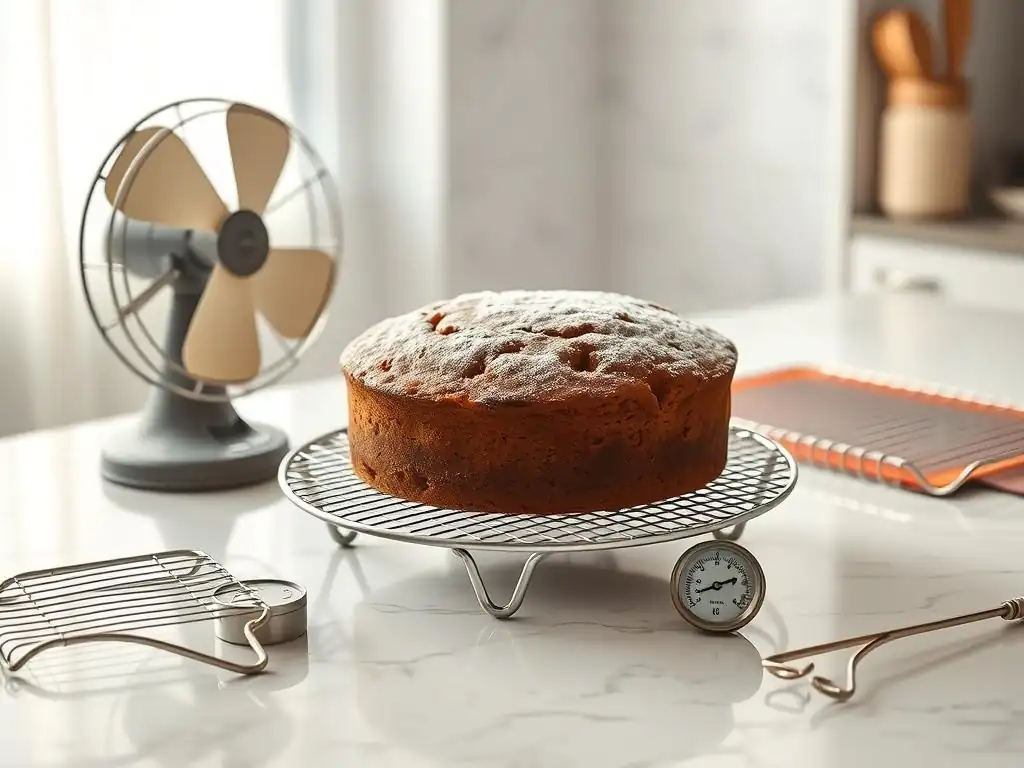
Having the right equipment makes the cooling process much more efficient and effective. While you might be able to improvise, dedicated cooling tools are designed to facilitate the best possible airflow and handling.
Investing in a few key cooling tools will elevate your baking game and help you achieve better results consistently. These tools are relatively inexpensive and durable, making them a worthwhile addition to any baker's kitchen.
Wire Racks
Wire cooling racks are the single most important tool for properly cooling baked goods quickly. They come in various sizes and shapes, from small rectangular racks perfect for cookies to larger ones for cakes and loaves. Look for racks with sturdy feet that elevate the baked goods several centimeters above the surface.
Material matters too; stainless steel or chrome-plated racks are durable and easy to clean. Ensure the grid pattern is tight enough that smaller items like cookies don't fall through, but open enough to allow ample airflow. Having multiple racks is beneficial, especially when baking large batches of cookies or cupcakes.
Cooling Pads
While not strictly for cooling the baked good itself, cooling pads (like silicone hot pads or trivets) are essential for protecting your countertops when you remove hot pans from the oven. You should never place a scorching hot pan directly onto a laminate or stone surface, as it can cause damage.
Use cooling pads to place the hot baking sheet or cake pan briefly before transferring the baked goods to the wire rack, or use them to support the wire rack itself if its feet might scratch a delicate surface. They act as a buffer, allowing you to safely handle hot items immediately after baking, which is the first step towards properly cooling baked goods quickly and safely.
Parchment Paper
Parchment paper is indispensable throughout the baking process, and it plays a small but helpful role in cooling too. Using parchment paper on your baking sheets not only prevents sticking but also makes transferring delicate items like cookies or biscuits to the cooling rack much easier.
You can often slide the entire sheet of parchment paper with the baked goods on it directly onto the wire rack (if the rack is large enough and the parchment fits), or gently slide items off the parchment onto the rack using a spatula. This minimizes handling of the hot, fragile baked goods, reducing the risk of breakage while facilitating efficient cooling.
Expert Tips for Faster Cooling
Sometimes you're on a deadline for frosting a cake or need those cookies packed away. While patience is often key in baking, there are a few tricks experts use to safely accelerate the cooling process without compromising quality. These methods help you properly cool baked goods quickly when time is of the essence.
Keep in mind that "faster" doesn't mean skipping essential steps like initial pan cooling or using a wire rack. It means optimizing the environment and airflow to make the standard cooling process more efficient.
Using a Fan
As mentioned earlier, a gentle fan is a baker's friend when you need to speed things up. Position a small fan about 2-3 feet away from the wire rack, aiming it to blow air across the baked goods. Avoid pointing it directly down onto them, which can create a crust or dry out the surface unevenly.
This increased airflow enhances convection, carrying heat away from the surface of the baked goods much faster than still air. For example, a cake that might take 2 hours to cool to room temperature could be ready for frosting in 1.5 hours or less with a fan. This is one of the most effective ways to properly cool baked goods quickly for tasks like decorating.
Cooling Times for Different Baked Goods
While exact times vary based on size, density, and ambient conditions, here are some general cooling guidelines:
- Cookies: 2-10 minutes on baking sheet, then 15-30 minutes on wire rack.
- Cupcakes: 2-5 minutes in tin, then 30-60 minutes on wire rack.
- Muffins: 5-10 minutes in tin, then 20-40 minutes on wire rack.
- Cakes (Layer): 10-15 minutes in pan, then 1-2 hours on wire rack.
- Loaf Cakes/Breads: 10-20 minutes in pan, then 1-3 hours on wire rack.
- Pies: Immediately to wire rack, 2-4+ hours.
- Cheesecakes: 30-60 minutes in oven (off, door ajar), then 2-4 hours at room temp on rack, then 4-8+ hours refrigerated.
These are approximations, but they give you a starting point for how long different items generally need to cool properly.
Adjusting Cooling Times for Different Climates
Ambient temperature and humidity play a significant role in how quickly baked goods cool and how their texture develops. In a hot, humid environment, cooling can take longer, and items prone to sogginess (like pies or crisp cookies) might suffer. In a dry environment, items can cool and dry out faster than desired.
In humid conditions, maximizing airflow with a fan is even more critical for properly cooling baked goods quickly and preventing sogginess. You might also need slightly longer cooling times to ensure items reach a safe temperature. In very dry conditions, monitor items like cakes and breads to ensure they don't become excessively dry on the outside while cooling; sometimes covering them loosely with a clean towel after the initial rapid cooling phase can help retain some surface moisture.
Storing Baked Goods After Cooling
Once your baked goods have been properly cooled, the next step is storing them correctly to maintain their freshness, texture, and flavor. Storing items before they are fully cool is a common mistake that can ruin your hard work.
Putting warm baked goods into an airtight container or bag creates condensation, which can lead to sogginess, stickiness, and even mold growth. Always ensure items are completely at room temperature unless the recipe specifically calls for chilling (like cheesecakes).
Proper Storage Containers
The type of container you use depends on the baked good and how long you plan to store it.
- Cookies: Airtight containers are best for maintaining freshness and texture. A cookie jar or plastic container with a tight-fitting lid works well.
- Cakes/Cupcakes: If unfrosted, an airtight container or wrapping tightly in plastic wrap helps prevent drying. Frosted cakes are best stored in cake carriers or loosely covered to protect the frosting, often requiring refrigeration depending on the frosting type.
- Breads: Loaves can be stored in bread boxes, paper bags (for crust crispness), or plastic bags (for softer crusts).
- Pies/Cheesecakes: Must be refrigerated after cooling to room temperature. Cover tightly with plastic wrap or aluminum foil.
Selecting the right container is key to preserving the quality achieved by properly cooling baked goods quickly.
Maintaining Freshness
Beyond the container, location and temperature are crucial for freshness. Most baked goods stored at room temperature will stay fresh for 2-3 days. Keeping them away from direct sunlight or heat sources helps prevent them from drying out or spoiling prematurely.
For items that require refrigeration, ensure they are stored properly to avoid absorbing odors from other foods. Double wrapping or using truly airtight containers can help. Always label and date your stored baked goods so you know how long they've been kept.
Freezing Baked Goods
Many baked goods freeze exceptionally well, allowing you to extend their shelf life significantly (often for 2-3 months). Properly cooling baked goods quickly and completely is a critical first step before freezing. Freezing warm items will lead to freezer burn and poor texture upon thawing.
To freeze, ensure the item is completely cool. Wrap individual portions or the entire item tightly in plastic wrap, then wrap again in aluminum foil or place in a freezer-safe bag or container. This double layer of protection prevents freezer burn. Thaw frozen baked goods at room temperature or overnight in the refrigerator (for items like cheesecakes) before serving.
Frequently Asked Questions
How important is proper cooling for baked goods?
Proper cooling is extremely important as it impacts the final texture and prevents soggy bottoms. Cooling too quickly, or not quickly enough, can ruin your baked creation.
What are some common mistakes people make when cooling baked goods?
A common mistake is leaving items in the hot baking pan for too long, causing continued cooking. Another is wrapping them while still warm, trapping moisture and leading to soggy or sticky results.
What are the best methods for quickly cooling different types of baked goods?
For cakes, wire racks are essential for even airflow. Cookies can be cooled directly on the baking sheet for a short time before transferring. Breads often benefit from gradual cooling to prevent cracking.
How can I prevent my baked goods from becoming soggy during the cooling process?
Ensure adequate airflow by using a wire rack and avoiding covering the baked goods while they are still warm. This allows excess moisture to escape.
What happens if I cool my baked goods too quickly?
Cooling too quickly can cause cakes to crack or breads to become dense. Controlled cooling is key to prevent structural damage and maintain the desired texture.
Final Reflection: The Art and Science of Cooling Baked Goods
The seemingly simple act of cooling baked goods is far more crucial than many realize; mastering this technique is the difference between a perfectly textured treat and a disappointing, gummy mess. Proper cooling isn't just about aesthetics; it's about unlocking the full potential of your baking, ensuring optimal flavor and texture, and preventing premature spoilage. This impacts everything from the crispness of a cookie to the moistness of a cake.
The impact of proper cooling extends beyond individual enjoyment; it's a fundamental skill that connects generations of bakers. From grandmothers' secret recipes passed down through families to the meticulous techniques of professional pastry chefs, the understanding of cooling plays a vital role in the preservation and evolution of baking traditions. Baking is an act of love, and that love extends to every detail, including the cooling process.
This quote, though not from a specific source, encapsulates the importance of attention to detail in baking, and cooling is a critical detail often overlooked.
Now, consider your own baking journey. What have you learned about the subtle nuances of cooling different types of baked goods? I encourage you to experiment with the techniques discussed in this article, to observe the results, and to refine your own approach. The next time you pull a batch of cookies, a loaf of bread, or a magnificent cake from the oven, remember the importance of that final, crucial step. Embrace the art and science of cooling, and elevate your baking to a new level of excellence.
Unlock Your Baking Potential: Cool Down & Conquer!
Thanks for diving into the world of perfectly cooled baked goods! You now have the knowledge to prevent soggy bottoms and ensure your creations reach their full potential. Ready to put your new skills to the test?
- Master the Cool-Down: Practice your new cooling techniques with your next batch of cookies, cakes, or pies. Pay close attention to the subtle differences in cooling methods and note what works best for different recipes.
- Share Your Successes (or Challenges!): Snap a picture of your perfectly cooled masterpiece and share it on social media – tag us if you'd like! We'd love to see your results.
- Experiment with New Recipes: Now that you're a cooling pro, challenge yourself to tackle a more intricate recipe! Think delicate macarons or a layered cake – you've got this!
What innovative cooling method will you try first, and which baked good are you most excited to perfect?