
Why Your Custard Curdled (and How to Fix It Instantly)

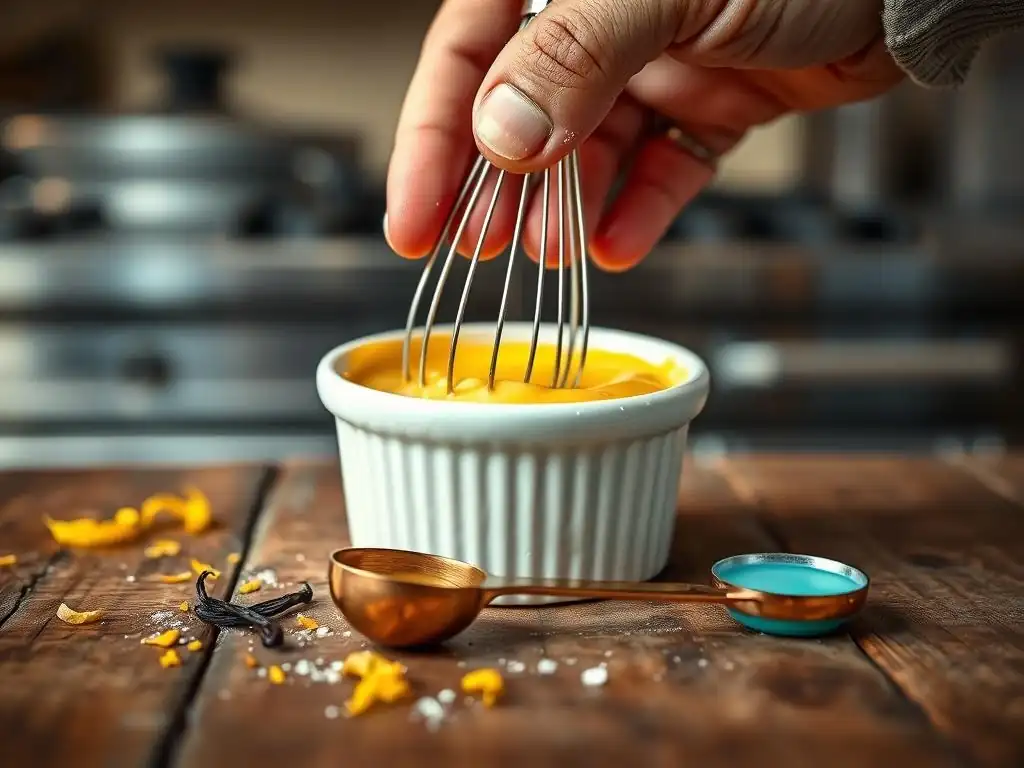
Welcome to BakeWithEase, your haven for all things baking! Ever wrestled with a seemingly perfect custard that suddenly turns grainy and curdled? Don't despair! Our comprehensive guide dives deep into the science behind custard curdling, offering not just explanations but also an instant custard curdling fix that will save your dessert and your sanity. Read on to unlock the secrets to smooth, luscious custard every time, and learn how to rescue it from disaster.
- Why Your Custard Curdled (and How to Fix It Instantly) - BakeWithEase
- Understanding Custard Curdling: A Baker's Nightmare
- Common Causes of Custard Curdling
- Instant Fixes for Curdled Custard: Saving Your Dessert
-
Preventing Custard Curdling: Proactive Baking Techniques
- Low and Slow Cooking: Mastering Gentle Heat for Custard
- Using a Double Boiler: Achieving Consistent Custard Temperature
- Tempering Eggs Properly: Avoiding Shock and Curdling
- Monitoring Custard Temperature with a Thermometer: Precision is Key
- Choosing the Right Ingredients: Understanding Fat Content and Acidity
- Tips for a Smooth and Creamy Custard Every Time
- Troubleshooting Common Custard Problems
- Custard Curdling Fix Instantly: A Quick Recap
-
Frequently Asked Questions
- Why did my custard curdle in the first place?
- Can I really fix curdled custard instantly?
- What's the most important thing to remember when making custard to prevent curdling?
- Is there a particular ingredient that makes custard more prone to curdling?
- What if the ice bath doesn't work? Is my custard completely ruined?
- Final Reflection: The Sweet Science of Saving Custard
- Rediscover Perfectly Smooth Custard: Your Next Baking Triumph Awaits!
Why Your Custard Curdled (and How to Fix It Instantly) - BakeWithEase
Understanding Custard Curdling: A Baker's Nightmare
Making a smooth, silky custard is one of baking's simple pleasures. It's the base for countless desserts, from crème brûlée to fruit tarts. However, nothing is quite as disheartening as watching your beautiful, creamy mixture suddenly transform into a lumpy, separated mess. This dreaded phenomenon is known as curdling, and it happens to bakers of all skill levels. Understanding why it occurs is the first step toward preventing it and, thankfully, often fixing it.
Curdling typically involves the proteins in the eggs tightening up too quickly or too much, squeezing out the liquid and fat they were holding in suspension. It's like a delicate dance between heat, time, and ingredients, and if any step is missed or rushed, the whole performance can fall apart. But don't despair! A curdled custard isn't always a lost cause. With the right knowledge and quick action, you can often bring it back from the brink.
What Does Curdled Custard Look Like? Identifying the Problem
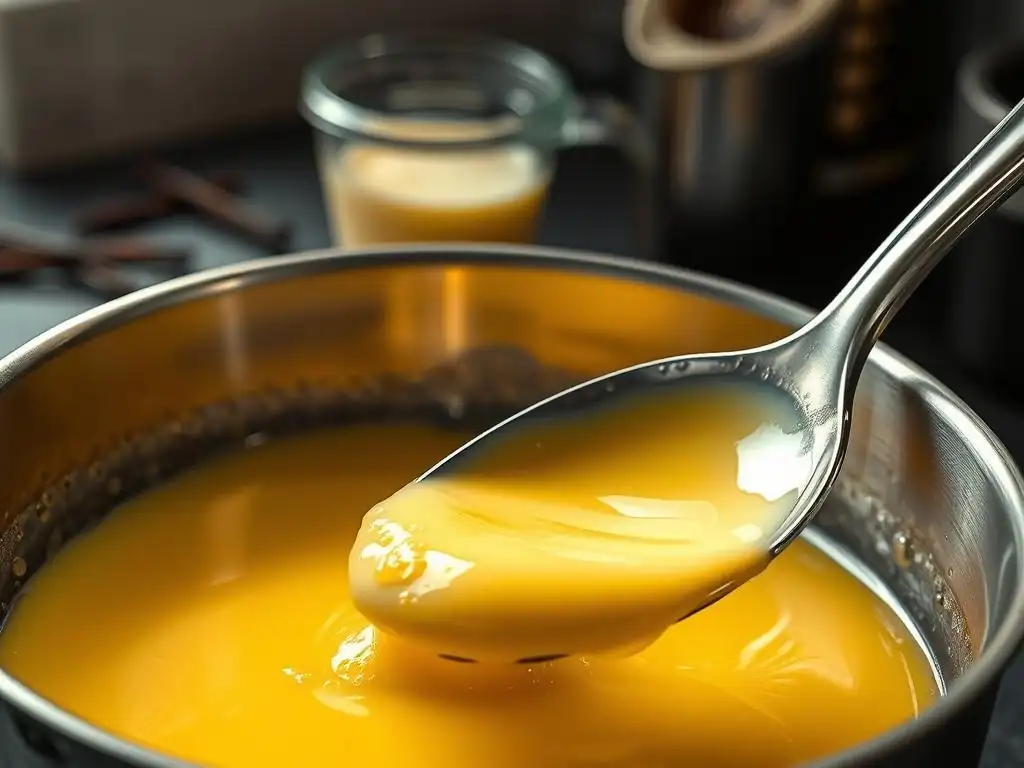
A perfectly cooked custard should be smooth, glossy, and homogenous, thickening to a coating consistency (like coating the back of a spoon). When custard curdles, its appearance changes dramatically. You'll typically see small, grainy lumps forming throughout the mixture. These lumps are the egg proteins that have overcooked and clumped together.
Alongside the grainy texture, you might notice a watery or oily liquid separating from the solids. This is the liquid and fat that the overcooked proteins can no longer hold. The once uniform mixture becomes visually broken and unappetizing. It's distinct from simply being too thin; it's a clear separation of components, indicating the delicate emulsion has broken. Catching these signs early is crucial for a successful custard curdling fix instantly.
Why Custard Curdles: The Science Behind the Separation
The science behind custard curdling primarily revolves around protein denaturation and coagulation, particularly the proteins found in egg yolks and whites. Eggs are essential for thickening custard because their proteins unwind (denature) and then link up (coagulate) when heated. This network traps the surrounding liquid, creating a thickened structure. For a smooth custard, this process needs to happen gradually and evenly.
However, if the heat is too high or applied too quickly, or if the custard is cooked for too long, the protein network tightens excessively. Imagine squeezing a sponge – the water is forced out. Similarly, the over-coagulated egg proteins squeeze out the liquid and fat, leading to the characteristic lumpy, separated texture of curdled custard. Factors like acidity and ingredient ratios also play a significant role in how these proteins behave.
Common Causes of Custard Curdling
Understanding the common culprits behind curdled custard empowers you to prevent the issue from happening in the first place. While it might seem mysterious when it happens, it's usually down to one or a combination of a few key factors related to heat, ingredients, and technique. Identifying the specific cause in your situation helps you learn from the experience and improve your future baking endeavors.
It's not always just one thing; sometimes, subtle issues combine. For example, cooking over slightly too high heat while also having a slightly off egg-to-liquid ratio can push the custard over the edge. Recognizing these potential pitfalls is key to consistently achieving that perfect, creamy texture that defines a successful custard.
Overheating Custard: The Primary Culprit
Overheating is arguably the most frequent reason for custard curdling. Egg proteins begin to coagulate at relatively low temperatures, typically starting around 150°F (65°C) and setting firmly by 180-185°F (82-85°C). If the custard is heated significantly beyond this point, or if it reaches the target temperature too quickly, the proteins coagulate too rapidly and too tightly.
For instance, cooking a custard base directly over high heat on the stovetop without constant stirring can cause the bottom layer to overheat instantly. This part will curdle before the rest of the mixture has even thickened properly. The intense heat denatures the proteins too aggressively, causing them to seize up and expel liquid, resulting in those tell-tale lumps and watery separation. Maintaining a gentle, consistent heat is paramount.
Incorrect Egg to Liquid Ratio: Imbalance Issues in Custard Making
The ratio of eggs (specifically egg yolks, which contain more fat and emulsifiers) to liquid (milk, cream, etc.) is critical for custard stability. Eggs provide the protein needed for thickening, while the liquid provides the bulk and moisture. If there are too many eggs relative to the amount of liquid, the protein concentration is too high.
When a custard with an imbalanced, egg-heavy ratio is heated, the excessive number of proteins can link together too readily and too tightly, even at appropriate temperatures. This leads to a structure that is prone to becoming grainy or curdled, especially if cooked for even a moment too long. Conversely, too little egg won't provide enough thickening power, resulting in a thin custard, but it's less likely to curdle severely unless drastically overheated.
A classic crème anglaise might use about 6-8 yolks per quart (liter) of milk/cream, while a richer pastry cream might use more. Deviating significantly without understanding the impact can lead to problems.
Acidic Ingredients Affecting Custard Stability
Acidity plays a complex role in protein coagulation. While a touch of acid (like lemon juice or vinegar) can sometimes help stabilize egg whites in meringues, it can cause problems in cooked custards, which rely on the slower, gentler coagulation of yolk proteins in a dairy base. Dairy is generally slightly acidic, but adding additional acidic ingredients can lower the pH of the custard mixture.
Lowering the pH causes egg proteins to coagulate at a lower temperature and more quickly than they would in a neutral or slightly alkaline environment. This means a custard containing significant acidic components (like fruit purées or juices added too early) is more susceptible to curdling, even when cooked at moderate temperatures. The proteins tighten prematurely, leading to a broken texture. It's why acidic flavorings are often folded into custard after it has been cooked and cooled slightly, or their acidity is buffered.
Over-Whisking and Introducing Too Much Air
While whisking is necessary to combine ingredients and ensure even cooking, excessive or vigorous whisking, especially during the thickening phase over heat, can sometimes contribute to curdling. Introducing too much air can create a foamy layer, and the heat transfer to the liquid beneath this foam can be uneven.
More significantly, aggressive whisking can potentially break apart the delicate protein network as it forms. Instead of a smooth, continuous structure trapping the liquid, the network is repeatedly disrupted. While this is less common than overheating or ratio issues, it can exacerbate other problems and lead to a less smooth texture, making it appear partially curdled or grainy. Gentle, continuous stirring with a whisk or spoon is generally preferred once the custard is over heat to ensure even cooking without incorporating excessive air or disrupting the thickening structure.
Instant Fixes for Curdled Custard: Saving Your Dessert
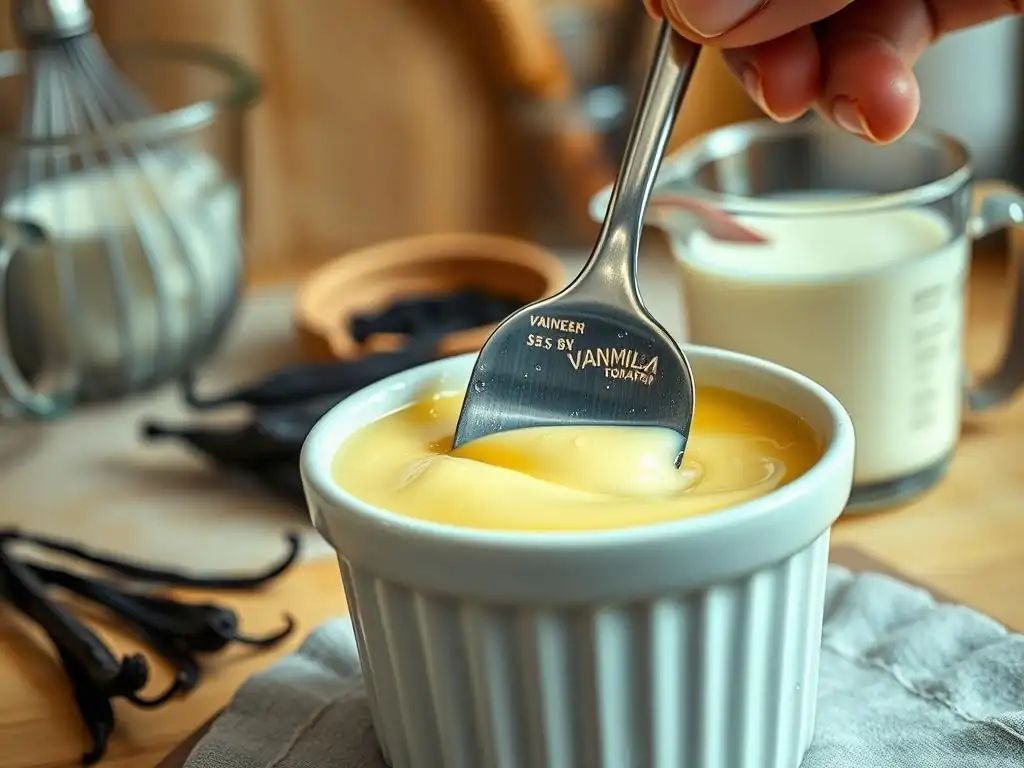
Discovering your custard has curdled doesn't automatically mean it's destined for the bin. There are several techniques you can employ to attempt a custard curdling fix instantly or at least salvage the situation. The key is to act quickly and understand that while these methods can often smooth out the texture, they may not fully restore the original richness or consistency if the curdling was severe. However, they are absolutely worth trying before giving up!
These methods work by either stopping the cooking process immediately, physically breaking down the overcooked protein lumps, or reincorporating the separated liquid and fat. The effectiveness depends on how badly the custard has curdled – a slightly grainy custard is much easier to fix than one that has completely separated into solid chunks and clear liquid. Don't delay; the sooner you intervene, the better your chances of success.
The Ice Bath Method: Quickly Cooling Down Curdled Custard
The very first step when you notice your custard curdling is to stop the cooking process immediately. The fastest way to do this is by plunging the pan into an ice bath. Prepare a larger bowl filled with ice and a little cold water before you start cooking the custard.
As soon as you see those grainy lumps, remove the custard pan from the heat and immediately place the bottom of the pan into the ice bath. Stir the custard constantly while it's in the ice bath. This rapid cooling prevents further coagulation of the egg proteins, stopping the curdling from getting worse.
While this step doesn't fix the existing lumps, it buys you time to employ other methods and ensures you don't make the problem more severe by letting residual heat continue to cook the eggs. It's a crucial first aid step for a potential custard curdling fix instantly.
The Blending Technique: Smooth Custard Rescue
Once the custard has been removed from the heat and ideally cooled slightly in an ice bath, blending is one of the most effective ways to physically break down the small protein lumps and attempt to re-emulsify the mixture. You can use an immersion blender directly in the saucepan (if it's suitable) or carefully transfer the custard to a regular blender or food processor.
Blend the custard on medium speed for 30 seconds to a minute. Watch it carefully; you should see the texture becoming smoother and more uniform. The high-speed blades chop up the tiny protein clumps into particles small enough that they are no longer perceived as grainy lumps, and the mechanical action helps to bring the fats and liquids back together into a smoother emulsion. Be careful not to over-blend, which could incorporate too much air. This technique is particularly good for achieving a smoother texture when you need a custard curdling fix instantly.
Adding a Cold Liquid: Rehydrating the Custard
Sometimes, adding a small amount of cold liquid can help rehydrate the thickened protein structure and smooth out a slightly curdled custard. This method works best for minor curdling where the separation isn't extreme. Have a few tablespoons of cold milk or cream ready.
Remove the custard from the heat and stir in a tablespoon or two of the cold liquid at a time, whisking vigorously. The cold liquid helps to cool the custard down quickly, halting further cooking, and the added moisture can help loosen the tightened protein network. Whisking helps to manually break down the lumps and reincorporate the liquid. This might require a bit of effort, and it's often used in conjunction with or as a preliminary step before blending if the curdling is more pronounced.
The Straining Solution: Removing Curdled Lumps
While blending helps break down lumps, another approach is to simply remove them. Passing the curdled custard through a fine-mesh sieve is a simple yet effective way to separate the liquid from the solid, overcooked protein bits.
Place a fine-mesh sieve over a clean bowl or container. Pour the curdled custard through the sieve, using a spoon or spatula to help push the liquid through. The lumps will be caught in the sieve. The strained liquid will be smoother, though it might be thinner than intended because the thickening proteins were removed. This method doesn't re-emulsify separated fat/liquid as well as blending does, but it successfully eliminates the grainy texture caused by the lumps. You can then potentially whisk in a bit of butter or cream to improve richness and texture if needed.
Preventing Custard Curdling: Proactive Baking Techniques
While instant fixes for curdled custard are valuable skills, prevention is always better than cure. Mastering the art of making smooth, creamy custard consistently involves understanding and applying several key techniques that minimize the risk of overheating and protein shock. By being mindful of temperature, mixing, and ingredient preparation, you can dramatically reduce the chances of ending up with a grainy mess.
Incorporating these proactive steps into your baking routine will not only help you avoid curdling but will also generally improve the quality and texture of your custards. Think of them as best practices for working with delicate egg-thickened sauces. They require a little patience and attention, but the results – a perfectly smooth, luscious custard – are well worth the effort.
Low and Slow Cooking: Mastering Gentle Heat for Custard
The most critical factor in preventing custard curdling is controlling the heat. Cooking custard low and slow is the golden rule. This means using medium-low or low heat on the stovetop and being patient. Gentle heat allows the egg proteins to coagulate gradually and evenly throughout the mixture, forming a smooth, stable network without tightening excessively.
Rapid heating causes the exterior of the egg proteins to cook and seize up before the interior or surrounding liquid has warmed sufficiently. Aim for a gentle simmer, not a rolling boil, if heating dairy first, and then cook the custard base over gentle heat. Constant, gentle stirring is also essential to ensure even heat distribution and prevent hot spots from forming on the bottom of the pan, which can lead to instant local curdling.
Using a Double Boiler: Achieving Consistent Custard Temperature
One of the most reliable methods for preventing overheating is using a double boiler (or a bain-marie). This involves setting the saucepan containing the custard mixture over a pot of simmering water. The steam from the simmering water provides indirect, gentle heat to the custard, preventing the bottom from getting too hot too quickly.
The maximum temperature the custard can reach in a double boiler is limited by the boiling point of water (212°F or 100°C), which is safely above the custard's setting temperature (around 180-185°F) but provides a buffer against scorching and rapid overheating. This method allows for slower, more controlled cooking, giving you more time to react and monitor the custard's thickening without the constant threat of instant curdling from direct high heat. It's a technique highly recommended for beginners or when making delicate custards.
Tempering Eggs Properly: Avoiding Shock and Curdling
Tempering eggs is a crucial step when adding them to a hot liquid base, like heated milk or cream. Pouring cold eggs directly into hot liquid will cause the egg proteins to instantly seize up and curdle due to the sudden temperature shock. Tempering gradually raises the temperature of the eggs before they are fully combined with the hot liquid.
To temper, slowly whisk a small amount (about half a cup) of the hot liquid into the beaten eggs in a separate bowl. Whisk continuously to prevent the eggs from scrambling. Once the eggs are warmed by this initial addition, you can then slowly pour the warmed egg mixture back into the main pot of hot liquid on the stove, whisking constantly. This gradual introduction ensures the eggs are brought up to temperature gently, allowing them to integrate smoothly into the custard base without curdling upon contact.
Monitoring Custard Temperature with a Thermometer: Precision is Key
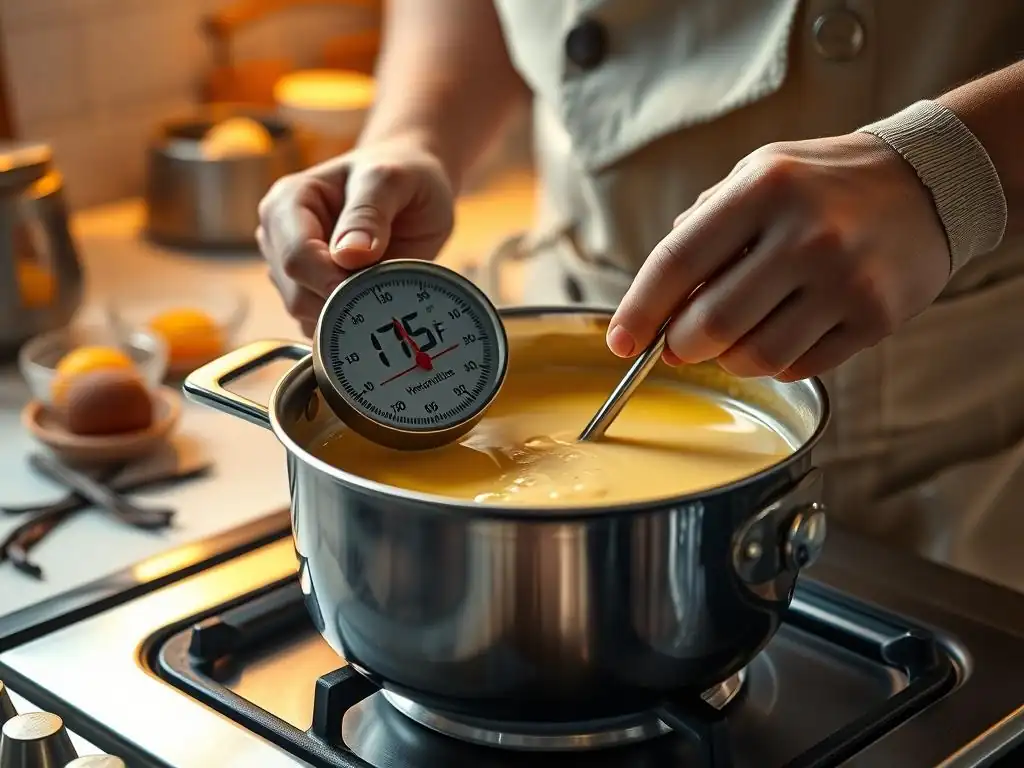
Guessing when a custard is perfectly cooked is risky. Using an instant-read thermometer is the most precise way to know when your custard has reached the ideal thickness while avoiding overheating. Custards typically set between 170°F and 185°F (77°C and 85°C). The exact temperature depends on the recipe and desired consistency (more eggs or less liquid means it will set at a lower temperature).
Start checking the temperature as the custard begins to thicken. Once it reaches the lower end of the target range (e.g., 175°F for many recipes), remove it from the heat immediately. The residual heat will continue to cook it slightly. Relying solely on visual cues like coating the back of a spoon is helpful but less foolproof than a thermometer, especially for preventing those extra few degrees that can cause a custard curdling fix instantly to be necessary.
Choosing the Right Ingredients: Understanding Fat Content and Acidity
The composition of your ingredients can influence the stability of your custard. Using whole milk or cream adds fat, which helps create a smoother, more stable emulsion and can be more forgiving than using low-fat milk. The fat coats the protein particles, preventing them from clumping together too readily.
Be mindful of acidic ingredients. If a recipe involves fruit juice or zest, consider when they are added. Often, it's best to incorporate highly acidic elements after the custard has cooked and cooled slightly to avoid lowering the pH while the egg proteins are actively coagulating over heat. Using fresh, high-quality eggs also ensures you have the best possible protein structure to work with.
Tips for a Smooth and Creamy Custard Every Time
Beyond the core techniques for preventing curdling, a few extra tips can elevate your custard-making from good to consistently great. These practices contribute to a luxurious texture and ensure your final product is as smooth and rich as possible, minimizing the chances you'll ever need a custard curdling fix instantly. They are simple additions to your process that make a noticeable difference.
Incorporating these steps into your routine helps build confidence in your custard-making abilities. They address common texture issues and contribute to overall stability, leading to reliable results whether you're making a simple vanilla custard or a complex pastry cream.
Use Fresh, High-Quality Ingredients
The foundation of any great dish is the quality of its ingredients. This is particularly true for something as delicate as custard, where the flavor and texture rely heavily on the milk, cream, and especially the eggs. Fresh eggs have stronger, more stable proteins that are less likely to break down or curdle unexpectedly compared to older eggs.
Using fresh, whole milk and heavy cream provides the necessary fat content and richness that contribute to a smooth mouthfeel and a stable emulsion. While recipes might call for different types of dairy, opting for higher fat versions (like whole milk instead of skim, or using cream) generally leads to a more forgiving and richer custard less prone to separation.
Avoid Over-Mixing the Custard Base
While continuous stirring is needed when cooking custard over heat, be careful not to incorporate excessive air before cooking or whisk too vigorously during the initial heating phase. Over-mixing the egg and sugar mixture at the start can create a lot of foam, which can lead to an uneven texture.
During cooking, gentle but constant stirring with a whisk or wooden spoon is sufficient to prevent scorching and ensure even heat distribution. Aggressive whisking, especially once the custard starts to thicken, can sometimes break the delicate protein network as it forms, resulting in a less smooth texture or even contributing to a grainy appearance that mimics curdling. Stir just enough to keep the mixture moving smoothly.
Strain the Custard Before Cooking
This might seem counter-intuitive, but straining the uncooked custard base before it goes on the heat is a simple step that can prevent lumps later. Whisking eggs with sugar and dairy can sometimes leave small bits of unincorporated egg white or chalazae (the white stringy bits in eggs).
Passing the mixture through a fine-mesh sieve into your saucepan ensures that any potential lumps or inconsistencies are removed before cooking begins. This gives you a perfectly smooth base to start with, reducing the chances of ending up with grainy bits from poorly mixed ingredients, which can sometimes be mistaken for or contribute to curdling. It's a quick, easy step that acts as an excellent preventative measure.
Let the Custard Cool Slowly
Once your custard is cooked to the correct temperature and thickness, how you cool it is also important for texture. Rapid cooling, while necessary if you're trying a custard curdling fix instantly after it has occurred, can sometimes cause condensation or slight textural changes if not managed well.
Ideally, after removing from the heat and perhaps giving it a brief stir in an ice bath to halt cooking, cover the surface of the custard directly with plastic wrap. This prevents a skin from forming as it cools. Allow it to cool gradually at room temperature for a while before transferring it to the refrigerator to chill completely. Slow, covered cooling helps maintain a smooth, creamy texture throughout.
Troubleshooting Common Custard Problems
Even with the best techniques, baking can present challenges. Beyond curdling, you might encounter other issues with custard consistency. Knowing how to adjust a custard that's too thick or too thin, or how to manage texture issues other than outright curdling, helps build your confidence and ensures you can adapt in the kitchen.
These troubleshooting tips complement the prevention and fixing strategies for curdling. They address common outcomes when the balance of heat, time, or ingredients isn't quite right, helping you refine your process and achieve the desired result.
Custard is Too Thick: Solutions for Adjustment
If your cooked custard is thicker than intended – perhaps more like pudding than a pourable sauce – it's usually a sign it was slightly overcooked or the egg-to-liquid ratio was too high for the desired consistency. Don't worry, it can often be thinned out.
Gently whisk in a small amount of cold milk or cream, one tablespoon at a time, until the desired consistency is reached. Do this gradually to avoid making it too thin. You can do this cold, or gently warm the custard slightly over very low heat while whisking in the cold liquid. Be extremely careful if re-heating, as you risk curdling it if it gets too hot. A whisk or immersion blender can help incorporate the liquid smoothly.
Custard is Too Thin: Thickening Techniques
A custard that hasn't thickened properly is typically undercooked. The egg proteins haven't reached the necessary temperature to coagulate sufficiently. The best way to fix this is usually to gently reheat it.
Return the custard to the saucepan and cook it gently over low heat, stirring constantly. Use a thermometer to monitor the temperature and heat it until it reaches the target range (170-185°F, or 77-85°C). Be patient and cook it slowly to avoid curdling this time! If you're nervous about direct heat, use a double boiler. If it's still not thickening after reaching the correct temperature, the egg ratio might be too low, and you might need to temper in an additional egg yolk or two mixed with a little cold liquid, then cook very gently until thickened.
Custard Has a Lumpy Texture: Preventing and Fixing Lumps
Lumpy custard is often a sign of partial curdling or uneven cooking. The most common cause is hot spots on the bottom of the pan or not stirring constantly while heating. Lumps can also come from untempered eggs or unincorporated dry ingredients (like cornstarch or flour if using).
Prevention involves constant stirring, using a double boiler, and straining the base before cooking. If you end up with a lumpy custard, the best fix is often to strain it through a fine-mesh sieve to remove the lumps. For minor lumpiness or graininess, blending with an immersion blender or in a regular blender can often smooth it out effectively, providing a quick custard curdling fix instantly for minor issues.
Custard Curdling Fix Instantly: A Quick Recap
Facing a curdled custard can be stressful, but with the right knowledge, you have a good chance of salvaging your dessert. The primary cause is almost always overheating, but incorrect ratios, acidity, and even over-whisking can contribute. The key is to stop the cooking process immediately and then employ a technique to smooth out the texture.
Remember that while these fixes can often rescue the texture, they can't undo the fundamental changes to the egg proteins. The repaired custard might be slightly less rich or have a slightly different mouthfeel than a perfectly cooked one, but it will be far better than a completely curdled mess. Practice makes perfect, and understanding the why behind curdling is your best tool for prevention.
Key Takeaways: Preventing and Repairing Curdled Custard
Here are the essential points to remember for avoiding and dealing with curdled custard:
- Identify Curdling: Look for grainy lumps and separated liquid.
- Stop Heat Instantly: Plunge the pan into an ice bath immediately upon noticing curdling.
- Fix Lumps:
- Blend: Use an immersion or regular blender to smooth out minor to moderate curdling.
- Strain: Pass through a fine-mesh sieve to remove larger lumps.
- Add Cold Liquid: Whisk in a tablespoon or two for minor issues.
- Prevent Curdling:
- Cook Low & Slow: Use gentle heat and stir constantly.
- Use Double Boiler: Provides indirect, controlled heat.
- Temper Eggs: Gradually warm eggs before adding to hot liquid.
- Use Thermometer: Cook to 170-185°F (77-85°C), not higher.
- Strain Base: Remove potential lumps before cooking.
- Use Fresh Ingredients: Quality matters.
By keeping these tips in mind, you're well-equipped to handle custard challenges.
Enjoy Your Perfect Custard: Bake With Ease!
Mastering custard takes practice, but the reward is a versatile, delicious base for countless desserts. Don't be discouraged by a batch that goes wrong; learn from it and try again. With the techniques for prevention and the knowledge of how to perform a custard curdling fix instantly, you can approach your next batch with confidence.
Whether you're making a classic crème brûlée, a filling for a tart, or a simple sauce, aiming for that smooth, creamy texture is achievable. Keep these principles in mind, be patient with the heat, and trust your thermometer. Soon, you'll be whipping up perfect custards with ease!
Frequently Asked Questions
Why did my custard curdle in the first place?
Custard curdles primarily due to overheating or cooking at too high a temperature. This causes the egg proteins to coagulate and separate from the liquid, resulting in a curdled texture.
Can I really fix curdled custard instantly?
While not always guaranteed, yes! Often, an ice bath can immediately halt the cooking process and prevent further curdling. Gently whisking while cooling can sometimes bring it back together.
What's the most important thing to remember when making custard to prevent curdling?
Temperature control is paramount. Use a low heat and stir constantly, or use a double boiler for more even and gentle heating.
Is there a particular ingredient that makes custard more prone to curdling?
The egg yolks are the key ingredient susceptible to curdling. Too many yolks relative to the liquid, or excessive cooking, will significantly increase the risk.
What if the ice bath doesn't work? Is my custard completely ruined?
Not necessarily! You can sometimes salvage it by blending the curdled custard until smooth, although the texture might be slightly altered. Using it in other recipes, like filling for a cake, is also an option.
Final Reflection: The Sweet Science of Saving Custard
The seemingly simple act of making custard reveals a surprising depth of culinary science, and understanding its intricacies is crucial for achieving consistent success in the kitchen. A perfectly smooth, creamy custard is a triumph, while a curdled mess can be incredibly frustrating. This article aimed to demystify the process, providing instant solutions to a common baking problem. But the lessons learned extend far beyond just custard.
The impact of understanding the delicate balance of ingredients and temperature in custard making resonates far beyond the confines of the kitchen. It highlights the importance of precision and attention to detail in any endeavor. The process of troubleshooting a curdled custard mirrors the problem-solving skills needed in many aspects of life. The greatest discoveries are often made by those who dare to question the obvious.
This holds true whether you're facing a culinary challenge or navigating a complex situation.
Now, consider your own "curdled" moments – those times when a project falters, a relationship sours, or a plan goes awry. Can you apply the principles of understanding the root cause, adjusting the ingredients (your approach), and carefully controlling the temperature (your emotional response) to achieve a smoother, more satisfying outcome? Take a moment to reflect on this, and remember that even the most seemingly insurmountable challenges can be overcome with a little patience, knowledge, and the willingness to learn from our mistakes. The perfect custard, and a perfect life, are within reach.
Rediscover Perfectly Smooth Custard: Your Next Baking Triumph Awaits!
Thanks for joining us on this creamy adventure! We hope you now feel confident tackling custard, even after a few…curdling mishaps. Ready to put your newfound knowledge to the test?
- Whip up your dream custard: Try the recipe variations we discussed, experimenting with different flavorings and textures. Don't be afraid to get creative!
- Share your custard creations: Show off your baking prowess on social media – we'd love to see your silky-smooth results! Use #BakeWithEaseCustard.
- Explore our other baking guides: Discover more tips and tricks to elevate your baking game. Dive into our extensive recipe collection!
What's your favorite custard flavor combination – and what are you baking next?