
The Pure Joy of Making Your Own Custard from Scratch

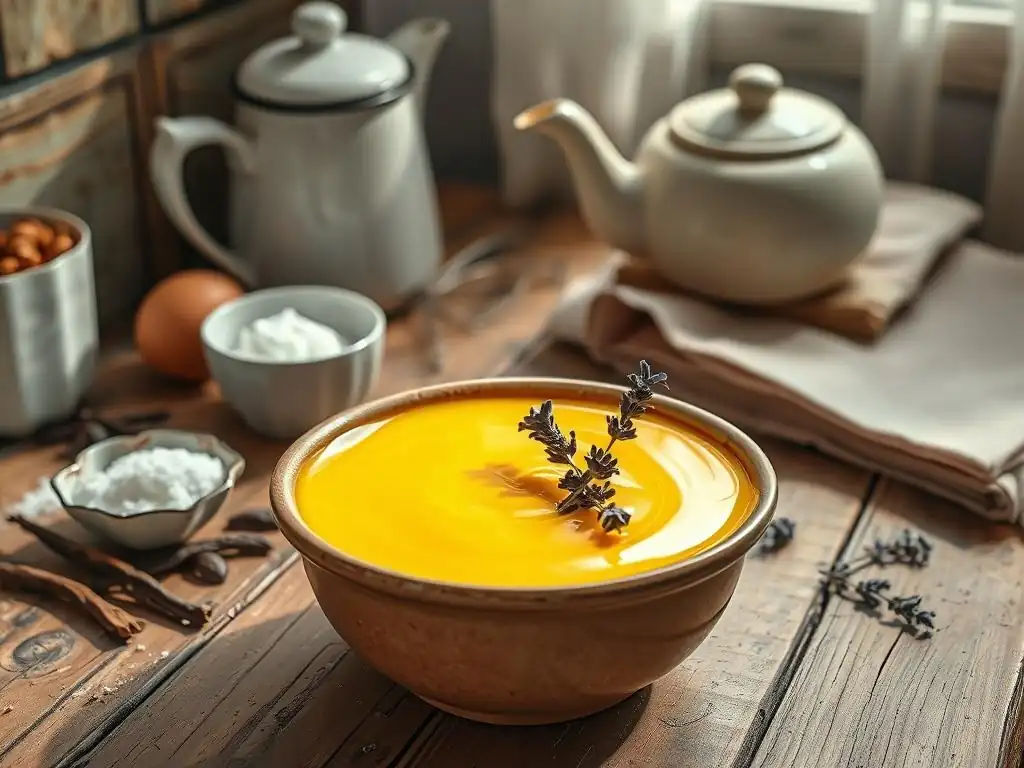
Welcome to BakeWithEase, your haven for all things baking! Ever wondered if creating that perfectly smooth, rich custard at home was within reach? It is! Dive into our latest article and unlock the secrets to a homemade custard recipe easy enough for anyone to master. Prepare to be amazed at how simple, yet incredibly rewarding, crafting this classic dessert from scratch can be. Intrigued? Your delicious journey begins now...
- The Pure Joy of Making Vanilla Custard from Scratch
- Mastering the Homemade Vanilla Custard Recipe
- Why Make Custard From Scratch? Unveiling the Delights of Homemade Custard
- The Ultimate Homemade Vanilla Custard Recipe: A Step-by-Step Guide
- Step-by-Step: Crafting Your Homemade Vanilla Custard
- Variations on the Classic: Elevating Your Homemade Custard Recipe
- Troubleshooting Your Homemade Custard: Common Issues and Solutions
- Serving Suggestions: Enjoying Your Homemade Custard Recipe
- Storing Your Homemade Custard: Maintaining Freshness
- Embrace the Art of Homemade Custard: A Rewarding Baking Experience
-
Frequently Asked Questions
- What makes this homemade custard recipe "easy" compared to others?
- What are the essential ingredients for a homemade custard?
- Can I use different types of milk or cream in this custard recipe?
- How do I prevent my homemade custard from curdling?
- How long will homemade custard last in the refrigerator?
- Final Reflection: The Enduring Sweetness of Homemade
- Unlock the Creamy Secrets of Homemade Custard!
The Pure Joy of Making Vanilla Custard from Scratch
Mastering the Homemade Vanilla Custard Recipe
There's a unique satisfaction that comes from creating something delicious with your own hands, and mastering a homemade custard recipe easy enough for anyone to try is a prime example. Forget the boxed mixes; making custard from scratch unlocks a depth of flavor and a silky texture that simply cannot be replicated. It's a fundamental skill in baking that opens the door to countless dessert possibilities, from classic trifles to elegant cream pies.
Embarking on the journey to make your own vanilla custard might seem daunting at first, but with a clear, step-by-step guide, it's surprisingly straightforward. This article will walk you through the process, demystifying techniques like tempering eggs and achieving the perfect consistency. By understanding the role of each ingredient and the importance of careful heating, you'll be well on your way to crafting a truly exceptional custard that will impress everyone who tastes it.
Why Make Custard From Scratch? Unveiling the Delights of Homemade Custard
Superior Taste & Texture: The Difference Fresh Ingredients Make
When you opt for a homemade custard recipe easy to follow, you immediately elevate the final product's quality. Fresh milk, real egg yolks, and genuine vanilla extract contribute layers of flavor complexity that are absent in pre-packaged options. The rich, creamy mouthfeel of a properly cooked homemade custard is unparalleled, offering a luxurious experience with every spoonful. Unlike powdered mixes that can sometimes taste artificial or grainy, scratch-made custard boasts a smooth, velvety texture that melts in your mouth.
The difference is palpable. Imagine a custard made with farm-fresh eggs compared to one using dried egg powder – the richness and golden hue are immediately noticeable. Similarly, using a high-quality vanilla bean or extract provides a fragrant, nuanced vanilla profile that synthetic flavors can't match. This commitment to fresh, quality ingredients is the secret behind truly spectacular desserts, making the effort of a homemade custard recipe easy to justify for anyone seeking culinary excellence.
Control Over Ingredients: Tailoring Your Custard to Your Dietary Needs
Making custard from scratch gives you complete control over what goes into your dessert, which is particularly beneficial for those with dietary restrictions or preferences. You can choose the type of milk (dairy, almond, oat, etc. ), adjust the sugar content to your liking, or even substitute ingredients like cornstarch for flour if needed. This level of customization is impossible with commercial products, which often contain stabilizers, artificial flavors, and preservatives.
For instance, if you're managing sugar intake, you can slightly reduce the granulated sugar or explore natural sweeteners (though this might require minor adjustments to liquid ratios). If you have a sensitivity to dairy, a homemade custard recipe easy to adapt can be made with plant-based milks and creams, opening up possibilities for delicious vegan or dairy-free desserts. This control ensures that your homemade custard is not only delicious but also aligns with your personal health and lifestyle choices.
The Ultimate Homemade Vanilla Custard Recipe: A Step-by-Step Guide
Gathering Your Ingredients: The Essentials for a Perfect Custard
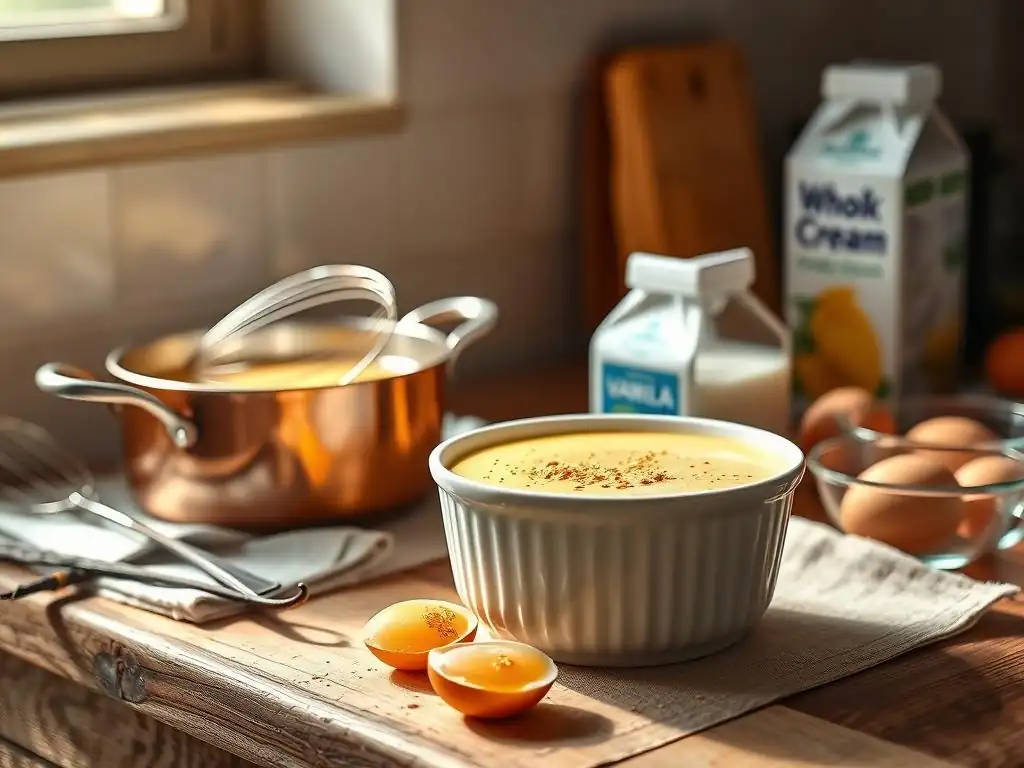
Success in making a homemade custard recipe easy relies on having the right ingredients ready before you start. Ensure everything is measured accurately.
- Milk: Whole milk is traditional for richness, typically 2 cups (about 470ml).
- Heavy Cream: Adds richness and helps stabilize, usually 1 cup (about 240ml).
- Egg Yolks: Provide thickening and richness; plan for 6-8 large egg yolks.
- Granulated Sugar: Sweetens and helps with texture; expect around 1/2 cup to 3/4 cup (100-150g) depending on preference.
- Vanilla Extract: Essential for classic flavor; 1-2 teaspoons. For intense flavor, consider a vanilla bean.
- Pinch of Salt: Balances sweetness and enhances flavor.
Equipment You'll Need: Tools for Custard Success
Having the correct tools makes the process of creating a homemade custard recipe easy and efficient.
- Medium Saucepan: For heating the milk and cream mixture. A heavy-bottomed pan distributes heat more evenly.
- Whisk: Essential for tempering eggs and stirring the custard as it cooks to prevent lumps.
- Instant-Read Thermometer: Crucial for ensuring the custard reaches the correct temperature (typically 160-175°F or 71-79°C) for thickening and safety.
- Mixing Bowls: At least two are needed – one for whisking egg yolks and sugar, another for tempering.
- Fine-Mesh Sieve: For straining the cooked custard to ensure a perfectly smooth texture, removing any small lumps or bits of cooked egg.
Step-by-Step: Crafting Your Homemade Vanilla Custard
Step 1: Infusing the Milk and Cream for a Rich Flavor
Begin your homemade custard recipe easy process by gently heating the milk and heavy cream in a medium saucepan over medium heat. If using a vanilla bean instead of extract, split it lengthwise and scrape the seeds into the milk mixture, adding the pod as well. Heat just until small bubbles form around the edges and the mixture is steaming, but do not let it boil vigorously. This slow, gentle heating allows the vanilla flavor to infuse beautifully into the dairy, creating a fragrant base for your custard.
Once the milk and cream are heated, remove the saucepan from the heat. If you used a vanilla bean pod, remove it at this stage. Stir in the vanilla extract if you are using it instead of a bean. Letting the mixture sit for a few minutes off the heat can further enhance the vanilla infusion before proceeding to the next crucial step. This simple action ensures your custard has a deep, authentic vanilla taste throughout.
Step 2: Tempering the Eggs: Avoiding Scrambled Custard Calamity
Tempering is perhaps the most critical step in a homemade custard recipe easy to master, as it prevents the egg yolks from scrambling when added to the hot liquid. In a separate mixing bowl, whisk the egg yolks and granulated sugar together until the mixture is pale yellow and slightly thickened – this usually takes about 2-3 minutes of vigorous whisking. The sugar helps protect the egg yolks from cooking too quickly.
Now, slowly and gradually pour about half a cup (about 120ml) of the hot milk mixture into the egg yolk mixture while whisking constantly. This slowly raises the temperature of the yolks without cooking them. Once the initial small amount is incorporated, continue adding the hot milk mixture in a slow, steady stream, still whisking continuously, until about half of the hot liquid has been added to the yolks. This process ensures the egg mixture is warm enough to be added back to the saucepan without shocking the eggs.
Step 3: Cooking the Custard: Achieving the Perfect Consistency
Pour the tempered egg mixture back into the saucepan with the remaining hot milk and cream. Return the saucepan to medium-low heat. This is where patience and constant stirring are key for your homemade custard recipe easy to turn out perfectly. Stir the custard continuously with a whisk or a wooden spoon, scraping the bottom and sides of the pan, to prevent it from sticking or scorching. Do not let the mixture boil.
Continue cooking and stirring until the custard thickens enough to coat the back of a spoon, leaving a clear trail when you run your finger through it (this is often referred to as "nappe"). Use an instant-read thermometer to check the temperature; it should reach between 160°F and 175°F (71°C to 79°C). Cooking past this point can cause the custard to curdle. This stage typically takes about 8-12 minutes, depending on the heat level and pan size.
Step 4: Straining for Silky Smoothness
Once the custard reaches the desired thickness and temperature, immediately remove the saucepan from the heat. To ensure your homemade custard recipe easy results in a perfectly smooth, velvety texture, strain the hot custard through a fine-mesh sieve into a clean bowl. This step catches any small bits of cooked egg or lumps that may have formed despite careful stirring.
Straining is a non-negotiable step for achieving that professional, silky finish. You can gently press any thicker parts through the sieve with a spoon or spatula. Discard any solids left in the sieve. The strained custard is now ready for the final step before chilling.
Step 5: Chilling the Custard: Allowing Flavors to Meld
Cover the surface of the hot custard directly with plastic wrap. This is crucial to prevent a skin from forming as it cools. Press the plastic wrap down so it touches the entire surface of the custard. Allow the custard to cool at room temperature for about 20-30 minutes before transferring it to the refrigerator.
Chill the custard for at least 2-3 hours, or preferably until completely cold and set. As it chills, the custard will thicken further, and the flavors will meld beautifully. A properly chilled homemade custard recipe easy will have a rich, set texture that's perfect for eating on its own or using in other desserts.
Variations on the Classic: Elevating Your Homemade Custard Recipe
Vanilla Bean Custard: A Deeper Vanilla Infusion
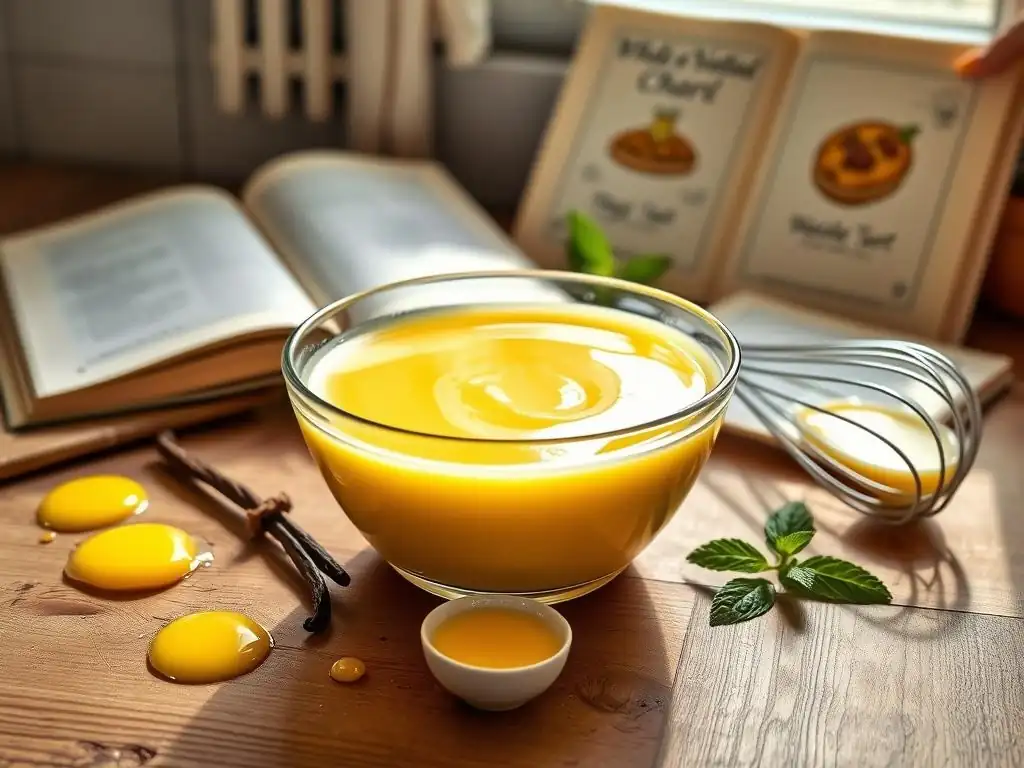
To achieve a truly luxurious homemade custard recipe easy with intense vanilla flavor, swap the extract for a real vanilla bean. As mentioned in the steps, split one vanilla bean lengthwise and scrape the tiny black seeds into the milk and cream mixture before heating. Add the scraped pod to the pan as well, allowing it to infuse its flavor as the dairy heats.
Using a vanilla bean provides a more complex, aromatic vanilla profile compared to extract. You'll also see those beautiful speckles of vanilla seeds throughout the finished custard, a visual cue of its premium quality. Remember to remove the bean pod before tempering the eggs. This simple swap elevates the classic vanilla custard to something truly special, perfect for impressing guests.
Chocolate Custard: Indulge in Decadence
Transform your homemade custard recipe easy into a decadent chocolate treat by incorporating high-quality chocolate. Once the custard has thickened and been removed from the heat (after Step 3), whisk in chopped dark or semi-sweet chocolate. Use about 4-6 ounces (110-170g) of finely chopped chocolate for the base recipe amount.
The residual heat of the cooked custard will melt the chocolate. Continue whisking until the chocolate is completely melted and the custard is smooth and uniformly chocolatey. Strain the chocolate custard as usual (Step 4) and chill. This variation is perfect for chocolate cream pies or as a rich dessert on its own.
Coffee Custard: Aromatic and Rich
For coffee lovers, adding a shot of espresso or strong brewed coffee turns a simple homemade custard recipe easy into an aromatic delight. You can either infuse the milk and cream with coffee flavor at the beginning or whisk in concentrated coffee liquid at the end.
One method is to heat the milk and cream with about 1-2 tablespoons of instant espresso powder or coffee granules, ensuring they dissolve completely. Another approach is to whisk in 2-3 tablespoons of very strong, cooled espresso or coffee after the custard has thickened and been strained. Adjust the amount to achieve your desired intensity.
Maple Custard: Warm and Comforting
Embrace warm, comforting flavors by making a maple custard. This variation is a delightful twist on the classic homemade custard recipe easy and pairs wonderfully with autumn desserts. Simply replace some or all of the granulated sugar with pure maple syrup.
Start by substituting about 1/2 cup (120ml) of pure maple syrup for the granulated sugar. Be aware that using all maple syrup might slightly alter the texture due to its liquid content, but a partial substitution works beautifully. Add the maple syrup when you whisk the egg yolks, or stir it into the heated milk mixture before tempering. Adjust sweetness to taste before chilling.
Troubleshooting Your Homemade Custard: Common Issues and Solutions
Custard is Too Thin: How to Thicken It
If your homemade custard recipe easy didn't thicken properly after cooking and chilling, it's usually because it didn't reach a high enough temperature (at least 160°F or 71°C) or wasn't cooked for long enough. The egg proteins need sufficient heat and time to coagulate and thicken the liquid.
To fix thin custard, you can gently reheat it. Pour the custard back into a clean saucepan and heat it slowly over medium-low heat, stirring constantly with a whisk. Use an instant-read thermometer to monitor the temperature, aiming for 160-175°F (71-79°C). Stir until it coats the back of a spoon again. Be extremely careful not to let it boil or get too hot, as this will cause it to curdle. Once thickened, strain it again and chill thoroughly.
Occasionally, a homemade custard recipe easy can become too thick, especially if it was slightly overcooked or cooked at too high a heat. This can result in a texture that's more like pudding than smooth custard.
To thin out overly thick custard, whisk in a small amount of milk or cream, one tablespoon at a time, until you achieve the desired consistency. Do this gently with a whisk until the liquid is fully incorporated and the custard is smooth. You can do this while the custard is cold. Taste and adjust sweetness if necessary, as adding liquid might dilute the flavor slightly.
Custard is Lumpy: Achieving a Smooth Texture
Lumpy custard in a homemade custard recipe easy is typically caused by the egg yolks cooking too quickly, either during tempering or while cooking the custard, leading to small scrambled bits. Insufficient or inconsistent stirring during cooking is also a common culprit.
The best way to fix lumpy custard is to strain it thoroughly through a very fine-mesh sieve. You might need to press the custard through the sieve with the back of a spoon or a spatula. For persistent lumps, you can also use an immersion blender or carefully transfer the cooled custard to a regular blender and blend until smooth. Blend only for a few seconds to avoid incorporating too much air, which can affect the texture.
Serving Suggestions: Enjoying Your Homemade Custard Recipe

As a Dessert: Simple and Elegant
A beautifully made homemade custard recipe easy is a dessert in itself. Serve it chilled in individual ramekins or small bowls. The simple elegance of vanilla custard allows its pure, rich flavor to shine.
Top it with a sprinkle of cinnamon, a grating of nutmeg, fresh berries, or a dollop of whipped cream for a simple yet sophisticated presentation. It's a comforting and satisfying end to any meal, highlighting the quality of the ingredients and the care taken in its preparation.
In Cream Pies & Custard Tarts: A Perfect Filling
Homemade custard is the classic filling for many beloved desserts, making your homemade custard recipe easy a gateway to further baking adventures. It's the star of a traditional Boston Cream Pie, a luscious base for banana cream pie, or the smooth filling for elegant custard tarts.
Pour the cooled custard into a pre-baked pie shell or tart crust and chill until set. The firm yet creamy texture holds up beautifully when sliced, providing a delightful contrast to a flaky crust. This application truly showcases the versatility of a well-made custard.
As a Sauce: Drizzled Over Fruit or Cake
A slightly thinner homemade custard recipe easy can be used as a delightful sauce. If your custard is already quite thick, you can thin it slightly by whisking in a tablespoon or two of milk or cream until it reaches a pourable consistency.
Warm or cold, this custard sauce (often called Crème Anglaise) is fantastic drizzled over fresh fruit, pound cake, bread pudding, or fruit crumbles. Its rich flavor and smooth texture enhance rather than overpower the dessert it accompanies.
Pairing Suggestions: Complementary Flavors
The classic vanilla flavor of a homemade custard recipe easy makes it incredibly versatile for pairings. It complements a wide range of fruits, especially berries like strawberries and raspberries, and stone fruits like peaches.
Chocolate, caramel, coffee, and nuts like almonds and pecans also pair wonderfully with vanilla custard. Consider serving it alongside a slice of chocolate cake, drizzled with caramel sauce, or topped with toasted nuts.
Storing Your Homemade Custard: Maintaining Freshness
Refrigeration Tips: Keeping Your Custard Fresh
Proper storage is key to enjoying your homemade custard recipe easy for as long as possible. Always store homemade custard in the refrigerator. Transfer it to an airtight container or keep it in the bowl it was strained into, ensuring the plastic wrap is still pressed directly onto the surface to prevent a skin from forming.
Stored correctly, homemade vanilla custard will typically last for 3-4 days in the refrigerator. Beyond this timeframe, the quality may start to decline, and there's an increased risk of bacterial growth due to the dairy and egg content. Always check for any off smells or discoloration before serving.
Can You Freeze Custard? Considerations for Freezing
Freezing homemade custard from a homemade custard recipe easy is generally not recommended if you intend to serve it as a smooth, set custard. The freezing and thawing process can cause the custard to separate and become watery or grainy in texture due to the breakdown of the emulsion created by the egg yolks.
However, if you plan to use the custard in a baked application after thawing, such as incorporating it into a bread pudding or using it as a base for ice cream, freezing might be acceptable as the texture change is less critical. Freeze in an airtight container for up to 1 month. Thaw slowly in the refrigerator before use, and be prepared to whisk it vigorously to try and regain some smoothness, though it likely won't be as silky as fresh custard.
Embrace the Art of Homemade Custard: A Rewarding Baking Experience
From Simple Ingredients to Culinary Delight
Starting with basic kitchen staples like milk, eggs, and sugar, you can create a truly exquisite dessert. The process of making a homemade custard recipe easy to follow is a testament to how simple ingredients, combined with careful technique, can yield spectacular results. It's a fundamental building block in the world of pastry and desserts, offering a foundation for countless other sweet creations.
The journey from whisking egg yolks to chilling a perfectly set, silky-smooth custard is incredibly rewarding. It’s a skill that builds confidence in the kitchen and provides a deeper appreciation for the craft of baking.
Your Companion in Custard Creation
Whether you're a beginner taking your first steps into scratch baking or looking to perfect a classic technique, mastering a homemade custard recipe easy opens up a world of possibilities. This guide provides the foundation and tips you need to succeed.
Don't be afraid to experiment with variations once you've mastered the basic vanilla recipe. Custard is a versatile canvas for flavors. Enjoy the process, savor the aroma, and delight in the pure joy of making your own delicious custard from scratch.
Frequently Asked Questions
What makes this homemade custard recipe "easy" compared to others?
This recipe focuses on simple ingredients and clear, step-by-step instructions. It avoids complicated techniques often found in more advanced custard recipes.
What are the essential ingredients for a homemade custard?
The essential ingredients are usually milk or cream, eggs (specifically yolks for richness), sugar, and a flavoring, like vanilla extract. The key is to balance these ingredients for the perfect consistency.
Can I use different types of milk or cream in this custard recipe?
Yes, you can! Whole milk will produce a richer custard than skim milk. Using heavy cream will result in an even more decadent and luxurious texture.
How do I prevent my homemade custard from curdling?
Curdling happens when the eggs cook too quickly. The key is to use a low and slow heat and stir constantly to ensure even cooking and prevent the eggs from scrambling.
How long will homemade custard last in the refrigerator?
Properly stored in an airtight container, homemade custard will typically last for 3-4 days in the refrigerator. Always check for any signs of spoilage before consuming.
Final Reflection: The Enduring Sweetness of Homemade
The simple act of crafting a perfect custard from scratch remains a powerful antidote to our fast-paced, convenience-driven world. It's a testament to the enduring pleasure found in slowing down, connecting with traditional techniques, and savoring the fruits – or rather, the creamy, luscious results – of our own labor. This isn't just about a recipe; it's about reclaiming a sense of mindful creation in a world that often prioritizes speed over substance.
The subtle nuances of a homemade custard, the way the texture changes with each gentle stir, the intoxicating aroma that fills the kitchen – these are experiences that transcend mere culinary satisfaction. They connect us to generations past who perfected this simple yet elegant dessert, reminding us of the importance of patience and attention to detail. The best things in life are simple,
a sentiment perfectly embodied in the pure joy of making your own custard. This simple act fosters a deeper appreciation for the ingredients, the process, and the resulting pleasure, enriching our lives far beyond the immediate gratification of a delicious treat.
Now, I invite you to step away from the pre-packaged, the instant, and the overly complicated. Try your hand at making your own custard. Embrace the gentle warmth of the stovetop, the subtle dance of eggs and cream, and the profound satisfaction of creating something beautiful and delicious with your own two hands. The recipe is easy, the reward immeasurable. Let the pure joy of homemade custard fill your kitchen, your heart, and your life.
Unlock the Creamy Secrets of Homemade Custard!
Thanks for taking the time to explore the delightful world of homemade custard! We hope you've gained a newfound appreciation for this classic dessert's simple elegance. Ready to dive in and create your own culinary masterpiece?
- Whip up a batch of custard today! Use our recipe as a starting point and let your creativity flow – experiment with different flavorings and spices.
- Share your custard creations! Snap a photo and tag us on social media – we’d love to see your delicious results.
- Challenge yourself: Try a more complex custard-based dessert like crème brûlée next week!
So, what delicious flavor will you infuse your first homemade custard with?