
A Baker's Guide to Couverture Chocolate: Tempering for Shine

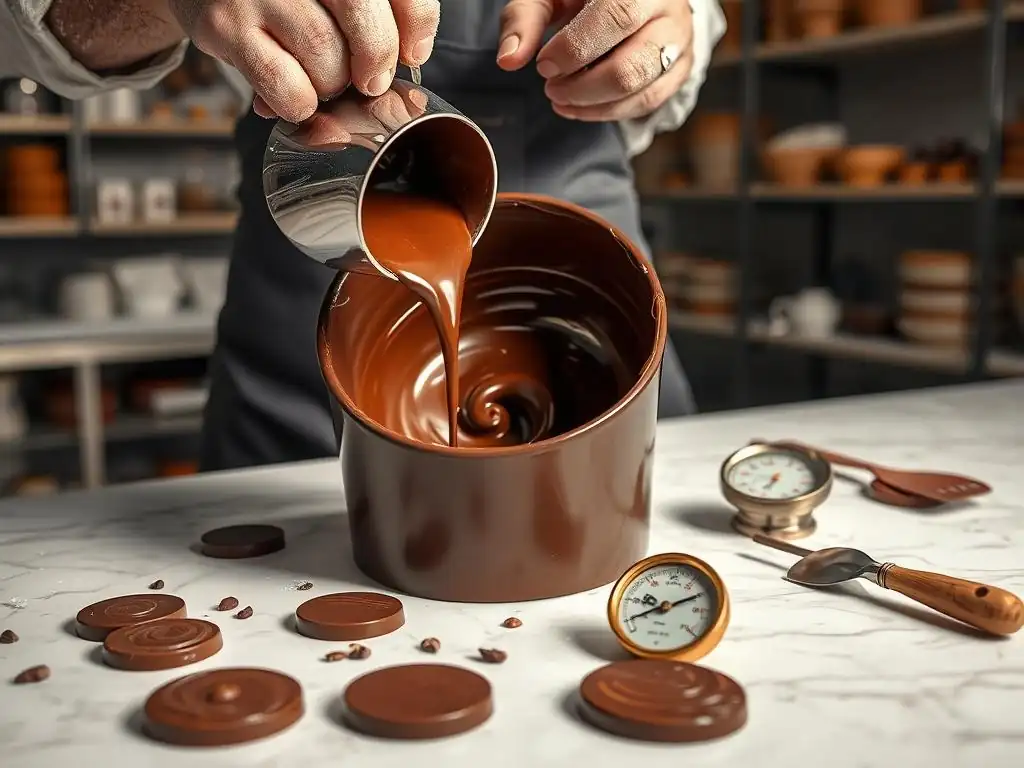
Welcome to BakeWithEase, your trusted companion on your baking journey! Ever wondered how professional pastry chefs achieve that flawless, glossy finish on their chocolate creations? This week, we're diving deep into the world of couverture chocolate and unraveling the secrets to tempering chocolate for shine. Discover the techniques, tips, and tricks that will transform your desserts from good to gorgeous. Ready to unlock the magic? Let's get started!
- Understanding Couverture Chocolate: The Baker's Secret to Glossy Finishes
- The Art of Tempering Chocolate for Shine: A Step-by-Step Guide
- Troubleshooting Common Tempering Problems and Solutions
- Achieving the Perfect Shine: Tips and Tricks for Baking Success
- Delicious Recipes to Showcase Your Perfectly Tempered Couverture Chocolate
-
Frequently Asked Questions
- What exactly is tempering chocolate, and why is it necessary?
- What is couverture chocolate, and how does it differ from regular chocolate chips?
- What's the most common method for tempering chocolate at home using BakeWithEase recipes?
- What are some common mistakes to avoid when tempering chocolate?
- How can I tell if my chocolate is properly tempered, and what happens if it isn't?
- Final Reflection: The Enduring Allure of a Perfect Chocolate Shine
- Unlock the Secrets of Luscious Chocolate: Master the Temper!
Understanding Couverture Chocolate: The Baker's Secret to Glossy Finishes
What is Couverture Chocolate and Why Use It?
Couverture chocolate is a high-quality chocolate that contains a significantly higher percentage of cocoa butter compared to standard baking or eating chocolate. This elevated cocoa butter content, typically ranging from 32% to 39%, is what sets it apart and makes it ideal for professional baking applications requiring a superior finish. The extra cocoa butter provides a luxurious mouthfeel, a richer flavor release, and crucially, allows the chocolate to temper beautifully, resulting in a hard, snappy texture and a brilliant, glossy shine once set.
Using couverture chocolate is essential when you want your finished confections, like truffles, molded chocolates, or dipped fruits, to have that professional appearance and satisfying snap. Unlike compound chocolate, which uses vegetable oils instead of cocoa butter, couverture chocolate relies solely on cocoa butter for its fat content. This pure cocoa butter is key to achieving a stable crystalline structure through tempering, which prevents the dreaded chocolate bloom (a grayish, dull appearance) and ensures your creations look as good as they taste. It melts smoothly and evenly, making it a dream to work with for dipping, coating, and molding.
Popular Couverture Chocolate Brands for Baking: A Comparative Overview
Selecting the right couverture chocolate brand can significantly impact the outcome of your baked goods and confections. Many bakers have their favorites based on flavor profile, workability, and consistency. Brands like Valrhona, Callebaut, and Cacao Barry are highly regarded in the baking community for their commitment to quality and producing couverture chocolates specifically designed for optimal tempering and performance.
-
Valrhona: Known for its complex flavors and consistent quality.
Valrhona, a French brand, is often considered among the finest couverture chocolates available. They offer a wide range of single-origin and blended chocolates with distinct flavor notes, allowing bakers to choose a chocolate that perfectly complements other ingredients. Their high cocoa butter content and precise manufacturing make their chocolates exceptionally reliable for tempering, yielding a consistent, high-gloss finish and a clean snap, which is paramount when you are aiming for a perfect result when tempering chocolate for shine.
-
Callebaut: A reliable and widely available option for various applications.
Callebaut, a Belgian brand, is widely accessible and a staple for many professional and home bakers alike. They offer a broad selection of dark, milk, and white couverture chocolates in various formats, including callets (small drops) that are convenient for melting and tempering. Callebaut is known for its consistent melting properties and forgiving nature during the tempering process, making it a great choice for general baking, dipping, and molding where reliable results are needed without overly complex flavor profiles.
-
Cacao Barry: Offers a wide range of origins and flavor profiles.
Also part of the Barry Callebaut group, Cacao Barry provides a more artisanal range of couverture chocolates, often highlighting specific cocoa origins and unique flavor characteristics. They cater to bakers looking for chocolates with more nuanced tastes to elevate their creations. Like Vallebaut, Cacao Barry's chocolates are formulated with sufficient cocoa butter to temper beautifully, providing that desirable snap and the ability to get a brilliant shine when tempering chocolate for shine correctly.
The Art of Tempering Chocolate for Shine: A Step-by-Step Guide
Why Tempering Chocolate is Crucial for a Professional Finish
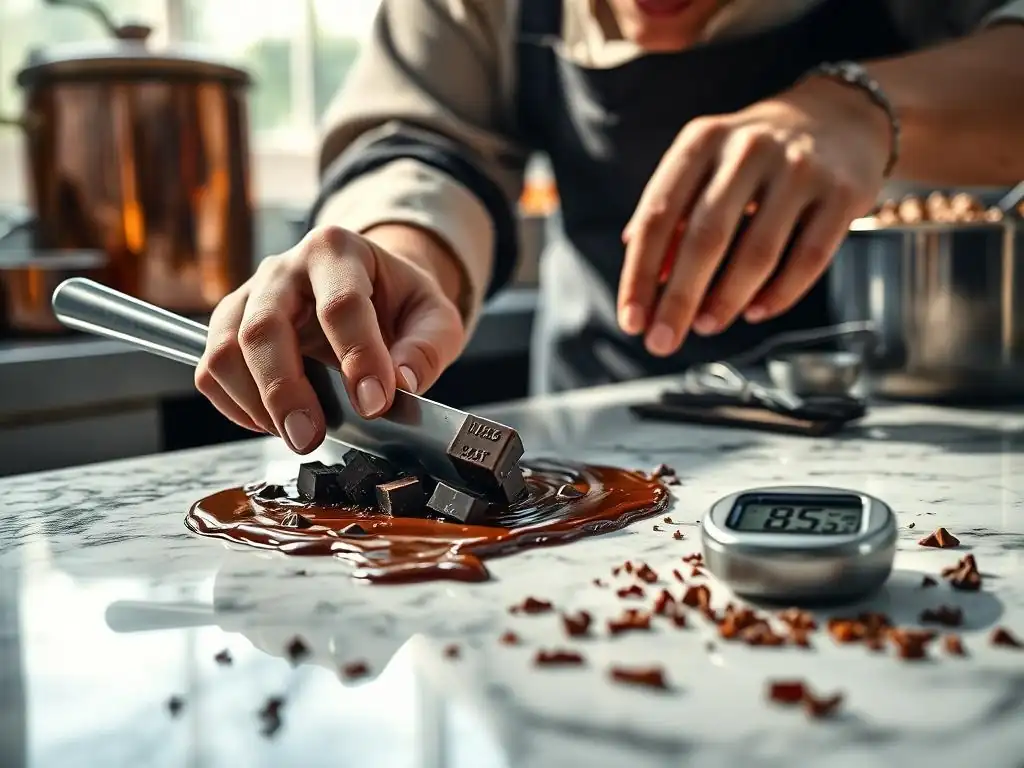
Tempering is the process of carefully controlling the temperature of chocolate to stabilize the cocoa butter crystals within it. Cocoa butter solidifies into several different crystalline forms, but only one, the Beta V crystal, provides the desired properties: a firm set, a smooth texture, a clean snap when broken, resistance to melting at room temperature, and that characteristic glossy surface. Untempered chocolate, or chocolate that has lost its temper, will set with a dull, streaky appearance, a soft or crumbly texture, and is prone to developing white or grayish "bloom" on the surface.
Achieving a stable temper is non-negotiable if you want your chocolate confections to look and perform their best. The process involves melting the chocolate completely, cooling it down to a specific temperature range where Beta V crystals begin to form, and then gently warming it back up to a working temperature that maintains these stable crystals while keeping the chocolate fluid enough to work with.
Mastering this technique ensures your chocolate sets correctly, peels cleanly from molds, and retains its beautiful shine and snap over time. It's the key skill for anyone serious about working with couverture chocolate and achieving a professional, glossy finish.
Method 1: Seeding Method for Tempering Couverture Chocolate
The seeding method is one of the most popular ways to temper chocolate, especially for home bakers, because it doesn't require specialized equipment beyond accurate thermometers. It relies on adding already-tempered chocolate (seeds) to melted chocolate to "seed" the formation of the desired Beta V crystals.
-
Step 1: Melting the Chocolate:
Begin by finely chopping your couverture chocolate or using callets. Place about two-thirds of the chocolate in a heatproof bowl set over a saucepan of barely simmering water (a double boiler). Ensure the bottom of the bowl does not touch the water. Stir gently and continuously until the chocolate is completely melted and reaches a temperature between 45°C and 50°C (113°F to 122°F) for dark chocolate, or slightly lower for milk (40-45°C / 104-113°F) and white (35-40°C / 95-104°F) chocolate. This initial heating destroys any unstable crystal structures present.
-
Step 2: Seeding with Callets:
Remove the bowl from the heat and wipe the bottom dry. Add the remaining one-third of the finely chopped or callet chocolate (the "seeds") to the melted chocolate. Stir constantly.
The added chocolate will cool the melted chocolate down while its stable crystals encourage the formation of Beta V crystals. Continue stirring until all the seed chocolate is melted and the mixture reaches the correct working temperature: approximately 31-32°C (88-90°F) for dark, 29-30°C (84-86°F) for milk, and 28-29°C (82-84°F) for white chocolate. If necessary, you can briefly place the bowl back over the warm water (off the heat) for a few seconds at a time to help stubborn seeds melt, but be careful not to overheat.
-
Step 3: Testing the Temper:
Once the chocolate is at the correct working temperature and all seeds are melted, it's time to test the temper. Dip a small piece of parchment paper, the tip of a knife, or a spoon into the chocolate. Scrape off the excess and observe.
If the chocolate is properly tempered, it should set quickly and evenly within 3-5 minutes at cool room temperature (around 20°C / 68°F). The set chocolate should be glossy and snap cleanly when broken. If it sets slowly, looks dull, or is soft, the temper is incorrect, and you'll need to reheat and repeat the process, possibly adding more seed chocolate if the temperature didn't drop enough.
Method 2: Tablier Method (Marble Slab Tempering)
The tablier method, or marble slab tempering, is a classic technique often used by professional chocolatiers. It involves pouring melted chocolate onto a cool surface, typically a marble or granite slab, to rapidly cool and agitate it, promoting the formation of Beta V crystals before returning it to the bulk of the chocolate.
-
Step 1: Melting and Cooling the Chocolate:
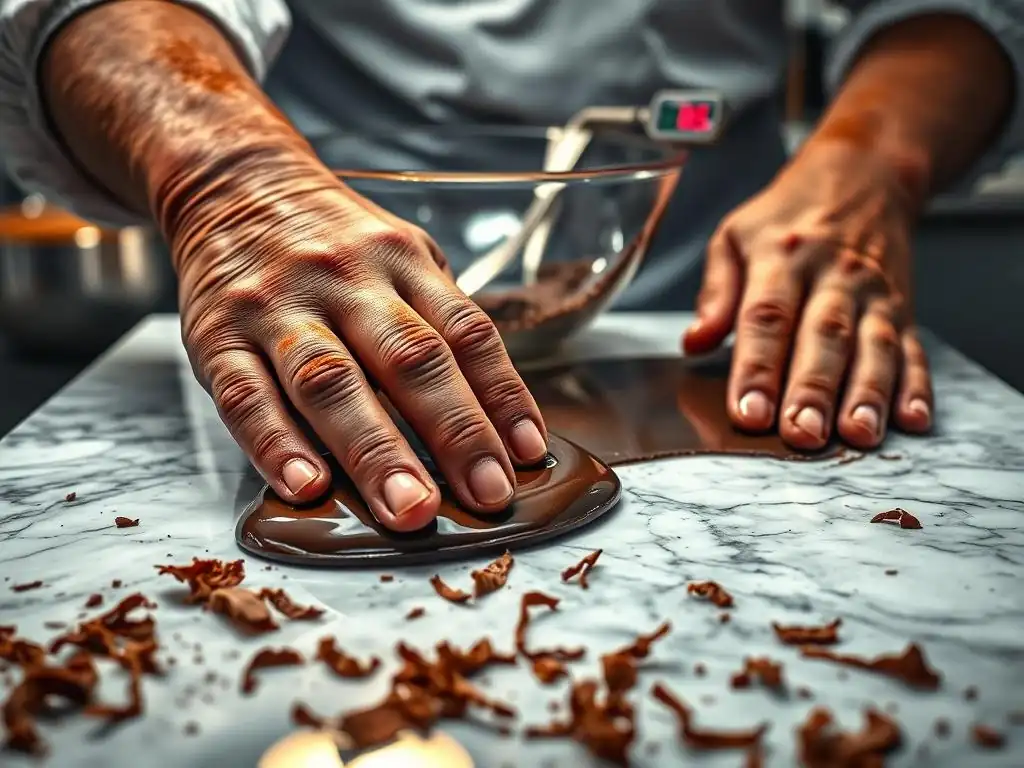
Melt your couverture chocolate in a double boiler as described in the seeding method, bringing it to the same initial temperature (45-50°C for dark, etc.). Pour about two-thirds of the melted chocolate onto a clean, cool marble or granite surface. Using a metal scraper and a spatula, continuously spread and gather the chocolate, working it back and forth across the slab. This action cools the chocolate quickly and encourages crystal formation through movement.
-
Step 2: Bringing the Chocolate Back Together:
Continue working the chocolate on the slab until it thickens and starts to look slightly dull or opaque, reaching a temperature around 27-28°C (81-82°F) for dark chocolate (slightly lower for milk/white). Scrape the cooled chocolate from the slab and add it back to the bowl containing the remaining one-third of the melted, warmer chocolate. Stir thoroughly. The warmth of the remaining chocolate will gently raise the temperature of the mixture to the correct working temperature range (31-32°C for dark, etc. ), melting any unstable crystals while leaving the desired Beta V crystals intact.
-
Step 3: Checking the Temper:
Once the chocolate is homogenous and at the correct working temperature, perform the same temper test as with the seeding method: dip a piece of parchment or a utensil into the chocolate and let it set at room temperature. It should set quickly (within 3-5 minutes) with a glossy finish and a clean snap. If the test piece sets correctly, your chocolate is tempered and ready to use for dipping, molding, or coating to achieve that beautiful shine. If it fails the test, you'll need to reheat the entire batch gently and repeat the process.
Method 3: Using a Chocolate Tempering Machine
For those who work with chocolate frequently or in larger quantities, a chocolate tempering machine can be a valuable investment. These machines automate the process by precisely controlling the temperature of the chocolate through heating and cooling cycles, making tempering chocolate for shine much more consistent and less labor-intensive.
Tempering machines typically involve melting the chocolate in a reservoir, then automatically cooling it down to the crystallization temperature before raising it slightly to the working temperature, and finally holding it there. Some machines use a "seeding" method internally, while others use forced air cooling. The main advantage is the precise temperature control and constant gentle agitation, which maintains the chocolate's temper for extended periods, allowing you to work at your own pace without worrying about the chocolate falling out of temper. This consistency is particularly beneficial for production environments where reliable results are essential.
While a tempering machine represents a greater initial investment than basic kitchen tools, the time saved and the reliability of the results can be significant for dedicated bakers or small businesses. They eliminate much of the guesswork involved in manual tempering methods and ensure that every batch of chocolate used for dipping, molding, or coating will have that perfect snap and desirable glossy finish, making them ideal for achieving consistent results when tempering chocolate for shine on a larger scale.
Troubleshooting Common Tempering Problems and Solutions
Chocolate Not Tempering Properly: Identifying the Issues
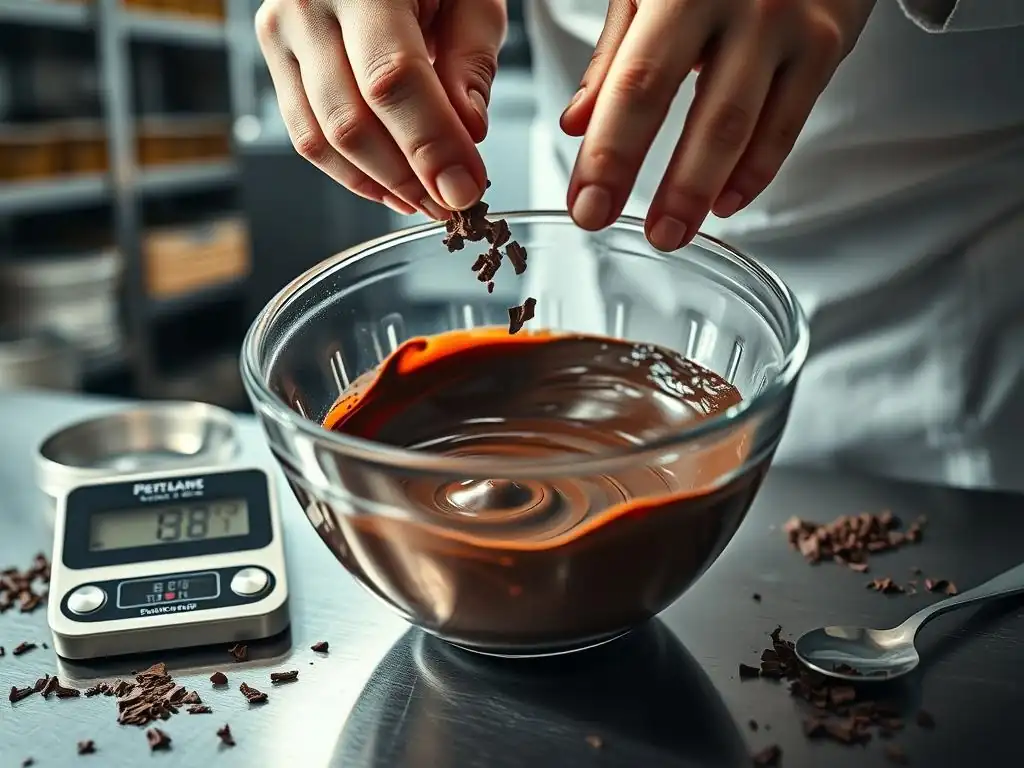
Encountering issues when tempering chocolate is common, even for experienced bakers. If your chocolate isn't setting correctly, looks dull, or develops streaks, the most likely culprit is incorrect temperature control at one or more stages of the process. Melting the chocolate at too high a temperature initially can burn it or make it difficult to temper. Failing to cool it sufficiently to allow stable Beta V crystals to form is another common error. Conversely, letting it cool too much or become too thick before reaching the final working temperature can also hinder proper tempering.
Another frequent issue is introducing moisture into the chocolate. Even a tiny drop of water can cause the chocolate to seize, becoming a thick, grainy paste that is impossible to temper correctly. Ensure all your equipment is completely dry before starting. Using chocolate that isn't true couverture (lacking sufficient cocoa butter) or using old chocolate that has already bloomed extensively can also make successful tempering difficult or impossible. Always start with high-quality, fresh couverture chocolate and use accurate thermometers to monitor temperatures precisely.
Dealing with Chocolate Bloom: Prevention and Salvage
Chocolate bloom appears as a grayish or white film on the surface of chocolate and can take two forms: fat bloom and sugar bloom. Fat bloom, the more common type, is caused by unstable cocoa butter crystals migrating to the surface and recrystallizing. This happens when chocolate is stored at fluctuating temperatures or wasn't tempered correctly. Sugar bloom occurs when moisture condenses on the chocolate's surface, dissolving sugar crystals which then recrystallize as larger, visible particles when the moisture evaporates. This often happens when cold chocolate is brought into a warm, humid environment.
Proper tempering is the primary way to prevent fat bloom, as it stabilizes the cocoa butter crystals. Storing chocolate at a consistent, cool temperature (around 15-18°C / 59-64°F) and low humidity prevents both types of bloom. While bloom affects appearance and texture (making it crumbly), it doesn't make the chocolate unsafe to eat.
Bloomed chocolate can often be salvaged for use in applications where appearance isn't critical, like baking brownies or cakes. For applications requiring temper and shine, fat-bloomed couverture chocolate can usually be re-tempered successfully by melting it down and going through the tempering process again. Sugar-bloomed chocolate, however, cannot be salvaged for tempering and is best used in baked goods where the sugar crystals will dissolve.
Achieving the Perfect Shine: Tips and Tricks for Baking Success
Choosing the Right Couverture Chocolate for Your Project
The type of couverture chocolate you choose significantly impacts both the flavor and the workability for your specific baking project. Dark, milk, and white couverture chocolates have different compositions, particularly in their cocoa solids and milk content, which means they also have different melting and tempering temperature ranges. Dark chocolate typically requires the highest temperatures, followed by milk, and then white chocolate. Using the correct temperature range for the specific type of chocolate is crucial for successful tempering and achieving that perfect shine.
Beyond the type (dark, milk, white), consider the chocolate's viscosity, which is related to its cocoa butter content. Couverture is often labeled with a fluidity rating (e.g., one to five drops). Higher fluidity (more drops, higher cocoa butter) is excellent for thin coatings, delicate molding, and achieving a very high gloss. Lower fluidity is better for applications like ganaches or thicker coatings. Choosing a high-fluidity couverture when tempering chocolate for shine specifically for thin coatings or delicate molds will make the process easier and yield superior results compared to a lower-fluidity option.
Advanced Techniques for Enhancing Chocolate Shine
While proper tempering is the foundation for a glossy finish, a few advanced techniques can help maximize the shine of your chocolate creations. One key factor is the surface the chocolate sets against. When molding chocolate, using clean, highly polished polycarbonate molds is essential, as the chocolate will mirror the mold's surface. Ensure molds are free of any dust, fingerprints, or residual chocolate before pouring.
Another technique is maintaining the chocolate at the correct working temperature throughout the dipping or molding process. If the chocolate cools too much, it can start to set prematurely, leading to a dull finish. Keeping the bowl of tempered chocolate gently warmed (e.g., over a very low-temperature warming pad or in a microwave for a few seconds at a time, stirring well) helps maintain fluidity and temper.
Finally, allowing the chocolate to set undisturbed in a cool, consistent environment (ideally around 18-20°C / 64-68°F) encourages proper crystal formation and helps lock in that brilliant, glossy shine. Avoid rushing the setting process by placing it in a refrigerator, as this can sometimes lead to condensation and affect the surface finish.
Delicious Recipes to Showcase Your Perfectly Tempered Couverture Chocolate
Classic Chocolate Truffles: A Simple Yet Elegant Treat
Classic chocolate truffles are a fantastic way to show off your newly honed chocolate tempering skills. The process typically involves making a rich ganache filling from melted chocolate and cream, chilling it until firm, shaping it into balls, and then dipping these centers into perfectly tempered couverture chocolate.
Dipping the ganache centers in tempered chocolate creates a thin, snappy shell that contrasts beautifully with the creamy interior. This shell isn't just for texture; when done with properly tempering chocolate for shine, it provides a stunningly glossy exterior that elevates the humble truffle into an elegant confection worthy of any special occasion. The tempered coating also helps the truffles hold their shape and prevents them from melting too quickly at room temperature, making them easier to handle and package.
Chocolate-Covered Strawberries: A Romantic and Delicious Dessert
Chocolate-covered strawberries are a simple yet incredibly popular dessert, and using tempered couverture chocolate takes them from good to spectacular. Dipping fresh, dry strawberries into tempered chocolate creates a thin, firm coating that sets quickly and cleanly.
The benefit of tempering chocolate for shine for this application is immediately visible. The chocolate coating will set with a beautiful, hard shell that has a brilliant gloss. This not only makes the strawberries look incredibly appealing but also means the chocolate won't melt all over your fingers as you pick them up. The satisfying snap of the tempered chocolate shell provides a delightful contrast to the juicy sweetness of the fresh strawberry inside, making this a perfect treat for gifting or entertaining.
Chocolate Bark with Dried Fruit and Nuts
Chocolate bark is one of the easiest confections to make with tempered chocolate, and it's a wonderful canvas for showcasing that beautiful, glossy finish. It involves simply spreading tempered chocolate thinly onto a piece of parchment paper or a baking sheet and then scattering toppings like dried fruits, nuts, seeds, or even pretzels over the surface before the chocolate sets.
Using tempered chocolate ensures that the bark sets firmly with a satisfying snap, making it easy to break into irregular pieces. The glossy surface achieved by tempering chocolate for shine makes the colorful additions of fruit and nuts stand out visually. Unlike bark made with untempered chocolate, which can be soft, dull, and prone to melting, tempered chocolate bark holds its shape well at room temperature and has a professional, appealing appearance, perfect for homemade gifts or a simple, elegant dessert.
Frequently Asked Questions
What exactly is tempering chocolate, and why is it necessary?
Tempering chocolate is the process of stabilizing the cocoa butter crystals within the chocolate. This creates a smooth, glossy finish and a crisp snap when broken, preventing chocolate bloom.
What is couverture chocolate, and how does it differ from regular chocolate chips?
Couverture chocolate contains a higher percentage of cocoa butter (usually 32-39%) than regular chocolate. This makes it ideal for tempering and achieving a professional-looking shine and texture.
What's the most common method for tempering chocolate at home using BakeWithEase recipes?
Many of our recipes recommend the seeding method. This involves melting most of the chocolate, then adding unmelted chocolate (the seed) to help establish the correct crystal structure during cooling.
What are some common mistakes to avoid when tempering chocolate?
Avoid getting any water or steam into the chocolate, as this can cause it to seize. Also, ensure you are using a reliable thermometer to monitor the temperature accurately.
How can I tell if my chocolate is properly tempered, and what happens if it isn't?
Properly tempered chocolate will have a smooth, glossy shine and a sharp snap. Untempered chocolate will be dull, streaky, and may exhibit blooming (a white, powdery coating).
Final Reflection: The Enduring Allure of a Perfect Chocolate Shine
The pursuit of the perfect chocolate shine, achieved through meticulous tempering, remains as relevant today as it was centuries ago. A flawlessly tempered chocolate shell isn't merely aesthetically pleasing; it signifies quality, craftsmanship, and a dedication to detail that elevates the entire confectionery experience. This dedication transcends the simple act of melting chocolate; it's a testament to the enduring power of artisanal skill in a world increasingly dominated by mass production.
The impact of understanding chocolate tempering extends far beyond the professional kitchen. It's a journey into the science of cocoa butter crystallization, a fascinating process that reveals the intricate relationship between temperature, time, and texture. This knowledge empowers both the seasoned baker and the enthusiastic home cook, fostering a deeper appreciation for the artistry involved in creating truly exceptional chocolate. The difference between good chocolate and great chocolate is often found in the details, and tempering is one of those crucial details.
Now, consider your own approach to chocolate work. Will you settle for a dull, lifeless finish, or will you embrace the challenge of achieving that breathtaking, mirror-like gleam? I invite you to experiment, to learn, and to experience the profound satisfaction of mastering the art of chocolate tempering. The journey may require patience and precision, but the reward – a chocolate creation that delights the eye and tantalizes the palate – is well worth the effort. Let the pursuit of that perfect shine inspire you to explore the boundless possibilities of chocolate artistry.
Unlock the Secrets of Luscious Chocolate: Master the Temper!
Thanks for diving into the world of couverture chocolate! You've now learned the key to achieving that irresistible shine and snap. Ready to put your new skills to the test?
- Create your masterpiece: Use your newfound tempering knowledge to craft your dream chocolate creation – truffles, bonbons, or a show-stopping cake! Remember to meticulously follow your recipe and enjoy the process.
- Share your success: Show off your beautifully tempered chocolate on social media using #BakeWithEaseTempering. We'd love to see your creations!
- Challenge yourself: Try tempering a new type of chocolate—perhaps a white chocolate or a unique flavor infusion—and share your experience in the comments.
What stunning chocolate creation will you make first? Let's hear about it!