
Bake a Simple French Clafoutis with Cherries

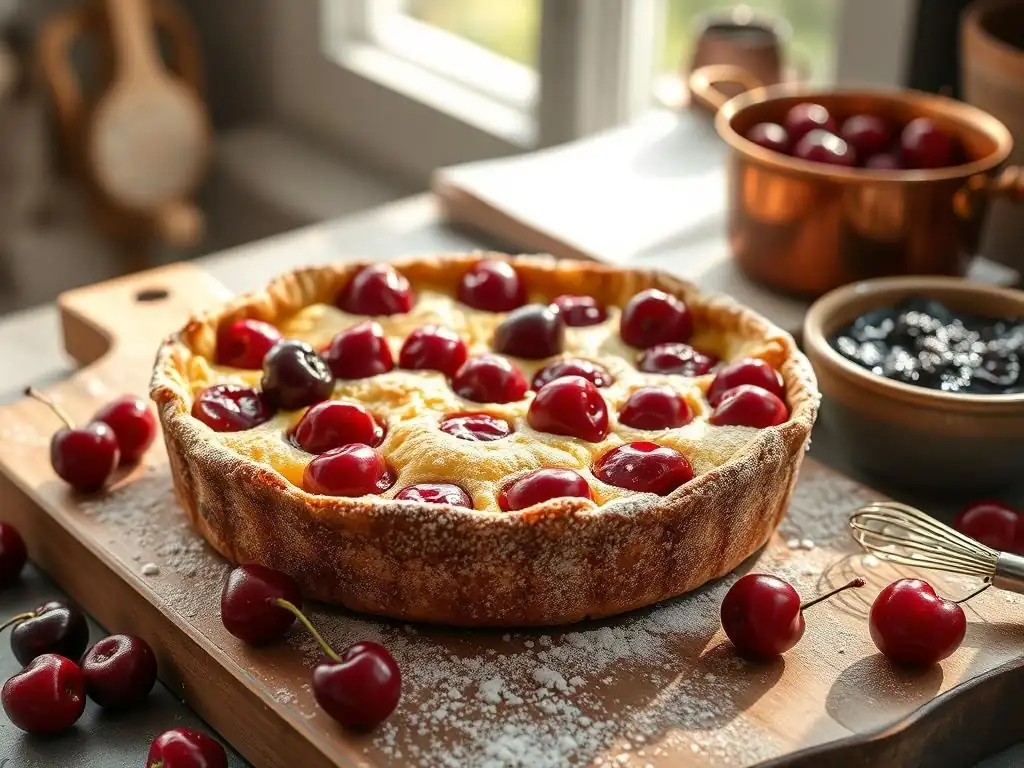
Welcome to BakeWithEase, your haven for effortless baking! Ever dreamt of creating a classic French dessert that looks and tastes like it came straight from a Parisian patisserie? Imagine the delight of serving a warm, subtly sweet, and perfectly textured treat. This article unlocks the secrets to our easy cherry clafoutis recipe, a regional specialty that's surprisingly simple to master. Intrigued? Discover how to bring a taste of France to your kitchen, even if you're a complete beginner.
- Bake a Simple French Clafoutis with Cherries: An Easy Cherry Clafoutis Recipe
- Introduction to Clafoutis: A French Baking Classic
- Preparing for Your Cherry Clafoutis: Ingredients and Equipment
- Step-by-Step Guide: Baking Your Easy Cherry Clafoutis
- Tips and Tricks for the Perfect Cherry Clafoutis
- Storing and Reheating Your Cherry Clafoutis
- Conclusion: Enjoy Your Delicious and Easy Cherry Clafoutis
-
Frequently Asked Questions
- What is a clafoutis, and is it difficult to make?
- Can I use frozen cherries instead of fresh cherries in this easy cherry clafoutis recipe?
- What kind of milk works best in the BakeWithEase cherry clafoutis recipe?
- Is it necessary to pit the cherries before baking the clafoutis?
- How do I know when my cherry clafoutis is done baking according to BakeWithEase?
- Final Reflection: The Enduring Charm of a Simple Clafoutis
- Unleash Your Inner Pâtissier: Bake a Clafoutis Today!
Bake a Simple French Clafoutis with Cherries: An Easy Cherry Clafoutis Recipe
Introduction to Clafoutis: A French Baking Classic
What is Clafoutis? Exploring the History and Tradition of this French Dessert
Clafoutis is a traditional French dessert that originated in the Limousin region of south-central France. Historically, it is made with unpitted black cherries arranged in a buttered dish and covered with a thick, flan-like batter. As it bakes, the batter puffs up around the cherries, creating a delightful, rustic pudding. The name "clafoutis" is believed to derive from the Occitan word "clafotís," from the verb "clafir," meaning "to fill." This simple yet elegant dessert reflects the French culinary philosophy of using fresh, seasonal ingredients to create something truly special with minimal fuss.
While traditionally made with cherries, the term "clafoutis" strictly refers to the version with cherries. When other fruits are used, such as apples, plums, or berries, the dish is technically called a "flaugnarde." However, in modern usage, especially outside of France, the term clafoutis is often used more broadly to describe this type of baked custard with any fruit.
The classic cherry clafoutis remains the most iconic and beloved version, celebrated for its beautiful contrast between the slightly tart fruit and the sweet, creamy batter. This easy cherry clafoutis recipe stays true to the classic while making it approachable for everyone.
Why This Easy Cherry Clafoutis Recipe is Perfect for Beginners
This easy cherry clafoutis recipe is an excellent starting point for anyone new to French baking or even baking in general. Unlike many complex pastries or cakes, clafoutis requires minimal technique. The batter comes together quickly with simple pantry staples – flour, sugar, eggs, milk, and a touch of butter. There's no need for precise creaming, folding, or intricate layering. You simply whisk the ingredients together, pour over the fruit, and bake. This straightforward process significantly reduces the chances of common baking mishaps like tough dough or fallen cakes.
Furthermore, the forgiving nature of clafoutis makes it ideal for building confidence in the kitchen. The rustic appearance is part of its charm; it's not meant to be perfectly uniform or elaborately decorated. Even if the top cracks slightly or the edges brown unevenly, the delicious flavor and comforting texture will still shine through. Following this simple cherry clafoutis recipe provides a rewarding baking experience without the stress often associated with more challenging desserts, proving that mastering French classics can be both easy and enjoyable.
Preparing for Your Cherry Clafoutis: Ingredients and Equipment
Gathering Your Ingredients: What You'll Need for the Best Cherry Clafoutis
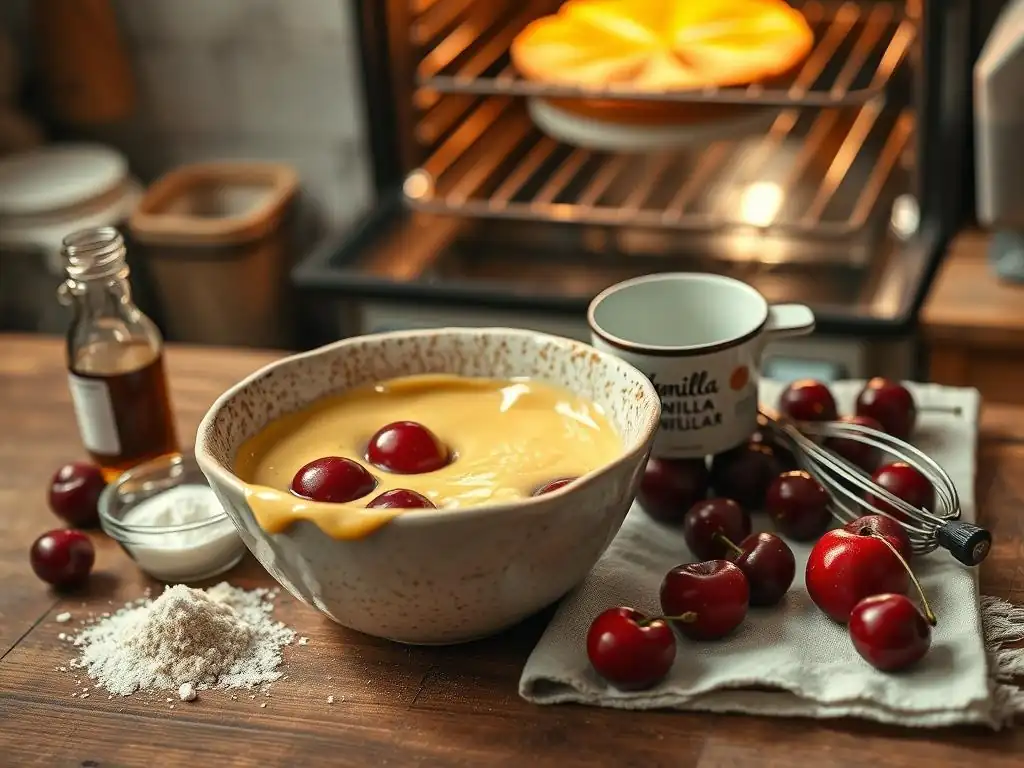
To create a truly delightful easy cherry clafoutis, starting with quality ingredients is key. Fresh, ripe cherries are paramount; their natural sweetness and slight tartness provide the perfect counterpoint to the rich batter. While traditional recipes often use unpitted cherries (believed to lend a subtle almond flavor), for ease of eating, pitting is highly recommended for this simple cherry clafoutis recipe. You'll also need standard baking ingredients like all-purpose flour, granulated sugar, large eggs, whole milk (for richness), melted butter, and a pinch of salt to enhance the flavors.
The simplicity of the ingredient list is part of what makes this such an easy cherry clafoutis recipe. You likely have most of these items in your pantry and refrigerator already. Using whole milk contributes to a richer, more custard-like texture, which is characteristic of a good clafoutis. A touch of vanilla extract is optional but highly recommended to add another layer of aromatic sweetness. Ensuring your eggs are at room temperature can help them incorporate more smoothly into the batter, resulting in a more uniform texture.
List of Ingredients: Cherries, Flour, Sugar, Eggs, Milk, and More
Here's a basic list for an easy cherry clafoutis recipe, typically serving 4-6 people:
- About 1 pound (approx. 2 cups) fresh or frozen cherries, pitted
- 1/2 cup all-purpose flour
- 1/3 cup granulated sugar, plus more for dusting
- A pinch of salt
- 3 large eggs, room temperature
- 1 cup whole milk, room temperature
- 2 tablespoons unsalted butter, melted and slightly cooled
- 1 teaspoon vanilla extract (optional)
- Powdered sugar, for serving
Essential Baking Equipment for a Smooth Clafoutis Baking Experience
Having the right tools makes the baking process much smoother, especially for a relatively simple dish like clafoutis. You won't need specialized equipment, but a few basics are essential. A good-sized mixing bowl for preparing the batter is necessary, along with a whisk or electric mixer to ensure the ingredients are well combined and smooth. Measuring cups and spoons are crucial for accurate ingredient proportions, which help guarantee the correct batter consistency. A rubber spatula is also helpful for scraping down the sides of the bowl and pouring the batter.
Recommended Baking Dish: Size and Material for Optimal Results
For baking clafoutis, a shallow baking dish is ideal. A standard 9-inch or 10-inch pie plate, a similar-sized gratin dish, or a cast-iron skillet works wonderfully. Ceramic or glass pie plates (like a 9.5-inch Pyrex dish) are commonly used and provide even heat distribution, helping the clafoutis bake through nicely. A 9-inch cast-iron skillet also yields excellent results, often creating a lovely crispy edge. The size is important; too large a dish will result in a thin clafoutis that bakes too quickly, while too small a dish might overflow or take excessively long to set in the center.
Step-by-Step Guide: Baking Your Easy Cherry Clafoutis
Step 1: Preparing the Cherries for Clafoutis
The first step in this easy cherry clafoutis recipe is preparing the star ingredient: the cherries. If using fresh cherries, they must be washed thoroughly. The most important part of preparation is pitting the cherries. While traditionalists might skip this step, removing the pits makes the clafoutis much more pleasant to eat, eliminating the need for guests to navigate around hard pits. You can use a cherry pitter tool, which makes the job incredibly fast and easy, or a simple method like using a sturdy straw or a chopstick to push the pit out through the stem end.
Once pitted, the cherries can be placed directly into the prepared baking dish. Some recipes suggest tossing them with a tablespoon or two of sugar or a bit of flour to prevent them from sinking, but for this simple cherry clafoutis recipe, you can often just scatter them evenly on the bottom of the buttered dish. If using frozen cherries, allow them to thaw slightly and drain off any excess liquid before adding them to the dish. This prevents the clafoutis from becoming watery. Aim for an even layer of cherries across the bottom of your chosen baking vessel.
Pitting Cherries: A Quick and Easy Method
One efficient method for pitting cherries without a specialized tool involves using a clean, empty bottle with a narrow neck (like a soda bottle). Place a cherry on the mouth of the bottle, stem-side up. Use a chopstick, skewer, or even a sturdy straw to push down firmly on the stem end.
The pit should pop cleanly out of the bottom of the cherry and fall into the bottle. This method is surprisingly fast and effective, though it can be a bit messy. Always work over a surface that is easy to clean or lay down some paper towels, as cherry juice can stain.
Another simple technique requires only a small paring knife. Carefully cut around the cherry following the seam, similar to how you'd cut a peach. Twist the two halves apart, and then use the knife tip or your fingers to lift out the pit. This method is slightly more time-consuming but gives you more control and can be useful if you don't have other tools available. Whichever method you choose, ensure all pits are removed before proceeding with your easy cherry clafoutis recipe.
Step 2: Making the Clafoutis Batter: A Simple Mixing Process
The batter for clafoutis is incredibly simple to make, resembling a thick crêpe batter or a thin custard. You'll typically start by whisking together the dry ingredients – flour, sugar, and salt – in a medium bowl. This helps to distribute the salt and sugar evenly and prevents lumps of flour. In a separate bowl or measuring jug, whisk the wet ingredients: eggs, milk, melted butter, and vanilla extract (if using). Ensure the melted butter isn't too hot, as it could curdle the eggs.
Once the wet ingredients are combined, gradually add the wet mixture to the dry ingredients while whisking continuously. Whisk until the batter is smooth and free of lumps. A few small lumps are acceptable in this rustic dessert, but a smooth batter ensures a more uniform texture. Avoid overmixing, as this can develop the gluten in the flour, potentially resulting in a tougher clafoutis. The final consistency should be similar to heavy cream or pancake batter – relatively thin and pourable. This simple mixing process is a key reason this is an easy cherry clafoutis recipe perfect for beginners.
Combining Dry and Wet Ingredients for a Smooth Batter
To ensure a smooth batter, it's often best to make a well in the center of your dry ingredients and pour the wet ingredients into it. Begin whisking from the center, gradually incorporating the dry ingredients from the sides into the wet. This technique helps prevent flour from sticking to the sides of the bowl and forming stubborn lumps. Alternatively, you can pour the dry ingredients gradually into the wet while whisking, which also works well.
If you find your batter has a few stubborn lumps, you can gently press them against the side of the bowl with your whisk or a spoon to break them up. For an extra smooth batter, some bakers even strain the mixture through a fine-mesh sieve, though this is typically unnecessary for a simple cherry clafoutis recipe and adds an extra step. The goal is simply a pourable batter that will bake into a tender, pudding-like consistency around the cherries.
Step 3: Assembling and Baking Your Cherry Clafoutis
With the cherries prepared and the batter mixed, assembly is straightforward. First, ensure your baking dish is properly prepared. Buttering the dish generously prevents the clafoutis from sticking and helps create those slightly caramelized, delicious edges. A light dusting of sugar after buttering also adds a nice touch and helps with release. Arrange your pitted cherries evenly across the bottom of the prepared dish in a single layer.
Next, gently pour the smooth clafoutis batter evenly over the cherries in the dish. The batter will settle around the fruit. Avoid stirring the batter once it's in the dish, as you want the cherries to remain relatively distributed throughout the bottom layer. Place the dish carefully into your preheated oven. The baking process is where the magic happens, transforming the liquid batter and fruit into a puffed, golden dessert.
Pouring the Batter and Arranging the Cherries
When pouring the batter, try to do it in a steady stream, distributing it as evenly as possible over the cherries. If the cherries shift slightly, you can gently nudge them back into place with a spoon or spatula before baking, but don't worry too much about perfect arrangement – the batter will fill the gaps. The goal is to have the cherries nestled within the bottom half of the batter as it bakes.
If you are using a cast-iron skillet, make sure it is thoroughly buttered, especially up the sides. When using glass or ceramic dishes, buttering is also essential. Some recipes suggest warming the milk slightly before adding it to the batter, which can help the batter bake more evenly, though using room temperature milk is sufficient for an easy cherry clafoutis recipe.
Baking Time and Temperature: Achieving the Perfect Texture
Bake the clafoutis in a preheated oven, typically at around 375°F (190°C). The baking time will vary depending on the size and material of your dish and your specific oven, but it usually takes between 35 to 45 minutes. You'll know the clafoutis is done when the edges are set and golden brown, and the center is mostly set with perhaps a slight wobble. The clafoutis will puff up significantly around the edges while baking, which is characteristic.
To test for doneness, you can gently insert a knife or toothpick into the center, avoiding the cherries. It should come out mostly clean, with maybe a few moist crumbs attached, not liquid batter. The surface should look cooked and have a lovely golden hue. Over-baking can make it tough, while under-baking will result in a runny center. Keep an eye on it during the last 10-15 minutes of baking.
Step 4: Cooling and Serving Your Homemade Cherry Clafoutis
Once baked, carefully remove the clafoutis from the oven. You'll notice it has puffed up dramatically, especially around the edges. This is perfectly normal! However, it will deflate as it cools. This deflation is also expected and part of the clafoutis's charm and texture. Do not be alarmed when it sinks back down. Place the dish on a wire rack to begin the cooling process.
While clafoutis is often served warm, it's crucial to let it cool for at least 10-15 minutes before serving. This cooling time allows the custard to finish setting and firms up the texture. Cutting into it too soon can result in a runny mess. The clafoutis will continue to set as it cools, developing that signature tender, pudding-like consistency.
Cooling Time: Allowing the Clafoutis to Set
Allowing the clafoutis to cool for a minimum of 10-15 minutes is essential for the best texture. For a firmer set, you can let it cool for 30 minutes or even longer. Some people prefer it served at room temperature, where the texture is fully set. As it cools, the residual heat continues to cook the center gently, and the starches and proteins in the batter solidify, creating a more stable and pleasant consistency.
If you're serving it warm, aim for that initial 10-15 minute resting period. The center should be set but still very soft and warm. Serving it hot right out of the oven will result in a much looser, almost soup-like center. Patience during this cooling step is rewarded with a much better final product from your easy cherry clafoutis recipe.
Serving Suggestions: Toppings and Pairings for a Delicious Treat
Clafoutis is traditionally served simply, often dusted generously with powdered sugar just before serving. The white powdered sugar creates a beautiful contrast against the golden-brown surface. For an extra touch of elegance and flavor, you can also serve it with a dollop of fresh whipped cream, a scoop of vanilla ice cream, or a drizzle of crème fraîche.
A simple fruit coulis, perhaps made from raspberries or more cherries, can also be a lovely addition, adding another layer of fruity flavor and a vibrant color contrast. While delicious on its own, these simple additions elevate the dessert experience. A warm slice of easy cherry clafoutis with a dusting of powdered sugar makes for a comforting and satisfying end to any meal.
Tips and Tricks for the Perfect Cherry Clafoutis
Achieving the Ideal Clafoutis Texture: Avoiding Common Mistakes
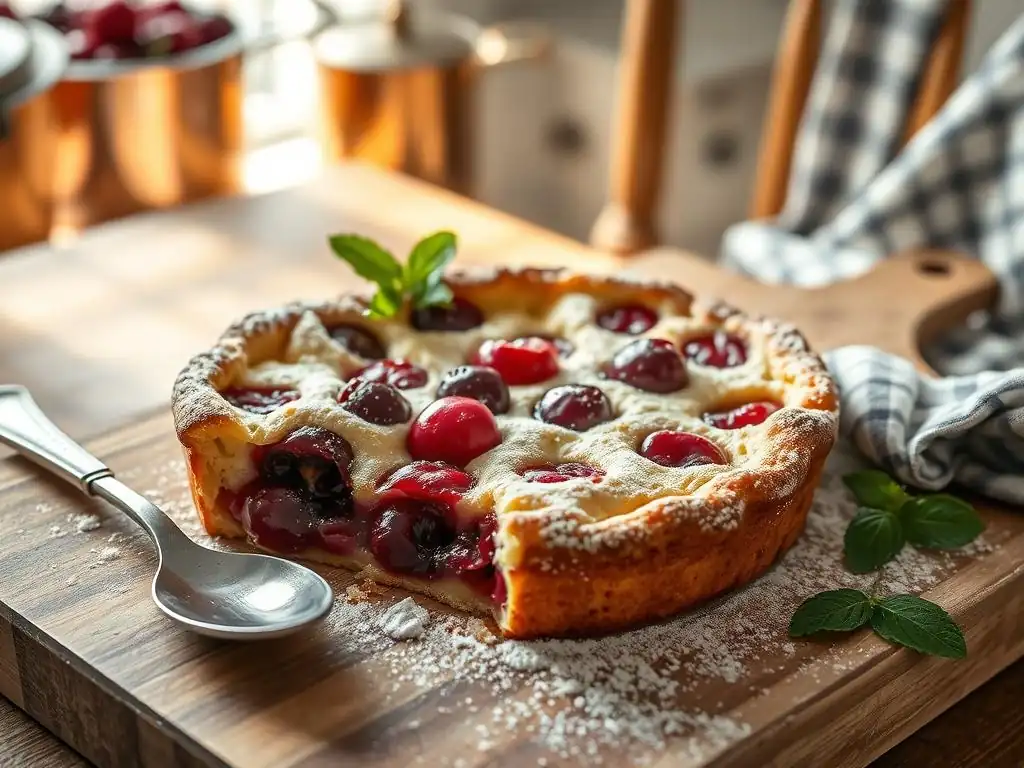
The perfect clafoutis has a tender, pudding-like interior with slightly firmer, golden edges. Achieving this texture is key to a successful easy cherry clafoutis recipe. One common mistake that leads to a tough texture is overmixing the batter. Whisking vigorously for too long develops the gluten in the flour, making the clafoutis dense and chewy rather than soft and custardy. Mix just until the ingredients are combined and the batter is smooth.
Another factor affecting texture is the baking time and temperature. Baking at too high a temperature can cause the edges to burn before the center is set, while too low a temperature might result in a pale, unset clafoutis. Follow the recommended temperature and time range, but always check for doneness towards the end of the baking time, as ovens vary. An underbaked clafoutis will be too runny in the center, while an overbaked one will be dry and rubbery. Using room temperature ingredients also helps ensure even baking and a smoother texture.
Variations and Adaptations: Exploring Different Clafoutis Flavors
While the classic easy cherry clafoutis recipe is a timeless favorite, the basic batter can be adapted to create delicious variations using different fruits or flavorings. This versatility is part of what makes clafoutis such a wonderful dessert to experiment with. Remember that technically, versions without cherries are called flaugnardes, but the preparation is essentially the same.
Using Other Fruits: Beyond Cherry Clafoutis
Many other fruits work beautifully in clafoutis batter. Sliced apples or pears, especially varieties that hold their shape well like Honeycrisp or Bosc, create a comforting, autumnal dessert. Berries, such as raspberries, blueberries, or mixed berries, add bursts of tartness and color. Stone fruits like plums, apricots, or peaches (peeled and sliced) are also excellent choices when in season. Ensure any fruit used is ripe but not overly soft, and if it's very juicy, you might want to toss it with a tablespoon of flour or cornstarch before adding it to the dish to absorb excess moisture.
Adding Extracts and Spices: Enhancing the Flavor Profile
Beyond fruit, you can enhance the flavor of your clafoutis batter with various extracts and spices. A touch of almond extract pairs wonderfully with cherries, complementing their natural flavor. Vanilla extract is a classic addition that enhances the overall sweetness and aroma. For fruit variations, consider adding spices like cinnamon or nutmeg, especially with apples or pears. A hint of lemon zest or orange zest can also brighten the flavor profile. Experimenting with these simple additions allows you to customize your easy cherry clafoutis recipe to your personal taste.
Storing and Reheating Your Cherry Clafoutis
Proper Storage: Keeping Your Clafoutis Fresh
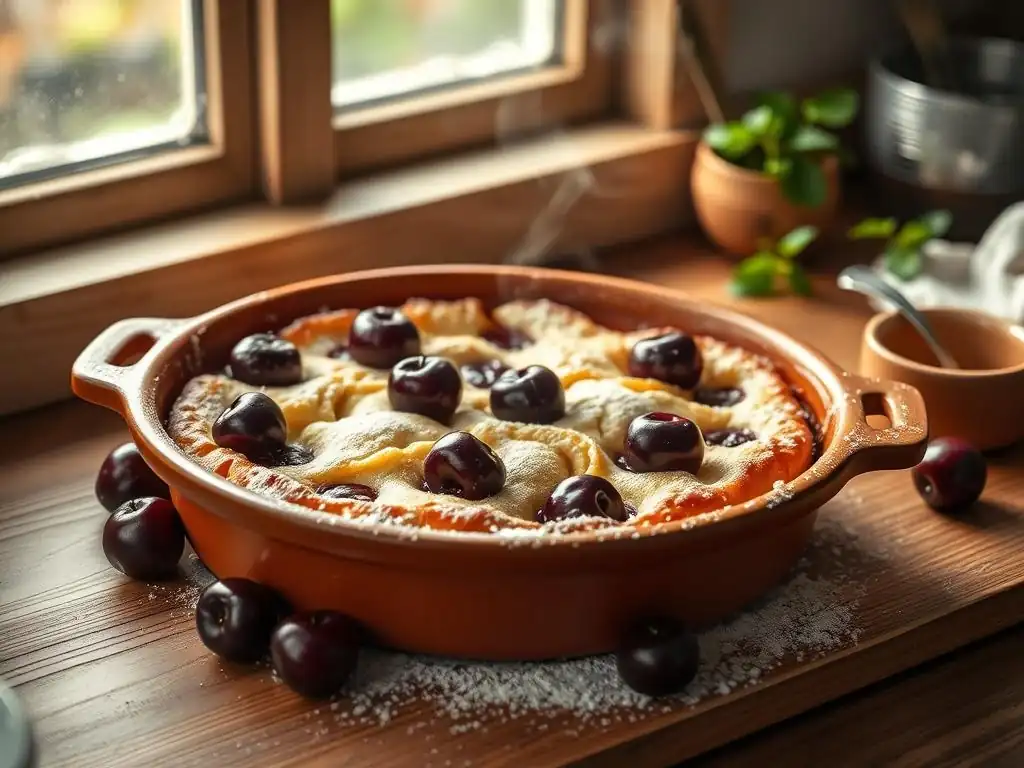
If you happen to have leftover clafoutis (which is a rare occurrence! ), it can be stored for later enjoyment. Allow the clafoutis to cool completely to room temperature before storing. Covering the baking dish tightly with plastic wrap or aluminum foil is sufficient for short-term storage. For longer storage or if using a dish without a lid, you can transfer individual portions to airtight containers.
Properly stored in the refrigerator, leftover clafoutis will keep for about 2 to 3 days. The texture might become slightly firmer upon chilling, but the flavor remains excellent. It's generally not recommended to freeze clafoutis, as the custard-like texture can become grainy or watery upon thawing. Sticking to refrigeration ensures the best quality for leftovers from your easy cherry clafoutis recipe.
Reheating Tips: Maintaining the Texture and Flavor
When you're ready to enjoy your leftover clafoutis, you can eat it chilled or gently reheat it. To reheat a slice or individual portion, the microwave is a quick option. Heat on medium power for 30-60 seconds, or until warmed through. Be careful not to overheat, as this can make the clafoutis rubbery.
For reheating a larger portion or the entire dish, the oven is preferable as it helps maintain the texture better than the microwave. Preheat your oven to a lower temperature, around 300°F (150°C). Place the clafoutis in the dish (covered loosely with foil if it seems to be drying out) and heat for 15-20 minutes, or until warmed through the center. Reheating in the oven helps revive some of the crispy edge texture that might have softened in the refrigerator, ensuring your easy cherry clafoutis recipe leftovers are still delicious.
Conclusion: Enjoy Your Delicious and Easy Cherry Clafoutis
Celebrate French Baking with This Simple and Delightful Recipe
Baking a simple French clafoutis with cherries is a wonderful way to experience the joy of French baking without complexity. This easy cherry clafoutis recipe demystifies a classic dessert, proving that elegant results are achievable even for novice bakers. The combination of sweet, juicy cherries and the rich, tender custard batter creates a comforting and satisfying treat that is perfect for brunch, dessert, or even a simple afternoon snack. It's a testament to how a few basic ingredients can be transformed into something truly special with minimal effort.
Embracing this easy cherry clafoutis recipe allows you to create a rustic yet sophisticated dessert that is sure to impress. It's a dish that embodies the spirit of home baking – warm, inviting, and utterly delicious. Whether you serve it warm from the oven or at room temperature, dusted with powdered sugar or topped with cream, it's a delightful celebration of seasonal fruit and classic French technique made accessible.
We love seeing what our community bakes! If you try this easy cherry clafoutis recipe, we encourage you to share your results. Baking is a journey best shared, and seeing your successful clafoutis creations is incredibly rewarding for us and inspiring for fellow bakers. Whether your clafoutis puffs up perfectly or has a charmingly rustic appearance, every bake is a step in your baking journey.
Sharing your experience, perhaps noting any variations you tried or tips you discovered, can help others who are attempting this simple cherry clafoutis recipe. Join the BakeWithEase community by sharing photos and stories of your baking adventures. Let's celebrate the ease and deliciousness of homemade clafoutis together!
Frequently Asked Questions
What is a clafoutis, and is it difficult to make?
A clafoutis is a classic French baked dessert, traditionally made with cherries. It's surprisingly easy to make, resembling a baked custard or pancake, and requires minimal effort.
Can I use frozen cherries instead of fresh cherries in this easy cherry clafoutis recipe?
Yes, you can use frozen cherries! Just make sure to thaw and drain them thoroughly to prevent the clafoutis from becoming too watery.
What kind of milk works best in the BakeWithEase cherry clafoutis recipe?
While whole milk provides the richest flavor, you can use other types like 2% or even almond milk. The key is to use a dairy or non-dairy milk you enjoy the taste of.
Is it necessary to pit the cherries before baking the clafoutis?
Traditionally, cherries are baked with their pits in place, as they are said to impart a subtle almond flavor. However, for ease of eating and safety, many prefer to pit the cherries beforehand.
How do I know when my cherry clafoutis is done baking according to BakeWithEase?
The clafoutis is done when it's puffed up and golden brown, and a knife inserted into the center comes out mostly clean. It will jiggle slightly, which is normal and it will settle as it cools.
Final Reflection: The Enduring Charm of a Simple Clafoutis
The seemingly simple act of baking a cherry clafoutis transcends mere culinary creation; it's a journey into the heart of French culinary tradition, accessible and delightful for everyone. This recipe, designed for ease and deliciousness, proves that sophisticated flavors don't require complicated techniques. In a world of increasingly complex recipes and demanding schedules, the simplicity of this clafoutis offers a welcome respite.
The enduring appeal of this classic dessert lies not just in its taste, but in its ability to evoke feelings of warmth, comfort, and connection. The process itself—whisking together simple ingredients, the gentle bubbling in the oven, the intoxicating aroma filling the kitchen—is a meditative experience. It's a reminder to slow down and appreciate the small pleasures in life. The simplest things are often the most beautiful.
This sentiment perfectly encapsulates the magic of this seemingly simple recipe.
Now, I invite you to consider the possibilities. Don't just bake this clafoutis; experience it. Let the process become a moment of mindful creation, a chance to connect with yourself and perhaps even share the joy with loved ones. The next time you crave a sweet treat, remember the ease and elegance of this cherry clafoutis. Embrace the simplicity, and let the deliciousness transport you.
Unleash Your Inner Pâtissier: Bake a Clafoutis Today!
Thanks for joining us on this delicious journey into the world of French baking! We hope you now feel confident in tackling this seemingly complex, yet surprisingly simple, dessert. Ready to take your baking skills to the next level?
- Bake your own Clafoutis: Gather your ingredients (cherries are perfect, but get creative! ), and follow our recipe again. Mastering this classic is a fantastic achievement!
- Share your Clafoutis creation: Snap a photo of your finished masterpiece and share it on social media – tag us! Let's inspire other bakers.
- Explore other simple French recipes on BakeWithEase. We have tons of delightful treats just waiting to be discovered!
What delicious twist will you add to your next Clafoutis? Let us know in the comments!