
Easy Japanese Mochi: Your First Attempt Success Guaranteed

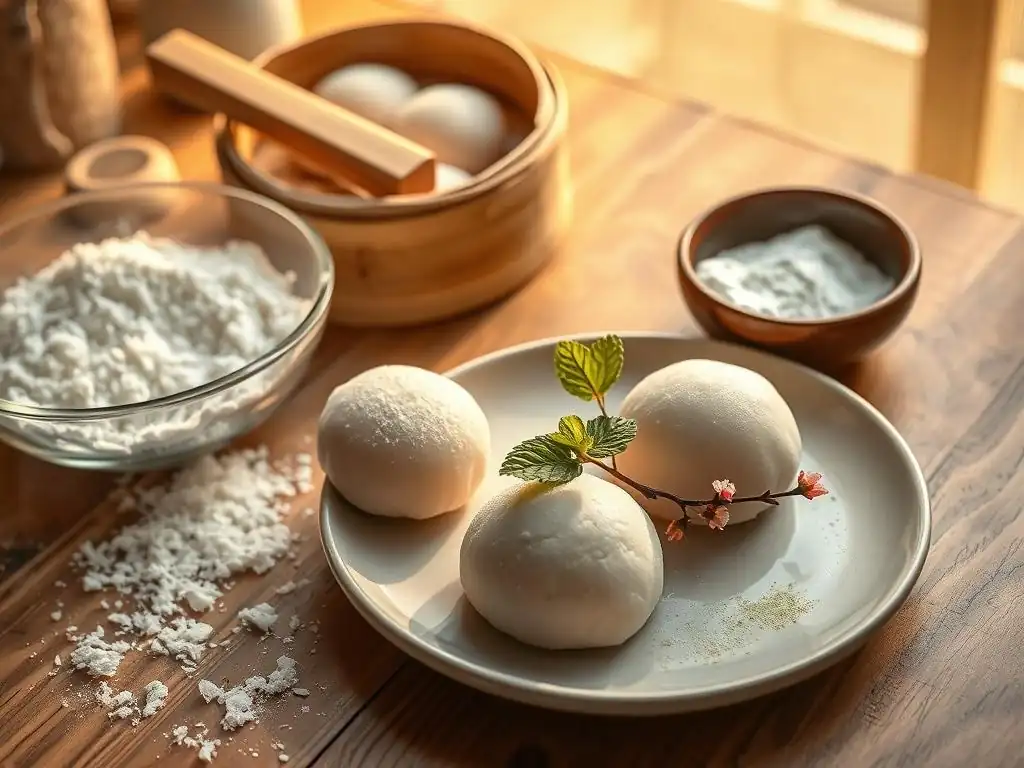
Welcome to BakeWithEase! Ever dreamed of perfectly chewy, melt-in-your-mouth mochi? You're in the right place. Discover our guide to an Easy Japanese Mochi Recipe that's so simple, even beginners can achieve authentic results. Uncover the secrets to this delightful treat and prepare to impress friends and family with your newfound baking skills. What makes this recipe so foolproof? Find out below!
- Homemade Japanese Mochi: A Simple Guide
- Making Mochi at Home: A Beginner's Approach
- Understanding Mochi: A Traditional Japanese Treat
- Simple Mochi Recipe: Ingredients and Equipment
- Step-by-Step: Microwave Mochi Recipe
- Tips for Perfect Mochi
- Mochi Recipe Variations: Expanding Your Culinary Horizons
- Troubleshooting Common Mochi Issues
- Enjoy Your Homemade Mochi!
- Frequently Asked Questions
- Final Reflection: The Sweet Simplicity of Success
- Unlock Your Inner Mochi Master!
Homemade Japanese Mochi: A Simple Guide
Making Mochi at Home: A Beginner's Approach
Mochi, a beloved Japanese treat made from glutinous rice, might seem intimidating to prepare from scratch. However, with the right ingredients and a straightforward method, making delicious, chewy mochi in your own kitchen is entirely achievable, even for novice bakers. This guide focuses on an easy Japanese mochi recipe using a microwave, simplifying the traditional labor-intensive process of pounding rice while still delivering that signature texture. Our goal is to provide you with a reliable, simple mochi recipe that guarantees success on your very first attempt.
Embarking on your mochi-making journey opens up a world of delightful textures and subtle flavors. Forget store-bought versions; homemade mochi offers unparalleled freshness and the ability to customize sweetness and fillings. Whether you're craving a simple mochi coated in toasted soybean flour (kinako) or planning to fill yours with sweet red bean paste (anko), mastering the basic easy Japanese mochi recipe is the perfect starting point. We'll walk you through everything from understanding the core ingredients to troubleshooting common issues, ensuring your homemade mochi turns out perfectly soft and chewy every time.
Understanding Mochi: A Traditional Japanese Treat
History and Cultural Significance of Mochi
The history of mochi in Japan is deeply intertwined with its agricultural traditions and cultural practices, stretching back over a thousand years. While the exact origin is debated, it is believed that the technique of steaming and pounding glutinous rice was introduced from China around the Yayoi period (roughly 300 BCE to 300 CE). Initially, mochi was primarily consumed by the imperial family and aristocrats, often in religious ceremonies, particularly those related to the harvest, as rice was considered sacred. Its elasticity and stickiness were seen as symbols of strength and perseverance, making it a fitting offering.
Over centuries, mochi became more accessible and integrated into everyday life, although its most significant role remains within traditional Japanese celebrations, especially New Year (Oshogatsu). During this time, families gather for mochi-tsuki, the energetic ceremony of pounding steamed glutinous rice into a smooth, sticky mass using a large mortar (usu) and pestle (kine).
The resulting mochi is then shaped into various forms, such as Kagami mochi (mirror mochi), which are stacked discs used as decorations and offerings, symbolizing prosperity and good fortune for the coming year. This deep cultural connection makes understanding mochi's background part of appreciating this unique confection.
Key Characteristics of Authentic Mochi Texture
The defining characteristic of authentic mochi is its unique texture, often described as mochi-mochi in Japanese – a term encompassing qualities like chewy, elastic, soft, and slightly bouncy. This texture is achieved through the gelatinization of starch in the glutinous rice flour. When heated with water, the starch granules absorb liquid and swell, forming a viscous, sticky gel. The subsequent kneading or pounding aligns the starch molecules, creating the characteristic stretchiness and resilience that differentiates mochi from other rice cakes.
Achieving the perfect balance of softness and chewiness is key to a successful easy Japanese mochi recipe. Mochi should be pliable and yield slightly when bitten, offering a satisfying chew without being tough or overly sticky to the point of being difficult to eat. This texture can be influenced by the ratio of water to flour, the cooking time, and the method of preparation. Properly cooked mochi, when warm, will be quite soft and malleable, firming up slightly as it cools but retaining its delightful mochi-mochi quality.
Types of Mochi: Exploring Regional and Seasonal Variations
Mochi is incredibly versatile, leading to a vast array of types enjoyed throughout Japan, often tied to specific seasons or regions. One of the most popular variations is Daifuku ("great luck"), which is soft mochi filled with sweet red bean paste (anko), sometimes with a whole fruit like a strawberry (Ichigo Daifuku) inside, especially popular in spring. Another seasonal favorite is Sakuramochi, eaten during cherry blossom season, which consists of pink-tinted mochi wrapped in a salted cherry blossom leaf, often filled with anko.
Beyond sweet confections, mochi is also a staple in savory dishes. Zoni, a soup containing mochi, is traditionally eaten on New Year's Day, with regional variations differing widely in broth flavor (clear or miso-based) and accompanying ingredients. Kusamochi, or "grass mochi," incorporates mugwort (yomogi) into the dough, giving it a green hue and earthy aroma, typically enjoyed in spring. Exploring these different types highlights the adaptability of the basic easy Japanese mochi recipe and its integral role in Japanese cuisine and culture throughout the year.
Simple Mochi Recipe: Ingredients and Equipment
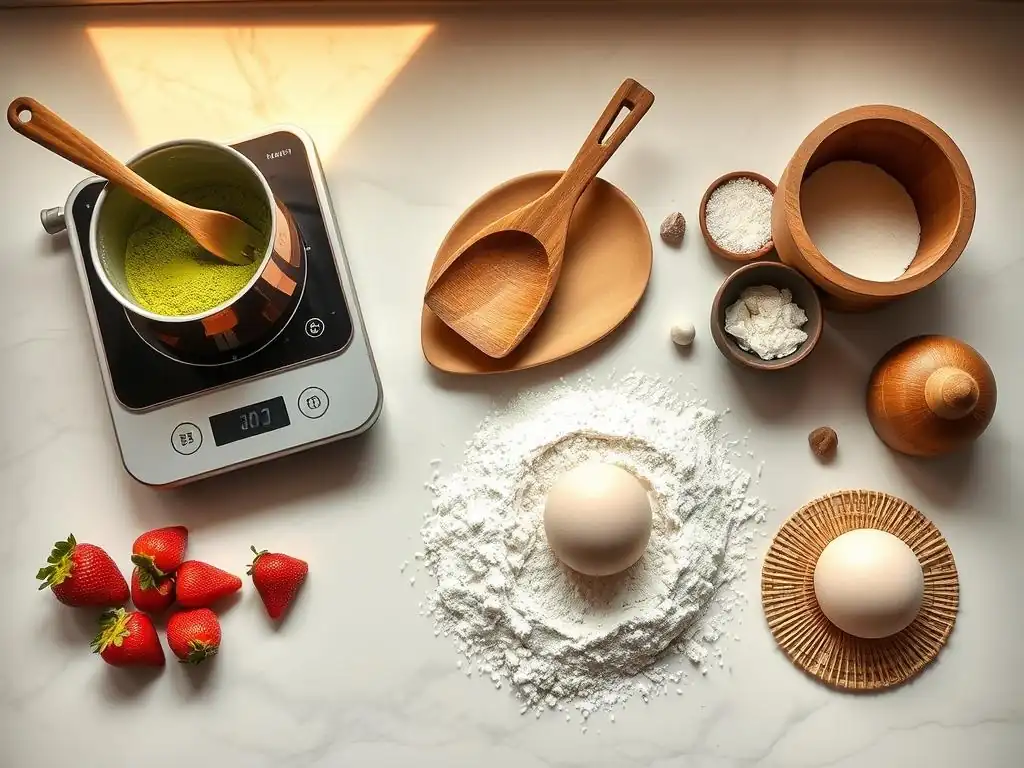
Essential Ingredients for Authentic Mochi
Making a simple mochi recipe requires just a few key ingredients, primarily focusing on the right type of rice flour. Unlike regular rice flour, glutinous rice flour, also known as sweet rice flour or mochiko, is essential for achieving the characteristic chewy texture. This flour is made from short-grain glutinous rice (mochigome), which has a high amylopectin starch content that becomes sticky and elastic when cooked. Using regular rice flour will result in a crumbly texture, not the desired mochi consistency.
Besides mochiko, sugar is added to provide sweetness and also helps to keep the mochi soft. The amount of sugar can be adjusted to taste. Water is crucial for hydrating the flour and allowing the starch to gelatinize during cooking. The ratio of water to flour is critical for achieving the correct dough consistency. Finally, a generous amount of starch, typically potato starch (katakuriko) or cornstarch, is needed to coat the finished mochi pieces, preventing them from sticking to everything – your hands, the cutting surface, and each other.
Glutinous Rice Flour (Mochiko): The Foundation
Glutinous rice flour, or mochiko, is the cornerstone of any easy Japanese mochi recipe. It is derived from short-grain glutinous rice (Oryza sativa var. glutinosa), which, despite its name, is gluten-free but sticky due to its high amylopectin starch content (typically over 80%). This specific starch structure is what allows the flour to transform into the incredibly elastic and chewy dough characteristic of mochi when cooked with moisture and heat.
When purchasing mochiko, look for brands specifically labeled as glutinous rice flour or sweet rice flour, often found in Asian grocery stores. While some recipes might attempt to use other flours, none will replicate the unique texture provided by mochiko. A standard easy Japanese mochi recipe might call for about 100-150 grams of mochiko as a base, highlighting its central role in achieving the desired outcome.
Sugar: Balancing Sweetness and Texture
Sugar plays a dual role in making mochi. Primarily, it adds a pleasant sweetness, balancing the sometimes plain flavor of the rice flour. The amount of sugar can be adjusted based on personal preference and whether the mochi will be filled with something sweet like anko. A typical easy Japanese mochi recipe might use anywhere from 30 to 50 grams of granulated sugar per 100 grams of mochiko.
Beyond taste, sugar also influences the texture of the mochi. It helps to keep the mochi soft and pliable, preventing it from becoming too hard upon cooling. It interferes slightly with starch retrogradation, the process by which cooked starch molecules realign and cause the food to become firm or stale. Thus, including sugar contributes to the desirable soft and chewy texture of fresh mochi.
Water: Achieving the Right Consistency
Water is the essential liquid component that hydrates the mochiko and enables the starch to gelatinize when heated. The ratio of water to mochiko is critical for achieving the correct dough consistency before cooking. Too little water will result in a dry, crumbly dough that won't cook properly, while too much water will create a batter that is difficult to handle and may not develop the right chewiness.
A common ratio for an easy Japanese mochi recipe using the microwave method is roughly 1:1 by weight for mochiko to water, or slightly more water, perhaps 1.1 or 1.2 parts water to 1 part mochiko. For example, 100 grams of mochiko might require 100-120 ml of water. The exact amount can sometimes vary slightly depending on the specific brand of mochiko used, so paying attention to the visual cues of the dough (smoothness, lack of dry spots) is important before cooking.
Starch (Potato or Corn): Preventing Stickiness
Starch, typically potato starch (katakuriko) or cornstarch, is not mixed into the mochi dough itself but is used generously for coating the cooked mochi. Mochi is notoriously sticky, especially when warm, due to its high starch content. Without a coating of starch, it would be impossible to handle, cut, or shape the mochi without it adhering to everything it touches.
Before handling the cooked mochi, your work surface, hands, and knife should be dusted or coated with a sufficient amount of starch. This creates a barrier that prevents the mochi from sticking. Potato starch is traditionally preferred in Japan for its fine texture and ability to create a smooth, less noticeable coating, but cornstarch works effectively as a readily available alternative for an easy Japanese mochi recipe. Using approximately 50-100 grams of starch is usually sufficient for coating a batch made with 100-150 grams of mochiko.
Basic Equipment for Mochi Preparation
Making mochi at home, especially with a simplified easy Japanese mochi recipe, doesn't require specialized equipment beyond standard kitchen tools. The primary piece of "equipment" that simplifies the process dramatically is a microwave or a steamer, which replaces the traditional labor of pounding. Beyond the cooking method, basic bowls and utensils are needed for mixing the dough, and measuring tools are essential for ensuring the correct ingredient ratios.
Having the right equipment ready before you start is key to a smooth mochi-making process. A microwave-safe bowl (if using that method), a whisk or spatula for mixing, and reliable measuring cups and spoons will make preparing your easy Japanese mochi recipe much easier. A non-stick surface or a cutting board dusted generously with starch will also be necessary for shaping the cooked mochi.
Microwave or Steamer: Cooking Methods
The microwave method is gaining popularity for its speed and simplicity, making it ideal for an easy Japanese mochi recipe. By heating the mochi dough in short intervals, the microwave efficiently gelatinizes the starch, transforming the liquid batter into a chewy mass. This method is much less labor-intensive than traditional pounding and significantly faster than steaming. A standard home microwave (around 700-1000 watts) can typically cook a small batch of mochi dough (using 100-150g mochiko) in just 3-5 minutes of total cooking time, spread across several intervals.
Alternatively, steaming is a more traditional and perhaps slightly more forgiving method, although it takes longer. The mochi dough is placed in a heatproof bowl, covered, and steamed over boiling water for about 15-20 minutes, or until translucent and sticky. While slower, steaming tends to heat the dough more evenly than a microwave, potentially resulting in a slightly smoother texture. Both methods are effective for an easy Japanese mochi recipe, with the microwave offering speed and the steamer offering a more traditional approach.
Mixing Bowls and Utensils: Dough Preparation
You'll need a suitable mixing bowl to combine your mochiko, sugar, and water. If you're using the microwave method, ensure the bowl is microwave-safe and large enough to accommodate the dough as it expands slightly during cooking. A glass or ceramic bowl is often recommended. For a batch using 100-150 grams of mochiko, a bowl with a capacity of at least 1 liter (about 4 cups) is usually sufficient.
To mix the ingredients, a whisk or a silicone spatula works well. A whisk helps to break up any lumps in the dry ingredients before adding water, and a spatula is useful for stirring the mixture and later for handling the hot, sticky dough after cooking. Having a sturdy spatula is particularly helpful for gathering and briefly kneading the hot mochi dough before shaping.
Measuring Cups and Spoons: Precise Ratios
Accuracy in measuring ingredients is particularly important for an easy Japanese mochi recipe, especially when it comes to the ratio of liquid to dry ingredients. Using measuring cups and spoons ensures you follow the recipe proportions correctly, which is crucial for achieving the desired texture. While traditional recipes might have used volume measurements, weighing the mochiko and sugar with a kitchen scale often provides more consistent results.
For liquids like water, standard liquid measuring cups are appropriate. For the starch coating, volume measurements (like 1/2 to 1 cup) or simply having a generous amount ready in a shallow dish works fine, as it's used for coating rather than being incorporated into the dough itself. Precise measurements, especially for the mochiko and water, are a key step towards guaranteeing success with your homemade mochi.
Step-by-Step: Microwave Mochi Recipe
This simple mochi recipe utilizes the microwave for a quick and easy preparation method perfect for beginners. Follow these steps to make your own delicious mochi at home. This method is designed to be straightforward, making it an excellent easy Japanese mochi recipe to start with.
Step 1: Preparing the Dough
The first step is to combine the dry and wet ingredients to form the mochi dough before cooking. This involves measuring everything accurately and mixing until a smooth, consistent batter is achieved. Proper mixing at this stage helps prevent lumps and ensures even cooking later on.
Combining Ingredients: Achieving the Right Mix
In your microwave-safe bowl, whisk together the mochiko and sugar until well combined. This helps distribute the sugar evenly throughout the flour. Gradually add the water to the dry ingredients while whisking continuously. Whisk until you have a smooth batter with no dry spots or lumps. It should resemble a thick pancake batter or a thin paste.
Ensuring the mixture is lump-free is important for an even texture in the final mochi. You can even pass the batter through a fine-mesh sieve if you find it difficult to get completely smooth, though vigorous whisking is usually sufficient for an easy Japanese mochi recipe like this. Cover the bowl loosely with plastic wrap, leaving a small vent for steam to escape.
Dough Consistency: Visual Cues and Adjustments
Before microwaving, the batter should be opaque and flow somewhat slowly from the whisk. Its consistency is similar to that of double cream or a thin custard. If it appears too thick and paste-like, you might need to add a tiny splash more water (a teaspoon or two) and whisk again. If it seems too thin and watery, it's likely due to inaccurate measurement, and unfortunately, it's hard to correct at this stage without adding more mochiko, which can change the ratio significantly.
Trusting your measurements from Step 1 is key. The initial consistency is important, but the real transformation happens during cooking. Don't expect it to look like dough yet; it's still a liquid batter. The magic of this easy Japanese mochi recipe is how the microwave heat quickly turns this batter into the familiar chewy mochi dough.
Step 2: Cooking the Mochi
This is where the microwave works its magic, transforming the liquid batter into sticky, elastic mochi. The process involves short bursts of heating with stirring in between to ensure even cooking.
Microwave Timing: Achieving Translucency
Place the covered bowl in the microwave. Cook on high power for 1 minute. Carefully remove the bowl (it will be hot! ), peel back the plastic wrap, and stir the mixture vigorously with a wet spatula. At this point, parts of the mixture near the edges may have started to become translucent and sticky, while the center is likely still opaque batter. Stirring helps distribute the heat and promotes even cooking.
Cover and microwave again for another 1 minute. Stir again. You'll notice more of the mixture is becoming translucent and pulling away from the sides of the bowl. Repeat this process, microwaving for 30-second to 1-minute intervals and stirring each time, until the entire mass is translucent and forms a very sticky, cohesive dough. For a batch using 100-150g mochiko, this typically takes a total of 3 to 5 minutes of microwave time, depending on your microwave's wattage. The dough should look uniformly shiny and gelatinized, with no opaque white spots remaining.
Steaming Instructions: Alternative Method
If you prefer to steam your mochi, prepare your steamer while you mix the dough. Bring water to a boil in the bottom pot of your steamer. Pour the mixed mochi batter into a heatproof bowl that fits inside the steamer basket. Cover the bowl with a lid or plastic wrap to prevent condensation from dripping onto the dough.
Place the bowl in the steamer basket, cover the steamer, and steam over medium-high heat for 15-20 minutes. The cooking time will vary depending on the amount of dough and the strength of your steamer. The mochi is done when it is completely translucent and sticky throughout. Carefully remove the bowl from the steamer. While steaming takes longer than microwaving, it often results in a very smooth and evenly cooked mochi, which some prefer.
Step 3: Shaping and Coating
Once the mochi is cooked, it's hot and extremely sticky. This step requires working relatively quickly and using plenty of starch to handle and shape the dough.
Starch Coating: Preventing Sticking
Spread a generous amount of potato starch or cornstarch on a clean work surface or cutting board. You'll need enough to prevent the hot mochi from sticking to the surface and your hands. Have extra starch readily available.
Carefully scrape the hot, cooked mochi dough from the bowl onto the prepared starch-covered surface using a wet or starch-dusted spatula. The dough will be very soft, pliable, and incredibly sticky at this stage. Roll the dough gently in the starch to coat all sides.
Shaping Techniques: Traditional and Modern
With your hands also dusted with starch, gently pat the mochi dough into a rough rectangle or square about 1-2 cm thick. Avoid kneading too much at this stage, as it can make the mochi tough. Use a sharp knife or a bench scraper, also dusted with starch, to cut the dough into desired shapes, typically small squares or rectangles (about 3-4 cm sides) for plain mochi coated in kinako or other toppings.
If you plan to make filled mochi like Daifuku, cut the dough into smaller portions (about 20-30 grams each). Flatten each piece into a disc, place a filling (like a ball of anko) in the center, and carefully gather the edges of the mochi around the filling, pinching to seal. Use plenty of starch throughout this process to manage the stickiness. This easy Japanese mochi recipe provides a versatile base for various shapes and fillings.
Tips for Perfect Mochi
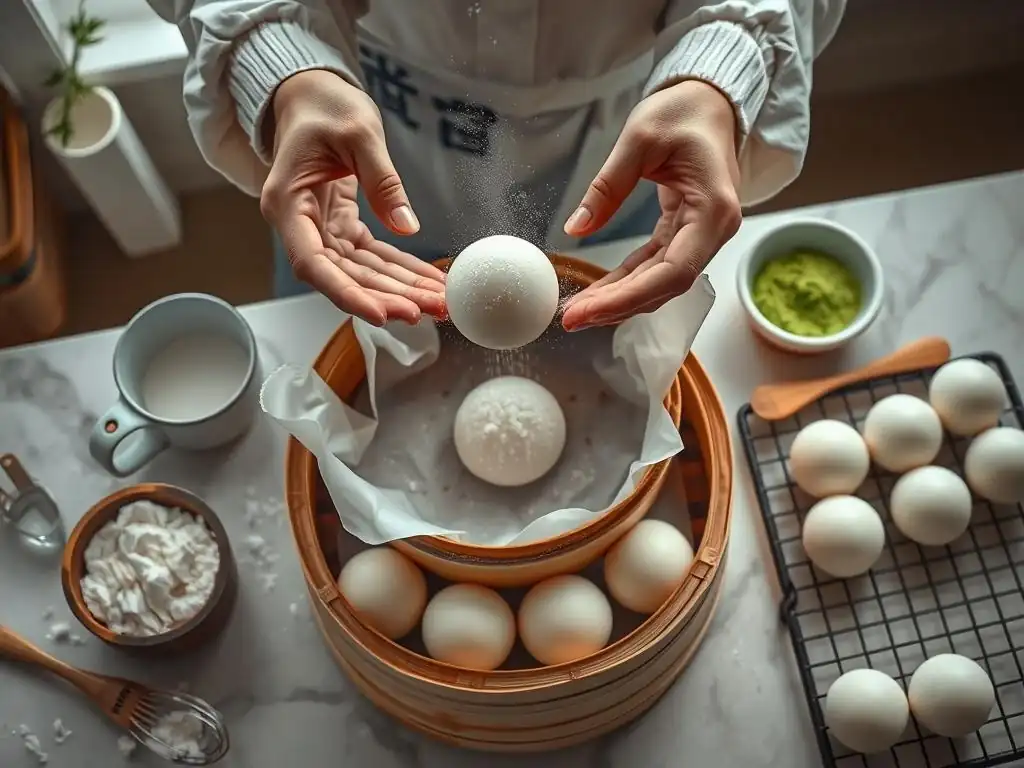
Achieving that perfect, delightful mochi texture is the goal of any easy Japanese mochi recipe. Here are some tips to help you get it right, focusing on texture, preventing stickiness, and proper storage.
Achieving the Ideal Texture: Softness and Chewiness
The key to the ideal soft yet chewy texture lies in the cooking process. Ensure the mochi is cooked thoroughly until it is uniformly translucent. If there are still opaque white spots, it means the starch hasn't fully gelatinized, and the texture will be uneven and potentially hard. Microwaving in short intervals with stirring helps achieve this evenness. Overcooking, however, can make the mochi too tough.
Working with the mochi while it's still warm is also important. The dough is most pliable and easy to shape when hot. As it cools, it will firm up. While a brief, gentle kneading on the starch surface helps bring it together, excessive kneading can develop the gluten-like structure too much (even though it's gluten-free, the starch behaves similarly), leading to a tougher result. Aim for just enough handling to shape it.
Preventing Sticking: Techniques and Best Practices
Mochi's stickiness is its defining characteristic but also the biggest challenge when handling it. The most important defense is using ample starch. Don't be shy with the potato or cornstarch on your work surface, hands, and cutting tools. You can also slightly wet your hands with water (though starch is usually better for shaping).
When cutting or shaping, re-apply starch as needed. If making filled mochi, keep your hands well-dusted. A non-stick surface or parchment paper underneath your starch layer can also help minimize sticking to the counter. If using a knife, dipping it in hot water or dusting it with starch before each cut makes slicing much cleaner.
Storing Mochi: Maintaining Freshness
Homemade mochi is best enjoyed fresh, ideally within a few hours of making it, as its texture is most perfect when warm and soft. However, if you need to store it, air is the enemy of soft mochi. Exposure to air causes the starch to retrogradate quickly, leading to hardness and dryness.
Store leftover mochi in an airtight container at room temperature for up to 1-2 days if the climate is not too humid. For longer storage, it's best to freeze it. Wrap individual pieces tightly in plastic wrap, then place them in a freezer-safe bag or container. Frozen mochi can last for several weeks. To enjoy frozen mochi, let it thaw at room temperature for a couple of hours, or gently microwave it for a few seconds until soft (be careful not to overheat). Avoid refrigerating mochi, as this accelerates the hardening process more than room temperature storage.
Mochi Recipe Variations: Expanding Your Culinary Horizons
Once you've mastered the basic easy Japanese mochi recipe, you can explore numerous delicious variations by changing the coating or adding fillings. These variations showcase the versatility of mochi and allow you to customize it to your taste.
Kinako Mochi: Toasted Soybean Flour Coating
One of the simplest and most classic ways to enjoy plain mochi is coated in kinako. Kinako is roasted soybean flour, which has a distinctive nutty, slightly sweet flavor. It's often mixed with a little sugar before coating the mochi.
To make Kinako Mochi, simply cut the freshly made mochi into bite-sized pieces (squares or rectangles) and toss them generously in a mixture of kinako and sugar (e.g., 3-4 parts kinako to 1 part sugar). The warm, soft mochi will pick up the coating beautifully. This variation is incredibly easy and highlights the pure, chewy texture of the mochi itself, complemented by the aromatic kinako.
Anko Mochi: Red Bean Paste Filling
Anko, or sweet red bean paste, is perhaps the most traditional filling for mochi, creating the popular confection known as Daifuku. Anko is made from azuki beans boiled with sugar and mashed into a paste. There are different types, from smooth (koshi-an) to chunky (tsubu-an).
To make Anko Mochi, take a portion of your warm mochi dough (about 20-30g), flatten it into a disc, place a ball of anko (about 15-25g) in the center, and carefully wrap the mochi around the filling, pinching the seam closed. Dust the finished mochi with starch to prevent sticking. This classic pairing of sweet, earthy anko with the soft, chewy mochi is a beloved taste of Japan.
Black Sesame Mochi: A Nutty and Aromatic Twist
For a rich, nutty, and visually striking variation, try coating or filling your mochi with black sesame. Black sesame can be used as a coating (often mixed with sugar) or processed into a paste for a filling.
To use as a coating, grind roasted black sesame seeds with sugar until powdery, then toss the mochi pieces in the mixture, similar to Kinako Mochi. For a filling, you can make a black sesame paste by grinding roasted black sesame seeds with sugar and a little oil or water until it forms a thick, spreadable paste, then use it as you would anko. This variation offers a deeper, more intense flavor profile compared to kinako or anko.
Troubleshooting Common Mochi Issues
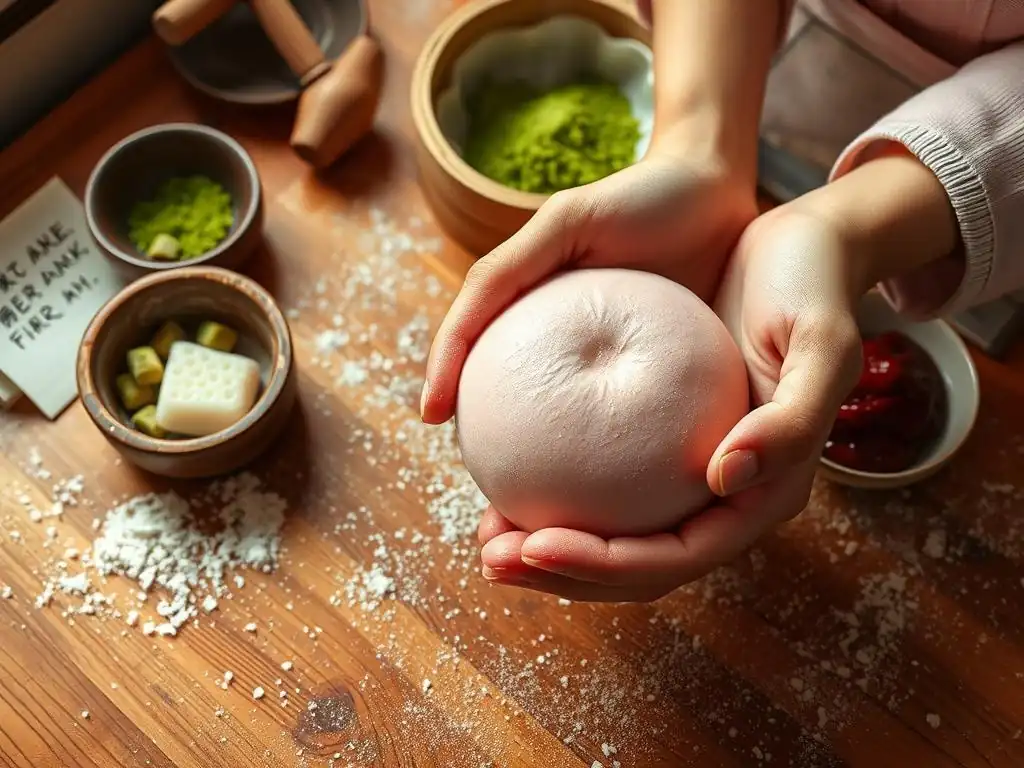
Even with an easy Japanese mochi recipe, you might encounter a few common issues. Understanding the causes and solutions can help you perfect your technique and ensure consistent results.
Sticky Mochi: Causes and Solutions
Excessive stickiness is the most frequent challenge when making mochi. While mochi is naturally sticky, it shouldn't be impossible to handle. The primary cause of overly sticky mochi is insufficient starch coating. Without enough starch on your hands, tools, and surface, the mochi will adhere to everything.
Solution: Ensure you have a generous amount of potato or cornstarch ready before you even take the mochi out of the microwave or steamer. Liberally dust your work surface, hands, and spatula/knife. Don't be afraid to reapply starch as needed while shaping or cutting. Another cause could be slightly undercooking the mochi or using too much water in the initial batter, resulting in a looser, stickier dough. If the cooked dough still seems too wet and sticky even with starch, try microwaving it for another 30 seconds to a minute.
Hard Mochi: Causes and Prevention
If your mochi turns out hard or becomes hard very quickly after cooling, several factors could be at play. Overcooking the mochi can make it tough. Using too little water in the initial batter can also lead to a dry, hard dough. Incorrect storage is another major culprit; exposure to air, especially refrigeration, causes rapid hardening.
Solution: Follow the recommended cooking times and look for the visual cue of uniform translucency rather than just relying on time, as microwave wattages vary. Ensure you use the correct water-to-flour ratio specified in your easy Japanese mochi recipe. For storage, always use airtight containers or wrap tightly in plastic wrap. Freeze any mochi you don't plan to eat within a day or two. Avoid storing fresh mochi in the refrigerator.
Uneven Texture: Achieving Smoothness
Sometimes, homemade mochi can have an uneven texture, with some parts perfectly chewy and translucent while others are still opaque and slightly grainy. This usually indicates uneven heating and insufficient mixing during the cooking process.
Solution: If using the microwave, make sure you stop and stir the dough thoroughly at each interval (every 30 seconds to 1 minute). This redistributes the heat and helps the starch gelatinize uniformly. Ensure there are no dry clumps of flour in the initial batter. If steaming, make sure the steam circulates evenly around the bowl and that you steam for the full recommended time until the entire mass is translucent. Proper initial mixing and consistent stirring during cooking are key to a smooth, even texture.
Enjoy Your Homemade Mochi!
Congratulations on making your own easy Japanese mochi! Now comes the best part: enjoying your delicious creation. Whether you made simple plain mochi or ventured into fillings and coatings, homemade mochi offers a unique textural experience that's incredibly satisfying.
Serving Suggestions and Presentation Ideas
Plain mochi cut into squares is traditionally enjoyed coated in kinako mixed with sugar, or dipped in a mixture of soy sauce and sugar (mitarashi). You can also drizzle it with kuromitsu (black sugar syrup). For a refreshing twist, serve small mochi pieces with a scoop of ice cream or in cold desserts like anmitsu. If you made filled mochi like Daifuku, simply dust off excess starch and serve as is.
For presentation, arrange mochi pieces neatly on a plate. If serving Kinako Mochi, a small mound of the kinako-sugar mixture alongside the mochi allows people to add more if desired. For filled mochi, you can sometimes see a hint of the colorful filling peeking through the translucent dough, which adds visual appeal. A sprig of mint or a dusting of matcha powder can also enhance the presentation.
Mochi is often associated with sharing and gifting, especially during festive occasions like New Year. Sharing your homemade mochi is a wonderful way to spread a little joy and introduce friends and family to this delightful treat. Pack them in small boxes or bags, perhaps with a note explaining that you made them yourself using an easy Japanese mochi recipe!
When gifting mochi, it's important to mention how it should be stored (airtight, preferably eaten soon or frozen) to ensure the recipient can enjoy it at its best texture. Remember the significance of mochi in Japanese culture as a symbol of good fortune and connection, making your homemade gift even more meaningful. Enjoy the fruits of your labor and the unique pleasure of fresh, soft, chewy homemade mochi!
Frequently Asked Questions
What is mochi, and why is this recipe considered "easy"?
Mochi is a Japanese rice cake made from glutinous rice. This recipe simplifies the traditional process using microwave cooking instead of steaming, making it quicker and easier for beginners.
What are the key ingredients I'll need for this easy mochi recipe?
The main ingredients are glutinous rice flour (sweet rice flour), also known as mochiko, sugar, and water. You'll also need cornstarch for dusting to prevent stickiness.
Can I use regular rice flour instead of glutinous rice flour (mochiko)?
No, regular rice flour will not work. Glutinous rice flour, or mochiko, is essential because it contains a higher starch content, which gives mochi its signature chewy texture.
What kind of fillings can I use for my homemade mochi?
Popular fillings include red bean paste (anko), fruit, ice cream, and even peanut butter. Get creative and experiment with flavors you enjoy!
How long does homemade mochi stay fresh?
Homemade mochi is best enjoyed fresh, but it can be stored in an airtight container at room temperature for up to 2 days. After that, it tends to harden.
Final Reflection: The Sweet Simplicity of Success
Making mochi shouldn't be a daunting task, and this recipe proves it. The seemingly complex art of Japanese mochi-making is, in reality, accessible to everyone with a little patience and the right guidance. This article aimed to demystify the process, offering a straightforward recipe that guarantees delicious results, even for first-time cooks. The ease of this recipe opens up a world of culinary exploration, allowing you to experience the unique texture and delightful taste of homemade mochi.
The enduring appeal of mochi lies not only in its deliciousness but also in its cultural significance. It's a food that connects generations, a symbol of celebration and tradition. Making mochi at home allows you to connect with this rich history in a tangible way, creating a personal experience that transcends a simple recipe. Food is symbolic of love when words are inadequate.
- Alan D. Wolfelt. This sentiment perfectly encapsulates the emotional connection we forge with food, especially when we create it ourselves.
Now, it's your turn. Don't let the perceived difficulty of mochi-making hold you back. Gather your ingredients, follow the steps, and experience the joy of creating something beautiful and delicious with your own hands. The satisfaction of biting into a perfectly chewy, sweet mochi, knowing you made it yourself, is an unparalleled reward. Embrace the challenge, and let the sweet simplicity of success fill your kitchen with warmth and the delightful aroma of homemade mochi.
Unlock Your Inner Mochi Master!
Thanks for joining us on this delicious journey into the world of mochi! We hope you gained valuable insights and newfound confidence in tackling this seemingly tricky treat. Now it's time to put your knowledge to the test!
- Try making your own mochi today! Use the recipe we shared as your guide, and don't be afraid to experiment with fillings. This is your chance to create something truly special.
- Share your mochi-making adventure on social media using #BakeWithEaseMochi – we’d love to see your creations!
- Challenge a friend to join you in the kitchen and make a batch together. Double the fun, double the mochi!
What unique filling will you create for your first homemade mochi masterpiece?