
Easy Recipe for Classic French Madeleines with the Hump

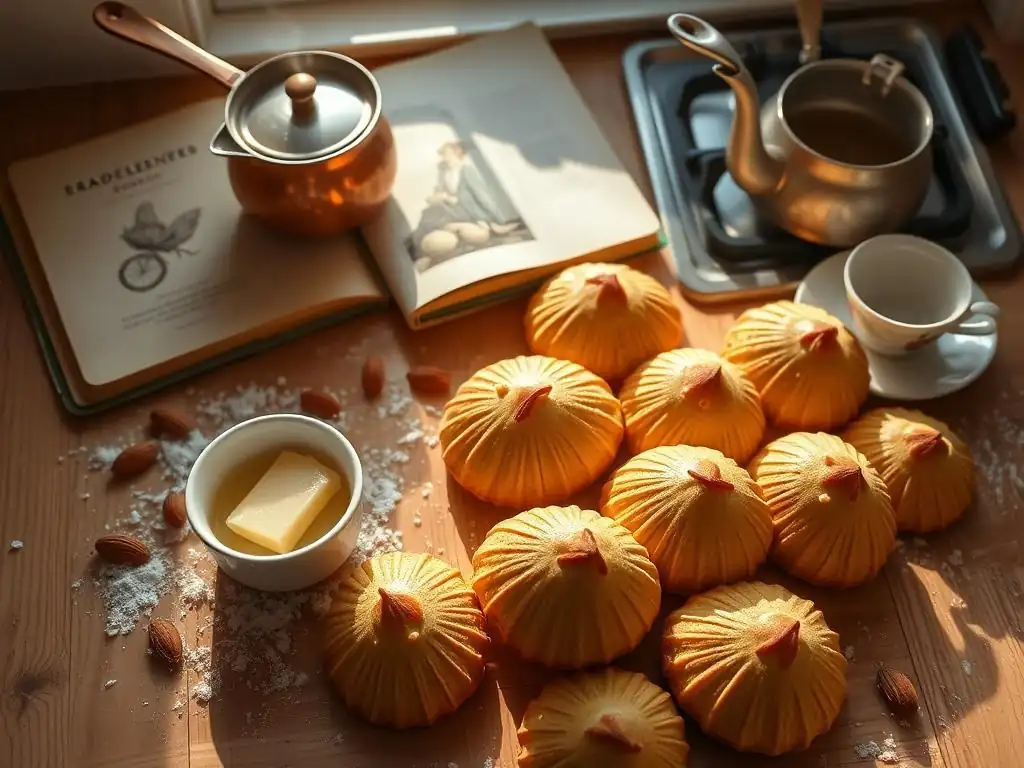
Welcome to BakeWithEase, your passport to a delightful world of baking! Ever wondered about the secret to achieving that perfect, iconic hump on a Classic French Madeleines? We're about to unveil it. Get ready to embark on a delicious journey where simple techniques meet exquisite flavors, and discover how to create these delicate, shell-shaped cookies with ease. Let the baking begin!
- Introduction to Classic French Madeleines
- Understanding the Key to the Perfect Madeleine Hump
-
Step-by-Step Madeleines Recipe: From Batter to Golden Brown
- Ingredients List for Classic French Madeleines
- Equipment Needed for Baking Madeleines
- Step 1: Preparing the Madeleine Batter for Maximum Hump
- Step 2: Chilling the Batter: The Secret to a Bumpy Madeleine
- Step 3: Baking Your Classic French Madeleines to Perfection
- Step 4: Cooling and Serving Your Freshly Baked Madeleines
- Troubleshooting Common Madeleines Baking Issues
- Variations on the Classic French Madeleines Recipe
- Storing Your Homemade Madeleines for Freshness
- Further Exploration of Baking Techniques
- Frequently Asked Questions
- Final Reflection: The Enduring Allure of the Perfect Madeleine Hump
- Unleash Your Inner Pâtissier: Bake Perfect Madeleines Today!
Introduction to Classic French Madeleines
Discover the Elegance of Homemade Madeleines
Classic French madeleines are small, shell-shaped sponge cakes, famous for their delicate texture and buttery flavor. Originating from the Lorraine region of France, these elegant treats gained popularity through literature and have since become a beloved staple in patisseries worldwide. Baking them at home allows you to experience their fresh, warm aroma and tender crumb, a sensory delight far superior to store-bought versions.
Making madeleines from scratch is a rewarding process that yields beautiful results. With just a few simple ingredients and a specialized madeleine pan, you can recreate these iconic French pastries in your own kitchen. The characteristic "hump" on one side is a hallmark of a well-made madeleine, indicating proper technique and a successful bake. Mastering this classic French madeleines recipe hump is a key milestone for any aspiring baker.
Why This Recipe is Perfect for Beginners
This classic French madeleines recipe is designed with simplicity and success in mind, making it ideal for those new to French baking or even baking in general. It breaks down the process into manageable steps, focusing on the core techniques required to achieve that signature shape and texture. We prioritize clear instructions and readily available ingredients, ensuring a smooth baking experience.
Furthermore, this recipe specifically addresses how to get the desired hump, a common challenge for new madeleine bakers. By understanding the science and applying specific chilling and baking methods detailed here, beginners can confidently achieve professional-looking results. It's a fantastic entry point into the world of classic French pastries without requiring complex skills or specialized equipment beyond the essential pan.
Understanding the Key to the Perfect Madeleine Hump
The Science Behind the Madeleine's Signature Bump
The distinctive hump on a classic French madeleine is primarily the result of a thermal shock experienced by the batter. When cold batter is placed into a hot oven, the edges and bottom of the madeleine cook and set quickly. The center of the batter, however, remains cooler for a moment longer. As the heat penetrates the center, the leavening agent (baking powder) and moisture (from eggs and butter) produce gases and steam, causing the still-liquid center to expand rapidly upwards, creating the dome or hump.
This process is akin to a miniature eruption. The rapid expansion requires a significant temperature difference between the batter and the oven. Using chilled batter is crucial because it delays the setting of the center, allowing more time for the leavening action to push upwards before the entire cake structure solidifies. A sufficiently hot oven, typically around 375°F (190°C), ensures that the initial setting of the edges happens swiftly, providing a stable base for the center to rise against.
Essential Techniques for Achieving the Ideal Hump
Achieving the perfect madeleine hump consistently relies on a few key techniques. First and foremost is chilling the batter. After mixing, the batter should be refrigerated for at least 1-2 hours, but preferably longer, even overnight. This ensures the batter is sufficiently cold to create the necessary thermal shock in a hot oven. A colder batter results in a more pronounced hump.
Another critical technique is the oven temperature. Baking madeleines in a preheated oven at around 375°F to 400°F (190°C to 200°C) is generally recommended to initiate that rapid edge setting. Overcrowding the oven or opening the door frequently can cause temperature drops, hindering the hump development. Filling the madeleine pan cavities appropriately – typically about three-quarters full – also allows space for the batter to rise without overflowing, concentrating the upward expansion.
Step-by-Step Madeleines Recipe: From Batter to Golden Brown
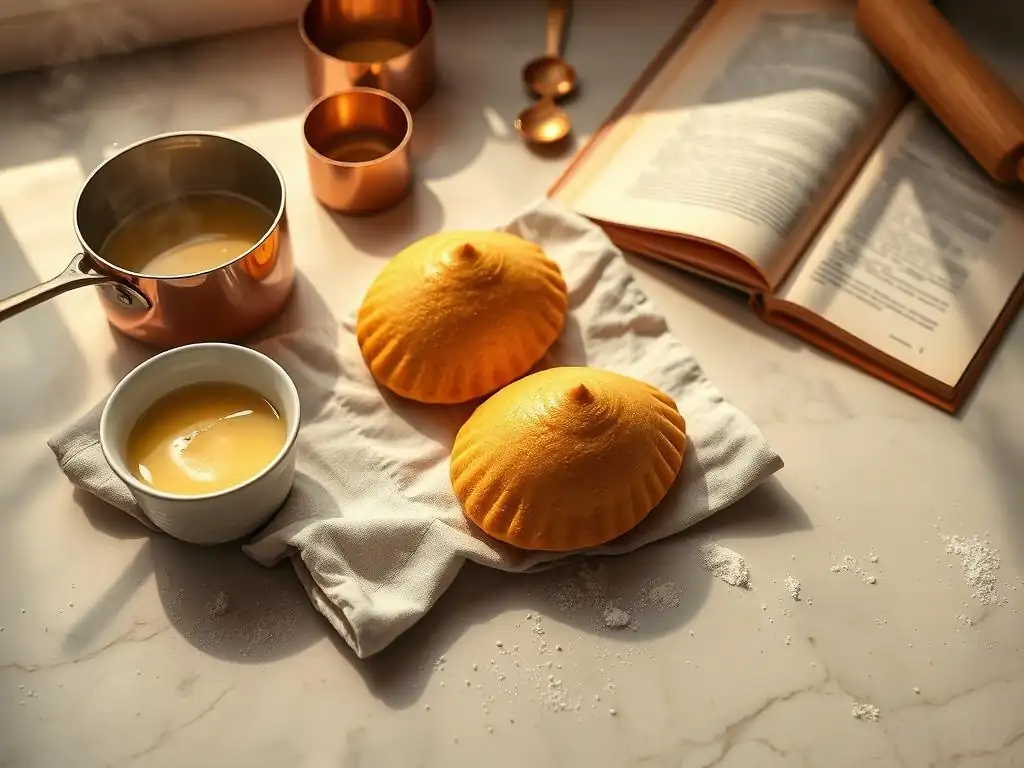
Ingredients List for Classic French Madeleines
- 115 grams (about 3/4 cup) All-Purpose Flour
- 1 teaspoon Baking Powder
- 115 grams (about 1/2 cup or 1 stick) Unsalted Butter, melted and slightly cooled
- 115 grams (about 1/2 cup + 2 tablespoons) Granulated Sugar
- 2 large Eggs, at room temperature
- Zest of 1/2 to 1 whole Lemon (depending on preference)
- Pinch of Salt
All-Purpose Flour, Baking Powder, Unsalted Butter, Granulated Sugar, Eggs, Lemon Zest
Using all-purpose flour provides the necessary structure for the cake. Baking powder is the primary leavening agent responsible for lifting the batter and contributing significantly to the hump formation. Unsalted butter adds richness and moisture; melting it and allowing it to cool slightly helps it incorporate smoothly into the batter without cooking the eggs.
Granulated sugar sweetens the madeleines and contributes to their tender crumb and golden crust. Eggs provide structure, richness, and moisture, and using them at room temperature helps them emulsify better with other ingredients. Fresh lemon zest is a classic addition that brightens the flavor, cutting through the richness of the butter. A pinch of salt balances the sweetness.
Equipment Needed for Baking Madeleines
- Madeleine Pan (non-stick or well-greased)
- Two medium Mixing Bowls
- Whisk
- Rubber Spatula
- Measuring Cups and Spoons or Kitchen Scale
Madeleine Pan, Mixing Bowls, Whisk, Spatula
A proper madeleine pan is essential for achieving the iconic shell shape. Non-stick pans are recommended for easy release, but traditional pans can be used if thoroughly greased and floured. Having two mixing bowls allows for separating dry and wet ingredients initially.
A whisk is used to combine ingredients, especially the eggs and sugar, until they are light and airy. A rubber spatula is useful for folding in flour and scraping down the sides of the bowl to ensure everything is well combined. Accurate measuring tools are crucial for consistent results in this classic French madeleines recipe hump.
Step 1: Preparing the Madeleine Batter for Maximum Hump
Melting the Butter and Combining Dry Ingredients
Begin by melting the unsalted butter in a small saucepan or microwave-safe bowl. Set it aside to cool slightly while you prepare the other ingredients. In one mixing bowl, whisk together the all-purpose flour, baking powder, and pinch of salt. Ensure the baking powder is evenly distributed, as this is vital for the lift and subsequent hump.
In the second, larger mixing bowl, whisk the granulated sugar and room temperature eggs together vigorously for several minutes. You want the mixture to become pale yellow, thick, and slightly frothy. This aeration also contributes to the cake's lightness. Stir in the fresh lemon zest at this stage; the oils in the zest infuse better when mixed with the egg and sugar mixture.
Incorporating Eggs and Lemon Zest for Flavor
Once the egg and sugar mixture is pale and thickened, gently fold in the dry ingredients (flour, baking powder, salt) using the rubber spatula. Mix just until no dry streaks remain; do not overmix. Overmixing can develop the gluten in the flour, resulting in tougher madeleines instead of the desired tender crumb.
Finally, carefully fold in the slightly cooled melted butter. Incorporate it fully until the batter is smooth and homogenous. The batter should be relatively thick but pourable. This careful mixing process ensures all components are integrated without compromising the delicate structure needed for the perfect madeleine hump.
Step 2: Chilling the Batter: The Secret to a Bumpy Madeleine
Why Chilling is Crucial
Chilling the madeleine batter is arguably the most critical step for developing the characteristic hump. As explained earlier, the cold batter creates a stark temperature contrast when it enters the hot oven. This thermal shock causes the outside of the madeleine to set rapidly while the center remains cooler and more fluid.
The leavening action (from baking powder) and the expansion of steam from moisture are then directed upwards through the still-soft center, pushing it into a dome shape against the quickly setting outer shell. Without adequate chilling, the batter heats up too uniformly, and the expansion happens more evenly across the surface, resulting in flatter madeleines with little to no hump.
Optimal Chilling Time for Best Results
For a pronounced classic French madeleines recipe hump, the batter should be chilled for at least 1 to 2 hours in the refrigerator. This minimum time allows the butter to firm up slightly and the flavors to meld. However, for the absolute best results and the most reliable hump development, chilling the batter for 4 hours or even overnight (up to 24-48 hours) is highly recommended.
When chilling for longer periods, cover the bowl tightly with plastic wrap to prevent the batter from drying out or absorbing refrigerator odors. The longer chill time not only enhances the hump but can also deepen the flavor profile of the madeleines. Before baking, let the chilled batter sit at room temperature for 10-15 minutes if it's very stiff, just enough to make it scoopable but still very cold.
Step 3: Baking Your Classic French Madeleines to Perfection
Preparing the Madeleine Pan
While the batter is chilling, prepare your madeleine pan. If using a non-stick pan, a light misting of baking spray or a thin layer of melted butter is usually sufficient. For traditional metal pans, you'll need to grease them thoroughly with melted butter or shortening and then dust them lightly with flour, tapping out any excess. This step is crucial for preventing the delicate madeleines from sticking and breaking when you try to remove them.
Preheat your oven to the recommended temperature, typically between 375°F and 400°F (190°C and 200°C), depending on your oven's calibration and your desired level of browning. Ensure the oven is fully preheated before you place the pan inside; a consistent, hot temperature is key to triggering the hump.
Baking Time and Temperature Guidelines
Once the oven is preheated and the pan is prepared, carefully spoon or pipe the chilled madeleine batter into each cavity. Fill each mold about three-quarters full. Do not overfill, as this can cause the madeleines to spread too much and lose their shape or prevent a proper hump from forming.
Place the filled madeleine pan into the preheated oven. Bake for approximately 8 to 12 minutes. The exact time will vary depending on your oven and the size of your madeleine molds. You'll know they are done when the edges are golden brown and the center (the hump) springs back gently when lightly touched. The hump should be well-formed and the madeleines should look puffed and cooked through.
Step 4: Cooling and Serving Your Freshly Baked Madeleines
How to Properly Cool the Madeleines
Once the madeleines are golden brown and have developed their beautiful humps, carefully remove the pan from the oven. Let the pan sit on a wire rack for just 1-2 minutes. This brief resting period allows the madeleines to firm up slightly before you attempt to remove them.
After the short rest, invert the madeleine pan over the wire rack to release the madeleines. They should pop out easily if the pan was properly prepared. If any stick, gently loosen them with a small offset spatula. Allow the madeleines to cool completely on the wire rack before serving. Cooling on a rack prevents the bottoms from becoming soggy from trapped steam.
Serving Suggestions and Pairing Ideas
Classic French madeleines are best enjoyed fresh, ideally while still slightly warm from the oven. Their delicate texture and buttery flavor are most pronounced when just baked. A simple dusting of powdered sugar is the traditional finishing touch and enhances their elegant appearance.
They pair wonderfully with a cup of tea or coffee, making them a perfect accompaniment for an afternoon snack or a simple dessert. For a more indulgent treat, consider dipping the ends in melted chocolate or serving them alongside fresh berries or a light fruit compote. Sharing these beautiful, hump-backed treats is part of the joy of baking.
Troubleshooting Common Madeleines Baking Issues
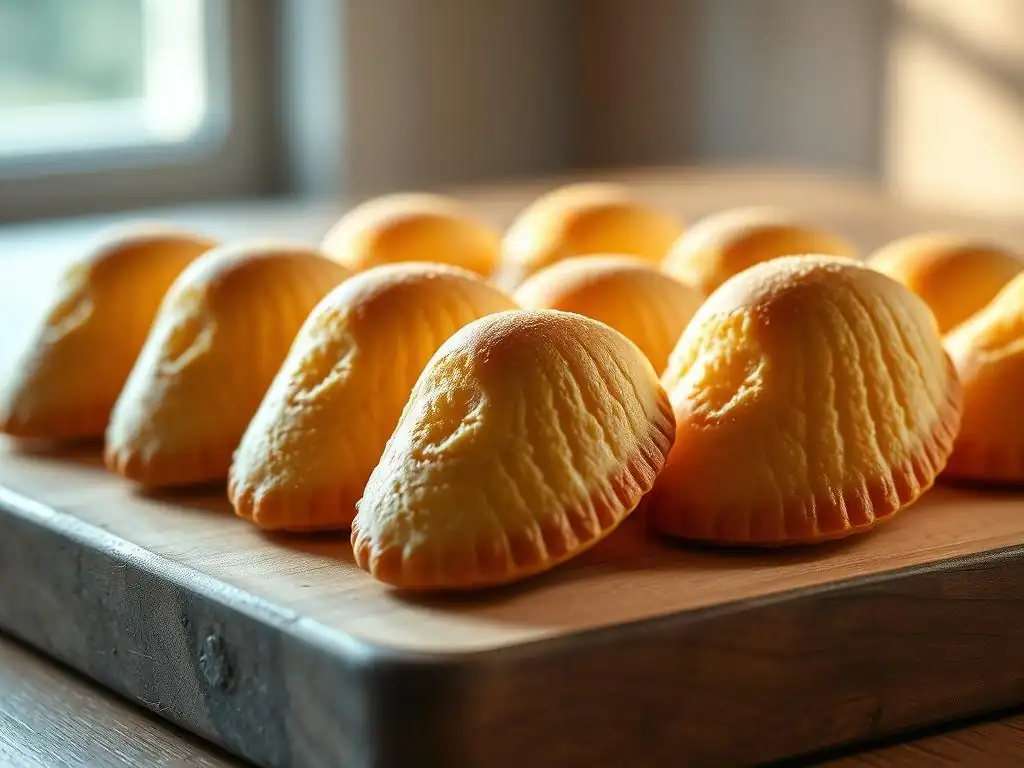
My Madeleines Didn't Develop a Hump: What Went Wrong?
If your madeleines came out flat instead of with the desired hump, several factors could be the culprit. The most common reason is insufficient chilling time. If the batter wasn't cold enough when it went into the hot oven, the temperature shock wasn't significant enough to force the center upwards before the edges set. Ensure you chill the batter for at least 1-2 hours, aiming for 4+ hours for the best results.
Another reason could be an oven that wasn't hot enough or wasn't fully preheated. A lower temperature reduces the thermal shock. Check your oven temperature with an external thermometer if possible, as oven calibrations can vary. Also, overmixing the batter can develop gluten, leading to a tougher texture that resists rising into a hump. Gentle folding after adding flour and butter is key.
Avoiding Over-Baking and Dry Madeleines
Over-baking is a common issue that leads to dry, tough madeleines. The baking time is relatively short, typically between 8 and 12 minutes. Keep a close eye on them towards the end of the suggested baking time. Look for the edges to turn golden brown and the hump to look set and slightly springy when gently poked.
If you bake them until they are deeply browned all over, they are likely overdone. The residual heat will continue to cook them slightly after they are removed from the oven. It's better to err on the side of slightly under-baked than over-baked. Using the correct oven temperature, as discussed in the classic French madeleines recipe hump steps, also helps ensure they cook through evenly without drying out.
Tips for Perfectly Golden Brown Madeleines
Achieving that beautiful golden brown color on your classic French madeleines involves a combination of factors. Proper oven temperature is vital; baking at 375°F-400°F (190°C-200°C) helps the sugars caramelize evenly on the surface. Ensure your oven rack is positioned in the center of the oven for even heat distribution.
The sugar content in the recipe also contributes to browning. The amount specified in this classic French madeleines recipe hump is balanced to provide sweetness and promote good color. If your madeleines are browning too quickly on the bottom, your pan might be too dark, or your oven element is too close. Try moving the rack up slightly or reducing the temperature by 10-15 degrees Fahrenheit if necessary, while slightly extending the baking time.
Variations on the Classic French Madeleines Recipe
Orange Madeleines: A Citrus Twist
A popular variation on the classic French madeleines recipe involves substituting or adding orange zest instead of lemon zest. The bright, slightly sweeter flavor of orange pairs beautifully with the buttery base. Simply replace the lemon zest with the finely grated zest of one orange in Step 1.
You can also add a tablespoon or two of fresh orange juice to the batter for a more pronounced citrus flavor, adjusting the flour slightly if needed to maintain the correct consistency. Baking time and temperature will remain the same. This simple change offers a delightful twist on the traditional classic French madeleines recipe hump.
Chocolate Chip Madeleines: A Simple Addition
For chocolate lovers, adding miniature chocolate chips is an easy way to adapt this classic French madeleines recipe. Fold about 1/4 to 1/2 cup of miniature chocolate chips into the chilled batter just before spooning it into the pan. Miniature chips work best as they distribute more evenly and don't weigh down the delicate batter as much as standard-sized chips.
Make sure the batter is very cold when you fold in the chips; this helps prevent them from sinking. Bake as directed in Step 3. The chocolate chips will melt slightly during baking, creating pockets of gooey chocolate within the tender cake, offering a delightful contrast to the classic French madeleines recipe hump.
Almond Madeleines: A Nutty Flavor
Introducing almond flavor adds a sophisticated depth to the classic madeleine. You can achieve this in a couple of ways. One method is to replace a small amount of the all-purpose flour (say, 20-30 grams) with almond flour or finely ground almonds. This adds a slightly denser, nuttier texture.
Alternatively, or in addition, you can add 1/2 teaspoon of pure almond extract to the wet ingredients along with the lemon or orange zest. Be mindful that almond extract is potent, so start with a small amount and adjust to your preference. This variation creates an almond-infused classic French madeleines recipe hump that is wonderfully fragrant and flavorful.
Storing Your Homemade Madeleines for Freshness
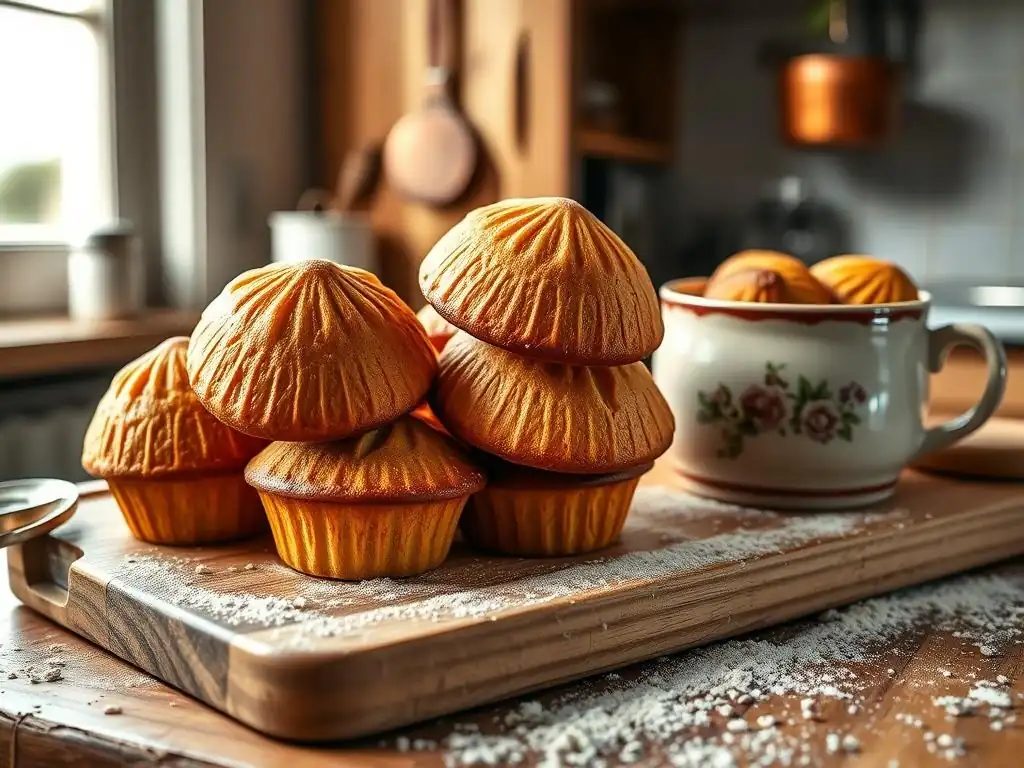
Best Practices for Storing Madeleines
To maintain the delicate texture and flavor of your homemade classic French madeleines, proper storage is essential. Once they have cooled completely on the wire rack, store them in an airtight container at room temperature. Layering them between sheets of parchment paper can help prevent them from sticking together, especially if they are still slightly warm.
Avoid refrigerating madeleines, as the cold temperature can dry them out and negatively affect their texture. If you need to store them for more than a couple of days, consider freezing them (see below). Keeping them away from direct sunlight and moisture is also important to preserve their freshness and prevent them from becoming stale or sticky.
How Long Do Madeleines Stay Fresh?
Classic French madeleines are truly at their best when enjoyed within 1-2 days of baking. During this time, their texture is most tender and their flavor most vibrant. While they are still perfectly edible for up to 3-4 days when stored properly in an airtight container at room temperature, their delicate nature means they can start to lose their soft crumb and become slightly drier.
If you need to store them longer, freezing is an excellent option. Place cooled madeleines in a single layer on a baking sheet and freeze until solid, about 1-2 hours. Then transfer them to a freezer-safe airtight container or bag. Frozen madeleines can be stored for up to 2-3 months. Thaw them at room temperature, or gently rewarm them in a low oven (around 250°F or 120°C) for a few minutes to restore some of their fresh-baked quality and reinforce that classic French madeleines recipe hump.
Further Exploration of Baking Techniques
Explore More Baking Recipes
Mastering the classic French madeleines recipe hump is a fantastic step in your baking journey. The techniques learned here – understanding leavening, temperature shock, and proper mixing – are applicable to many other baking projects. Consider exploring other simple sponge cakes, financiers, or even pound cakes to further hone your skills.
Each recipe offers unique challenges and rewards, building upon your foundational knowledge. Look for recipes that explain the why behind the steps, similar to how we've dissected the classic French madeleines recipe hump. Continuous learning and practice are key to becoming a confident and skilled baker.
We encourage you to share your experience and results with this classic French madeleines recipe! Baking is a wonderful way to connect with others, and seeing your beautiful, hump-backed madeleines is incredibly rewarding. Note what worked well for you, any challenges you faced, and how you overcame them.
Your insights can help other bakers on their journey to mastering the perfect madeleine hump. Whether you stuck to the classic version or tried one of the variations, celebrate your baking success! Happy baking, and enjoy your delicious homemade classic French madeleines.
Frequently Asked Questions
What exactly is the "hump" in a madeleine, and why is it desirable?
The "hump" refers to the distinctive raised bump on one side of a baked madeleine. It's desirable because it signifies proper baking technique and contributes to a light and airy texture.
What are the most common reasons why my madeleines don't develop a hump?
Several factors contribute, including cold batter meeting a hot oven, using old baking powder, or overmixing the batter. Ensure your oven is preheated and your ingredients are fresh.
Can I make madeleines without a madeleine pan?
While a madeleine pan is recommended for the classic shape, you can use mini muffin tins, though the resulting texture and appearance will differ. The characteristic hump won't be present.
What kind of flour is best for making madeleines?
All-purpose flour is generally recommended for madeleines, providing a good balance of structure and tenderness. Avoid using strong bread flour as it can make them too chewy.
How long can I store madeleines, and how should I store them?
Madeleines are best enjoyed fresh but can be stored in an airtight container at room temperature for up to 2-3 days. Their texture will soften over time.
Final Reflection: The Enduring Allure of the Perfect Madeleine Hump
The pursuit of the perfect Madeleine hump isn't just about baking; it's a testament to the enduring power of tradition and the joy found in mastering a classic technique. This seemingly simple recipe, with its meticulous attention to detail, reveals a deeper truth about the culinary arts: perfection is achieved through understanding, patience, and a touch of playful experimentation. The quest for that signature hump is a microcosm of life itself – a journey of trial and error leading to a moment of sweet satisfaction.
The impact of the Madeleine extends far beyond the kitchen. It's a symbol of French culinary heritage, a tiny cake carrying the weight of history and tradition. The Madeleine is more than just a cake; it is a memory, a feeling, a taste of home.
This quote, though fictional, perfectly encapsulates the emotional resonance this small treat holds for so many. From childhood memories to sophisticated tea parties, the Madeleine consistently evokes a sense of comfort, nostalgia, and refined elegance. Its enduring popularity speaks volumes about our desire for simple pleasures and the comforting power of familiar flavors.
Now, I invite you to take what you've learned from this recipe and apply it to your own baking journey. Don't be afraid to experiment, to tweak the recipe, to strive for that perfect hump. The process itself, with its challenges and triumphs, is just as rewarding as the final product. Embrace the imperfections, learn from your mistakes, and savor the sweet victory of a perfectly formed Madeleine. The journey to baking mastery is a lifelong adventure, and this recipe is just the beginning.
Unleash Your Inner Pâtissier: Bake Perfect Madeleines Today!
Thanks for joining me on this delicious journey into the world of classic French madeleines! I hope you now feel confident in tackling this seemingly tricky treat. Ready to put your new skills to the test?
- Bake a batch of madeleines this week! Use the recipe and tips from the article to create your own perfect humped delights. Experiment with different flavorings – the possibilities are endless!
- Share your baking success (or even your baking mishaps!) on social media using #BakeWithEaseMadeleines. Let's build a community of madeleine makers!
- Consider gifting a batch of these delightful treats to friends and family – they'll be absolutely smitten!
So, what exciting flavor combinations will you try for your first batch of perfectly humped madeleines?