
Mastering Pâte à Choux for Eclairs and More (Easy Method)

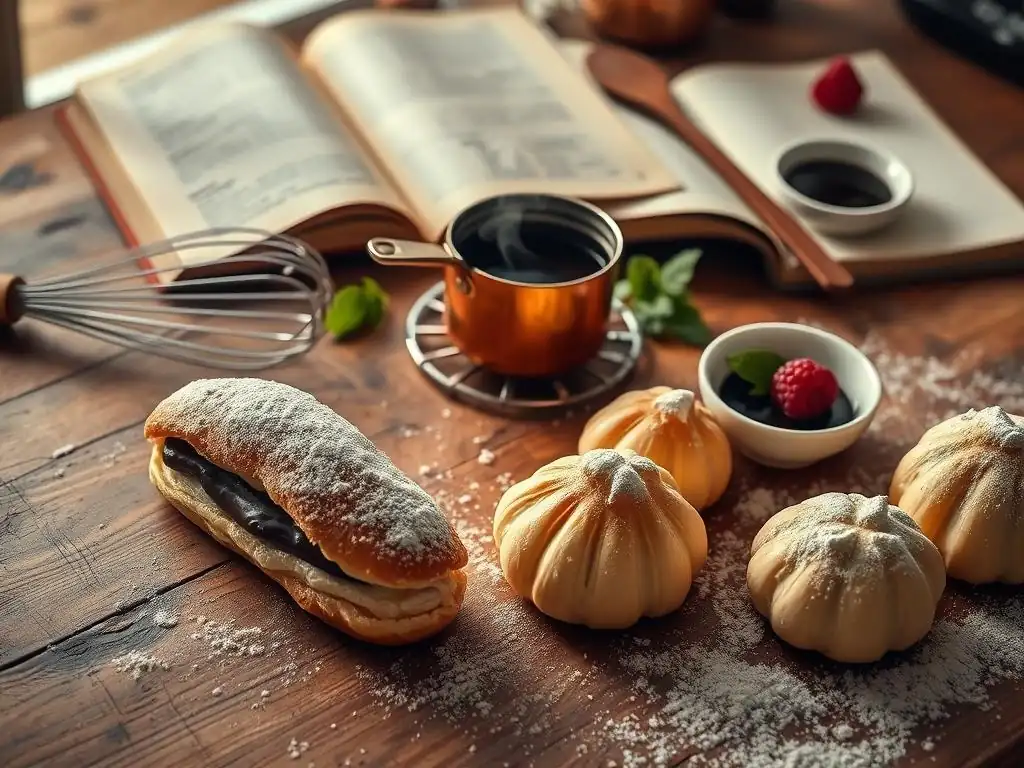
Welcome to BakeWithEase, your trusted guide to baking bliss! Ever dreamt of effortlessly creating light-as-air pastries? Today, we unlock the secrets to pâte à choux, a versatile dough that's easier to master than you think. Intrigued by our easy pâte à choux recipe? Get ready to craft perfect éclairs, cream puffs, and more with our step-by-step method, and discover how this classic French technique can elevate your baking game. What are you waiting for? Let's get baking!
- Mastering Pâte à Choux for Eclairs and More (Easy Method) - BakeWithEase
- Introduction to Pâte à Choux: The Versatile French Dough
- The Easy Pâte à Choux Recipe: BakeWithEase's Foolproof Method
- Baking Your Pâte à Choux: Tips and Tricks for Success
- Using Your Pâte à Choux: Eclairs, Cream Puffs, and Beyond
- Storing Pâte à Choux: Dough and Baked Goods
- Troubleshooting Your Pâte à Choux: Common Issues and Solutions
- Advanced Pâte à Choux Techniques: Taking Your Baking to the Next Level
- Conclusion: Embrace the Ease of Pâte à Choux Baking
-
Frequently Asked Questions
- How difficult is the pâte à choux recipe on BakeWithEase.com?
- What can pâte à choux be used for besides eclairs?
- What are the key ingredients needed for the pâte à choux recipe?
- What makes the BakeWithEase.com method for pâte à choux "easy"?
- What common mistakes should I avoid when making pâte à choux?
- Final Reflection: The Joy of Mastering Pâte à Choux
- Unlock Your Inner Pâtissier: Perfect Pâte à Choux Awaits!
Mastering Pâte à Choux for Eclairs and More (Easy Method) - BakeWithEase
Introduction to Pâte à Choux: The Versatile French Dough
What is Pâte à Choux and Why You'll Love It
Pâte à Choux, often pronounced "pat-a-shoo," is a classic French pastry dough that is incredibly versatile. Unlike many other doughs that rely on leavening agents like yeast or baking powder, pâte à choux uses steam generated from its high moisture content to puff up dramatically in the oven, creating a hollow interior. This unique characteristic makes it the perfect vehicle for all sorts of delicious fillings, both sweet and savory. Mastering an easy pâte à choux recipe opens up a world of possibilities in your kitchen.
One of the most appealing aspects of learning to make pâte à choux is its relatively simple ingredient list – typically just water, butter, flour, and eggs. Despite its humble components, the technique involved is what transforms these basic ingredients into light, airy pastry shells. It's a fundamental skill in baking that, once learned, can feel incredibly rewarding. The satisfaction of watching your dough expand in the oven is truly unmatched, making it a favorite for bakers looking for impressive results without overly complicated steps.
Pâte à Choux: More Than Just Eclairs - Exploring the Possibilities
While eclairs are perhaps the most famous application, pâte à choux is used in a wide array of pastries. Cream puffs, known as profiteroles in French, are simple round versions often filled with whipped cream or ice cream and drizzled with chocolate sauce. Gougères, a savory variation incorporating cheese, are delightful appetizers.
The versatility extends further to impressive creations like Paris-Brest, a ring of pâte à choux filled with praline cream, or Saint Honoré, a complex dessert featuring a base of puff pastry topped with small, caramel-dipped pâte à choux puffs. Learning an easy pâte à choux recipe allows you to explore these diverse applications, from simple weeknight desserts to elaborate celebration pastries, proving this dough is a cornerstone of classic baking.
The Easy Pâte à Choux Recipe: BakeWithEase's Foolproof Method
Gathering Your Ingredients for Perfect Pâte à Choux
Having all your ingredients measured and ready before you start is key to success with pâte à choux. The process moves quite quickly once you begin cooking the dough on the stovetop, so you won't have time to scramble for forgotten items. Using room temperature eggs is often recommended, as they incorporate more smoothly into the warm dough, helping to create a consistent texture necessary for proper puffing.
Ensuring your butter is cut into pieces helps it melt quickly and evenly with the water. While the specific quantities vary slightly depending on the recipe, the ratio of liquid to fat to flour is crucial for achieving the right consistency. This easy pâte à choux recipe emphasizes precision in measurement to ensure reliable results every time you bake.
Essential Ingredients List for Easy Pâte à Choux
- Water (or a mix of water and milk)
- Unsalted Butter
- Salt
- Pinch of Sugar (optional, but helps with browning)
- All-Purpose Flour
- Large Eggs
Understanding the Role of Each Ingredient
Water (or milk) provides the liquid necessary to create steam during baking, which is the primary leavening agent. It also helps dissolve the salt and sugar. Milk can be used for part or all of the liquid; it adds richness and promotes better browning, though it can result in a slightly softer shell compared to using only water.
Butter adds richness and flavor, but more importantly, it contributes fat which tenderizes the dough and helps create a crisp exterior. Salt balances the sweetness (even in sweet applications) and enhances flavor. Sugar, while optional, aids in achieving a desirable golden-brown color and can add a subtle sweetness.
Flour absorbs the liquid and forms the structure of the dough. Eggs are critical; they emulsify the dough, add richness, bind the ingredients together, and most importantly, provide the protein and liquid necessary for the dough to expand and create that signature hollow interior when baked. The number of eggs is variable based on the dough's consistency.
Step-by-Step Guide: Making Pâte à Choux the Easy Way
Making pâte à choux involves a two-stage cooking process: first on the stovetop, then in the oven. This easy pâte à choux recipe simplifies the technique without compromising on quality, guiding you through each crucial step. The stovetop cooking develops the flour and creates a paste, while the oven baking provides the heat and steam for the dramatic rise.
Following these steps precisely will help you avoid common pitfalls and achieve beautifully puffed shells. The key is paying attention to the consistency of the dough at each stage, particularly when adding the eggs, as this dictates how well your pâte à choux will perform in the oven.
Step 1: Combining Water, Butter, Salt, and Sugar
Combine the water (or liquid mix), cubed butter, salt, and sugar (if using) in a medium saucepan. Place the pan over medium heat and stir occasionally. Bring the mixture to a rolling boil, ensuring all the butter is completely melted before it reaches the boil. This ensures the fat is evenly distributed before the flour is added.
Step 2: Incorporating the Flour for a Smooth Dough
Once the liquid is at a rolling boil and the butter is melted, remove the pan from the heat. Add all the flour at once. Stir vigorously with a wooden spoon or heatproof spatula until the mixture comes together to form a thick, smooth ball of dough.
Return the pan to low heat and continue to cook the dough, stirring constantly, for about 1-2 minutes. This step, known as dessécher (to dry out), cooks the flour and removes excess moisture, which is crucial for developing the dough's structure and allowing it to absorb the eggs properly later. You'll know it's ready when a slight film forms on the bottom of the pan.
Step 3: Adding the Eggs: The Key to Lightness
Transfer the hot dough to a mixing bowl (a stand mixer with a paddle attachment works well, or you can do this by hand with a sturdy spoon). Let it cool for a few minutes until it's warm but not hot – you should be able to touch it comfortably. This prevents the eggs from scrambling.
Add the eggs one at a time, beating or stirring vigorously after each addition until the egg is fully incorporated and the dough is smooth before adding the next. The dough will look separated and slippery at first, but keep mixing; it will come back together.
Step 4: Achieving the Right Consistency for Pâte à Choux
Continue adding eggs one by one until the dough reaches the correct consistency. This is the most critical step in the easy pâte à choux recipe. The dough should be smooth, glossy, and thick enough to hold its shape when piped, but soft enough to fall slowly from a spoon in a "V" or "ribbon" shape.
If using a stand mixer, the dough should collect on the paddle but fall off slowly when lifted. You might not need all of the last egg; it's better to err on the side of adding too little than too much. A good test is the "finger test": draw a line through the dough with your finger; the line should hold its shape without the dough immediately flowing back together.
Baking Your Pâte à Choux: Tips and Tricks for Success
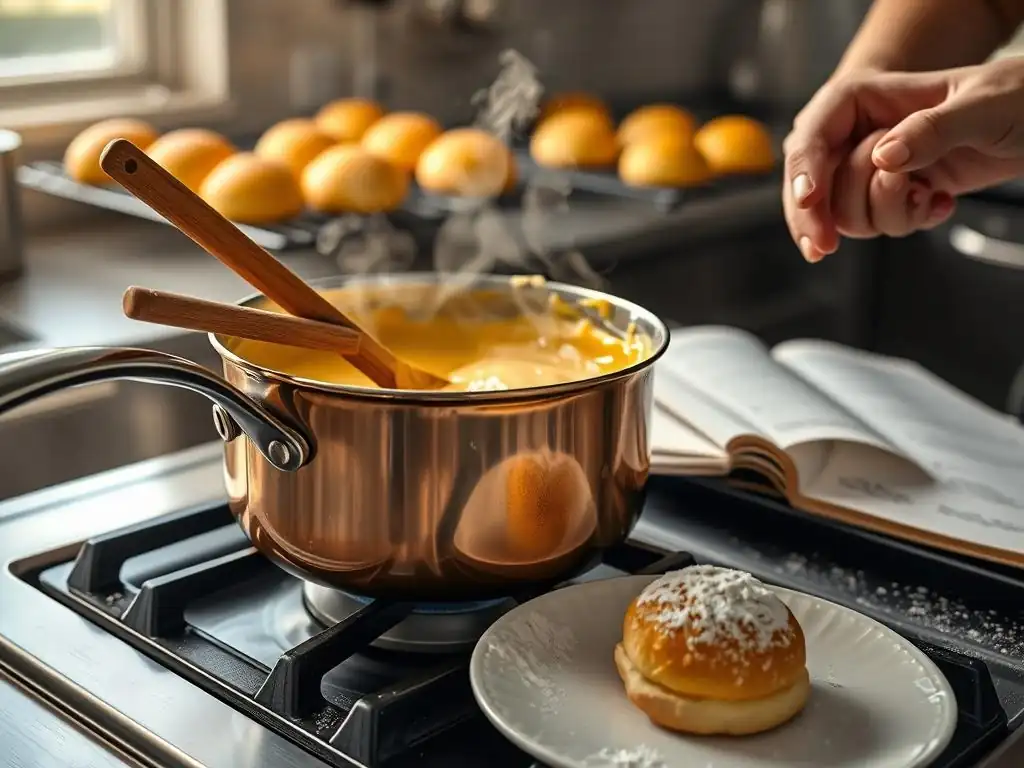
Baking is where the magic happens with pâte à choux. The high heat creates steam inside the dough, causing it to puff dramatically. Getting the oven temperature and timing right is crucial for achieving light, airy shells with a crisp exterior. Underbaked pâte à choux will collapse, while overbaked shells can become tough or burn.
Preheating your oven adequately is non-negotiable. A common technique is to start with a high temperature to create a strong initial burst of steam and rapid expansion, then lower the temperature to allow the shells to dry out and crisp up without burning. This two-stage baking process is key to preventing sad, deflated pastries.
Oven Temperature and Baking Time for Pâte à Choux
A typical baking approach for pâte à choux involves starting at a high temperature, such as 425°F (220°C), for the first 10-15 minutes to maximize the initial puff. Then, the temperature is reduced to around 375°F (190°C) for another 15-25 minutes or until the shells are golden brown and firm. The exact timing will depend on the size and shape of your piped pâte à choux – smaller cream puffs will bake faster than larger eclairs.
Crucially, resist the urge to open the oven door during the first part of baking, especially while the temperature is high. Opening the door releases the steam and can cause the pastries to collapse before their structure is set. Only open the door once they appear fully puffed and are starting to take on color, typically after the initial high-heat phase is complete.
Preventing Common Pâte à Choux Baking Problems
Even with an easy pâte à choux recipe, issues can arise. Two of the most common problems are pastries that turn out soggy or deflate after baking. These are often related to insufficient baking time or incorrect temperature management. Understanding why these happen can help you avoid them.
Another issue can be uneven puffing or cracking. This can sometimes be due to inconsistent piping, uneven oven temperature, or dough that wasn't dried out enough during the stovetop cooking phase ( dessécher). Using a consistent piping technique and ensuring your oven is properly calibrated can help mitigate these problems.
Avoiding Soggy Pâte à Choux
Soggy pâte à choux typically results from underbaking. The pastries might look done and golden on the outside, but the interior is still moist and heavy. To prevent this, ensure you bake them long enough at the lower temperature setting until they are truly dry inside. They should feel light when lifted and sound hollow when tapped on the bottom. Some bakers even turn off the oven and leave the pastries inside for a few extra minutes with the door slightly ajar to help them dry out further.
Preventing Pâte à Choux from Deflating
Deflation after removal from the oven is usually a sign that the pâte à choux wasn't baked through sufficiently or the internal structure wasn't fully set. The steam inside condenses, causing the fragile shell to collapse. Ensure your pastries are baked to a deep golden-brown color and feel light and firm. If you're unsure, sacrifice one by cutting it open – the inside should be mostly hollow with a thin, dry crust. Leaving them in the cooling oven for a few minutes after baking can also help stabilize them.
Achieving the Perfect Golden-Brown Color
A beautiful golden-brown color on pâte à choux isn't just for aesthetics; it's also an indicator that the pastry is properly baked and has developed a crisp crust. The browning occurs during the later stages of baking at the lower temperature. The sugar added in the recipe (if used) also contributes to this caramelization.
If your pâte à choux isn't browning sufficiently but seems puffed, you might need to extend the baking time at the lower temperature slightly or ensure your oven temperature is accurate. Some bakers also lightly brush the tops of the piped dough with an egg wash before baking, which encourages a richer color and a slightly shinier finish.
Using Your Pâte à Choux: Eclairs, Cream Puffs, and Beyond
Once you've mastered the easy pâte à choux recipe and successfully baked your shells, the fun really begins: filling them! The hollow interior of pâte à choux is perfect for holding a variety of creams, custards, mousses, or even savory fillings. The type of pastry you are making dictates the traditional filling, but feel free to get creative.
Whether you're aiming for classic French patisserie or simple homemade treats, your perfectly baked shells are the canvas. The process of filling is usually done after the pastries have cooled completely to prevent the filling from melting or the shells from becoming soggy.
Making Classic Eclairs with Your Homemade Pâte à Choux
Eclairs are typically elongated pâte à choux pastries filled with pastry cream and topped with a glaze, often chocolate. To make them, pipe the pâte à choux dough into straight lines, about 4-5 inches long, onto your baking sheet. After baking and cooling, the traditional method is to make two or three small holes in the bottom of each eclair shell using a skewer or small knife, then pipe the filling inside using a piping bag fitted with a small round tip.
The final touch for classic eclairs is the glaze. A simple chocolate glaze made from melted chocolate or cocoa powder, powdered sugar, and a liquid like milk or water is popular. The glaze should be smooth and spreadable, applied to the top of the cooled, filled eclairs. Allow the glaze to set before serving for the cleanest finish.
Eclair Filling Ideas: From Vanilla to Chocolate
- Classic Vanilla Pastry Cream (Crème Pâtissière)
- Chocolate Pastry Cream
- Coffee Pastry Cream
- Salted Caramel Cream
- Fruit Curd (like lemon or passion fruit)
- Whipped Cream or Chantilly Cream
Perfecting Your Eclair Glaze
- Simple Chocolate Glaze (melted chocolate + butter or cream)
- Fondant Glaze (confectioners' fondant + water/syrup)
- Cocoa Glaze (cocoa powder + powdered sugar + liquid)
- Coffee Glaze
- Caramel Glaze
Cream Puffs (Profiteroles): A Simple and Delicious Dessert
Cream puffs, or profiteroles, are the round cousins of eclairs. They are typically piped as small mounds, about 1-2 inches in diameter, and like eclairs, are baked until golden and hollow. They are often filled with whipped cream or ice cream and served as a dessert, frequently with a warm chocolate sauce poured over them just before serving.
Making cream puffs from your easy pâte à choux recipe is straightforward. Pipe rounded dollops of dough onto your baking sheet, leaving space for them to expand. After baking and cooling, they can be sliced horizontally and filled, or filled through a hole poked in the bottom, similar to eclairs. Their simple shape makes them quick to prepare and bake, perfect for a relatively quick dessert.
Cream Puff Filling Options
- Whipped Cream (Crème Chantilly)
- Vanilla Ice Cream
- Pastry Cream (any flavor)
- Chocolate Mousse
- Custard
Savory Pâte à Choux: Gougères and Other Appetizers
Pâte à choux isn't just for sweets! When cheese is incorporated into the dough, it transforms into gougères, delightful savory puffs often served as appetizers or alongside soups and salads. The cheese melts and adds a wonderful flavor and slightly chewy texture to the light, airy choux.
Making gougères using your easy pâte à choux recipe is simple. After the eggs are fully incorporated into the dough, simply stir in grated hard cheese like Gruyère, Comté, or aged cheddar, along with any desired herbs or spices. The dough is then piped or spooned into small rounds and baked until golden and the cheese is bubbly.
Adding Cheese and Herbs to Your Pâte à Choux
To make gougères, typically add about 1/2 to 1 cup (roughly 50-100 grams) of finely grated hard cheese per standard batch of dough after the eggs are mixed in. The amount can be adjusted based on preference. Stir the cheese in until evenly distributed.
Optional additions include a pinch of black pepper, a dash of nutmeg (which pairs wonderfully with cheese), or finely chopped fresh herbs like chives, thyme, or rosemary. These additions should also be folded in gently after the cheese. Bake as usual, though savory puffs might sometimes require a minute or two longer to ensure they are fully dried out inside, preventing them from becoming dense.
Storing Pâte à Choux: Dough and Baked Goods
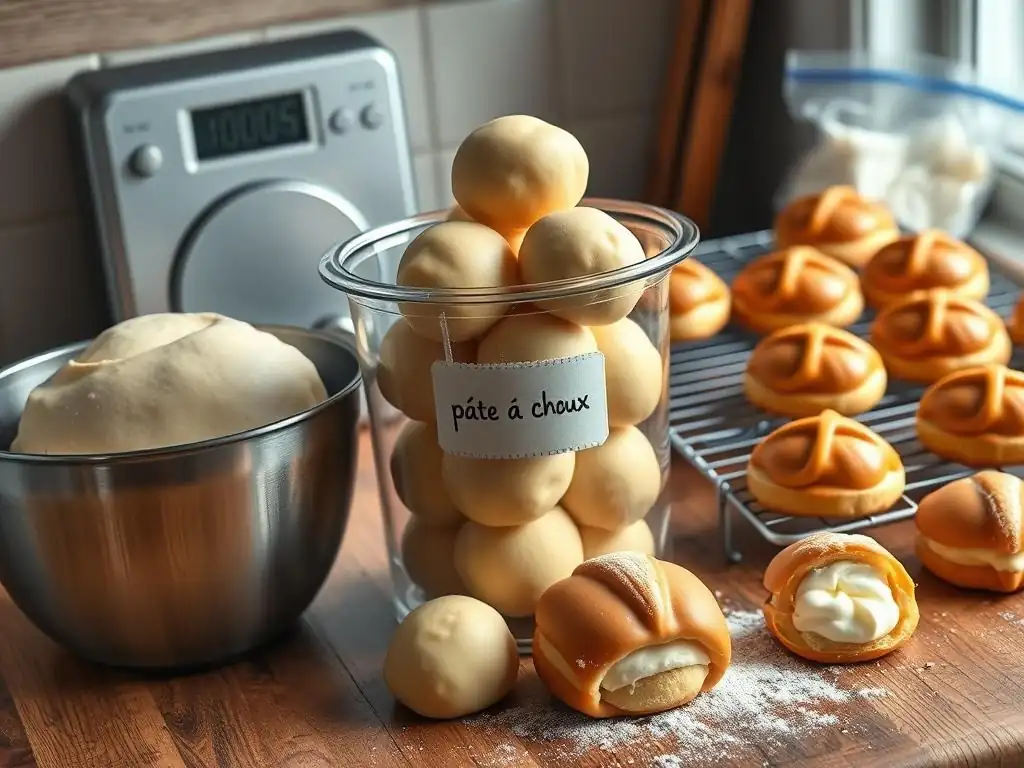
Knowing how to properly store pâte à choux can save you time and allow you to prepare components in advance. Both the unbaked dough and the baked shells can be stored, offering flexibility for planning your baking projects. Proper storage helps maintain the quality and structure of the dough and the crispness of the baked goods.
Whether you've made a batch of dough ahead of time or have leftover baked shells, these storage tips will help you keep your pâte à choux in the best condition until you're ready to use it. Avoid storing filled pastries for too long, as the moisture from the filling will eventually soften the shells.
Storing Unbaked Pâte à Choux Dough
Unbaked pâte à choux dough can be stored in the refrigerator for 1-2 days. Transfer the dough to an airtight container or wrap it tightly in plastic wrap, pressing the plastic directly onto the surface of the dough to prevent a skin from forming.
When you're ready to use the refrigerated dough, let it sit at room temperature for about 15-30 minutes to soften slightly before piping. You can also freeze unbaked piped shapes. Pipe the dough onto a parchment-lined baking sheet and freeze until solid, then transfer the frozen shapes to a freezer-safe bag or container. Bake directly from frozen, adding a few minutes to the baking time.
Storing Baked Eclairs and Cream Puffs
Baked but unfilled pâte à choux shells store remarkably well. Once completely cooled, they can be kept at room temperature in an airtight container for 1-2 days. To maintain crispness, some prefer to store them in a container that isn't completely airtight, allowing a little air circulation, though this can risk them drying out too much.
For longer storage, baked shells can be frozen for up to 1-2 months. Place the cooled shells in a single layer on a baking sheet and freeze until solid, then transfer to a freezer-safe bag or container. To reheat and re-crisp, place the frozen shells directly on a baking sheet in a preheated oven at 350°F (175°C) for 5-10 minutes until crisp. Let them cool before filling. Filled pastries are best enjoyed within a few hours of filling, or stored in the refrigerator if the filling requires it, but the shells will soften over time.
Troubleshooting Your Pâte à Choux: Common Issues and Solutions
Even with an easy pâte à choux recipe, things can occasionally go wrong. Understanding the common problems and their potential causes is key to fixing them and improving your technique for next time. Don't be discouraged if your first attempt isn't perfect; pâte à choux takes a little practice.
Most issues stem from the consistency of the dough or problems during the baking phase. By carefully reviewing the steps and making small adjustments, you can overcome these hurdles and achieve successful results.
Dough is Too Thick or Too Thin
If your pâte à choux dough is too thick after adding the eggs, it means you haven't added enough liquid (eggs). The dough will be stiff and won't fall easily from a spoon. This can result in pastries that don't puff properly or have a dense interior. To fix this, you can try beating a small amount of additional egg in a separate bowl and gradually beating it into the dough, a teaspoon at a time, until the correct "ribbon" consistency is achieved.
Conversely, if the dough is too thin, you've added too many eggs. The dough will be very loose and runny, unable to hold its shape when piped. Unfortunately, it's difficult to fix dough that is too wet. You could try making another small batch of just the cooked flour/butter/water mixture and beating it into the overly wet dough to thicken it, but it's often best to discard the batch and start over, being more careful when adding the eggs one by one.
Pâte à Choux Didn't Rise Properly
Several factors can cause pâte à choux to not rise well. The most common culprits are dough that is too wet or too dry (see above), not cooking the dough on the stovetop long enough to dry it out ( dessécher), opening the oven door too early during baking, or insufficient oven temperature. Make sure your oven is fully preheated and accurate using an oven thermometer.
Ensure your dough has the correct consistency – it needs enough liquid (from eggs) to create steam, but not so much that it's too weak to hold its structure. Also, confirm your baking powder isn't expired if you've used a recipe that includes it (though traditional pâte à choux relies solely on steam). Baking at the initial high temperature is crucial for the initial puff.
Baked Goods are Too Dense
Dense pâte à choux is often a result of the same issues that cause poor rising, particularly dough consistency and baking problems. If the dough was too thick or not dried out enough during cooking, it might not puff properly, leading to a heavy texture.
Underbaking is another major cause of density. If the interior hasn't fully dried out and set, it will collapse and become dense upon cooling. Ensure your pastries are baked until deeply golden and feel very light when lifted. Overmixing the dough after adding the flour or eggs can also sometimes develop the gluten too much, leading to a tougher, denser result, though this is less common than issues with consistency or baking.
Advanced Pâte à Choux Techniques: Taking Your Baking to the Next Level
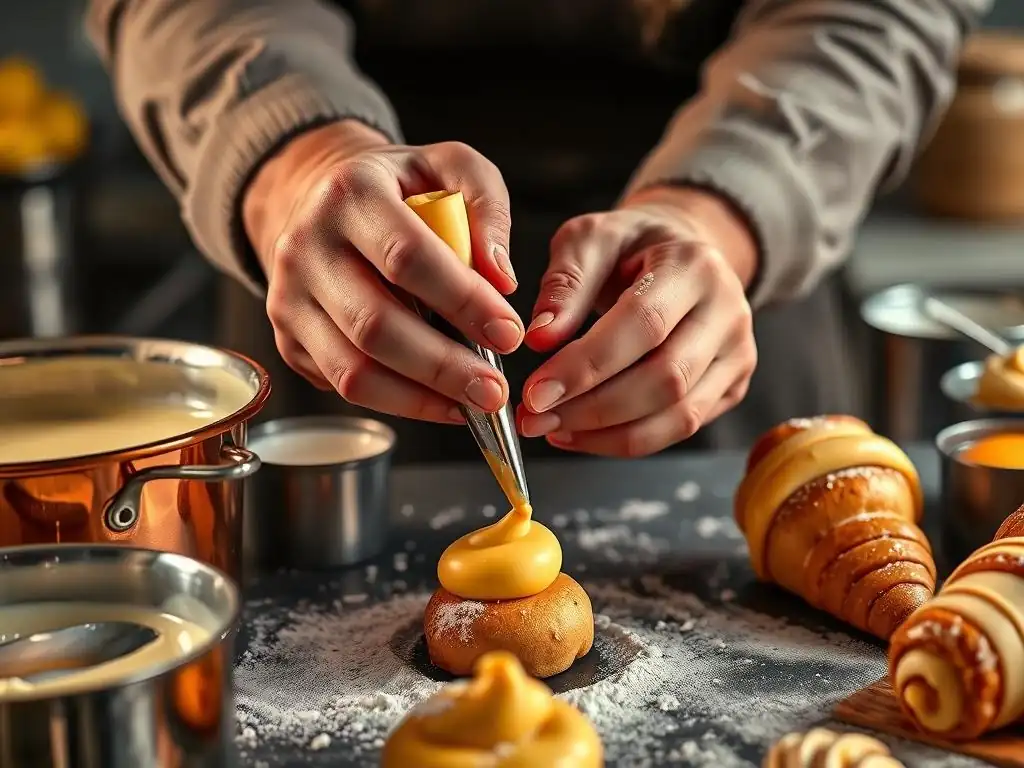
Once you're comfortable with the easy pâte à choux recipe, you might want to experiment with variations to add extra flavor or create more intricate shapes. These techniques build upon the basic method and allow for greater creativity in your choux pastry projects.
Adding flavors directly to the dough or mastering different piping tips can elevate your pastries, making them even more impressive and delicious. These steps are optional but offer exciting ways to expand your choux repertoire beyond the basics.
Adding Flavors to Your Pâte à Choux
Flavors can be incorporated into pâte à choux dough in subtle or pronounced ways. Extracts like vanilla or almond can be added with the liquid or eggs, though use sparingly as they can sometimes affect texture. Citrus zest, like lemon or orange, can be added with the flour for a bright note.
For deeper flavors, infuse the initial liquid (water/milk) with tea leaves, coffee beans, or spices like cinnamon sticks or star anise before adding the butter and flour. Strain the liquid before proceeding with the recipe. Cocoa powder can also be sifted in with the flour for chocolate pâte à choux, adjusting the liquid slightly if needed as cocoa absorbs moisture. About 2-3 tablespoons of sifted cocoa per standard batch is a good starting point.
Piping Techniques for Different Shapes
The consistency of the pâte à choux dough makes it ideal for piping. A sturdy piping bag fitted with various tips allows you to create different shapes like classic eclairs (using a large plain or star tip for fluted edges), round cream puffs (using a large plain tip), or decorative shapes like rings for Paris-Brest (using a large star tip).
Ensure your piping bag is filled properly and consistently to maintain even pressure. Practice piping on parchment paper before committing to your baking sheet. For eclairs, aim for even pressure and lift straight up at the end to break cleanly. For cream puffs, pipe mounds and gently swirl off the top. A damp fingertip can be used to smooth any peaks before baking.
Conclusion: Embrace the Ease of Pâte à Choux Baking
Mastering pâte à choux might seem intimidating at first, but with a reliable easy pâte à choux recipe and a little practice, it's an achievable and rewarding skill for any baker. The fundamental technique is straightforward, relying on simple ingredients and careful execution.
From elegant eclairs filled with rich pastry cream to simple, delightful cream puffs and savory gougères, learning this versatile dough opens up a world of classic and contemporary pastries. Don't be afraid to try this easy pâte à choux recipe and experiment with fillings and flavors. The satisfaction of creating these light, airy shells from scratch is immense, proving that some of the most impressive baked goods are well within your reach. Happy baking!
Frequently Asked Questions
How difficult is the pâte à choux recipe on BakeWithEase.com?
The pâte à choux recipe is designed to be easy to follow, even for beginners. BakeWithEase.com focuses on simple techniques and clear instructions.
What can pâte à choux be used for besides eclairs?
Pâte à choux is versatile! Beyond eclairs, it can be used for cream puffs, profiteroles, gougères (cheese puffs), and the classic French dessert, Paris-Brest.
What are the key ingredients needed for the pâte à choux recipe?
The recipe typically requires just a few basic ingredients: water, butter, flour, eggs, and a pinch of salt. The BakeWithEase recipe emphasizes easy-to-find ingredients.
What makes the BakeWithEase.com method for pâte à choux "easy"?
The BakeWithEase method focuses on simplified steps and clear explanations for each stage of the process. This helps to avoid common pitfalls and ensures a successful outcome.
What common mistakes should I avoid when making pâte à choux?
Avoid adding the eggs all at once – add them gradually to ensure the dough reaches the correct consistency. Also, make sure the dough is cooked enough on the stovetop before adding the eggs to prevent a runny batter.
Final Reflection: The Joy of Mastering Pâte à Choux
The seemingly daunting world of pâte à choux is, in reality, surprisingly accessible. Mastering this delicate dough unlocks a universe of delicious possibilities, from classic éclairs to airy profiteroles and even savory gougères. This simple yet elegant pastry, once conquered, becomes a source of immense culinary pride and joy.
The journey of learning to make pâte à choux, for me, was a testament to the power of patience and precision in baking. It's a process that rewards meticulous attention to detail, teaching valuable lessons about the interplay of ingredients and the importance of technique. The feeling of biting into a perfectly crisp, airy choux pastry, filled with creamy goodness, is a reward in itself. The best things in life are worth waiting for,
and this certainly holds true for the satisfaction of a perfectly executed pâte à choux recipe.
Now, it's your turn. Don't be intimidated by the seemingly complex instructions; embrace the challenge! Experiment with different fillings and toppings, let your creativity flow, and share your delicious creations with loved ones. The journey of mastering pâte à choux is not just about creating beautiful pastries; it's about the joy of the process, the satisfaction of accomplishment, and the pleasure of sharing something truly special. So, gather your ingredients, follow the steps, and unlock the delightful world of pâte à choux. You might surprise yourself with what you can achieve.
Unlock Your Inner Pâtissier: Perfect Pâte à Choux Awaits!
Thanks for joining us on this delicious journey into the world of pâte à choux! We hope you’ve gained the confidence to tackle this seemingly tricky pastry. Now it's time to put your newfound knowledge to the test.
- Bake your dream éclairs (or cream puffs!): This is your chance to show off your skills. Use the recipe and tips from the article to create your masterpiece.
- Share your creations: Snap a photo of your beautiful éclairs and share it on social media – tag us if you're feeling generous!
- Experiment with fillings and toppings: Don't stop at the classics! Get creative with flavors and frostings. What unique combination will you dream up?
Ready to transform your kitchen into a pastry paradise? What exciting flavor combinations will you try first?