
Master the Art of buttery Madeleines with Ease

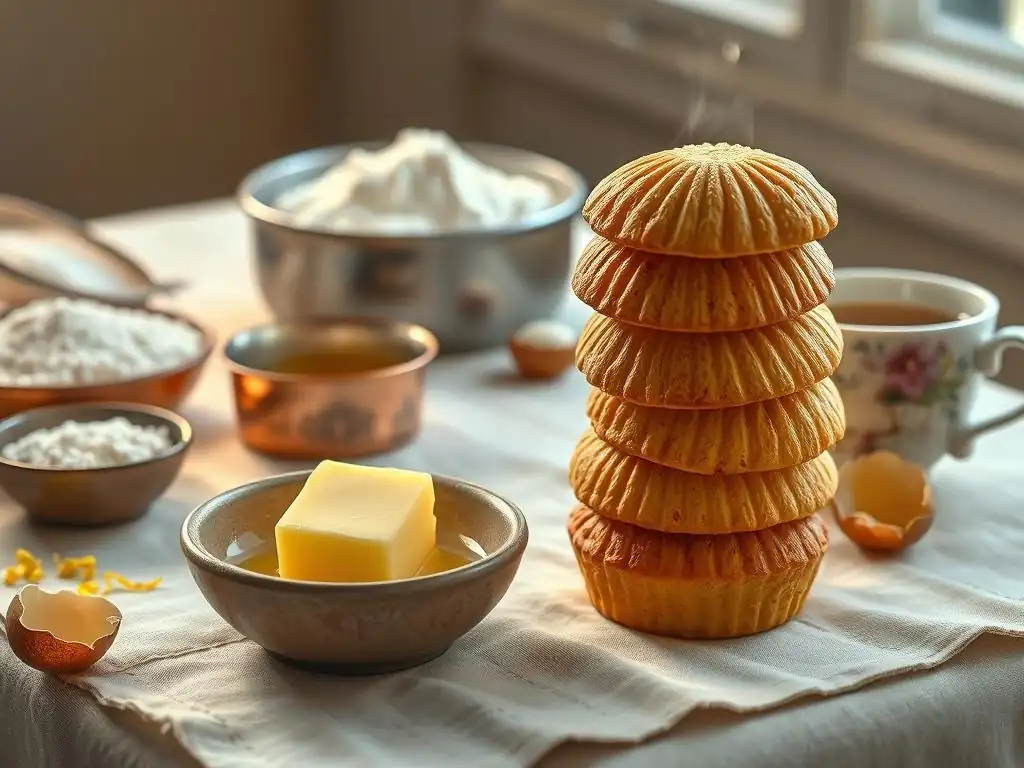
Welcome to BakeWithEase, where the joy of baking meets effortless execution! Ever wondered how to achieve that perfect, melt-in-your-mouth texture in a Buttery Madeleines recipe? Prepare to unlock the secrets! We'll guide you through creating these iconic treats with a surprisingly easy method. Ready to experience the delightful taste of France from your own kitchen? Let's get baking!
- BakeWithEase Presents: An Easy Buttery Madeleines Recipe
- Understanding the Allure of Madeleines: A French Baking Classic
- Your Guide to the Perfect Buttery Madeleines Recipe (Easy Version)
-
Step-by-Step: Baking Buttery Madeleines with Ease
- Step 1: Preparing the Batter: Achieving the Ideal Consistency
- Step 2: Chilling the Batter: Key to a Perfect Madeleine Hump
- Step 3: Preparing the Madeleine Pan: Avoiding Sticking
- Step 4: Baking Your Madeleines: Time and Temperature for Golden Perfection
- Step 5: Cooling and Serving: Enjoying Freshly Baked Madeleines
- Tips and Tricks for Amazing Buttery Madeleines
- Troubleshooting Common Madeleines Baking Problems
- Storing and Serving Your Homemade Madeleines
- Elevate Your Baking: Beyond the Basic Buttery Madeleine
- Conclusion: Your Journey to Buttery Madeleines Mastery
- Frequently Asked Questions
- Final Reflection: The Enduring Allure of the Perfect Madeleine
- Unleash Your Inner Pâtissier: Bake Perfect Madeleines Today!
BakeWithEase Presents: An Easy Buttery Madeleines Recipe
Welcome to BakeWithEase, your friendly guide to delicious homemade treats! Today, we're diving into a true French classic: the delicate, buttery madeleine. Often seen as intimidating, we're here to show you that mastering a buttery madeleines recipe easy is absolutely achievable, even for beginner bakers. Get ready to fill your kitchen with the irresistible aroma of these shell-shaped delights.
This guide will walk you through everything you need to know, from the simple ingredients to the essential techniques, ensuring your buttery madeleines turn out perfectly every time. We'll share tips for getting that signature hump and keeping your madeleines from sticking. Let's bake some beautiful, buttery madeleines together!
Understanding the Allure of Madeleines: A French Baking Classic
Madeleines hold a special place in the world of French pastry. They are more than just a simple cake; they are a symbol of comfort, nostalgia, and delicate flavor. Their distinctive shell shape, often attributed to the use of a specific mold, makes them instantly recognizable. The texture is key – a crispy edge giving way to a soft, tender, and incredibly moist interior.
What truly sets madeleines apart is their rich, buttery taste. A good buttery madeleine is infused with the flavor of high-quality butter, often enhanced with citrus zest or a hint of vanilla. They are typically enjoyed plain, perhaps dusted with a little powdered sugar, making their pure flavor the star. They are perfect for dipping into tea or coffee, absorbing the liquid without falling apart.
What Makes Madeleines So Special? The Shell-Shaped Delight
The unique shell shape of madeleines is arguably their most iconic feature. This shape isn't just for aesthetics; it influences the texture. The ridges and curves of the shell result in thinner edges that bake up slightly crisp, providing a lovely contrast to the soft, cake-like interior. This contrast in texture is a significant part of the madeleine experience.
While the shape is distinct, the texture and flavor are equally important. A perfect buttery madeleine should be light and airy yet moist, with a pronounced buttery richness. Achieving the famous "hump" on one side is a hallmark of a well-made madeleine, indicating proper leavening and temperature control during baking. This hump adds to the visual appeal and contributes to the soft internal structure.
Exploring the History of Madeleines: From Lore to Modern Baking
The history of madeleines is steeped in charming, though sometimes conflicting, legends. One popular story dates back to the 18th century in Commercy, Lorraine, France. It's said a young woman named Madeleine Paulmier baked these small cakes for Stanislas Leszczynski, the Duke of Lorraine (and father-in-law to King Louis XV), who was so delighted he named them after her and introduced them to the French court.
Another account ties them to pilgrim shells (coquilles Saint-Jacques), which were collected by pilgrims returning from Santiago de Compostela, and perhaps used as molds or inspiration. Regardless of their exact origin, madeleines gained significant popularity in the 19th century, famously immortalized by Marcel Proust in his novel "In Search of Lost Time," where the taste of a madeleine dipped in tea evokes a flood of childhood memories. Today, they remain a beloved treat worldwide, with countless variations on the classic buttery madeleines recipe easy.
Your Guide to the Perfect Buttery Madeleines Recipe (Easy Version)
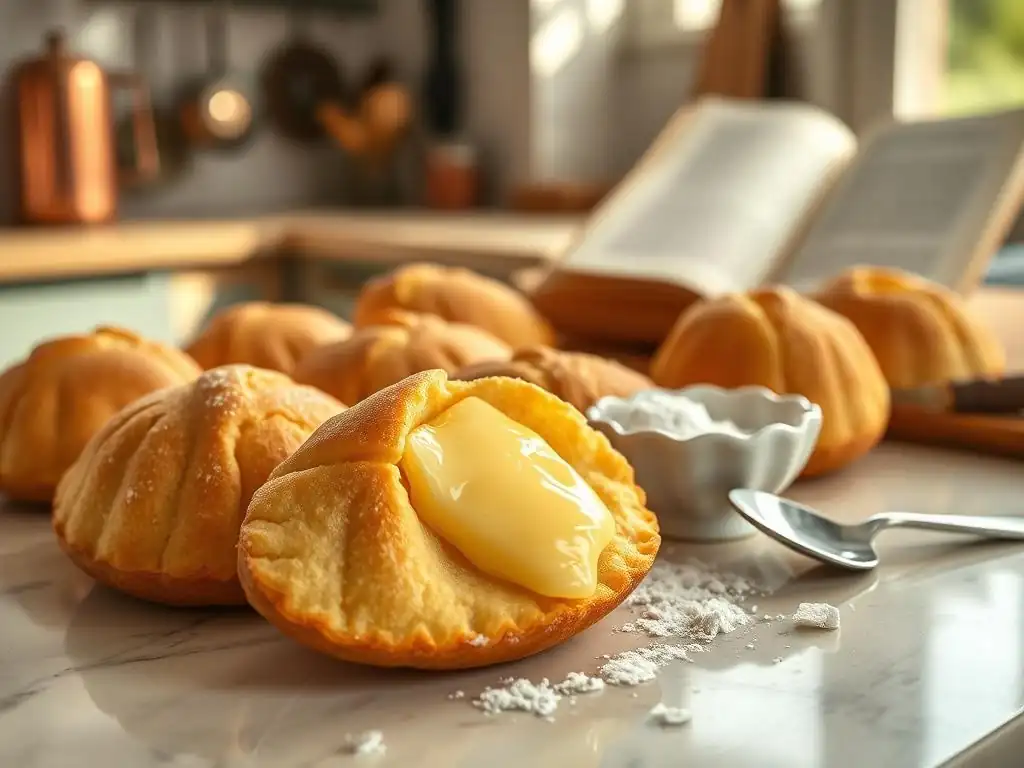
Creating beautiful, buttery madeleines at home is simpler than you might think. Our buttery madeleines recipe easy focuses on straightforward steps and readily available ingredients, ensuring success without complexity. The key lies in fresh ingredients, careful preparation, and paying attention to a few crucial baking techniques.
This recipe is designed for bakers of all levels. We've streamlined the process while retaining the authentic flavor and texture of traditional madeleines. By following our guide, you'll learn how to mix the batter, prepare your pan, and bake these delicate cakes to golden perfection. Let's gather our ingredients and tools!
Ingredients for Effortless Madeleines: A Simple Recipe Breakdown
Making buttery madeleines requires just a handful of basic pantry staples. You'll need:
1/2 cup(113g) unsalted butter, melted and slightly cooled2 largeeggs, at room temperature1/2 cup(100g) granulated sugar1 teaspoonvanilla extract1 cup(125g) all-purpose flour1 teaspoonbaking powder1/4 teaspoonsalt- Zest of
1/2lemon (optional, but highly recommended for classic flavor)
Using room-temperature eggs is important as they emulsify better with the sugar, leading to a lighter texture. Melting the butter and letting it cool slightly prevents it from cooking the eggs when added to the batter. Sifting the flour and baking powder together ensures even distribution and helps create a tender crumb.
Essential Baking Tools for Madeleines Success at Home
While a madeleine pan is essential for achieving the signature shell shape, you don't need a lot of other fancy equipment for this buttery madeleines recipe easy. Here are the key tools:
- Madeleine Pan: A non-stick or well-greased metal madeleine pan is crucial. A standard pan has about 12 indentations.
- Mixing Bowls: You'll need at least two medium-sized bowls – one for wet ingredients and one for dry.
- Whisk or Electric Mixer: An electric hand mixer makes whisking the eggs and sugar until pale and fluffy much easier, though a sturdy whisk and some elbow grease work too.
- Spatula: For folding ingredients and scraping down the sides of the bowl.
- Small Brush: For greasing the madeleine pan effectively.
- Measuring Cups and Spoons: Accurate measurement is vital in baking.
Having your tools ready before you start mixing makes the process smoother and helps ensure you follow the steps correctly, leading to successful buttery madeleines.
Step-by-Step: Baking Buttery Madeleines with Ease
Baking buttery madeleines is a process that involves a few key stages. Follow these steps carefully, and you'll be enjoying warm, homemade madeleines in no time. This buttery madeleines recipe easy breaks down each part to make it simple to follow.
Step 1: Preparing the Batter: Achieving the Ideal Consistency
Begin by whisking the eggs and granulated sugar together in a large bowl until the mixture is pale yellow, thick, and has increased significantly in volume. This should take about 3-5 minutes with an electric mixer on medium-high speed, or longer by hand. The mixture should form a ribbon when the whisk is lifted. Next, whisk in the vanilla extract and lemon zest (if using).
In a separate bowl, whisk together the flour, baking powder, and salt. Gradually add the dry ingredients to the wet ingredients, folding gently with a spatula until just combined. Do not overmix. Finally, gradually fold in the melted and slightly cooled butter until the batter is smooth and homogenous. The batter should be thick but pourable, similar in consistency to a thick pancake batter.
Step 2: Chilling the Batter: Key to a Perfect Madeleine Hump
Chilling the madeleine batter is a critical step for achieving the classic hump. As the cold batter hits the hot oven, the outer edges set quickly while the center continues to rise, pushing upwards to form the dome. Cover the bowl tightly with plastic wrap and refrigerate the batter for at least 30 minutes. Some bakers even prefer chilling for 1-2 hours, or overnight for maximum hump potential.
During the chilling process, the gluten in the flour relaxes, and the baking powder begins to activate slightly, preparing the batter for its rapid rise in the oven. A well-chilled batter also results in a firmer texture that is easier to spoon into the madeleine pan indentations without spreading too much. Don't skip this step if you want that signature look!
Step 3: Preparing the Madeleine Pan: Avoiding Sticking
Properly preparing your madeleine pan is essential to prevent your delicate cakes from sticking. Even if you have a non-stick pan, it's highly recommended to grease and flour it. Melt about a tablespoon of extra butter and use a pastry brush to generously coat each indentation, including the edges.
Once buttered, dust the pan lightly with flour, tapping out any excess. Ensure every nook and cranny is coated. For chocolate madeleines, you can use cocoa powder instead of flour. This creates a release layer between the batter and the pan, ensuring your beautiful buttery madeleines pop out easily after baking, preserving their perfect shape.
Step 4: Baking Your Madeleines: Time and Temperature for Golden Perfection
Preheat your oven to 375°F (190°C). A hot oven is key to getting the madeleine hump and achieving a golden-brown exterior. Spoon the chilled batter into the prepared madeleine pan indentations, filling each one about two-thirds to three-quarters full. Avoid overfilling, as the batter will spread and rise.
Bake for 8-12 minutes, or until the edges are golden brown and the centers are puffed up and spring back when gently touched. Baking times can vary slightly depending on your oven, so keep a close eye on them. You should see the characteristic hump form within the first few minutes of baking.
Step 5: Cooling and Serving: Enjoying Freshly Baked Madeleines
Once baked, immediately remove the madeleine pan from the oven. Let the madeleines rest in the pan for just a minute or two before gently inverting the pan onto a wire rack to release them. They should slide out easily if the pan was properly prepared.
Transfer the warm madeleines to the wire rack to cool completely. While they are delicious warm, they are also lovely when fully cooled. For an extra touch, dust them lightly with powdered sugar using a fine-mesh sieve just before serving. Serve your delightful buttery madeleines with a cup of tea or coffee for a perfect treat.
Tips and Tricks for Amazing Buttery Madeleines
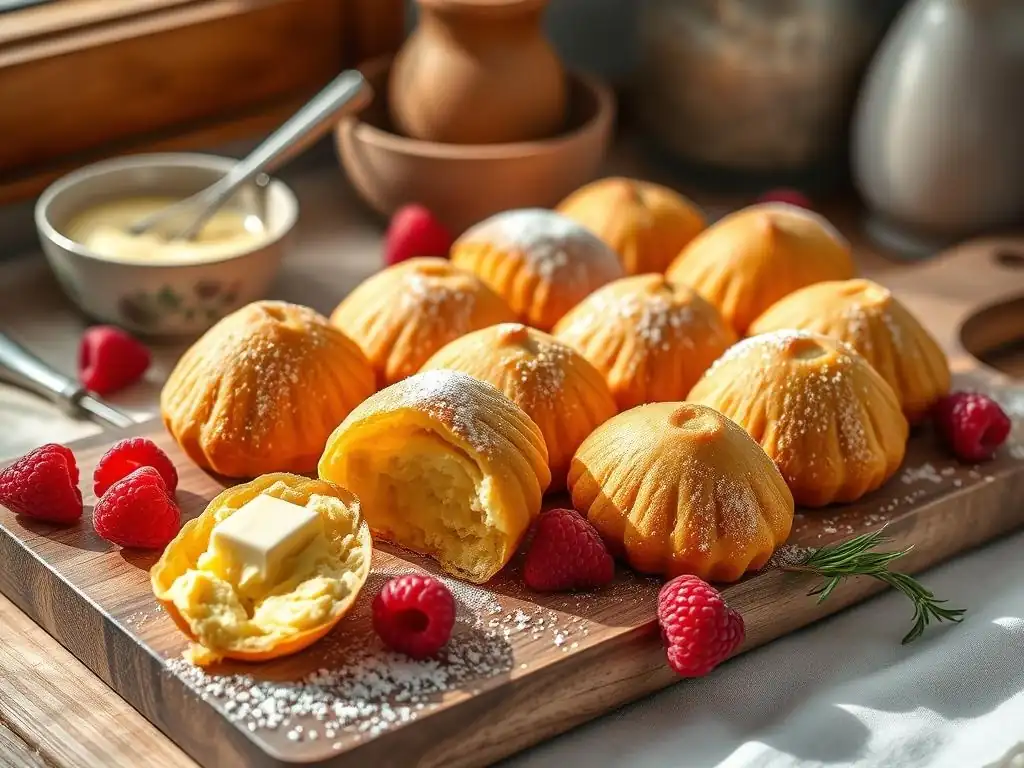
Achieving madeleine perfection involves a few insider tips. These little tricks can elevate your buttery madeleines from good to truly spectacular, ensuring you get that desired hump and avoid common pitfalls.
Achieving the Signature Madeleine Hump: Expert Baking Advice
The hump is the hallmark of a well-baked madeleine. As mentioned, chilling the batter is the most crucial step. Aim for at least 30 minutes of refrigeration, but overnight chilling often yields the most pronounced hump. Another factor is a hot oven. Baking at 375°F (190°C) creates a sudden temperature shock that helps the edges set quickly while the center is forced upwards.
Don't overmix the batter after adding the dry ingredients and melted butter. Overmixing develops gluten, which can result in tougher, less airy madeleines and potentially a less impressive hump. Finally, make sure your baking powder is fresh; old baking powder loses its leavening power. A general rule of thumb is to replace baking powder every 6-12 months.
Preventing Madeleines from Sticking: Pan Preparation Secrets
Sticking is a common frustration when baking madeleines. The best defense is a thorough pan preparation. Even with a non-stick pan, always grease and flour the indentations generously. Use a brush to get into all the ridges. Melted butter works well, but some bakers swear by using a baking spray containing flour.
Alternatively, some traditional recipes call for chilling the buttered and floured pan before adding the batter. This can help create a firmer release layer. Ensure the pan is at room temperature or slightly chilled when you add the batter, not hot. If a madeleine does stick, gently loosen the edges with a small offset spatula or knife, being careful not to damage the pan's surface.
Enhancing the Flavor: Variations on the Classic Buttery Madeleine
While the classic buttery madeleine is divine on its own, you can easily introduce variations. Lemon zest is a traditional addition that brightens the flavor beautifully. You can experiment with orange zest for a different citrus note. For a richer flavor, consider using brown butter (beurre noisette) instead of melted butter, which adds a nutty depth.
- Lemon: Add
1/2 to 1 teaspoonof fresh lemon zest to the wet ingredients. - Orange: Substitute lemon zest with orange zest.
- Brown Butter: Gently melt butter and continue cooking over medium heat until it turns golden brown and smells nutty. Strain out solids before using.
You can also infuse the batter with a pinch of spice like cardamom or ginger for a warm undertone. Just remember that for a true buttery madeleines recipe easy, keeping it simple often yields the best results initially.
Troubleshooting Common Madeleines Baking Problems
Even with a straightforward buttery madeleines recipe easy, you might encounter a few hiccups. Don't worry, these are common issues with simple solutions.
Why Aren't My Madeleines Rising Properly?
If your madeleines are flat or have a very small hump, several factors could be at play:
- Insufficient Chilling: The batter wasn't chilled long enough (less than 30 minutes) or wasn't cold enough when it went into the oven. Cold batter is key for the temperature shock needed for the hump.
- Oven Temperature Too Low: The oven wasn't preheated properly or isn't hot enough. Check your oven temperature with an oven thermometer. Aim for 375°F (190°C).
- Old Baking Powder: Baking powder loses potency over time. Ensure yours is fresh.
- Overmixing: Overdeveloping gluten can result in a dense batter that doesn't rise well. Fold the dry ingredients and butter gently until just combined.
- Under-whisked Eggs/Sugar: The initial whisking of eggs and sugar is crucial for incorporating air. Ensure the mixture is pale, thick, and forms a ribbon.
My Madeleines Are Sticking to the Pan! What to Do?
Sticking is usually a pan preparation issue.
- Not Enough Grease: The pan wasn't generously buttered or sprayed.
- Missed Spots: You didn't get butter/flour into all the indentations and ridges.
- Used Oil Instead of Butter/Spray: Butter or baking spray with flour creates a better release layer than plain oil.
- Pan Not Cooled Slightly: Adding batter to a hot pan can cause sticking. Ensure the pan is at room temp or slightly chilled before filling.
If they are stuck after baking, try letting them cool for just a moment (1-2 minutes) in the pan before inverting. If they still resist, gently loosen the edges with a thin, flexible spatula. For future batches, ensure thorough greasing and flouring.
Madeleines Too Dry? Avoiding Overbaking
Dry madeleines are typically a result of overbaking. Madeleine batter is relatively delicate, and they bake quickly.
- Baking Time Too Long: Even an extra minute or two can turn moist madeleines dry. Start checking for doneness around the 8-minute mark for standard size pans. They should be golden brown at the edges and spring back when lightly touched in the center.
- Oven Temperature Too High: While a hot oven is needed for the hump, an excessively hot oven can cause them to bake too quickly on the outside before the inside is cooked, leading to a dry result. Double-check your oven temp.
- Incorrect Ingredient Ratios: Ensure you measured your ingredients accurately, especially the flour and butter. Too much flour or too little butter/sugar can lead to dryness.
Storing and Serving Your Homemade Madeleines
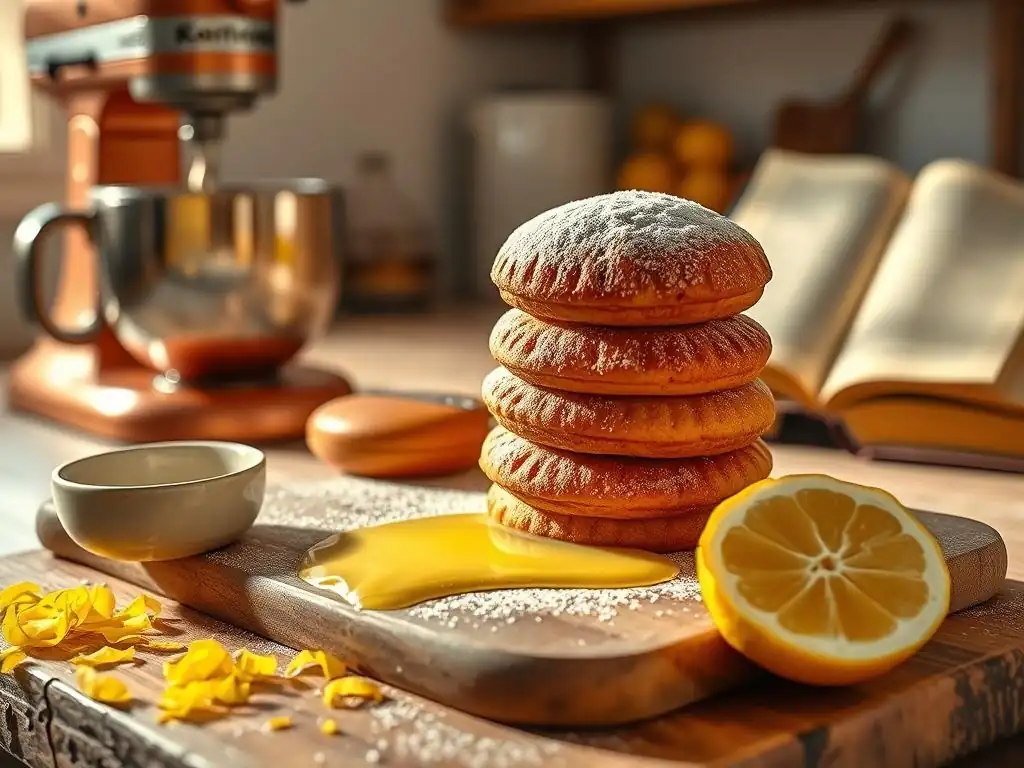
Madeleines are best enjoyed fresh from the oven, but they can be stored and still be delicious. Proper storage helps maintain their tender texture.
Best Ways to Store Madeleines for Freshness
Buttery madeleines are known for drying out quickly due to their delicate structure and high butter content. The best way to store them is in an airtight container at room temperature.
- Ensure they are completely cooled before storing to prevent condensation, which can make them soggy.
- Place a piece of parchment paper between layers if stacking.
- They are best eaten within 1-2 days of baking. After that, they tend to lose their moistness and crisp edge.
For longer storage, you can freeze baked and cooled madeleines in an airtight container or freezer bag for up to 1 month. Thaw at room temperature and, if desired, warm gently in a low oven (around 300°F/150°C) for a few minutes to refresh them.
Serving Suggestions: Pairing Madeleines with Coffee, Tea, and More
The classic way to enjoy buttery madeleines is with a hot beverage.
- Coffee: A small espresso or a smooth drip coffee is a perfect companion. The bitterness of the coffee contrasts beautifully with the sweet, buttery richness of the madeleine.
- Tea: Dipping a madeleine into tea is a quintessential experience, famously described by Proust. Earl Grey, black tea, or even a floral herbal tea pair wonderfully. The madeleine softens slightly and absorbs the liquid without becoming mushy.
- Hot Chocolate: A warm cup of thick hot chocolate is a decadent pairing.
- Dessert: Serve them as a light dessert with fresh berries, a dollop of whipped cream, or alongside a fruit compote.
- Breakfast/Brunch: Enjoy them as a special treat with your morning coffee or as part of a brunch spread.
However you choose to serve them, enjoy the simple pleasure of your homemade buttery madeleines!
Elevate Your Baking: Beyond the Basic Buttery Madeleine
Once you've mastered the basic buttery madeleines recipe easy, you might want to explore variations and decorations to add your personal touch.
Experimenting with Flavors: Lemon, Orange, and Chocolate Madeleines
The base madeleine batter is very adaptable to different flavors. Citrus zests are the most common additions, as they complement the butteriness without overpowering it. As mentioned earlier, lemon and orange are popular choices. For lemon, try adding 1 teaspoon of zest per batch. For orange, 1.5 teaspoons works well.
Chocolate is another favorite. You can incorporate chocolate in a few ways:
- Cocoa Powder: Replace
2-3 tablespoonsof the flour with unsweetened cocoa powder. - Melted Chocolate: Fold in
1/4 cupof melted and slightly cooled dark or milk chocolate into the finished batter before chilling. - Chocolate Chips: Stir in
1/4 cupof mini chocolate chips into the batter.
Other flavors to consider include almond extract (a few drops), ground spices like cinnamon or nutmeg, or even a tablespoon of finely chopped nuts folded into the batter.
Glazing and Decorating Madeleines: Adding a Touch of Elegance
While delicious plain, glazing or decorating madeleines can add visual appeal and extra flavor.
- Powdered Sugar Dusting: The simplest decoration, achieved by sifting powdered sugar over cooled madeleines.
- Simple Glaze: Whisk together
1/2 cuppowdered sugar with1-2 tablespoonsof milk, lemon juice, or orange juice until smooth. Dip one side of the cooled madeleine into the glaze or drizzle it over them. Let the glaze set on a wire rack. - Chocolate Dip: Melt chocolate (tempered or compound coating chocolate) and dip one half or just the flat side of the madeleine. Place on parchment paper until set. You can then add sprinkles, chopped nuts, or a drizzle of contrasting chocolate.
- Candied Zest: For citrus madeleines, a sprinkle of finely chopped candied lemon or orange zest can be a beautiful garnish.
Decorating can turn your simple buttery madeleines into elegant treats perfect for gifting or special occasions.
Conclusion: Your Journey to Buttery Madeleines Mastery
You've now walked through the steps to create beautiful, buttery madeleines using a straightforward and easy recipe. From understanding their history and charm to mastering the technique for that signature hump and avoiding common issues, you have the knowledge to bake these French classics at home with confidence.
Remember, baking is also about practice and finding what works best in your kitchen. Don't be discouraged if your first batch isn't perfect. With this buttery madeleines recipe easy guide and a little patience, you'll soon be baking perfect madeleines every time.
Enjoy Baking and Sharing Your Delicious Creations
Baking is a joy, and sharing your creations makes it even better. Your homemade buttery madeleines are sure to impress friends and family. Pack them in a pretty box as a gift, serve them at your next gathering, or simply enjoy a quiet moment with one and a cup of tea. The process of baking them, from mixing the simple ingredients to seeing the humps rise in the oven, is incredibly rewarding.
So go ahead, gather your ingredients, preheat your oven, and start baking! You're well on your way to mastering the art of buttery madeleines with ease, bringing a little piece of French bakery magic into your own home. Happy baking from all of us at BakeWithEase!
Frequently Asked Questions
What makes this madeleine recipe "easy"?
This BakeWithEase recipe focuses on simplified steps and uses easy-to-find ingredients to ensure even beginner bakers can succeed. We break down the process into manageable chunks.
What is the key to achieving that signature "buttery" flavor in madeleines?
The secret lies in using high-quality butter and browning it slightly (beurre noisette) to enhance the rich, nutty flavor profile.
What type of madeleine pan is recommended for this recipe?
We recommend using a non-stick madeleine pan for easy release and to ensure the madeleines bake evenly. Silicone pans can also work.
How do I prevent my madeleines from sticking to the pan?
Generously grease the madeleine pan with melted butter and lightly dust it with flour before filling. This ensures a clean release after baking.
Can I customize this madeleine recipe with different flavors?
Absolutely! You can add lemon zest, orange zest, or a dash of vanilla extract to the batter for a unique twist. Experiment and have fun!
Final Reflection: The Enduring Allure of the Perfect Madeleine
The delicate crunch, the melt-in-your-mouth texture, the intoxicating aroma of browned butter – the perfect madeleine is more than just a recipe; it's an experience. This article aimed to demystify the seemingly complex process of creating these iconic little cakes, providing an easy-to-follow recipe that delivers exceptional results. In a world increasingly focused on convenience, the pursuit of culinary mastery, even in its simplest forms, remains a powerful and rewarding endeavor.
The enduring appeal of the madeleine lies not just in its deliciousness, but in its ability to evoke memories and connect us to a richer culinary past. It's a testament to the power of simple ingredients transformed by careful technique. The simplest things are often the most beautiful.
This sentiment perfectly captures the essence of the madeleine – a small cake with a profound impact. From family gatherings to quiet moments of self-care, the madeleine transcends its role as a mere dessert, becoming a symbol of comfort, tradition, and the joy of creating something beautiful with your own hands.
Now, I invite you to embrace the challenge. Don't be intimidated by the seemingly intricate process; instead, approach it with curiosity and a willingness to experiment. Try the recipe, adapt it to your own tastes, and share the joy of perfectly buttery madeleines with those you love. The journey of mastering this classic recipe is as rewarding as the delicious results, offering a chance to connect with your creativity and the timeless pleasure of baking. So, gather your ingredients, preheat your oven, and embark on your own madeleine adventure. The perfect buttery bite awaits.
Unleash Your Inner Pâtissier: Bake Perfect Madeleines Today!
Thanks for joining us on this delicious journey into the world of Madeleines! We hope you've gained the confidence and knowledge to create truly unforgettable treats. Ready to put your new skills to the test?
- Bake a batch of Madeleines using your newfound expertise! Experiment with different flavors and share your creations with loved ones.
- Share your baking journey! Post a picture of your Madeleines on social media and tag us – we'd love to see your results!
- Challenge yourself to try a unique variation, perhaps adding citrus zest or even a hint of spice. What unexpected flavor combination will you create?
What delightful twist will you add to your next batch of perfect Madeleines?