
Effortless Pain au Chocolat: Flaky Layers Made Simple

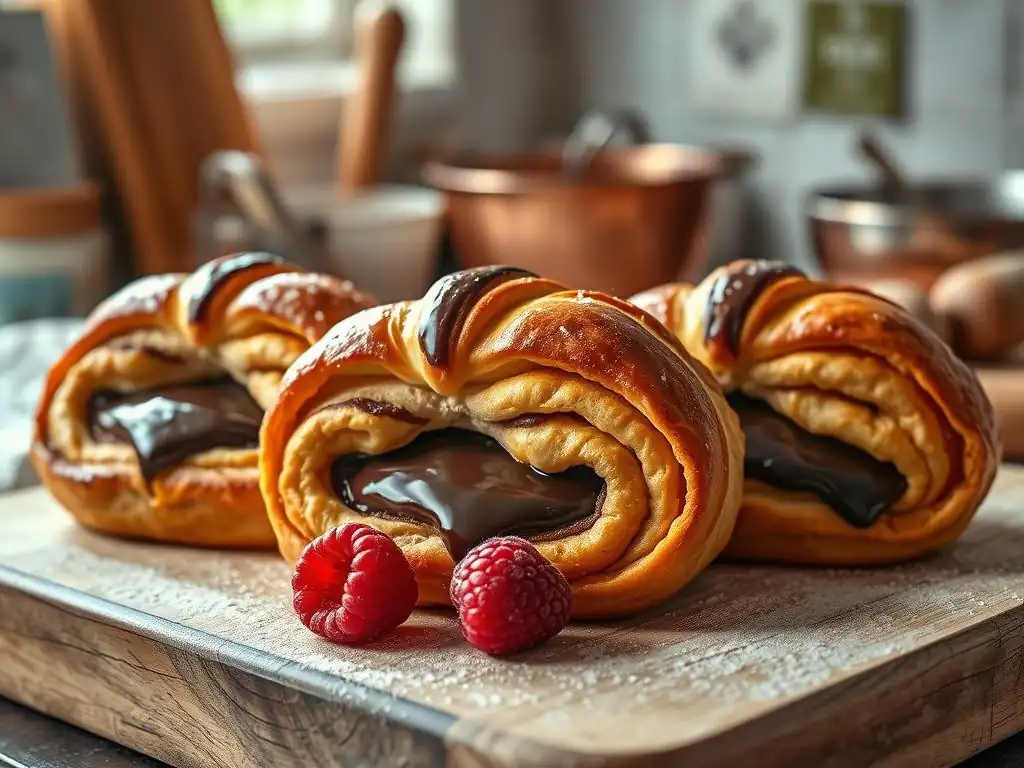
Welcome to BakeWithEase, your friendly guide to baking brilliance! Ever dreamt of crafting perfectly flaky, chocolate-filled pastries in your own kitchen? Get ready to turn that dream into reality. This week, we're diving into the delightful world of French baking with our Easy pain au chocolat recipe. Discover how to achieve those irresistible layers and rich chocolate flavor without the fuss. Intrigued? Let's unlock the secrets to authentic pain au chocolat... your taste buds will thank you!
- Homemade Pain au Chocolat: A Step-by-Step Guide to Flaky Perfection
- Introduction to Baking Pain au Chocolat at Home
- Mastering the Pain au Chocolat Recipe: A Detailed Guide
- Troubleshooting Your Pain au Chocolat
- Elevate Your Pain au Chocolat: Variations
- Conclusion: Baking Pain au Chocolat Successfully
- Frequently Asked Questions
- Final Reflection: The Sweet Simplicity of Effortless Baking
- Unleash Your Inner Pâtissier: Bake the Perfect Pain au Chocolat!
Homemade Pain au Chocolat: A Step-by-Step Guide to Flaky Perfection
Introduction to Baking Pain au Chocolat at Home
The Satisfaction of Homemade Pastries
There's a unique and profound satisfaction that comes from baking classic French pastries like pain au chocolat right in your own kitchen. Imagine the aroma filling your home as layers of buttery dough transform into golden, flaky perfection around rich, melted chocolate. It's an experience far removed from simply buying a pastry from a bakery, offering a tangible connection to the craft of baking. This sense of accomplishment, combined with the unparalleled freshness and quality of a warm, homemade treat, makes the effort truly rewarding.
Beyond the sensory pleasure, baking pain au chocolat at home allows you to control the ingredients, ensuring you use the finest butter, flour, and chocolate. While a single pain au chocolat might cost around $4-$6 at a high-end patisserie, making a batch at home significantly reduces the per-pastry cost, often to less than half that amount, depending on ingredient quality. However, the real value lies not just in savings, but in the superior taste and texture achieved through careful, homemade preparation – a crisp exterior giving way to tender, layered dough and pockets of warm, gooey chocolate.
Why This Pain au Chocolat Recipe is Achievable
Many home bakers shy away from laminated doughs like those used in croissants and pain au chocolat, perceiving them as overly complex or difficult. However, this easy pain au chocolat recipe breaks down the process into manageable steps, making it accessible even for those new to viennoiserie. We focus on clear instructions and practical tips to navigate the crucial stages, such as lamination, without requiring specialized equipment beyond a good rolling pin and some patience.
This guide simplifies the lamination process, often the most intimidating part, by emphasizing temperature control and proper technique rather than sheer speed or strength. We'll guide you through creating flaky layers with minimal stress, explaining the 'why' behind each step. While it does require time for chilling – a non-negotiable element for successful lamination – the active working time is spread out, making it a perfect weekend project. By following this easy pain au chocolat recipe, you'll build confidence and discover that creating these delightful pastries at home is not only possible but genuinely enjoyable.
Mastering the Pain au Chocolat Recipe: A Detailed Guide
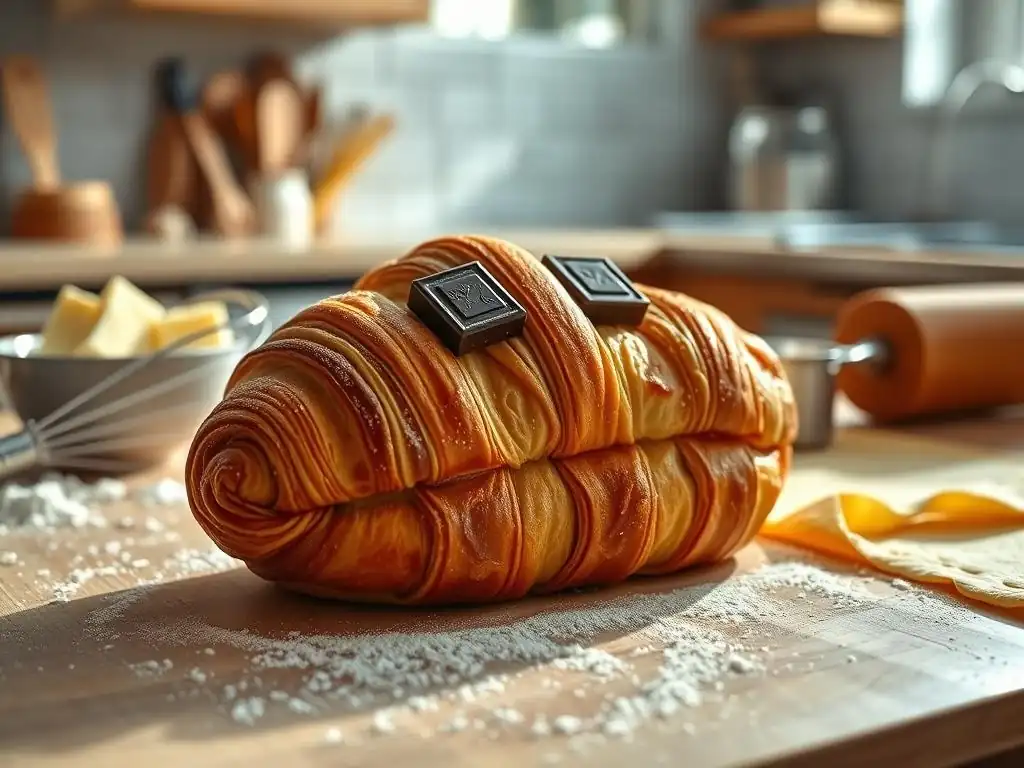
Gathering Your Ingredients: The Baker's Shopping List
Essential Ingredients for Authentic Pain au Chocolat
To embark on your journey to bake an easy pain au chocolat recipe, you'll need a few key ingredients. Quality truly makes a difference, especially when it comes to butter and chocolate.
- All-purpose flour (approximately 3-4 cups)
- Granulated sugar (a few tablespoons)
- Instant dry yeast (about 2 teaspoons, or equivalent active dry yeast)
- Fine sea salt (about 1 teaspoon)
- Milk (around 1 cup, lukewarm)
- Unsalted butter (specifically, high-fat butter with at least 82% fat content, about 1 cup or 2 sticks)
- Chocolate batons (Pain au chocolat chocolate sticks, about 12-16 sticks)
- Egg (1 large, for egg wash)
Preparing the Dough: The Foundation of Flaky Layers
Mixing the Dough: Achieving the Ideal Dough Texture
The first step in this easy pain au chocolat recipe is creating the base dough. Combine your flour, sugar, yeast, and salt in a large mixing bowl. Gradually add the lukewarm milk, mixing until a shaggy dough forms. The ideal temperature for the milk should be around 100-110°F (38-43°C) if using active dry yeast to ensure proper activation; instant yeast is more forgiving.
You can mix by hand or use a stand mixer fitted with a dough hook. Mix on low speed for about 5-7 minutes, or knead by hand for 10-12 minutes, until the dough is smooth and elastic but still slightly tacky. Avoid adding too much extra flour during kneading, as this can result in a tough pastry.
The dough should pass the "windowpane test," meaning you can stretch a small piece thinly enough to see light through it without tearing. This indicates sufficient gluten development. Once mixed, shape the dough into a rough rectangle, wrap it tightly in plastic wrap, and place it in the refrigerator.
Chilling the dough for at least 4-6 hours, or preferably overnight (8-12 hours), is crucial. This cold rest not only slows down the yeast activity, allowing flavors to develop, but also firms up the dough, making it much easier to handle during the lamination process, which is key to an easy pain au chocolat recipe outcome.
The Importance of the First Rise
While the primary rise for lamination doughs happens during proofing, an initial bulk fermentation, often done cold in the refrigerator, is vital. This slow, cold rise allows enzymes in the dough to break down complex carbohydrates into simpler sugars, enhancing flavor complexity. It also strengthens the gluten structure gradually, leading to a more extensible dough that can be rolled thinly without tearing.
A cold fermentation period of 8-12 hours at refrigerator temperature (around 38-40°F or 3-4°C) is highly recommended for this easy pain au chocolat recipe. This extended chilling isn't just about making lamination easier; it contributes significantly to the depth of flavor and the final texture of the pastry. Dough that has undergone a proper cold rest will be more manageable, less sticky, and will yield pastries with a richer taste and a beautifully crisp exterior after baking.
Lamination: Creating the Signature Layers
Preparing the Butter Block: Temperature and Consistency
Lamination is the process of creating alternating layers of dough and butter, which expand in the oven to form flaky layers. The key to successful lamination in this easy pain au chocolat recipe is the butter block. You need about 1 cup (2 sticks or 225g) of high-fat butter, preferably around 82% fat content, as it's more pliable and less likely to squeeze out during rolling. Shape the cold butter into a flat rectangle, roughly 6x8 inches (15x20 cm), by pounding it with a rolling pin or rolling it between two sheets of parchment paper.
The temperature of the butter is critical. It should be pliable enough to bend without breaking but cold enough that it doesn't melt into the dough. The ideal temperature range is typically between 50-55°F (10-13°C). If it's too cold, it will break; if it's too warm, it will melt. You can achieve this by taking the butter out of the fridge about 30-60 minutes before you need it, depending on your room temperature. The butter block should be roughly one-third the size of your rolled-out dough rectangle when you enclose it.
Folding Techniques: The Key to Lamination
Once your dough is rolled out into a rectangle (approximately 12x18 inches or 30x45 cm) and the butter block is placed on one half, you'll fold the other half of the dough over the butter to completely enclose it. Seal the edges firmly. Now begins the folding process, often referred to as "turns." For this easy pain au chocolat recipe, we will perform a series of simple folds with chilling in between.
A common method is the "single fold": roll the dough rectangle out to about 8x24 inches (20x60 cm), then fold one end two-thirds of the way down the dough, and fold the remaining one-third over the first fold, like folding a letter. This creates three layers of dough and two layers of butter. Wrap the dough tightly and refrigerate for at least 30-60 minutes.
Repeat this roll-and-fold process two more times, for a total of three single folds. Each fold doubles or triples the number of layers, building the structure needed for flakiness. Three single folds result in 27 layers of dough and 26 layers of butter, a good number for achieving beautiful layers in an easy pain au chocolat recipe.
Chill Time: Essential for Crisp Layers
Chilling the dough between each fold is non-negotiable and absolutely essential for success in this easy pain au chocolat recipe. After each turn (roll and fold), the dough needs to rest in the refrigerator for at least 30-60 minutes. This chilling period allows the gluten to relax, making the dough easier to roll again without shrinking back excessively. More importantly, it keeps the butter layers cold and solid.
If the butter warms up, it will melt into the dough instead of remaining as distinct layers. This is the primary reason for tough or non-flaky pastries. Ensure the dough is well-wrapped before chilling to prevent it from drying out. The total chilling time throughout the lamination process (including the initial chill) might add up to several hours, but this passive time is critical for developing those coveted flaky layers. Don't rush this step; patience is a baker's best friend here.
Shaping and Proofing Your Pain au Chocolat
Cutting the Dough: Precise Cuts for Uniform Shape
After the final fold and chilling period, the dough is ready for shaping. Roll the laminated dough into a rectangle, about 1/8 inch (3-4 mm) thick. The dimensions will depend on how many pastries you want to make; a rectangle roughly 10x20 inches (25x50 cm) is a good starting point for about 8-10 pastries. Use a sharp knife or a pizza cutter to trim the edges so they are straight – this helps the layers puff up evenly.
Now, cut the rectangle into strips. For traditional pain au chocolat, strips are typically about 3-4 inches (8-10 cm) wide. Uniformity in cutting is important for consistent baking. If you want larger or smaller pastries, adjust the width of your strips accordingly. A standard batch using 1 cup of butter and about 3.5 cups of flour should yield approximately 8-12 pastries, depending on your chosen size. Make clean, decisive cuts to avoid squashing the layers.
Adding the Chocolate: Selecting Quality Chocolate Batons
The star of the pain au chocolat, besides the flaky dough, is the chocolate. You need special baking chocolate sticks, often called batons de chocolat or chocolate batons. These are designed to withstand baking temperatures without completely melting or burning. Look for batons made with good quality dark or semi-sweet chocolate, typically with a cocoa content between 50% and 60%. Avoid using chocolate chips, as they contain stabilizers that prevent them from melting smoothly.
Place one or two chocolate batons at one end of each dough strip. The number of batons is a matter of preference – one creates a classic shape with chocolate in the center, while two placed side-by-side offer a more generous chocolate filling. Roll the dough strip tightly around the batons, ensuring the seam is on the bottom. Gently stretch the dough slightly as you roll to get a snug fit around the chocolate.
The Final Proof: Achieving Optimal Rise
Proofing is the final rise before baking, where the shaped pastries increase significantly in size and the layers begin to separate. This is a critical step for achieving a light, airy interior. Place the shaped pain au chocolat on baking sheets lined with parchment paper, leaving ample space between them (they will double in size). Cover them loosely with plastic wrap or a light kitchen towel.
The ideal proofing environment is warm and humid, typically around 75-80°F (24-27°C). Avoid proofing in a hot, drafty place, as this can melt the butter. Proofing time will vary depending on the temperature, but it usually takes 2-3 hours. The pastries are ready when they look puffy, jiggly when gently shaken, and the layers are visible and slightly separated, but they should not have fully doubled in size (over-proofing can cause the butter to leak during baking). A gentle poke should leave a slight indentation that slowly springs back.
Baking Your Pain au Chocolat to Golden Perfection
Oven Temperature and Baking Time: Achieving the Perfect Bake
Baking is where the magic happens, transforming the proofed dough into golden, flaky pastries. Preheat your oven to a relatively high temperature, typically 400°F (200°C). This initial high heat helps create steam from the butter and dough, which forces the layers apart rapidly, resulting in maximum flakiness. Once the pastries are placed in the oven, some bakers reduce the temperature slightly, perhaps to 375°F (190°C), after the first 5-10 minutes to ensure they bake through evenly without burning the exterior.
Bake the pain au chocolat for approximately 15-20 minutes. The exact time will depend on your oven and the size of your pastries. They are done when they are deeply golden brown all over, including the bottoms. If they brown too quickly on top, you can loosely tent them with foil. Properly baked pain au chocolat should feel light and airy. Baking at the correct temperature for the right duration is key to ensuring the butter melts and creates steam without leaking out prematurely, achieving that perfect flaky texture inherent in an easy pain au chocolat recipe.
Achieving a Golden-Brown Crust: The Egg Wash Secret
For that signature glossy, golden-brown finish on your pain au chocolat, an egg wash is essential. Prepare the egg wash by whisking one large egg with a tablespoon of milk or water. Gently brush the tops and sides of the proofed pastries with a thin, even layer of this mixture just before placing them in the oven. Be careful not to let the egg wash pool between the layers, as this can glue them together and inhibit flaking.
The protein in the egg and the sugar in the milk/water mixture caramelize during baking, giving the pastries a beautiful color and a slight sheen. Applying the egg wash just before baking ensures it doesn't dry out or create a skin during proofing. This simple step elevates the visual appeal of your homemade pain au chocolat, making them look as professional as they taste, a delightful outcome for anyone attempting an easy pain au chocolat recipe.
Cooling and Enjoying Your Homemade Pain au Chocolat
Cooling Techniques: Maintaining Texture
Once your pain au chocolat emerge from the oven, golden and fragrant, it's tempting to dive in immediately. However, allowing them to cool properly is crucial for the best texture. Transfer the baked pastries from the hot baking sheet to a wire cooling rack immediately. This prevents the bottoms from becoming soggy from residual heat and steam.
Allow them to cool for at least 15-20 minutes before serving. During this time, the internal structure sets, the chocolate cools slightly (though still wonderfully gooey), and the layers crisp up further. While they are undeniably delicious warm, allowing them to cool slightly ensures the butter layers firm up just enough to maintain their definition when bitten into, providing that satisfying shatter and tender interior.
Serving Suggestions and Storage Tips: Freshness and Enjoyment
Homemade pain au chocolat are best enjoyed fresh, ideally within a few hours of baking. Serve them warm or at room temperature alongside a cup of coffee or tea for a classic French breakfast or afternoon treat. The combination of crisp pastry and warm chocolate is simply divine.
If you have leftovers, store them in an airtight container at room temperature for up to 1-2 days. To refresh them, you can gently warm them in a preheated oven at 300°F (150°C) for 5-10 minutes. Avoid microwaving, as this can make them chewy. For longer storage, baked pain au chocolat can be frozen for up to a month. Thaw them at room temperature and reheat in the oven. Freezing unbaked, shaped pastries (before the final proof) is also an option; thaw overnight in the fridge and then proof and bake as directed.
Troubleshooting Your Pain au Chocolat
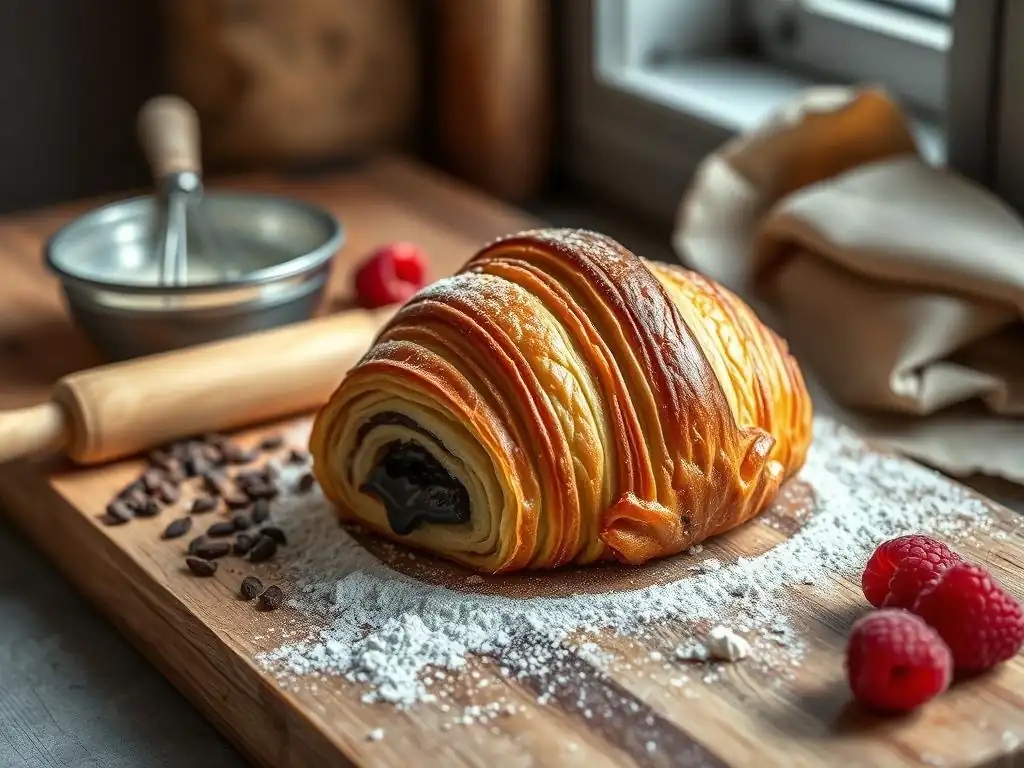
Common Baking Problems and Solutions
Baking laminated dough can sometimes present challenges, but don't be discouraged! Most issues have simple solutions. Understanding common problems will help you troubleshoot your easy pain au chocolat recipe attempts.
- Problem: Dough too sticky during rolling.
- Solution: This often means the dough or your workspace is too warm, or you're not using enough flour on your surface. Ensure your dough is well-chilled (at least 30-60 minutes in the fridge). Work quickly and use a light dusting of flour on your counter and rolling pin. Excessive flour can make the dough tough, so use just enough to prevent sticking. A marble or granite surface can also help keep the dough cool.
- Problem: Butter leaking out during rolling or baking.
- Solution: Leaking butter during rolling usually indicates the butter block is too hard (it breaks through the dough) or the dough isn't extensible enough (you're forcing it). Ensure your butter block is pliable (around 50-55°F). If the dough is resisting, let it rest in the fridge for 15-20 minutes to relax the gluten before continuing. Leaking butter during baking is often due to the oven not being hot enough initially (the butter melts before the structure sets) or the pastries being over-proofed (the layers are too far apart to contain the melting butter). Ensure your oven is accurately preheated to the specified temperature (400°F/200°C) and monitor proofing carefully.
Dough Too Sticky? Solutions for Handling
Sticky dough is a common hurdle when working with enriched doughs, especially those with butter added early or requiring extensive handling like this easy pain au chocolat recipe. The primary culprit is often temperature; warmer dough is stickier dough. Ensure your initial dough mix isn't too wet – the hydration level needs to be right for the flour you're using, aiming for slightly tacky, not excessively sticky.
If you find the dough sticking while rolling, the best immediate solution is chilling. Wrap the dough and place it back in the refrigerator for 20-30 minutes to firm up. When rolling, use only minimal flour on your work surface and rolling pin – just enough to prevent sticking. Too much flour will be incorporated into the dough, making it dry and tough. Working on a cool surface, like granite or marble, can also help maintain a lower temperature, reducing stickiness and making the dough easier to handle.
Butter Leaking During Baking? Preventing Butter Runoff
Butter leaking out of your pain au chocolat during baking means the delicate balance between dough structure, butter consistency, and oven temperature was off. This is often the most disheartening issue. One major cause is insufficient chilling throughout the lamination process; if the butter isn't cold and firm when the pastries go into the oven, it will melt and run out before the dough layers have set. Ensure you adhere strictly to the chilling times between folds and after shaping.
Another common reason is an oven that isn't hot enough or wasn't fully preheated. A hot oven (like the recommended 400°F/200°C) creates immediate steam from the butter and moisture in the dough, which helps puff the layers up before the butter completely melts. If the oven is too cool, the butter melts slowly and has more time to escape. Over-proofing can also contribute, as the layers might separate too much, leaving gaps for butter to leak. Ensure your proofed pastries are puffy and jiggle slightly, but aren't fully doubled or excessively airy.
Pain au Chocolat Not Flaky Enough? Achieving Lamination Success
Lack of flakiness in your pain au chocolat typically points back to issues during lamination. This could be due to several factors. Firstly, if the butter melted into the dough during folding (because it was too warm, or you took too long), you won't have distinct layers of butter and dough. This is why keeping everything cold – the dough, the butter block, and your workspace – is paramount. Use high-fat butter (82%+) as it's more pliable when cold and less likely to melt prematurely.
Secondly, insufficient folds or improper folding technique can result in fewer or uneven layers. This easy pain au chocolat recipe suggests three single folds for a good balance of flakiness and manageability for home bakers. Ensure each fold is neat and the edges are sealed. Thirdly, not resting the dough sufficiently between folds prevents the gluten from relaxing, making the dough resistant to rolling and potentially leading to uneven layer development. Finally, baking temperature is key; if the oven isn't hot enough, the steam won't lift the layers properly.
Elevate Your Pain au Chocolat: Variations
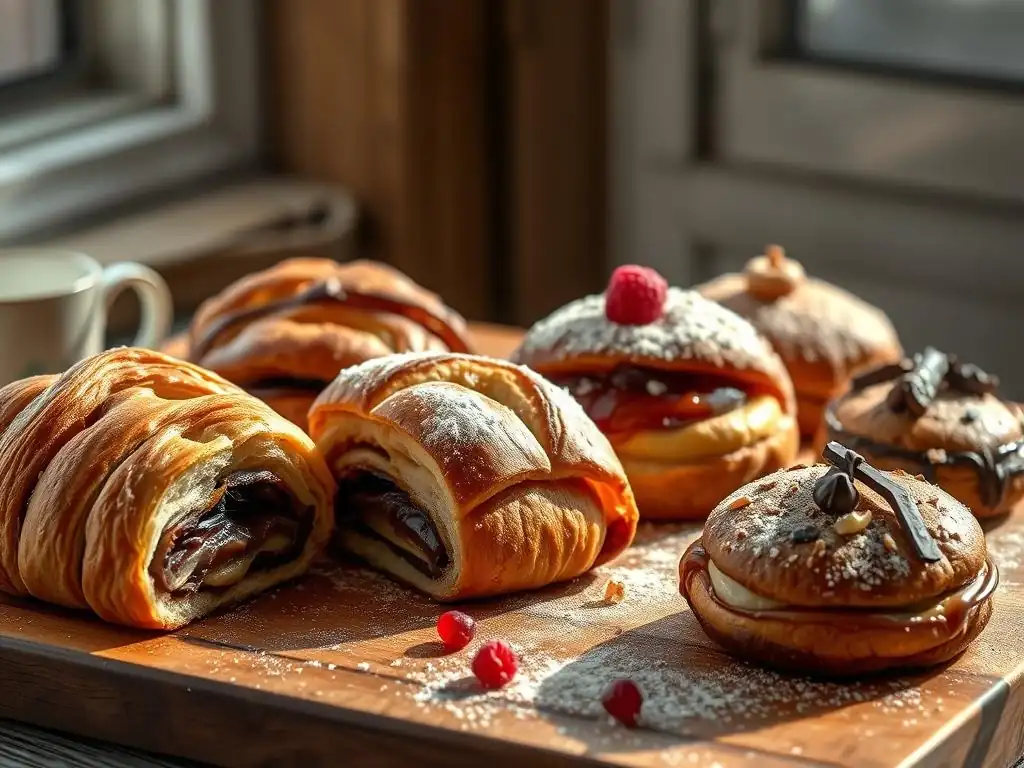
Exploring Different Chocolate Types
While traditional pain au chocolat uses batons de chocolat, you're not strictly limited when making an easy pain au chocolat recipe at home. The classic choice is a semi-sweet or dark chocolate baton, offering a pleasant contrast to the buttery pastry. A cocoa content of 50-60% provides a good balance – not too bitter, not too sweet. Using high-quality chocolate makes a noticeable difference in flavor.
However, feel free to experiment! For a sweeter pastry, you could try milk chocolate batons, keeping in mind they melt more readily, so temperature control during baking is even more important. White chocolate batons offer a creamy, rich alternative, though they lack the classic chocolate flavor. You could even use chopped high-quality chocolate bars if batons are unavailable, aiming for pieces roughly baton-sized. Consider using chocolate with varying cocoa percentages in different batches to find your personal favorite.
Adding Flavors: Almond Extract or Orange Zest
Beyond the chocolate, you can subtly enhance the flavor profile of your easy pain au chocolat recipe. A common and delightful addition is almond flavor. A few drops of pure almond extract can be added to the dough during the initial mixing phase. Almond pairs beautifully with both butter and chocolate, adding a layer of complexity without overpowering the classic taste. Start with just 1/4 to 1/2 teaspoon for a subtle hint.
Another wonderful flavor pairing with chocolate is orange. Finely grated zest from half an orange can be added to the dough along with the dry ingredients. The oils in the zest infuse the dough with a bright, citrusy aroma and flavor that complements the rich chocolate filling. Just like with almond extract, use it sparingly to avoid it becoming the dominant flavor. These small additions can transform a standard pain au chocolat into a unique treat.
Conclusion: Baking Pain au Chocolat Successfully
Recap: Your Guide to Perfect Pain au Chocolat
You've now walked through the steps for creating a truly delightful homemade pain au chocolat. This easy pain au chocolat recipe, while requiring patience for chilling, breaks down the potentially intimidating process into manageable stages: mixing a simple dough, creating a pliable butter block, executing careful folds with essential rest periods, shaping around quality chocolate batons, allowing for a proper final proof, and baking at the correct temperature for a golden finish.
Remember the key takeaways: use high-fat butter, keep everything cold during lamination, be precise with your cuts and shaping, give the pastries ample time to proof in a warm, humid environment, and bake in a hot oven. Troubleshooting common issues like sticky dough or butter leakage involves revisiting these fundamentals – temperature control and proper technique. With practice, each batch will get easier, and you'll soon be producing flaky, buttery pain au chocolat that rival your favorite bakery.
Baking is often a labor of love, and sharing the fruits of your labor is one of the greatest joys. Your homemade pain au chocolat, made using this easy pain au chocolat recipe, are sure to impress friends and family. The pride you feel presenting a plate of warm, flaky pastries you made yourself is immense.
We encourage you to share your baking journey and results! Take photos of your golden pain au chocolat and share them. Describe your experience with the lamination process or how you tackled the proofing stage. Connecting with other home bakers and sharing tips and successes makes the baking community vibrant and supportive. Enjoy the process, savor the results, and celebrate your achievement in mastering this classic French pastry!
Frequently Asked Questions
What makes this pain au chocolat recipe "easy"?
This recipe simplifies the process by using store-bought puff pastry, eliminating the need to make it from scratch. It focuses on simple assembly and baking techniques.
Can I use a different type of chocolate for the filling?
Yes, you can! While dark chocolate batons are traditional, feel free to use milk chocolate, semi-sweet chocolate, or even chocolate chips.
How do I ensure the puff pastry is flaky?
Keep the puff pastry cold throughout the process. Avoid overworking the dough, and ensure your oven is properly preheated for optimal rise.
What if I don't have egg wash? Can I skip it?
Egg wash provides a glossy, golden-brown finish. While you can technically skip it, the pain au chocolat won't have the same visual appeal. You can substitute with milk or cream for a similar effect.
How should I store leftover pain au chocolat?
Store leftover pain au chocolat in an airtight container at room temperature. They are best enjoyed fresh, but can be reheated briefly in a warm oven to restore some crispness.
Final Reflection: The Sweet Simplicity of Effortless Baking
The pursuit of perfect pain au chocolat shouldn't be a Herculean task. This recipe, designed for ease and accessibility, proves that achieving flaky, delicious results is within everyone's reach, regardless of baking experience. The joy of creating something beautiful and delicious shouldn't be reserved for culinary experts; it's a pleasure meant to be shared.
The enduring appeal of pain au chocolat lies not just in its exquisite taste, but in the comforting ritual of baking itself. It's a process that connects us to traditions, to simpler times, and to the satisfaction of creating something beautiful with our own hands. Baking is at once child's play and adult joy. And love, of course.
This quote perfectly encapsulates the experience of making these pastries, a blend of simple techniques and immense reward.
Now, I invite you to embrace the simplicity of this recipe. Don't be intimidated by the seemingly complex layers; let this guide empower you to create your own batch of effortlessly delicious pain au chocolat. Share the joy of baking with friends and family, and savor the sweet reward of your labor. The journey, as much as the destination, is a testament to the power of simple pleasures and the magic found in the kitchen.
Unleash Your Inner Pâtissier: Bake the Perfect Pain au Chocolat!
Thanks for joining us on this delicious journey into the world of flaky, chocolatey goodness! We hope you now feel confident tackling even the most seemingly complex pastries. Ready to take your baking skills to the next level?
- Master the art of the perfect Pain au Chocolat: Use our detailed recipe and tips to bake a batch that will impress even the most discerning palates. This is your chance to finally conquer this classic!
- Share your baking triumph: Snap a picture of your masterpiece and tag us on social media – we’d love to see your creations!
- Explore other delightful recipes: Dive into our extensive library of easy-to-follow recipes and unlock a world of baking possibilities.
So, what delicious adventure awaits you in the BakeWithEase kitchen next?