
Mastering Fluffy Polish Pączki: A StepbyStep Guide

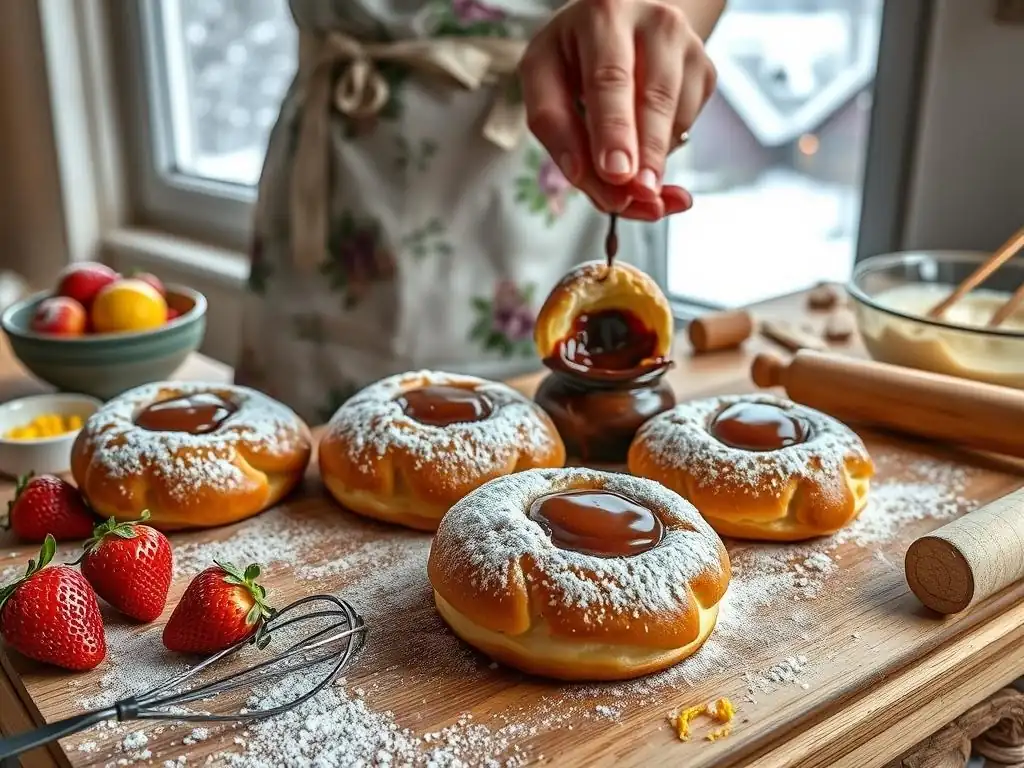
Welcome to BakeWithEase, your kitchen companion on a journey to baking brilliance! Ever dreamt of creating pillowy, melt-in-your-mouth pastries that transport you to another world? Today, we're diving into the heart of Polish culinary tradition with our Easy Polish Pączki recipe. Curious how to achieve that perfect golden crust and a light, airy interior? Read on to unlock the secrets and bring the taste of Poland to your table!
- Mastering Authentic Polish Pączki: A Step-by-Step Guide
- Introduction to Baking Traditional Polish Pączki at Home
- Gathering Your Ingredients for Perfect Pączki
- Step 1: Preparing the Pączki Dough - The Foundation for Lightness
- Step 2: Shaping the Pączki - Achieving Uniform Doughnuts
- Step 3: The Second Rise - Maximizing Airiness
- Step 4: Frying the Pączki - Achieving a Golden Ring
- Step 5: Filling the Pączki - Adding Sweetness and Flavor
- Step 6: Glazing or Dusting - The Final Touch
- Tips for Baking the Best Homemade Pączki
- Variations on the Classic Pączki Recipe
- Enjoying Your Homemade Authentic Polish Pączki
- Frequently Asked Questions
- Final Reflection: The Sweetness of Tradition, the Joy of Creation
- Unleash Your Inner Pączki Pro!
Mastering Authentic Polish Pączki: A Step-by-Step Guide
Introduction to Baking Traditional Polish Pączki at Home
What are Pączki and Their Cultural Significance?
Pączki (pronounced "poonch-kee") are traditional Polish doughnuts, often described as decadent, deep-fried rounds of enriched dough, typically filled with jam or other sweet fillings. Unlike standard doughnuts, pączki are made from a very rich dough containing eggs, milk, butter, and often a touch of spirits like rum or vodka, which is believed to prevent the dough from absorbing too much oil during frying.
These delightful treats hold a special place in Polish culture, especially around Fat Thursday (Tłusty Czwartek), the last Thursday before Lent. On this day, Poles traditionally indulge in pączki to use up rich ingredients like butter and sugar before the Lenten fasting period begins.
The consumption of pączki on Fat Thursday is a widespread tradition, with bakeries across Poland selling millions of these pastries. Families often make them at home, filling kitchens with the sweet aroma of frying dough. While the classic filling is rose hip jam, variations abound, including plum jam, sweet cheese, or even pudding. This tradition is not just about enjoying a sweet treat; it's a cultural marker, a communal celebration of abundance before a period of austerity. Mastering an easy Polish Pączki recipe allows you to bring a piece of this cherished tradition into your own home kitchen.
Achieving Bakery-Quality Pączki: A Detailed Guide
Creating pączki that rival those from a Polish bakery might seem daunting, but with attention to detail and following specific techniques, it's entirely achievable for home bakers. The key lies in understanding the science behind the dough and the frying process. Bakery-quality pączki are known for their incredibly light and airy texture, a result of proper dough development and two crucial rises. They also possess a characteristic pale "ring" around the middle, which indicates the perfect oil temperature and dough consistency.
This guide breaks down the process into manageable steps, focusing on the nuances that elevate homemade pączki from good to exceptional. We'll cover everything from activating the yeast correctly to maintaining the ideal frying temperature, ensuring your dough develops the necessary gluten for structure while remaining tender and rich. By paying close attention to timings and visual cues, you'll be well on your way to producing fluffy, flavorful pączki that are a true taste of Poland. This easy Polish Pączki recipe is designed to demystify the process and empower you to bake with confidence.
Gathering Your Ingredients for Perfect Pączki
Key Ingredients: Flour, Yeast, and Richness
The foundation of a great pączek is its dough, and this starts with selecting the right ingredients. For the best results, use a high-quality bread flour or all-purpose flour with a protein content around 12-13%. This higher protein helps develop the gluten necessary for structure and elasticity, allowing the dough to rise beautifully and hold its shape during frying.
Active dry yeast or instant yeast are both suitable; ensure your yeast is fresh, as dormant yeast will result in flat, dense pączki. Typically, a standard recipe using about 500g of flour might call for 7-10g of active dry yeast or 5-7g of instant yeast.
The richness comes from eggs, milk, and butter. Whole milk adds moisture and helps create a tender crumb. Eggs contribute richness, color, and structure. Unsalted butter adds flavor and tenderness. Using these ingredients at room temperature is crucial for smooth incorporation and optimal yeast activity. A touch of sugar not only sweetens the dough but also feeds the yeast. Sometimes, a small amount of a high-proof spirit like rum or vodka is added, traditionally believed to reduce oil absorption during frying, though its primary role might be debated, it's a classic inclusion.
Essential Baking Tools: Thermometer, Deep Fryer, and More
Having the right tools makes the pączki-making process much smoother and helps ensure consistent results. A stand mixer with a dough hook is highly recommended for efficiently kneading the rich dough to the proper development stage, though kneading by hand is also possible with more effort. Accurate measurement is key, so digital scales for weighing flour and other ingredients are invaluable; measuring by volume can be inconsistent.
For frying, a heavy-bottomed pot or a deep fryer is essential. A Dutch oven works well on the stovetop, providing even heat distribution. Crucially, you will need a reliable thermometer, specifically a deep-fry or candy thermometer, to monitor the oil temperature precisely.
Maintaining the oil at the correct temperature (around 350°F or 175°C) is critical for achieving the perfect golden color and ensuring the pączki cook through without becoming greasy or burning. Other helpful tools include parchment paper (for resting the shaped dough), a slotted spoon or spider for carefully placing and removing pączki from the oil, and wire racks set over paper towels for draining.
Step 1: Preparing the Pączki Dough - The Foundation for Lightness
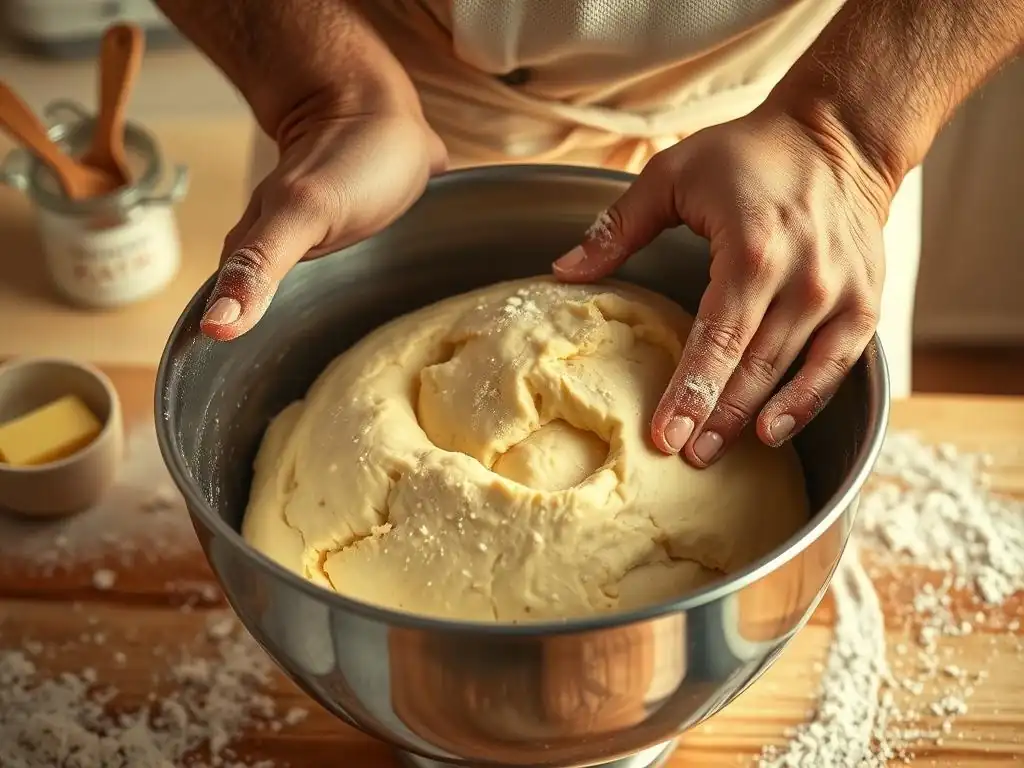
Activating the Yeast with Warm Milk and Sugar
The first step in this easy Polish Pączki recipe is ensuring your yeast is active and ready to work. Begin by warming your milk to a temperature between 105°F and 115°F (40°C to 46°C). This temperature range is ideal for activating yeast; too cold and it won't wake up, too hot and you risk killing it. Pour the warm milk into a bowl, stir in a teaspoon or two of sugar (from the total recipe amount), and then sprinkle the yeast over the top.
Let this mixture sit undisturbed for about 5-10 minutes. You should see a foamy layer develop on the surface, indicating that the yeast is active and healthy. If no foam appears after 10-15 minutes, your yeast may be expired or the milk temperature was incorrect, and you'll need to start this step over with fresh yeast. This blooming step is particularly important for active dry yeast; instant yeast can often be mixed directly with dry ingredients, but blooming it first provides an extra layer of confidence.
Combining the Wet and Dry Ingredients for a Smooth Dough
Once your yeast is active, it's time to bring everything together. In a large mixing bowl (or the bowl of your stand mixer), combine the flour, remaining sugar, and salt. Make a well in the center of the dry ingredients. Pour the activated yeast mixture into the well. Add the softened butter, eggs (lightly beaten), and any optional spirits like rum or vodka at this stage.
Using the dough hook on a stand mixer (or a sturdy spoon if mixing by hand), begin mixing the ingredients on a low speed. Continue mixing until a shaggy dough starts to form and pull away from the sides of the bowl. Don't worry if the dough seems a bit sticky at this point; the next step, kneading, will develop the gluten and improve the texture. This initial combining ensures all ingredients are roughly incorporated before the intensive kneading begins.
Kneading the Dough: Developing Gluten for Structure
Kneading is a critical step in developing the gluten network in the dough, which is essential for the pączki's structure and ability to rise high and maintain a light, airy texture. If using a stand mixer, attach the dough hook and knead the dough on medium speed for about 8-12 minutes.
The dough should become smooth, elastic, and pull cleanly away from the sides of the bowl. You can test for proper gluten development by performing the "windowpane test": pinch a small piece of dough and gently stretch it; if you can stretch it thin enough to see light through it without tearing, the gluten is well-developed.
If kneading by hand, turn the dough out onto a lightly floured surface. Knead by pushing the dough away from you with the heels of your hands, folding it back onto itself, and repeating. This will take longer than machine kneading, likely 15-20 minutes, requiring patience and effort. Resist the urge to add too much extra flour if the dough is sticky; a slightly sticky dough is preferable to a dry one. Continue kneading until the dough is smooth, elastic, and passes the windowpane test.
First Rise: Creating Flavor and Volume
After kneading, the dough needs time to ferment and rise, which develops flavor and increases its volume. Lightly grease a clean large bowl with a neutral oil or melted butter. Place the dough ball in the bowl, turning it to coat all sides. Cover the bowl tightly with plastic wrap or a damp kitchen towel to prevent the dough from drying out.
Place the covered bowl in a warm, draft-free spot. An oven with just the light on (creating a gentle warmth) is an excellent place. Let the dough rise until it has roughly doubled in size. The exact time will vary depending on the ambient temperature and the vitality of your yeast, but it typically takes between 1 to 1.5 hours. This first rise is crucial for producing light, flavorful pączki, so be patient and allow the dough ample time to develop.
Step 2: Shaping the Pączki - Achieving Uniform Doughnuts
Punching Down the Dough and Releasing Air
Once the dough has doubled in size during the first rise, it's time to gently deflate it. This step, often called punching down, redistributes the yeast and air bubbles, equalizes the temperature throughout the dough, and makes it easier to handle for shaping. Lightly flour your hands and gently press them into the center of the dough. Fold the edges of the dough towards the center to collapse the structure.
Turn the dough out onto a lightly floured work surface. At this point, the dough should be smooth and elastic, a pleasure to work with. Avoid being too rough; the goal is to deflate it, not to overwork it again. A gentle punch and fold is usually sufficient. This prepares the dough for the next step: dividing it into individual portions for each pączek.
Dividing the Dough into Equal 75g Portions
For uniform pączki that fry evenly and look professional, it's best to divide the dough into equal portions by weight. Using a kitchen scale, weigh the entire mass of dough. Then, calculate the weight of each individual pączek. A common size for traditional pączki is around 70-80 grams per piece; let's aim for 75g for this easy Polish Pączki recipe. Divide the total dough weight by 75 to determine how many pączki you will get.
Use a bench scraper or knife to cut the dough into the calculated number of pieces, aiming for approximately 75g each. Weigh each piece and adjust as needed by adding or removing small bits of dough to ensure consistency. This precision helps prevent some pączki from being undercooked while others burn during frying, as they will all require roughly the same frying time.
Rounding and Shaping Each Pączek into a Smooth Ball
After dividing the dough, each portion needs to be shaped into a smooth, taut ball. This shaping creates surface tension, which helps the pączek hold its shape and rise upwards during the second proof and frying, contributing to the desirable pale ring. To shape, take one portion of dough and gently pull the edges underneath towards the center, creating a smooth top surface.
Once the edges are gathered underneath, place the dough ball on your work surface with the smooth side up. Cup your hand around the dough and, using a gentle circular motion, roll the dough against the counter. Apply just enough pressure to create tension on the surface without tearing it. Continue rolling until you have a perfectly round, smooth ball. Repeat this process for all the dough portions.
Step 3: The Second Rise - Maximizing Airiness
Arranging the Shaped Pączki on Parchment-Lined Trays
After shaping, the pączki need a second rise, also known as proofing. This rise is shorter than the first but equally important for developing a light and airy texture. Prepare baking trays by lining them with parchment paper. This prevents the delicate dough balls from sticking to the tray after rising.
Carefully place the shaped pączki on the prepared trays, leaving ample space between each one. Remember, they will expand significantly during this rise and again during frying. Allowing enough space prevents them from touching and sticking together, which could deform their shape and prevent the formation of that desirable pale ring. About 2-3 inches (5-7 cm) of space between each pączek is usually sufficient.
Monitoring the Rise: Aiming for Doubled Size
Cover the trays loosely with plastic wrap or a light kitchen towel to prevent the pączki from drying out. Place the trays in a warm, draft-free environment for their second rise. Again, a slightly warm oven with the light on is a good option. This second proof typically takes less time than the first, often around 30-45 minutes, depending on the temperature.
Monitor the pączki closely. They should become visibly puffier and almost double in size. They should look light and airy, not dense. To check if they are ready, gently press a finger into one; if the indentation springs back slowly or only partially, they are perfectly proofed and ready for frying. If the indentation springs back immediately, they need a little more time. If it stays completely indented and doesn't spring back, they might be slightly over-proofed, but can often still be fried successfully.
Step 4: Frying the Pączki - Achieving a Golden Ring
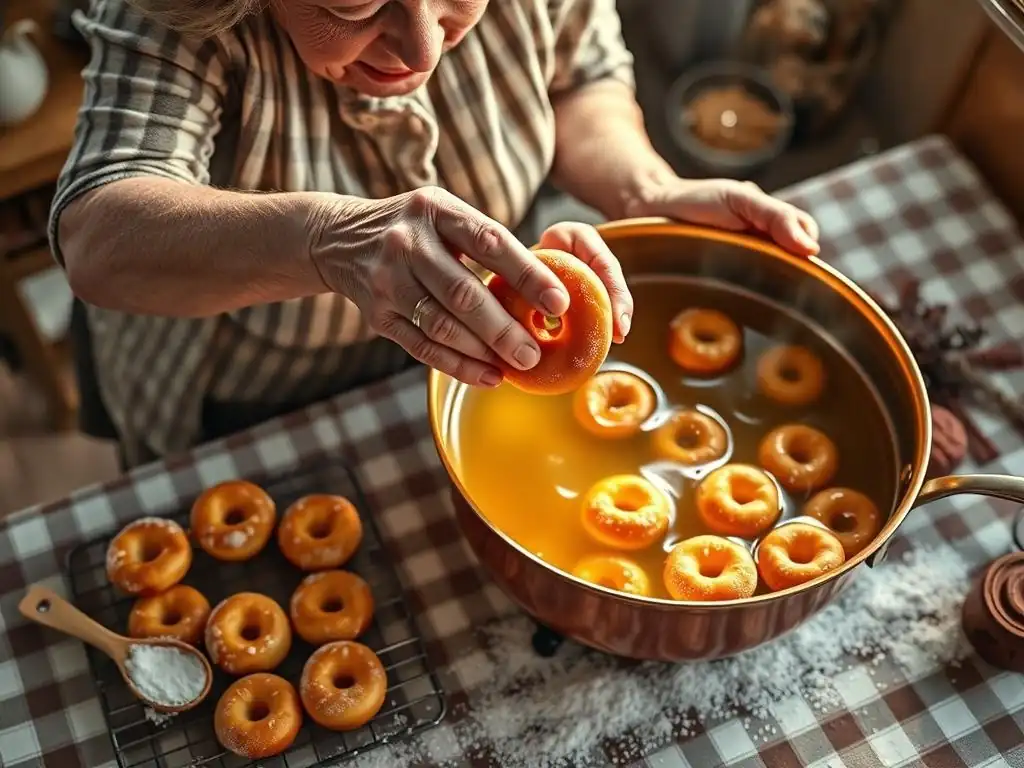
Preparing the Frying Oil: Lard or Vegetable Oil
Choosing the right frying medium is crucial for achieving the classic pączki texture and flavor. Traditionally, pączki were often fried in lard, which imparts a unique richness and achieves a beautiful golden color. However, high-quality vegetable oils with a high smoke point, such as canola, sunflower, or peanut oil, are also excellent choices and are more commonly used today. Avoid olive oil or butter, which have low smoke points and will burn at frying temperatures.
You will need enough oil to allow the pączki to float and cook without touching the bottom of the pot. For a standard Dutch oven, this might mean using 2-3 quarts (approx. 2-3 liters) of oil, resulting in a depth of at least 2-3 inches. Pour the oil into your heavy-bottomed pot or deep fryer and heat it gradually over medium heat.
Maintaining the Correct Oil Temperature: 350°F (175°C)
This is perhaps the most critical step for perfect pączki. The oil temperature must be precise and maintained consistently throughout the frying process. Heat the oil to 350°F (175°C). Use a deep-fry or candy thermometer clipped to the side of the pot to monitor the temperature constantly. If the oil is too cool, the pączki will absorb too much oil and become greasy and heavy. If it's too hot, the outside will brown too quickly, while the inside remains raw dough.
Once the oil reaches 350°F, carefully lift the proofed pączki using the parchment paper they are resting on, and gently slide them into the hot oil. Work in batches, frying only 2-4 pączki at a time depending on the size of your pot, ensuring you don't overcrowd the oil. Overcrowding will cause the oil temperature to drop significantly, leading to greasy pączki.
Frying the Pączki to a Deep Golden Brown
Fry the pączki for approximately 2-3 minutes per side. You'll notice they quickly puff up and, if your oil temperature is correct, they will develop a beautiful pale ring around their equator. This ring is a hallmark of well-fried pączki and indicates that the dough was properly proofed and the oil temperature was just right, allowing the lower portion to cook and set before the upper portion touches the oil.
Using a slotted spoon or spider, carefully flip the pączki to fry the second side. Continue frying for another 2-3 minutes until the second side is also a deep golden brown. The total frying time for each pączek is typically 4-6 minutes. The pączki should look plump and evenly colored.
Removing and Draining Excess Oil on Paper Towels
Once the pączki are perfectly golden brown on both sides, carefully remove them from the hot oil using your slotted spoon or spider. Hold them over the pot for a moment to allow excess oil to drip back in. Transfer the fried pączki to a wire rack placed over a baking sheet lined with several layers of paper towels.
The paper towels will absorb any remaining surface oil, preventing the pączki from becoming overly greasy. Allow them to drain and cool slightly on the rack for about 10-15 minutes before filling. While they are still warm is the best time to fill them, as the filling will distribute more easily into the soft interior.
Step 5: Filling the Pączki - Adding Sweetness and Flavor
Traditional Polish Pączki Fillings: Rose Petal Jam, Plum Jam
The filling is the heart of the pączek for many. While countless modern variations exist, the most traditional Polish filling is nadzienie z róży, a sweet and fragrant rose hip jam or rose petal preserve. This distinctive floral jam provides a unique counterpoint to the rich, fried dough. Another classic and popular filling is powidła śliwkowe, a thick, concentrated plum jam or prune butter, often made without added sugar by slow-cooking plums until they caramelize naturally.
Other traditional or very common fillings include apricot jam, cherry jam, or a sweet farmer's cheese filling ( ser biały). The key is to use a filling that is relatively thick, as a runny jam will simply soak into the dough and make the pączek soggy. Jams specifically labeled as "bakery filling" or "pączek filling" are often thicker and more suitable.
Preparing Rose Petal Jam Filling
If you're using a store-bought jam, ensure it's thick enough. If your jam seems a little loose, you can thicken it by gently heating it in a small saucepan and simmering for a few minutes until some of the excess moisture evaporates. Stir frequently to prevent burning. For a truly authentic touch, you can seek out Polish rose petal preserve or rose hip jam, available at specialty European markets or online.
If using a very thick jam like plum butter, you may not need any preparation beyond ensuring it's at room temperature or slightly warmed, which makes it easier to pipe. For fillings like sweet cheese, ensure the cheese is well-drained and mixed with sugar and perhaps a touch of vanilla until smooth.
Filling the Pączki: Using a Piping Bag for Even Distribution
Filling the pączki while they are still warm is ideal. You will need a piping bag fitted with a long, narrow tip (like a bismarck tip or a standard round tip, size 8 or 10). Carefully insert the tip into the side of a pączek, aiming towards the center. Squeeze the piping bag gently to inject the filling into the pączek.
You'll feel the pączek become heavier as it fills. Avoid overfilling, as the jam can seep out. A typical pączek might hold anywhere from 1 to 2 tablespoons of filling, depending on its size and how much air pocket formed inside. Insert the tip into a few different spots around the pączek if needed to ensure the filling is distributed evenly. This technique helps create a delightful surprise of sweetness in every bite of your easy Polish Pączki recipe.
Step 6: Glazing or Dusting - The Final Touch
Making a Simple Powdered Sugar Glaze
Once filled, the pączki need their final aesthetic and sweet touch. A simple glaze or dusting of powdered sugar are the most common finishes. To make a classic powdered sugar glaze, whisk together about 1 cup (120g) of powdered sugar with 2-3 tablespoons of milk or lemon juice. Start with 2 tablespoons of liquid and add more a teaspoon at a time until you reach a smooth, pourable consistency.
For a slightly more traditional glaze, some recipes use hot water or even rum instead of milk. A lemon juice glaze adds a pleasant tang that cuts through the richness of the dough and filling. Dip the tops of the warm, filled pączki into the glaze, or use a spoon to drizzle the glaze over them. Let the glaze set slightly before serving.
Dusting with Powdered Sugar for a Classic Look
Perhaps the simplest and most common finish is a generous dusting of powdered sugar. This gives the pączki a rustic, classic look and adds a delicate sweetness. Wait until the pączki have cooled slightly after filling but are still warm.
Place powdered sugar in a fine-mesh sieve or a sugar duster. Hold the sieve over the pączki and gently tap the side to shower them with a fine layer of powdered sugar. Ensure they are well-coated for that iconic snowy appearance. This method is quick, easy, and provides a lovely, subtle sweetness that doesn't overpower the filling.
Creative Toppings: Candied Orange Peel, Chocolate Drizzle
While traditional finishes are wonderful, you can get creative with toppings. After glazing or dusting, you can sprinkle the pączki with finely chopped candied orange peel, which is a common addition in Polish baking and pairs beautifully with rose or plum fillings. Toasted slivered almonds or chopped walnuts also add a nice texture and nutty flavor.
For a more modern twist, you could drizzle melted chocolate (dark, milk, or white) over the glazed pączki. Crushed pistachios, edible glitter, or even a sprinkle of sea salt can add unique dimensions. While these aren't strictly traditional, they offer fun ways to personalize your easy Polish Pączki recipe and cater to different tastes.
Tips for Baking the Best Homemade Pączki
Troubleshooting: Dough Too Sticky, Pączki Sinking
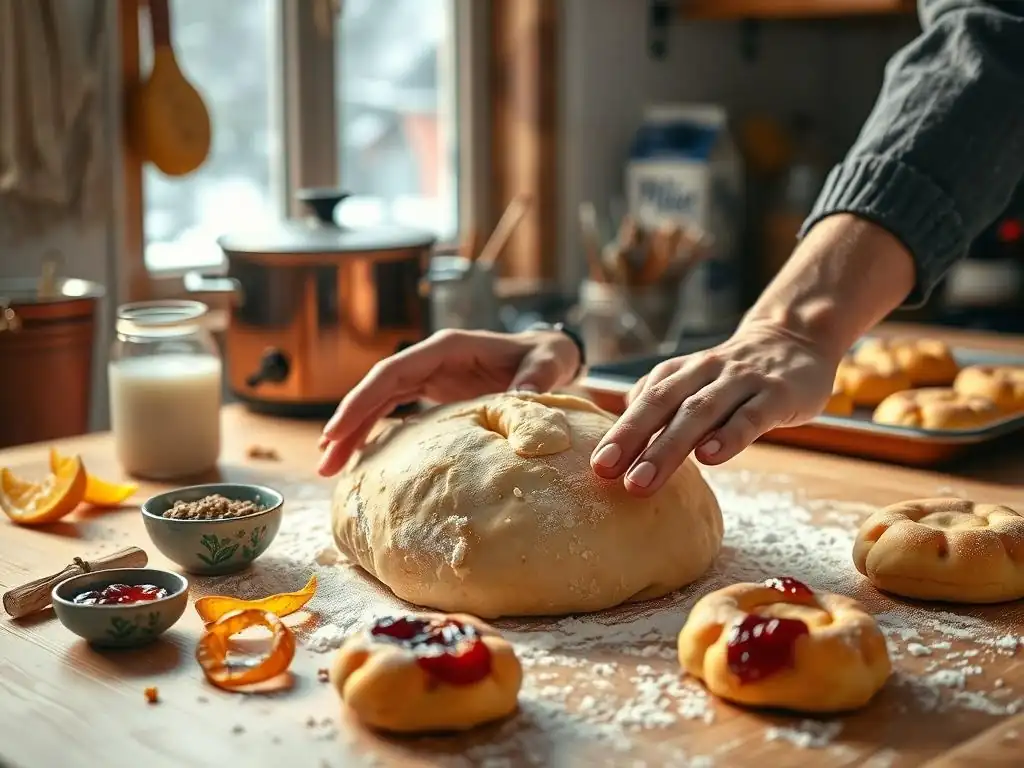
Baking is a science, and sometimes things don't go exactly as planned. If your dough is too sticky after initial mixing, resist the urge to add large amounts of flour. Add flour one tablespoon at a time while kneading until the dough is manageable but still slightly tacky. Over-flouring leads to dry, dense pączki. If your pączki sink during frying, they are likely under-proofed or the oil temperature is too low. Ensure your yeast is active, allow sufficient rise time (especially the second rise), and double-check your oil temperature with a thermometer.
Another common issue is uneven browning or a lack of the pale ring. This is almost always related to oil temperature or overcrowding the pot. Fry in small batches and diligently maintain the oil at 350°F (175°C). If the oil gets too hot, remove the pot from the heat briefly to let it cool down before continuing.
Achieving the Perfect Texture: Light, Airy, and Slightly Chewy
The ideal pączek texture is a balance of lightness, airiness, and a slight chewiness from the enriched dough. This texture is achieved through proper gluten development during kneading, sufficient rising times, and correct frying technique. Kneading develops the structure (chewiness), while the yeast and rising times create the air pockets (lightness and airiness).
Frying at the correct temperature ensures the outside sets quickly while the inside cooks through, resulting in a fluffy interior. Over-kneading can make the pączki tough, while under-kneading results in a flat, dense texture. Patience during the rising stages is key; don't rush the proofing, as this allows the yeast to create maximum lift.
Storing Your Freshly Baked Pączki: Maintaining Freshness
Pączki are best enjoyed fresh, ideally within a few hours of frying and filling. Their texture is at its peak when warm and just set. However, they can be stored for a day or two. Once completely cooled, store them in an airtight container at room temperature.
Avoid refrigerating pączki, as this can dry them out and negatively affect their texture. If you plan to eat them the next day, you can gently warm them in a microwave for a few seconds (5-10 seconds) or in a low oven (250°F / 120°C) for 5-10 minutes to refresh them slightly before serving. For longer storage, unfried, shaped pączki can be frozen after the second rise.
Flash freeze them on a tray, then transfer to a freezer bag. Thaw overnight in the refrigerator and let them come to room temperature before frying. Fried pączki can also be frozen (unfilled and unglazed) and reheated later, though the texture won't be quite as good as fresh.
Variations on the Classic Pączki Recipe
Chocolate Pączki with Chocolate Ganache Filling
For chocolate lovers, a decadent variation involves incorporating cocoa powder into the dough itself and filling the pączki with a rich chocolate ganache. To make chocolate dough, substitute a small amount of flour (perhaps 20-30g per 500g flour) with unsweetened cocoa powder, ensuring the total dry weight remains similar. You might also slightly increase the liquid if the cocoa makes the dough dry.
For the filling, a simple chocolate ganache can be made by heating heavy cream and pouring it over chopped chocolate (use a ratio of roughly equal parts chocolate and cream by weight for a thick ganache). Stir until smooth and let it cool until thick enough to pipe. These chocolate pączki offer a rich, indulgent twist on the traditional easy Polish Pączki recipe.
Lemon Pączki with Lemon Curd Filling
A bright and zesty variation is lemon pączki. You can add lemon zest to the dough for a subtle citrus note. The key is the filling: a tangy homemade or high-quality store-bought lemon curd. Lemon curd is rich and flavorful, providing a wonderful contrast to the sweet, fried dough.
Fill the fried pączki with the cooled lemon curd using the same piping method. These are often finished with a simple powdered sugar dusting or a lemon-flavored glaze made by mixing powdered sugar with fresh lemon juice. The combination of rich dough and tart filling is incredibly refreshing.
Apple Cinnamon Pączki with Spiced Apple Filling
Inspired by classic apple pastries, this variation features a warm, spiced apple filling. Dice apples (such as Granny Smith or Honeycrisp) and cook them down with a little butter, sugar, cinnamon, and a pinch of nutmeg until they are soft but still hold their shape, and the mixture is thick. A splash of lemon juice can balance the sweetness.
Ensure the apple filling is cooled before attempting to fill the pączki. These pączki pair wonderfully with a simple glaze or just a dusting of cinnamon sugar (a mix of granulated sugar and cinnamon). This variation brings comforting, familiar flavors to the pączek form.
Enjoying Your Homemade Authentic Polish Pączki
Serving Suggestions: Warm with Coffee or Tea
There's nothing quite like a fresh, warm pączek. The best way to enjoy your homemade pączki is shortly after they've been fried, filled, and finished. Serve them slightly warm, allowing the filling to be soft and the dough at its peak tenderness.
Traditionally, pączki are enjoyed as a special treat, often accompanied by a cup of hot coffee or tea. The bitterness of the coffee or the warmth of the tea provides a lovely balance to the richness and sweetness of the pastry. Share them with family and friends for a truly authentic experience.
You've successfully made authentic Polish pączki at home using this easy Polish Pączki recipe! This is an accomplishment worth celebrating. Take photos of your beautiful, fluffy creations before they all disappear.
Share your pictures and experience on social media. Tag BakeWithEase.com if you post on platforms where that's applicable (though links are not included here). Mention the type of filling you used and any creative toppings. Sharing your success can inspire others to try making their own pączki and spread the joy of baking these delicious traditional treats.
Frequently Asked Questions
What exactly are Polish Pączki, and what makes them special?
Pączki are traditional Polish filled doughnuts, typically enjoyed during Fat Thursday before Lent. They are known for their rich, fluffy texture and delicious fillings.
What kind of filling is traditionally used in Pączki?
Traditionally, Pączki are filled with rose petal jam, but other popular fillings include plum jam, custard, and fruit preserves. BakeWithEase encourages experimenting with different flavors.
Are Pączki difficult to make at home?
While they require some time and attention, the BakeWithEase recipe is designed to be easy to follow, even for beginner bakers. The step-by-step guide simplifies the process.
What are some key tips for achieving a fluffy texture in my Pączki?
Using high-quality ingredients, ensuring the dough is properly proofed, and frying at the correct temperature are crucial for achieving that signature fluffy texture.
Can I freeze Pączki for later enjoyment?
Yes, Pączki can be frozen. For best results, freeze them unfilled and unfrosted. Thaw completely and then fill and dust with powdered sugar before serving for optimal freshness.
Final Reflection: The Sweetness of Tradition, the Joy of Creation
Mastering the art of the Polish pączek isn't just about following a recipe; it's about connecting with a rich culinary heritage and experiencing the pure joy of creation. These seemingly simple doughnuts represent generations of tradition, passed down through families and cherished across cultures. The ease with which even a novice baker can achieve delicious results, as demonstrated in this step-by-step guide, makes this tradition accessible to all.
The enduring appeal of the pączek lies not only in its delightful taste but also in the process itself. The act of kneading the dough, shaping the rings, and finally, witnessing the golden-brown perfection emerging from the fryer, is a deeply satisfying experience. Food is symbolic of love when words are inadequate.
- Alan D. Wolfelt. This quote perfectly encapsulates the emotional connection we forge with food, particularly when it involves a recipe steeped in history and shared with loved ones. The pączek, therefore, transcends mere confectionery; it becomes a vehicle for connection and celebration.
Now, I invite you to embrace the challenge. Don't just read this recipe; live it. Gather your ingredients, put on some music, and let the aroma of frying dough fill your kitchen. Share your creations with friends and family, and experience the joy of passing on this delicious tradition. The perfect pączek awaits – and so does the satisfaction of making it yourself.
Unleash Your Inner Pączki Pro!
Thanks for joining us on this delicious journey into the world of fluffy Polish pączki! We hope you've gained the confidence to tackle this delightful treat. Now it's time to put your newfound skills to the test!
- Bake a batch of your own pączki: Use the recipe and techniques you learned today to create your own masterpiece. Remember, practice makes perfect!
- Share your pączki creations: Snap a photo of your finished pączki and share them with us on social media – we'd love to see your results!
- Explore other BakeWithEase recipes: Discover more delightful treats and expand your baking repertoire.
Ready to create the fluffiest, most delicious pączki your friends and family have ever tasted?