
Secrets to Perfect Mooncakes Without the Fuss (Simplified)

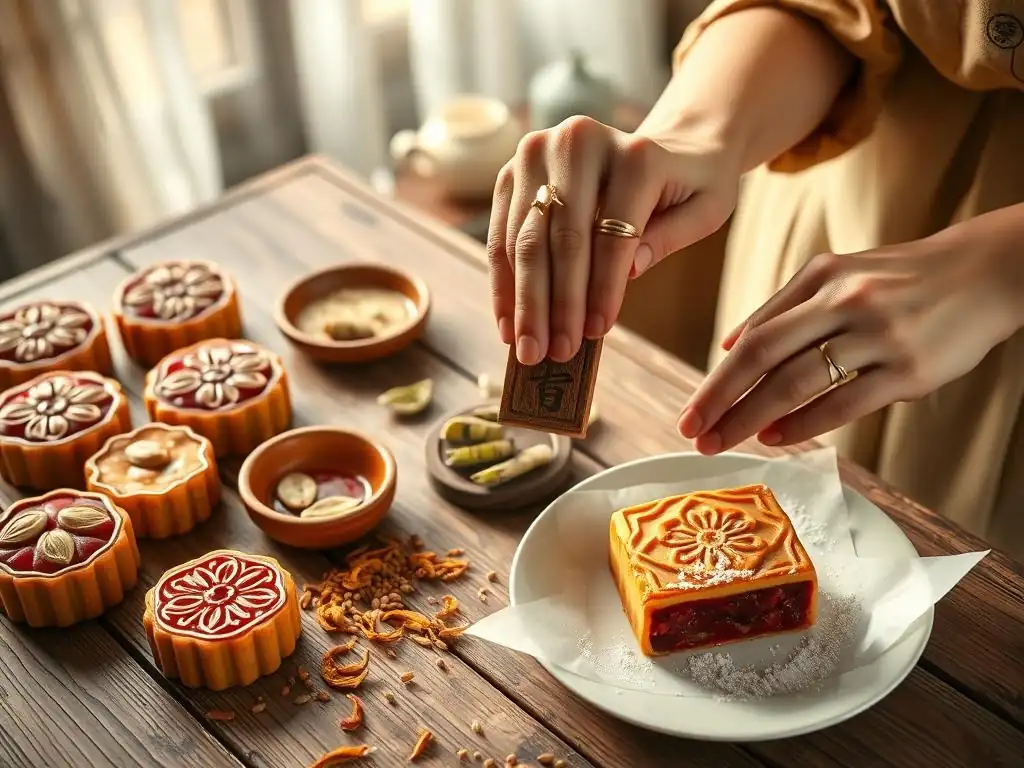
Welcome to BakeWithEase!
Ever dreamt of creating perfect mooncakes that rival bakery masterpieces? Unlock the secrets to this beloved treat, even if you're short on time and experience. Dive into our guide and discover how to create these delicate delights without the fuss, bringing a taste of tradition to your table. Are you ready to embark on a simplified mooncake adventure?
- Mastering Mooncakes: A Simplified Guide - BakeWithEase
- Introduction to Effortless Mooncake Baking
- Understanding Mooncake Fundamentals
- Simplified Mooncake Recipe: Step-by-Step
- Tips and Tricks for Foolproof Mooncakes
- Variations on the Basic Recipe
- Enjoying Your Homemade Mooncakes
- Conclusion: Mastering Mooncake Baking
-
Frequently Asked Questions
- What exactly are mooncakes, and why are they important?
- What makes mooncakes difficult to bake, according to BakeWithEase?
- Does BakeWithEase offer simplified recipes for all types of mooncakes?
- What kind of ingredients are needed to make mooncakes according to the article?
- What are the key secrets to baking perfect mooncakes without much effort, as mentioned on BakeWithEase?
- Final Reflection: The Enduring Allure of Effortless Perfection
- Unleash Your Inner Mooncake Master!
Mastering Mooncakes: A Simplified Guide - BakeWithEase
Introduction to Effortless Mooncake Baking
Welcome to the delightful world of mooncakes! These iconic pastries, traditionally enjoyed during the Mid-Autumn Festival, are steeped in history and cultural significance. While they might seem intimidating to make at home with their intricate designs and precise techniques, achieving perfect mooncakes without much effort is absolutely within your reach. Our goal at BakeWithEase is to demystify the process, proving that you don't need years of experience to create beautiful and delicious mooncakes from scratch.
This guide is designed for home bakers looking for a straightforward approach. We'll break down each step, from preparing the dough to baking, using methods that minimize complexity without sacrificing authenticity or taste. Forget the fuss often associated with traditional recipes; we're focusing on simplicity and success. Get ready to impress your friends and family with homemade mooncakes that look and taste incredible, all while keeping the process enjoyable and stress-free.
The Joy of Homemade Mooncakes
Making mooncakes at home offers a unique satisfaction that store-bought versions simply can't match. It's not just about the delicious outcome; it's about the process itself – a connection to tradition and an opportunity to put your personal touch on these cherished treats. Imagine the aroma filling your kitchen as they bake, or the pride you'll feel sharing pastries you crafted yourself. Furthermore, making them yourself gives you complete control over the ingredients, allowing you to adjust sweetness levels or experiment with fillings to suit your preferences or dietary needs.
Beyond the personal satisfaction, homemade mooncakes make thoughtful and impressive gifts. Gifting a box of your own handmade creations adds a layer of personal connection that is deeply appreciated, especially during festive seasons. It's a way to share not just a dessert, but a piece of your time and effort, embodying the spirit of togetherness that the Mid-Autumn Festival represents. Achieving perfect mooncakes without much effort means you can enjoy this rewarding experience more often, perhaps even making it an annual tradition.
Simplified Recipes for Beginners
Traditional mooncake recipes can sometimes involve complex steps like creating golden syrup from scratch days in advance or preparing elaborate fillings that require hours of stirring. While these methods yield wonderful results, they can be daunting for newcomers. Our simplified approach focuses on techniques and ingredients that are easier to manage, making effortless mooncakes a reality even for novice bakers. We utilize readily available ingredients and streamline the process without compromising the essential characteristics of a great mooncake.
For instance, instead of boiling and stirring lotus seeds for hours, we'll discuss using pre-made high-quality pastes as a convenient shortcut, or providing a quicker method for making your own. The dough recipe is designed to be forgiving and easy to handle, reducing the chances of cracking or sticking. By breaking down the assembly and baking into clear, manageable steps, we ensure that you can follow along with confidence, leading you directly to perfect mooncakes without much effort or stress.
BakeWithEase's Guide to Easy Mooncakes
At BakeWithEase, we believe baking should be an accessible and enjoyable experience for everyone. This guide embodies that philosophy by focusing on the core techniques needed for success while eliminating unnecessary complications. We've tested these methods to ensure they are reliable and produce consistently good results. Think of this as your friendly roadmap to creating beautiful, delicious mooncakes with ease.
We'll walk you through selecting the right ingredients, understanding the function of each component, and mastering the simple steps of mixing, filling, shaping, and baking. We'll also share valuable tips for troubleshooting common issues, ensuring your path to perfect mooncakes without much effort is smooth. Whether you're making classic lotus seed paste mooncakes or experimenting with modern variations, our guide provides the foundation you need to succeed and have fun in the kitchen.
Understanding Mooncake Fundamentals
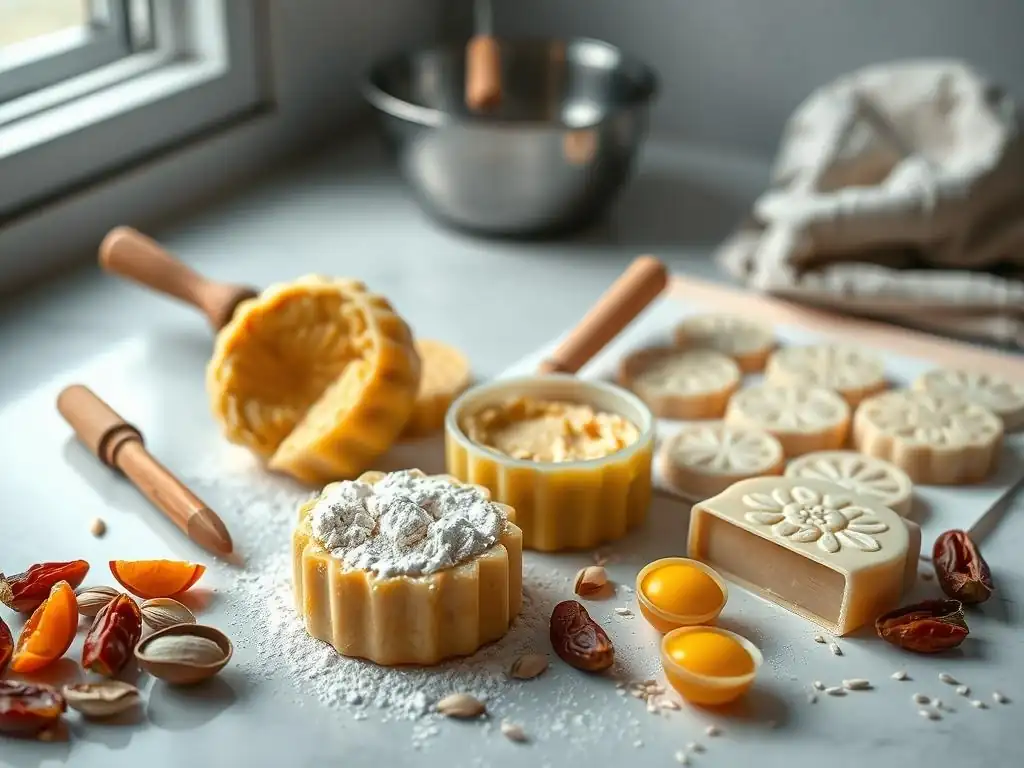
Before we dive into the step-by-step recipe for perfect mooncakes without much effort, it's helpful to understand a little about these fascinating pastries. Knowing their background and the role of key ingredients and equipment will give you a better appreciation for the process and the final product. This foundational knowledge is key to confidently tackling the recipe and achieving great results.
Mooncakes are more than just a dessert; they are symbols of the Mid-Autumn Festival, representing reunion, harmony, and prosperity. Their round shape traditionally symbolizes the full moon and family completeness. By understanding these fundamentals, you connect with the cultural significance behind your baking, making the process even more meaningful.
Mooncakes: History and Cultural Significance
Mooncakes have a history spanning back hundreds, if not thousands, of years in China. While the exact origins are debated, they are strongly associated with the Mid-Autumn Festival (also known as the Moon Festival), which falls on the 15th day of the 8th month in the Chinese lunar calendar, typically in September or early October.
This festival is a time for family gatherings, appreciating the harvest moon, and sharing mooncakes among loved ones. Legend connects mooncakes to various historical events, including their use to conceal secret messages during the Yuan Dynasty rebellion (circa 14th century), a story that adds intrigue to their history.
Sharing and eating mooncakes is a central tradition of the festival. They are often cut into wedges and shared among family members, signifying unity and togetherness. The rich, dense nature of the mooncake means they are typically enjoyed in small portions alongside tea.
While traditional fillings like lotus seed paste and red bean paste remain popular, modern variations have emerged, reflecting evolving tastes and regional differences across Asia. Regardless of the filling, the act of sharing remains paramount, making them much more than just a sweet treat. Understanding this heritage enhances the joy of making perfect mooncakes without much effort for this special occasion.
Essential Ingredients for Authentic Mooncakes
To make traditional-style mooncakes, even simplified ones, a few key ingredients are crucial for achieving the right texture and flavor. The dough typically relies on a combination of golden syrup, lye water (alkaline solution), vegetable oil, and cake flour. Golden syrup, a key component, contributes to the dough's color, tenderness, and slightly chewy texture.
Lye water helps the dough brown evenly and gives it a slightly alkaline taste that balances the sweetness. Using cake flour, which has a lower protein content, results in a softer crumb compared to all-purpose flour. Approximately 100g of golden syrup, 1/4 tsp lye water, 30ml oil, and 150g cake flour might be a starting point for a small batch of dough for maybe 4-6 mooncakes, though specific recipes will vary.
Fillings are where much of the flavor diversity lies. The most classic is lotus seed paste, made from dried lotus seeds, sugar, and oil. High-quality pre-made lotus paste is widely available and significantly simplifies the process, helping you achieve perfect mooncakes without much effort.
Other popular fillings include red bean paste, mung bean paste, and various nuts or seeds. Salted egg yolks are often added to the center of the filling in traditional mooncakes, symbolizing the full moon and adding a pleasant savory contrast to the sweet paste. You'll typically need one or two salted egg yolks per mooncake, depending on size.
Required Equipment for Simplified Mooncake Making
While traditional mooncake making might seem to require specialized tools, achieving perfect mooncakes without much effort is possible with just a few key pieces of equipment, some of which you likely already own. The most essential specialized tool is a mooncake mold. These come in various sizes and designs, typically made of plastic or wood, with a plunger mechanism to press the dough and filling into a decorative shape. Molds for 50g or 100g mooncakes are common sizes for home baking. A set of plastic plunger molds with interchangeable patterns is an excellent, affordable option for beginners.
Beyond the mold, you'll need standard baking equipment: a mixing bowl for the dough, a digital kitchen scale for accurate weighing of dough and filling (crucial for consistent results), a rolling pin (optional, but helpful), parchment paper or a silicone baking mat for lining the baking sheet, a pastry brush for the egg wash, and an oven. Having a wire rack for cooling is also essential. With these basic tools, you are well-equipped to embark on your journey to making beautiful and effortless mooncakes.
Simplified Mooncake Recipe: Step-by-Step
Ready to get baking? This simplified recipe breaks down the process into manageable steps, focusing on methods that are easy to follow and yield delicious results. We'll cover everything from mixing the dough to baking, ensuring your path to perfect mooncakes without much effort is clear and straightforward.
This recipe is designed to be beginner-friendly, using common ingredients and techniques. Follow each part carefully, and you'll be enjoying your homemade mooncakes in no time.
Part 1: Preparing the Dough (No-Fail Method)
The mooncake dough is unique due to the inclusion of golden syrup and lye water, which give it its characteristic texture and color. This method is designed to be pliable and easy to work with, reducing the chance of cracking during shaping and baking. Getting the dough right is the first crucial step towards achieving perfect mooncakes without much effort.
Mixing the dough is straightforward and requires minimal kneading. The key is to combine the wet ingredients thoroughly before adding the flour, and then mixing until just combined. Resting the dough is also vital for allowing the gluten to relax, making it easier to handle later.
Dough Ingredients
- 100g Golden Syrup
- 30ml Vegetable Oil (neutral flavor like canola or corn)
- 1/4 tsp Lye Water (alkaline solution)
- 150g Cake Flour (low protein flour)
These quantities are approximate for a small batch, yielding about 4-6 mooncakes depending on mold size. Using a kitchen scale is highly recommended for accuracy.
Dough Mixing Instructions
- Combine the golden syrup, vegetable oil, and lye water in a medium-sized mixing bowl. Stir well with a whisk or spoon until the mixture is thoroughly combined and emulsified. This liquid base is key to the dough's texture.
- Sift the cake flour directly into the wet ingredient mixture.
- Using a spatula or your hands, gently mix the ingredients until they just come together to form a soft dough. Avoid overmixing, as this can develop too much gluten and make the dough tough. The goal is a cohesive ball that is slightly sticky but manageable.
Resting the Dough
After mixing, the dough needs to rest.
- Shape the dough into a ball.
- Wrap the dough tightly in plastic wrap.
- Let the dough rest at room temperature for at least 1 hour. A resting time of 2-4 hours is often recommended for optimal texture and handling. This rest period allows the flour to fully hydrate and the gluten to relax, making the dough much easier to press into the molds without cracking.
Part 2: Making the Filling (Quick & Delicious Options)
The filling is the heart of the mooncake. While making traditional fillings from scratch can be time-consuming, using high-quality pre-made pastes is a fantastic shortcut for achieving perfect mooncakes without much effort. Here are a few popular options and how to handle them.
Using pre-made pastes saves significant time and effort, allowing you to focus on the fun parts like shaping and baking. Ensure you purchase pastes specifically intended for mooncakes, as their consistency is ideal.
Classic Lotus Seed Paste Filling (Simplified)
Using good quality store-bought lotus seed paste is the ultimate simplification.
- Purchase a can or package of ready-to-use lotus seed paste. White or brown lotus paste are common.
- If the paste seems too soft, you can gently heat it in a non-stick pan over low heat, stirring constantly, until it thickens slightly and is easier to handle. Approximately 5-10 minutes of gentle heating might be needed, but be careful not to dry it out completely.
- Allow the paste to cool completely before using.
This method drastically cuts down on preparation time, making effortless mooncakes a reality.
Red Bean Paste Filling (Speedy Version)
Similar to lotus paste, pre-made red bean paste is widely available and convenient.
- Buy a package of sweet red bean paste. Look for a smooth or slightly chunky version depending on your preference.
- Like lotus paste, if it's too wet, you can gently heat it to thicken.
- Cool before use.
Alternatively, you can make a quicker version from canned red beans, sugar, and oil, blended and then cooked down. Using about 400g canned red beans, 100g sugar, and 50ml oil might yield enough for several mooncakes, cooked for about 15-20 minutes until thick.
Mung Bean Paste Filling
Mung bean paste offers a slightly different flavor profile, often lighter than lotus or red bean.
- Pre-made mung bean paste is also an option.
- To make a quick version, soak split mung beans (about 150g) for a few hours, steam until very tender (approx. 20-30 mins), blend with sugar (about 80g) and oil (about 40ml), and then cook down in a pan until thick, similar to the red bean method.
Having your filling ready in advance makes the assembly process much smoother.
Part 3: Assembling and Shaping the Mooncakes
This is arguably the most exciting part – bringing the dough and filling together and giving your mooncakes their iconic shape! Using a mooncake mold simplifies this process dramatically, helping you achieve professional-looking results. Precision in weighing is key here for consistent sizes.
The goal is to encase the filling completely within a thin layer of dough. It might take a couple of tries to get the hang of it, but the dough is forgiving.
Weighing Dough and Filling
For uniform mooncakes, weighing your dough and filling portions is essential. The ratio of dough to filling typically ranges from 1:2 to 1:3 (dough:filling) depending on the desired thickness of the crust and the mold size.
- For a 50g mooncake mold, you might use 15g of dough and 35g of filling.
- For a 100g mold, try 25g of dough and 75g of filling.
- If using salted egg yolks (typically weighing around 10-15g each), subtract their weight from the total filling weight (e.g., for a 75g filling, use 60g paste + 15g yolk).
Weighing each component ensures that every mooncake fits perfectly into the mold and bakes evenly.
Wrapping the Filling
This step requires a gentle touch.
- Roll each portion of dough into a ball.
- Flatten the ball into a thin disc, roughly 2-3 inches in diameter, with slightly thicker edges than the center. You can do this by hand or with a small rolling pin.
- Place the weighed portion of filling (and egg yolk, if using) in the center of the dough disc.
- Carefully gather the edges of the dough up and around the filling, pinching and sealing them at the top. Ensure the filling is completely enclosed and there are no gaps. Roll the wrapped ball gently between your palms to smooth the seam.
This technique, often called "wrapping like a bao," is fundamental to achieving perfect mooncakes without much effort in the shaping stage.
Using a Mooncake Mold
The mooncake mold is your best friend for achieving beautiful patterns.
- Lightly dust the wrapped mooncake ball and the inside of the mold cavity with a little flour to prevent sticking. Tap out any excess flour.
- Place the mooncake ball into the mold cavity.
- Press the plunger down firmly and evenly onto a flat surface (like your baking sheet lined with parchment paper). Hold for a few seconds to allow the pattern to imprint.
- Release the plunger to eject the beautifully shaped mooncake onto the baking sheet.
Repeat for all the mooncakes. Place them a few inches apart on the baking sheet.
Part 4: Baking Mooncakes to Golden Perfection
Baking is the final step to transforming your shaped dough and filling into finished mooncakes. The key is to bake them at the right temperature and for the correct amount of time to achieve that signature golden-brown crust without drying out the filling.
Proper baking technique ensures your perfect mooncakes without much effort look as good as they taste. An egg wash is essential for color and shine.
Oven Temperature and Baking Time
Preheat your oven to 180°C (350°F).
- Bake the mooncakes initially for about 8-10 minutes. This helps set the shape and dough slightly.
- After this initial bake, remove the tray from the oven.
- Allow the mooncakes to cool for 5-10 minutes before applying the egg wash. This prevents the egg wash from melting or running off.
- Reduce the oven temperature to 160°C (320°F).
- Return the mooncakes to the oven and bake for another 15-20 minutes, or until they are a beautiful golden brown color. The exact time will depend on your oven and the size of your mooncakes. Keep a close eye on them during this final stage.
Egg Wash Application
The egg wash gives mooncakes their characteristic glossy, golden finish.
- Prepare the egg wash by whisking together one egg yolk with about 1-2 tablespoons of water or milk. A pinch of sugar can also be added for extra shine.
- Using a pastry brush, very lightly brush the tops and sides of the partially baked and cooled mooncakes with the egg wash. Use a minimal amount to avoid obscuring the pattern or creating puddles. Two thin coats are better than one thick one.
Applying the egg wash after the initial bake and cooling helps the pattern remain sharp while still achieving a lovely color.
Cooling and Storing
Once baked, mooncakes need to cool completely.
- Transfer the baked mooncakes from the hot baking sheet to a wire rack immediately to cool.
- Allow them to cool completely at room temperature. This can take several hours.
- Mooncakes develop their best texture and flavor after resting for 1-2 days. During this time, the oil from the filling "returns" to the crust, making it softer and more tender – a process called "hui you" (回油).
- Store cooled mooncakes in an airtight container at room temperature for up to a week, or in the refrigerator for longer storage (up to 2 weeks). For longer term, they can be frozen.
Proper cooling and resting are vital steps for achieving the desired texture of perfect mooncakes without much effort.
Tips and Tricks for Foolproof Mooncakes
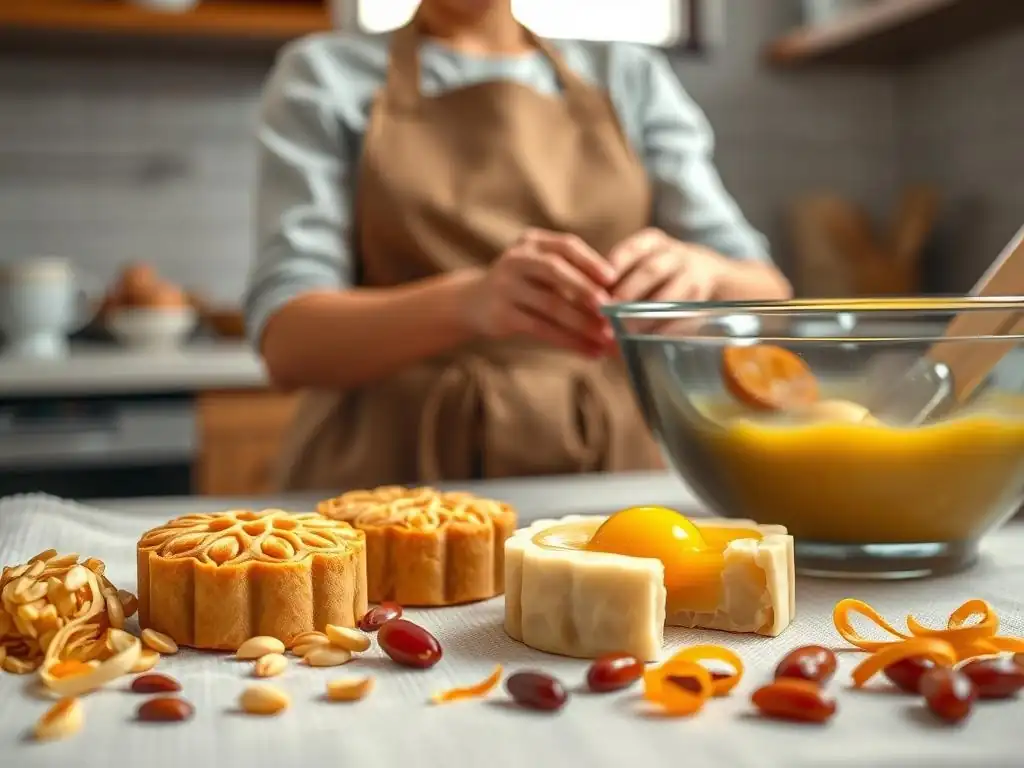
Even with a simplified recipe, a few common challenges can arise. Knowing how to prevent or fix these issues will ensure your journey to perfect mooncakes without much effort is successful. These tips are gathered from common baking experiences and tailored for mooncake making.
Addressing potential problems before they happen saves time and frustration, leading to a smoother baking experience.
Preventing Cracking and Bubbling
Cracking is a common issue with mooncake dough, often due to dryness or insufficient resting time. Bubbling can occur if the oven is too hot or the egg wash is applied too thickly.
- Ensure your dough has rested for the recommended time (at least 1 hour, ideally 2-4 hours) at room temperature. This allows the gluten to relax, making the dough more elastic and less prone to cracking when pressed.
- If your dough feels dry or stiff, you can try incorporating a tiny amount (a few drops) of vegetable oil into it before shaping.
- When pressing the mooncake, ensure the dough is evenly distributed around the filling and the seam is well-sealed.
- For bubbling, make sure your oven temperature is accurate (using an oven thermometer can help). Apply the egg wash very thinly, using a clean brush and blotting any excess.
Following these steps significantly reduces the chances of these common issues, helping you achieve perfect mooncakes without much effort.
Achieving Golden Brown Color
The signature rich, golden-brown color of mooncakes comes from the combination of golden syrup in the dough and the egg wash applied before the second bake.
- Using good quality golden syrup is essential for the dough's color potential. Darker syrups will result in a deeper color.
- Ensure your lye water is potent (handle with care!). It plays a role in the dough's reaction to heat and browning.
- Apply a thin, even layer of egg wash. A wash made with egg yolk and water typically gives a richer color than using the whole egg. Applying two thin coats, allowing the first to dry slightly, can also enhance the color.
- The final baking temperature and time are crucial. Baking at 160°C (320°F) for the recommended 15-20 minutes allows the color to develop without burning. If they are browning too quickly, you can loosely tent them with foil.
Mastering the egg wash application is key to getting that desirable golden hue on your effortless mooncakes.
Troubleshooting Common Problems
Here are quick fixes for a few other issues:
- Mooncake sticking to the mold: Ensure you lightly dust the mold and the dough ball with flour. Tap out excess flour. Do not over-dust, or the pattern might be obscured.
- Filling leaking: This usually happens if the dough is too thin in spots or the seam isn't properly sealed. Practice the wrapping technique, ensuring even dough thickness and a tight pinch at the top.
- Mooncakes spreading during baking: This could indicate the dough is too soft (too much oil or syrup) or wasn't rested long enough. Ensure accurate measurements and sufficient resting time.
With a little practice and these troubleshooting tips, you'll be well on your way to consistently making perfect mooncakes without much effort.
Variations on the Basic Recipe
Once you've mastered the basic baked mooncake, you might want to explore other types or variations. The world of mooncakes is diverse, offering different textures and flavors. Trying these variations adds another layer of fun to your mooncake-making journey.
Exploring variations allows you to cater to different tastes and occasions, expanding your repertoire beyond the classic baked style.
Snow Skin Mooncakes
Snow skin mooncakes are a popular non-baked alternative, known for their soft, chewy "skin" and often enjoyed chilled. The skin is typically made from a mixture of glutinous rice flour, rice flour, wheat starch, sugar, oil, and liquid (like water or milk).
- The process involves steaming the dough mixture until cooked, then kneading it smooth once cooled slightly.
- Fillings can be similar to baked mooncakes (pastes), but often include fruit purees, mochi, or even ice cream.
- Shaping is done using mooncake molds, but they are not baked. They are typically chilled for several hours before serving.
Making snow skin mooncakes offers a different texture experience and is a refreshing alternative to the rich baked versions, providing another way to make effortless mooncakes if you prefer not to use an oven.
Mini Mooncakes
Mini mooncakes are simply smaller versions of the standard size, often made using smaller molds (e.g., 25g or 30g molds).
- The dough and filling recipes remain the same, but the proportions for weighing each component are adjusted according to the mold size (e.g., 8g dough, 17g filling for a 25g mold).
- Baking time will be shorter than for standard-sized mooncakes, typically around 15-20 minutes total (including the initial bake and final bake after egg wash).
Mini mooncakes are perfect for sampling different flavors or for those who prefer a smaller portion. They can also be slightly quicker to make in batches, contributing to perfect mooncakes without much effort on a smaller scale.
Savory Mooncakes
While most commonly sweet, savory mooncakes exist, particularly in certain regional Chinese cuisines (like the Suzhou style). These often have a flaky, layered pastry crust similar to a puff pastry, rather than the soft, chewy skin of the Cantonese-style baked mooncake.
- Fillings can include minced pork, preserved vegetables, or other savory ingredients.
- The dough preparation is different, often involving two types of dough (water dough and oil dough) layered and folded.
- They are typically baked until golden and crispy.
Exploring savory mooncakes opens up a whole new dimension to this traditional pastry, showcasing the versatility of the mooncake concept beyond the sweet versions commonly seen, though they might require a different set of techniques than achieving perfect mooncakes without much effort in the sweet, baked style.
Enjoying Your Homemade Mooncakes
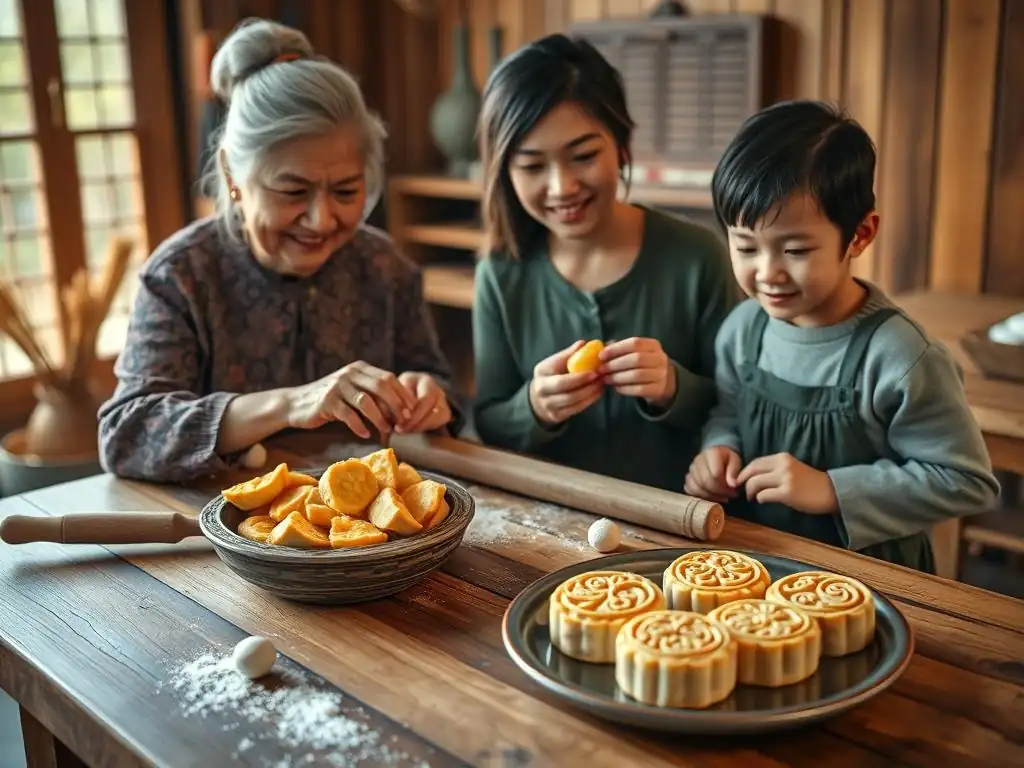
You've put in the effort (minimal as it was with our simplified guide!) to create beautiful mooncakes. Now it's time to enjoy the fruits of your labor! There's a unique pleasure in sharing and savoring mooncakes you've made yourself, especially knowing you achieved perfect mooncakes without much effort.
Enjoying mooncakes is often a communal experience, ideally shared with family and friends during the Mid-Autumn Festival, but they can be enjoyed anytime you crave them.
Serving Suggestions
Mooncakes are rich and dense, so they are traditionally cut into small wedges and served with Chinese tea. The tea helps to cleanse the palate and balance the sweetness and richness of the pastry. Pu-erh tea, green tea, or oolong tea are excellent choices.
- Slice the mooncake carefully with a sharp knife into 4 or 8 equal wedges.
- Arrange the slices on a serving plate.
- Serve alongside freshly brewed tea.
- Snow skin mooncakes should be served chilled.
Serving them correctly enhances the overall enjoyment experience.
The act of sharing mooncakes is deeply symbolic, representing unity and reunion, especially during the Mid-Autumn Festival.
- Present your homemade mooncakes in a nice box or on a decorative plate.
- Share them with family during a meal or gathering.
- Offer them as gifts to friends and neighbors.
Sharing your perfect mooncakes without much effort is a wonderful way to connect with others and participate in a cherished cultural tradition.
Mooncake Traditions
Beyond eating and sharing, the Mid-Autumn Festival involves other traditions often associated with mooncakes.
- Gathering with family to admire the full moon.
- Lighting lanterns, especially for children.
- Enjoying osmanthus wine.
Incorporating these traditions can make enjoying your homemade mooncakes an even more meaningful experience, celebrating the festival in a holistic way.
Conclusion: Mastering Mooncake Baking
You've journeyed through the simplified process of making traditional-style baked mooncakes, from understanding their history to mixing the dough, preparing fillings, shaping, and baking. We hope this guide has shown you that creating perfect mooncakes without much effort is not just possible, but also a rewarding and enjoyable experience.
By breaking down the steps and focusing on beginner-friendly techniques, we've aimed to make this iconic pastry accessible to everyone. Remember that baking is a skill that improves with practice, and every batch you make will teach you something new.
Recap of Key Techniques
We covered several key techniques to simplify mooncake making:
- Using a forgiving dough recipe with precise measurements.
- Leveraging pre-made fillings for convenience.
- Mastering the simple wrap-and-seal method for filling.
- Utilizing a mooncake mold for easy shaping and decoration.
- Following a two-stage baking process with a crucial egg wash step.
- Understanding the importance of resting the dough and allowing the baked mooncakes to "hui you."
These techniques are your foundation for consistently achieving perfect mooncakes without much effort.
Encouragement to Experiment
Now that you have the fundamentals down, feel free to experiment! Try different fillings – perhaps a pandan paste, a ube (purple yam) filling, or even something fusion like chocolate or green tea. Play with adding nuts or seeds to the filling for texture. While achieving perfect mooncakes without much effort using the basic recipe is a great start, personalizing them makes the process even more fun.
You can also experiment with different mold patterns or sizes. Don't be afraid to try the snow skin variation for a different experience. Baking is a creative outlet, and mooncakes offer a wonderful canvas for trying new things while respecting tradition.
BakeWithEase: Your Baking Partner
At BakeWithEase, we are committed to providing you with reliable, easy-to-follow recipes and guides that empower you to create delicious baked goods with confidence. Making perfect mooncakes without much effort is just one example of how we aim to simplify complex baking tasks.
We hope this guide has been helpful and inspires you to try making mooncakes at home. Stay tuned for more easy recipes, helpful tips, and baking inspiration. Happy baking, and happy Mid-Autumn Festival!
Frequently Asked Questions
What exactly are mooncakes, and why are they important?
Mooncakes are traditional Chinese pastries, typically eaten during the Mid-Autumn Festival. They symbolize reunion and completeness and are often shared among family and friends.
What makes mooncakes difficult to bake, according to BakeWithEase?
The article implies that mooncakes can be fussy due to complex recipes and techniques. Achieving the right texture and appearance, especially the intricate designs, can be challenging.
Does BakeWithEase offer simplified recipes for all types of mooncakes?
While the article focuses on simplification, it's likely BakeWithEase provides recipes for various mooncake types. The emphasis is on making the process easier, regardless of the specific filling or crust.
What kind of ingredients are needed to make mooncakes according to the article?
The article highlights easy-to-find ingredients. This suggests readily available items like flour, oil, sugar, and common fillings rather than obscure or hard-to-source components.
What are the key secrets to baking perfect mooncakes without much effort, as mentioned on BakeWithEase?
The BakeWithEase approach likely involves simplified instructions, time-saving techniques, and readily available ingredients to streamline the mooncake baking process for beginners.
Final Reflection: The Enduring Allure of Effortless Perfection
The pursuit of perfect mooncakes, traditionally a labor-intensive affair, needn't be a daunting task. This article has demonstrated that achieving exquisite results is entirely possible with simplified techniques and a focus on key elements. The desire for flawlessly crafted mooncakes, symbols of family and togetherness, remains strong, transcending generations and cultural boundaries.
The journey of simplifying this beloved tradition has been a personal one, revealing the joy in finding balance between authenticity and ease. The best things in life are simple.
This quote perfectly encapsulates the spirit of this article; we've shown that achieving delicious mooncakes doesn't require hours of meticulous work, allowing more time to focus on the cherished moments surrounding this festive treat. The enduring appeal of mooncakes lies not just in their taste, but in the shared experience of creating and enjoying them.
This Mid-Autumn Festival, I invite you to embrace the simplicity we've explored. Don't let the perceived complexity of mooncake-making deter you from creating beautiful and delicious memories with loved ones. Try out the simplified recipes, experiment with flavors, and most importantly, savor the process. The perfect mooncake isn't just about the final product; it's about the journey and the connections it fosters. Let this year be a testament to the power of effortless perfection.
Unleash Your Inner Mooncake Master!
Thanks for joining us on this delicious journey to perfect mooncakes! We hope you've picked up some valuable tips and tricks to simplify your baking experience. Now it's time to put your newfound knowledge into action.
- Bake your masterpiece: Don't just dream about those perfect mooncakes— make them happen! Gather your ingredients and follow your favorite recipe (or ours! ).
- Share your success: Show off your beautiful creations! Post pictures on social media using #BakeWithEaseMooncakes and inspire others.
- Experiment with flavors: What unique twist will you add to your next batch? Try a new filling or a different type of dough — the possibilities are endless!
Ready to transform your kitchen into a mooncake haven? What exciting flavor combinations are you planning to try?