
Simple Puff Pastry from Scratch for French Classics

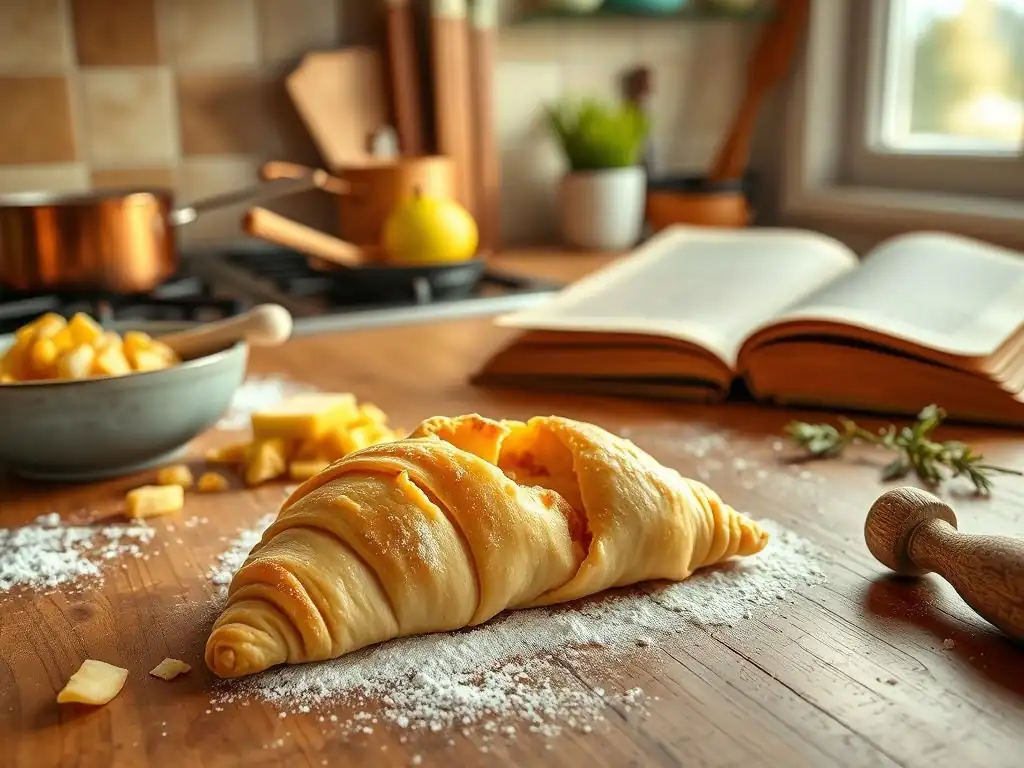
Welcome to BakeWithEase, your guide to confidently creating delicious treats! Ever dreamt of crafting flaky, golden pâtisserie right in your own kitchen? Then you're in the right place. Today, we unlock the secret to an easy homemade puff pastry recipe – a foundational skill that opens the door to countless classic French delights. But is it really as intimidating as it sounds? Let's find out...
- Homemade Puff Pastry: A Baker's Delight
- Introduction to Puff Pastry
- Ingredients and Techniques for Puff Pastry
- Step-by-Step Puff Pastry Recipe
- Baking Tips for Puff Pastry
- Puff Pastry Variations
- Applications of Puff Pastry
- Storing and Freezing
- Conclusion
- Frequently Asked Questions
- Final Reflection: The Humble Puff, a Monument to Patience
- Unleash Your Inner Pastry Chef!
Homemade Puff Pastry: A Baker's Delight
Introduction to Puff Pastry
Puff pastry, or pâte feuilletée in French, is a cornerstone of classic baking, renowned for its incredible lightness and countless flaky layers. Unlike other doughs, its magic lies in the lamination process – folding butter into dough repeatedly to create hundreds, or even thousands, of paper-thin layers. When baked, the water in the butter and dough turns to steam, forcing these layers apart and resulting in that characteristic puff and shatteringly crisp texture.
Mastering puff pastry from scratch might seem intimidating, but with a clear understanding of the process and a bit of patience, creating this versatile dough at home is entirely achievable. This guide will walk you through crafting your own easy homemade puff pastry recipe, demystifying the steps so you can enjoy the unparalleled quality of homemade dough in your favorite French classics and beyond.
Why Homemade Puff Pastry? Superior Flavor and Texture
Making your own puff pastry offers a significant advantage in terms of flavor and texture compared to store-bought options. Commercial puff pastry often uses alternative fats or lower-quality butter, which results in a less rich and less nuanced flavor. Homemade versions allow you to choose high-quality, unsalted butter, which imparts a pure, creamy taste and contributes significantly to the overall deliciousness of the final baked good.
Beyond taste, the control you have over the lamination process when making an easy homemade puff pastry recipe directly impacts the texture. Properly executed turns create distinct layers that separate dramatically in the oven, yielding a pastry that is incredibly light, airy, and exceptionally flaky. This superior texture provides a delightful contrast to fillings, whether sweet or savory, and elevates simple dishes to something truly special.
Versatility of Puff Pastry: Sweet and Savory Applications
The beauty of puff pastry lies in its incredible versatility, making it a valuable dough to have in your baking repertoire. Its neutral base makes it suitable for a vast array of applications, from delicate desserts to hearty main courses. Think of classic French pastries like Mille-feuille (Napoleon), Palmiers (elephant ears), and Tarte Tatin (though sometimes made with rough puff, classic uses here).
On the savory side, puff pastry is the foundation for impressive dishes like Beef Wellington, comforting chicken pot pie toppings, elegant vol-au-vents filled with creamy mixtures, and simple yet satisfying cheese straws or turnovers. An easy homemade puff pastry recipe opens the door to exploring all these possibilities, allowing you to create bakery-quality items right in your own kitchen for any meal or occasion.
Ingredients and Techniques for Puff Pastry
Creating an easy homemade puff pastry recipe relies on a few key ingredients and a specific handling technique known as lamination. While the process involves chilling and folding, the ingredient list itself is surprisingly simple, consisting of just four basic components. Understanding the role of each ingredient is crucial for success.
The technique, lamination, is where the magic happens. It involves enclosing a block of butter within a simple dough (détrempe) and then rolling and folding the dough repeatedly. Each fold creates more layers of dough separated by layers of butter. When baked, the butter melts and the water turns to steam, pushing the dough layers apart to create the characteristic "puff."
Essential Ingredients
Success with an easy homemade puff pastry recipe starts with selecting the right ingredients. Quality matters, especially when it comes to the fat. Using the correct type of flour and ensuring your water is cold are also critical steps that contribute to the final texture and flakiness of your pastry.
Using precise measurements, typically by weight for accuracy, is highly recommended when working with pastry doughs. For example, a common ratio might involve roughly equal parts flour and butter by weight, with water making up about half the weight of the flour, plus a small amount of salt. These proportions can be adjusted slightly based on flour type and environmental humidity.
Flour: All-Purpose or Pastry Flour
For puff pastry, you need a flour that has a moderate protein content. All-purpose flour works well for most home bakers, providing enough structure to handle the rolling and folding without becoming too tough. Its protein content typically ranges from 10-12%.
Pastry flour, with a lower protein content (around 8-9%), can result in a more tender crumb. However, it can also make the dough more delicate and potentially harder to handle during the lamination process. For an easy homemade puff pastry recipe, starting with standard all-purpose flour is often the most reliable choice.
Butter: Unsalted, High-Fat Content
This is arguably the most critical ingredient. You must use unsalted butter, as salt content varies between brands and affects the dough's flavor balance. More importantly, choose a butter with a high fat content, ideally 82% or higher, common in European-style butters. Standard American butter is typically around 80% fat.
The higher fat content means less water, which is beneficial for lamination. The butter needs to be cold but pliable – not rock hard, but firm enough to roll without melting into the dough. If the butter is too soft, it will mix with the dough instead of creating distinct layers.
Water: Ice Cold
Using ice-cold water is essential for making the détrempe. Cold water helps to keep the butter in the dough solid during the initial mixing and rolling stages. It also helps to control gluten development, preventing the dough from becoming too elastic and difficult to roll.
The amount of water needed can vary slightly depending on the flour and humidity, but it's typically added just until the dough comes together. Using too much water can make the dough sticky and hard to handle, negatively impacting the lamination process and the final puff.
Salt: Enhances Flavor
A small amount of salt is added to the détrempe. While it might seem minor, salt plays an important role in enhancing the overall flavor of the pastry, balancing the richness of the butter. It also has a slight effect on gluten development, helping to strengthen the dough structure.
Ensure the salt is finely ground and dissolved in the cold water before adding it to the flour, or evenly dispersed if mixing dry with the flour. This prevents pockets of salt and ensures even distribution throughout the dough.
The Lamination Process: Creating Layers
Lamination is the heart of making puff pastry. It is the repetitive process of rolling, folding, and chilling the dough to create alternating layers of dough and butter. Each "turn" or "fold" multiplies the number of layers. For example, a simple fold of three (a single turn) triples the layers with each turn.
The goal is to create hundreds or even thousands of extremely thin layers. A typical easy homemade puff pastry recipe often calls for 4 to 6 single turns or 3 to 4 double turns to achieve sufficient layers for a good puff. Patience and keeping the dough and butter cold are paramount throughout this process.
Détrempe: Mixing the Dough
The détrempe (pronounced day-tromp) is the initial dough, a simple mixture of flour, cold water, and salt. Sometimes a small amount of softened butter or fat is included to make it more pliable. The key is to mix it minimally, just until it comes together into a shaggy dough.
Over-kneading the détrempe will develop too much gluten, making the dough elastic and difficult to roll thinly without shrinking back. The goal is a cohesive but not overly developed dough that can stretch and roll easily around the butter block.
Beurrage: Preparing the Butter Block
The beurrage (pronounced burr-ahj) is the butter block that is encased within the détrempe. It needs to be prepared so it has a similar consistency and pliability to the détrempe. This usually involves shaping cold, firm butter into a square or rectangle, often by pounding it slightly with a rolling pin and folding it, or by mixing it with a small amount of flour.
The butter must be cold enough to maintain its structure during rolling but pliable enough to roll out evenly with the dough without breaking or squeezing out. If the butter is too cold, it will break into pieces; if too warm, it will melt into the dough. Aim for a temperature where it bends slightly without snapping.
Turns and Folds: The Key to Flakiness
The lamination process involves performing a series of "turns." There are two main types of turns: the single turn (folding the dough into three) and the double turn (folding the dough into four). A single turn results in 3x the layers, while a double turn results in 4x the layers.
A common sequence for an easy homemade puff pastry recipe is four single turns, which results in 3^4 = 81 layers of dough and 80 layers of butter (initially 1 layer of butter, 2 layers of dough, after 1 turn 3 layers butter, 4 dough... after 4 turns, total 81 layers of dough and 80 layers of butter roughly). Performing these turns evenly and resting the dough between turns is crucial for developing maximum puff.
Step-by-Step Puff Pastry Recipe
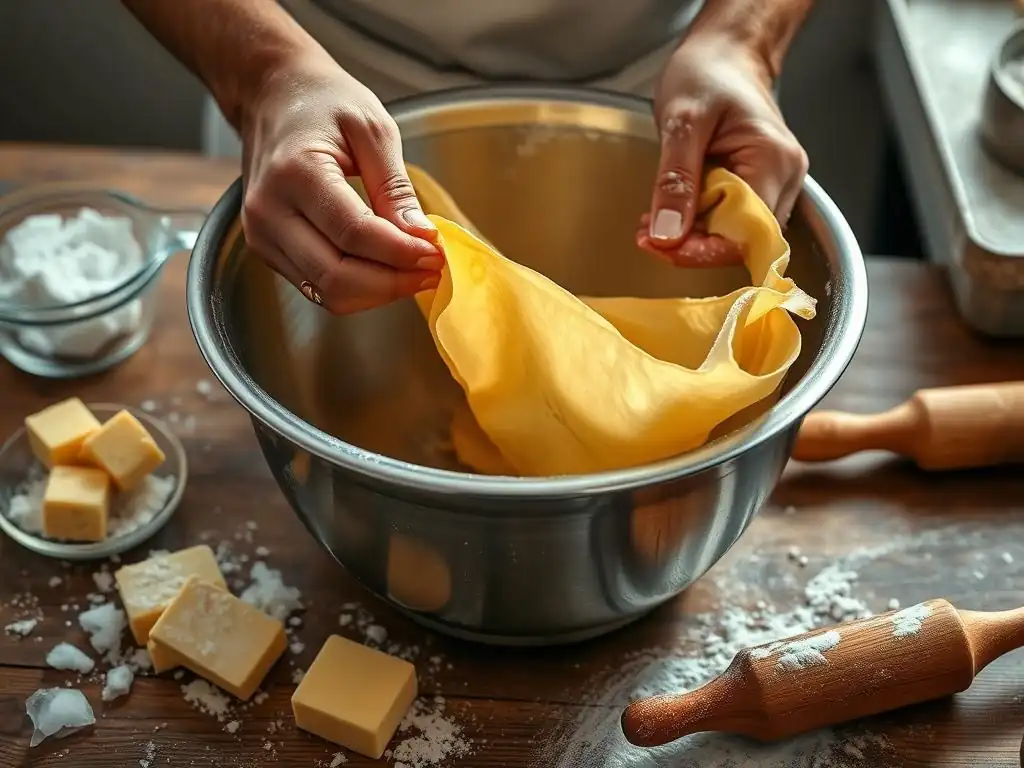
Creating an easy homemade puff pastry recipe is a process that requires attention to detail and patience, primarily involving chilling times. Here is a simplified breakdown of the steps, focusing on the core technique of lamination.
This recipe is designed to be approachable for home bakers, breaking down the process into manageable stages. While exact quantities can vary, a common starting point uses 250g all-purpose flour, 5g salt, 125ml ice water, and 250g high-fat unsalted butter.
Preparing the Détrempe
The first step is to create the simple dough that will encase the butter. This part is quick and should not involve extensive mixing or kneading.
Focus on bringing the ingredients together just until they form a cohesive mass. The dough might look a bit shaggy initially, which is perfectly fine.
Mixing Flour, Water, and Salt
In a medium bowl, combine 250g all-purpose flour and 5g salt. Stir briefly to distribute the salt. Gradually add 125ml ice-cold water, mixing with a fork or your hands until the dough just comes together. Be careful not to add too much water; you want a relatively firm dough.
Turn the dough out onto a lightly floured surface. Knead gently just a few times, maybe 5-10 kneads at most, until it forms a rough ball. Avoid developing the gluten significantly at this stage.
Kneading Briefly
The brief kneading step (just 5-10 gentle pushes and folds) is solely to bring the dough together into a cohesive unit. You are not aiming for a smooth, elastic dough like you would for bread. Over-kneading will make the dough resist rolling later.
Shape the dough into a rough rectangle or square, about 1 inch thick. Wrap it tightly in plastic wrap.
Resting the Détrempe: Allowing Gluten Relaxation
Resting the détrempe is a critical step before incorporating the butter. This allows the limited gluten developed during mixing to relax, making the dough more pliable and easier to roll evenly.
Refrigerate the wrapped détrempe for at least 30 minutes, or up to 2 hours. This chilling step also helps to firm up the dough, bringing its temperature closer to that of the butter you'll add next.
Creating the Beurrage
While the détrempe is resting, prepare your butter block. This involves shaping the cold butter into a specific form that fits neatly within the rolled-out détrempe.
The goal is a flat, evenly thick block of butter that is pliable but still cold. This consistency is key for successful lamination; it needs to roll out alongside the dough without melting or breaking.
Shaping the Butter: Achieving the Right Consistency
Take 250g cold, but not rock-hard, unsalted butter. Place it between two sheets of parchment paper. Using a rolling pin, gently pound the butter to flatten it slightly and make it more pliable. Then, roll it out into a square or rectangle, roughly 6x6 inches (about 15x15 cm).
Alternatively, you can use the "French method" where small pieces of butter are scattered over the rolled-out dough, but shaping a block (the "English method") is often considered easier for beginners making an easy homemade puff pastry recipe.
Chilling the Butter: Keeping it Cold
Once the butter is shaped, it needs to be chilled again to firm up slightly. This ensures it's cold enough to handle and laminate without melting into the dough.
Wrap the shaped butter block tightly in plastic wrap and refrigerate for about 15-20 minutes, or until it is firm but still slightly pliable. It should be roughly the same consistency as your chilled détrempe.
Laminating the Dough: Folding and Turning
This is the core process of creating the layers. It involves rolling the détrempe, placing the beurrage inside, enclosing it, and then performing a series of folds (turns) with chilling periods in between.
Work on a lightly floured surface, using just enough flour to prevent sticking. Excessive flour can be incorporated into the dough layers, affecting the texture.
First Single Turn
Take the chilled détrempe and roll it out into a square about 12x12 inches (about 30x30 cm). The center should be slightly thicker than the edges. Place the chilled butter block diagonally in the center of the dough square.
Fold the corners of the dough up over the butter block, meeting in the center, like an envelope. Pinch the seams firmly to completely enclose the butter, ensuring there are no gaps where butter could escape during rolling.
Second Single Turn
Rotate the dough package 90 degrees so the seam is facing you or away from you. Gently roll the dough out into a long rectangle, about 8 inches wide and 24 inches long (about 20x60 cm). Try to maintain an even thickness.
Perform the first "single turn" by folding the bottom third of the rectangle up over the middle third, and then folding the top third down over that. This creates three layers of dough and two layers of butter within. You now have 3x the initial layers.
Third Single Turn
Wrap the folded dough tightly in plastic wrap. Refrigerate for at least 30-45 minutes. This chilling period is crucial for the butter to re-firm and the gluten in the dough to relax, making it easier to roll without resistance.
After chilling, unwrap the dough. Place it on a lightly floured surface with the folded edge to your left or right (like the spine of a book). Roll it out again into a long rectangle, about 8x24 inches. Perform another single turn (fold in three). Wrap and chill again for 30-45 minutes.
Resting Between Turns: Maintaining Butter Consistency
Repeat the rolling, folding (single turn), wrapping, and chilling process two more times, for a total of four single turns. Each turn should be followed by a rest period of at least 30-45 minutes in the refrigerator.
This resting time is non-negotiable for a successful easy homemade puff pastry recipe. It allows the butter to stay cold and distinct from the dough layers and gives the dough's gluten time to relax, preventing shrinkage and ensuring you can roll the dough thinly and evenly for the final turns.
Final Resting: Ensuring Relaxation
After completing the required number of turns (four single turns in this example), the dough needs one final, longer rest period. This allows the layers to set and the gluten to fully relax before you roll it out for shaping and baking.
This final rest is crucial for achieving maximum puff and preventing the pastry from shrinking excessively when baked. Skipping this step can result in dense, unevenly puffed pastry.
Chilling Before Use
Wrap the completed puff pastry dough tightly in plastic wrap. Refrigerate for at least 1-2 hours, or preferably longer, before rolling out and shaping for baking.
This extended chilling period ensures the dough is firm and the butter is cold, making it easy to roll to the desired thickness and cut cleanly without distorting the layers. A well-rested dough is key to a beautiful, high puff.
Baking Tips for Puff Pastry
Baking puff pastry correctly is just as important as making the dough itself. The high fat content requires specific conditions to achieve that signature airy, flaky texture.
Even with the best easy homemade puff pastry recipe, improper baking can lead to disappointing results. Pay close attention to oven temperature, how you handle the dough before baking, and common issues that might arise.
Oven Temperature: High Heat for Puffing
Puff pastry requires a hot oven to bake properly. A high initial temperature, typically between 400°F and 425°F (200°C to 220°C), is needed to rapidly melt the butter and turn the water in the layers into steam. This burst of steam is what forces the layers apart, creating the dramatic puff.
Some recipes recommend starting at a high temperature for 10-15 minutes, then reducing the heat slightly (to around 375°F or 190°C) to ensure the layers cook through and brown evenly without burning the exterior. Always preheat your oven fully before baking.
Shaping and Cutting: Sharp Tools for Clean Edges
When shaping puff pastry, always use a very sharp knife, pastry wheel, or pizza cutter. Cut straight down without dragging the blade through the dough.
Clean cuts are essential because they expose the edges of the layers. If the edges are sealed or squashed by a dull tool, the layers at the edge won't be able to separate and puff properly, resulting in uneven lift.
Egg Wash: For Golden-Brown Color
Applying a thin layer of egg wash to the surface of the pastry before baking gives it a beautiful, golden-brown, glossy finish. An egg wash is typically made by whisking an egg with a tablespoon of water or milk.
Brush the wash evenly over the top surface, but be careful not to let it drip down the cut edges. If egg wash seals the edges, it will prevent the layers from puffing correctly at those points.
Troubleshooting Common Issues
Even with an easy homemade puff pastry recipe, you might encounter challenges. Understanding common issues and their causes can help you achieve better results.
Don't be discouraged if your first attempt isn't perfect. Puff pastry takes practice, and identifying what went wrong is the first step to improving.
Butter Leakage: Keeping Dough Cold
If butter melts out of the dough during rolling or baking, it's usually because the dough wasn't kept cold enough. Warm dough or butter will integrate instead of staying in distinct layers.
Ensure your workspace is cool, chill the dough adequately between turns (at least 30-45 minutes), and work quickly when rolling. If the dough becomes too warm, wrap it and return it to the refrigerator immediately.
Uneven Puff: Even Heat Distribution
Uneven puff can be caused by several factors, including uneven rolling (some parts thicker than others), dough not being cold enough, or uneven heat distribution in your oven.
Roll the dough as evenly as possible, ensuring consistent thickness across the sheet. Make sure your oven is fully preheated and consider rotating the baking sheet halfway through baking if you suspect hot spots.
Shrinkage: Avoiding Over-Handling
If your puff pastry shrinks significantly when baked, it's often a sign that the gluten wasn't sufficiently relaxed before shaping and baking. This can happen if the dough wasn't rested long enough between turns or before the final rollout.
Ensure you adhere to the recommended chilling times between each turn and especially the final rest (1-2 hours or more). Handle the dough gently when rolling and shaping; avoid stretching it excessively.
Puff Pastry Variations
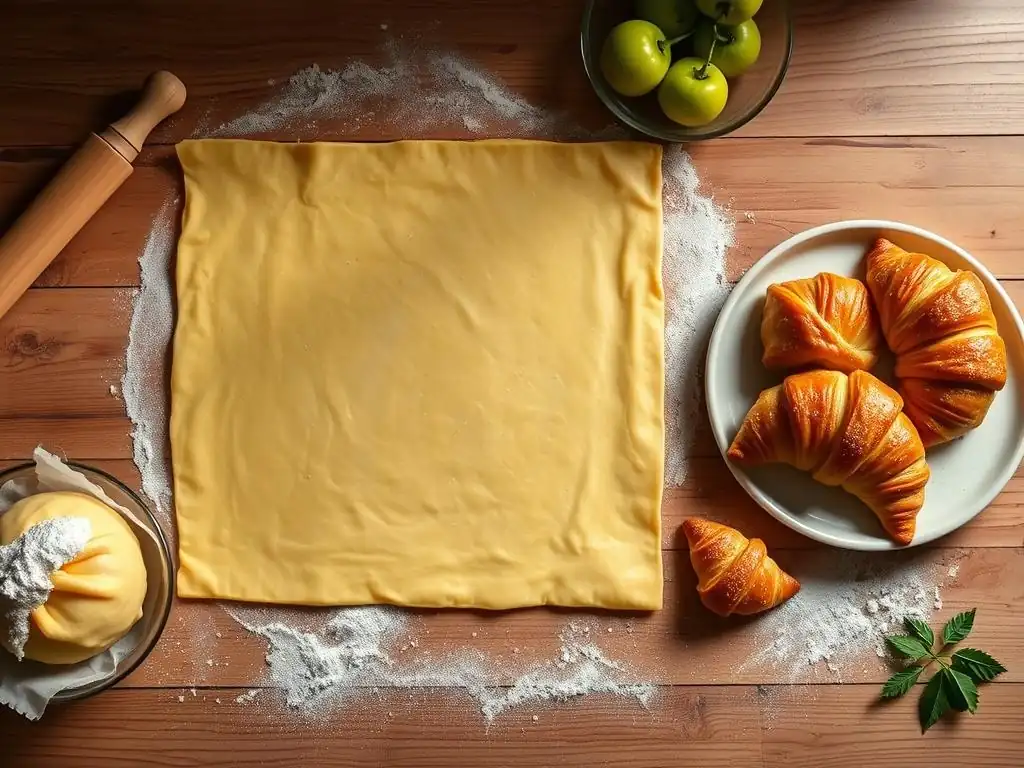
While the basic easy homemade puff pastry recipe is versatile, you can introduce minor variations to tailor it for specific sweet or savory applications. These adjustments are minimal and don't fundamentally change the lamination process itself.
Experimenting with these small additions can enhance the flavor profile of your pastry to perfectly complement the intended filling or dish.
Sweet Puff Pastry: Adding Sugar
For pastries intended for desserts, you can add a small amount of granulated sugar to the détrempe along with the flour and salt. A ratio of about 1-2 tablespoons of sugar per 250g of flour is usually sufficient.
This small amount of sugar doesn't caramelize significantly during baking but can contribute to slightly better browning and a subtle sweetness in the dough itself, complementing sweet fillings like fruit or cream.
Savory Puff Pastry: Incorporating Herbs and Cheese
For savory applications, you can mix finely chopped fresh herbs (like rosemary, thyme, or chives) or grated hard cheese (like Parmesan or Gruyère) into the détrempe along with the flour and salt. Use about 1-2 tablespoons of herbs or 2-3 tablespoons of cheese per 250g of flour.
These additions infuse the dough with flavor, making it perfect for appetizers like cheese straws or toppings for pot pies. Ensure the additions are finely chopped or grated to avoid tearing the dough during rolling.
Applications of Puff Pastry
Once you've mastered an easy homemade puff pastry recipe, a world of culinary possibilities opens up. This versatile dough can be used in countless ways, from simple snacks to elaborate centerpieces.
Here are just a few examples of classic and popular uses for puff pastry, demonstrating its adaptability across different meal courses.
Appetizers: Cheese Straws, Mini Quiches
Puff pastry is ideal for quick and impressive appetizers. Rolling out the dough, sprinkling it with cheese and herbs, cutting into strips, and twisting creates delicious cheese straws.
Small circles or squares of puff pastry can be pressed into mini muffin tins and filled with savory custards, vegetables, or cheese to make delightful mini quiches or tartlets. Baking them until golden and puffed yields perfect bite-sized treats.
Main Courses: Beef Wellington, Pot Pies
Puff pastry adds an element of elegance and comfort to main dishes. Wrapping a perfectly cooked beef tenderloin in mushroom duxelles and puff pastry creates the iconic Beef Wellington.
It's also the classic topping for savory pot pies, providing a flaky, buttery crust that contrasts beautifully with rich, creamy fillings like chicken, beef, or vegetables. Simply cut a piece of dough to fit over your pot pie dish, vent it, and bake until golden.
Desserts: Palmiers, Fruit Tarts
Puff pastry is a staple in French patisserie. Rolling dough with sugar and baking creates simple, caramelized Palmiers. Layering baked puff pastry with cream and fruit makes a stunning Mille-feuille.
It also forms the base for exquisite fruit tarts, where a sheet of pastry is topped with fruit and baked until the edges are golden and puffed, resulting in a rustic yet elegant dessert.
Storing and Freezing
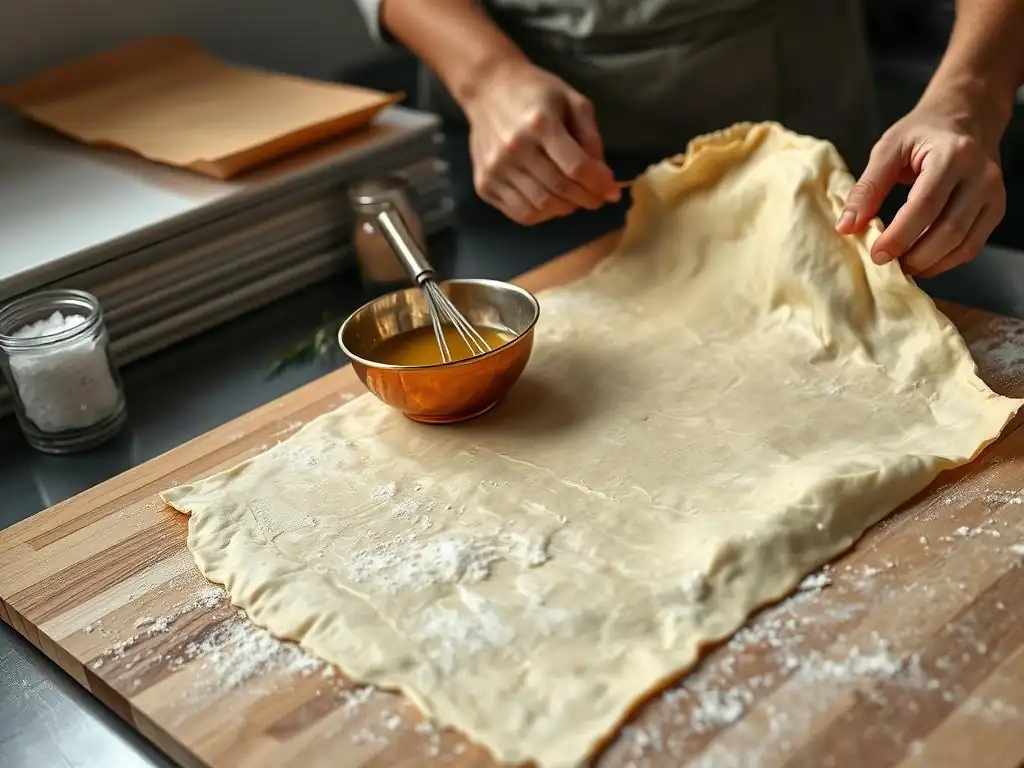
One of the great advantages of making an easy homemade puff pastry recipe is that it can be prepared ahead of time and stored for later use. Proper storage ensures the layers remain intact and the dough is ready when you need it.
Both refrigerating and freezing are viable options, allowing you to have homemade puff pastry on hand for spontaneous baking projects.
Storing Unbaked Dough: Refrigeration
Unbaked puff pastry dough can be stored in the refrigerator for up to 2-3 days. After completing all the turns and the final rest, wrap the dough very tightly in plastic wrap, pressing out any air.
Store it in the coldest part of your refrigerator. Before use, you might need to let it sit at room temperature for 10-15 minutes to become pliable enough to roll, but it should still be cold.
Freezing for Later Use: Proper Wrapping
For longer storage, puff pastry freezes exceptionally well. Wrap the fully rested dough block tightly in plastic wrap, ensuring it is completely sealed to prevent freezer burn. Then, wrap it again in aluminum foil or place it in a freezer-safe bag.
Label the package with the date. Puff pastry can be frozen for up to 1-2 months. To thaw, transfer the wrapped dough to the refrigerator and let it thaw slowly overnight. Avoid thawing at room temperature, as this can cause the butter layers to melt.
Conclusion
Enjoy the Art of Homemade Puff Pastry
Making an easy homemade puff pastry recipe is a rewarding process that connects you with classic baking techniques. While it requires time and patience due to the chilling periods, the steps themselves are straightforward, and the result – incredibly flaky, buttery pastry – is well worth the effort. Having homemade puff pastry on hand elevates your baking and cooking to a new level, allowing you to create dishes with superior flavor and texture.
Embrace the process, pay attention to the temperature of your ingredients, and don't rush the chilling steps. With a little practice, crafting this foundational dough will become a satisfying part of your baking routine, opening up a world of delicious possibilities from sweet treats to savory delights.
Now that you have the skills to make an easy homemade puff pastry recipe, it's time to put it to use! Whether you bake classic French pastries, elegant appetizers, or comforting main dishes, share your beautiful, flaky creations with friends and family.
Don't hesitate to experiment with different fillings and shapes. The joy of baking lies not just in the making, but in the sharing. We can't wait to see what you create with your perfect homemade puff pastry!
Frequently Asked Questions
What is the difference between puff pastry and other types of pastry?
Puff pastry is characterized by its distinctive layers created by folding butter into the dough. Other pastries may rely on different techniques, resulting in different textures and levels of flakiness.
How difficult is it to make puff pastry at home?
While it requires patience, making puff pastry at home is achievable with the right recipe and instructions. Our BakeWithEase recipe focuses on a simplified process for home bakers.
What are some common uses for homemade puff pastry?
Homemade puff pastry is incredibly versatile. It's perfect for creating classic French pastries like croissants and pain au chocolat, as well as savory dishes such as quiche and tarts.
Can I freeze homemade puff pastry dough?
Yes, you can definitely freeze homemade puff pastry dough. Just wrap it tightly in plastic wrap and then in foil. This allows you to have freshly baked pastries whenever you desire.
What are some tips for achieving a truly flaky puff pastry?
Keeping the butter cold is crucial for achieving a flaky texture. Also, handle the dough gently and avoid overworking it to prevent the gluten from developing too much.
Final Reflection: The Humble Puff, a Monument to Patience
The pursuit of flaky, buttery perfection in homemade puff pastry is more than just a culinary challenge; it's a testament to the enduring power of simple ingredients transformed by time and technique. The seemingly effortless elegance of a perfectly executed croissant, mille-feuille, or palmier belies the dedication required to master the art of puff pastry. This recipe, designed for ease of access and understanding, aims to demystify this classic, making it accessible to home bakers of all levels.
The journey of creating puff pastry from scratch is a deeply rewarding one. It's a process that demands patience, precision, and a willingness to embrace the unexpected. The subtle nuances of the dough, the satisfying sound of the layers separating during baking, and the final, golden-brown result are all part of a sensory experience that transcends the simple act of cooking. The best things in life are worth waiting for,
a sentiment that rings especially true when considering the exquisite results of this deceptively simple recipe.
Now, consider your own kitchen. Imagine the possibilities: the aroma of freshly baked pastries filling your home, the pride of creating something beautiful and delicious from scratch, the joy of sharing your creations with loved ones. Don't let the perceived complexity of puff pastry deter you. Embrace the challenge, allow yourself the time to master the technique, and discover the profound satisfaction of transforming simple flour, butter, and water into something truly extraordinary. The journey is as rewarding as the destination.
Unleash Your Inner Pastry Chef!
Thanks for joining us on this delicious journey into the world of puff pastry! You've now got the skills to create flaky, buttery perfection from scratch. Ready to take your baking to the next level?
- Bake your masterpiece! Try the recipe you just learned – maybe a classic Croissant or a show-stopping Napoleon? Let us know how it turns out!
- Share your baking triumph! Post a picture of your creation on social media using #BakeWithEasePuffPastry and inspire others!
- Explore our other recipes for classic French desserts and find your next culinary adventure.
What delicious creation will you make with your homemade puff pastry first?