
Your Ultimate Guide to Making Mochi Dough Perfectly

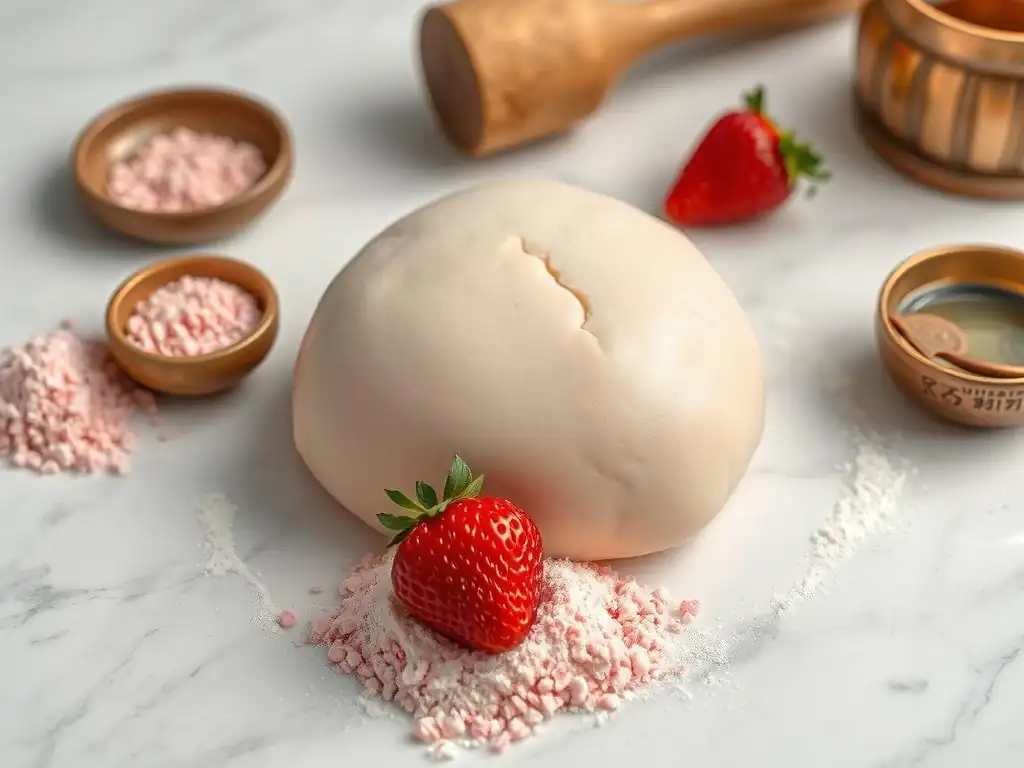
Welcome to BakeWithEase, your culinary companion for crafting delicious delights! Ever dreamt of creating pillowy-soft, perfectly chewy mochi? Unlocking the secrets to a flawless perfect mochi dough recipe is now within your reach. Discover the simple steps and essential tips to transform ordinary ingredients into extraordinary treats. Intrigued? Let's embark on this delightful baking journey together and explore the art of regional and cultural baking!
- Introduction to Mochi Dough Baking with BakeWithEase
- Understanding Mochi Dough Ingredients for the Best Results
- Step-by-Step Guide to Crafting the Perfect Mochi Dough Recipe
- Troubleshooting Common Mochi Dough Problems & Solutions
- Tips and Tricks for Mastering the Art of Mochi Dough
- Delicious Mochi Dough Recipes to Try at Home
- Conclusion: Elevate Your Baking with Perfect Mochi Dough
-
Frequently Asked Questions
- What is mochi dough and what makes it unique?
- What kind of rice flour is best for making mochi dough, and can I substitute it?
- What are some common mistakes to avoid when making mochi dough?
- How can I store leftover mochi dough, and how long will it last?
- What are some creative ways to use the perfect mochi dough recipe beyond traditional mochi?
- Final Reflection: The Sweet Science of Perfect Mochi
- Unlock Your Inner Mochi Master!
Introduction to Mochi Dough Baking with BakeWithEase
Discover the Art of Mochi: A Japanese Confection
Mochi is a beloved Japanese rice cake made from mochigome, a short-grain glutinous rice. This traditional treat has been a part of Japanese culture for centuries, often enjoyed during celebrations like the New Year. The process of making mochi traditionally involves pounding cooked glutinous rice into a paste, a laborious but communal activity known as mochitsuki.
Today, home bakers can achieve a similar delightful chewy texture using glutinous rice flour, making the process more accessible. Mochi is incredibly versatile and can be enjoyed in countless forms, from simple grilled squares dipped in soy sauce ( yakimochi) to elaborate filled pastries ( daifuku) and even incorporated into savory dishes. Mastering the perfect mochi dough recipe is your gateway to exploring this rich culinary tradition.
Why Perfect Mochi Dough is Essential for Authentic Japanese Desserts
The texture of mochi is its defining characteristic: incredibly soft, chewy, and slightly elastic. Achieving this specific consistency is paramount for authentic Japanese desserts. If the dough is too dry, it becomes hard and crumbly; if it's too wet, it's impossible to handle and overly sticky. A truly perfect mochi dough provides the ideal balance, offering that signature pleasant chewiness without sticking excessively to your teeth.
Using a precise and reliable perfect mochi dough recipe ensures consistency in your creations, whether you're making delicate mochi ice cream wrappers or substantial daifuku filled with sweet bean paste. A well-made dough not only tastes better but also handles beautifully, making the shaping and filling process much smoother and more enjoyable, leading to professional-looking results right in your own kitchen.
Understanding Mochi Dough Ingredients for the Best Results
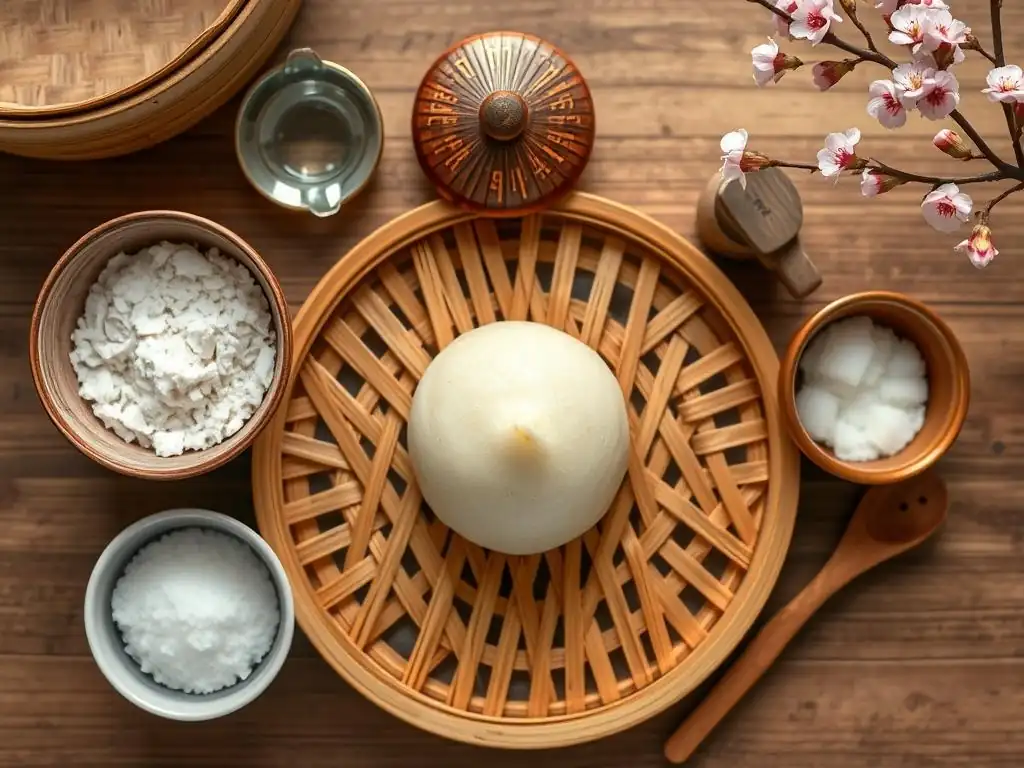
Glutinous Rice Flour: The Key Ingredient for Authentic Mochi
Glutinous rice flour, also known as sweet rice flour, is the non-negotiable foundation of mochi dough. Despite the name "glutinous," it contains no dietary gluten; the term refers to its sticky, glue-like consistency when cooked, thanks to its high amylopectin starch content (typically over 90% in mochigome). This unique starch profile is what gives mochi its characteristic chewiness and elasticity.
Choosing the right type of glutinous rice flour can impact your perfect mochi dough recipe. Mochiko, a Japanese-style glutinous rice flour made from short-grain sweet rice, is widely available in Asian markets and many supermarkets and is a popular choice for its consistent results. Shiratamako, another Japanese variety, is made from short-grain sweet rice that has been wet-milled and dried, resulting in coarse granules and often yielding an even smoother, more elastic texture, though it can be slightly more expensive. Both work well for achieving that ideal mochi texture.
Sugar's Role in Mochi Dough Texture and Sweetness
Sugar in mochi dough serves multiple purposes beyond just adding sweetness. It plays a crucial role in inhibiting retrogradation, the process where starch molecules realign and cause the dough to become hard and stale over time. By interfering with this process, sugar helps the mochi stay soft and pliable for longer, maintaining that desirable chewy texture.
The amount of sugar used can also slightly affect the dough's hydration and stickiness during cooking. A common ratio might involve using sugar equal to about 30-50% of the weight of the glutinous rice flour, though this can vary based on the recipe and desired sweetness level. Balancing the sugar is key; too much can make the dough excessively sticky and difficult to work with, while too little might result in a dough that hardens quickly.
Water: Achieving the Right Hydration Level for Mochi
Water is essential for hydrating the glutinous rice flour, allowing the starch granules to gelatinize when heated, which is the core process that creates the mochi texture. The ratio of water to flour is critical in a perfect mochi dough recipe. Too little water results in a dry, crumbly dough that won't cook properly or become elastic. Too much water creates a loose, unmanageable paste that remains excessively sticky even after cooking.
A typical starting point for the water-to-flour ratio is roughly 1:1 by weight or slightly less water than flour by volume, but this can vary depending on the specific brand and type of glutinous rice flour used, as different flours absorb moisture differently. For example, 100 grams of mochiko might require around 150-180 ml of water. It's often best to follow a tested recipe precisely for the initial attempt and adjust slightly in future batches based on observation.
Optional Additions: Flavoring and Coloring Your Mochi Dough
While classic mochi is often plain, adding flavor and color can elevate your creations. Common additions include matcha (green tea powder), cocoa powder, fruit purees, or extracts like vanilla or almond. These additions not only impart flavor but can also affect the dough's consistency, often requiring slight adjustments to the liquid ratio.
For instance, adding matcha powder (typically 1-2 teaspoons per 100g of flour) introduces a subtle earthy flavor and a beautiful green hue. When adding dry ingredients like powders, it's usually best to whisk them into the dry flour before adding the liquid. For liquid additions like fruit purees, they might replace some of the water content. Start with small amounts and increase gradually to achieve the desired intensity without compromising the perfect mochi dough texture.
Step-by-Step Guide to Crafting the Perfect Mochi Dough Recipe
Step 1: Preparing Your Ingredients and Equipment for Mochi Making
Before you begin, gather all your ingredients: glutinous rice flour (mochiko or shiratamako are recommended), sugar, and water. If using optional flavorings or colorings, have those ready too. Precision is important for a perfect mochi dough recipe, so measuring by weight, especially for the flour and sugar, is highly recommended.
You'll also need the necessary equipment based on your chosen cooking method. For microwaving, you'll need a microwave-safe bowl (preferably glass or ceramic) and plastic wrap. For steaming, you'll need a steamer basket or setup and parchment paper to prevent sticking. Having cornstarch or potato starch (katakuriko) ready for dusting your work surface and hands is absolutely essential for handling the sticky dough later.
Step 2: Combining the Ingredients for Smooth Mochi Dough
In your chosen cooking vessel (microwave-safe bowl or a bowl for steaming), whisk together the glutinous rice flour and sugar until well combined. If you are adding any dry flavorings like matcha or cocoa powder, whisk them in at this stage to ensure even distribution. This dry mixing helps prevent clumps.
Gradually add the water (and any liquid flavorings) to the dry ingredients while whisking continuously. Continue whisking until you have a smooth, lump-free batter. The consistency should resemble a thick pancake batter. Ensure all the flour is incorporated from the sides and bottom of the bowl. This smooth batter is the starting point for your perfect mochi dough.
Step 3: Cooking the Mochi Dough: Microwave vs. Steaming Methods
Cooking transforms the liquid batter into the characteristic chewy mochi dough. There are two primary methods: microwaving for speed and convenience, and steaming for a more traditional approach often yielding a slightly superior texture. Both can produce a perfect mochi dough recipe result if done correctly.
| Method | Time (approx.) | Texture Outcome | Ease of Use |
|---|---|---|---|
| Microwave | 3-6 minutes | Slightly less uniform | High |
| Steaming | 15-20 minutes | Very smooth & uniform | Medium |
Microwave Mochi Dough: A Quick and Easy Method
The microwave method is incredibly fast and convenient, making it ideal for beginners or when you're short on time. Once your batter is smooth in a microwave-safe bowl, cover it tightly with plastic wrap. Microwave on high power for 1 minute. Carefully remove the bowl (it will be hot! ), and stir the dough vigorously with a wet spatula or spoon. The dough will start to look partially cooked and opaque.
Re-cover the bowl and microwave for another 1 minute interval. Stir again. Repeat this process, microwaving and stirring every 1 minute, for a total of 3-6 minutes, depending on your microwave's wattage and the amount of dough. The dough is done when it is uniformly opaque, translucent around the edges, and very sticky and elastic when stirred. For a batch using 100g flour, 3-4 minutes is often sufficient in an 800W microwave.
Steamed Mochi Dough: The Traditional Approach for Optimal Texture
Steaming is the traditional method and is often preferred by purists for achieving the smoothest, most consistently elastic perfect mochi dough. Prepare your steamer by bringing water to a boil. Pour the smooth mochi batter into a heat-safe bowl that fits inside your steamer basket. Cover the bowl tightly with plastic wrap or a lid to prevent condensation from dripping onto the dough.
Place the bowl in the steamer basket and steam over medium-high heat for 15-20 minutes. The exact time depends on the thickness of the dough layer in the bowl. After about 15 minutes, the dough should appear completely translucent and very sticky. Carefully remove the bowl from the steamer. The dough is now ready for kneading.
Step 4: Kneading and Shaping Your Mochi Dough
Once cooked, the mochi dough needs kneading to develop its elasticity and smooth out any remaining inconsistencies. This step is crucial for achieving that signature chewy texture. Prepare a surface by dusting it generously with cornstarch or potato starch (katakuriko). You'll also want some starch on your hands or a spatula to handle the sticky dough.
Turn the hot, cooked dough out onto the prepared surface. Using a starch-dusted spatula or your hands (dusted with starch), fold and press the dough repeatedly. This isn't like bread kneading; it's more of a folding and stretching motion. Be cautious as the dough will be very hot initially. Knead for about 5-10 minutes until the dough is smooth, glossy, and uniformly elastic.
The Importance of Kneading for Elasticity
Kneading the hot mochi dough is what truly develops its unique, springy elasticity. The heat from the cooking process allows the starch molecules to become flexible, and the mechanical action of kneading helps them align and form a strong, interconnected network. This network is what gives mochi its characteristic stretch and chew.
Insufficient kneading results in a dough that is less elastic, potentially crumbly, or uneven in texture. It might break easily when stretched or feel dense rather than delightfully chewy. Conversely, over-kneading is difficult with mochi dough by hand, so focus on achieving that smooth, glossy surface and consistent stretchiness.
Shaping Techniques for Different Mochi Desserts [e.g., Daifuku, Mochi Ice Cream]
Once your perfect mochi dough is kneaded and slightly cooled (but still warm and pliable), it's ready for shaping. Keep your hands and surface well-dusted with starch to prevent sticking. For Daifuku, divide the dough into equal portions (e.g., 20-30g each). Flatten each portion into a disk, place a filling (like anko, sweet red bean paste) in the center, and carefully gather the edges of the dough around the filling, pinching to seal.
For Mochi Ice Cream wrappers, the process is similar but requires the dough to be rolled out thinner. After kneading, roll the dough onto a heavily starched surface to about 1/8 inch thickness. Use a round cutter (slightly larger than your ice cream scoop) to cut out circles. Wrap each circle around a scoop of frozen ice cream quickly, sealing the edges, and immediately place in the freezer. Handling the dough while slightly warm makes shaping easier before it cools and becomes less pliable.
Troubleshooting Common Mochi Dough Problems & Solutions
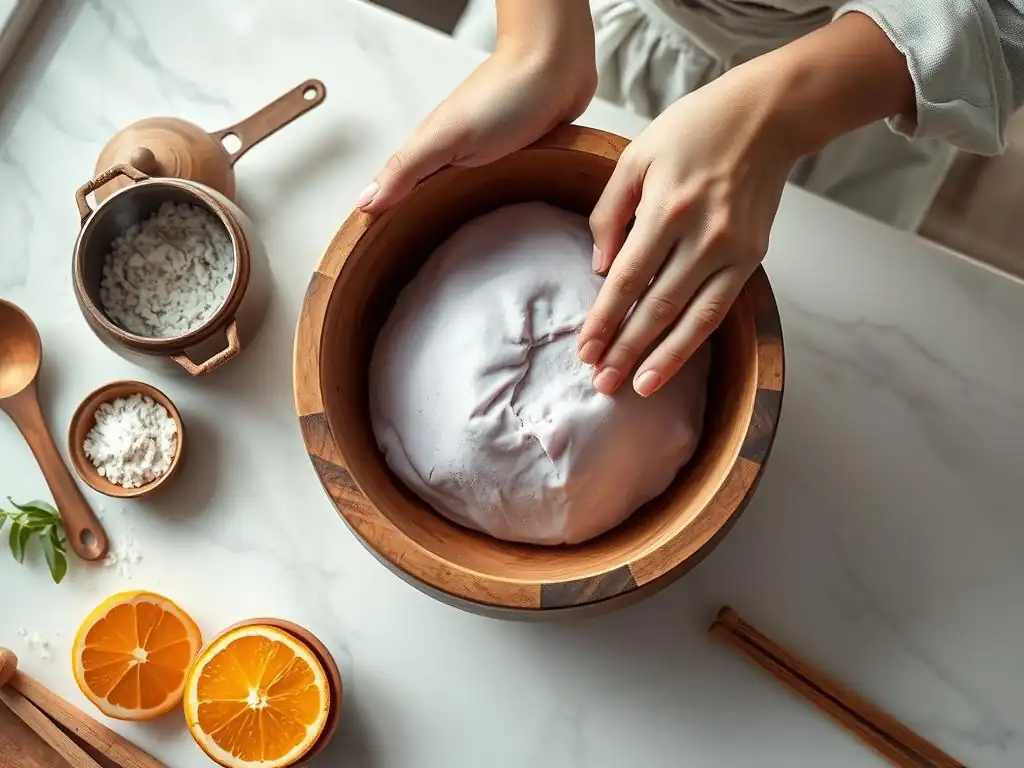
Mochi Dough Too Sticky: How to Fix It
Excessive stickiness is the most common issue when making mochi dough. This can be due to insufficient cooking time, incorrect water ratio, or not using enough starch for handling. If your dough is too sticky after cooking, try microwaving it for additional short bursts (15-30 seconds) or steaming for a few more minutes, stirring in between, to ensure it's fully cooked.
For handling sticky dough, the solution is generous use of starch. Ensure your work surface, hands, rolling pin, and cutters are thoroughly dusted with cornstarch or potato starch (katakuriko). Don't be afraid to re-dust as needed while shaping. If the dough is still unmanageable, you can try incorporating a tiny bit more starch into the dough during the kneading process, but be cautious not to add too much, which can make it dry.
Mochi Dough Too Dry: Adding Moisture Back In
If your mochi dough feels dry, hard, or crumbly after cooking and kneading, it likely didn't receive enough moisture during preparation or was overcooked, causing too much water to evaporate. This results in a dense, inelastic dough far from the perfect mochi dough texture.
To attempt to fix dry dough, you can try steaming it again for a few minutes. Sometimes, the steam can help rehydrate it. Alternatively, you can try adding a very small amount (maybe 1-2 teaspoons at a time) of hot water during kneading, carefully working it into the dough. This is tricky, as adding too much will make it sticky again. Prevention is easier: ensure accurate measurements and avoid overcooking.
Mochi Dough Not Cooking Evenly: Tips for Consistent Results
Unevenly cooked mochi dough will have hard, dry spots alongside gooey, uncooked sections. This is more common with the microwave method if the dough isn't stirred adequately between intervals. With steaming, it can happen if the heat isn't consistent or if the dough layer is too thick.
When microwaving, stirring vigorously after each 1-minute interval is crucial to redistribute the heat and ensure uniform cooking. Scrape down the sides and bottom of the bowl. When steaming, ensure the water is simmering steadily and the steam can circulate freely around the bowl. Using a bowl where the dough isn't spread too thickly can also help the steam penetrate evenly.
Preventing Mochi Dough from Sticking: Best Practices
Preventing mochi dough from sticking is key to a smooth and enjoyable shaping process. The primary defense is starch. Use a generous amount of cornstarch or potato starch (katakuriko) on your work surface, rolling pin, hands, and any tools you use. Potato starch is often preferred in Japan as it doesn't become gummy when it comes into contact with the dough's moisture like cornstarch can.
Another tip is to work with the dough while it is still warm. As mochi dough cools, it becomes less pliable and more prone to sticking. If you're making a large batch, keep portions you're not actively working with covered loosely (perhaps with plastic wrap or a damp cloth) to retain warmth and moisture. Dividing the dough into smaller, manageable batches can also help.
Tips and Tricks for Mastering the Art of Mochi Dough
Using Different Types of Glutinous Rice Flour [e.g., Shiratamako, Mochiko]
As mentioned earlier, the type of glutinous rice flour impacts the final texture of your perfect mochi dough. Mochiko is a finely ground flour that dissolves easily and is widely available, producing a reliable, chewy texture suitable for most mochi applications like daifuku and mochi ice cream.
Shiratamako, with its coarser granules that require soaking or whisking thoroughly to dissolve, is often said to produce a smoother, more elastic, and less prone-to-hardening mochi. Some bakers prefer it for its superior texture, especially for delicate applications. Experimenting with both types can help you discover which one yields your preferred perfect mochi dough.
Achieving the Perfect Mochi Texture: Soft, Chewy, and Elastic
The ideal mochi texture is a delicate balance: soft enough to bite through easily, chewy without being tough or rubbery, and elastic enough to stretch without breaking. This texture is achieved through the correct ratio of ingredients, thorough cooking to gelatinize the starch completely, and adequate kneading to develop the starch network.
Listen to your dough during kneading – it should feel pliable and slightly resistant, stretching rather than tearing. Visually, it should become smooth and slightly glossy. If it feels too stiff, it might be dry; if it's too loose and sticky even with starch, it might be undercooked or have too much liquid. Practice and careful observation are key to consistently achieving that perfect mochi dough texture.
Flavor Variations: Expanding Your Mochi Dough Repertoire [e.g., Matcha, Chocolate, Strawberry]
Once you've mastered the basic perfect mochi dough recipe, you can easily create exciting flavor variations. For a vibrant green matcha mochi, whisk 1-2 tablespoons of ceremonial grade matcha powder with the dry flour before adding liquid. This gives a lovely earthy flavor and color, perfect for pairing with red bean paste.
Chocolate mochi can be made by adding 2-3 tablespoons of unsweetened cocoa powder to the dry ingredients and potentially a tiny bit more liquid to compensate for the cocoa's absorbency. For fruit flavors, you can add a small amount (start with 1-2 tablespoons) of thick fruit puree or extract along with the water, adjusting the total liquid amount slightly. Strawberry puree, for example, gives a lovely pink hue and natural sweetness.
Storing Mochi Dough: Keeping it Fresh and Soft
Mochi is best enjoyed fresh, ideally within a few hours of making, as it tends to harden over time due to starch retrogradation. However, you can store plain mochi dough for a short period. Wrap cooled, plain dough tightly in plastic wrap to prevent it from drying out. Place the wrapped dough in an airtight container.
Store at room temperature for up to 24 hours. For longer storage (up to 2-3 days), refrigerate, but be aware it will harden significantly. It can often be softened slightly by briefly microwaving or steaming again. For longer-term storage, plain mochi can be frozen for up to a month. Thaw at room temperature and then gently re-steam or microwave until soft before using. Filled mochi like daifuku are best eaten the same day.
Delicious Mochi Dough Recipes to Try at Home
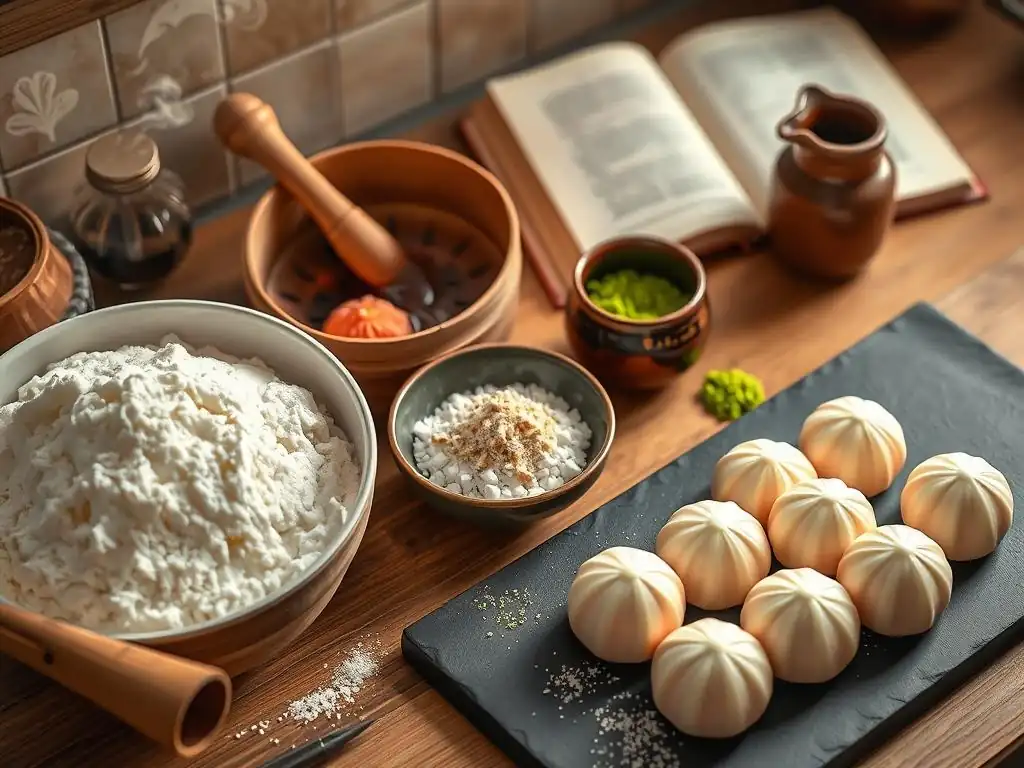
Classic Daifuku Mochi Recipe
Daifuku is perhaps the most iconic mochi dessert, featuring a small round mochi stuffed with a sweet filling, most commonly anko (sweet red bean paste). Using your perfect mochi dough, divide it into small portions (around 25g is common). Flatten each piece into a disk, about 3-4 inches in diameter. Place a ball of anko (about 15-20g) in the center.
Carefully pull the edges of the mochi dough up and around the anko ball, pinching firmly at the top to seal completely. Dust the finished daifuku with extra starch to prevent sticking. Some variations include adding a whole strawberry inside with the anko ( ichigo daifuku) or using different fillings like white bean paste ( shiroan) or even cream.
Mochi Ice Cream: A Refreshing Treat
Mochi ice cream is a delightful fusion dessert where a small scoop of ice cream is wrapped in a thin layer of mochi dough. This requires a perfect mochi dough that is soft and pliable when cool. After making and kneading your dough, roll it out thinly (about 1/8 inch) on a heavily starched surface.
Cut out circles using a cookie cutter slightly larger than your ice cream scoop (e.g., a 3-inch cutter for a standard small scoop). Work quickly: take a frozen scoop of ice cream, place it on a mochi circle, and rapidly gather the edges around the scoop, pinching to seal. Place the finished mochi ice cream immediately into an airtight container in the freezer for at least a few hours to firm up before serving.
Kinako Mochi: A Simple and Delicious Snack
Kinako mochi is one of the simplest ways to enjoy fresh mochi dough. Using your perfect mochi dough, cut it into bite-sized pieces or small cubes while it's still warm. Immediately roll or toss the warm mochi pieces in kinako, a toasted soybean flour.
Kinako has a nutty, slightly sweet flavor and a fine texture that coats the sticky mochi beautifully, preventing it from sticking. It's often served with a drizzle of kuromitsu (Japanese black sugar syrup). This preparation highlights the pure texture and subtle sweetness of the mochi itself, offering a comforting and traditional snack.
Conclusion: Elevate Your Baking with Perfect Mochi Dough
Mastering Mochi Dough: A Rewarding Culinary Journey
Embarking on the journey to master the perfect mochi dough recipe is incredibly rewarding. It's a process that connects you to a rich culinary heritage while opening up a world of delicious dessert possibilities. From understanding the unique properties of glutinous rice flour to perfecting the cooking and kneading techniques, each step contributes to achieving that signature soft, chewy, and elastic texture that defines authentic mochi.
Don't be discouraged by initial attempts that might be too sticky or too dry. Like any baking skill, making perfect mochi dough takes practice. Pay close attention to ingredient ratios, cooking times, and the feel of the dough. With patience and persistence, you'll soon be confidently crafting beautiful and delicious mochi creations.
We love seeing what our community is baking! Once you've successfully made your perfect mochi dough and transformed it into delightful treats like daifuku, mochi ice cream, or kinako mochi, we encourage you to share your results. The BakeWithEase community is a great place to find inspiration, share tips, and celebrate baking successes.
Whether you followed our classic perfect mochi dough recipe or experimented with your own flavor variations, your creations can inspire others. Baking is a journey best shared, and your experience with mastering mochi dough can help fellow bakers on their own path to creating these wonderful Japanese confections. Happy baking!
Frequently Asked Questions
What is mochi dough and what makes it unique?
Mochi dough is a glutinous rice flour-based dough that is steamed or microwaved to create a chewy and elastic texture. Its unique quality comes from the glutinous rice flour, which is different from regular rice flour.
What kind of rice flour is best for making mochi dough, and can I substitute it?
Glutinous rice flour (also known as sweet rice flour) is essential. Substitutions are not recommended as they will not yield the same chewy and elastic results.
What are some common mistakes to avoid when making mochi dough?
Overcooking or undercooking the dough are common mistakes. Also, not using enough starch or flour to prevent stickiness during handling can lead to issues.
How can I store leftover mochi dough, and how long will it last?
Leftover mochi dough should be wrapped tightly in plastic wrap to prevent drying out. It can be stored in the refrigerator for up to 2 days, or in the freezer for longer storage.
What are some creative ways to use the perfect mochi dough recipe beyond traditional mochi?
Beyond traditional mochi, you can use the dough for mochi waffles, mochi donuts, or even as a chewy pizza crust alternative. Experiment with different fillings and flavors!
Final Reflection: The Sweet Science of Perfect Mochi
The pursuit of the perfect mochi dough transcends mere culinary skill; it's a journey into the heart of Japanese culinary tradition and a testament to the power of precise technique. This guide has explored the nuances of achieving that ideal texture – the delicate balance of glutinous rice flour, water, and sugar – a balance that, when achieved, yields a result far exceeding the sum of its parts. The quest for perfection, as we've seen, is a rewarding one, filled with both challenges and delightful surprises.
The enduring appeal of mochi lies not only in its unique texture and subtle sweetness, but also in its symbolic significance within Japanese culture. It represents good fortune, prosperity, and the harmonious blending of ingredients, much like the careful process of creating the dough itself. Mochi is more than just food; it's a celebration of tradition and a symbol of hope for the new year.
This quote, while not directly from a specific source, encapsulates the sentiment surrounding this beloved treat and highlights its cultural importance, a significance that resonates deeply with those who appreciate its artistry.
Now, armed with the knowledge and techniques shared in this guide, I invite you to embark on your own mochi-making adventure. Don't be afraid to experiment, to adjust the recipe to your own preferences, and to savor the journey as much as the final product. The perfect mochi dough isn't just a recipe; it's a testament to your dedication, your patience, and your ability to create something truly special. So, gather your ingredients, embrace the process, and experience the joy of crafting your own perfect mochi.
Unlock Your Inner Mochi Master!
Thanks for joining us on this delicious journey into the world of mochi! We hope you've gained the confidence to tackle this delightful treat. Now it's time to put your newfound skills to the test.
- Whip up a batch of mochi tonight! Use the recipe and tips from the article as your guide. Don't be afraid to experiment with flavors – let your creativity shine!
- Share your mochi-making adventures! Post a picture of your creation on social media and tag us – we'd love to see your results!
- Explore our other easy-to-follow baking recipes on BakeWithEase.com – expand your culinary horizons!
What unique flavor combinations will you try in your next mochi masterpiece?