
Yeast Explained: Getting a Great Rise Every Time for Pizza Dough

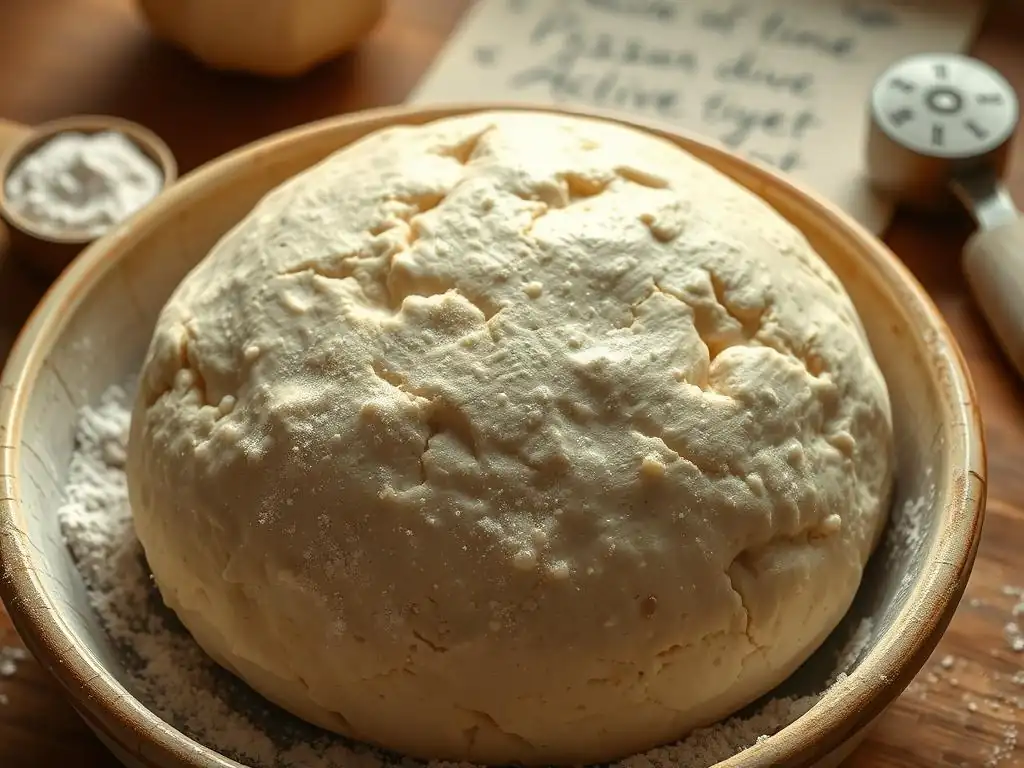
Welcome to BakeWithEase, your trusted companion on your baking journey! Ever wondered about the secrets behind a perfectly risen pizza dough? This article dives deep into the crucial aspects of yeast pizza dough rising time, uncovering the factors that influence it and providing expert tips to ensure your pizza crust is always light and airy. Get ready to unlock the potential of yeast and elevate your pizza-making skills – the journey to pizza perfection starts now!
- Understanding Yeast for Perfect Pizza Dough: BakeWithEase Guide
- Why Yeast Matters for Your Homemade Pizza Dough
- Mastering the Pizza Dough Rising Time: Factors Affecting the Rise
- Achieving the Ideal Yeast Pizza Dough Rising Time: Step-by-Step
- Troubleshooting Common Pizza Dough Rising Problems
- Tips for Enhancing Pizza Dough Flavor Through Fermentation
- Perfect Pizza Dough, Every Time: A BakeWithEase Summary
- Frequently Asked Questions
- Final Reflection: The Humble Yeast, the Perfect Rise, and the Joy of Pizza
- Unleash Your Inner Pizzaiolo: Perfect Dough, Every Time!
Understanding Yeast for Perfect Pizza Dough: BakeWithEase Guide
Welcome back to BakeWithEase! Today, we're diving into one of the most magical ingredients in baking, especially when it comes to achieving that perfect, airy crust for your homemade pizza: yeast. Understanding how yeast works is fundamental to mastering the yeast pizza dough rising time and ensuring your dough has the ideal texture and flavor. Whether you're aiming for a thin Neapolitan-style crust or a thicker, chewy base, yeast is your essential partner.
This guide will break down everything you need to know about yeast specifically for pizza dough. We'll explore the different types available, how they function, and most importantly, how to control the yeast pizza dough rising time to get consistent, delicious results. Get ready to elevate your pizza game by truly understanding the science behind the rise!
Why Yeast Matters for Your Homemade Pizza Dough
Yeast isn't just about making dough bigger; it's a living organism that performs a crucial function in transforming simple flour and water into complex, flavorful pizza dough. Its activity directly impacts the texture, aroma, and overall quality of your final pizza crust. Without yeast, you'd end up with a flat, dense cracker rather than a light, bubbly base.
The process starts when yeast consumes sugars present in the flour (or added to the dough) and produces carbon dioxide gas and alcohol. This gas gets trapped within the gluten network of the dough, causing it to expand and rise. The alcohol and other byproducts contribute significantly to the complex flavors we associate with delicious fermented doughs. Mastering the yeast pizza dough rising time is key to balancing these processes.
The Role of Yeast in Pizza Dough: Flavor and Texture
Yeast plays a dual role in pizza dough: creating texture through leavening and developing flavor through fermentation. As yeast consumes sugars, it releases carbon dioxide, which inflates the dough, leading to a light and airy crumb structure after baking. This is why a well-risen pizza crust has those desirable air pockets and a tender chew.
Beyond just making the dough rise, yeast fermentation produces a myriad of aromatic compounds. These compounds, including organic acids and alcohols, contribute to the tangy, complex flavor profile characteristic of traditionally fermented pizza dough. The longer and slower the fermentation (within limits), the more pronounced these flavors can become, significantly enhancing the taste of your crust. Getting the yeast pizza dough rising time right is critical for both aspects.
Understanding Different Types of Yeast for Pizza Making
There are several types of yeast commonly used in baking, and while they all perform the same basic function, their handling and speed of action differ. For pizza dough, the most common types you'll encounter are active dry yeast, instant dry yeast, and sometimes fresh yeast. Choosing the right type and knowing how to use it impacts your yeast pizza dough rising time.
Each type has its advantages. Active dry yeast is widely available and reliable, but requires activation. Instant dry yeast is convenient as it can often be added directly to dry ingredients. Fresh yeast, while less common for home bakers, offers a distinct flavor and rapid activity when fresh. Understanding the nuances of each will help you select the best option for your recipe and desired outcome.
Active Dry Yeast for Pizza: Usage and Activation
Active dry yeast is perhaps the most common type found in grocery stores. It consists of dehydrated yeast cells that are dormant. To use active dry yeast, it must first be "activated" or "proofed" in warm liquid (usually water or milk, specified by the recipe) between 105°F and 115°F (40°C to 46°C). Adding a pinch of sugar to this liquid can help "wake up" the yeast faster.
After about 5-10 minutes in the warm liquid, the mixture should become foamy or bubbly on top. This foam indicates that the yeast is alive and active. If no foam appears, the yeast may be dead and should not be used. Once proofed, the activated yeast mixture is added to the dry ingredients. Recipes often call for 1 packet (about 2.25 teaspoons or 7 grams) of active dry yeast per 3-4 cups of flour, which can influence the yeast pizza dough rising time.
Instant Dry Yeast for Pizza: Direct Addition Method
Instant dry yeast is a more recently developed form of dry yeast. Its granules are smaller than active dry yeast, and it is processed differently, allowing it to be added directly to the dry ingredients without prior activation in liquid. This makes it very convenient and faster to use, often resulting in a quicker yeast pizza dough rising time.
Because instant dry yeast is more potent and faster-acting than active dry yeast, you typically use slightly less of it. A common conversion is to use about 25% less instant yeast than active dry yeast called for in a recipe. For example, if a recipe calls for 1 packet (7g) of active dry yeast, you might use about 5-5.5 grams of instant dry yeast. Its reliability and ease of use make it a favorite for many home bakers.
Fresh Yeast for Pizza Dough: Tips and Conversion
Fresh yeast, also known as cake yeast or compressed yeast, is a moist block of active yeast cells. It is highly perishable and must be stored in the refrigerator, ideally used within a week or two of purchase. Fresh yeast is preferred by some professional bakers for the subtle flavors it can impart, although its handling requires more care than dry yeasts.
To use fresh yeast, crumble it directly into your dry ingredients or dissolve it in the recipe's liquid. It activates very quickly due to its moisture content. When substituting fresh yeast for dry yeast, the general rule is to use about three times the weight of active dry yeast or two times the weight of instant dry yeast. For instance, if a recipe calls for 7g of active dry yeast, you would use approximately 21g of fresh yeast. The yeast pizza dough rising time with fresh yeast can sometimes be slightly faster initially compared to active dry.
Mastering the Pizza Dough Rising Time: Factors Affecting the Rise
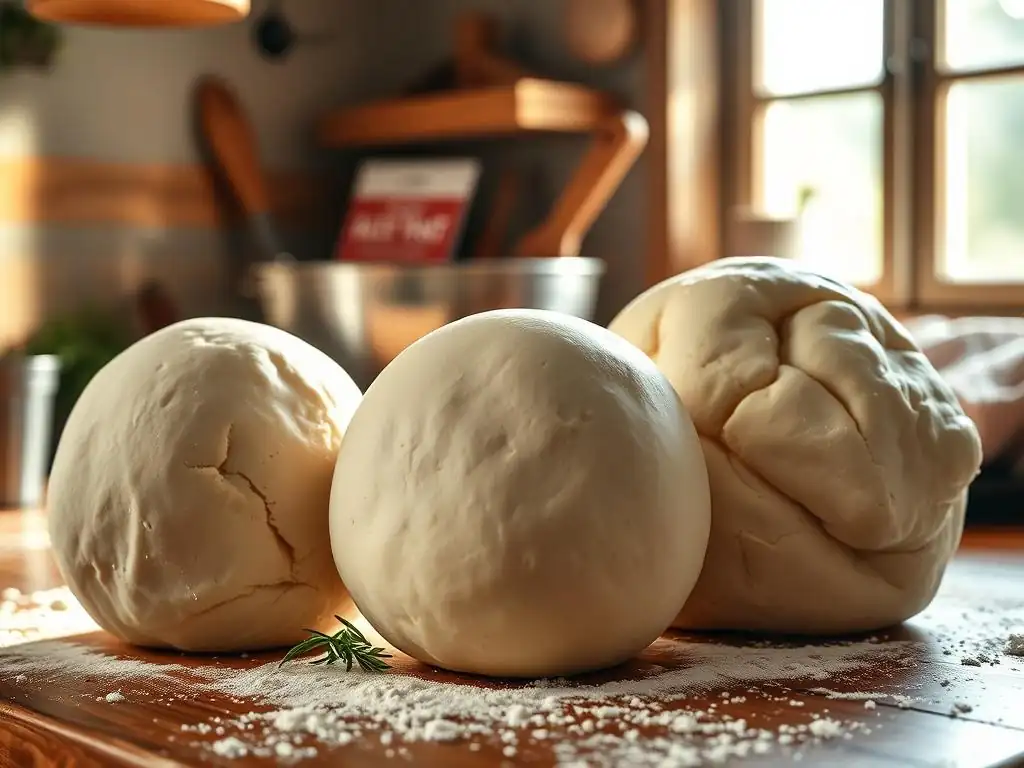
Understanding the factors that influence the yeast pizza dough rising time is crucial for consistent results. Yeast activity is sensitive to its environment, and variables like temperature, hydration, and even the development of the dough's gluten structure all play significant roles. Controlling these elements allows you to manipulate the rise to fit your schedule and desired outcome.
Achieving the perfect rise isn't just about following a recipe's stated time; it's about learning to read the dough itself and recognizing when it's ready. Factors such as the type of flour used, the amount of salt, and even the altitude can subtly affect the rate of fermentation. Paying attention to these details will help you become a master of yeast pizza dough rising time.
Yeast Pizza Dough Rising Time: An Introduction
The yeast pizza dough rising time refers to the period during which the yeast ferments the dough, producing gas and causing it to expand. This typically happens in one or two stages: the bulk fermentation (first rise) and sometimes a second rise or proofing after shaping. The total time can range from as little as 30-60 minutes for a quick rise to 24-72 hours or even longer for cold fermentation.
The goal of the rising time is not just volume increase but also flavor development and structure building. A properly timed rise ensures the dough is light, airy, and has developed complex flavors. Rushing the process can lead to a dense crust with less flavor, while letting it go too long can result in an overly sour taste and potentially collapsing dough.
Temperature's Impact on Pizza Dough Fermentation
Temperature is arguably the most critical factor influencing the yeast pizza dough rising time. Yeast is a living organism that thrives in warm environments. The optimal temperature range for yeast activity is typically between 75°F and 85°F (24°C to 30°C). Within this range, fermentation proceeds at a relatively quick pace.
Below this range, yeast activity slows down significantly. At refrigerator temperatures (around 35-40°F or 2-4°C), yeast is still active but works very slowly. This is the principle behind cold fermentation, which allows for longer flavor development. Above 130°F (55°C), yeast cells begin to die rapidly, stopping the rise altogether. Maintaining a consistent dough temperature is key to predicting and controlling the yeast pizza dough rising time.
Hydration Levels and Yeast Activity in Pizza Dough
The amount of water (hydration level) in your pizza dough recipe also impacts yeast activity and the yeast pizza dough rising time. Water is necessary for yeast to become active and access the sugars in the flour. Higher hydration doughs (those with a higher ratio of water to flour, say 65% or more) tend to ferment slightly faster than lower hydration doughs, assuming other factors are equal.
Furthermore, hydration affects the dough's consistency and the gluten network. In wetter doughs, the gluten network is more extensible, allowing it to capture the gas produced by yeast more easily, which can contribute to a quicker visual rise. However, wetter doughs can also be trickier to handle. Finding the right hydration level for your desired crust texture and managing the corresponding yeast pizza dough rising time is part of the art.
The Importance of Gluten Development for Pizza Dough Rise
While yeast produces the gas, it's the gluten network in the dough that traps this gas, allowing the dough to rise and hold its shape. Gluten is formed when the proteins in flour (glutenin and gliadin) combine with water and are developed through mixing and kneading. A well-developed gluten structure is like a strong balloon, capable of expanding significantly without breaking.
If the gluten is not sufficiently developed, the gas produced by the yeast will simply escape, resulting in a dense, flat dough. Kneading the dough adequately, whether by hand or mixer, is essential for building this structure. The strength and elasticity of the gluten network directly impact how much the dough can rise and influences the final texture of the crust, working in tandem with the yeast pizza dough rising time.
Achieving the Ideal Yeast Pizza Dough Rising Time: Step-by-Step
Now that we understand the factors at play, let's walk through the process of managing the yeast pizza dough rising time to achieve perfect results. This involves careful steps from activating the yeast (if needed) to managing both the first and second rises.
Following these steps and paying attention to the dough's appearance and feel will help you consistently achieve a well-risen, flavorful pizza crust. Remember that baking is also about intuition, so observe your dough and adjust based on its behavior, not just the clock.
Step 1: Activating Your Yeast Correctly (if using Active Dry)
If your recipe calls for active dry yeast, this initial step is crucial. Measure the warm liquid (usually water) specified in the recipe, ensuring it is between 105°F and 115°F (40°C to 46°C). This temperature range is warm enough to activate the yeast but not so hot that it kills it. Add the active dry yeast and a pinch of sugar (optional but helpful) to the liquid.
Stir gently and let the mixture sit undisturbed for 5-10 minutes. During this time, you should see the surface become foamy or bubbly, indicating the yeast is alive and active. If you don't see this activity after 10 minutes, your yeast may be old or dead, and you should discard the mixture and start with fresh yeast. Properly activated yeast is the foundation for a successful yeast pizza dough rising time.
Step 2: Mixing the Pizza Dough Ingredients Properly
Once your yeast is ready (either activated active dry or instant/fresh added directly), combine it with the rest of your ingredients according to the recipe. This typically involves flour, water, salt, and sometimes a little oil or sugar. Mixing can be done by hand or with a stand mixer fitted with a dough hook.
Mix until the ingredients are just combined, then begin kneading. Kneading develops the gluten network, which is essential for trapping the gas produced during fermentation. Knead until the dough is smooth, elastic, and passes the windowpane test (you can stretch a small piece thinly enough to see light through it without it tearing). Proper mixing and kneading ensure the dough is ready for its yeast pizza dough rising time.
Step 3: The First Rise: Bulk Fermentation for Flavor
The first rise, also known as bulk fermentation, is where the majority of flavor development happens. After kneading, the dough is typically placed in a lightly oiled bowl, covered, and left to rise in a warm place. The goal during this stage is for the dough to significantly increase in volume, often doubling or even tripling, depending on the recipe and temperature.
This stage allows the yeast to work, producing carbon dioxide and important flavor compounds. The length of the bulk fermentation dramatically impacts the final flavor profile; a longer, slower rise generally yields a more complex taste. Managing the temperature during this phase is key to controlling the yeast pizza dough rising time.
How Long to Bulk Ferment Pizza Dough?
The duration of the bulk fermentation is highly variable and depends on several factors, including the amount and type of yeast used, the dough temperature, and the desired flavor outcome. At room temperature (around 70-75°F or 21-24°C), bulk fermentation for pizza dough might take anywhere from 1 to 2.5 hours using standard amounts of active or instant yeast.
- Quick Rise (approx. 1 hour): Use slightly more yeast or maintain a warmer temperature (around 80-85°F / 27-30°C). Dough should roughly double.
- Standard Rise (approx. 1.5-2.5 hours): Typical yeast amounts at standard room temperature. Dough should double in size.
- Slow Rise (Cold Fermentation, 24-72+ hours): Use less yeast and ferment in the refrigerator (35-40°F / 2-4°C). Dough will rise slowly, developing significant flavor.
Always check the dough's volume and feel rather than relying solely on the clock for the yeast pizza dough rising time.
Step 4: Punching Down and Shaping the Pizza Dough
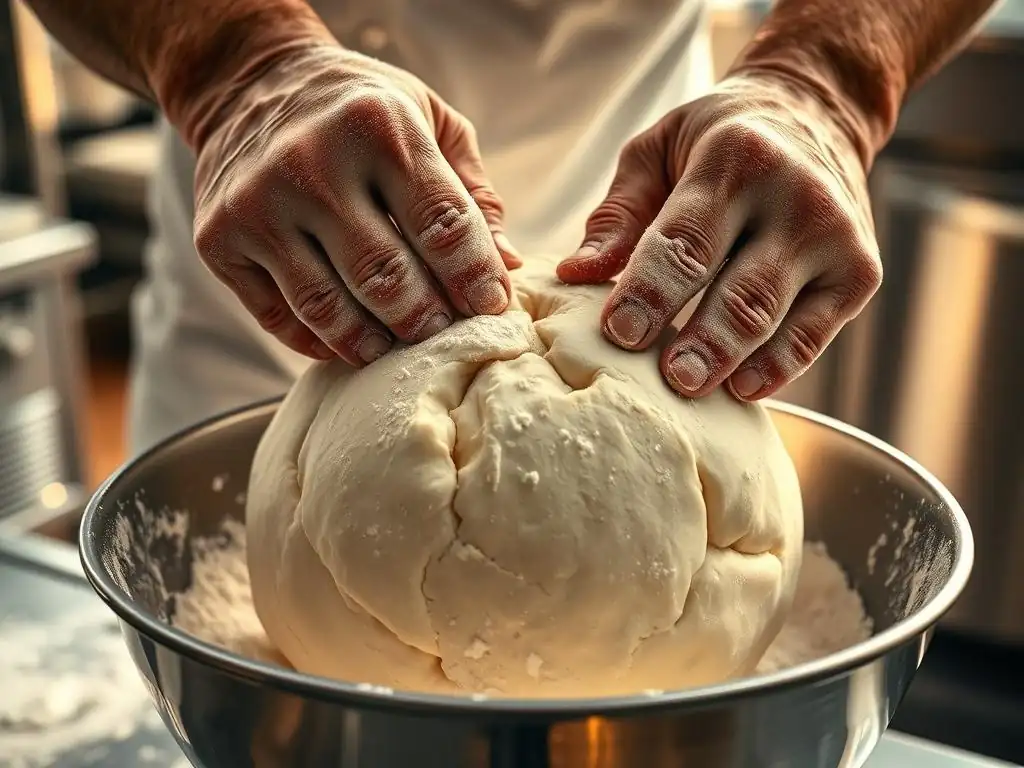
After the bulk fermentation is complete and the dough has increased sufficiently in volume, it's time to "punch down" the dough. This doesn't mean literally punching it hard, but rather gently deflating it to release some of the large gas bubbles and redistribute the yeast and nutrients. This step also makes the dough easier to handle for shaping.
Turn the dough out onto a lightly floured surface and gently press or fold it to deflate. Then, divide the dough into portions for individual pizzas if necessary and shape each portion into a smooth ball. Allow the dough balls to rest briefly (about 10-15 minutes) before proceeding to shaping your pizza crusts. This rest period helps the gluten relax, making the dough easier to stretch without tearing.
Step 5: The Second Rise: Proofing for a Light Crust
The second rise, often called proofing, occurs after the dough has been shaped into individual pizza crusts or balls. This is a shorter rise than the bulk fermentation and is primarily aimed at giving the dough its final lift before baking. Proofing helps ensure the crust is light and airy.
Place the shaped dough on your pizza peel, baking sheet, or stone (depending on your baking method), cover it loosely, and let it rest. The dough won't necessarily double in size again, but it should appear visibly puffier and feel light and airy when gently poked. Over-proofing at this stage can lead to a crust that is too fragile or collapses in the oven. The duration of this proofing stage is a critical part of the overall yeast pizza dough rising time.
Optimizing the Proofing Process for Pizza Dough
The proofing time for pizza dough is typically shorter than the bulk fermentation, often ranging from 30 minutes to 1 hour at room temperature. However, like the first rise, it's best to rely on visual cues rather than just the clock. The dough should look and feel puffy but not overly inflated or fragile.
- Room Temperature Proofing: Cover the shaped dough and let it sit in a warm spot (75-80°F / 24-27°C) for 30-60 minutes.
- Cold Proofing: Shaped dough balls can also be proofed slowly in the refrigerator for several hours or overnight, further developing flavor.
A good test for proofing is the "poke test": gently press your finger into the dough. If the indentation springs back immediately, it needs more time. If it stays indented, it's likely ready. If it collapses entirely, it might be over-proofed. Mastering this final phase of the yeast pizza dough rising time ensures a perfect crust texture.
Troubleshooting Common Pizza Dough Rising Problems
Even with the best instructions, sometimes things don't go exactly as planned. Dealing with dough that isn't rising or has risen too much can be frustrating, but most problems are fixable or preventable for next time. Understanding common issues related to yeast pizza dough rising time is part of becoming a confident baker.
Don't be discouraged if your first few attempts aren't perfect. Baking is a skill that improves with practice. By identifying the potential causes of rising problems, you can adjust your techniques and achieve better results on your next pizza-making adventure.
My Pizza Dough Isn't Rising: What Went Wrong?
If your pizza dough isn't rising, several factors could be the culprit. The most common issue is inactive or dead yeast. This can happen if the yeast is old, was stored improperly, or was killed by using liquid that was too hot during activation or mixing. Always check the expiration date on your yeast and store it in an airtight container in the refrigerator or freezer.
Other reasons include using water that is too cold (inhibits yeast activity), adding salt directly on top of the yeast (salt can kill yeast cells in high concentration), or insufficient kneading (poor gluten development means the dough can't trap gas). Ensure your water temperature is correct (105-115°F for active dry, 75-85°F for mixing instant/fresh), mix salt away from the yeast initially, and knead thoroughly. The ambient temperature of your kitchen also significantly impacts the yeast pizza dough rising time; a cold room will slow things down considerably.
Over-Proofed Pizza Dough: Rescue and Prevention
Over-proofing happens when the dough has risen for too long, and the yeast has consumed most of the available sugars. The dough may appear overly puffy, perhaps slightly deflated, and smell strongly of alcohol. When poked, it may collapse easily. Baking over-proofed dough often results in a pale crust with less oven spring and a potentially overly sour flavor.
To prevent over-proofing, pay close attention to the recommended yeast pizza dough rising time for your temperature and recipe, but primarily watch the dough's volume and feel. If you catch dough just slightly over-proofed during the first rise, you can gently punch it down, reshape it, and give it a very short second rise (15-20 minutes). If it's significantly over-proofed or collapses completely, it's difficult to rescue for a light crust, but you can sometimes flatten it out and use it as a very thin base or even for crackers.
Under-Proofed Pizza Dough: Solutions and Adjustments
Under-proofed dough hasn't had enough time for the yeast to produce sufficient gas or for flavors to develop. It will feel dense and heavy and won't have increased much in volume. When baked, under-proofed dough results in a dense, tough crust with a less complex flavor and potentially large, uneven air pockets (often called "gummy bear" crust).
If you realize your dough is under-proofed during the first rise, simply give it more time in a warm place until it reaches the desired volume (usually doubled). If your shaped dough is under-proofed before baking, extend the final proofing time. To avoid under-proofing in the future, ensure your yeast is active, the dough temperature is adequate, and allow sufficient yeast pizza dough rising time based on these conditions. Don't rush the process, especially the bulk fermentation.
Tips for Enhancing Pizza Dough Flavor Through Fermentation
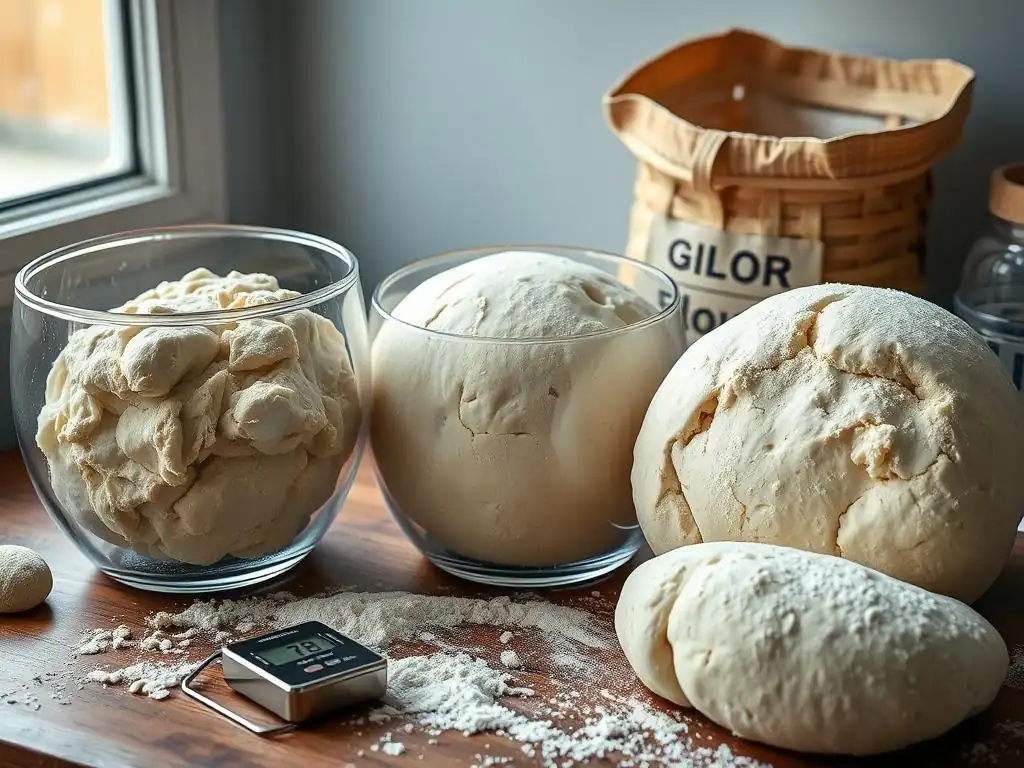
Beyond just getting a good rise, you can manipulate the fermentation process to build incredible depth of flavor in your pizza dough. The magic of great pizza crust often lies in the time and care taken during the rise.
Exploring different fermentation techniques can elevate your homemade pizza from good to extraordinary. These methods leverage the slow activity of yeast to produce more complex aromatic compounds.
Cold Fermentation for Pizza Dough: A Deeper Flavor Profile
Cold fermentation is a technique where the pizza dough undergoes a long, slow rise in the refrigerator (typically 24 to 72 hours, sometimes longer). Using a small amount of yeast, the cold temperature drastically slows down yeast activity, reducing gas production but allowing enzymes in the flour and yeast to break down starches into sugars and proteins into amino acids.
This slow breakdown process creates a wider range of flavor compounds compared to a quick room-temperature rise. Dough fermented in the cold develops a more complex, nuanced, and often slightly tangy flavor. It also becomes incredibly easy to handle and stretch. While it requires planning ahead due to the extended yeast pizza dough rising time, the resulting flavor and texture are well worth the wait for many pizza enthusiasts.
Using a Poolish or Biga for Pizza Dough: Pre-Ferments Explained
Another way to boost flavor is by incorporating a pre-ferment, such as a poolish or biga, into your main dough. A pre-ferment is a portion of the dough ingredients (flour, water, and a small amount of yeast) that is mixed and allowed to ferment for several hours or overnight before being added to the final dough mix.
- Poolish: A wet, liquid pre-ferment (equal parts flour and water by weight) with a small amount of yeast, fermented at room temperature for 12-16 hours or in the fridge for longer.
- Biga: A stiff, drier pre-ferment (lower hydration than poolish) with a very small amount of yeast, typically fermented at room temperature for several hours or refrigerated for 24+ hours.
Pre-ferments jumpstart the fermentation process and contribute a significant amount of flavor and aroma to the final dough, leading to a more complex and often lighter crust. They are an excellent way to enhance your yeast pizza dough rising time strategy for superior taste.
Exploring Different Flours for Enhanced Pizza Dough Flavor
The type of flour you use also significantly impacts both the yeast pizza dough rising time and the final flavor. Different flours contain varying amounts of protein (affecting gluten development) and starches, which the yeast ferments.
High-protein bread flours (like 00 flour for Neapolitan style or strong bread flour) provide a robust gluten structure essential for trapping gas and achieving a good rise. However, using a portion of other flours, like a small amount of whole wheat or rye flour, can add nutty, earthy undertones and complexity to the flavor profile, even though they might slightly alter the yeast pizza dough rising time due to different protein structures and absorption rates. Experimenting with flour blends can unlock new dimensions in your pizza crust.
Perfect Pizza Dough, Every Time: A BakeWithEase Summary
Mastering the art of homemade pizza dough, particularly controlling the yeast pizza dough rising time, is a rewarding journey. By understanding how yeast works, the factors that influence its activity, and how to manage the fermentation process, you gain the power to create consistently delicious crusts tailored to your preferences.
Remember that baking is a blend of science and observation. Pay attention to your dough, feel its texture, watch its volume, and trust your senses. With practice and patience, you'll develop the intuition needed to achieve perfect results every time you make pizza.
Key Takeaways for Mastering Yeast Pizza Dough Rising Time
- Understand the type of yeast you're using (active dry, instant, fresh) and its proper handling.
- Temperature is the most critical factor influencing yeast pizza dough rising time. Aim for 75-85°F (24-30°C) for a standard rise, or use cold temperatures for a slow, flavorful fermentation.
- Proper hydration and gluten development are essential for the dough to trap the gas produced by yeast.
- Monitor the dough's volume and feel during both bulk fermentation and proofing rather than relying solely on a clock.
- Troubleshoot common issues like no rise, over-proofing, or under-proofing by checking yeast viability, temperature, and kneading technique.
- Enhance flavor through cold fermentation or using pre-ferments like poolish or biga.
- Experiment with different flours to add complexity to your crust's flavor and texture.
Happy baking, and enjoy making perfect pizza with confidently risen dough!
Frequently Asked Questions
How long should I let my yeast pizza dough rise?
The ideal pizza dough rising time depends on several factors, but generally, a first rise of 1-2 hours is recommended. This allows the yeast to ferment and develop flavor and structure.
What factors affect yeast pizza dough rising time?
Temperature is a major factor; warmer temperatures speed up rising, while colder temperatures slow it down. The amount of yeast used and the hydration level of the dough also play a role.
How can I tell if my yeast pizza dough has risen enough?
The dough should have approximately doubled in size. You can also perform the poke test: gently poke the dough; if the indentation slowly springs back, it's ready.
What happens if I let my yeast pizza dough rise for too long?
Over-risen dough can become deflated and weak, resulting in a flat pizza crust. It might also have a sour or alcoholic taste due to excessive fermentation.
Can I refrigerate my yeast pizza dough to slow down the rising time?
Yes! Refrigerating the dough significantly slows down the yeast activity. This allows for a longer, slower fermentation, which can enhance the flavor of your pizza crust.
Final Reflection: The Humble Yeast, the Perfect Rise, and the Joy of Pizza
Understanding yeast's behavior is not just about baking a perfect pizza; it's about mastering a fundamental process that connects us to centuries of culinary tradition. The seemingly simple act of making pizza dough becomes a fascinating exploration of biology and chemistry, impacting the texture, flavor, and overall enjoyment of this beloved dish. Getting that perfect rise isn't just about following a recipe; it's about understanding the subtle interplay of ingredients and time.
The impact of yeast extends far beyond the kitchen; it's a microorganism that has shaped human history and continues to influence our food systems. Its role in fermentation, bread making, and brewing is undeniable. Bread is the staff of life,
a common saying highlights the importance of yeast in providing sustenance throughout history. This simple organism, invisible to the naked eye, holds the key to unlocking the magic of a perfectly risen pizza crust, a testament to the power of nature's smallest wonders. My own journey in perfecting my pizza dough recipe has been a testament to this, highlighting the patience and precision required to achieve culinary mastery.
Now, consider your own pizza-making journey. Have you ever experienced the frustration of a dough that stubbornly refuses to rise? Or the sheer delight of that first perfect bite of a perfectly risen crust? Take this knowledge, this understanding of yeast and its needs, and apply it to your next culinary adventure.
Experiment with different flours, temperatures, and proofing times. Embrace the process, learn from your mistakes, and savor the rewards of a perfectly risen pizza, a testament to your own mastery of this ancient art. The journey to the perfect pizza is a journey of discovery, and the rewards are well worth the effort.
Unleash Your Inner Pizzaiolo: Perfect Dough, Every Time!
Thanks for taking the time to explore the wonderful world of yeast and pizza dough! We hope you now feel empowered to create incredible pizzas at home. Ready to put your new knowledge into action?
- Bake your masterpiece: Try out the recipe from the article today—we're confident you'll be amazed by the difference! Use this opportunity to experiment with different flours or toppings.
- Share your success: Show off your perfectly risen pizza on social media using #BakeWithEasePizza. We'd love to see your creations!
- Discover more baking secrets: Explore our other articles on BakeWithEase.com for more tips and tricks on achieving bakery-quality results in your own kitchen.
What unique ingredient will you add to your next pizza creation to elevate it to the next level?