
Easy Steps to Shaping Classic Baguettes

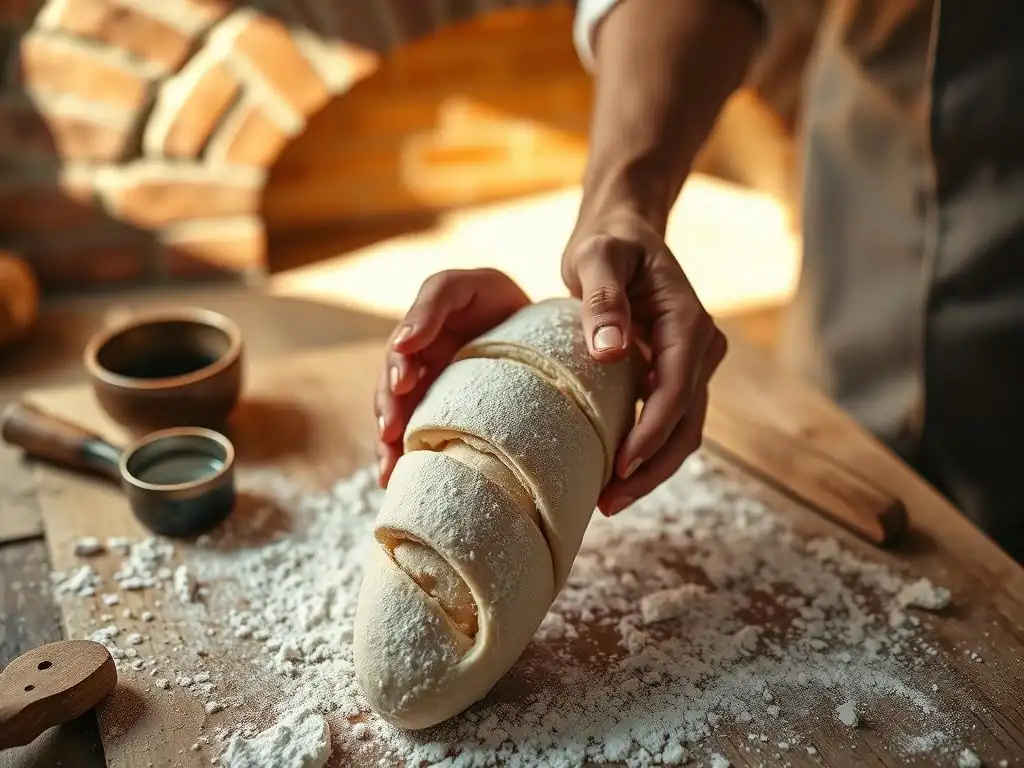
Welcome to BakeWithEase, your trusted guide to unlocking the joy of baking! Ever dreamt of crafting that perfect, crusty baguette? This week, we're demystifying the art of baguette shaping for beginners. Get ready to learn simple, step-by-step techniques that will transform your dough into beautifully elongated loaves. Curious to see how easy it can be? Let's get baking!
- Easy Steps to Shaping Classic Baguettes: A Beginner's Guide
- Introduction to Baguette Shaping for Beginners
- Essential Tools and Ingredients for Perfect Baguettes
- Step-by-Step Baguette Shaping Tutorial
- Tips and Tricks for Successful Baguette Shaping
- Baking Your Shaped Baguettes to Perfection
- Further Exploration of Bread Baking Techniques
-
Frequently Asked Questions
- How crucial is the initial proofing of the dough before shaping baguettes?
- What is the best way to handle sticky dough when shaping baguettes?
- Can I use different types of flour for shaping baguettes?
- What is the importance of the final proofing after shaping the baguettes?
- How do I get those characteristic slashes (scores) on top of my baguettes?
- Final Reflection: Mastering the Art of the Baguette
- Unleash Your Inner Baker: Craft Perfect Baguettes!
Easy Steps to Shaping Classic Baguettes: A Beginner's Guide
Introduction to Baguette Shaping for Beginners
Why Master Baguette Shaping?
Mastering baguette shaping is a crucial step for any aspiring baker looking to create authentic, crusty baguettes at home. While the ingredients for a baguette are simple – flour, water, salt, and yeast – the magic often lies in the handling and shaping of the dough. Proper shaping techniques build the necessary tension in the dough, which is essential for achieving that characteristic elongated form, a beautiful open crumb structure, and optimal oven spring during baking.
Without adequate tension, your dough might spread out rather than rise upwards and outwards, resulting in flat, dense loaves instead of airy, crusty baguettes. This skill transforms simple dough into the iconic French bread we all love.
Beyond the technical aspects, successfully shaping baguettes provides immense satisfaction. It's a tangible skill development that directly impacts the final product's quality and appearance. For many beginners, the shaping process can seem intimidating, but breaking it down into simple steps makes it approachable. Learning baguette shaping for beginners opens the door to baking truly impressive bread, moving beyond basic loaves to tackle more advanced techniques. A well-shaped baguette not only tastes better due to the improved structure but also looks professional, making your baking efforts even more rewarding.
A Simplified Approach to Baguette Baking
Baguette baking, especially the shaping part, can feel complex, but our approach simplifies the process for beginners. We focus on breaking down the shaping into manageable steps, emphasizing gentle handling and understanding the dough's behavior. Instead of getting lost in overly technical jargon, we provide clear, actionable instructions that build confidence. This simplified method ensures that even if you're new to baking, you can achieve good results and gradually improve with practice. Think of it as learning to tie your shoes – it seems tricky at first, but becomes second nature with repetition.
This guide focuses specifically on the shaping phase, assuming you have a basic baguette dough ready (typically hydrated between 70-75% for a classic structure, though some beginner recipes might start slightly lower, around 65-70%, for easier handling). We'll walk you through the stages from bulk fermentation to the final proofing shape. By concentrating solely on the shaping techniques, you can dedicate your attention to developing this specific skill, making the overall baguette baking journey less overwhelming. Our goal is to demystify baguette shaping for beginners, making it an enjoyable and successful part of your bread-making adventure.
Essential Tools and Ingredients for Perfect Baguettes
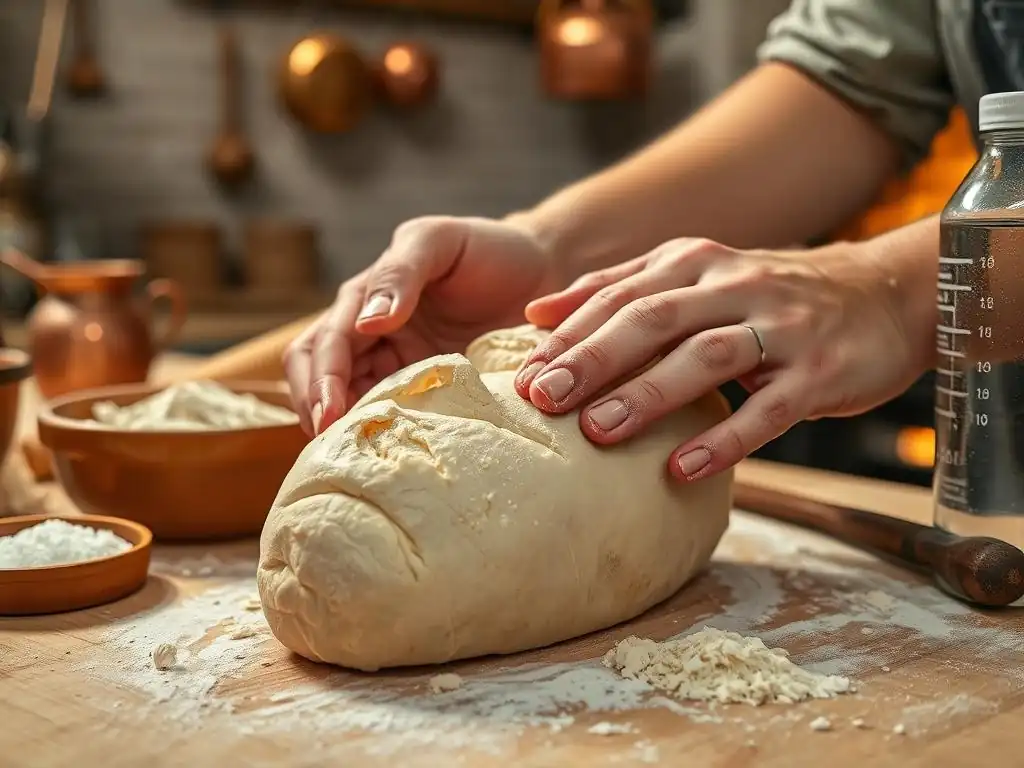
High-Protein Bread Flour: The Foundation of a Great Baguette
The type of flour you use significantly impacts the structure and shaping potential of your baguette dough. High-protein bread flour, typically containing 12-14% protein, is ideal for baguettes. This higher protein content means more gluten development is possible.
Gluten is the network of proteins that gives bread dough its elasticity and structure, allowing it to trap gases produced by yeast and hold its shape during shaping and baking. Using a good quality bread flour provides the strength needed for the dough to stretch without tearing and maintain the tension you build during shaping, which is critical for achieving that signature open crumb.
While all-purpose flour (around 10-11.5% protein) can technically be used, it will result in a weaker dough that is harder to shape and might not achieve the same volume or open structure. For optimal baguette shaping for beginners, investing in a reliable high-protein bread flour is highly recommended. Look for brands that specify "bread flour" or list a protein content above 12%. Some artisan bakers even use specialized French flours like T55, but standard high-protein bread flour widely available in supermarkets or online is perfectly suitable and will yield excellent results when combined with proper shaping techniques.
The Importance of Water Temperature (65-70°F)
Water temperature plays a vital role in controlling the dough's temperature and, consequently, the yeast activity and fermentation rate. For baguette dough, maintaining a consistent dough temperature throughout the process is key to predictable fermentation and easier handling. Using water between 65°F and 70°F (approximately 18°C to 21°C) is often recommended, especially when using active dry or instant yeast, as it helps bring the final dough temperature into a desirable range (typically aiming for a post-mixing dough temperature of 75-78°F or 24-26°C). This temperature range encourages steady, controlled fermentation, which develops flavor and structure.
If your kitchen is warm, using water closer to 65°F can help prevent the dough from over-fermenting too quickly before shaping. Conversely, in a cooler kitchen, water closer to 70°F might be beneficial. The water temperature also influences how easily the flour absorbs the liquid; slightly warmer water (within this range) can sometimes aid in initial hydration.
While seemingly a small detail, controlling water temperature is a fundamental aspect of dough management that impacts everything from mixing consistency to proofing times and ultimately, the dough's readiness and ease for baguette shaping for beginners. Always use a thermometer to check your water temperature for accuracy.
Essential Shaping Tools: Bench Scraper, Dough Knife, Kitchen Scale
Having the right tools makes the baguette shaping for beginners process significantly smoother and more consistent. A sturdy bench scraper is indispensable for dividing the dough into portions (typically around 250-350 grams for a standard baguette) and for manipulating and cleaning your work surface. Its straight edge allows for clean cuts and helps gather and turn the dough without excessive sticking. A flexible dough scraper is also useful for getting dough out of bowls.
A sharp dough knife or lame is essential for scoring (making cuts on the surface) the baguettes just before baking. Proper scoring allows the bread to expand in a controlled manner during oven spring, creating the characteristic slashes and contributing to a crispy crust.
A reliable kitchen scale is non-negotiable for accurate ingredient measurements, especially flour and water, and for portioning dough evenly, ensuring your baguettes are roughly the same size for consistent baking. While not strictly for shaping, a proofing basket (banneton) or a couche (linen cloth) is crucial for supporting the shaped dough during its final proof, preventing it from spreading out and helping it maintain its elongated form before baking.
Step-by-Step Baguette Shaping Tutorial
Step 1: Pre-Shaping the Dough – Creating a Rectangle
Gently Degassing the Dough
After the bulk fermentation (the first rise), your dough will be airy and roughly doubled in size. The first step in baguette shaping for beginners is pre-shaping. Turn the dough out gently onto a lightly floured surface. Avoid punching it down aggressively; the goal is to gently deflate some of the large gas bubbles while retaining smaller ones, not to remove all the air. Use your hands or a bench scraper to ease the dough out.
Once on the surface, gently pat the dough into a rough rectangle or square, depending on its initial shape. This step helps to even out the dough's thickness and prepares it for the initial folding. The size of the rectangle isn't critical at this stage, but aim for something manageable, perhaps around 8x10 inches for a typical batch of dough intended for 2-3 baguettes. This resting period, usually 15-20 minutes, allows the gluten to relax, making the dough easier to handle in the next step without tearing.
Folding the Dough into a Rough Rectangle
To create a rough rectangle, take one side of the gently deflated dough and fold it about two-thirds of the way across the dough. Then, take the opposite side and fold it over the first fold, like folding a letter. Gently pat down the seam.
Next, turn the dough 90 degrees and repeat the folding process once more, creating a tighter package. This process begins to build tension and structure in the dough. After these folds, gently tuck the ends underneath to create a somewhat rectangular or oval shape. This pre-shape helps organize the gluten structure and makes the final shaping much easier. Let these pre-shaped pieces rest, covered, for about 15-20 minutes to allow the gluten to relax again before the final shaping steps. This rest is critical; attempting to shape dough that hasn't rested will result in tearing and difficulty achieving length.
Step 2: The First Shaping – Forming a Cylinder
Rolling the Dough Tightly
After the rest, take a pre-shaped rectangle. The dough should feel relaxed but still have some tension. Place it seam-side up on your lightly floured surface. Gently flatten the dough slightly into a more defined rectangle using your fingertips, aiming for a thickness of about 1/2 to 3/4 inch.
Now, starting from the top edge furthest from you, fold the dough down towards you about one-third of the way and press gently to seal the edge with your fingertips. This initial fold begins to create tension on the surface.
Sealing the Seam Properly
Next, fold the dough in half lengthwise, bringing the top edge down to meet the bottom edge. As you do this, use the heel of your hand or the edge of your hand to press firmly along the seam to seal it completely. This creates a cylindrical shape with the seam running along the bottom.
Once folded and sealed, gently roll the cylinder back and forth a few times on the surface, using light pressure from your palms, to slightly elongate it and further seal the seam. The goal is a neat cylinder, perhaps 6-8 inches long at this stage, depending on your final desired baguette length. This first shaping step is crucial for building the internal structure needed for a good crumb.
Step 3: The Second Shaping – Elongating the Baguette
Evenly Stretching the Cylinder
After the first shaping and another short rest (typically 5-10 minutes, covered), the dough is ready for its final shaping and elongation. Take a cylinder and place it seam-side down on your surface. Using your fingertips, gently press the dough along its length to start the elongation process.
Then, using the palms of your hands, starting from the center and moving outwards towards the ends, gently roll the dough back and forth while applying light, even pressure. The goal is to lengthen the cylinder into the desired baguette shape, typically 12-18 inches long for home ovens, depending on your baking stone or tray size. Keep the pressure even to ensure the baguette has a consistent thickness along its length.
Tapering the Ends for a Classic Look
As you roll and elongate, pay attention to the ends. For the classic baguette look, you want the ends to be slightly tapered. Achieve this by applying slightly less pressure towards the ends as you roll, allowing them to become a little thinner than the center.
Continue rolling and stretching until the baguette reaches your desired length. The dough should feel taut and have a nice surface tension. If the dough resists stretching, let it rest for 5 minutes and try again; forcing it will cause tearing. Properly shaped baguettes should hold their elongated shape without immediately shrinking back significantly, indicating good tension. This final shaping step is where the baguette truly takes its iconic form, a key part of successful baguette shaping for beginners.
Step 4: Proofing Your Shaped Baguettes
Using a Banneton Basket or Linen Cloth
Once shaped, the baguettes need a final proofing period to allow them to rise again before baking. To maintain their shape during this proof, especially given their elongated form, support is essential. A traditional method is to use a baker's couche, which is a piece of heavy linen cloth. Lightly flour the couche and arrange folds in it to create troughs where each baguette can rest, preventing them from spreading or sticking to each other.
Alternatively, specialized baguette proofing baskets (long, narrow bannetons) can be used. These baskets, often lined with cloth or well-floured, provide firm support. If using a couche, you can cover the loaves with another piece of linen or plastic wrap to prevent drying. This support during proofing is critical for preserving the tension and shape you worked hard to create during baguette shaping for beginners.
Optimal Proofing Time and Temperature (75-80°F for 60-90 Minutes)
The optimal proofing temperature for baguettes is typically between 75°F and 80°F (approximately 24°C to 27°C). This range encourages steady yeast activity without over-proofing too quickly. The proofing time usually ranges from 60 to 90 minutes, but this is highly variable depending on your dough's temperature, the room temperature, and how active your yeast is.
You're looking for the baguettes to increase in volume by about 50-75%. A good test is the "poke test": gently press the dough with a floured finger; if the indentation slowly springs back halfway, the dough is likely ready. If it springs back completely, it needs more time. If it stays indented, it might be slightly over-proofed. Proper proofing is just as important as shaping for achieving a good rise and crumb in your baked baguettes.
Tips and Tricks for Successful Baguette Shaping
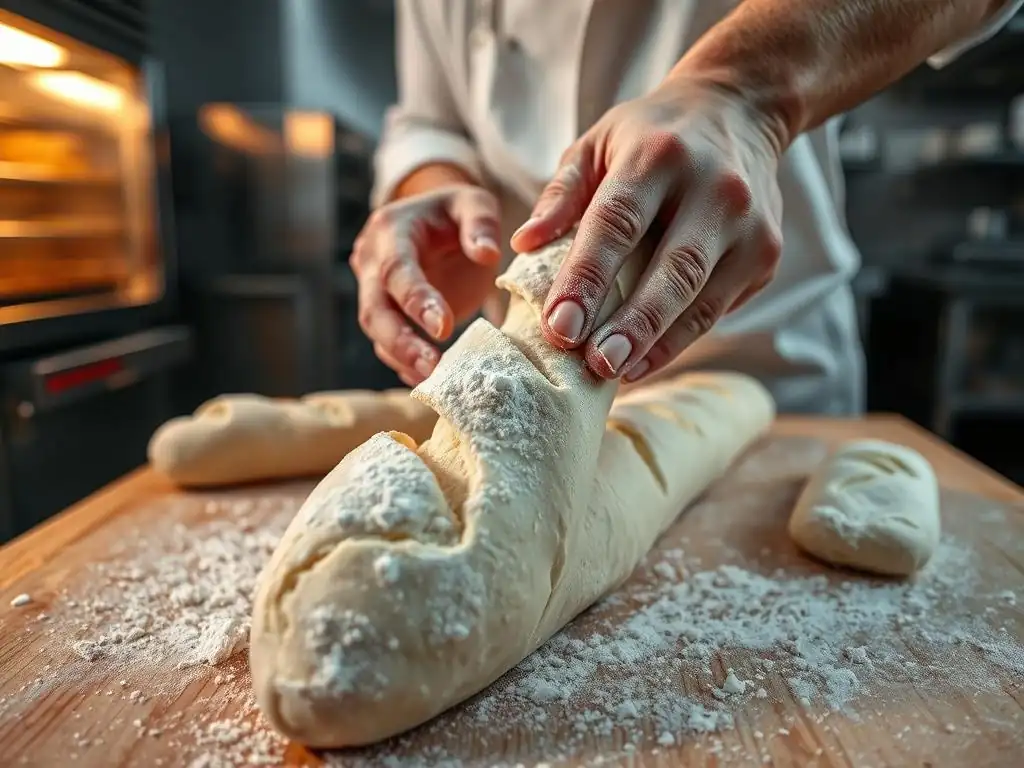
Achieving the Right Dough Consistency (Tacky, Not Sticky) for Easy Shaping
The consistency of your dough is paramount for easy and successful shaping. Ideal baguette dough should be hydrated enough to be extensible but developed enough in gluten structure to hold tension. It should feel tacky to the touch, meaning it will stick slightly but release cleanly from your fingers after a moment. If the dough is overly sticky, it will be difficult to handle, will likely tear during shaping, and won't hold its form well during proofing.
If your dough feels too sticky after mixing and bulk fermentation, you can incorporate a small amount of flour during the initial turn-out and pre-shaping, but avoid adding too much, as this can make the dough tough. Conversely, if the dough feels too dry or stiff, it will be difficult to elongate and prone to tearing. Ensure accurate measurements, particularly of water (aiming for 70-75% hydration based on flour weight for many recipes), is the best way to start with the right consistency. Dough hydration significantly impacts baguette shaping for beginners.
Troubleshooting Common Shaping Problems: Tearing, Uneven Shape, Lack of Tension
Several issues can arise during baguette shaping for beginners. If your dough is tearing when you try to stretch it, it's likely underdeveloped (not enough gluten structure built during kneading/fermentation) or hasn't rested long enough between shaping steps. Give it a 10-15 minute rest, covered, to allow the gluten to relax before trying again gently.
An uneven shape, where one part is thicker than another, often results from applying uneven pressure during the rolling/elongation step. Focus on using consistent pressure from the center outwards with the flats of your hands. Lack of tension means the dough feels slack and spreads out rather than holding its cylindrical form. This can be due to insufficient folding during pre-shaping or not sealing the seam tightly enough during the first shaping. Practice helps develop the feel for how much tension is needed – the dough should feel firm and taut but not so tight it resists or tears.
Maintaining Dough Temperature During Shaping
The dough's temperature affects its elasticity and how it behaves during shaping. Dough that is too cold (below 70°F or 21°C) can be stiff and difficult to stretch, increasing the risk of tearing. Dough that is too warm (above 80°F or 27°C) can become overly extensible and sticky, making it hard to build and maintain tension, and also risks over-proofing quickly.
Ideally, your dough should be around 75-78°F (24-26°C) when you begin shaping. Work efficiently to minimize the time the dough is exposed to air, which can cool its surface. If your kitchen is cold, consider warming your surface slightly or working more quickly. If your kitchen is very warm, you might need to work faster or even briefly chill the dough for 10-15 minutes before shaping, though be cautious not to make it too cold. Consistent dough temperature leads to consistent shaping results, which is a valuable lesson in baguette shaping for beginners.
Baking Your Shaped Baguettes to Perfection
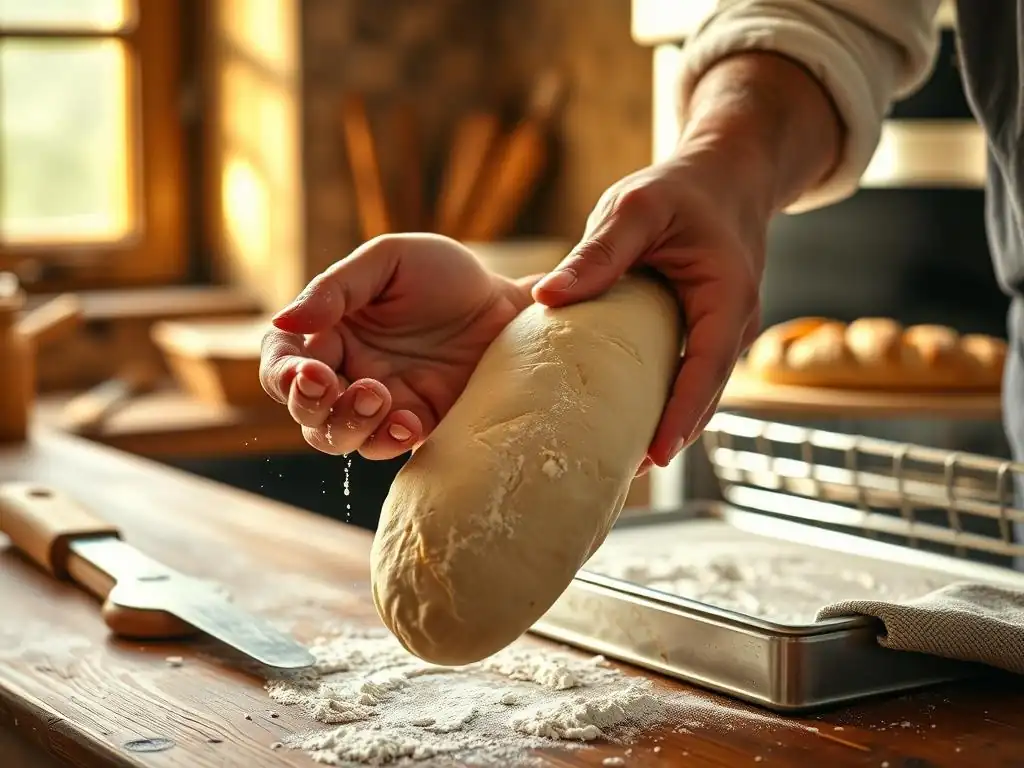
Scoring the Baguettes for Oven Spring
Scoring, or making strategic cuts on the surface of the baguettes just before they go into the oven, is a critical step. These cuts serve as controlled weak points in the dough's surface, allowing the bread to expand predictably during oven spring. Without scoring, the crust would crack randomly as the internal gases expand. Proper scoring directs this expansion upwards and outwards, contributing to the baguette's volume, shape, and the desired open crumb structure.
Use a sharp lame or razor blade held at about a 30-45 degree angle to the dough's surface. Make swift, overlapping cuts along the length of the baguette. For a classic baguette, typically 3-5 overlapping slashes are made. The depth of the cut should be about 1/4 to 1/2 inch. Practice helps; the cuts should be confident and clean. Scoring is the final flourish after successful baguette shaping for beginners, preparing your loaf for transformation in the heat of the oven.
Baking Techniques for a Crispy Crust (Steam Injection)
Achieving that signature crispy baguette crust requires high heat and steam in the oven during the initial phase of baking. High heat (typically 450-480°F or 230-250°C) provides the necessary energy for rapid expansion (oven spring) and crust development. Steam keeps the surface of the dough moist initially, preventing it from forming a hard crust too quickly. This allows the dough to expand fully before the crust sets, resulting in greater volume and a thinner, crispier crust.
Home bakers can create steam using various methods: placing a tray of hot water in the bottom of the oven before loading the bread, spraying the oven walls with water, or using lava rocks or a cast iron pan preheated in the oven with water poured onto them just as the bread goes in (use caution with steam).
Bake with steam for the first 10-15 minutes, then remove the steam source and continue baking at a slightly lower temperature (around 425-450°F or 220-230°C) until the baguettes are golden brown and sound hollow when tapped on the bottom, usually another 15-20 minutes.
Cooling and Enjoying Your Homemade Baguettes
Once your beautifully shaped and baked baguettes emerge from the oven, the hardest part is waiting to slice into them! It's crucial to let them cool completely on a wire rack. This cooling period allows moisture inside the bread to redistribute evenly and the crust to finish crisping up. Cutting into a hot baguette will result in a gummy interior because the starches haven't set properly.
Allow baguettes to cool for at least 30-60 minutes, or even longer for larger loaves. The crust will audibly crackle as it cools – this is a good sign of a successful bake and crispy crust! Enjoy your homemade baguettes by slicing them and serving them with butter, olive oil, or alongside a meal. Relishing your first successfully shaped and baked baguette is a rewarding milestone in your journey with baguette shaping for beginners.
Further Exploration of Bread Baking Techniques
Mastering baguette shaping for beginners is just one exciting step in the vast world of bread baking. Once you're comfortable shaping baguettes, you can explore variations like shorter bâtards or round boules, each requiring slightly different shaping techniques. You might also delve into enriched doughs for brioche or challah, which handle very differently due to the addition of fat and sugar.
Understanding the principles of dough tension and handling learned here will be valuable across many types of bread. Consider experimenting with longer, cold fermentation periods (proofing dough in the refrigerator for 12-24 hours) which can dramatically improve flavor development in your baguettes and other breads. There are endless techniques and recipes to explore, each offering new challenges and delicious rewards.
Frequently Asked Questions
How crucial is the initial proofing of the dough before shaping baguettes?
The initial proofing is absolutely crucial for developing the gluten and flavor of your dough. It allows the yeast to produce gases, resulting in a light and airy baguette. Insufficient proofing leads to a dense and tough final product.
What is the best way to handle sticky dough when shaping baguettes?
Lightly flouring your work surface and your hands is key. Avoid adding too much flour directly into the dough, as this can make it dry and tough. Use a dough scraper to gently handle and fold the dough.
Can I use different types of flour for shaping baguettes?
Yes, you can experiment, but traditional baguettes are made with bread flour due to its higher gluten content, which provides the necessary structure. Other flours, like all-purpose, will yield a less chewy baguette.
What is the importance of the final proofing after shaping the baguettes?
The final proofing allows the shaped baguettes to relax and expand before baking. This results in a lighter, more evenly textured crumb. Over-proofing can cause the baguettes to collapse during baking.
How do I get those characteristic slashes (scores) on top of my baguettes?
Using a lame or sharp knife, make quick, shallow slashes at an angle across the top of the baguette just before baking. This controls expansion during baking and creates the classic baguette appearance.
Final Reflection: Mastering the Art of the Baguette
The seemingly simple baguette, a staple of French cuisine, holds a surprising depth of technique. Its crisp crust and airy crumb are the result of careful attention to detail, from the initial mixing of ingredients to the final scoring of the dough. This article has explored the key steps involved in shaping this iconic bread, demystifying the process for aspiring bakers of all levels.
The journey of learning to shape a perfect baguette is more than just mastering a recipe; it's about understanding the fundamental principles of bread making. It's about the satisfying feel of the dough in your hands, the subtle nuances of gluten development, and the anticipation of that first golden-brown crust emerging from the oven. The process itself is meditative, a quiet act of creation. As the great Julia Child once said, Find something you're passionate about and keep tremendously interested in it.
For me, that passion is found in the simple act of baking, and the baguette, in its elegant simplicity, embodies that perfectly.
Now, it's your turn. Don't be intimidated by the seemingly complex process. Pick up some flour, gather your ingredients, and try your hand at shaping your own baguettes. Embrace the imperfections, learn from each attempt, and savor the delicious reward of your labor. The journey of mastering the baguette is a rewarding one, filled with the satisfaction of creating something beautiful and delicious with your own two hands. So, what are you waiting for? Let the baking begin!
Unleash Your Inner Baker: Craft Perfect Baguettes!
Thanks for joining us on this baking adventure! We hope you've gained the confidence to tackle the art of baguette making. Ready to take your skills to the next level?
- Bake your own masterpiece today! Use the techniques we've shared to create your very first (or next!) perfect baguette. Let the aroma fill your kitchen!
- Share your baking journey! Snap a picture of your freshly baked baguette and share it with us – we'd love to see your creation!
- Explore other recipes on BakeWithEase.com for more delicious bread adventures.
What unique twist will you add to your next baguette creation? Let's hear your ideas in the comments below!