
Storing Homemade Basic White Bread to Keep it Fresh

Welcome to BakeWithEase, your partner in creating delicious baked goods! Ever wonder how to keep that perfectly baked loaf of homemade white bread from going stale too quickly? This guide dives deep into the secrets of proper storage so you can enjoy every slice, day after day. Discover the best methods and tips to maintain its freshness and flavor and avoid the common mistakes that ruin even the most expertly crafted loaves. Let's unlock the secrets of how to store white bread perfectly!
- How to Store Homemade Basic White Bread to Keep it Fresh (BakeWithEase.com)
- Introduction: Extending the Freshness of Your Homemade Basic White Bread
- Understanding Bread Staling: Why Does Basic White Bread Get Stale?
- Best Methods for Storing Basic White Bread
- Tips and Tricks for Keeping Your Homemade Basic White Bread Fresh Longer
- Choosing the Right Storage Container for Your Basic White Bread
- Troubleshooting Common Basic White Bread Storage Problems
- Conclusion: Enjoying Fresh, Homemade Basic White Bread Every Time
- Frequently Asked Questions
- Final Reflection: The Enduring Loaf: Preserving the Perfect Slice
- Unlock the Secret to Perfectly Preserved Bread!
How to Store Homemade Basic White Bread to Keep it Fresh (BakeWithEase.com)
Introduction: Extending the Freshness of Your Homemade Basic White Bread
Baking a beautiful loaf of homemade basic white bread is incredibly rewarding – the aroma filling your kitchen, the soft crumb, the slightly chewy crust. But the joy can fade quickly if your loaf goes stale before you get to enjoy it all. Knowing how to store white bread properly is key to making your hard work last and savoring that fresh-baked goodness for as long as possible. We'll walk you through the best techniques, from cooling to freezing, ensuring every slice is as delightful as the first.
This guide is designed to help you understand why bread stales and the most effective ways to combat it, specifically for your tender, delicious homemade white loaves. By implementing these simple storage methods, you can significantly extend the life of your basic white bread, reducing waste and maximizing enjoyment. Let's dive into keeping your beautiful bakes wonderfully fresh!
Understanding Bread Staling: Why Does Basic White Bread Get Stale?
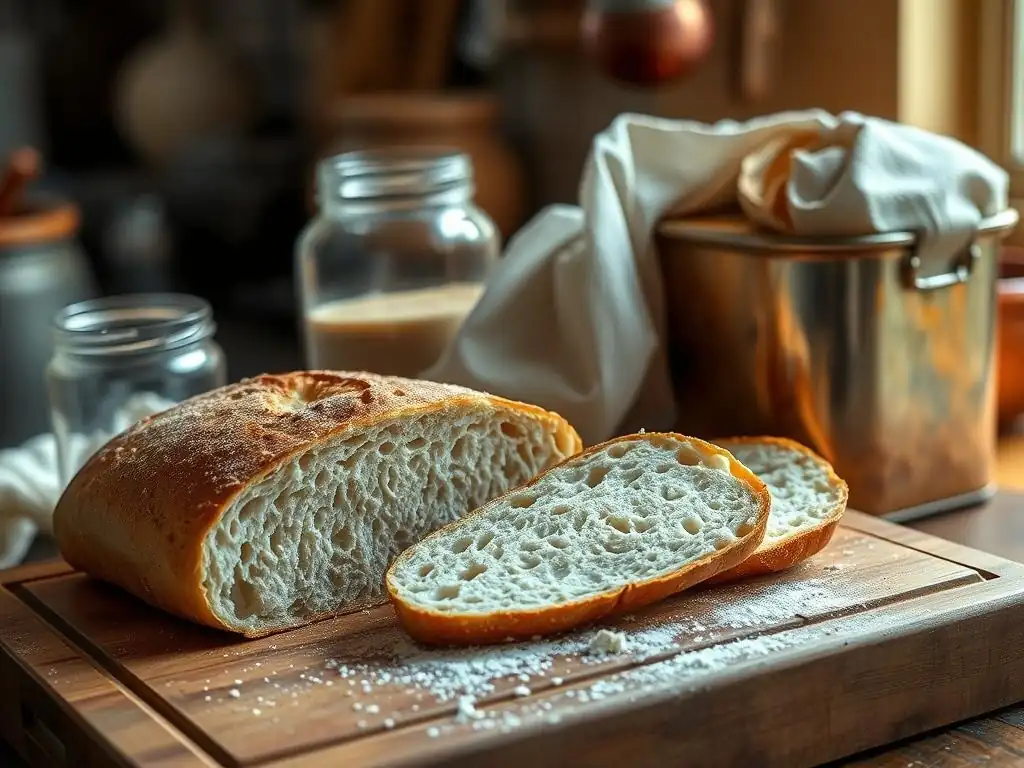
Before we get to the "how-to," it's helpful to understand the "why." Bread staling isn't just about drying out, though that plays a role. It's a complex process happening at a molecular level within the loaf. Understanding this helps us choose the best storage methods to slow it down.
The primary culprit behind bread staling is something called starch retrogradation. When you bake bread, the starch molecules in the flour absorb water and swell, becoming gelatinized (this is why fresh bread is soft and moist). As the bread cools and ages, these starch molecules begin to recrystallize and release the water they absorbed. This water then migrates to the crust, making it soft, while the crumb loses moisture and becomes firm and crumbly – what we perceive as staleness.
The Science Behind Basic White Bread Staling
Starch retrogradation is the core scientific process driving staling. In basic white bread, which typically uses refined flour with a higher starch content relative to some other bread types, this process can happen relatively quickly. The amylopectin molecules within the starch are particularly prone to re-ordering themselves into a more crystalline structure after cooling. This structural change is what causes the crumb to firm up and lose its elasticity.
While moisture loss contributes, the chemical change in the starch is the dominant factor in staling under typical conditions. Even if you could prevent all moisture loss, the bread would still undergo retrogradation and become stale. For example, bread stored in a sealed bag will eventually stale even though it retains moisture; in fact, the retained moisture can accelerate starch retrogradation compared to a slightly drier environment, though it might help keep the crust softer initially.
Factors Affecting Basic White Bread Freshness
Several factors influence how quickly your homemade white bread loses its fresh quality. The ingredients used play a role; recipes with added fats (like butter or oil) and sweeteners (like sugar) tend to stay softer longer because these ingredients interfere with starch retrogradation. A recipe with just flour, water, yeast, and salt might stale faster than an enriched dough.
The baking process itself matters. A properly baked loaf with a well-developed crust can help slow moisture loss from the crumb. However, for basic white bread with a softer crust, this effect might be less pronounced than with a thick-crusted loaf. Environmental conditions are also critical: temperature and humidity significantly impact both moisture loss and mold growth. We'll see how these factors influence the best storage practices.
Best Methods for Storing Basic White Bread
Now that we know why bread stales, let's focus on how to combat it for your delicious white loaves. The best method depends primarily on how quickly you plan to eat the bread.
Cooling Your Basic White Bread Properly Before Storage
This is perhaps the most crucial first step and often overlooked! Your homemade white bread must be completely cooled before you attempt to store it. Hot or warm bread continues to release steam. If you wrap it while it's still warm, that steam will condense inside the wrapping, creating moisture. This excess moisture is the perfect breeding ground for mold and can also negatively impact the crust's texture, making it soggy.
Allow your loaf to cool fully on a wire rack. This allows air circulation around the entire loaf, letting the steam escape evenly. For a standard loaf of basic white bread, this can take anywhere from 2 to 4 hours at room temperature, depending on the size and density of the loaf and the ambient temperature and humidity. Be patient! Wrapping too soon is a common mistake that shortens shelf life.
Storing Basic White Bread at Room Temperature: The Best Practices
For bread you plan to eat within a few days, room temperature storage is generally the best option for maintaining quality, especially the texture of the crumb. The key is to protect the loaf from drying out too quickly while allowing some minimal air circulation to prevent excessive moisture buildup that can lead to mold.
Keeping the loaf whole for as long as possible also helps maintain freshness, as slicing exposes more of the crumb surface to the air, increasing moisture loss and speeding up staling. Store the loaf away from direct sunlight or heat sources, as warmer temperatures can accelerate staling and mold growth. A cool, dry spot in your kitchen is ideal.
Choosing the Right Bread Bag for Room Temperature Storage
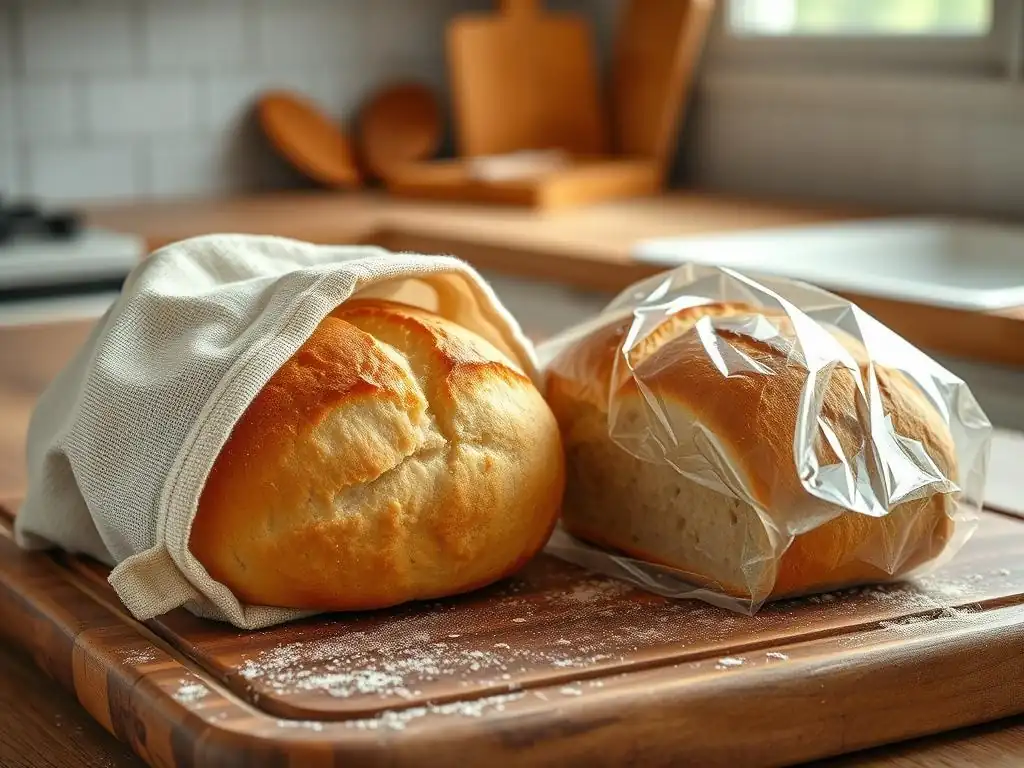
The type of bag you use for room temperature storage makes a difference for homemade white bread. Plastic bags are excellent at preventing moisture loss, which helps keep the crumb soft, but they can trap too much moisture, leading to a soft crust and potentially mold. Paper bags allow the bread to breathe, preserving the crust's texture better initially, but they don't prevent the crumb from drying out quickly.
A good compromise is often a linen or cotton bread bag. These offer some breathability while still providing a protective layer. Alternatively, you can start with a paper bag to protect the crust and then, after a day or two when the crust has firmed up, transfer it to a plastic bag if keeping the crumb soft is your priority. Reusable wax wraps can also be a good option, offering a balance of protection and breathability.
How Long Does Basic White Bread Last at Room Temperature?
Stored properly at room temperature, homemade basic white bread typically stays fresh for about 3 to 5 days. The exact duration depends on the ingredients (enriched loaves last a bit longer), the humidity in your kitchen, and how it's stored. After 3 days, you might notice the crumb starting to firm up and the crust softening, indicating the onset of staling.
While it might still be safe to eat for a day or two after that, the quality will have diminished. Always inspect your bread for any signs of mold (fuzzy spots of green, white, or black) before consuming, especially after a few days. If you see mold, it's best to discard the entire loaf, as mold spores can penetrate deeper into the bread than is visible on the surface.
Freezing Basic White Bread for Long-Term Storage
If you won't finish your homemade white bread within 3-5 days, freezing is by far the best method for long-term storage. Freezing essentially pauses the staling process (starch retrogradation) and prevents mold growth because the low temperatures inhibit microbial activity. Proper freezing allows you to enjoy your bread much later with minimal loss of quality upon thawing.
Freezing is ideal for whole loaves, half loaves, or even individual slices. By preparing the bread correctly for freezing, you can lock in that fresh texture and flavor. It's much better to freeze bread that is at its peak freshness rather than waiting until it's already starting to go stale.
Preparing Basic White Bread for Freezing
To prepare your basic white bread for freezing, ensure it is completely cooled first – this is non-negotiable! If freezing a whole loaf, you can freeze it as is. If you prefer, you can slice the loaf before freezing. Slicing before freezing allows you to easily grab just a few slices at a time without thawing the whole loaf, which is incredibly convenient.
Wrap the bread tightly to protect it from freezer burn, which is dehydration caused by exposure to cold, dry air. Freezer burn results in dry, tough spots on the bread. Double wrapping is often recommended for extra protection.
Best Freezer Bags and Wraps for Basic White Bread
When freezing basic white bread, the goal is to create an airtight barrier. Start by wrapping the cooled loaf (whole or sliced) tightly in plastic wrap or aluminum foil, pressing out as much air as possible. Ensure there are no gaps or exposed surfaces.
After the initial wrap, place the wrapped loaf inside a high-quality freezer bag, squeezing out the air before sealing. Alternatively, you can use a second layer of aluminum foil or place the wrapped loaf inside a sturdy, airtight container designed for freezing. Using materials specifically designed for freezing provides the best protection against freezer burn and odor absorption from other items in your freezer. Label the package with the date so you know how long it's been stored.
Thawing Frozen Basic White Bread Correctly
Proper thawing is just as important as proper freezing to maintain the quality of your basic white bread. The best way to thaw a whole frozen loaf is to remove it from its freezer wrapping and let it thaw at room temperature on a wire rack. This allows air circulation and prevents condensation from making the crust soggy. Thawing a whole loaf can take several hours, perhaps 4-6 hours depending on its size.
If you froze sliced bread, you can often take out individual slices and toast them directly from frozen, or let them thaw on a plate for 15-30 minutes. Avoid thawing bread in the microwave, as this can make it tough and rubbery. Once thawed, treat the bread like fresh bread and consume it within a day or two, as the staling process will resume quickly after thawing. Do not refreeze bread that has been thawed.
Refrigerating Basic White Bread: Is it a Good Idea?
Generally, no, refrigerating basic white bread is not a good idea for maintaining its fresh quality. While the cold temperature of the refrigerator does slow down mold growth, it significantly accelerates the process of starch retrogradation – the primary cause of staling.
Think of it this way: the temperature range of a typical refrigerator (around 35-40°F or 1-4°C) is actually the ideal temperature range for starch molecules to recrystallize most rapidly. So, while your refrigerated bread might not mold as quickly, it will become hard and stale much faster than bread left at room temperature or frozen.
Why Refrigeration Can Affect Basic White Bread Texture
As mentioned, the cold temperatures in the refrigerator speed up the re-crystallization of the starch molecules in the crumb. This causes the soft, elastic texture of fresh bread to quickly become firm, dry, and crumbly. The moisture in the bread is still present, but it's locked up within the re-ordered starch structure, making the bread feel dry even if it hasn't lost much water.
The crust of refrigerated white bread can also suffer, often becoming tough or leathery. Unless you live in an extremely hot and humid climate where mold is an immediate concern and you don't plan to keep the bread for more than a couple of days, or if the bread contains perishable fillings, it's best to skip the fridge and opt for room temperature or freezer storage instead to preserve the pleasant texture of your homemade white loaf.
Tips and Tricks for Keeping Your Homemade Basic White Bread Fresh Longer
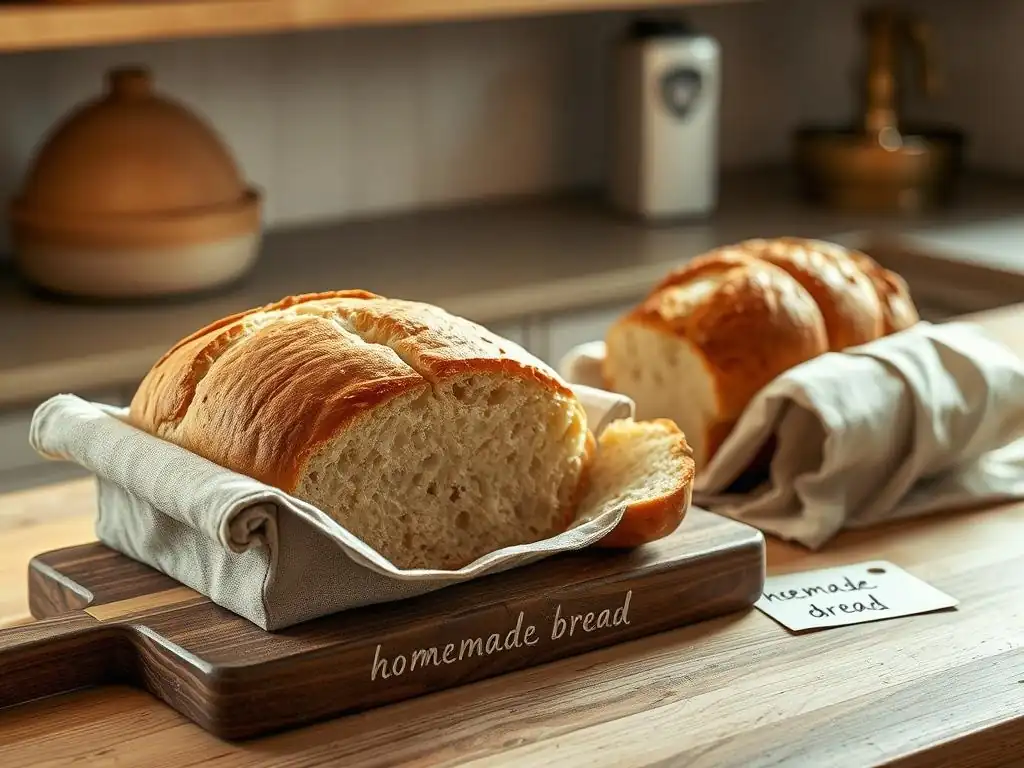
Beyond the main storage methods, a few extra tips can help you maximize the lifespan of your delicious homemade white bread. These small adjustments to how you handle and store your loaf can make a noticeable difference in how long it stays enjoyable.
Slicing Strategies for Optimal Freshness
As we touched on earlier, slicing exposes the interior crumb to the air, accelerating moisture loss and staling. To keep your basic white bread fresh for as long as possible at room temperature, it's best to store it as a whole loaf and only slice off what you need just before you're ready to eat it.
If you know you'll use half the loaf quickly and want to store the other half long-term, slice the loaf in half and store the unused half using a long-term method like freezing immediately. For the half you're keeping at room temperature, slice only what you need for that meal or day. This simple practice significantly reduces the surface area exposed to the air, helping the rest of the loaf retain its moisture and soft texture.
Reviving Stale Basic White Bread: Quick and Easy Methods
Even with the best storage practices, homemade white bread can eventually start to go a little stale. Don't despair! A slightly stale loaf is perfect for making croutons, breadcrumbs, or French toast. However, if you want to bring a slice or two back to a more palatable texture for sandwiches or toast, there are a couple of easy revival methods.
These methods work by briefly re-gelatinizing the starch molecules, essentially reversing some of the retrogradation. While it won't return the bread to its absolute fresh-from-the-oven state, it can significantly improve the texture of a slightly dry or firm slice, making it soft and pleasant again, at least temporarily.
Using the Oven to Reheat Basic White Bread
One effective way to revive a whole or partial loaf of slightly stale basic white bread is to reheat it in the oven. This method works particularly well for larger pieces. Preheat your oven to a moderate temperature, around 300-350°F (150-175°C).
Place the stale bread directly on the oven rack or on a baking sheet. Heat for about 5-10 minutes for slices or smaller pieces, and potentially 15-20 minutes for a half loaf, until it feels warm and soft. Be careful not to overheat, or you'll just dry it out further. Enjoy the bread immediately after reheating, as it will quickly firm up again as it cools.
Spritzing with Water Before Reheating
For an even better result when reviving stale basic white bread, especially if it feels quite dry, try lightly spritzing the surface with water before reheating it in the oven. A small spray bottle works perfectly for this. Don't soak it, just a light misting is enough.
The added moisture turns to steam in the hot oven, which helps penetrate the crust and crumb, aiding in the re-gelatinization of the starch. This can result in a more tender crumb and a slightly refreshed crust. Again, heat until warm and softened, and consume immediately for the best texture.
Choosing the Right Storage Container for Your Basic White Bread
The container or wrapping you choose plays a significant role in how well your basic white bread stays fresh, balancing moisture retention with breathability. Different options suit different storage durations and desired outcomes for crust texture.
Bread Boxes: A Classic Storage Solution
A bread box is a traditional choice for storing bread at room temperature. Good bread boxes are designed to provide an environment that is neither completely airtight nor overly exposed to air. They create a dark, relatively stable microclimate that can help slow down both drying out and mold growth compared to just leaving the loaf on the counter.
A well-designed bread box allows for just enough air circulation to prevent excessive moisture buildup, which helps keep the crust from becoming too soft too quickly, while still holding enough moisture to prevent the crumb from drying out rapidly. They are best suited for storing a loaf you plan to consume within a few days.
Linen Bags: A Breathable Option
Linen or cotton bread bags are an excellent, environmentally friendly option for storing basic white bread at room temperature, particularly if you prefer a slightly firmer crust. These natural fabric bags offer good breathability, which allows some moisture exchange with the environment.
While a linen bag won't keep the crumb as soft as a plastic bag over several days, it does a better job of preserving the crust's texture and reduces the risk of mold compared to airtight options in humid conditions. They are a good choice for rustic-style white loaves or if you find plastic bags make your crust too soft too fast. You might find the crumb starts to feel drier after 2-3 days compared to plastic-bagged bread.
Airtight Containers: When to Use Them
Airtight containers, like plastic bags or rigid plastic containers with tight-fitting lids, are very effective at preventing moisture loss from the bread. This makes them excellent for keeping the crumb of basic white bread soft for a longer period at room temperature.
However, because they trap all the moisture, they can cause the crust to soften significantly and create a humid environment that encourages mold growth, especially in warm kitchens. Airtight containers are best used for storing bread you plan to consume relatively quickly (within 2-3 days) where maintaining a soft crumb is the priority, or when preparing bread for freezing, where the goal is zero air exposure. For room temperature storage beyond a couple of days, you might need to balance airtightness with some breathability.
Troubleshooting Common Basic White Bread Storage Problems
Even with the best efforts, you might encounter issues when storing your homemade basic white bread. Knowing how to prevent and address these common problems can save your loaf and reduce frustration.
Mold Growth: Prevention and What to Do
Mold is one of the most disheartening problems for homemade bread. It typically appears as fuzzy spots (green, blue, black, or white) on the crust or sometimes the crumb. Prevention is key: ensure your bread is completely cool before storing, avoid storing in warm, humid places (like near the stove), and use clean storage containers or bags.
If you see mold on your basic white bread, unfortunately, the safest course of action is to discard the entire loaf. While some sources might suggest cutting off the molded part, mold spores are microscopic and can spread throughout the porous structure of bread even if not visible. With bread, it's better to be safe than sorry. Freezing is the best way to prevent mold for longer storage times, as mold cannot grow at freezer temperatures.
Hard Crust: Solutions for Maintaining Crust Integrity
Basic white bread often has a softer crust than artisan loaves, but it can still harden unpleasantly if exposed to too much air. Conversely, storing it in a completely airtight environment can make it soft and rubbery. The challenge is finding the right balance.
If you prefer a slightly firmer crust, a paper bag or linen bag at room temperature might work well for a day or two. If your crust consistently gets too hard too fast, your storage might be too dry or exposed. Consider switching to a plastic bag or a bread box.
If the crust becomes too soft, try storing it cut-side down on a cutting board or in a paper bag initially, then transferring to a less breathable container once the desired crust texture is set. Freezing preserves the crust texture best for long-term storage; upon thawing, a quick warm-up in the oven can help revive it.
Conclusion: Enjoying Fresh, Homemade Basic White Bread Every Time
Mastering how to store white bread is a game-changer for any home baker. By understanding the science of staling and implementing simple, effective storage techniques, you can significantly extend the life and quality of your delicious homemade basic white loaves. Remember the golden rules: cool completely before storing, choose the right method based on how quickly you'll eat it (room temperature for a few days, freezing for longer), and avoid the refrigerator.
Whether you opt for a classic bread box, a breathable linen bag, or the convenience of freezing, proper storage ensures that each slice maintains its wonderful texture and flavor. So go ahead, bake that beautiful loaf of basic white bread with confidence, knowing you have the knowledge to keep it fresh and enjoyable down to the very last crumb. Happy baking and happy storing!
Frequently Asked Questions
How long does homemade white bread typically stay fresh?
Homemade white bread, without preservatives, usually stays fresh for 2-3 days at room temperature. Proper storage is crucial to maximize its freshness.
What's the best way to store white bread to prevent it from drying out?
The best method is to store it in an airtight container or a tightly sealed plastic bag at room temperature. This prevents moisture loss and staling.
Can I freeze my homemade white bread?
Yes! Freezing is a great way to extend the shelf life of your white bread. Wrap it tightly in plastic wrap and then aluminum foil for optimal protection against freezer burn.
Should I refrigerate my white bread?
Refrigeration is generally not recommended. It can actually accelerate the staling process, making the bread dry and hard faster than storing it at room temperature.
How can I revive slightly stale white bread?
You can revive slightly stale bread by sprinkling it lightly with water and then baking it in a preheated oven at 350°F (175°C) for about 5-10 minutes. This will help rehydrate the crust and crumb.
Final Reflection: The Enduring Loaf: Preserving the Perfect Slice
The art of baking fresh bread is a timeless tradition, but ensuring its longevity is a modern challenge. In a world of fast-paced consumption, understanding how to properly store homemade white bread isn't just a culinary nicety; it's a crucial step in minimizing food waste and maximizing enjoyment. The methods outlined in this article—from the simple freezer stash to the more nuanced techniques of airtight containers and bread boxes—are vital for preserving that perfect, fluffy texture and delightful taste.
The impact of readily available, mass-produced bread has often overshadowed the appreciation for homemade loaves. Yet, the simple act of baking and then carefully preserving your creation connects us to a richer culinary heritage. Bread is the staff of life,
a proverb often repeated, highlights its fundamental importance, and extending its freshness ensures we can fully appreciate this staff. This isn't merely about preserving food; it's about preserving a connection to tradition, to the satisfaction of creating something delicious from scratch, and to the mindful consumption of quality ingredients.
Now, consider your own baking journey. What methods have you found most effective in keeping your homemade white bread fresh? Perhaps you have a secret technique you'd like to share? More importantly, I encourage you to experiment with the methods discussed, to find the perfect balance between convenience and preservation. Embrace the challenge of extending the life of your lovingly crafted loaf, and savor each delicious slice, knowing you've mastered the art of both baking and preservation.
Unlock the Secret to Perfectly Preserved Bread!
Thanks for taking the time to learn how to keep your homemade white bread fresh and delicious! You've now got the skills to avoid that dreaded stale bread experience. Ready to put your new knowledge into practice?
- Master the Art of Bread Storage: Experiment with different storage methods – from linen bags to airtight containers – and discover what keeps your bread at its peak for the longest time.
- Share Your Baking Triumphs: Show off your perfectly preserved loaves! Post a picture of your beautiful bread on social media and tag us (@BakeWithEase – although you can't actually tag us, pretend you can! ).
- Try a Bread-Based Recipe Challenge: Use your freshly-stored bread to create a new and exciting recipe. What delicious creation will you bake next?
What's your go-to method for keeping homemade bread fresh? Let's discuss in the comments below!