
How to Use Food Coloring Gels vs. Liquids

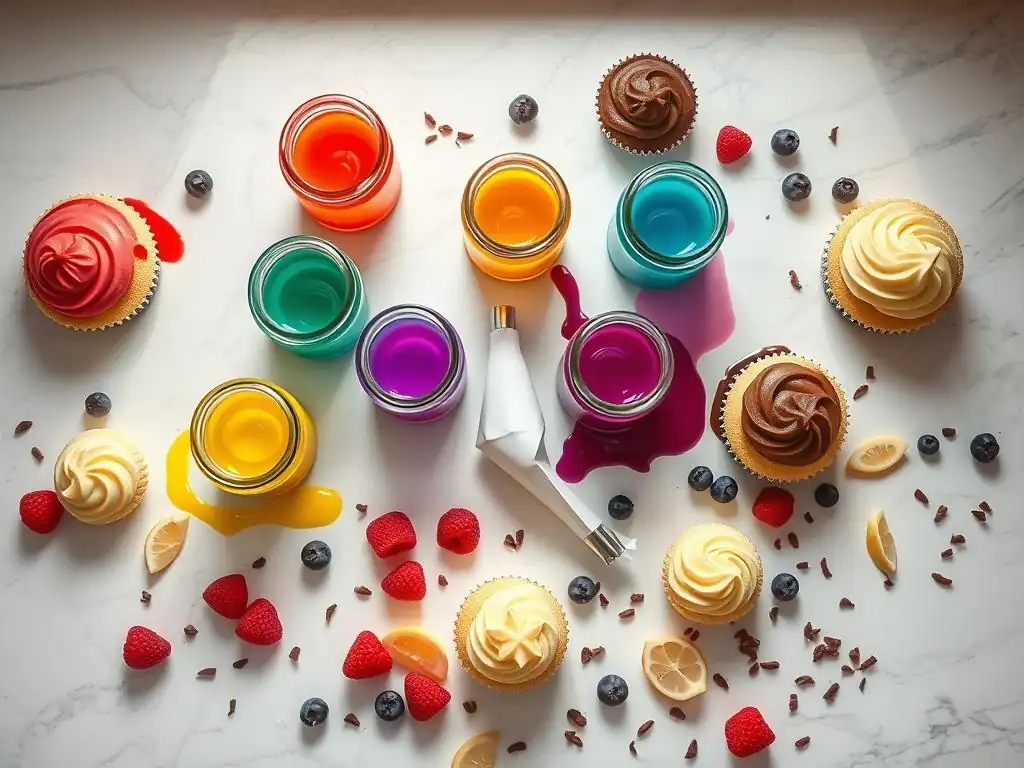
Welcome to BakeWithEase, your guide to baking bliss! Ever wondered how professional bakers achieve such vibrant and consistent colors in their creations? This article dives into the secrets of gel food coloring recipes, revealing how they differ from liquid alternatives and offering expert tips for achieving stunning results. Discover the power of concentrated color and unlock a new level of artistry in your baking – let's get started!
- How to Use Gel Food Coloring vs. Liquids for Cake Decorating
- Introduction to Food Coloring in Baking: Gel vs. Liquid
- Understanding Liquid Food Coloring
- Exploring Gel Food Coloring: A Baker's Favorite
- Gel Food Coloring Recipes and Techniques
- Liquid Food Coloring Recipes and Techniques
- Comparing Gel vs. Liquid Food Coloring: A Detailed Analysis
- Tips and Tricks for Using Both Types of Food Coloring
- Mastering the Art of Cake Decorating with Food Coloring
- Conclusion: Choosing the Right Food Coloring for Your Baking Needs
-
Frequently Asked Questions
- How are gel food colorings different from liquid food colorings?
- What are the benefits of using gel food coloring in baking?
- Can I use gel food coloring in any recipe that calls for liquid food coloring?
- How do I achieve the best color when using gel food coloring in my "BakeWithEase" recipes?
- Where can I find the best "Gel food coloring recipes" on BakeWithEase.com?
- Final Reflection: The Colorful World of Food Coloring: Gel vs. Liquid
- Unlock Your Inner Cake Artist: Master Food Coloring Techniques!
How to Use Gel Food Coloring vs. Liquids for Cake Decorating
Introduction to Food Coloring in Baking: Gel vs. Liquid
Why Food Coloring Matters for Cake Decorating
Food coloring is an indispensable tool in the cake decorator's arsenal. It allows bakers to transform plain white batters and frostings into vibrant canvases, bringing creative visions to life. Whether you're aiming for a bold, eye-catching birthday cake or delicate pastel shades for a wedding confection, the right food coloring can elevate your baked goods from simple desserts to edible art. It's not just about aesthetics; color can also influence perception, making a cake look richer, sweeter, or more festive.
Beyond basic tinting, food coloring enables intricate techniques like marbling, painting on fondant, and creating gradient effects. Achieving specific colors, such as a deep red for a classic red velvet cake or a true black for spooky Halloween treats, requires understanding the properties of different coloring types. The choice between liquid and gel food coloring significantly impacts the final outcome, affecting not only the color intensity but also the texture and consistency of your batter or frosting, which is crucial for successful cake decorating.
Choosing the Right Food Coloring
Selecting the appropriate food coloring is a critical first step in any decorating project. The decision primarily hinges on the desired color intensity and the medium you are coloring (e.g., thin batter, thick frosting, delicate meringue). Liquid food coloring, commonly found in supermarkets, offers ease of use for light tints but can dilute thicker mixtures. Gel food coloring, often preferred by professional bakers, provides concentrated color without adding significant moisture, making it ideal for vibrant hues and sensitive recipes.
Consider the project's requirements: Are you coloring a large batch of cake batter a subtle pink, or do you need a small amount of frosting to be a vivid royal blue? For gel food coloring recipes where intense color is needed without altering consistency, gel is usually the superior choice. Conversely, for simple, light coloring of liquids or thin batters, liquid drops might suffice. Understanding the unique characteristics of each type is key to making the best decision for your specific baking and decorating needs.
Understanding Liquid Food Coloring
What is Liquid Food Coloring?
Liquid food coloring is one of the most widely available forms of food dye, typically found in small dropper bottles in the baking aisle of most grocery stores. It consists of synthetic food dyes dissolved in a water or glycerin base. This form is popular among home bakers for its accessibility and ease of initial mixing, as it readily disperses into liquid or semi-liquid mixtures.
The primary characteristic of liquid food coloring is its low concentration of pigment compared to other types like gels or powders. This means you often need to use a relatively larger amount to achieve a noticeable color, especially for vibrant shades. While convenient for light tints, adding significant quantities can introduce excess liquid into your recipe, potentially affecting its consistency.
Pros and Cons of Using Liquid Food Coloring
Pros: Availability and Affordability
One of the biggest advantages of liquid food coloring is its widespread availability. You can find it in virtually any supermarket, making it a convenient option for spontaneous baking projects. It's also generally the most affordable type of food coloring on the market. A small box containing multiple basic colors (red, yellow, blue, green) often costs just a few dollars, making it budget-friendly for casual use.
The dropper bottles allow for relatively easy control over the amount added, making it simple to start with a single drop and gradually increase the color intensity. This makes it user-friendly for beginners who are just starting to experiment with coloring batters and frostings for simple cakes or cupcakes.
Cons: Color Intensity and Altering Consistency
The main drawback of liquid food coloring is its low pigment concentration. Achieving deep or vibrant colors requires adding a significant amount of the liquid dye. For example, turning white frosting a true red might require half a bottle or more, depending on the brand and desired shade. This adds a considerable amount of liquid to the mixture.
Adding too much liquid food coloring can significantly alter the consistency of your batter or frosting. In frostings, it can make them too thin or runny, unsuitable for piping intricate designs. In delicate batters like macarons or meringues, the extra moisture can disrupt the structure, leading to failure. This limitation makes liquid coloring less suitable for recipes requiring intense color saturation or those sensitive to added liquids.
Best Uses for Liquid Food Coloring in Baking
Liquid food coloring is best suited for applications where only a light tint is desired or where the recipe can tolerate extra liquid. It works well for coloring clear liquids like syrups or simple glazes where dispersion is key and consistency isn't heavily impacted.
It's also suitable for lightly coloring thin batters, such as pancake mix or crepe batter, where a small amount of added liquid won't make a significant difference. For applications like dyeing Easter eggs or coloring sugar water for making hard candy, liquid food coloring is often the go-to choice due to its easy dispersal in water-based mediums. However, for most gel food coloring recipes focused on vibrant cake decoration, liquid color is usually not the preferred option.
Exploring Gel Food Coloring: A Baker's Favorite
What is Gel Food Coloring?
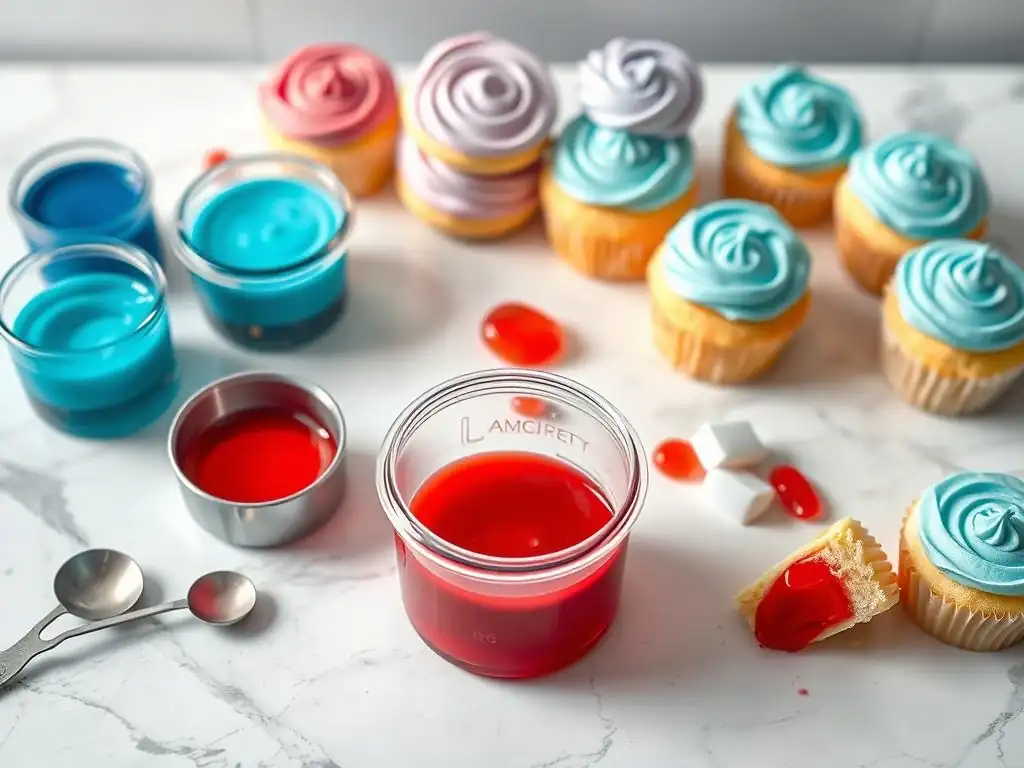
Gel food coloring, also known as gel paste or paste coloring, is a concentrated form of food dye suspended in a gel base, often made with glycerin or corn syrup. It typically comes in small pots or squeeze bottles and has a much thicker consistency than liquid coloring. This higher pigment-to-liquid ratio is what gives gel coloring its significant advantages in baking and cake decorating.
Because it contains less water and more pure pigment, a tiny amount of gel coloring can produce vibrant and intense colors. This makes it highly efficient and less likely to affect the texture of sensitive recipes like buttercream, royal icing, or cake batter. Gel colors are available in a vast spectrum of shades, including specialty colors not typically found in liquid sets.
Advantages of Using Gel Food Coloring in Cake Decorating
Highly Concentrated Color for Vibrant Results
The most significant advantage of gel food coloring is its high pigment concentration. A small dab on a toothpick can often color a cup of frosting to a deep, rich shade. For example, achieving a vibrant purple or a true forest green in a batch of vanilla buttercream is easily accomplished with just a small amount of gel color, whereas liquid color would require adding ounces of dye.
This intensity is crucial for achieving bold colors like black, red, or navy blue, which are notoriously difficult to get right with liquid colors without using an excessive amount. For gel food coloring recipes that call for striking visual impact, the concentrated pigment ensures brilliant results with minimal effort.
Minimal Impact on Batter Consistency
Unlike liquid coloring, which can thin out batters and frostings, gel coloring adds very little moisture. This is particularly important when working with recipes where consistency is key, such as stiff royal icing for piping intricate details, delicate macaron batter, or meringue. Adding even a small amount of excess liquid can compromise the structure and texture of these mixtures.
Using gel coloring ensures that your buttercream remains pipeable, your royal icing holds its shape, and your cake batter bakes up with the correct texture. This makes gel the preferred choice for most professional cake decorators and for complex gel food coloring recipes where precision is paramount.
Easier to Achieve Specific Shades with Gel
The wide range of available gel colors and their intensity make it easier to achieve specific, nuanced shades. Mixing colors is also more controlled; a small amount of gel provides a strong base color that can then be adjusted with tiny additions of other gels. For instance, creating a specific shade of teal or dusty rose is more predictable when starting with concentrated gel pigments.
Many brands offer extensive color palettes, including neons, metallics, and specific character-themed shades, allowing for highly customized results. This ease of achieving precise colors with minimal product waste makes gel coloring a versatile tool for any cake decorating project.
Disadvantages of Gel Food Coloring
Potential Difficulty in Blending in Some Recipes
While generally easy to work with, gel food coloring can sometimes be slightly more challenging to blend smoothly into very thick or cold mediums, such as stiff, cold buttercream. The concentrated nature means you need to ensure it's fully dispersed to avoid streaks of color.
This is usually overcome by warming the frosting slightly or mixing the gel thoroughly before adding it in stages. For instance, if coloring a large batch of very cold, stiff buttercream, it might take a bit more effort and mixing time compared to incorporating liquid color into a thinner glaze.
Higher Cost Compared to Liquid Food Coloring
Gel food coloring is typically more expensive per unit than liquid food coloring. A small pot or squeeze bottle might cost anywhere from $3 to $8 or more, depending on the brand and specialty color. While you use less product per batch, the initial investment for a range of colors is higher than purchasing a basic set of liquid dyes.
However, considering the concentration and the superior results, particularly for vibrant colors, many bakers find the cost difference justifiable for their gel food coloring recipes and decorating needs. The efficiency often balances out the higher price tag in the long run.
Gel Food Coloring Recipes and Techniques
Achieving Deep Colors with Gel Food Coloring
Achieving deep, intense colors like true black, deep red, navy blue, or dark purple is a common challenge in baking that gel food coloring handles with ease. For example, making black buttercream often involves starting with a chocolate base (which is already dark) and then adding a generous amount of black gel color. Adding it gradually and allowing the color to deepen over time (colors often deepen as they sit) is key.
For a vibrant red velvet cake, instead of relying solely on cocoa and a huge amount of liquid color, using a high-quality red gel color specifically designed for deep reds is essential. Recipes often call for adding the gel color after creaming butter and sugar and before adding dry ingredients, ensuring it's fully incorporated into the fat for even distribution. For gel food coloring recipes needing maximum impact, adding color to a small portion first, then incorporating that into the main batch, helps ensure even distribution.
Pastel Shades Using Gel Food Coloring: A Guide
While gel is known for intensity, it's also excellent for achieving delicate pastel shades with precision. The key is to use a very small amount – often just the tiniest dip of a toothpick into the gel pot. For instance, to color a batch of vanilla frosting a soft blush pink, dip a clean toothpick into pink gel color, swirl it into the frosting, and mix thoroughly.
Add color incrementally, toothpick dip by toothpick dip, mixing completely after each addition until the desired soft shade is achieved. This level of control is harder to achieve with liquid drops, where one extra drop can quickly push a pastel into a brighter shade than intended. This technique is perfect for delicate baby shower cakes or elegant floral designs.
How to Mix Gel Food Coloring for Custom Colors
Gel food coloring is ideal for mixing custom shades because the colors are concentrated and predictable. To mix colors, start with your base color (e.g., white frosting). Add a small amount of the primary gel color you want (e.g., blue for teal). Then, using a clean toothpick for each color, add tiny amounts of other colors needed to adjust the shade (e.g., green and a touch of yellow for teal).
Mix thoroughly after each tiny addition and scrape down the bowl to ensure even color distribution. Keep adding minute amounts and mixing until you achieve the exact desired hue, such as mixing red and a tiny bit of black for a deep burgundy, or yellow and blue for a vibrant green. This precision makes gel food coloring recipes incredibly versatile for matching specific color palettes.
Liquid Food Coloring Recipes and Techniques
Using Liquid Food Coloring for Subtle Tints
Liquid food coloring excels at providing subtle, transparent tints to mixtures. For example, adding a single drop of yellow to white icing can give it a lovely ivory or off-white shade, perfect for vintage-style cakes. A drop of pink can create a very pale blush for a delicate look.
It's also effective for lightly coloring liquids like simple syrup used to moisten cake layers, or glazes for fruit tarts. The water base helps it disperse easily in these thinner mediums. For situations where a sheer wash of color is needed and consistency isn't critical, liquid coloring is a simple and effective choice.
Techniques to Minimize Batter Thinning with Liquid Food Coloring
While liquid coloring can thin batters, there are ways to mitigate this when you only have liquid available or need a very light tint. One technique is to use the absolute minimum amount of color necessary. Start with just one drop, mix, and assess before adding more.
Another approach, particularly for batters, is to mix the liquid color into a very small portion of the wet ingredients (like milk or eggs) before combining them with the dry ingredients. This helps disperse the color evenly without adding the drops directly to the main batter mass, which can sometimes cause streaks or localized thinning. While not ideal for deep colors, these methods help manage the consistency issue for lighter shades.
Using Liquid Food Coloring for Tie-Dye Cupcakes
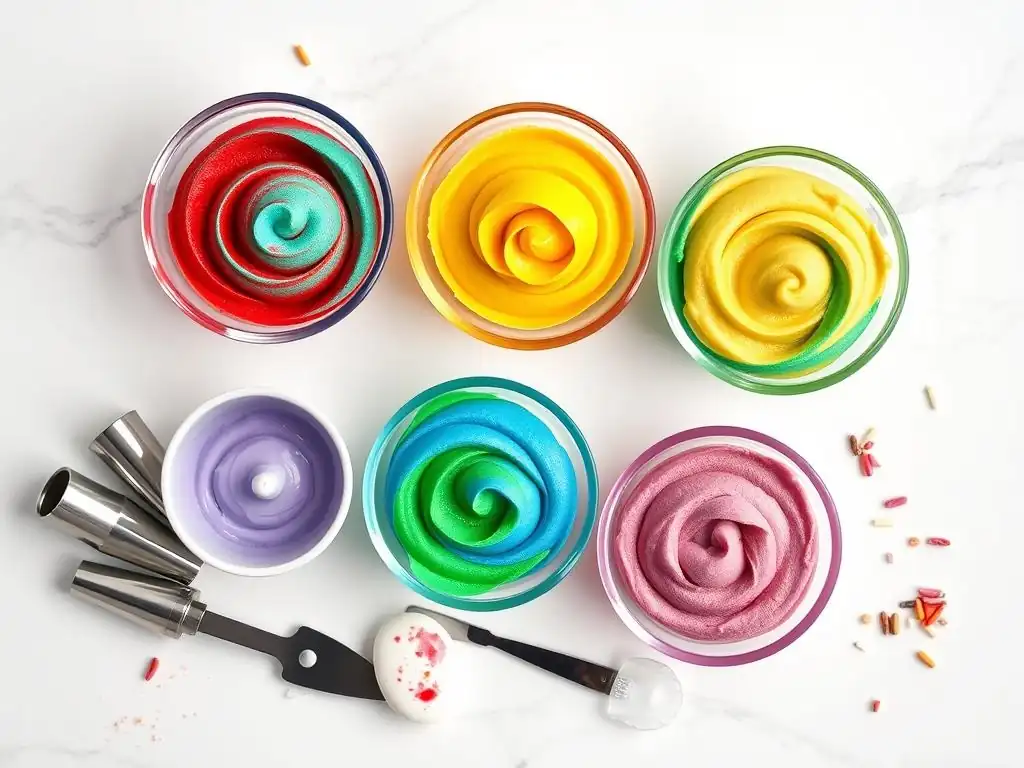
Liquid food coloring can be effectively used for fun, informal techniques like tie-dye or marble effects in cake batter, especially for cupcakes. To do this, prepare your white cake batter. Divide the batter into several bowls, one for each color you want to use. Add a few drops of a different liquid color to each bowl and stir gently to incorporate the color.
Then, layer spoonfuls of the different colored batters alternately into cupcake liners. Swirl them together very gently with a toothpick or knife, being careful not to overmix. The liquidity of the color allows it to spread slightly during baking, creating the marbled effect. This technique works well with liquid colors because the slight thinning effect isn't detrimental to the final cupcake texture when used in this swirled manner.
Comparing Gel vs. Liquid Food Coloring: A Detailed Analysis
Color Intensity Comparison: Gel vs. Liquid
When it comes to color intensity, gel food coloring is the clear winner. As mentioned, gel contains significantly more pigment per volume than liquid. To achieve a bright red, you might use 1/4 teaspoon of red gel paste, while you might need 2 tablespoons (an ounce!) of liquid red dye. This difference is stark and immediately visible when comparing results side-by-side.
For applications requiring vibrant, opaque, or deep colors – like coloring fondant, gum paste, or achieving bold shades in buttercream – gel is the superior choice. Liquid colors are best reserved for subtle tints or transparent applications where high intensity is neither needed nor desired. Many gel food coloring recipes specifically rely on the concentrated pigment to achieve their signature look.
Consistency and Texture Impact: Which is Better?
Gel food coloring has minimal impact on the consistency of batters and frostings due to its low water content. This makes it ideal for sensitive recipes like royal icing, meringue, and stiff buttercream, where adding excess liquid would be detrimental. Adding gel coloring typically requires only mixing to incorporate the color evenly.
Liquid food coloring, conversely, adds moisture and can thin out mixtures. This is a major disadvantage when working with frostings that need to hold their shape for piping or batters that rely on precise liquid-to-dry ratios. While acceptable for light tints in some recipes, its impact on consistency limits its use in professional-level cake decorating or gel food coloring recipes where texture is paramount.
Best Applications for Each Type of Food Coloring
Based on their properties, gel and liquid food colorings have distinct best uses. Gel food coloring is best for:
- Coloring buttercream, fondant, gum paste, and royal icing for vibrant and deep shades.
- Achieving true red, black, navy, and other intense colors.
- Coloring sensitive mixtures like macaron batter or meringue.
- Creating custom, specific color shades.
- Gel food coloring recipes that require minimal added liquid.
Liquid food coloring is best for:
- Adding subtle tints to batters, glazes, or syrups.
- Coloring clear liquids like simple syrup or hard candy bases.
- Fun, informal techniques like tie-dye or marble effects in less sensitive batters.
- Budget-conscious or beginner bakers needing basic colors for light tinting.
Choosing the right type based on your project ensures the best results in terms of both color and texture.
Tips and Tricks for Using Both Types of Food Coloring
How to Store Gel and Liquid Food Coloring for Longevity
Proper storage is essential to maintain the potency and usability of your food colorings. Both liquid and gel food colorings should be stored in a cool, dry place away from direct sunlight. A pantry or cupboard is ideal. Ensure the caps or lids are tightly sealed after each use to prevent them from drying out (especially gels) or becoming contaminated.
While they don't typically spoil in a way that makes them unsafe, their coloring power can diminish over time, especially if not stored correctly. Gel colors, being more concentrated, tend to last longer in terms of potency compared to liquid colors. Always check the manufacturer's recommendations, but generally, properly stored food coloring can last for several years.
Troubleshooting Common Food Coloring Problems
Several common issues can arise when using food coloring. If your color isn't vibrant enough, you likely need to add more dye – gel is usually the best solution for this. If your frosting or batter is too thin after adding color, you've likely added too much liquid color; this can sometimes be corrected by adding more powdered sugar (to frosting) or a bit more dry ingredients (to batter), though it's better to avoid the problem by using gel.
Streaking can occur if the color isn't fully mixed in. Ensure you scrape down the sides and bottom of your bowl and mix until the color is uniform. For stubborn gels, mixing a tiny amount with a tablespoon of your base (like frosting) first to create a paste before adding it to the main batch can help dispersion.
Using a Toothpick for Precise Gel Food Coloring Application
One of the most effective techniques for using gel food coloring, especially when starting out or aiming for pastel shades, is to use a clean toothpick. Dip the tip of a fresh toothpick into the gel color pot, getting just a tiny amount of color on the tip. Swirl this small amount into your batter or frosting.
Mix thoroughly, then assess the color. If it's not deep enough, use a new clean toothpick to add a bit more color. This method prevents cross-contamination between colors and provides exceptional control over the amount of concentrated pigment added, making it easy to gradually build color intensity without overshooting, particularly important in delicate gel food coloring recipes.
Mastering the Art of Cake Decorating with Food Coloring
Combining Gel and Liquid Food Coloring Techniques
While often discussed as alternatives, gel and liquid food coloring can sometimes be used in combination for specific effects. For instance, you might use liquid coloring to create a subtle, transparent colored glaze for a cake, then use vibrant gel colors in buttercream for decorative piping on top.
Another approach could involve using liquid coloring for a light wash over a cake layer and then using gel colors mixed with alcohol or extract for painting fine details or patterns on a fondant-covered cake. Understanding the strengths of each allows bakers to leverage both types for multi-faceted decorating projects.
Advanced Food Coloring Techniques for Cakes
Beyond basic coloring, food dyes enable advanced techniques. Airbrushing uses liquid or specially formulated airbrush colors (often liquid-based) for smooth gradients and coverage. Painting on fondant or gum paste can be done by mixing gel colors with a clear alcohol (like vodka) or lemon extract to create edible paint.
Marbling effects can be achieved by adding drops or swirls of color to a base and gently swirling, often seen in poured glazes or fondant. Creating realistic floral colors for gum paste flowers relies heavily on precise application and layering of gel colors, sometimes dusted with edible powders. Mastering gel food coloring recipes for these advanced applications requires practice and patience.
Creating Watercolor Cakes with Gel Food Coloring
The watercolor technique is a popular way to use gel food coloring to create beautiful, artistic cake finishes. This involves applying diluted gel colors to a smooth, frosted surface (usually buttercream or ganache). Dilute small amounts of gel color with a tiny bit of clear extract or vodka in separate small dishes.
Using food-safe paintbrushes, lightly brush strokes or patches of the diluted colors onto the chilled, frosted cake surface. Blend the edges gently with a clean, slightly damp brush to create a soft, watercolor effect. This technique showcases the blendability of gel colors when thinned and allows for stunning, unique designs, making it a favorite among creative gel food coloring recipes.
Conclusion: Choosing the Right Food Coloring for Your Baking Needs
Recap of Gel vs. Liquid Food Coloring Benefits
Liquid food coloring is readily available, affordable, and best suited for subtle tints and applications where added moisture isn't an issue, such as coloring clear liquids or creating light washes. Its main limitations are low color intensity and the potential to thin batters and frostings.
Gel food coloring, though typically more expensive, offers high pigment concentration, allowing for vibrant and deep colors with minimal product. It adds very little moisture, preserving the consistency of sensitive recipes like buttercream and royal icing. Gel is the preferred choice for most cake decorating that requires intense color or precise application, and is central to many gel food coloring recipes.
Final Thoughts and Recommendations
Ultimately, the choice between gel and liquid food coloring depends on your specific project, desired results, and experience level. For beginners or simple projects needing only light color, liquid dyes are a perfectly acceptable starting point.
However, for anyone serious about cake decorating, aiming for vibrant colors, working with sensitive recipes, or wanting to explore advanced techniques, investing in a set of quality gel food colorings is highly recommended. Many bakers keep both on hand, using liquid for specific purposes and relying on gel for the majority of their coloring needs. Experiment with both, understand their properties, and you'll be well on your way to mastering the art of coloring your baked creations!
Frequently Asked Questions
How are gel food colorings different from liquid food colorings?
Gel food colorings are more concentrated than liquid food colorings. This means you need less gel to achieve the same color intensity. They also tend to be less likely to alter the consistency of your batters or icings.
What are the benefits of using gel food coloring in baking?
Gel food coloring provides vibrant and consistent color without adding excess liquid. This is crucial for recipes where the liquid ratio is important, such as macarons or delicate cakes.
Can I use gel food coloring in any recipe that calls for liquid food coloring?
Yes, you can, but you'll need to use significantly less gel coloring than liquid. Start with a very small amount, like a toothpick tip, and gradually add more until you reach your desired color.
How do I achieve the best color when using gel food coloring in my "BakeWithEase" recipes?
For the best results, mix the gel coloring thoroughly into your batter or icing. Allow the color to develop for a few minutes before adding more. Some colors deepen over time.
Where can I find the best "Gel food coloring recipes" on BakeWithEase.com?
BakeWithEase.com offers a wide variety of recipes! Simply search for recipes mentioning gel food coloring. Look for recipes featuring brightly colored cakes, cookies, and icings using gel food coloring.
Final Reflection: The Colorful World of Food Coloring: Gel vs. Liquid
The vibrant hues we add to our baked goods and culinary creations are more than just aesthetics; they're a powerful expression of creativity and a key element in achieving the perfect recipe. Understanding the nuances between gel and liquid food colorings, as explored throughout this article, is crucial for bakers and cooks aiming for consistent, professional-looking results. The seemingly small difference between these two types of coloring can significantly impact the final product, from intensity of color to overall texture.
This exploration into the world of food coloring has highlighted not only the practical differences between gels and liquids, but also the artistry involved in transforming simple ingredients into visually stunning masterpieces. The precision and control offered by gel food coloring, in particular, resonates deeply with my own passion for baking. The details are not the details. They make the design.
– Charles Eames. This quote perfectly encapsulates the importance of choosing the right tool – in this case, the right food coloring – to achieve the desired outcome. The subtle shifts in color and texture, achievable only through careful consideration of the type of coloring used, elevate a simple cake to a work of art.
Now, it's your turn to experiment! Don't be afraid to delve into the world of vibrant colors and explore the possibilities offered by both gel and liquid food colorings. Try out some of the recipes mentioned in this article, and discover the unique effects each type of coloring can bring to your culinary creations. Embrace the process, learn from your experiments, and most importantly, have fun expressing your creativity through the delicious medium of color. The possibilities are as limitless as your imagination.
Here's a Call to Action (CTA) for an article on BakeWithEase.com titled "How to Use Food Coloring Gels vs. Liquids":
Unlock Your Inner Cake Artist: Master Food Coloring Techniques!
Thanks for diving into the world of food coloring with us! We hope you now feel confident in choosing between gels and liquids for your baking masterpieces. Ready to put your new knowledge to the test?
- Experiment with a new recipe: Try using gel food coloring in your next batch of cupcakes or cookies – the vibrant colors will amaze you!
- Share your colorful creations: Post a picture of your baked goods on social media using #BakeWithEaseColor and tag us! Let's see your stunning results!
- Explore advanced techniques: Search online for tutorials on advanced food coloring methods like ombre cakes or airbrushing – the possibilities are endless!
What stunning color combinations will you create next?