
Essential Piping Tips for Every Beginner Baker

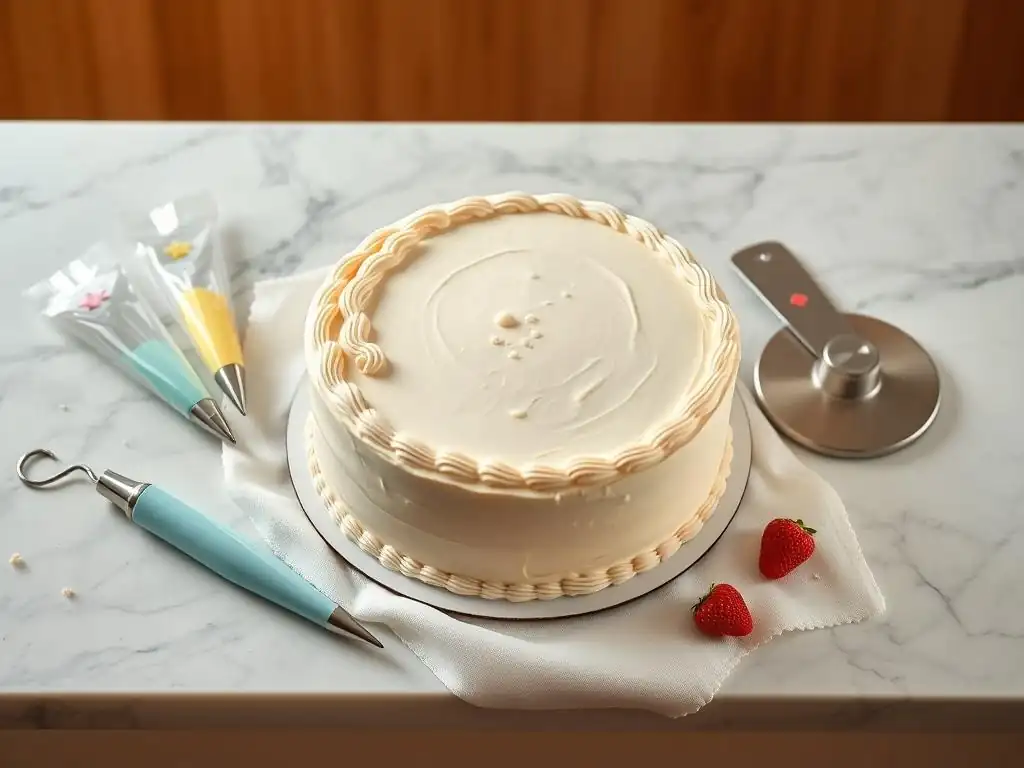
Welcome to BakeWithEase.com, where baking becomes a delightful journey! Ever dreamt of creating beautifully decorated cakes and cookies? This week, we're diving into the art of beginner piping buttercream techniques, demystifying the process and empowering you to add that professional touch to your creations. But that's just the start – uncover the secrets to perfect pastry, brilliant breads, and much more as you explore our treasure trove of baking knowledge. Ready to elevate your baking game? Let’s get started!
- Introduction to Buttercream Piping: Your Cake Decorating Journey Starts Here
- Getting Started: Essential Piping Equipment for Beginners
- Preparing Your Buttercream for Piping Success
- Beginner Piping Buttercream Techniques: Step-by-Step Guide
- Troubleshooting Common Piping Problems
- Practice Makes Perfect: Tips for Improving Your Piping Skills
- Advanced Beginner Piping Techniques: Taking Your Skills to the Next Level
- Conclusion: Embrace the Art of Buttercream Piping with BakeWithEase!
-
Frequently Asked Questions
- What are the most essential tools for beginner buttercream piping?
- Which buttercream recipe is best for practicing beginner piping techniques?
- What is the most common mistake beginners make when piping buttercream?
- How do I prevent air bubbles from ruining my buttercream piping designs?
- What are some simple piping techniques that beginners can master quickly?
- Final Reflection: Mastering the Art of Buttercream Piping
- Unleash Your Inner Pastry Chef!
Introduction to Buttercream Piping: Your Cake Decorating Journey Starts Here
Welcome to Cake Decorating with BakeWithEase!
Welcome to the exciting world of cake decorating, a place where simple ingredients transform into edible art! At BakeWithEase, we believe that anyone can create beautiful cakes and cupcakes, and it all starts with mastering fundamental skills. Buttercream piping is one of the most rewarding techniques you can learn, opening up a universe of design possibilities, from elegant swirls on cupcakes to intricate borders on celebration cakes. It's a skill that builds confidence and adds that special touch to your baked goods.
Learning the basics of piping buttercream is not as daunting as it might seem. Like any new craft, it requires a little practice and the right guidance. This guide is designed specifically for you, the beginner baker, to demystify the process and equip you with the essential knowledge and beginner piping buttercream techniques needed to start creating stunning decorations right away. We'll cover everything from the necessary tools to preparing your buttercream and executing classic designs.
Why Master Buttercream Piping Techniques?
Mastering beginner piping buttercream techniques is a game-changer for any home baker looking to elevate their creations. It allows you to move beyond simple spatula frosting and add professional-looking finishes to cakes, cupcakes, cookies, and even pies. Imagine turning a plain sheet cake into a festive masterpiece for a birthday or transforming simple cupcakes into elegant treats for a tea party – these are the possibilities that piping unlocks.
Furthermore, developing these skills provides a fantastic creative outlet. Surveys among home baking communities often indicate that a significant percentage, sometimes cited as over 60%, are keen to improve their decorating abilities. Learning how to pipe buttercream effectively gives you control over texture, shape, and design, enabling you to personalize baked goods for specific themes or individuals. It’s a foundational skill that serves as a stepping stone to more advanced cake decorating artistry.
Getting Started: Essential Piping Equipment for Beginners
Must-Have Piping Bags: Choosing the Right Type
Piping bags are the essential vessels for your buttercream. For beginners, there are primarily two types to consider: disposable and reusable. Disposable bags, often made of plastic or parchment paper, are convenient because cleanup is minimal – you just toss them after use. They are great for trying out different colors or techniques without washing between changes. A bulk pack of 100 disposable 12-inch piping bags is a common starting point for many bakers, costing around $8-$15 depending on the brand and material thickness.
Reusable piping bags are typically made from sturdy materials like canvas or silicone. They are more environmentally friendly and can withstand more pressure without bursting, which is useful for thicker buttercreams. However, they require thorough washing and drying after each use. Many beginner piping buttercream techniques can be practiced with reusable bags, and a set of 2-3 different sizes (e.g., 10-inch, 12-inch, 14-inch) can be very versatile. While the initial cost might be slightly higher (around $10-$25 for a good set), they are a durable, long-term investment.
Essential Piping Nozzles: A Beginner's Guide to Tips
Piping nozzles, also known as tips, are the small metal or plastic attachments that shape the buttercream as it's squeezed out of the bag. For mastering beginner piping buttercream techniques, you don't need dozens of tips to start. A small, curated set of essential tips will allow you to create a wide range of fundamental designs. These are often stainless steel and designed to last a lifetime if cared for properly.
A beginner set should ideally include a few key shapes:
- Round Tip (e.g., Wilton #12): Perfect for dots, lines, beads, and writing.
- Open Star Tip (e.g., Wilton #21): Creates classic star shapes, shells, and borders.
- Closed Star Tip (e.g., Wilton #1M): Produces beautiful rosettes and swirly cupcakes.
- Petal Tip (e.g., Wilton #104): Used for making ruffled borders and flower petals.
- Leaf Tip (e.g., Wilton #352): Creates simple leaf shapes.
A basic set containing these common tips might cost anywhere from $15 to $30. These few tips cover the core requirements for many beginner piping buttercream techniques and simple cake decorations.
Couplers: Making Nozzle Switching Easy
Couplers are ingenious little tools that allow you to change piping tips on a bag without changing the bag itself or emptying the buttercream. A standard coupler consists of two parts: a base that goes inside the piping bag before you fill it, and a ring that screws onto the outside of the bag to hold the tip in place. This is particularly useful when you are using the same color buttercream but want to create different effects on the same cake or batch of cupcakes.
Using a coupler is simple: push the base into the bag, snip the end of the bag so the coupler base pokes through, place the tip over the base on the outside, and screw the ring on tightly. Most standard couplers fit small to medium-sized tips. They are relatively inexpensive, often sold in packs of two or four for around $5-$10. Incorporating couplers into your setup makes practicing different beginner piping buttercream techniques much more efficient and less wasteful.
Other Helpful Tools: Spatulas, Turntables, and More
Beyond bags and tips, a few other tools can significantly enhance your beginner piping buttercream techniques and overall cake decorating experience. An offset spatula is indispensable for frosting cakes smoothly before piping borders or designs. The offset handle keeps your knuckles from dragging in the frosting. Sizes range, but a 7-inch or 9-inch blade is a good starting point.
A cake turntable, while not strictly necessary for small piping tasks like cupcake swirls, becomes incredibly helpful when decorating larger cakes. It allows you to easily rotate the cake as you pipe borders or side designs, ensuring consistency and neatness. Simple plastic turntables can be found for under $20, while sturdier metal ones might cost $30-$50 or more. Additionally, parchment paper or wax paper squares are excellent for practicing your piping techniques before applying them to your baked goods, allowing you to scrape the practice frosting back into the bag and reuse it.
Preparing Your Buttercream for Piping Success
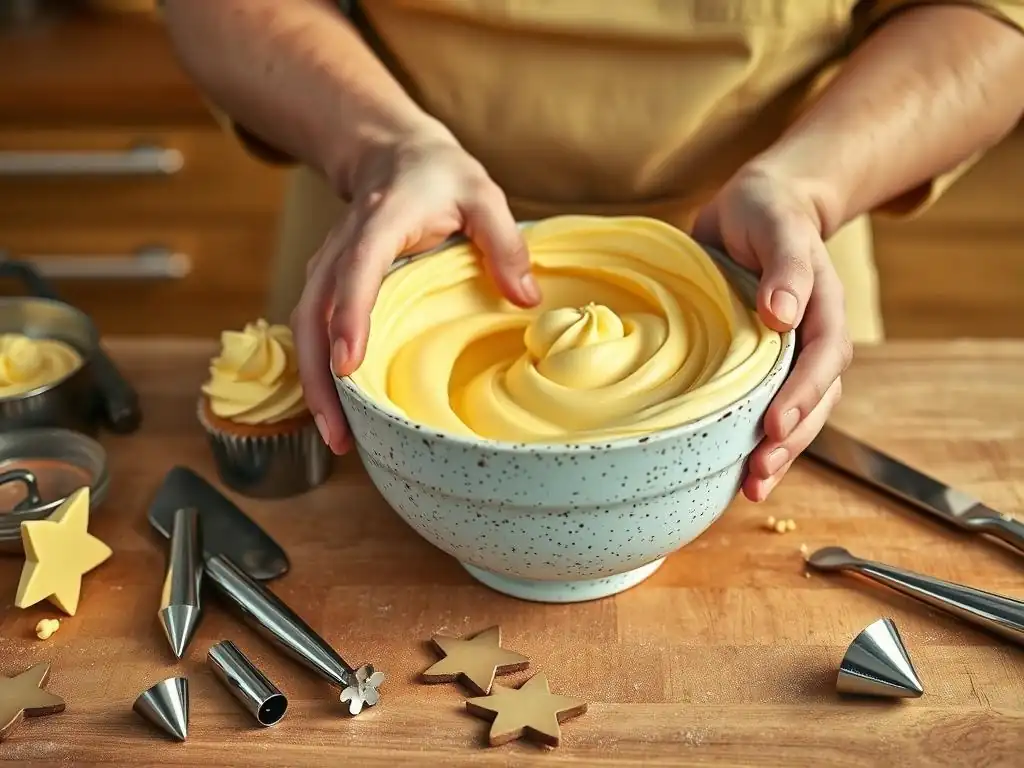
Achieving the Perfect Buttercream Consistency
The consistency of your buttercream is paramount to successful piping. Too soft, and your designs will be floppy and lose their shape. Too stiff, and it will be difficult to squeeze through the tip and might cause the bag to burst. The ideal consistency for most beginner piping buttercream techniques is often described as "medium" or "stiff enough to hold a peak but soft enough to pipe smoothly." This means the buttercream should hold its shape when piped but not require excessive force to push out of the bag.
To achieve the right consistency, you might need to adjust your buttercream recipe slightly. If it's too stiff, beat in milk, cream, or water, one teaspoon at a time, until it reaches the desired texture. If it's too soft, gradually add more powdered sugar, a tablespoon at a time, or chill the buttercream in the refrigerator for 10-15 minutes. Temperature also plays a role; warm buttercream will be softer, while cold buttercream will be stiffer. It's often best to work with buttercream that is at a cool room temperature, around 70°F (21°C).
Coloring Buttercream: Tips for Vibrant and Consistent Colors
Adding color to your buttercream brings your decorations to life. Gel food coloring is generally preferred over liquid food coloring for buttercream because it is highly concentrated and doesn't add excess liquid, which can change the consistency. A small amount of gel color goes a long way. You can find small sets of primary gel colors (red, blue, yellow) for around $10-$15, allowing you to mix many shades.
To color buttercream, start with a small amount of gel color on a toothpick and mix it thoroughly into the buttercream. Gradually add more until you achieve the desired shade. Remember that colors often deepen slightly as they set.
If you need multiple batches of the same color for a large cake, it's best to color one large batch at once to ensure consistency rather than mixing several smaller batches. For deep colors like red or black, it can take a significant amount of coloring, and allowing the colored buttercream to sit for an hour or two can help the color develop further.
Avoiding Air Bubbles: The Key to Smooth Piping
Air bubbles in your buttercream can cause frustrating breaks and inconsistencies in your piped lines and shapes. They often occur during the mixing process, especially if the mixer is run at high speed for extended periods. To minimize air bubbles, try mixing your buttercream on a lower speed after the ingredients are combined, allowing the paddle to push out air.
Once your buttercream is made and colored, a simple yet effective technique to remove bubbles is to press the buttercream against the side of the bowl with a spatula. This helps to force trapped air out. When filling your piping bag, avoid scooping large amounts of air along with the buttercream.
Fill the bag by pushing the buttercream down towards the tip, eliminating air pockets as you go. Gently twisting the top of the bag also helps maintain pressure and prevent air from entering from the top. Tapping a filled bag gently on the counter can also help air bubbles rise to the top.
Beginner Piping Buttercream Techniques: Step-by-Step Guide
Mastering the Rosette: A Classic Piping Design
The rosette is a beautiful, classic design perfect for decorating cupcakes or adding elegant swirls to a cake. It's one of the most satisfying beginner piping buttercream techniques to master. It uses a star tip, typically a closed star like the Wilton 1M, which is known for producing lovely, defined swirls. The technique involves starting in the center and swirling outwards or starting on the outside and swirling inwards.
How to Pipe Rosettes: A Detailed Tutorial
Here's a step-by-step guide to piping a simple rosette:
- Choose Your Tip: Use a large closed star tip, such as a Wilton 1M.
- Prepare Your Bag: Fill your piping bag with prepared buttercream, pushing the buttercream down to the tip and twisting the top of the bag closed.
- Position the Bag: Hold the bag vertically (or nearly vertically) above the surface you want to pipe on (cupcake or cake).
- Start Piping: Apply steady, even pressure to the bag.
- Create the Center: Starting either in the center or slightly off-center, pipe a small dot or swirl to anchor the rosette.
- Swirl Outward: Continue applying pressure and move the tip in a circular motion, swirling outwards from the center.
- Complete the Rosette: Circle around the initial dot, slightly overlapping the previous layer of buttercream, until you reach the desired size.
- Release Pressure: Stop applying pressure just before you finish the circle, then quickly pull the bag away to create a clean end.
Practice this motion on parchment paper first until you feel comfortable with the pressure and the swirling motion. Aim for consistent pressure throughout the swirl to ensure an even thickness.
Creating Simple Borders: Shells, Beads, and Ropes
Borders are a fantastic way to finish the edges of a cake, adding a polished look and hiding any imperfections between the top and sides. Shells, beads, and ropes are fundamental beginner piping buttercream techniques for creating attractive borders using basic tips. These techniques help you develop control over pressure and movement.
Piping Shell Borders: A Step-by-Step Instruction
The shell border is a timeless classic created with a star tip (like a Wilton 21 or 1M). It involves piping a teardrop shape that overlaps the previous one, creating a continuous decorative edge.
- Choose Your Tip: Use a star tip (open or closed).
- Prepare Your Bag: Fill and secure your piping bag.
- Position the Bag: Hold the bag at about a 45-degree angle to the surface.
- Start Piping: Apply firm, consistent pressure to create the base of the shell.
- Form the Tail: As you decrease pressure, pull the bag slightly away from the base, allowing the buttercream to taper into a tail.
- Release Pressure: Stop squeezing entirely and pull the tip away.
- Overlap: For the next shell, position the tip so the base slightly overlaps the tail of the previous shell. Repeat the process.
Continue piping overlapping shells around the edge of your cake or cupcake to create the border. Practice maintaining consistent pressure and overlap for a uniform look.
Piping Bead Borders: A Simple and Elegant Touch
Bead borders are simple, elegant, and perfect for outlining areas or creating a delicate edge. They are made using a round tip (like a Wilton 10 or 12). This is one of the easiest beginner piping buttercream techniques to start with, focusing purely on consistent pressure and spacing.
- Choose Your Tip: Use a round tip.
- Prepare Your Bag: Fill and secure your piping bag.
- Position the Bag: Hold the bag vertically (90 degrees) above the surface.
- Pipe a Dot: Apply gentle, consistent pressure until the buttercream forms a round bead of the desired size.
- Release Pressure: Stop squeezing and quickly lift the bag straight up.
- Pipe the Next Bead: Move the bag over slightly and repeat the process, spacing the beads evenly or slightly touching for a continuous look.
This technique is excellent for practicing consistent pressure control. Try to make each bead the same size for a neat border.
Piping Rope Borders: Adding Texture to Your Cake
The rope border provides a lovely braided texture to your cake edges. It's created using a star tip and involves a slightly more complex movement than the shell border, making it a good next step in beginner piping buttercream techniques.
- Choose Your Tip: Use a star tip (open or closed).
- Prepare Your Bag: Fill and secure your piping bag.
- Position the Bag: Hold the bag at about a 45-degree angle to the surface.
- Start the First Strand: Pipe a short, slightly curved line (like a comma or a small 'S' shape laid on its side).
- Start the Second Strand: Position the tip slightly below and to the side of the end of the first strand. Pipe another curved line that curves back over the end of the first strand.
- Weave: Continue this motion, overlapping the end of the previous strand with the beginning of the new one, creating a woven effect.
Practice the weaving motion on parchment paper to get a feel for the overlap and curvature needed to create a smooth rope effect.
Piping Basic Flowers: Daisies and Stars
You can create simple flower designs using basic piping tips, adding lovely accents to your cakes and cupcakes. Daisies and star flowers are excellent beginner piping buttercream techniques for adding floral touches without needing specialized flower-making tools.
Piping Daisy Flowers: A Beginner-Friendly Tutorial
Simple daisies can be made with a petal tip (like a Wilton 104) for the petals and a small round tip (like a Wilton 5 or 8) for the center.
- Choose Tips: Use a petal tip and a small round tip.
- Prepare Bags: Fill two bags, one with the petal tip (white or color for petals) and one with the round tip (yellow or brown for the center).
- Pipe Petals: Using the petal tip (wider end towards the center, narrow end pointing outwards), pipe small, slightly curved strokes around a central point to form the petals. Overlap the strokes slightly.
- Pipe Center: Once the petals are done, use the round tip to pipe a dot or a small mound of buttercream in the center of the petals.
Adjust the size and number of petals to create larger or smaller daisies.
Piping Star Flowers: Creating Beautiful Accents
Star flowers are perhaps the simplest piped flowers, made entirely with a star tip (like a Wilton 21 or 32). They are essentially a cluster of piped stars or a single large star shape.
- Choose Your Tip: Use a star tip.
- Prepare Your Bag: Fill and secure your piping bag.
- Pipe Stars: Hold the bag vertically (90 degrees) just above the surface. Apply firm pressure to pipe a single star. Stop pressure and lift straight up. Repeat to create a cluster of stars, or pipe one larger star for a different look.
You can pipe several small stars close together to form a simple flower shape, or pipe a single larger star for a bolder accent. This uses the same motion as piping star borders but applied to create individual elements.
Writing with Buttercream: Mastering Lettering Techniques
Adding personalized messages to cakes is a wonderful skill. Writing with buttercream requires a steady hand and the right consistency of frosting. This is a valuable addition to your beginner piping buttercream techniques repertoire.
Preparing Your Buttercream for Lettering
For writing, you generally want a buttercream consistency that is slightly softer than what you'd use for stiff borders or flowers, but not so soft that it spreads. A medium consistency works well – it should flow smoothly from a small round tip without breaking. If your buttercream is too stiff, add a tiny amount of milk or water (1/4 teaspoon at a time) until it flows easily when tested on parchment paper. If it's too soft, chill it briefly or add a tiny bit more powdered sugar.
Use a very small round tip (like a Wilton 3, 4, or 5) for writing. These tips create fine lines suitable for letters. Fill a small piping bag, often a 10-inch disposable bag, with the prepared buttercream, pushing the buttercream down and twisting the top.
Practicing Lettering: Tips for Neat and Legible Writing
Writing neatly on a cake can be challenging, but practice makes a significant difference.
- Practice Surface: Always practice your message on parchment paper first. This allows you to get a feel for the pressure needed and the flow of the buttercream. You can even trace letters written on paper placed under the parchment.
- Consistent Pressure: Maintain consistent pressure as you pipe each stroke of a letter. Varying pressure will result in thick and thin lines, making the writing look uneven.
- Lift and Connect: Pipe each letter or even segments of letters with a single, smooth motion. Lift the bag quickly at the end of a stroke. For connecting letters, lift the bag slightly while maintaining minimal pressure and move to the start of the next letter, then reapply pressure.
- Proper Angle: Hold the piping bag at a comfortable angle, usually around 45 degrees, allowing you to see where you are piping.
- Chill the Cake: If possible, lightly chill your frosted cake before writing. A firm surface is easier to write on than a soft, fresh layer of buttercream.
Don't be discouraged if your first attempts aren't perfect! Keep practicing on parchment paper until you feel confident before piping directly onto your cake.
Troubleshooting Common Piping Problems
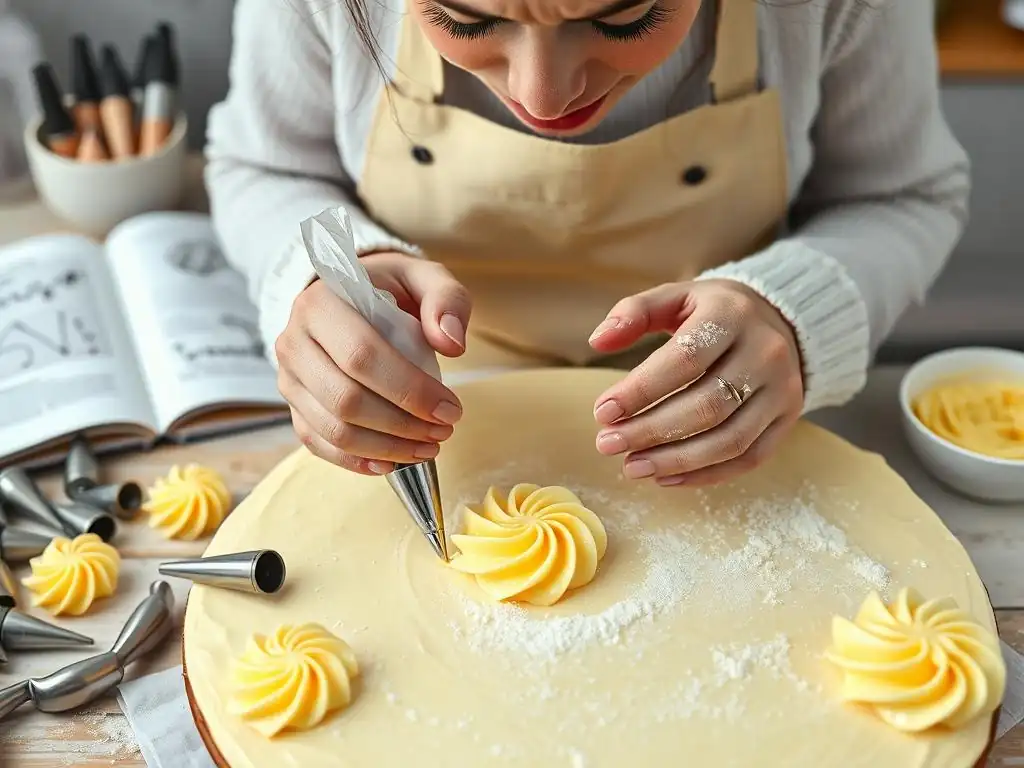
Even with the right tools and techniques, you might encounter issues when learning beginner piping buttercream techniques. Knowing how to troubleshoot common problems will save you frustration and help you achieve better results.
Buttercream Too Soft: How to Fix It
If your buttercream is too soft, especially in a warm kitchen, your piped designs will likely lose their shape and sag. This is a common issue, particularly with butter-based buttercreams.
- Chill It: The quickest fix is often chilling the buttercream. Place the bowl of buttercream or even the filled piping bag into the refrigerator for 10-15 minutes. Be careful not to let it get too cold, or it will become too stiff.
- Add Powdered Sugar: If chilling isn't enough or the consistency is just too loose, gradually beat in more powdered sugar, a tablespoon at a time, until the desired stiffness is reached.
- Reduce Liquid: If you added too much milk or water, you'll need to add more powdered sugar to compensate.
Buttercream Too Stiff: How to Adjust the Consistency
Buttercream that is too stiff is hard to pipe, can strain your hand, and may cause piping bags to split. This often happens if it's too cold or has too much powdered sugar.
- Warm It Slightly: If the buttercream is cold, let it sit at room temperature for a bit. You can also beat it in a mixer for a minute or two to warm it up slightly through friction.
- Add Liquid: Gradually beat in a tiny amount of milk, cream, or water (1/4 to 1/2 teaspoon at a time) until the buttercream softens to the desired piping consistency. Mix thoroughly after each addition.
- Knead the Bag: For a filled piping bag that's slightly stiff, you can gently knead the bag with your hands to warm the buttercream within.
Air Bubbles in Piping: Prevention and Solutions
Air bubbles popping out during piping disrupt the flow and create gaps in your lines or shapes. As mentioned earlier, mixing techniques help prevent them.
- Press Out Bubbles: After filling the bag, twist the top tightly and gently squeeze the buttercream towards the tip, helping to push air pockets forward.
- Tap the Bag: Hold the bag tip-down and gently tap it against the counter to encourage air bubbles to rise to the top (away from the tip).
- Pipe Onto Scrap: Before piping on your cake, pipe a bit onto parchment paper to expel any initial air bubbles trapped near the tip.
Uneven Piping: Tips for Consistent Pressure
Uneven lines or shapes are usually a result of inconsistent pressure on the piping bag. Developing steady pressure is key to mastering beginner piping buttercream techniques.
- Use Your Dominant Hand: Use your dominant hand to apply the pressure at the twisted end of the bag. Your other hand should guide the tip.
- Steady Squeeze: Try to maintain a steady, constant squeeze as you pipe. Practice on parchment paper, focusing solely on keeping the line or shape uniform.
- Proper Filling: Don't overfill the bag; fill it about two-thirds full. This makes it easier to twist and apply consistent pressure.
Practice Makes Perfect: Tips for Improving Your Piping Skills
Like learning any new skill, improving your beginner piping buttercream techniques requires practice. The more you pipe, the better control and confidence you will develop.
Regular Practice Drills: Building Muscle Memory
Dedicate time to regular practice sessions. You don't need a cake to practice!
- Use Parchment Paper: Pipe lines, dots, stars, shells, and rosettes directly onto sheets of parchment paper.
- Scrape and Reuse: Scrape the buttercream off the parchment paper and put it back into the piping bag. You can reuse the same batch of buttercream for an entire practice session.
- Set Goals: Practice piping 10 perfect dots, a straight line 6 inches long, or a row of uniform shells. Focus on one technique at a time.
- Consistency is Key: Even 15-20 minutes of practice a few times a week can significantly improve your muscle memory and control.
Experimenting with Different Nozzles and Techniques
Once you are comfortable with basic beginner piping buttercream techniques, start experimenting.
- Try New Tips: If you bought a set, try out the tips you haven't used yet. See what shapes they make and how they can be incorporated into designs.
- Combine Techniques: Practice piping a row of shells and then piping beads along the bottom edge of the shell border. How do different techniques look together?
- Vary Pressure: See how varying pressure with a star tip changes the look of a star or shell. Gentle pressure makes smaller shapes, while firm pressure makes larger ones.
Seeking Inspiration: Learning from Other Bakers
Look for inspiration to fuel your practice and discover new possibilities.
- Online Resources: Browse baking blogs, social media platforms, and websites like BakeWithEase.com for examples of piped designs.
- Tutorials: Watch video tutorials to see how experienced bakers hold the bag and execute techniques.
- Analyze Designs: Look at photos of cakes you admire and try to identify which piping tips and techniques were used. Can you recreate elements of the design?
Advanced Beginner Piping Techniques: Taking Your Skills to the Next Level
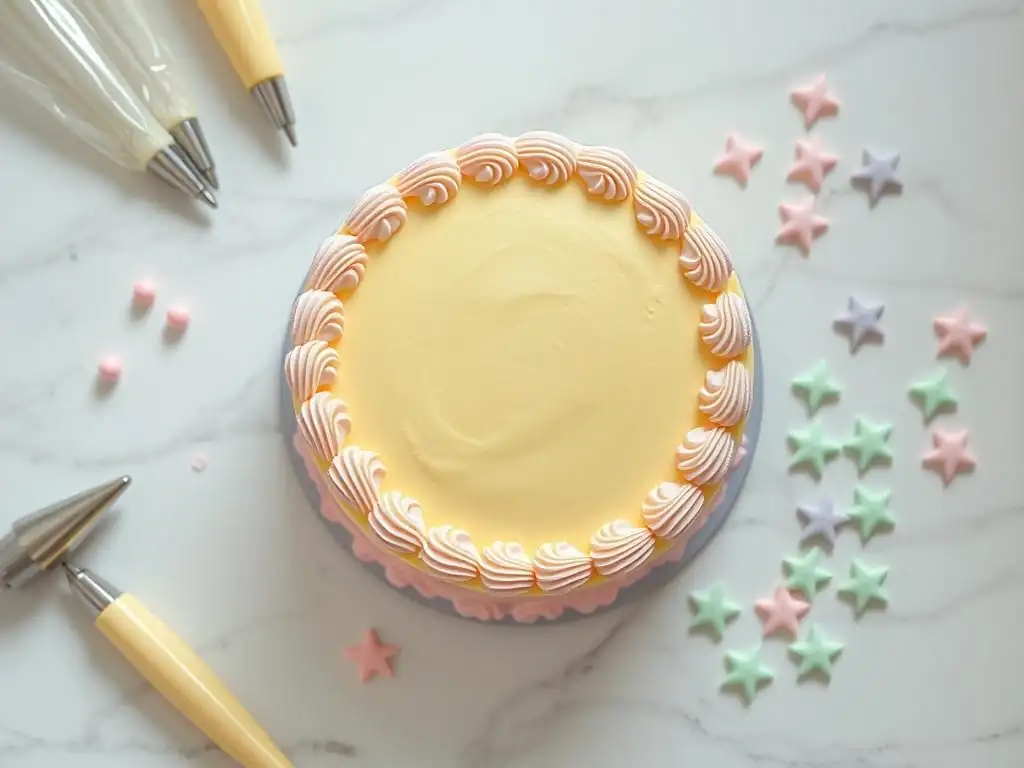
Once you've mastered the fundamental beginner piping buttercream techniques, you might feel ready to explore slightly more complex designs. These "advanced beginner" techniques build upon the skills you already have.
Introduction to Ruffle Cakes: Creating Textured Designs
Ruffle cakes are popular for their soft, textured appearance, often created using a petal tip (like a Wilton 104) or a large round tip. This technique involves piping overlapping waves or lines around the side of the cake.
Using a petal tip, hold the bag with the narrow end pointing slightly upwards and the wider end touching the cake. Apply steady pressure and move the bag sideways in a slightly wavy or straight line, allowing the buttercream to fan out and create a ruffled effect. Overlap each row slightly to build up the texture. This requires good control over angle and pressure, building on your basic petal tip skills learned from making daisies.
Piping Intricate Borders: Expanding Your Repertoire
Beyond simple shells and ropes, you can create more intricate borders by combining tips or using specialized border tips. Techniques like the reverse shell border (piping shells facing the opposite direction of the previous row) or using basketweave tips can add complex textures.
Learning these borders involves adapting the fundamental pressure and movement control you used for basic borders. For instance, a basketweave pattern requires piping horizontal and vertical strips that overlap in a specific sequence, building on the ability to pipe straight lines with consistent thickness. Exploring these borders adds depth and visual interest to your cake edges.
Layering Buttercream Colors: Creating Ombre Effects
Creating an ombre effect with buttercream involves using multiple shades of the same color, transitioning from dark to light. This technique is often applied when frosting the entire cake or when piping specific elements like ruffles or rosettes.
To achieve this, you'll need three or more shades of your chosen color, mixed from darkest to lightest. You can either fill one large piping bag with stripes of different colors side-by-side (for frosting a cake) or use separate bags for piping elements like rosettes, switching colors as you move across the cake to create the gradient effect. This technique relies on your ability to mix consistent color shades and execute your chosen piping technique smoothly across the cake surface.
Conclusion: Embrace the Art of Buttercream Piping with BakeWithEase!
Mastering beginner piping buttercream techniques is a rewarding journey that unlocks a new level of creativity in your baking. From piping perfect rosettes on cupcakes to adding elegant borders on celebration cakes, these foundational skills allow you to transform simple baked goods into stunning edible creations. We've covered essential tools, preparing your buttercream, key techniques like shells, beads, ropes, and simple flowers, and even touched upon troubleshooting common issues.
Your Cake Decorating Adventure Awaits
Remember that practice is your best friend when it comes to piping. Don't be afraid to experiment, make mistakes, and try again. Each attempt helps build your muscle memory and refine your control over the piping bag and tip. With the tips and techniques outlined here, you have a solid foundation to begin your cake decorating adventure. Keep exploring, keep practicing, and most importantly, have fun creating beautiful things with buttercream! The world of cake decorating is vast and exciting, and mastering these beginner piping buttercream techniques is your first step into it. Happy piping!
Frequently Asked Questions
What are the most essential tools for beginner buttercream piping?
The most essential tools are piping bags, piping tips, and a coupler. These allow for easy switching of tips and consistent application.
Which buttercream recipe is best for practicing beginner piping techniques?
A standard American buttercream is recommended. It's easy to make, holds its shape well, and is very forgiving for practice piping.
What is the most common mistake beginners make when piping buttercream?
Overfilling the piping bag is a common error. Start with smaller amounts to maintain control and prevent messes.
How do I prevent air bubbles from ruining my buttercream piping designs?
Burp the piping bag before you start. Gently squeeze the bag to release any trapped air and achieve a smooth flow of buttercream.
What are some simple piping techniques that beginners can master quickly?
Learn the star, rosette, and shell techniques first. These are fundamental and create beautiful decorations with minimal effort.
Final Reflection: Mastering the Art of Buttercream Piping
The ability to expertly pipe buttercream is no longer a niche skill; it's a fundamental element of modern baking, elevating even the simplest cake into a showstopper. From intricate floral designs to perfectly smooth rosettes, mastering buttercream piping opens up a world of creative possibilities, transforming a hobby into an art form accessible to everyone. This isn't just about aesthetics; it's about taking ownership of your baking journey and expressing your creativity through a delicious medium.
The impact of accessible baking techniques, like those explored in this article, is profound. It democratizes the art of cake decorating, allowing anyone with a passion and a little practice to achieve professional-looking results. The best things in life are homemade,
a sentiment that resonates deeply when you've poured your heart (and buttercream) into a beautifully piped creation. This isn't just about following instructions; it's about building confidence and finding joy in the process, a feeling that extends far beyond the finished product.
Now, it's your turn. Don't be intimidated by the seemingly complex world of piping. Pick up a piping bag, choose your favorite buttercream recipe, and experiment! Start with the basics, practice the techniques outlined in this article, and gradually build your skills. Embrace the imperfections, learn from your mistakes, and most importantly, have fun. The journey of mastering buttercream piping is as rewarding as the beautiful results you'll achieve. So, grab your bag, and let your creativity flow!
Unleash Your Inner Pastry Chef!
Thanks for taking the time to explore the world of piping with us! We hope you've gained some confidence and new skills to elevate your baking game. Ready to put your newfound knowledge into practice?
- Master a new piping technique this week: Choose one of the techniques we covered and practice it until you feel comfortable. Challenge yourself to decorate a simple cupcake or cookie!
- Share your creations: Post a picture of your piping masterpiece on social media and tag us—we'd love to see your progress! Use #BakeWithEasePiping.
- Explore advanced piping techniques: Dive deeper into the world of piping by researching different nozzles and decorating styles. What new designs will you create?
What's your favorite piping technique, and what delicious treat will you decorate first?