
Coloring Frosting Like a Pro: Vibrant Hues Made Easy

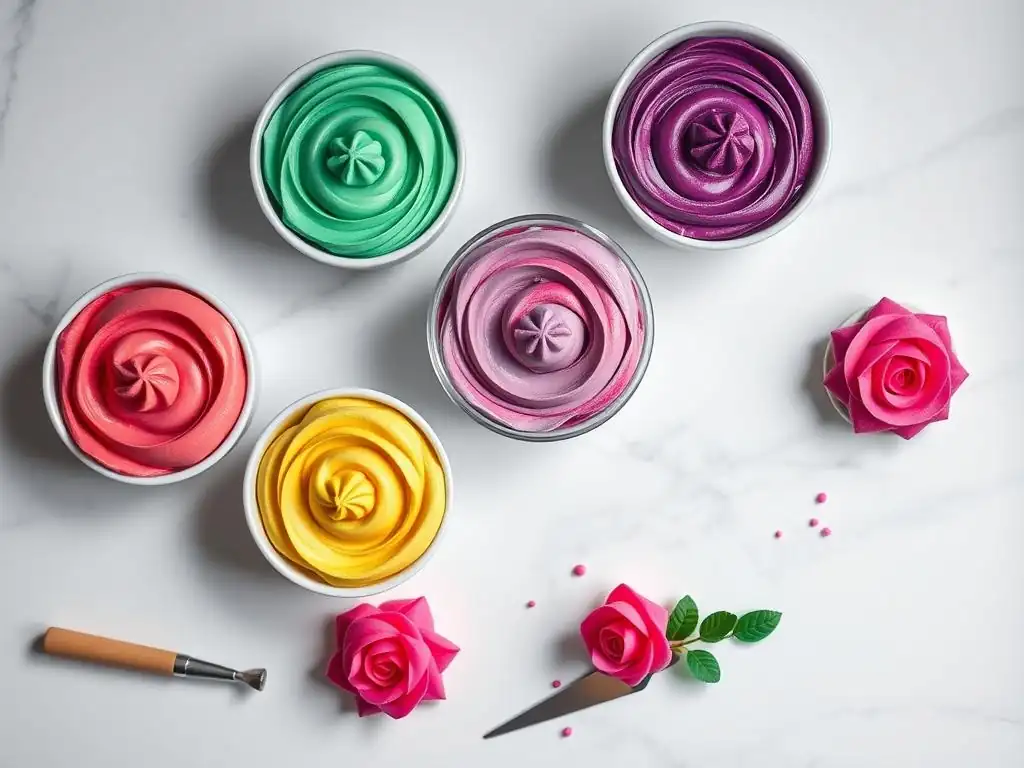
Welcome to BakeWithEase, your trusted guide to baking brilliance! Ever wondered how professional bakers achieve those impossibly vibrant frosting colors? Unlock the secrets to stunning, eye-catching desserts with our expert guide. We'll demystify the techniques, share insider tips, and help you elevate your cakes and cookies from simple to spectacular. Ready to transform your frosting into a canvas of captivating color? Let's get started!
- Introduction to Vibrant Frosting Color Techniques
- Choosing the Right Frosting for Vivid Colors
- Selecting the Best Food Coloring for Vibrant Hues
- Mastering Vibrant Frosting Color Techniques: A Step-by-Step Guide
- Pro Tips for Enhancing Frosting Color Intensity
- Storing Colored Frosting to Preserve Vibrancy
- Advanced Frosting Color Techniques: Beyond the Basics
- Conclusion: Mastering Vibrant Frosting Colors for Stunning Cakes
-
Frequently Asked Questions
- What are the best types of food coloring to use for achieving vibrant frosting colors?
- How can I prevent my frosting from becoming too runny when adding food coloring?
- How do I achieve a true red or black frosting without it tasting bitter?
- What are some natural alternatives for coloring frosting, and how do they affect the color vibrancy?
- How can I fix frosting that has become too dark after adding too much food coloring?
- Final Reflection: The Enduring Allure of Vibrant Frosting
- Unleash Your Inner Cake Artist: Vibrant Frosting Awaits!
Introduction to Vibrant Frosting Color Techniques
Why Achieving Vibrant Frosting Colors Matters
Achieving vibrant frosting colors is often the key to transforming a simple cake or cupcake into a stunning visual masterpiece. Color communicates mood, theme, and celebration. Think of a bright red velvet cake with deep crimson frosting for Valentine's Day, or a rainbow-layered cake bursting with intense, joyful hues. Mastering vibrant frosting color techniques allows bakers to fully express their creativity and make their baked goods truly memorable and impactful. It's not just about adding color; it's about achieving rich, true shades that pop and grab attention, elevating the overall presentation from amateur to professional.
Beyond aesthetics, the intensity of color can sometimes set expectations for flavor. While not always accurate, a deeply colored chocolate frosting might suggest a richer cocoa flavor, or a bright lemon yellow could hint at a zesty tang. For themed events, like a corporate logo on a cake or specific character colors for a child's birthday, precise and vibrant frosting colors are absolutely essential for accuracy and recognition. Developing expertise in creating intense frosting color ensures your baked creations are not only delicious but also perfectly align with your desired visual outcome, making them perfect for any occasion.
Common Frosting Color Problems and How to Avoid Them
One of the most frustrating challenges when coloring frosting is ending up with muted, pastel, or muddy shades instead of the vibrant hues you intended. This often happens when using the wrong type of coloring, adding too much liquid, or trying to color a frosting base that isn't white enough to begin with.
For instance, starting with a yellowish buttercream will make achieving a true bright white or a crisp pastel blue significantly harder, often resulting in greenish tints. Another common issue is color bleeding, where different colors on a cake start to merge over time, ruining sharp lines and designs.
To avoid these pitfalls when employing vibrant frosting color techniques, start with a very white frosting base whenever possible. For example, a shortening-based frosting tends to be whiter than a butter-only buttercream. Use high-quality gel food colorings, which are concentrated and require less volume, thus not altering frosting consistency as much as liquid colors.
When mixing colors, work incrementally, adding just a tiny bit at a time until the desired shade is achieved. To prevent bleeding, especially with deep or contrasting colors, allow the base layer of frosting to crust slightly before adding details, or consider using a thin barrier layer where colors meet.
Choosing the Right Frosting for Vivid Colors
Best Frosting Types for Intense Color: American Buttercream, Swiss Meringue, and More
Not all frostings are created equal when it comes to holding and displaying vibrant frosting colors. American buttercream, made from butter, powdered sugar, and a liquid like milk or cream, is perhaps one of the easiest to color intensely.
Its opaque, dense structure readily accepts gel colors without becoming overly thin, and a batch made with shortening or a high ratio of powdered sugar can be very white, providing an excellent canvas for bright shades. A standard recipe using 1 cup of butter and 4 cups of powdered sugar, for example, creates a firm base perfect for deep reds, blues, and blacks.
Swiss or Italian meringue buttercreams, while delicious and smooth, can be slightly more challenging for achieving extreme vibrancy, especially with lighter colors, due to the natural pale yellow tint from the large amount of butter. However, their smooth, satiny finish makes them ideal for achieving even, consistent vibrant frosting color distribution.
Cream cheese frosting, with its tangy flavor and softer consistency, can also take color well, though its slight off-white hue can influence delicate shades. For truly intense colors like deep jewel tones or neons, the opacity and stability of a well-made American buttercream often provide the most straightforward path to success.
Understanding Frosting Consistency for Optimal Coloring
The consistency of your frosting plays a crucial role in how well it takes color and maintains vibrant frosting color techniques. A frosting that is too thin will become even looser when liquid or gel coloring is added, making it difficult to pipe or spread cleanly. Conversely, a frosting that is too stiff may require excessive mixing to incorporate the color evenly, potentially leading to overworked frosting or streaks. The ideal consistency for coloring is typically one that holds its shape when scooped but is still smooth and pliable enough to mix easily.
For optimal results when adding vibrant frosting color techniques, ensure your frosting is at the correct temperature and consistency before adding any coloring. If it's too stiff, beat in a tiny amount of milk or cream (start with a teaspoon) until it's workable.
If it's too soft, especially in warm conditions, refrigerate it for 15-20 minutes to firm up. Remember that adding concentrated gel coloring will add some moisture, so starting with a slightly firmer consistency than your final desired texture is often a good strategy, allowing the coloring agent to bring it to the perfect state as you mix.
Selecting the Best Food Coloring for Vibrant Hues
Gel Food Coloring: The Pro's Choice for Intense Color
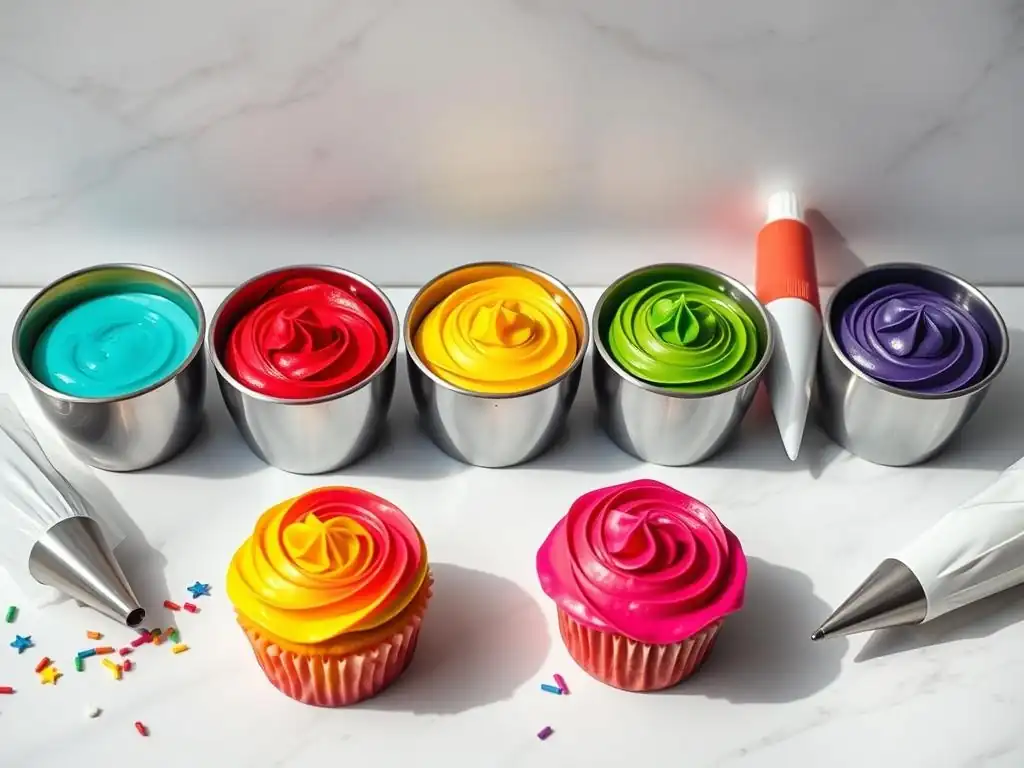
Gel food coloring is widely regarded as the superior choice for achieving vibrant frosting colors, and for good reason. These colorings are highly concentrated pigments suspended in a gel base, often glycerin or corn syrup. This means you need only a tiny amount – often just a drop or two – to achieve intense, rich shades. Because they are so concentrated, they add minimal liquid to your frosting, significantly reducing the risk of thinning it out, a common problem with liquid colorings.
Professional bakers almost exclusively use gel colors for their vibrant frosting color techniques due to their intensity, stability, and the fact that they don't alter the frosting's texture significantly. A small jar of gel color can color many batches of frosting.
Brands like Americolor or Wilton's gel pastes are popular choices known for their wide range of shades and the ability to create deep, saturated colors like true red, black, or deep navy that are notoriously difficult to achieve with less concentrated options. Using a toothpick to add color allows for precise control, adding just a little at a time until the perfect vibrant hue is reached.
Liquid Food Coloring: When to Use and How to Adjust
Liquid food coloring, typically found in small bottles in the grocery store baking aisle, is made of synthetic dyes dissolved in water. While convenient and inexpensive, it is far less concentrated than gel coloring. Achieving vibrant frosting colors with liquid coloring requires using a much larger volume, which can easily thin out frosting, especially delicate ones like meringue buttercream. For instance, getting a deep red might require adding several teaspoons of liquid color to a standard batch of frosting, potentially turning it into a runny mess unsuitable for piping.
However, liquid coloring can be suitable for achieving lighter, pastel shades or for applications where consistency is less critical, such as coloring cake batter or royal icing for flooding. If you must use liquid coloring for frosting, start with a very small amount and mix thoroughly. If the frosting becomes too thin, you may need to add more powdered sugar (for American buttercream) or refrigerate it to firm it up, though this can sometimes affect the final texture. For vibrant frosting color techniques requiring intensity, it's generally best to invest in gel colorings.
Natural Food Coloring Options: Achieving Vibrant Colors Naturally [Considerations and Limitations]
Achieving vibrant frosting colors using natural sources is possible, but it comes with specific considerations and limitations. Natural colorings are derived from plants, fruits, and vegetables, such as beet powder for red, spirulina for blue, turmeric for yellow, or spinach powder for green. These options appeal to those seeking to avoid synthetic dyes, but their intensity and stability are often less predictable compared to artificial options. For example, beet juice can yield a beautiful pink, but achieving a true, deep red can be challenging, and the color may change or fade over time.
Natural colorings can also impart subtle flavors to your frosting, depending on the source. Beet powder might add a faint earthy note, while turmeric could introduce a slight spice. To minimize this, use highly concentrated natural powders or extracts specifically designed for coloring.
Achieving vibrant frosting color techniques with natural options often requires using larger quantities than gel colors, which can affect frosting consistency. While achieving brilliant, saturated hues like those possible with gel colors can be difficult, natural colorings are excellent for creating beautiful, muted, or earthy tones and are a great choice when flavor impact is minimal or desired.
Mastering Vibrant Frosting Color Techniques: A Step-by-Step Guide
Step 1: Preparing Your Frosting for Coloring
Before you begin adding vibrant frosting color techniques, ensure your frosting is properly prepared. Start with a smooth, well-mixed batch of frosting at the correct consistency (as discussed earlier). If using buttercream, make sure it's free of lumps and incorporates air evenly. Divide the frosting into separate bowls based on the number of colors you plan to use. Using clean bowls and spatulas for each color is crucial to prevent accidental color mixing or contamination, especially when aiming for pure, vibrant hues.
Ensure your workspace is clean and protected, as food coloring, especially concentrated gel colors, can stain surfaces and clothing. Have toothpicks or clean small spoons ready for adding color. Using a toothpick is particularly helpful for gel colors as it allows you to add the tiniest amount and build the color gradually, which is key to achieving the exact vibrant frosting color you desire without overshooting. Scrape down the sides of your mixing bowl to ensure all the frosting is ready to receive the color evenly.
Step 2: Adding Food Coloring Gradually for Control
The most important principle when applying vibrant frosting color techniques is to add the coloring gradually. It is far easier to add more color to deepen a shade than to lighten one that is too dark. For gel colors, dip a clean toothpick into the color jar and transfer a tiny amount to the frosting. For liquid colors, add just a drop or two. Start with less color than you think you'll need – you'll be surprised how potent some colorings are.
After adding a small amount of color, mix it thoroughly into the frosting (Step 3). Assess the color intensity. If you want a deeper or more vibrant hue, repeat the process: add another small amount of color using a fresh toothpick (to avoid contaminating your color jar), and mix again. Continue this incremental process until you reach the desired vibrant frosting color. This method gives you maximum control and prevents waste and frustration.
Step 3: Mixing Techniques for Even Color Distribution
Achieving a uniform, vibrant frosting color requires proper mixing. Once you've added the coloring, use a spatula or the paddle attachment of your stand mixer on a low speed to incorporate the color fully. Scrape down the sides and bottom of the bowl frequently to ensure all the frosting is exposed to the color and that no streaks remain. Mix until the color is completely even throughout the batch.
Avoid over-mixing your frosting, especially buttercream, as this can incorporate too much air, change the texture, or even cause it to break. Mix only until the color is uniform. For very deep colors that require a lot of mixing, you might notice the frosting softening slightly due to the friction. If this happens, a brief chill in the refrigerator can help restore its structure without compromising the vibrant frosting color.
Step 4: Achieving Specific Vibrant Colors: Color Mixing Guide
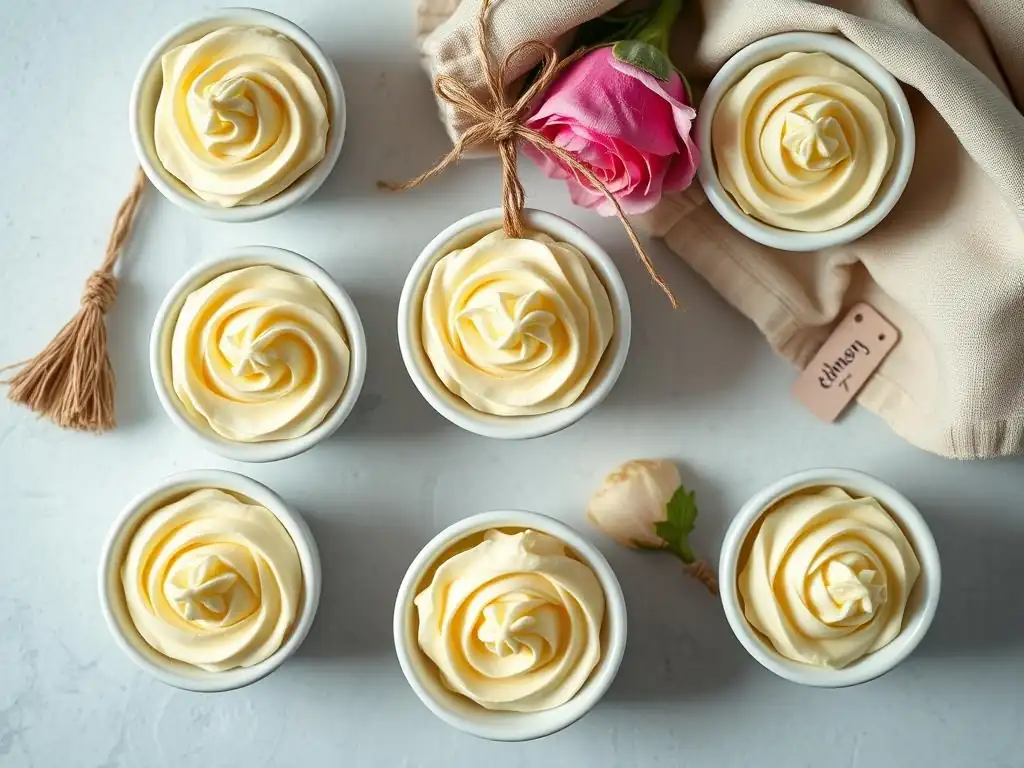
Creating specific vibrant frosting colors often involves mixing primary colors or using specialized shades. Understanding basic color theory helps significantly.
Creating Red Frosting: Tips for a True Red
Achieving a true, vibrant red frosting is notoriously difficult. Many red colorings yield a pink or orangey-red shade. The key to a deep, true red is often using a high-quality, concentrated "super red" or "no-taste red" gel color. You will need a significant amount compared to other colors, but still add it gradually.
Start with a bright red gel color and add incremental amounts, mixing thoroughly each time. Sometimes, adding a tiny drop of pink or even brown gel color can help deepen the red and remove any orange undertones, pushing it towards a richer, true crimson. Patience is key; it might take more coloring than you expect.
Achieving a Deep Black Frosting: The Secret Ingredient
Deep black frosting is another challenging color. Simply adding black coloring often results in a dark gray or purple shade. The secret to a truly deep, vibrant black frosting is often to start with a dark base color first. Coloring your frosting dark brown (using brown or a mix of red, blue, and yellow) before adding black gel color requires less black dye overall and helps achieve a richer, deeper black faster.
Use a high-quality black gel color. Add it incrementally to your brown base, mixing thoroughly until the desired intensity is reached. Be prepared to use a fair amount of coloring for a truly opaque black.
Making Bright Blue Frosting: Avoiding a Green Tint
Creating a bright, vibrant blue frosting can sometimes result in a greenish tint, especially if your frosting base is slightly yellow (like butter-based buttercream) or if you're using a blue coloring with green undertones. To avoid this when applying vibrant frosting color techniques for blue, start with a very white frosting base if possible.
Use a pure blue gel color, such as a sky blue or royal blue, avoiding teal shades if a true blue is desired. If you notice a slight green tint, adding a tiny dot of violet or purple gel color can help neutralize the yellow in the frosting and pull the color towards a truer blue.
Step 5: Troubleshooting Common Coloring Issues
Even with the best techniques, issues can arise. Knowing how to fix them is part of mastering vibrant frosting color techniques.
Frosting Too Watery: How to Fix It
If your frosting becomes too thin or watery after adding food coloring, especially liquid coloring, there are a couple of ways to fix it depending on the frosting type. For American buttercream, the easiest solution is to gradually beat in more powdered sugar, a tablespoon at a time, until the desired consistency returns.
For meringue-based buttercreams, this is trickier; you might need to gently re-whip the frosting over an ice bath to firm it up or, in extreme cases, make a small batch of plain meringue or buttercream base and incorporate the thin colored frosting into it to thicken it.
Color Fading: Preventing Color Loss
Color fading can occur over time, especially when frosting is exposed to light or air, or sometimes due to chemical reactions between the coloring and ingredients. To prevent vibrant frosting color techniques from losing their intensity, store colored frosting in airtight containers away from direct light. If using natural colorings, be aware they are more prone to fading than artificial dyes.
For deep or vibrant colors that need to hold their intensity for an event, consider coloring the frosting closer to the time of use. Some bakers add a tiny amount of extra coloring when mixing, anticipating slight fading, especially with challenging colors like red or black.
Pro Tips for Enhancing Frosting Color Intensity
"Blooming" Your Colors: A Pro Technique for Deeper Shades
A lesser-known but effective technique for achieving richer, more vibrant frosting colors, particularly with gel or powder colors, is "blooming" the color first. This involves mixing the concentrated coloring with a tiny amount of liquid (like vodka, clear vanilla extract, or even water, though alcohol evaporates cleanly) in a small dish before adding it to the frosting. Use just enough liquid to create a smooth paste or thin liquid.
This pre-dissolving step helps disperse the color pigments more evenly and can prevent speckling or streaks, leading to a more uniform and intense final vibrant frosting color. It's particularly useful for stubborn colors like red or black, helping the pigments develop their full potential before encountering the fat and sugar in the frosting. Add the bloomed color mixture to your frosting gradually, just as you would the straight coloring.
Using White Food Coloring to Brighten Pastel Shades
While it might seem counterintuitive, adding white food coloring can be a valuable tool when applying vibrant frosting color techniques, especially for achieving bright, clean pastel shades. White food coloring is typically a suspension of titanium dioxide. Adding a small amount to your frosting before adding your main color can help create a whiter base, making subsequent colors appear brighter and truer, rather than being muted by a yellowish tint from butter.
This is particularly effective for colors like sky blue, lavender, mint green, or pastel pink. If your buttercream is quite yellow, incorporating a bit of white coloring first acts like adding a primer coat, ensuring that the delicate pastel shades you add next appear vibrant and pure. It helps the other colors pop and prevents them from looking muddy or off-shade.
The Importance of Resting Time for Color Development
For some colors, especially deep or vibrant shades achieved with gel colorings, the color will actually deepen and become more intense over time. This is particularly true for reds, blacks, and deep blues. After mixing your frosting to the desired vibrant frosting color, cover the bowl tightly and let it rest at room temperature for 30 minutes to an hour, or even longer in the refrigerator if your kitchen is warm.
During this resting period, the color pigments continue to disperse and saturate the frosting more fully. You might find that a shade that looked merely "dark pink" right after mixing develops into a true vibrant red after an hour. This resting time is a simple yet effective pro tip that requires no extra ingredients, only patience, but can significantly enhance the final color intensity and richness of your frosting.
Storing Colored Frosting to Preserve Vibrancy
Preventing Color Bleeding and Fading During Storage
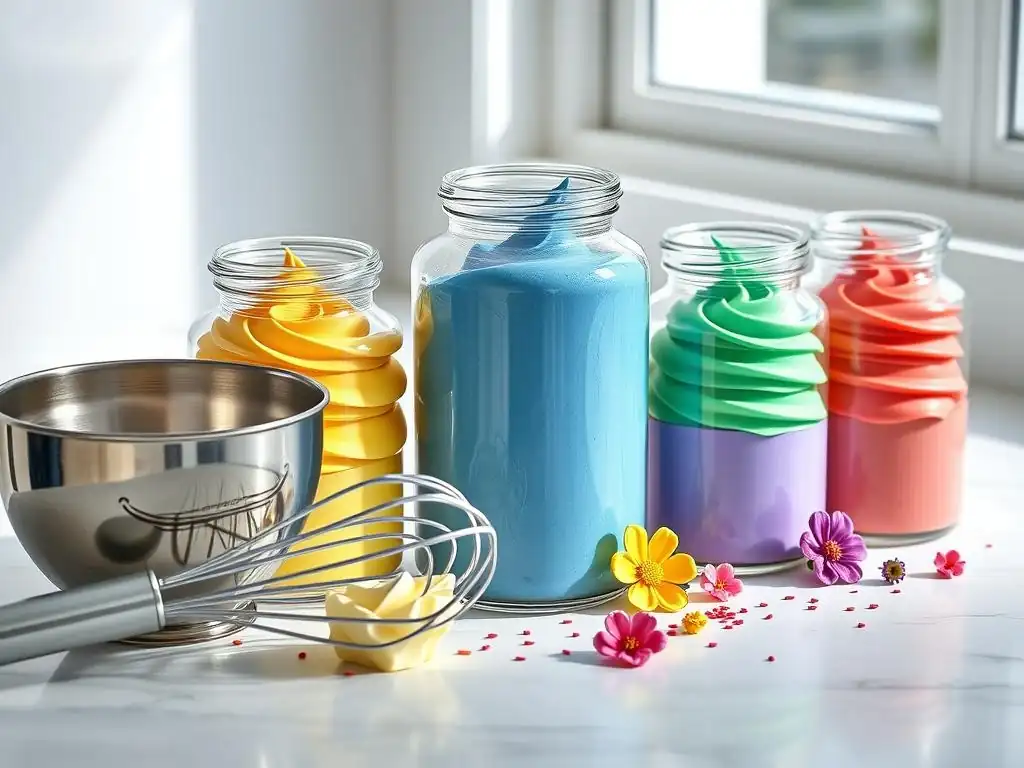
Proper storage is key to preserving the vibrant frosting color techniques you've worked hard to achieve. Color bleeding, where colors migrate into each other, is a common issue when different colored frostings touch on a cake or when storing layers of different colors together. To minimize bleeding, ensure frostings are fully set or crusted before stacking or placing different colors in direct contact. Using a barrier, like a thin layer of clear piping gel between contrasting colors, can also help.
To prevent fading, especially with light-sensitive dyes, store colored frosting in opaque, airtight containers. Exposure to light, particularly sunlight, can cause colors to diminish over time. Ensure the container is sealed tightly to prevent air exposure, which can also contribute to color degradation and drying out the frosting. Proper storage ensures your vibrant frosting colors look just as stunning when you're ready to use them as they did right after mixing.
Best Practices for Refrigerating and Freezing Colored Frosting
Colored frosting can be refrigerated or frozen for later use, but best practices should be followed to maintain vibrant frosting colors. When refrigerating, place colored frosting in an airtight container. It will likely firm up significantly. Before using, let it come to room temperature and then re-whip it on low speed to restore its smooth consistency. You might find the color has deepened slightly after refrigeration.
For longer storage, freezing is an excellent option. Place the colored frosting in a freezer-safe, airtight container or heavy-duty freezer bag, pressing out as much air as possible. Frozen frosting can last for several months. Thaw it in the refrigerator overnight, then let it come to room temperature and re-whip. While most colors hold up well to freezing, very delicate or natural colors might show slight changes. Always store deep or vibrant colors separately to prevent any potential bleeding during the thawing process.
Advanced Frosting Color Techniques: Beyond the Basics
Ombre Frosting: Creating a Gradient Effect
Ombre frosting is a popular technique that showcases vibrant frosting colors transitioning smoothly from one shade to another, typically from light to dark or between two complementary colors. To achieve this gradient effect, start by coloring your main batch of frosting with the darkest shade you want to use. Then, divide this colored frosting into several portions. Keep one portion as the darkest shade. Add a significant amount of plain white frosting to the next portion to create a lighter shade, mix, and repeat with increasing amounts of white frosting for subsequent portions, creating a range of graduating colors.
Alternatively, you can start with the lightest shade and gradually add more concentrated color to subsequent portions. To apply, load a piping bag with the different shades side-by-side or in layers, or apply swatches of each color directly to the cake and smooth them together. The key to a beautiful ombre using vibrant frosting color techniques is a smooth transition achieved through careful color mixing and application.
Marble Frosting: Achieving a Swirled Color Design
Marble frosting creates a beautiful, organic swirled effect using two or more vibrant frosting colors. This technique is relatively simple but yields stunning results. Start by preparing your frosting and coloring separate portions with your desired vibrant frosting colors. Avoid over-mixing the individual colors; just get them to the shade you want.
To create the marble effect, randomly dollop spoonfuls of each colored frosting onto your cake or cupcakes. Alternatively, you can layer dollops of different colors onto a sheet of plastic wrap, roll it into a log, snip off one end, and place the log into a piping bag. When you pipe, the colors will swirl together naturally. For a more controlled marble on a cake, apply swatches of color and then gently swirl them together with an offset spatula or a skewer, taking care not to over-mix, which would blend the colors completely instead of marbling them.
Using Airbrushing for Detailed Color Work [Equipment and Techniques]
Airbrushing is an advanced technique for applying vibrant frosting colors with precision and achieving effects not possible with traditional methods. It uses a small air compressor and an airbrush gun to spray a fine mist of edible airbrush color onto the frosted surface. This allows for smooth, even coverage, gradients, shading, and even stenciled designs.
Achieving vibrant frosting color techniques with an airbrush requires using specialized edible airbrush colors, which are very thin and formulated to pass through the airbrush gun. You can layer colors to build intensity or create subtle shifts in shade.
While the initial investment in equipment (an airbrush kit can cost anywhere from $50 to $300+) is higher than simple food coloring, airbrushing offers unparalleled control for creating photorealistic effects, sharp lines for logos, or delicate color washes on smooth frosting surfaces. Practice is needed to control the spray and avoid oversaturation, but the results can be incredibly vibrant and professional.
Conclusion: Mastering Vibrant Frosting Colors for Stunning Cakes
Recap of Key Techniques for Achieving Intense Frosting Colors
Mastering vibrant frosting color techniques is an essential skill for any baker looking to elevate their cake decorating. We've covered the importance of starting with the right frosting base, ideally a white and stable one like American buttercream. The choice of coloring agent is paramount, with concentrated gel colors standing out as the best option for achieving intense, true shades without compromising frosting consistency. Natural colorings offer an alternative with limitations on vibrancy but appeal for their source.
Key techniques include adding color gradually, mixing thoroughly but not excessively, understanding how to achieve challenging colors like red and black, and troubleshooting common issues like thinning or fading. Pro tips like "blooming" colors, using white coloring for pastels, and allowing resting time can further enhance color intensity and vibrancy. By paying attention to these details, bakers can confidently create frosting colors that are not just colored, but truly vibrant and eye-catching.
Inspiring Ideas for Using Vibrant Frosting Colors in Your Baking Projects
With your newfound mastery of vibrant frosting color techniques, the possibilities for stunning baking projects are endless. Imagine a multi-tiered cake featuring a different intense jewel tone on each layer – sapphire blue, emerald green, ruby red, and amethyst purple. Create cupcakes with frosting swirls in neon pink, electric blue, and lime green for a fun, modern look. Use intense black frosting as a dramatic backdrop for metallic gold or silver accents.
Consider using vibrant colors for holiday themes, like deep oranges and purples for Halloween, or brilliant reds and greens for Christmas. Ombre and marble techniques allow for artistic expression, turning the frosting itself into a work of art. Even a simple single-color cake can be transformed by achieving a truly saturated, vibrant hue that demands attention. Don't be afraid to experiment with bold combinations and techniques to make your next baking project truly unforgettable with the power of vibrant frosting colors.
Frequently Asked Questions
What are the best types of food coloring to use for achieving vibrant frosting colors?
For the most vibrant frosting colors, gel food coloring is generally recommended. Liquid food coloring can alter the frosting's consistency and dilute the color.
How can I prevent my frosting from becoming too runny when adding food coloring?
Use food coloring sparingly and opt for gel-based or paste-based options. Overmixing can also contribute to runniness, so mix until just combined.
How do I achieve a true red or black frosting without it tasting bitter?
Use gel food coloring specifically designed for red or black. Allow the color to develop for several hours, or even overnight, as the color deepens over time.
What are some natural alternatives for coloring frosting, and how do they affect the color vibrancy?
Natural alternatives include beet juice (red), spinach juice (green), and turmeric (yellow). However, they often produce milder, pastel shades compared to artificial colorings.
How can I fix frosting that has become too dark after adding too much food coloring?
Add more uncolored frosting to dilute the color. Alternatively, you can also add more of the base ingredients like butter or sugar.
Final Reflection: The Enduring Allure of Vibrant Frosting
The art of creating vibrantly colored frosting isn't just about aesthetics; it's about transforming ordinary baked goods into edible masterpieces that spark joy and celebration. In a world increasingly focused on visual appeal, the ability to achieve rich, saturated colors in your frosting elevates your baking from a simple hobby to a form of expressive artistry. This skill, once considered a niche expertise, is now readily accessible, empowering home bakers and professionals alike to unleash their creativity.
The impact of vibrant color in food is undeniable. It influences our perception of taste and even our emotional response to a dish. Color is a power which directly influences the soul.
- Wassily Kandinsky. This quote, while referring to art in general, perfectly encapsulates the emotional resonance of vibrant frosting. From childhood birthday cakes to sophisticated wedding desserts, the strategic use of color transforms a simple treat into a memorable experience, reflecting the personality and intention behind its creation. The techniques explored in this article, while seemingly simple, unlock a world of possibilities, allowing bakers to personalize their creations and express themselves through color.
Now, it's your turn. Consider the power of color in your own life, not just in baking, but in all aspects of your creative endeavors. Experiment with different color combinations, explore new techniques, and don't be afraid to let your imagination run wild. The journey of mastering vibrant frosting colors is a continuous one, filled with experimentation, discovery, and the immense satisfaction of transforming simple ingredients into something truly beautiful and delicious. Embrace the vibrant possibilities that await you!
Unleash Your Inner Cake Artist: Vibrant Frosting Awaits!
Thanks for taking the time to explore the world of colorful frosting! We hope you're feeling inspired and ready to create stunningly vibrant cakes. Now it's time to put your new skills to the test.
- Master a new frosting color: Pick your favorite color palette from the article and try creating it – share your results with us on social media using #BakeWithEaseColor!
- Experiment with different flavor pairings: How will your favorite frosting color taste with complementary flavors? This is your chance to get creative.
- Explore different piping techniques: Take your frosting artistry to the next level by practicing different piping techniques for even more stunning designs!
Ready to transform your next cake into a masterpiece? What unexpected color combination are you excited to try?