
Basic Drip Techniques: Simple Ganache or Glaze

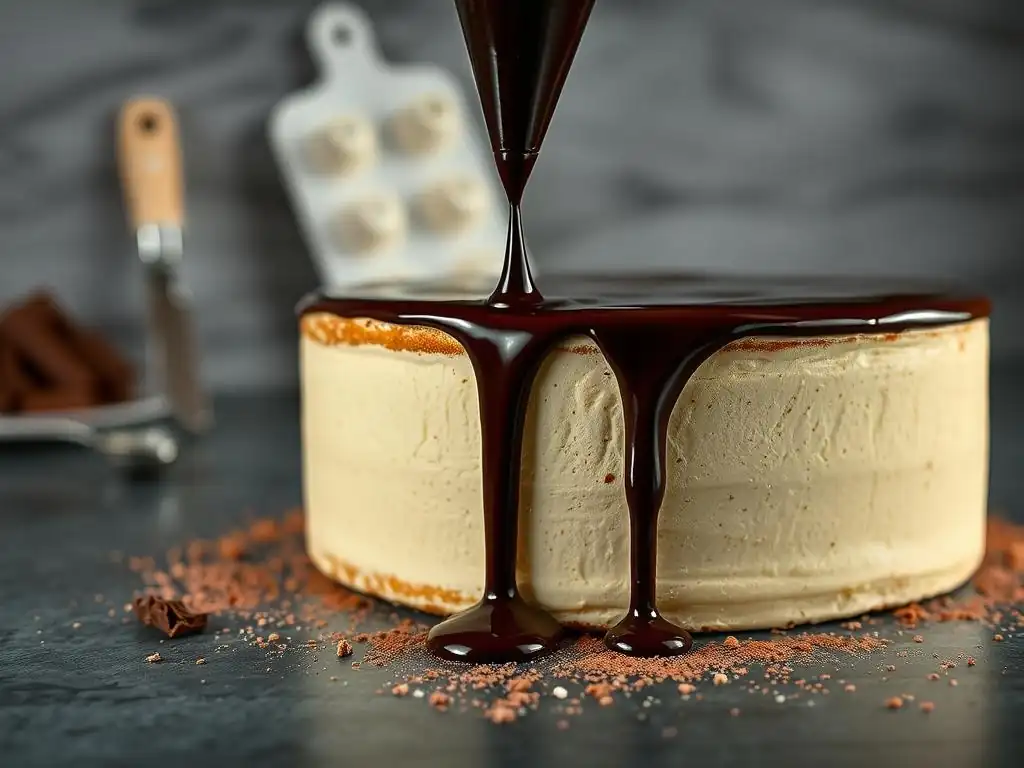
Welcome to BakeWithEase, your trusted guide to baking bliss! Ever wondered how to achieve that picture-perfect, professional-looking drip on your cakes? We've got you covered. Dive in to discover our easy ganache drip recipe, a game-changer for intermediate bakers looking to elevate their creations. But that's just the beginning! Keep reading to unlock the secrets to perfectly executed drips and glazes that will leave everyone wanting more. Are you ready to take your cake decorating skills to the next level?
- Mastering Chocolate Ganache Drips: A Comprehensive Guide
- Introduction to Drip Cakes: Elevate Your Baking
- Understanding Chocolate Ganache Drips
- Preparing Your Cake for a Perfect Drip
- Easy Chocolate Ganache Drip Recipe: A Step-by-Step Guide
- Mastering the Drip Technique: Application Methods
- Troubleshooting Common Drip Issues
- Flavor Variations and Creative Drip Ideas
- Storing Drip Cakes: Maintaining Freshness and Appearance
- Conclusion: Mastering Chocolate Ganache Drips
- Frequently Asked Questions
- Final Reflection: The Enduring Allure of the Perfect Drip
- Unlock Your Inner Pastry Chef: Elevate Your Baking!
Mastering Chocolate Ganache Drips: A Comprehensive Guide
Introduction to Drip Cakes: Elevate Your Baking
Drip cakes have revolutionized cake decorating, transforming simple layered cakes into stunning works of art. The elegant cascade of glaze or ganache down the sides creates a visually appealing effect that's surprisingly achievable for home bakers. Whether you're aiming for a dramatic, long drip or a more subtle, delicate finish, mastering the basic technique opens up a world of creative possibilities. This guide focuses on using chocolate ganache, a popular and delicious choice for achieving beautiful, controlled drips.
Adding a drip is a fantastic way to add height, texture, and flavor to your cakes without requiring advanced piping skills. It's a technique that looks impressive but, with the right approach and a reliable easy ganache drip recipe, is accessible to bakers of intermediate skill levels looking to elevate their creations. From birthdays to holidays, a well-executed ganache drip can make any cake the centerpiece of the celebration.
Understanding Chocolate Ganache Drips
What is a Drip Cake?
A drip cake is a cake decorated with a glaze, icing, or ganache that is poured or applied to the top edge, allowing it to cascade down the sides in controlled or random drips. This technique adds a dynamic visual element, creating a sense of movement and abundance. While various mediums like mirror glaze or royal icing can be used, ganache is a favorite due to its rich flavor, smooth texture, and relative ease of use for creating defined drips.
The beauty of a drip cake lies in its versatility. You can control the length and thickness of the drips by adjusting the consistency and temperature of your ganache, as well as the application method. Combined with other decorations like buttercream swirls, fresh fruit, chocolates, or macarons, a drip cake offers endless possibilities for personalization and creativity, making each cake uniquely special.
Why Choose Chocolate Ganache for Your Cake Drip?
Chocolate ganache is a simple mixture of chocolate and heated cream, resulting in a rich, velvety smooth coating that sets beautifully. Its composition makes it ideal for cake drips for several reasons. Firstly, its flavor is universally loved, pairing well with a wide variety of cake bases, from classic vanilla and chocolate to red velvet and fruit-flavored cakes.
Secondly, ganache offers excellent control over consistency. By adjusting the ratio of chocolate to cream, you can create a thicker ganache for shorter, more defined drips or a thinner one for longer, more fluid cascades. Unlike some other glazes, chocolate ganache sets up firmly but remains soft enough to cut through easily, providing a pleasant texture contrast to the cake and frosting. This adaptability makes it a perfect medium for both beginners attempting their first drip and experienced decorators refining their technique.
Preparing Your Cake for a Perfect Drip
Essential Cake Preparation Steps Before Adding Drip
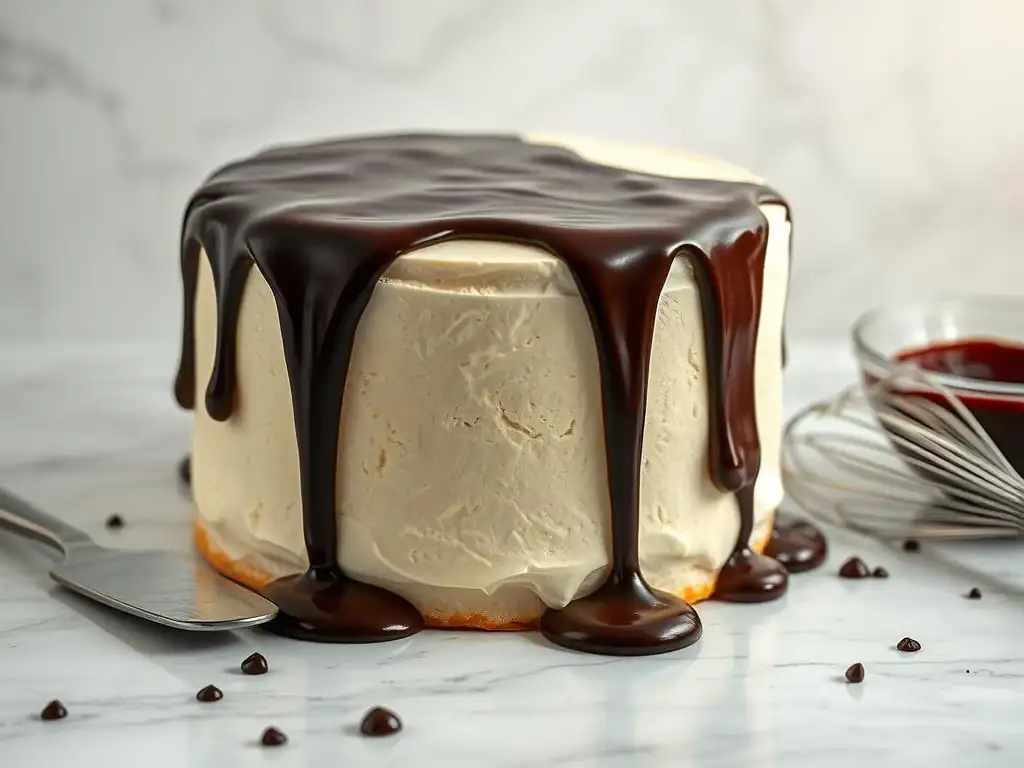
Proper cake preparation is crucial for a successful ganache drip. Before even thinking about applying the drip, your cake needs to be fully assembled, frosted, and thoroughly chilled. The frosting, ideally buttercream or ganache, should be smooth and cold. A well-chilled cake ensures that the warm ganache sets quickly upon contact, creating sharp, defined drips rather than melting the frosting or running uncontrollably down the sides. Aim for at least 30-60 minutes of chilling in the refrigerator, or 15-20 minutes in the freezer, until the frosting is firm to the touch.
Furthermore, the top edge of your cake where the drip will start needs to be clean and level. Any crumbs or unevenness on the edge can interfere with the ganache flow, leading to messy or inconsistent drips. Use a sharp knife or cake scraper to gently neaten the top edge of your frosted cake before chilling. This attention to detail in the preparation phase significantly impacts the final appearance of your easy ganache drip recipe application.
Achieving a Smooth Cake Surface for Optimal Ganache Adhesion
A smooth cake surface is paramount for achieving beautiful, even drips. Any bumps, ridges, or imperfections in the frosting will show through the ganache drip and can cause the ganache to pool or run in unintended ways. After frosting your cake, use a cake scraper or offset spatula to smooth the sides and top as much as possible. Techniques like the "hot scraper" method (dipping a metal scraper in hot water, drying it, and using it to smooth the frosting) can help achieve a particularly smooth finish.
Once smoothed, ensure the frosting is firm by chilling the cake as mentioned earlier. A cold, smooth, and firm surface provides the perfect canvas for the ganache to adhere to and drip down cleanly. Think of the frosting as the foundation; a solid, smooth foundation ensures the drip looks professional and intentional. This step, while sometimes tedious, is key to unlocking the potential of your simple ganache drip.
Easy Chocolate Ganache Drip Recipe: A Step-by-Step Guide
Ingredients for Dark Chocolate Ganache Drip
Making a simple ganache drip requires just two main ingredients: chocolate and heavy cream. For a classic dark chocolate ganache drip, you'll typically use a ratio of about 2 parts chocolate to 1 part heavy cream by weight. For example, you might use 8 ounces (approximately 225 grams) of good quality dark chocolate (at least 60% cocoa solids) and 4 ounces (approximately 115 grams or about ½ cup) of heavy whipping cream (with a minimum of 30% fat).
The quality of your chocolate significantly impacts the flavor and setting properties of the ganache. Using baking chocolate or chocolate chips specifically designed for melting is recommended, as they contain stabilizers that help the ganache set well. Avoid using standard eating chocolate bars, which may not melt or set as reliably. This easy ganache drip recipe relies on these simple ingredients to create a rich and beautiful drip.
Equipment Needed for Making Ganache
You don't need fancy equipment to make ganache. The basic tools are likely already in your kitchen. You'll need a heatproof bowl, preferably glass or metal, to hold the chocolate. A small saucepan is needed to heat the heavy cream. A whisk or a rubber spatula is essential for stirring the ganache until it becomes smooth and emulsified.
For application, several tools work well, including a piping bag with a small round tip, a squeeze bottle, or simply a spoon. A digital thermometer is also incredibly helpful for ensuring your ganache is at the optimal temperature for dripping, typically between 85°F and 95°F (29°C and 35°C) for dark chocolate ganache. Having these simple tools ready makes the process of creating your homemade ganache drip much smoother.
Ganache Recipe: Melting and Mixing Instructions
Here is a basic process for an easy ganache drip recipe:
- Finely chop the chocolate and place it in your heatproof bowl. The finer the chop, the faster and more evenly the chocolate will melt.
- Pour the heavy cream into the saucepan and heat it gently over medium heat just until it begins to simmer around the edges. Do not boil the cream vigorously.
- Immediately pour the hot cream over the chopped chocolate in the bowl.
- Let the mixture sit undisturbed for about 5 minutes. This allows the hot cream to melt the chocolate effectively.
- After 5 minutes, gently start stirring the mixture from the center outwards using a whisk or spatula. Continue stirring until all the chocolate is melted and the mixture is completely smooth and glossy. This process is called emulsification.
- If a few solid bits remain, you can place the bowl over a pot of barely simmering water (creating a double boiler) for a minute or two, stirring constantly, until smooth. Be careful not to overheat the ganache.
- Avoid vigorous whisking, which can incorporate too much air, leading to a dull ganache.
Achieving the Right Ganache Consistency for Drip Cakes
Achieving the perfect consistency is key to a successful drip. The consistency of your ganache is primarily determined by the ratio of chocolate to cream and its temperature. A 2:1 chocolate to cream ratio by weight (as suggested above for dark chocolate) typically results in a ganache that is firm enough to hold a shape when cool but liquid enough to drip when warm.
After making the ganache, you need to let it cool down to the right temperature for dripping. This is the most critical step. If the ganache is too hot (above 95°F/35°C), it will be too thin and run down the cake quickly, potentially melting the frosting and creating very long, thin drips or pooling at the bottom.
If it's too cool (below 85°F/29°C), it will be too thick, resulting in short, chunky drips or difficulty applying it smoothly. The ideal temperature range of 85-95°F (29-35°C) for dark chocolate ganache allows for controlled, beautiful drips. White chocolate ganache often requires a slightly cooler temperature, around 80-85°F (27-29°C), due to its different composition.
Mastering the Drip Technique: Application Methods
Tools for Applying Chocolate Ganache Drips
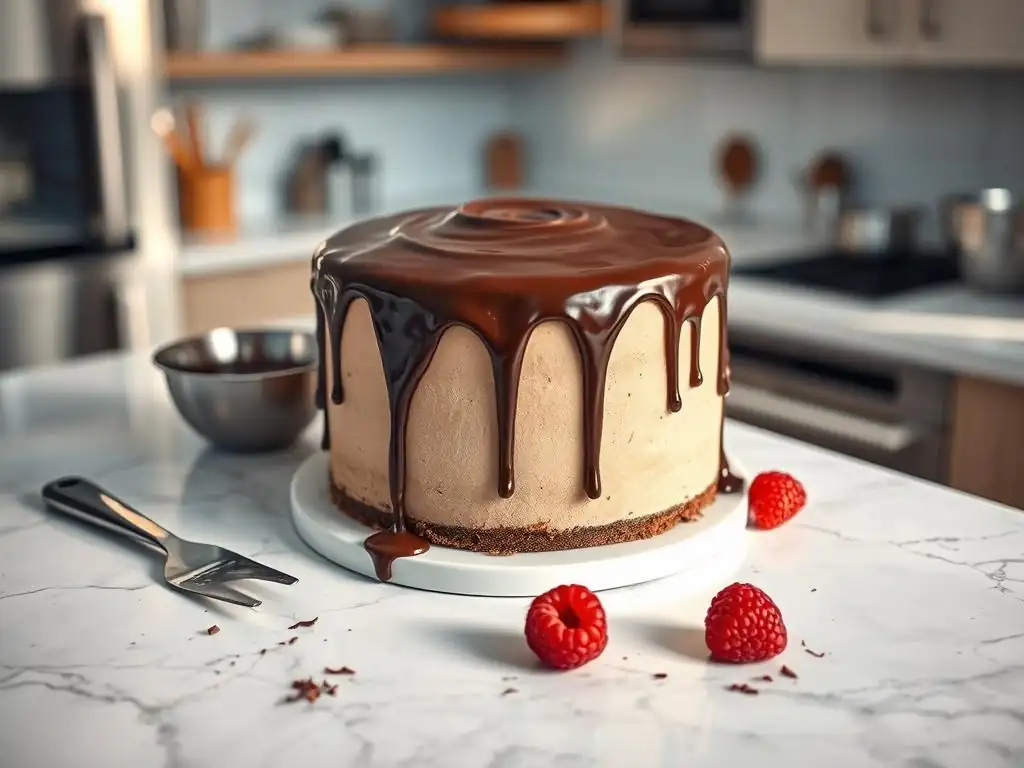
Several tools can be used to apply the ganache drip, each offering a slightly different level of control and resulting in a unique look. A small spoon is the simplest tool; you scoop a small amount of ganache and gently guide it over the edge of the cake, letting gravity do the work. This method can result in more organic, varied drips.
For more control and consistency, a piping bag fitted with a small round tip (like a Wilton #3 or #4) or a squeeze bottle (like those used for condiments) is excellent. These tools allow you to control the amount of ganache released and the speed at which it flows over the edge, helping to create more uniform drips. Many bakers prefer squeeze bottles for their ease of use and ability to create clean lines.
Different Drip Styles: Long Drips vs. Short Drips
The length and thickness of your drips are primarily controlled by the ganache consistency, temperature, and the amount applied at each point on the cake edge. For long, dramatic drips that reach the cake board, you'll need a slightly thinner ganache (perhaps a 1.75:1 or 1.5:1 chocolate to cream ratio for dark chocolate) or apply it at the warmer end of the ideal temperature range (closer to 95°F/35°C). Apply a slightly larger amount of ganache at each drip point, allowing it to cascade further down the cake.
For shorter, more controlled drips that stop halfway or two-thirds down the cake, use a slightly thicker ganache (a 2:1 or even 2.5:1 ratio) or apply it at the cooler end of the temperature range (closer to 85°F/29°C). Apply a smaller amount of ganache at each drip point, letting it naturally shorten as it cools quickly on the chilled cake. Experimenting with a test drip on the inside of a glass or a piece of parchment paper before applying to the cake is highly recommended.
Techniques for Creating Even and Consistent Drips
Consistency in dripping comes down to practice and control. If using a spoon, try to scoop roughly the same small amount of ganache for each drip point and apply it along the very edge of the cake, gently nudging it over. For piping bags or squeeze bottles, maintain consistent pressure as you squeeze and pause briefly at each drip point to allow the ganache to flow over the edge.
Apply the drips around the entire circumference of the cake first, focusing on getting the desired length and spacing. Once the edge drips are complete, you can then fill in the top of the cake with the remaining ganache, spreading it smoothly with an offset spatula to meet the drips. Working quickly but steadily is key while the ganache is at the optimal temperature. A chilled cake is your best friend here, as it helps the drips set almost instantly upon contact.
Pro Tip: Testing Your Ganache Drip Temperature Before Applying to the Entire Cake
This is perhaps the most important tip for a successful drip cake. Before you commit to dripping ganache all over your beautifully frosted cake, test its consistency and flow. Dip a spoon into the ganache and let a small amount drip onto the inside edge of a glass or cup. Observe how it flows – is it too fast (too thin/warm) or too slow/chunky (too thick/cool)?
Alternatively, you can test a small amount on a piece of parchment paper placed upright, mimicking the side of a cake. Adjust the temperature as needed – gently warm it slightly over a double boiler if too thick, or let it cool further, stirring occasionally, if too thin. Getting the temperature just right is crucial for achieving the desired drip effect from your easy ganache drip recipe. This simple test can save you from potential frustration!
Troubleshooting Common Drip Issues
Ganache Drip Too Thick: How to Thin it Out
If your ganache has cooled too much and is too thick to drip properly, don't panic! It's easily fixable. Gently warm the ganache. The best way is to place the bowl of ganache over a saucepan of barely simmering water (a double boiler setup), ensuring the bottom of the bowl doesn't touch the water. Stir the ganache constantly until it reaches the desired pouring consistency and temperature (remember that 85-95°F/29-35°C range for dark chocolate).
Another method is to microwave the ganache in short bursts (5-10 seconds) on low power, stirring well after each burst, until it's fluid enough. Be extremely careful not to overheat or burn the chocolate. You could also stir in a tiny amount (start with a teaspoon) of warm heavy cream, mixing thoroughly until the desired consistency is reached. Add cream sparingly, as too much will make it too thin.
Ganache Drip Too Thin: How to Thicken it Up
If your ganache is too thin and running down the cake too quickly, it's likely too warm or the ratio of cream to chocolate is too high. The easiest way to thicken it is to let it cool down. Place the bowl of ganache in the refrigerator for 5-10 minute intervals, stirring well after each interval, until it reaches the desired consistency. Watch it closely, as it can thicken quickly.
If the ganache is still too thin even when cooled, it might need more chocolate. Gently rewarm the ganache over a double boiler or in short microwave bursts. Add more finely chopped chocolate (start with an ounce or two for a standard recipe) and let it sit for a few minutes before stirring until smooth. This increases the chocolate-to-cream ratio, resulting in a thicker ganache when cooled. Remember to cool it back down to the correct dripping temperature before applying.
Uneven Drips: Correcting Mistakes and Achieving Symmetry
Uneven drips can happen due to inconsistent application, uneven cake edges, or variations in ganache temperature as you work. If a drip is too short, you can carefully add a tiny bit more ganache to the top edge right above that drip and gently guide it down with a spoon or spatula. If a drip is too long or messy, you can sometimes use a small offset spatula or knife to gently scrape away the excess ganache once it has set slightly.
For minor imperfections or areas where the drip didn't start cleanly, you can often cover them with additional decorations like sprinkles, small candies, or dollops of buttercream. While achieving perfect symmetry can be challenging, aiming for relatively consistent spacing and length will give your cake a professional appearance. Practice definitely helps in achieving more even results with your homemade ganache drip.
Preventing Ganache from Pooling at the Base of the Cake
Pooling ganache at the bottom of the cake is usually a sign that the ganache was too thin, too warm, or applied to a cake that wasn't cold enough. To prevent this, ensure your ganache is at the correct dripping temperature (85-95°F/29-35°C for dark chocolate) and your cake is thoroughly chilled before you start. Apply a moderate amount of ganache at each drip point; don't flood the edge with too much at once.
If you notice pooling starting, you can sometimes quickly use a small offset spatula or the tip of a knife to gently push the excess ganache away from the cake base before it sets completely. For future cakes, consider increasing the chocolate-to-cream ratio slightly in your easy ganache drip recipe to make the ganache a bit thicker, which will result in shorter, more controlled drips less likely to pool.
Flavor Variations and Creative Drip Ideas
Adding Espresso Powder to Your Ganache Drip
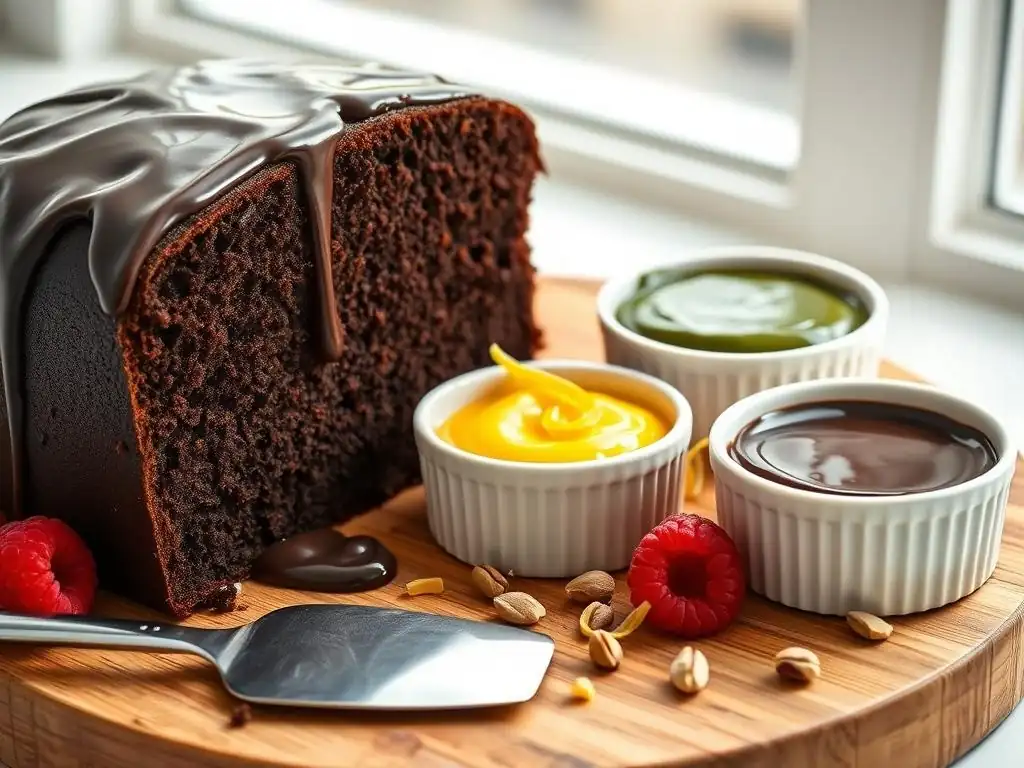
Adding espresso powder is a simple way to enhance the chocolate flavor in your ganache and add a subtle coffee note. For a standard recipe using 8 oz of chocolate and 4 oz of cream, you can typically whisk about 1 to 2 teaspoons of instant espresso powder into the hot cream before pouring it over the chocolate. Ensure the powder is fully dissolved in the cream for a smooth texture.
The espresso powder doesn't significantly alter the consistency, but it deepens the complexity of the chocolate, creating a mocha-flavored ganache that pairs wonderfully with chocolate, coffee, or even vanilla cakes. It's a quick and easy modification to your simple ganache drip recipe that adds an extra layer of deliciousness.
Creating Colored Ganache Drips with Gel Food Coloring
While chocolate ganache is naturally brown, you can create vibrant colored drips, especially with white chocolate ganache. For colored drips, it's best to use oil-based or gel food coloring specifically designed for chocolate or candy making. Water-based liquid colors can cause the chocolate to seize and become grainy.
To color ganache, make your white chocolate ganache as usual and let it cool slightly. Add gel color sparingly using a toothpick, stirring it in thoroughly until the desired hue is achieved. Remember that the color will deepen slightly as the ganache cools and sets. Start with a tiny amount and add more as needed. This technique allows you to match your ganache drip to any party theme or cake design.
White Chocolate Ganache Drip Recipe and Variations
White chocolate ganache drips require a different ratio than dark chocolate due to white chocolate's higher sugar and lower cocoa solid content. A common ratio for a white chocolate ganache drip is 3 parts white chocolate to 1 part heavy cream by weight. For example, 9 ounces (approximately 255 grams) of good quality white chocolate to 3 ounces (approximately 85 grams or about 1/3 cup) of heavy cream.
Prepare it using the same method as dark chocolate ganache: chop the white chocolate, heat the cream to a simmer, pour over the chocolate, let sit, then stir until smooth. White chocolate ganache tends to be softer when set and requires a slightly cooler dripping temperature, typically around 80-85°F (27-29°C), to achieve controlled drips. It's the perfect base for adding colors or flavorings like vanilla bean paste or citrus zest.
Salted Caramel Ganache Drip for a Delicious Twist
For a decadent variation, combine the richness of ganache with the sweet and salty allure of caramel. You can achieve a salted caramel ganache drip by making a standard chocolate ganache (dark, milk, or white) and stirring in high-quality salted caramel sauce after the ganache has emulsified and cooled slightly.
A typical approach might be to make a 2:1 dark chocolate ganache (8 oz chocolate, 4 oz cream) and then stir in 2-3 tablespoons of thick, buttery salted caramel sauce while the ganache is still warm but not hot. Stir until fully combined. You may need to adjust the consistency by adding a tiny bit more cream or letting it cool longer. This creates a gorgeously flavored drip that adds complexity to cakes like chocolate, vanilla, or even apple spice.
Storing Drip Cakes: Maintaining Freshness and Appearance
Best Practices for Refrigerating Drip Cakes
Once your ganache drip cake is complete, refrigeration is often necessary, especially if it contains perishable fillings or frosting. To protect the ganache drip and the cake itself, chill the cake in the refrigerator uncovered for about 15-30 minutes until the ganache and frosting are firm. This initial chilling helps set everything.
After the initial chill, loosely cover the cake with plastic wrap, being careful not to let the wrap touch the ganache drips or other decorations. A cake box is ideal for storage, offering protection without contact. Store the cake in the refrigerator until about 30-60 minutes before serving to allow the cake and ganache to come to a more palatable temperature.
How to Prevent Ganache Drip from Cracking
Ganache drips, especially those made with a higher chocolate-to-cream ratio for firmer setting, can sometimes crack, particularly if the cake undergoes significant temperature changes or is cut when the ganache is very cold. Using good quality chocolate with sufficient cocoa butter helps prevent cracking.
Ensuring your ganache is properly emulsified (smooth and glossy) also contributes to a stable set. When storing the cake, maintain a consistent refrigerator temperature. Before serving, allow the cake to sit at room temperature for 30-60 minutes. This lets the ganache soften slightly, making it less prone to cracking when sliced. For cakes that need to be stored for longer periods, wrapping the box securely can help maintain humidity and prevent the ganache from drying out too much.
Conclusion: Mastering Chocolate Ganache Drips
Mastering the easy ganache drip recipe and technique is a rewarding skill that significantly enhances your cake decorating abilities. From understanding the simple ratio of chocolate and cream to perfecting the application temperature and method, each step contributes to creating stunning visual effects. Don't be discouraged if your first attempt isn't perfect; practice makes progress.
Elevate Your Cake Decorating Skills with Chocolate Ganache Drips
Adding a homemade ganache drip transforms an ordinary cake into an extraordinary centerpiece. With the knowledge of ratios, temperatures, and application methods, you can confidently create beautiful, controlled drips that impress. Experiment with different chocolates, ratios, and flavor variations like salted caramel or espresso to find your favorite easy ganache drip recipe and make every cake a masterpiece. Happy dripping!
Frequently Asked Questions
What is the difference between a ganache drip and a glaze drip?
A ganache drip is made from chocolate and cream, offering a richer, more intense flavor. A glaze drip is typically made from powdered sugar and liquid, providing a lighter, sweeter finish and often a more translucent appearance.
Is this "Easy ganache drip recipe" suitable for beginners?
Yes! This guide focuses on basic techniques and uses simple ingredients, making it perfect for bakers of all skill levels, especially those new to ganache drips.
How do I achieve the perfect drip consistency?
The key is the ratio of chocolate to cream. Too much chocolate will result in a thick drip, while too much cream will make it too thin. Follow the recipe closely and test the consistency before applying.
What type of chocolate is best for an "Easy ganache drip recipe"?
Semi-sweet chocolate is a great starting point as it offers a good balance of sweetness and bitterness. However, you can use dark, milk, or white chocolate depending on your preference and the flavor profile you're aiming for.
How long will the ganache drip last on a cake?
A properly made ganache drip can last for several days in the refrigerator. However, it's best to consume the cake within 2-3 days for optimal freshness and flavor.
Final Reflection: The Enduring Allure of the Perfect Drip
The art of the ganache drip, once a sophisticated pastry chef's secret, has become a remarkably accessible and beloved technique. From humble beginnings in professional kitchens, the simple elegance of a perfectly drizzled ganache now graces countless home-baked creations, proving that even the most impressive desserts can be surprisingly easy to achieve.
The impact of this simple technique extends beyond the visual appeal; it represents a democratization of dessert artistry. It empowers home bakers to elevate their creations with a touch of professional flair, fostering a sense of accomplishment and creative expression in the kitchen. The best things in life are simple,
a sentiment perfectly captured by the ease and impact of a well-executed ganache drip. This simple technique allows anyone to add a touch of elegance to their baking, regardless of skill level.
Now, consider your own baking journey. What will you create next? Will you experiment with different chocolate types, explore variations in consistency, or perhaps even develop your own unique drip design? The possibilities are as endless as your imagination. Embrace the simplicity, the elegance, and the joy of mastering this technique – and let your next creation be a testament to the power of a perfectly placed drip.
Unlock Your Inner Pastry Chef: Elevate Your Baking!
Thanks for joining us on this delicious journey into the world of ganache and glaze! We hope you've gained some valuable techniques to add a touch of elegance to your baking. Ready to put your newfound skills to the test?
- Master the art of ganache: Experiment with different chocolate-cream ratios to find your perfect consistency. Try a variation with salted caramel for an unexpected twist!
- Share your creations: Show off your beautiful, glossy creations on social media using #BakeWithEaseGanache. Let’s inspire each other!
- Explore our other recipes: Dive deeper into the world of BakeWithEase and discover more tips and techniques for achieving baking perfection.
What delicious treat will you adorn with your newly mastered ganache or glaze?